![Mitchfork :]](../images/banner.png)
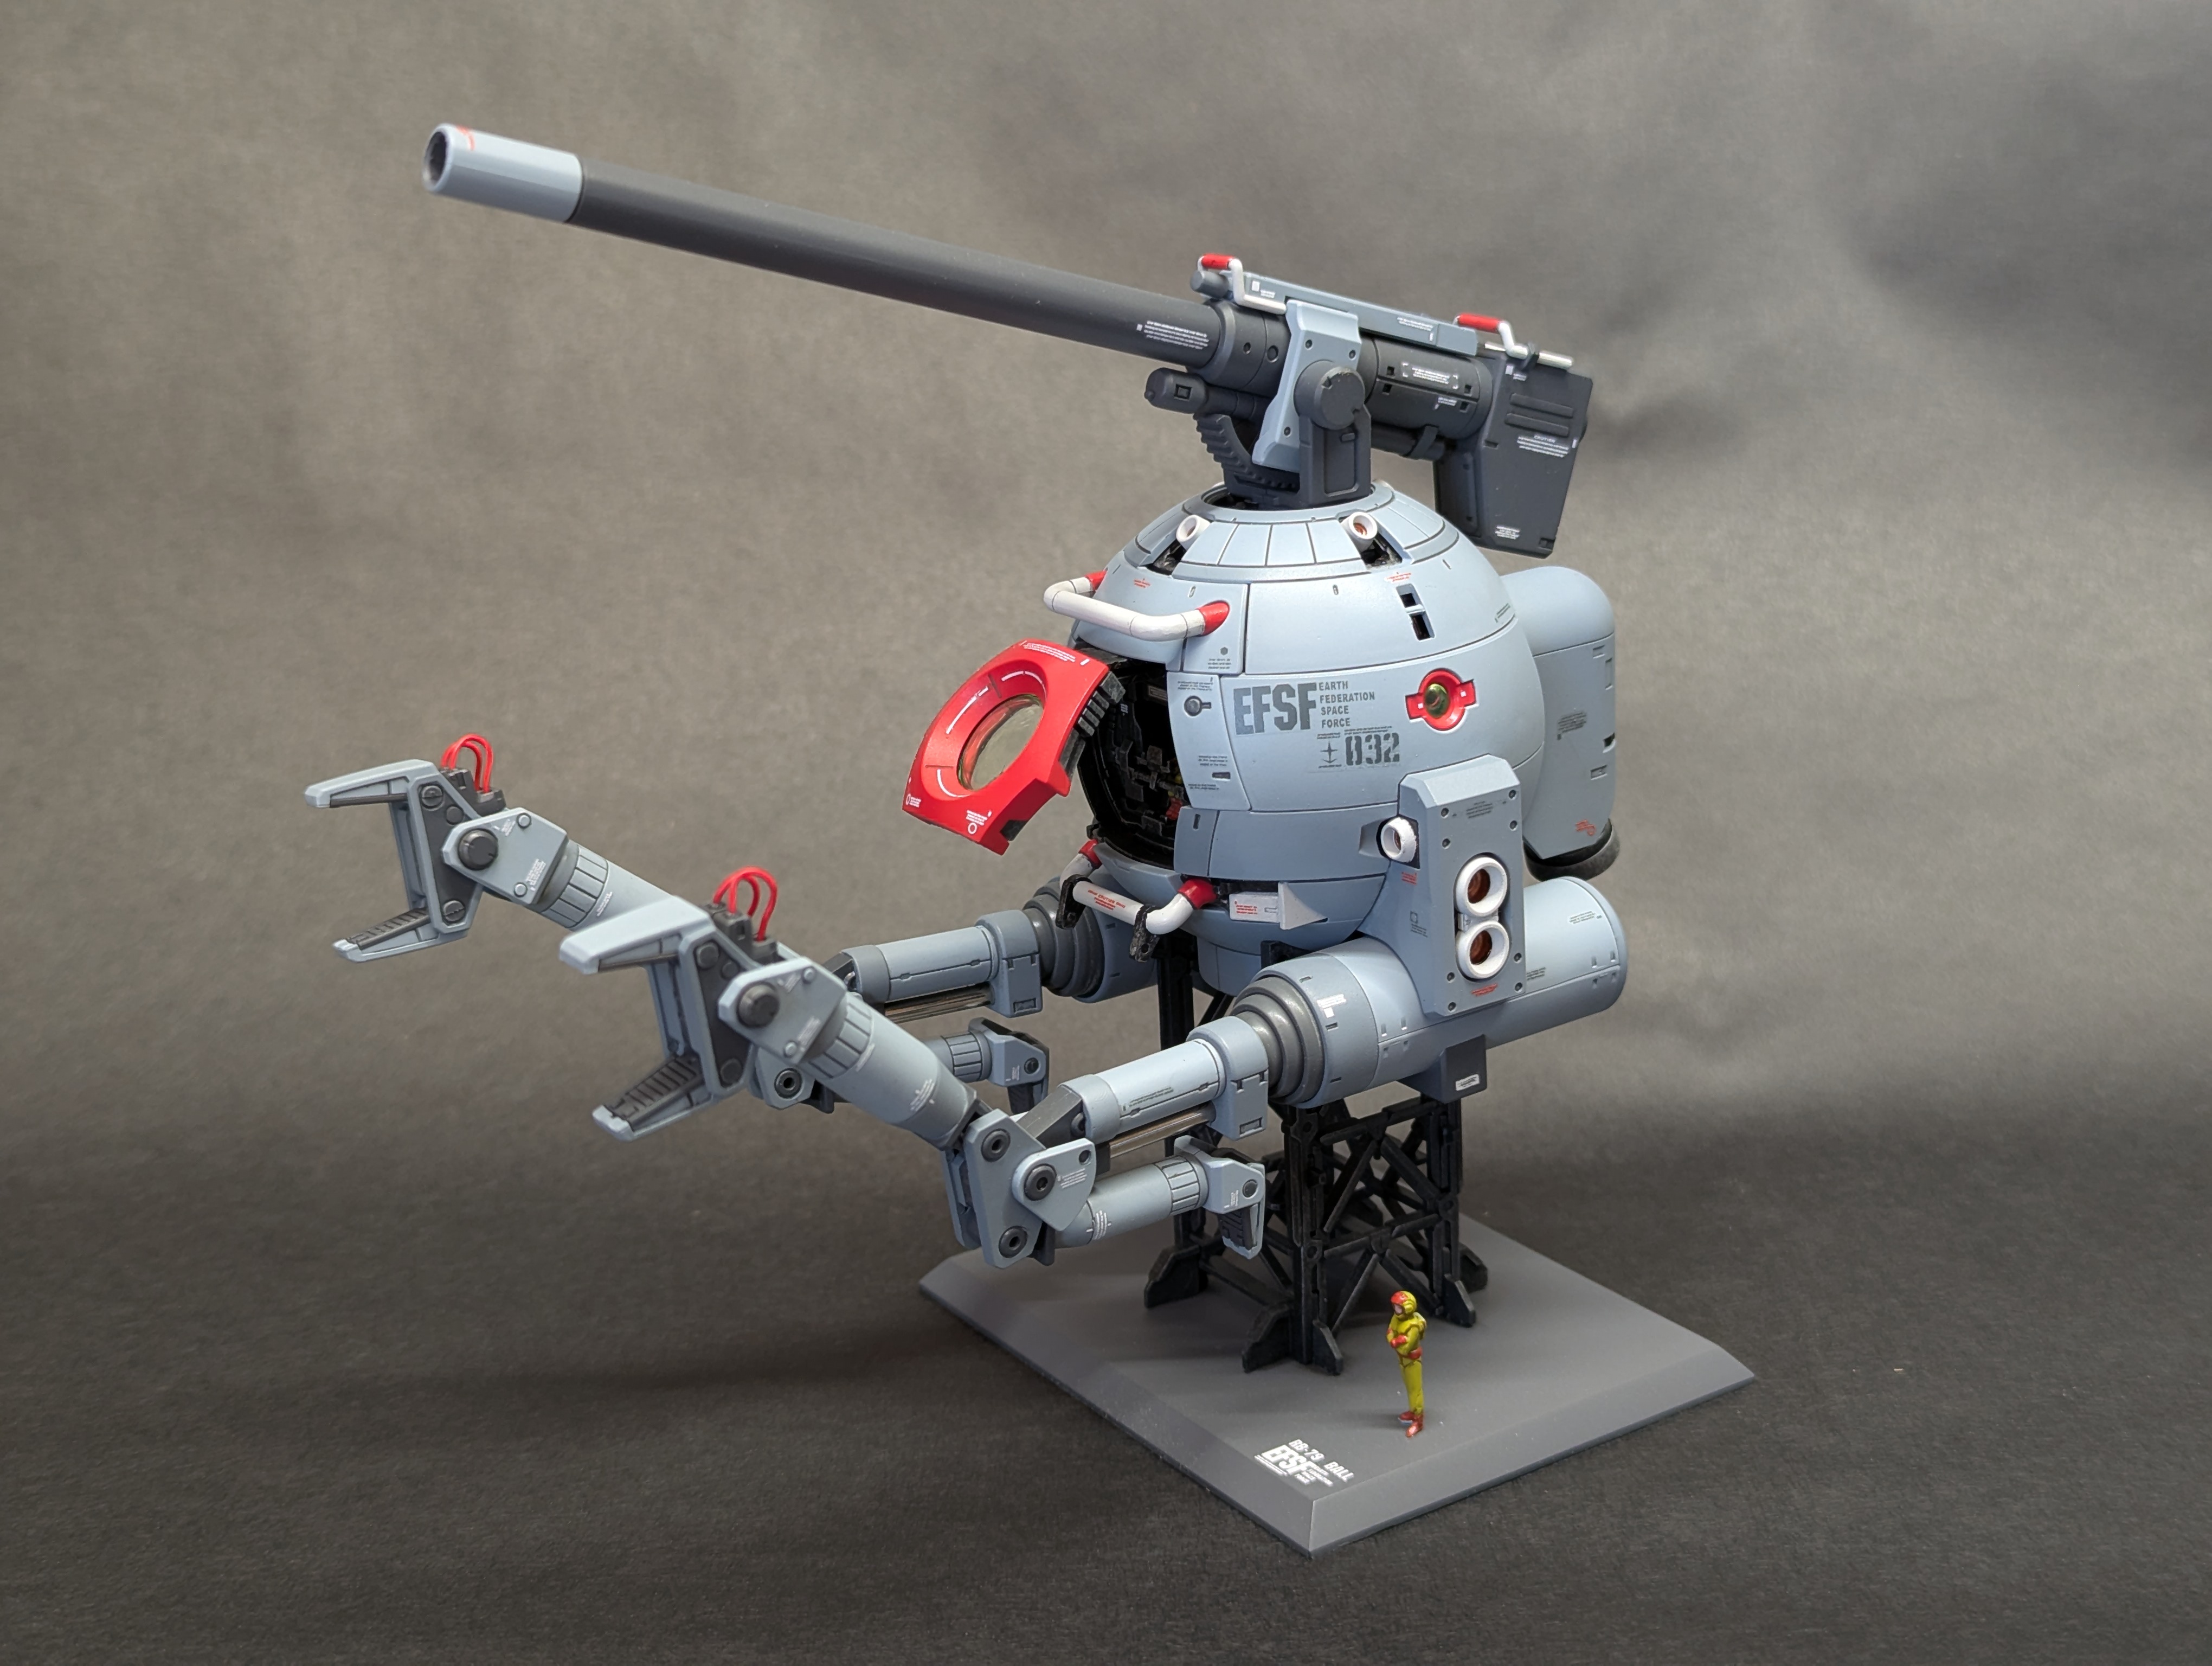
1/100 Master Grade Ball (ver. Ka)
Mobile Pod: RB-79 Ball
Release Date: December 2004
Series: Mobile Suit Gundam
Start Date: August 11, 2025
Finish Date: March 20, 2026
Ball is life.
At the end of my
Gunpla-Kun DX build, I said I was getting back to something more traditional. But I never said it was
most traditional. The Master Grade Ball (ver. Ka) is an older kit that is unique by virtue of not being a mobile suit - instead it's in it's own weapon category as a non-humanoid "mobile pod".
"Ver. Ka" refers to a class of gunpla designed and produced by Hajime Katoki. Katoki is a mechanical designer who shows up on a few Gundam series - most notably doing principal mech designs for
Sentinel,
0083: Stardust Memory,
Endless Waltz, and
Unicorn. He also contributed as part of a team on several other series, like
Victory Gundam where he designed the titular Victory. Within the Master Grade line, Bandai have also seen fit to give him his own unique sub-brand of kits - typically featuring redesigned versions of popular mobile suits. His mobile suit redesigns typically feature similar design ethos - more athletic proportions (with longer legs/smaller torsos), lots of inner frame detail, heavy decal use, and overall more "realistic" mechanical sensibilities.
The Ball is a bit of an outlier here, as not only are the Katoki proportions not applicable here, but it was the first Ball kit to be released in the modern grade system. Even though it's designated as an RB-79 Ball, it's a lot closer to the RB-79C Ball that Katoki designed for
Stardust Memory... maybe reflecting that Katoki didn't really consider that he was designing a Ball variant for that series, but just updating the design to fit in with that series aesthetic.
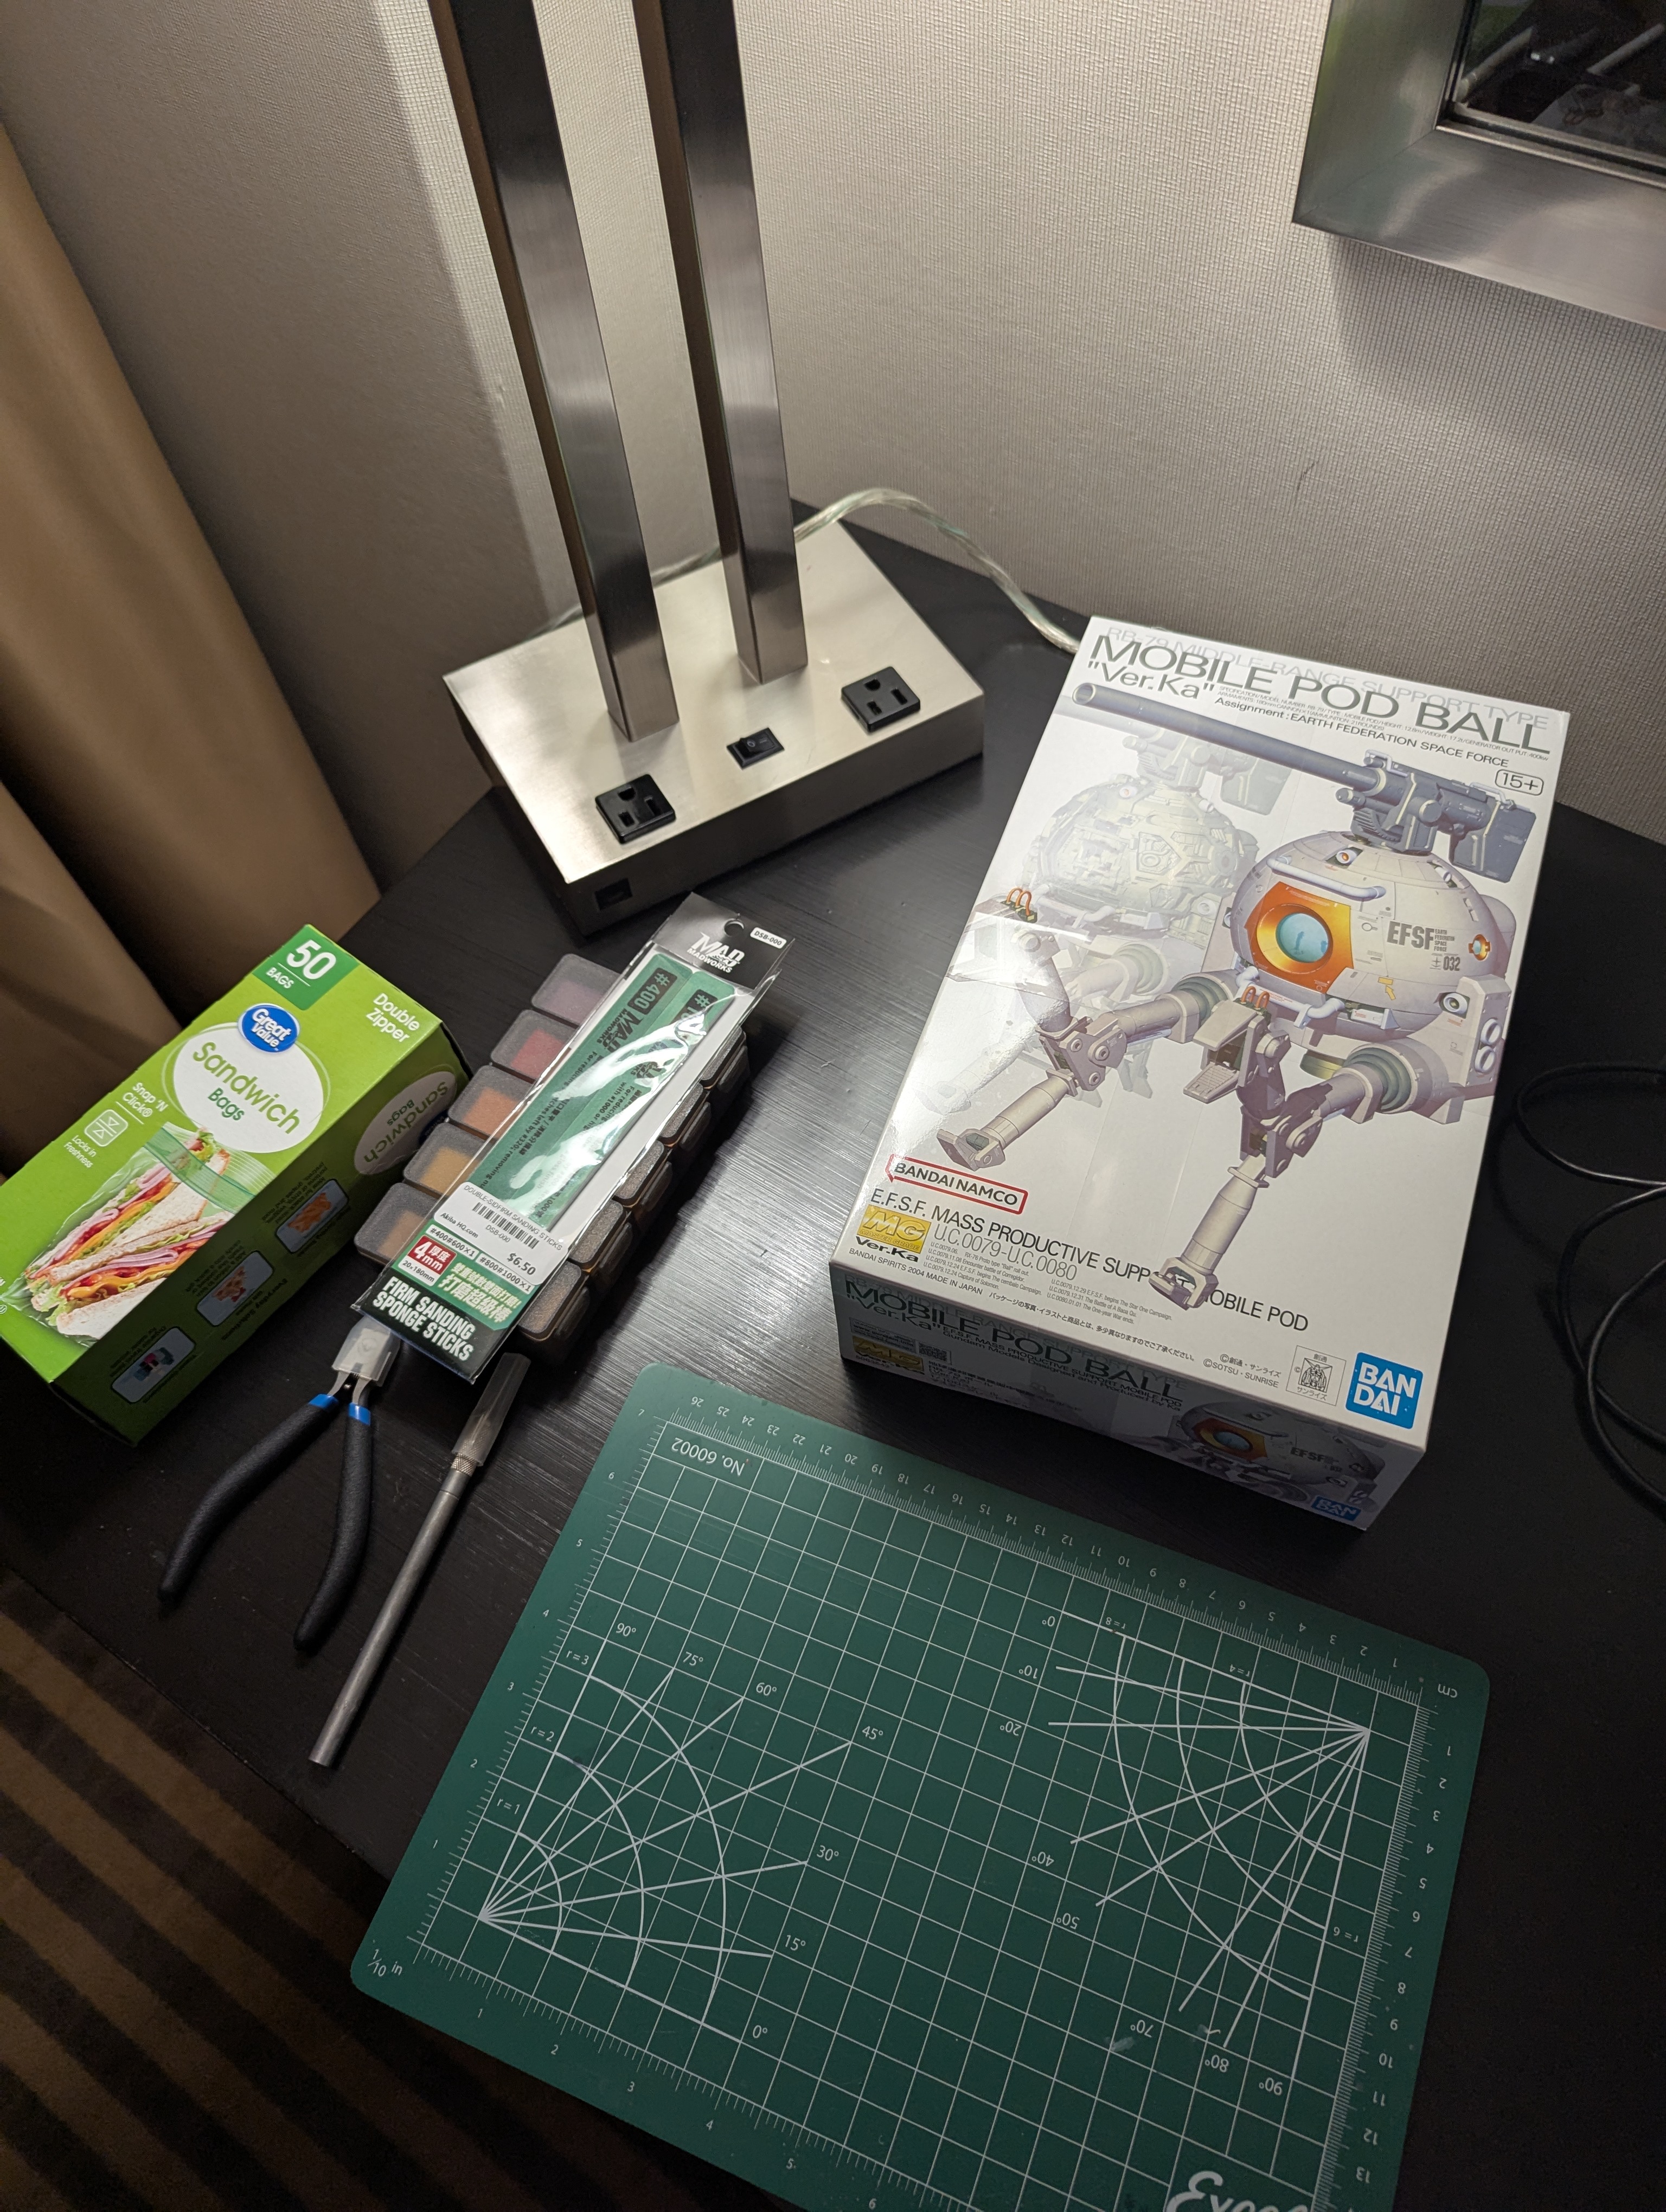
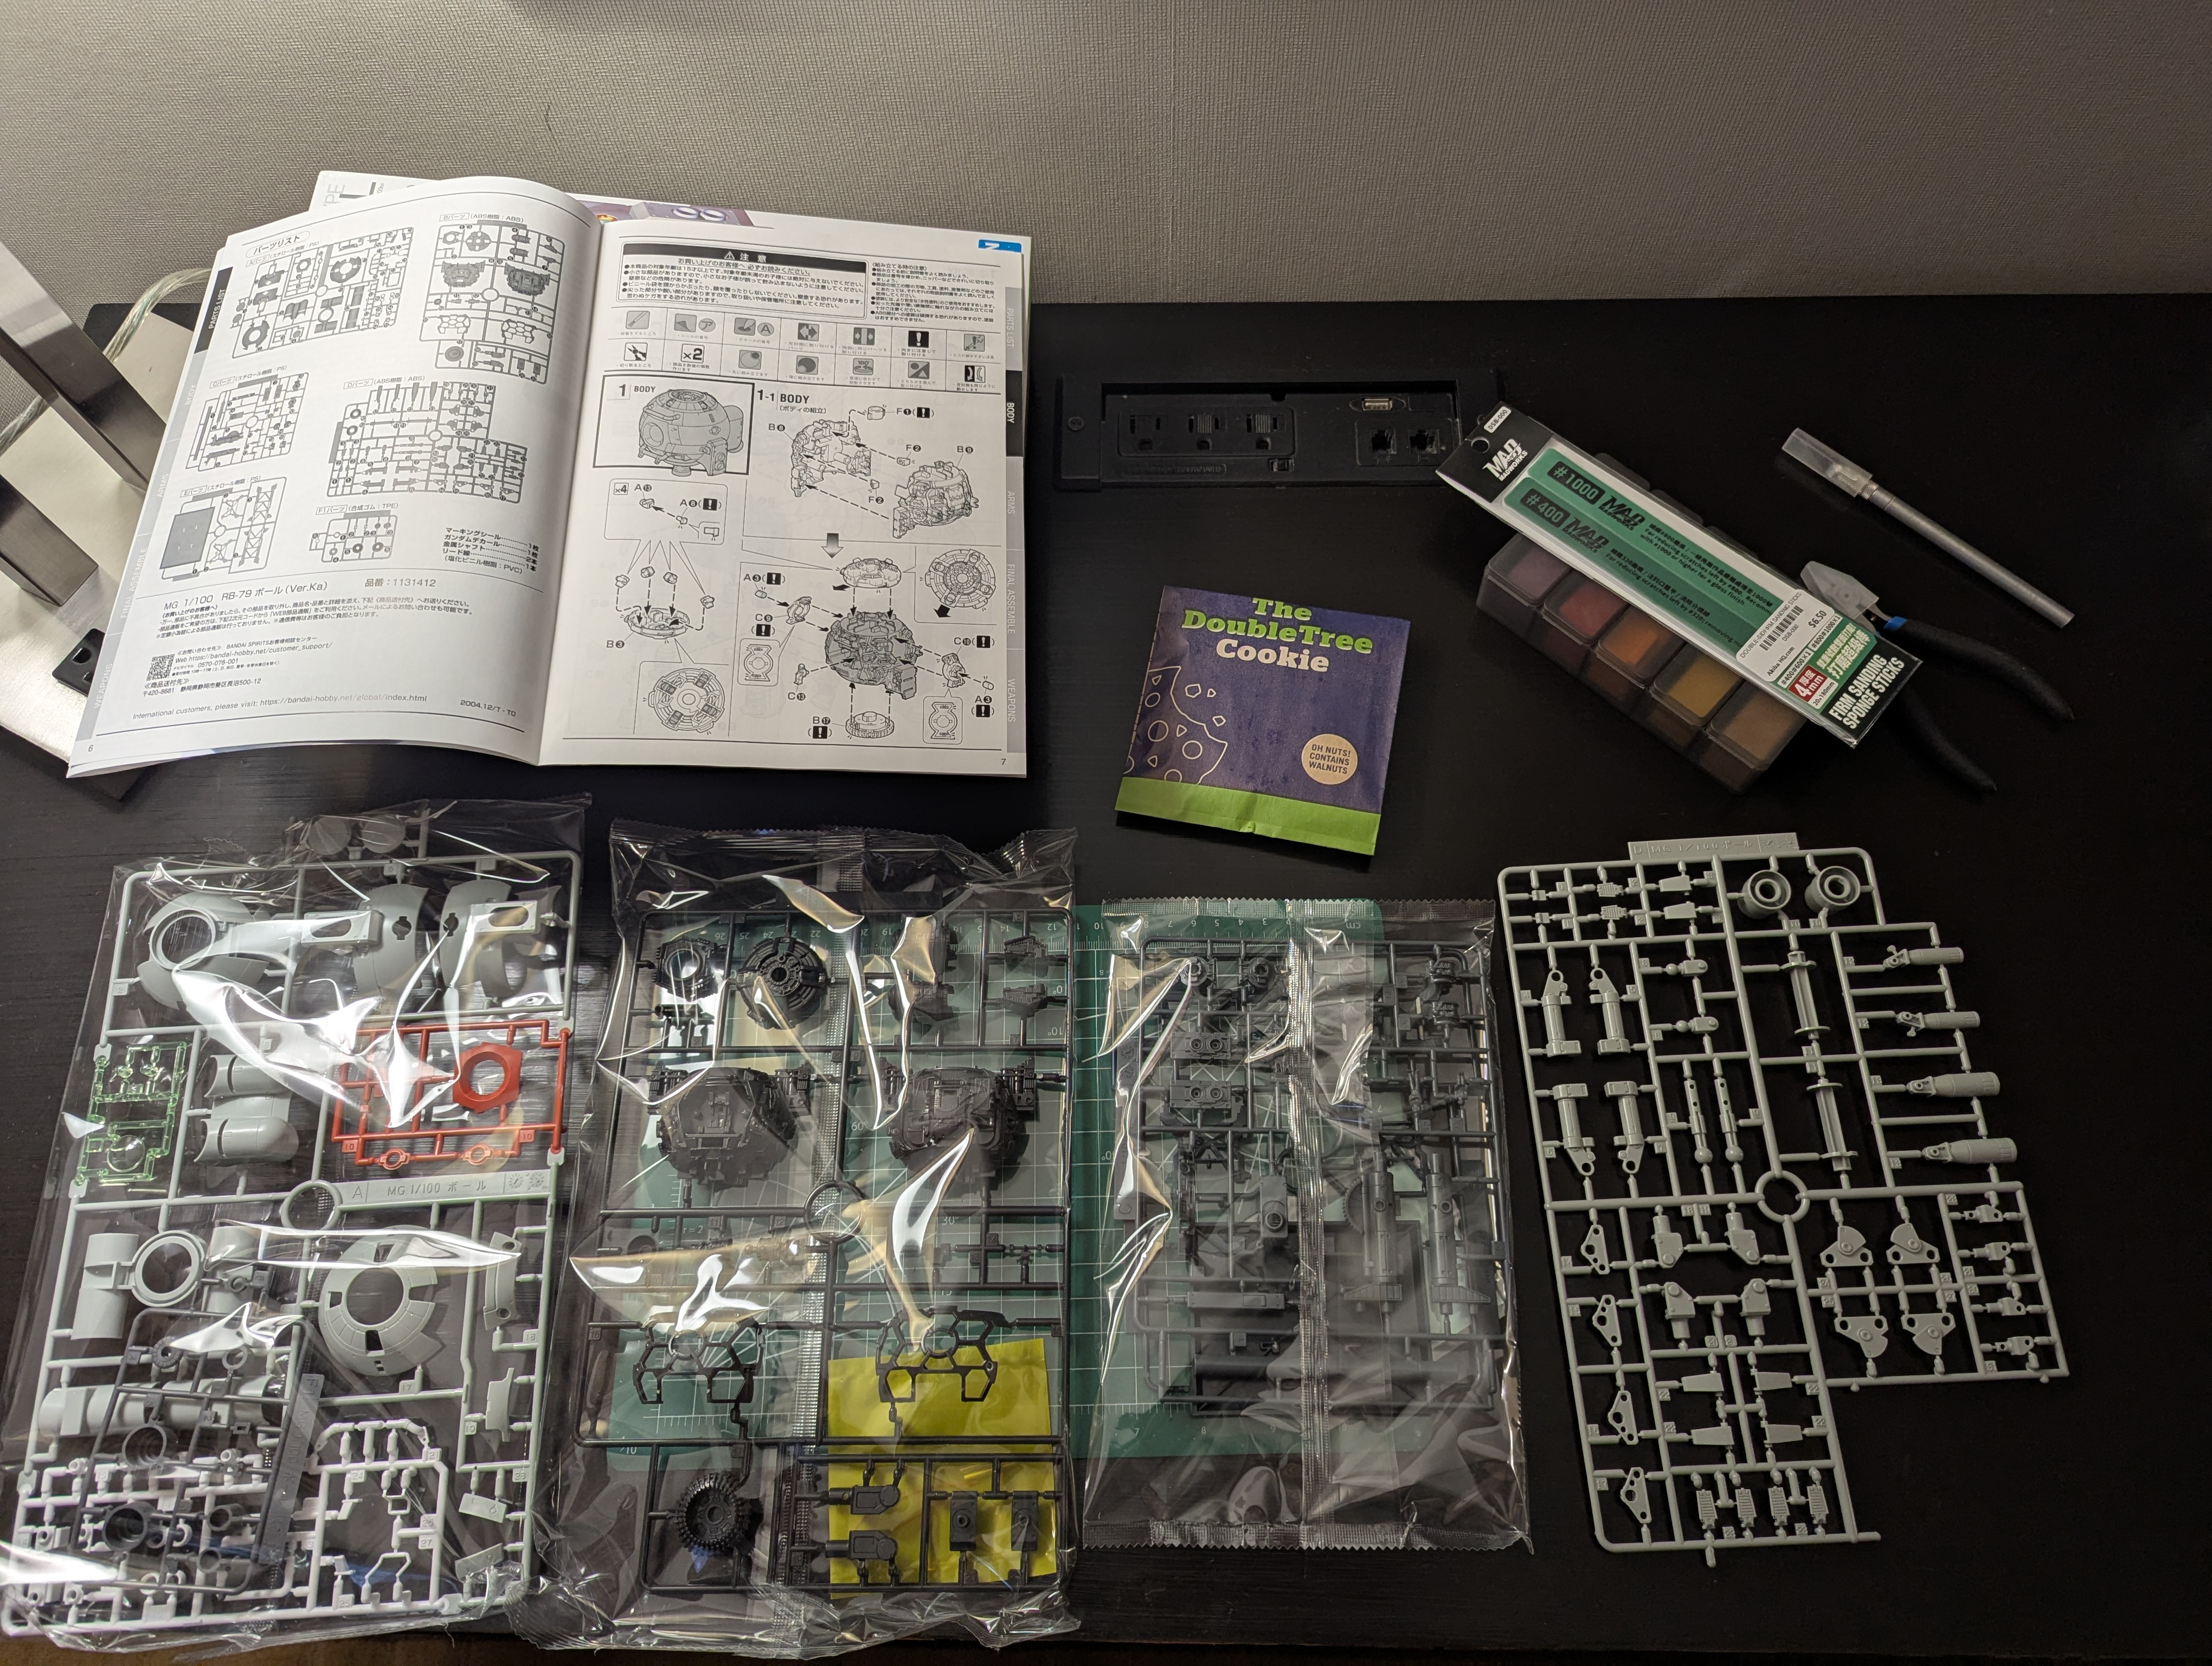
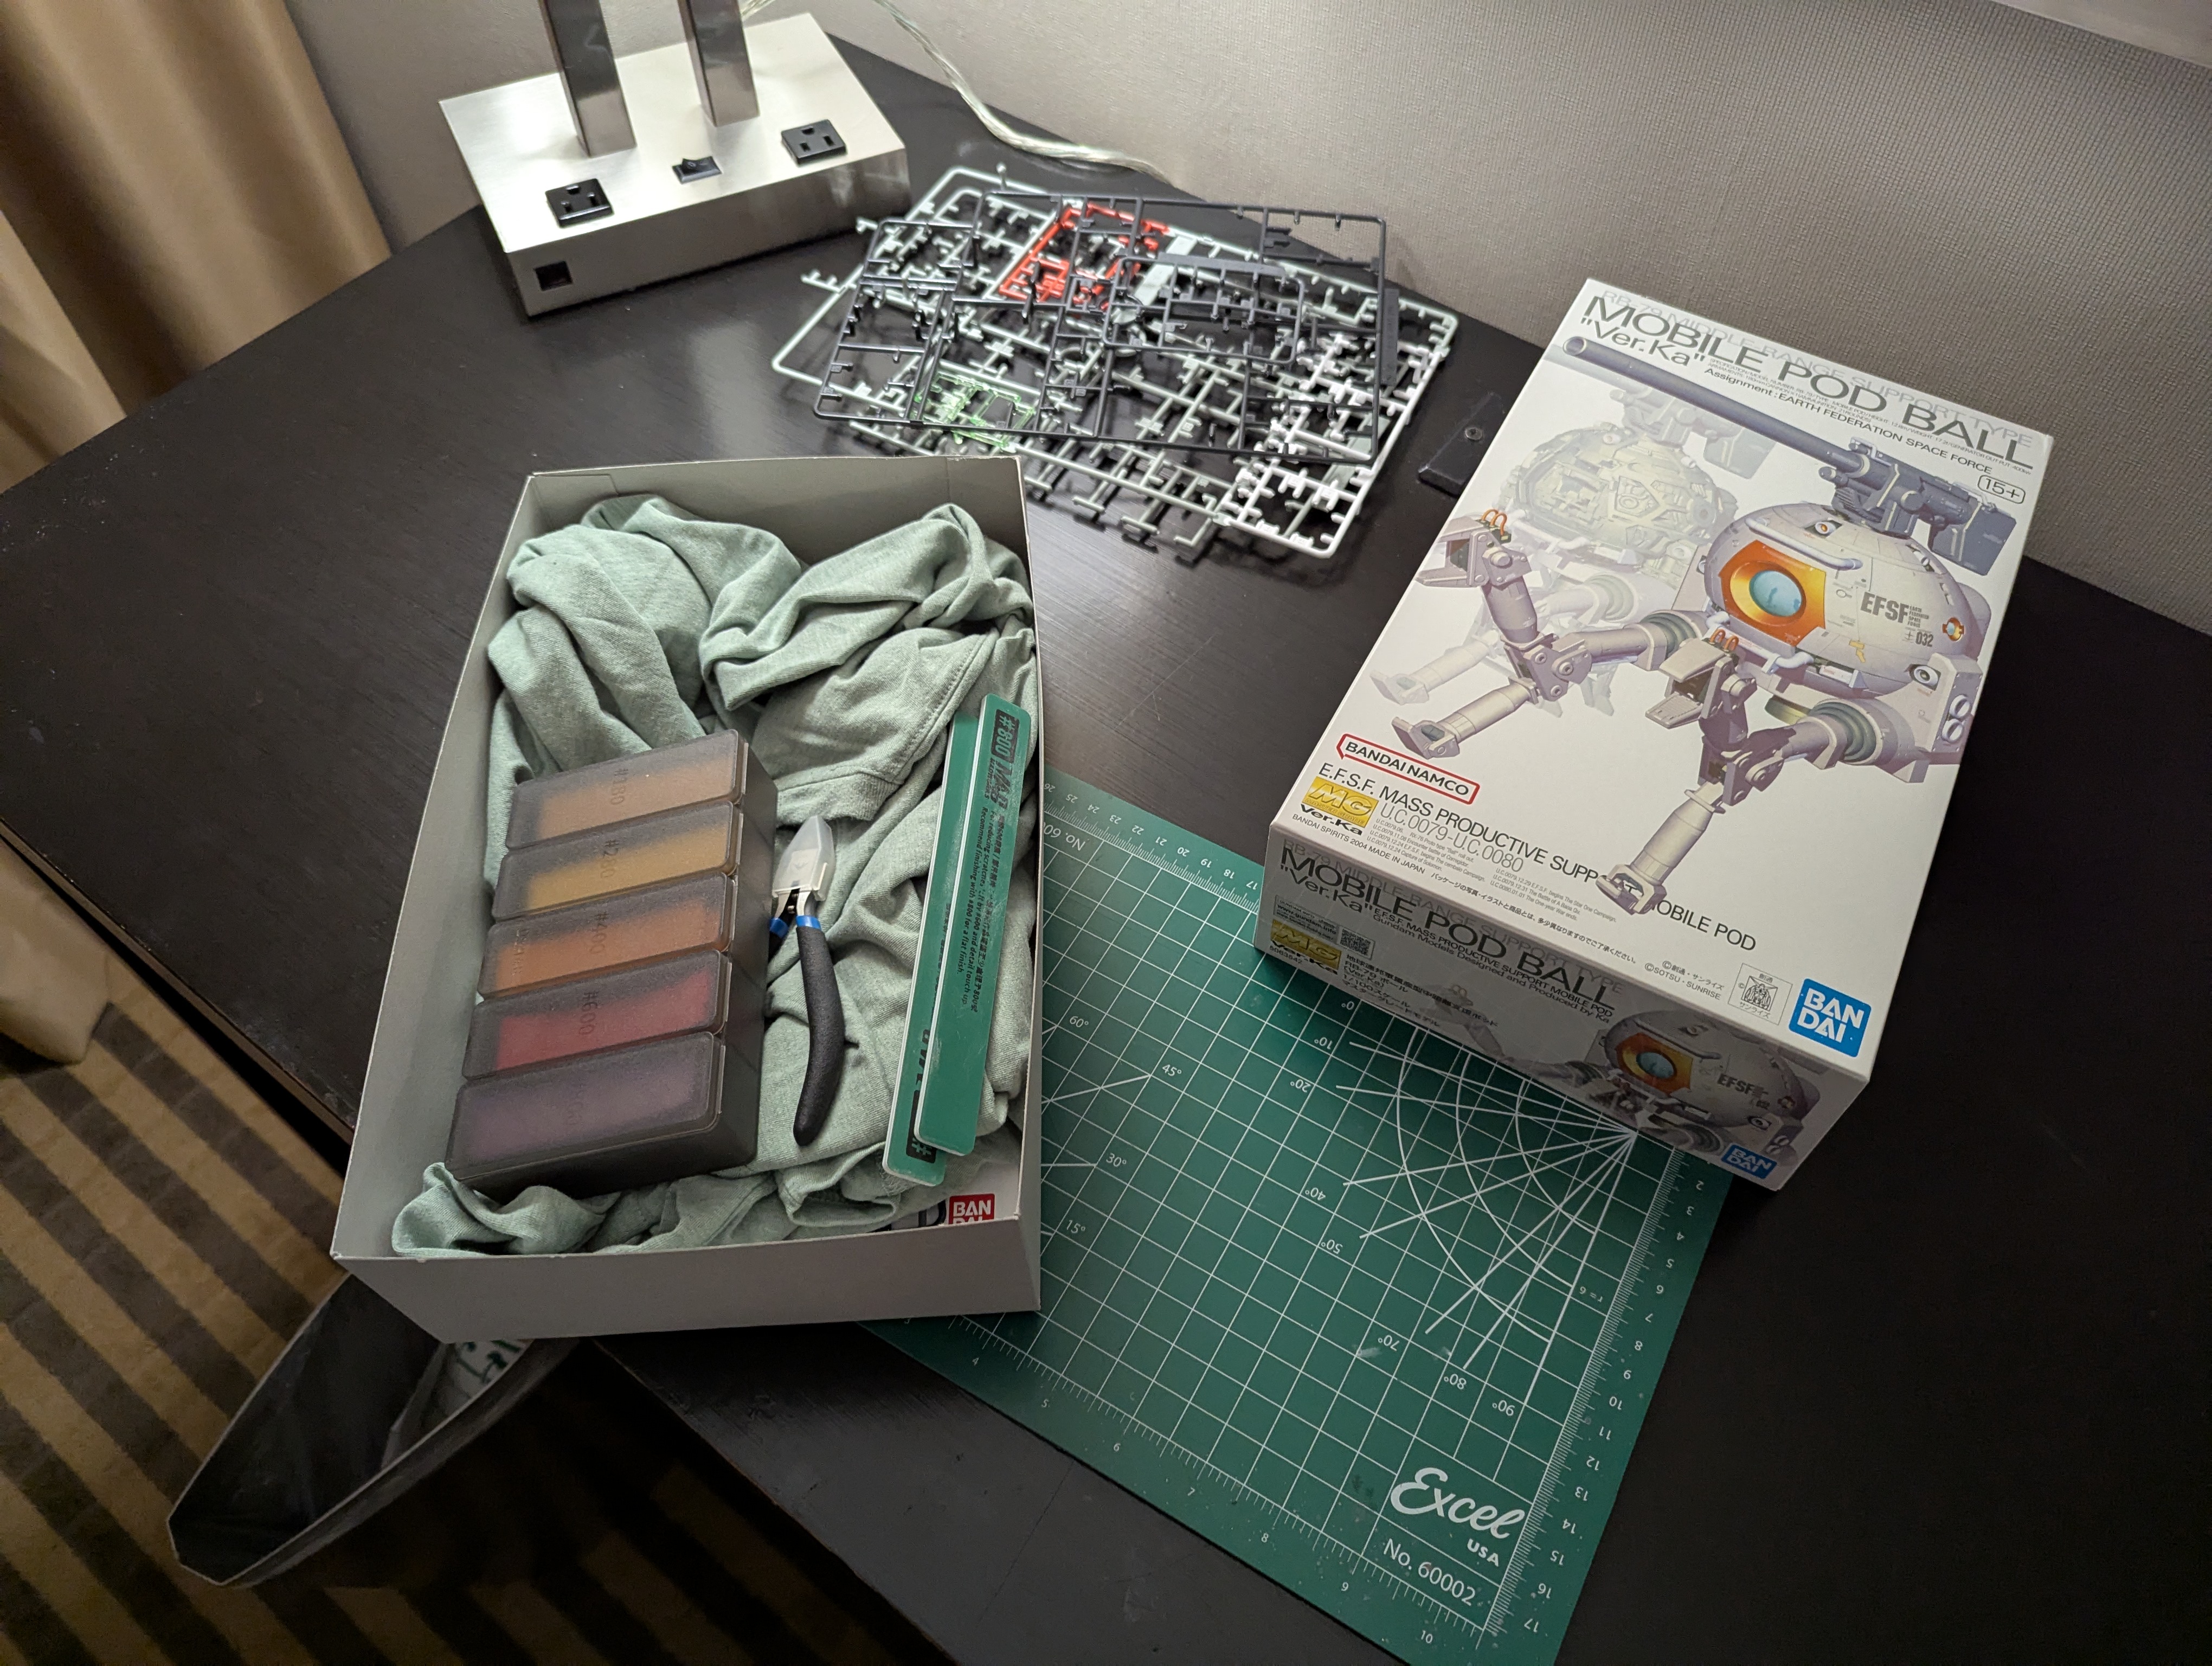
I got this kit while on a business trip - I was holed up in a hotel for a week, so figured I would pick something up to pass the time, and this kit was on my short list. The snap build took place entirely in a Doubletree, before moving back to my workshop for the rest of the build.
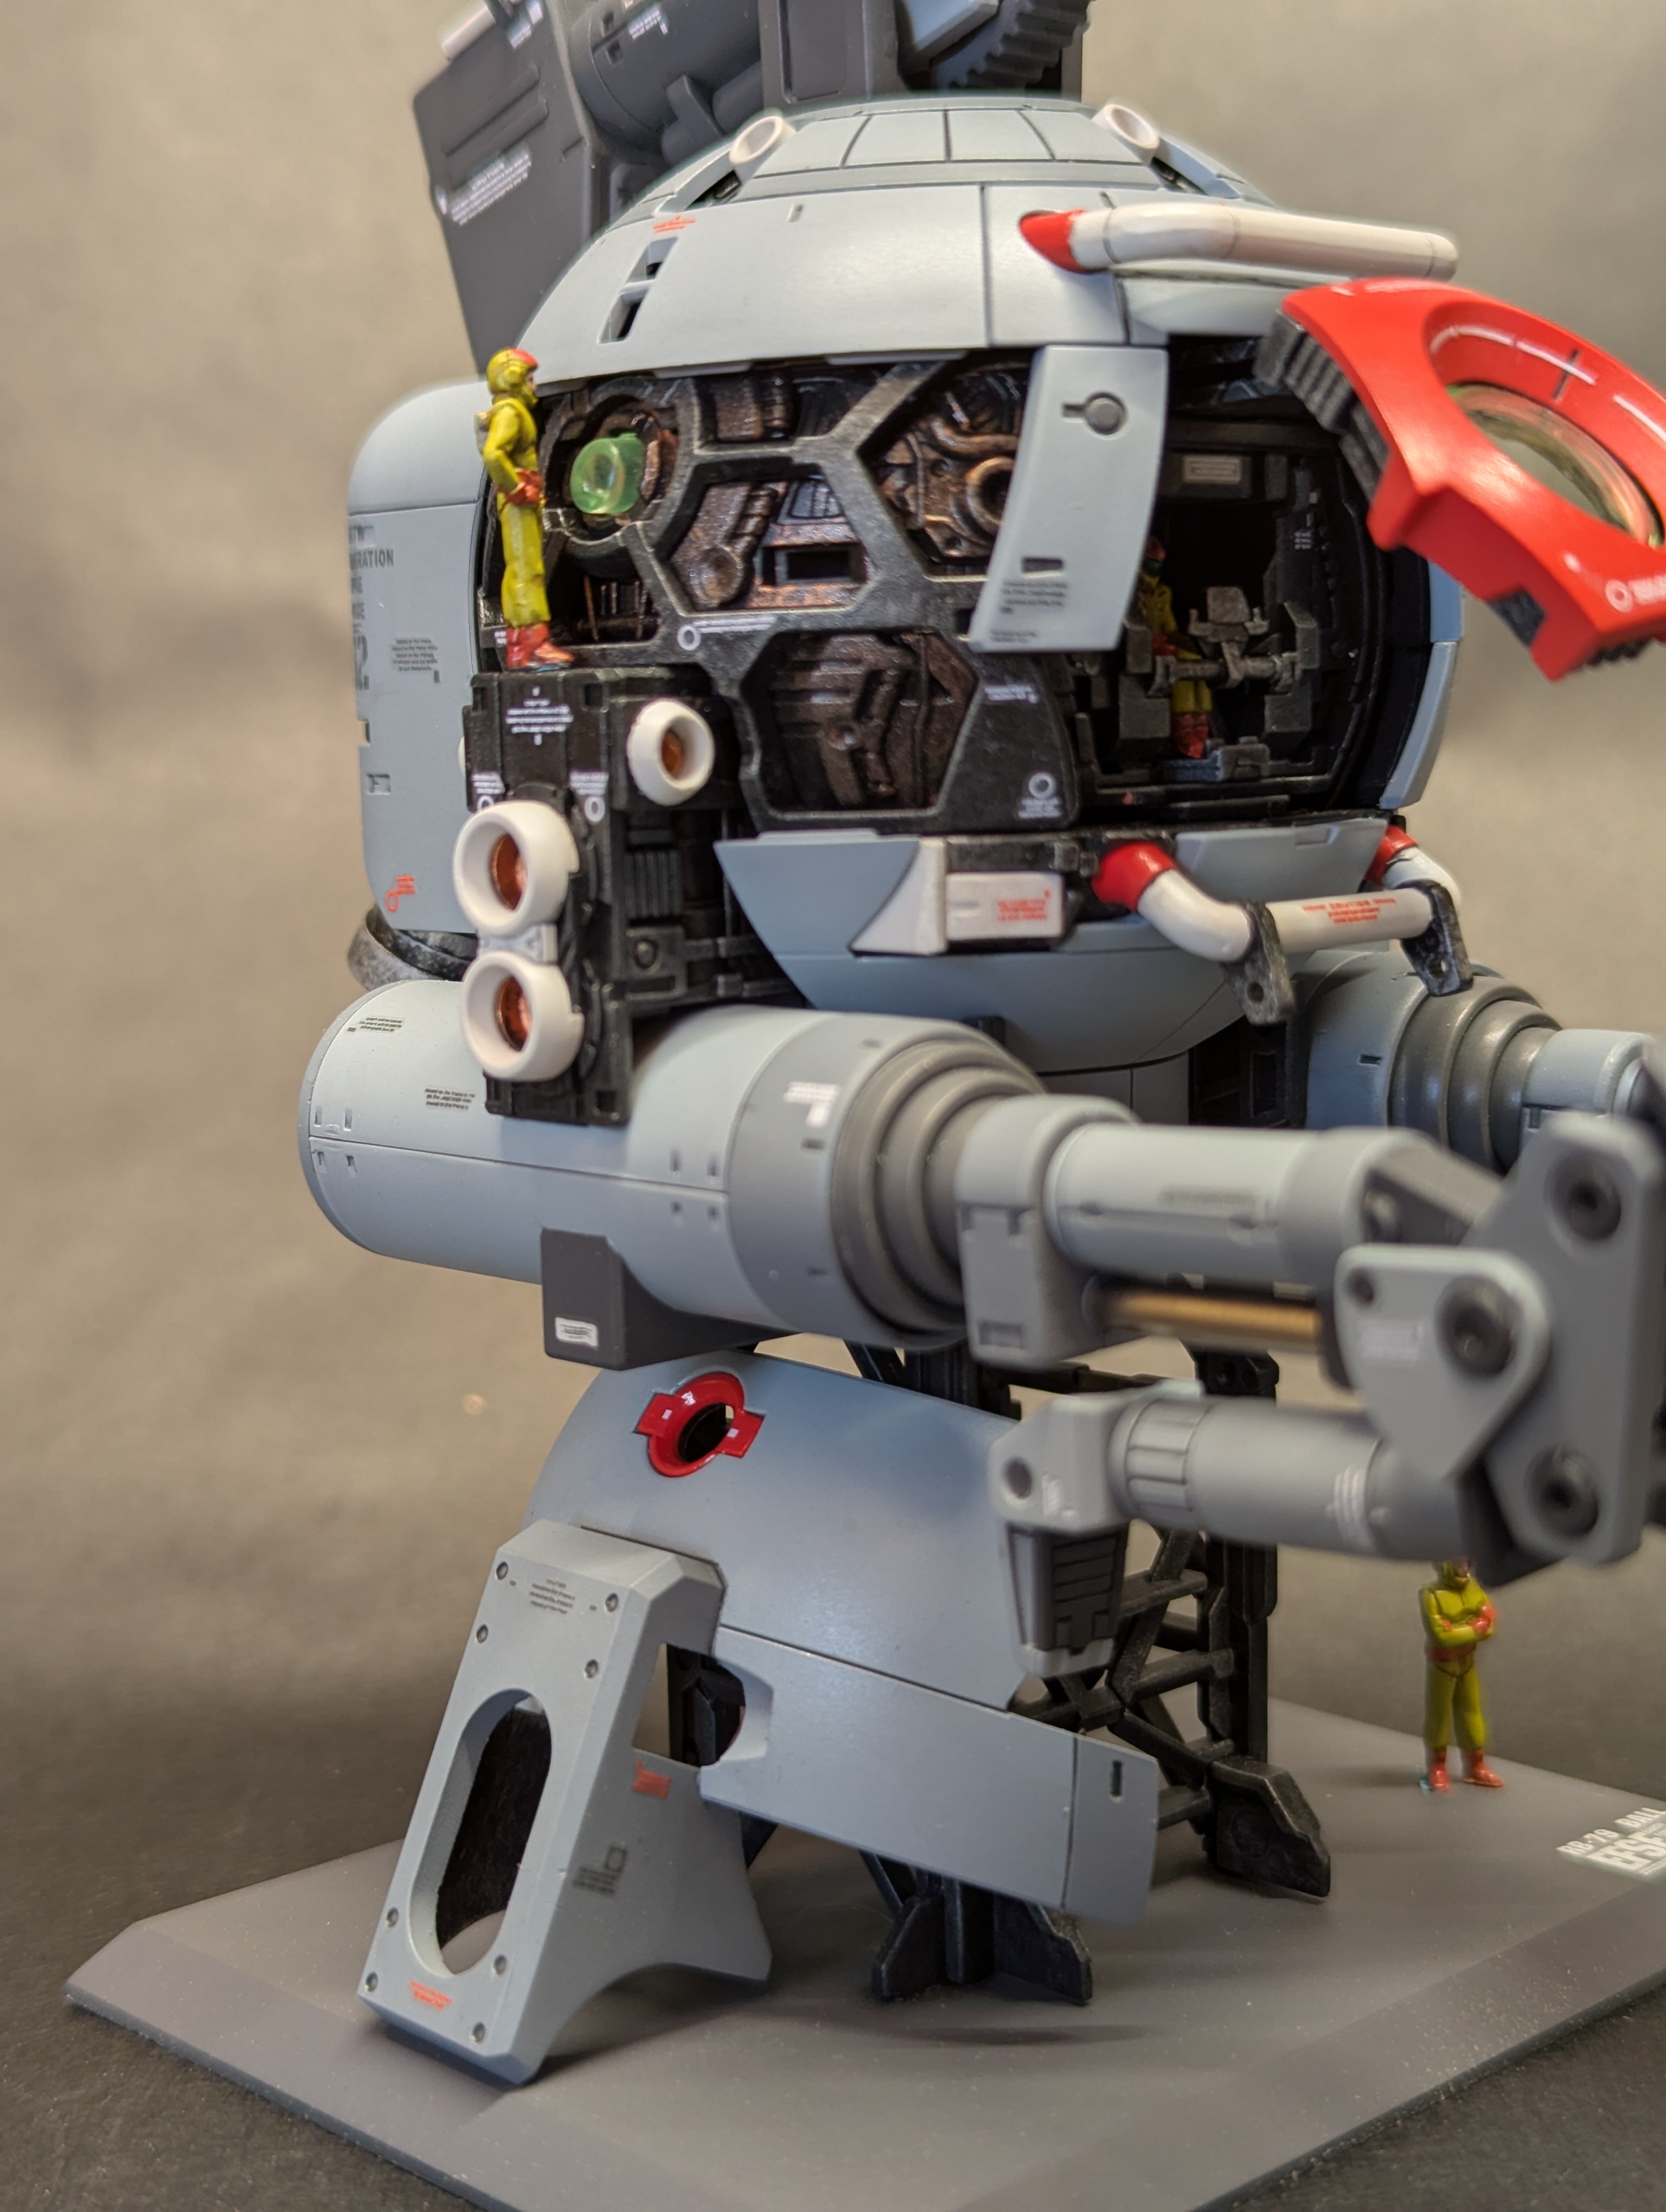
Post-build thoughts: While Gunpla-Kun was my first completed build with the airbrush, in a way this was my first "real" test. I brought a lot of new techniques to this between drybrushing and figure painting which really helped elevate the result. Not everything is perfect - it may not come through on the photos, but are some tonal inconsistencies (especially with the dark gray) as a result of inconsistent paint layering. My whites are still a bit off as well - just not clean enough. But these are small issues and things I can become more consistent with over time.
Date Posted: March 20, 2026
Gallery
×
1 / 13
2 / 13
3 / 13
4 / 13

5 / 13

6 / 13

7 / 13
8 / 13
9 / 13

10 / 13

11 / 13
12 / 13

13 / 13
❮
❯
Progress Update 1: Snap Building
The kit comes with five main runners and a small set of polycaps. The A runner has a lot of color differentiation packed in, with 4 different colors molded in one. The outer frame color is slightly differentiated from the A runner consisting of the main body and the D runner consisting of the arms - but it's very subtle.
It feels really good to be building an inner frame again - I think this is my favorite aspect of MG/RG builds over HG. I brought my sanding tools with me, but didn't find them necessary on most parts - the gate locations are pretty good, especially for 2004, and most are covered by the assembly.
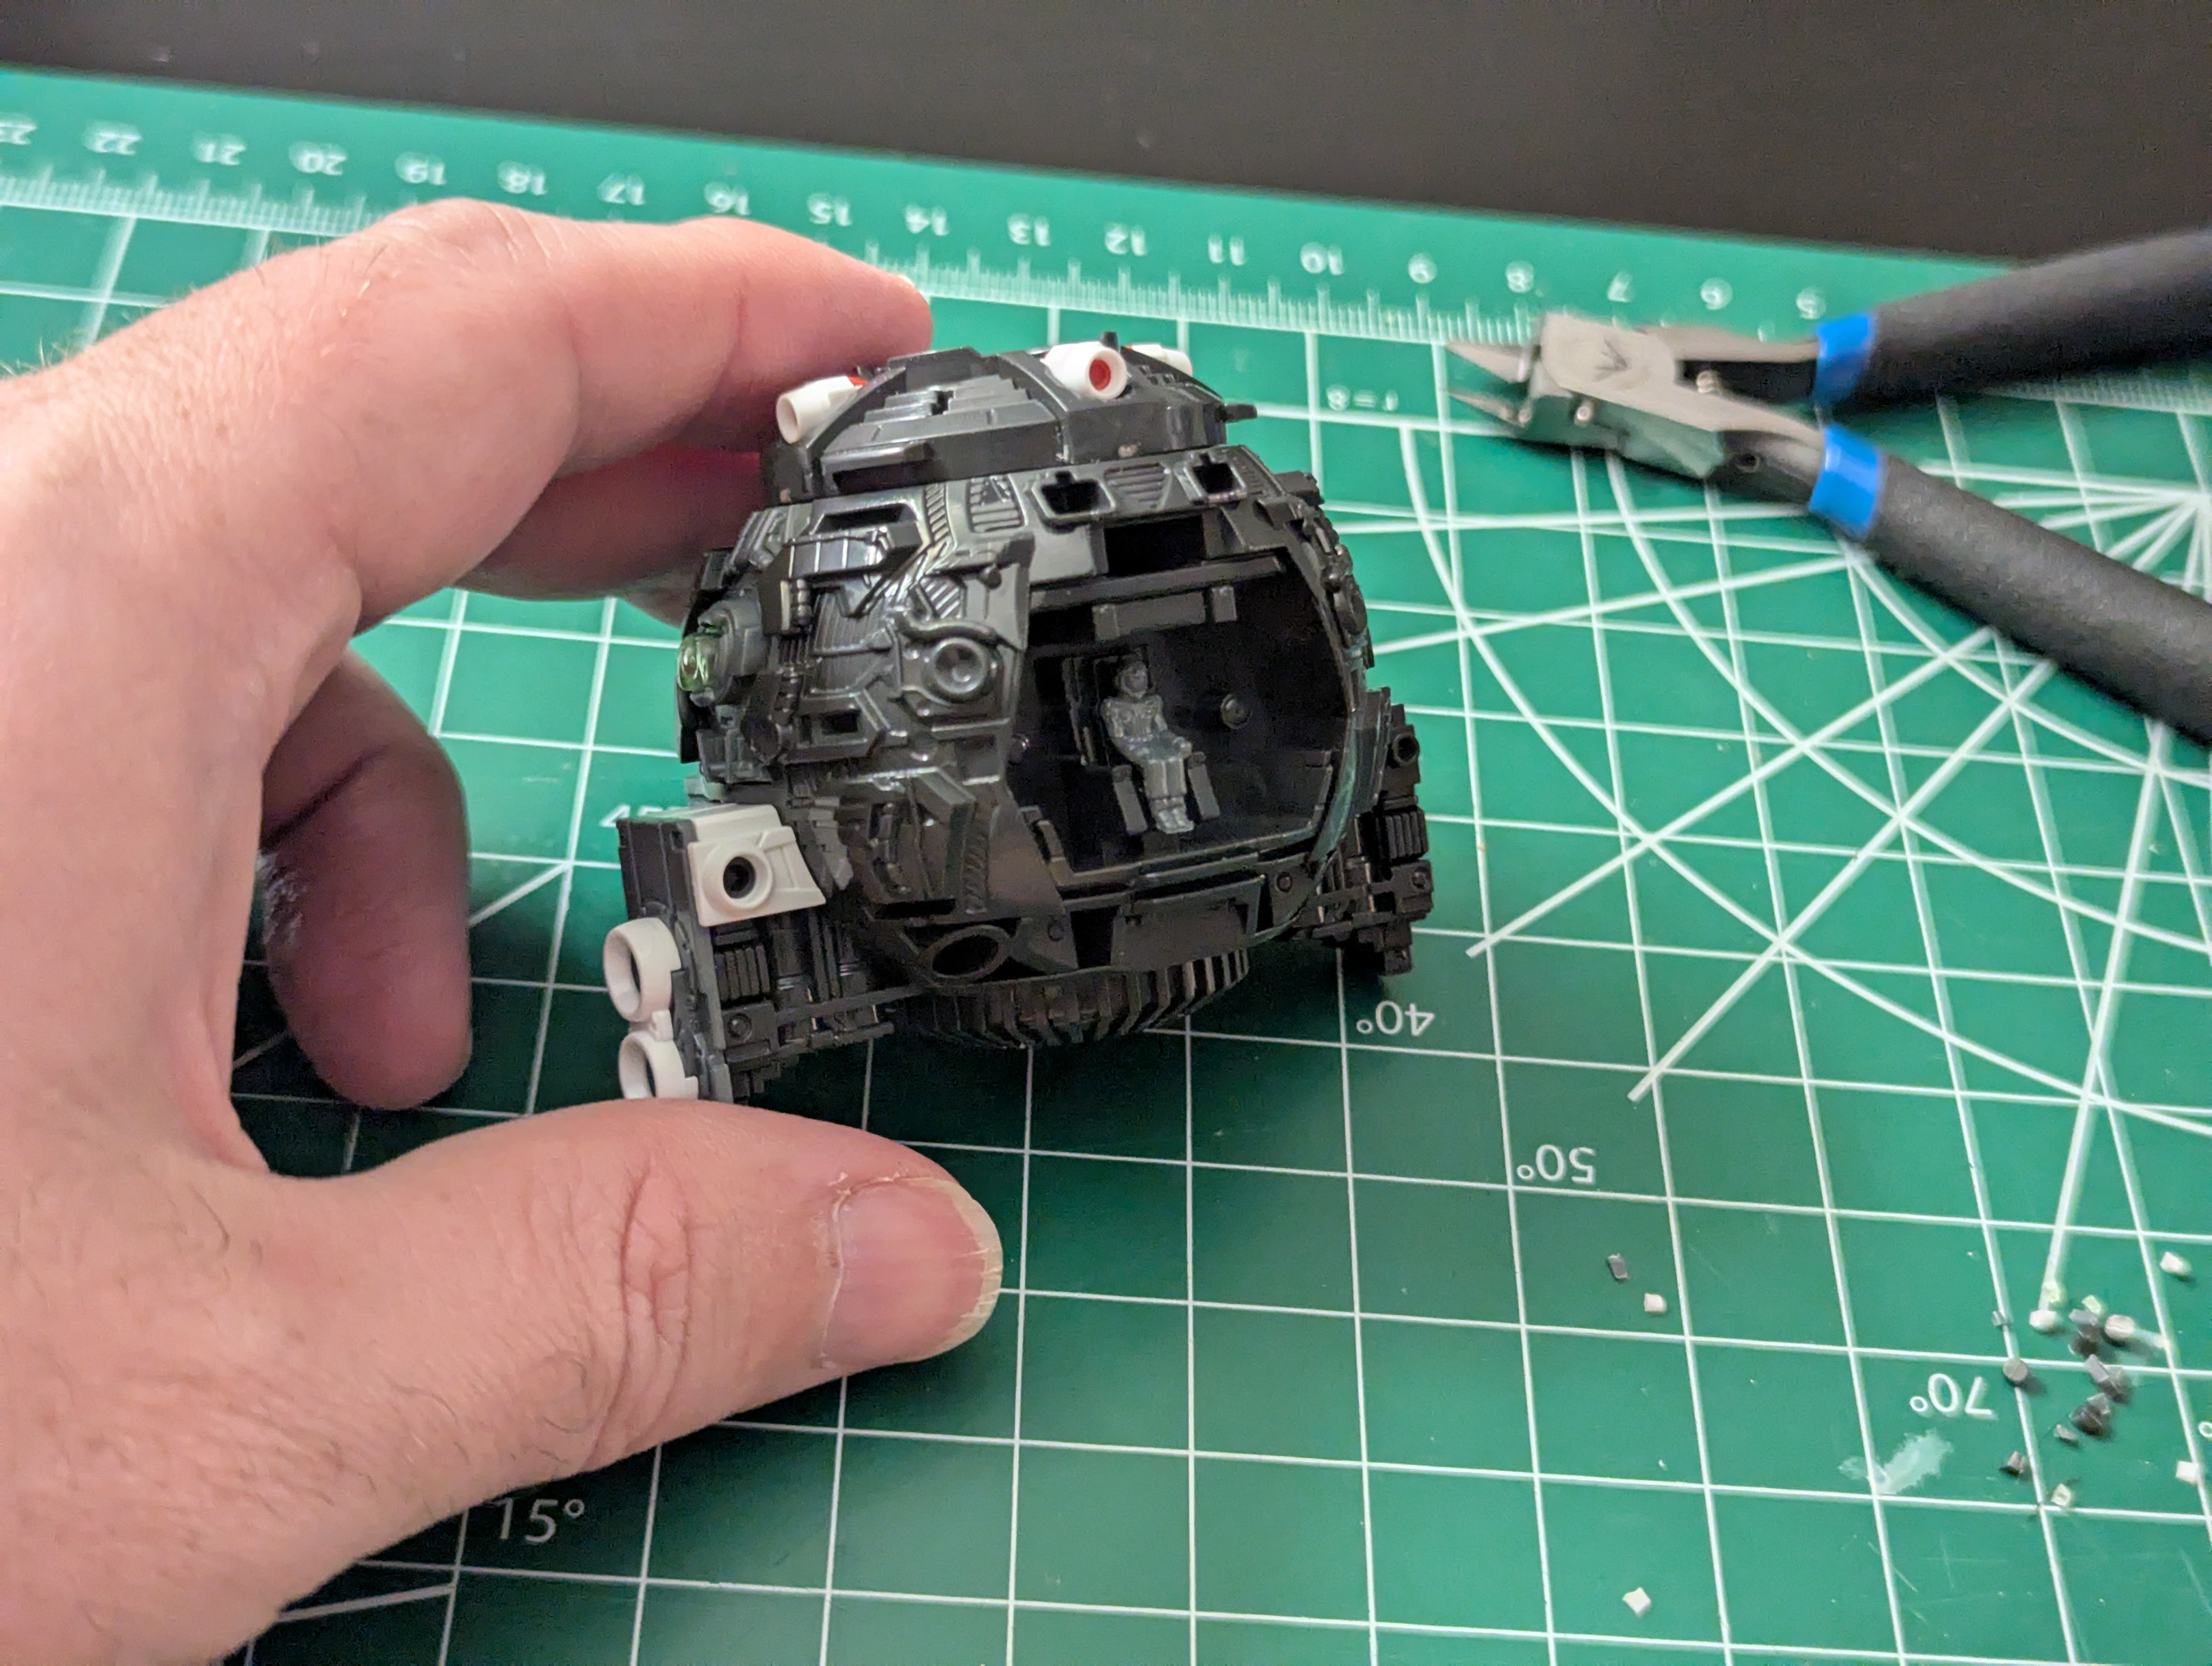
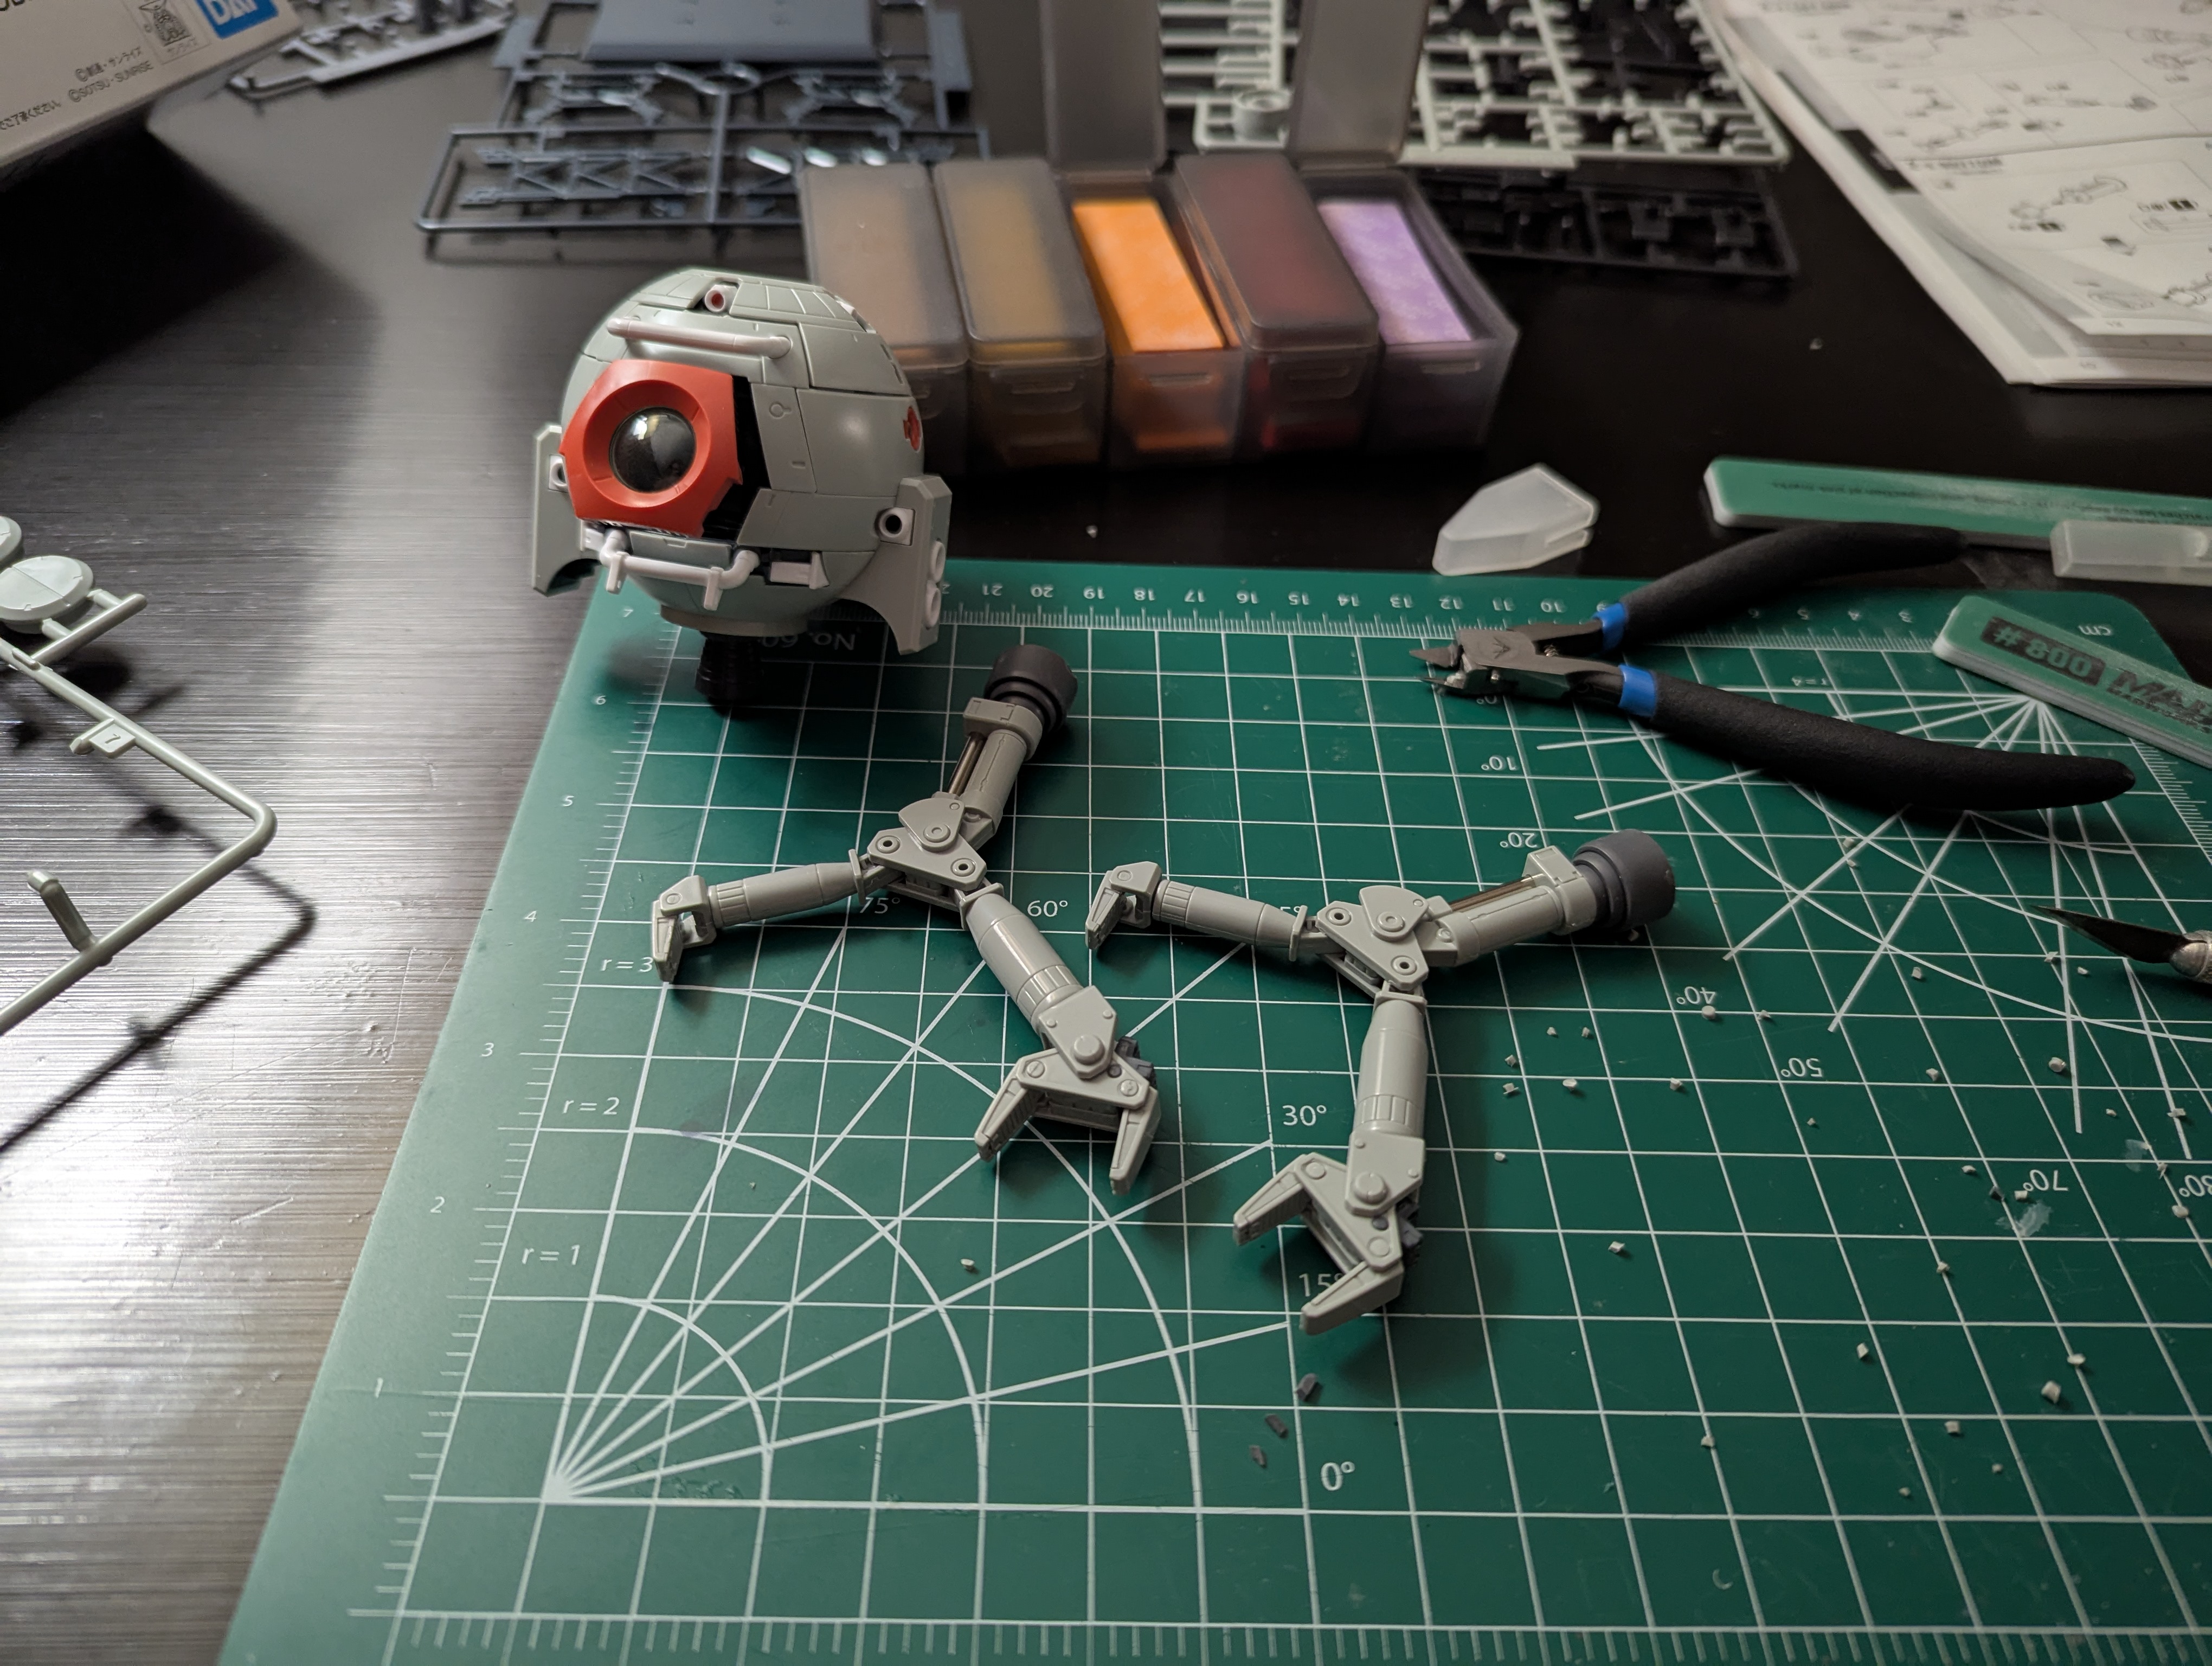
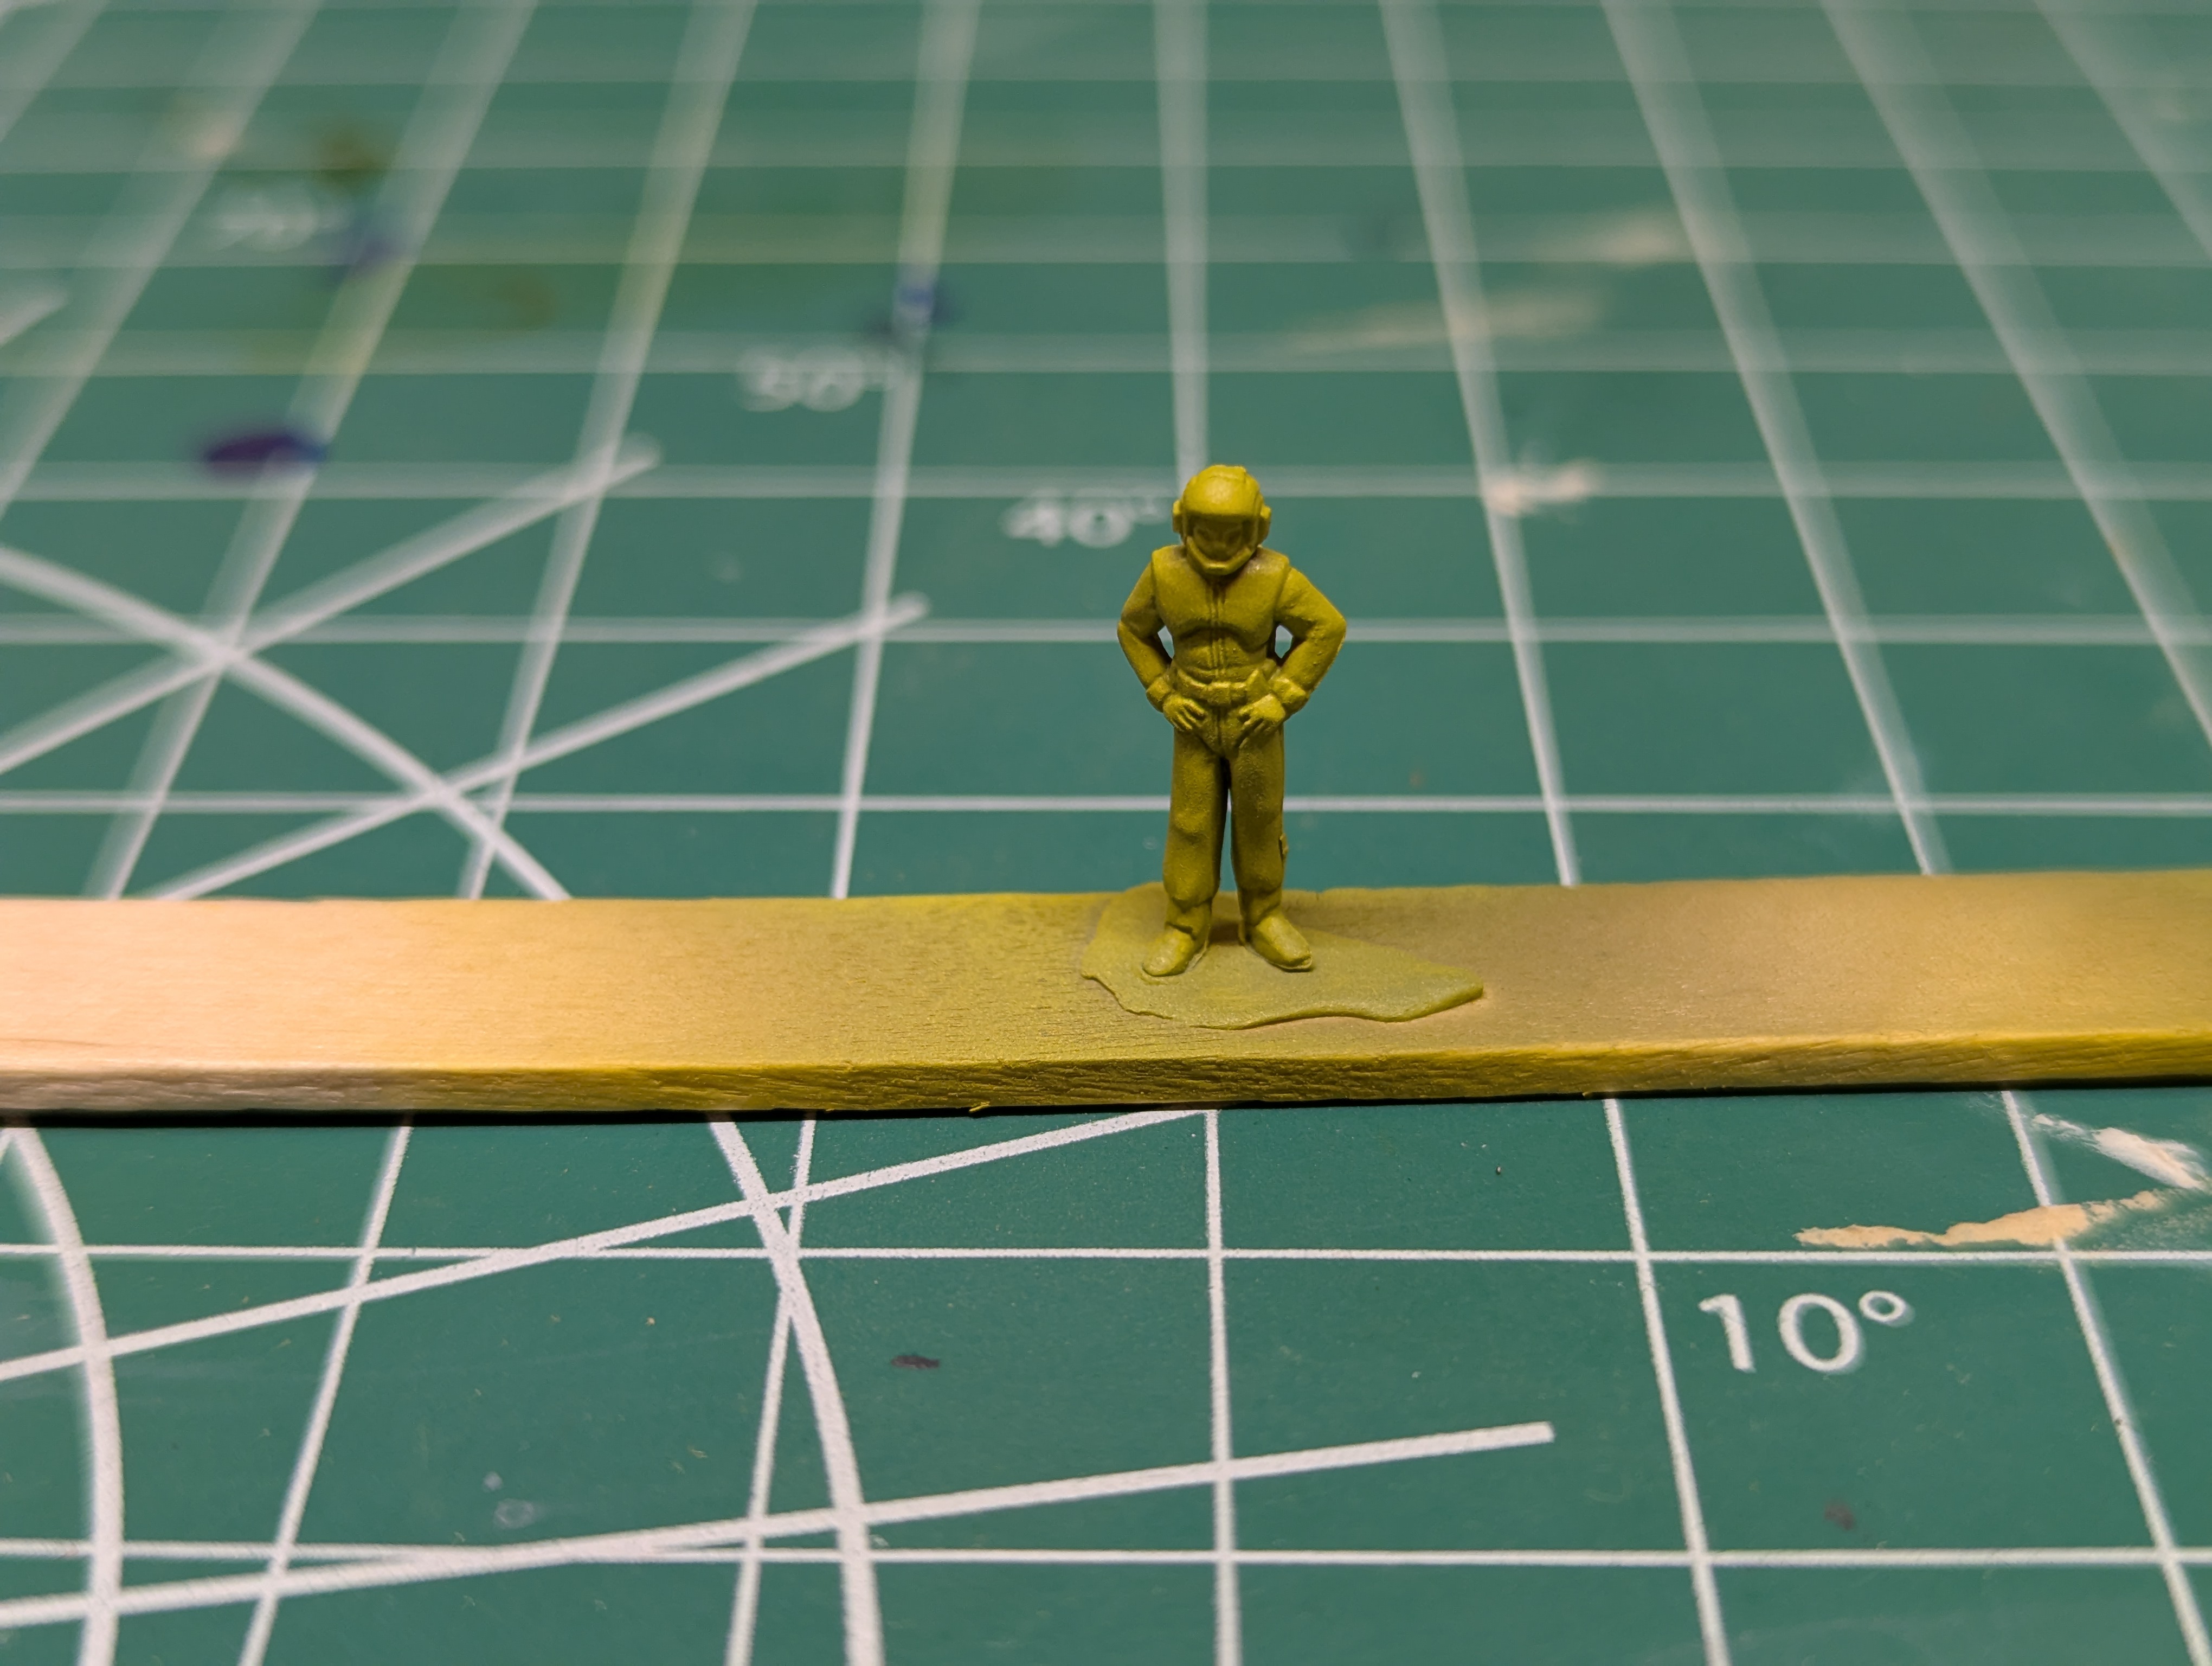
I'm not sure how we'll address the pilot (shown here) and two other scale maintenance workers - since this kit comes with a stand, I'm tempted to display it as a diorama, but we'll see what works out.
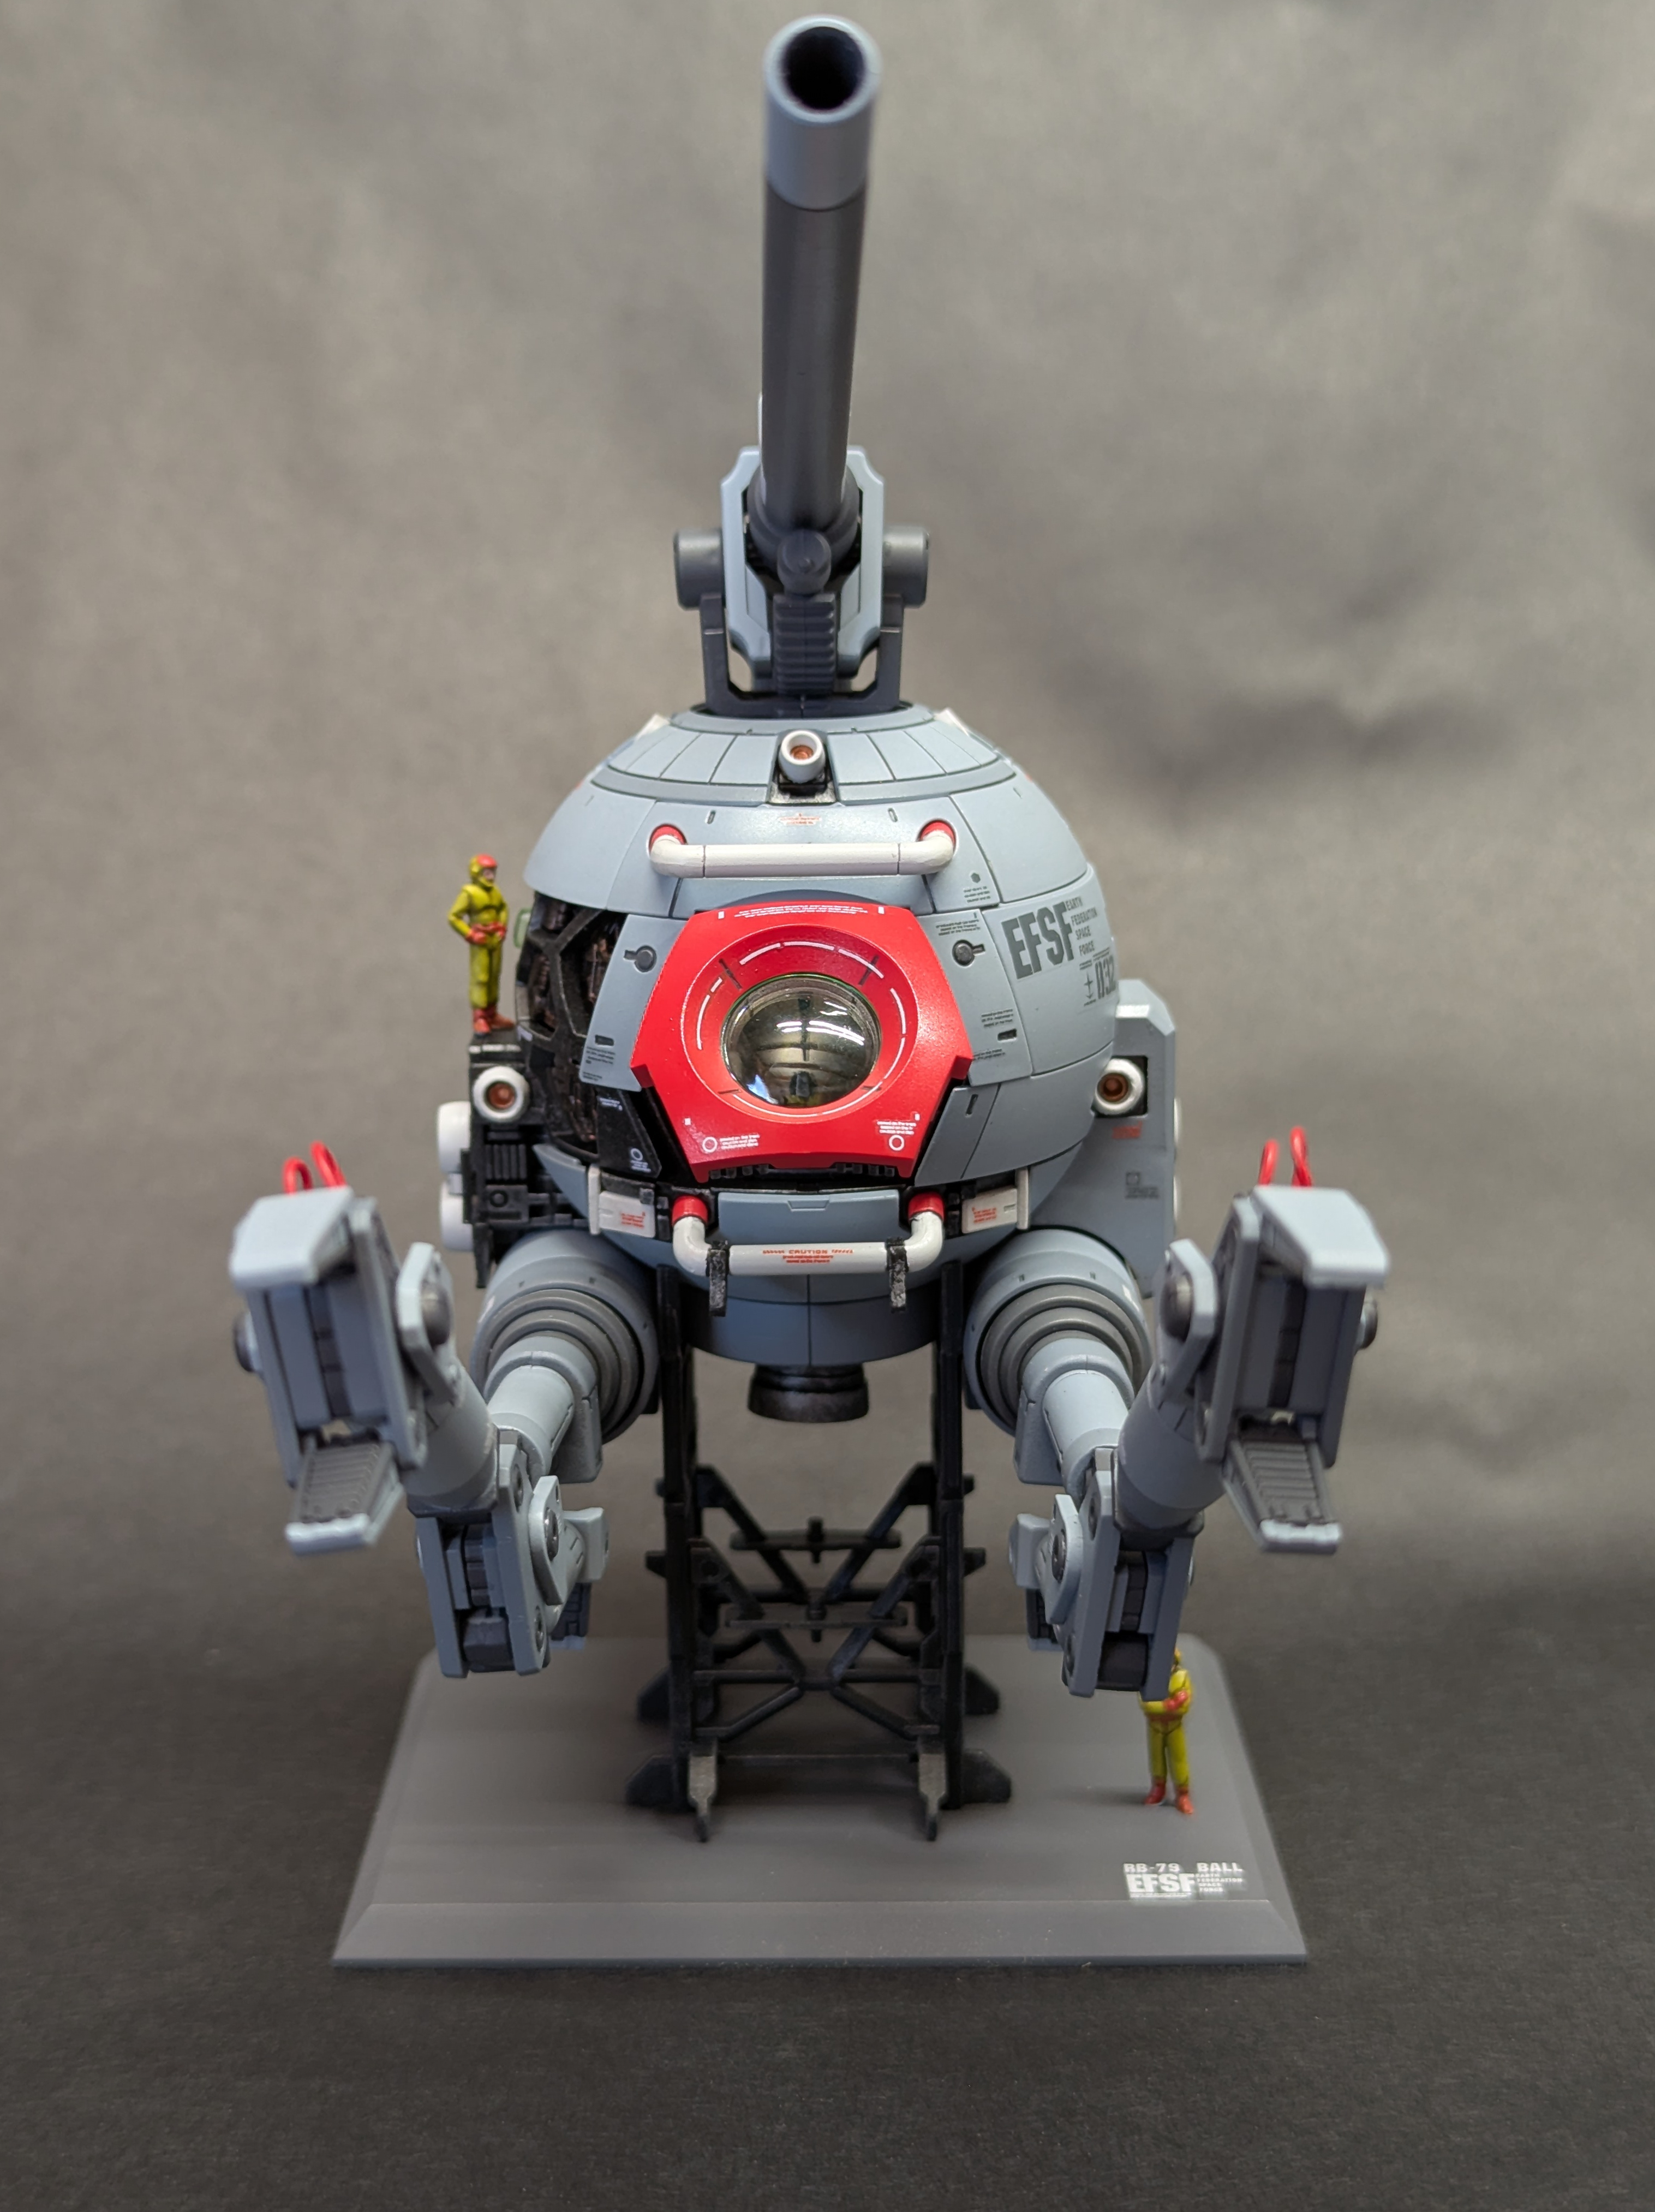
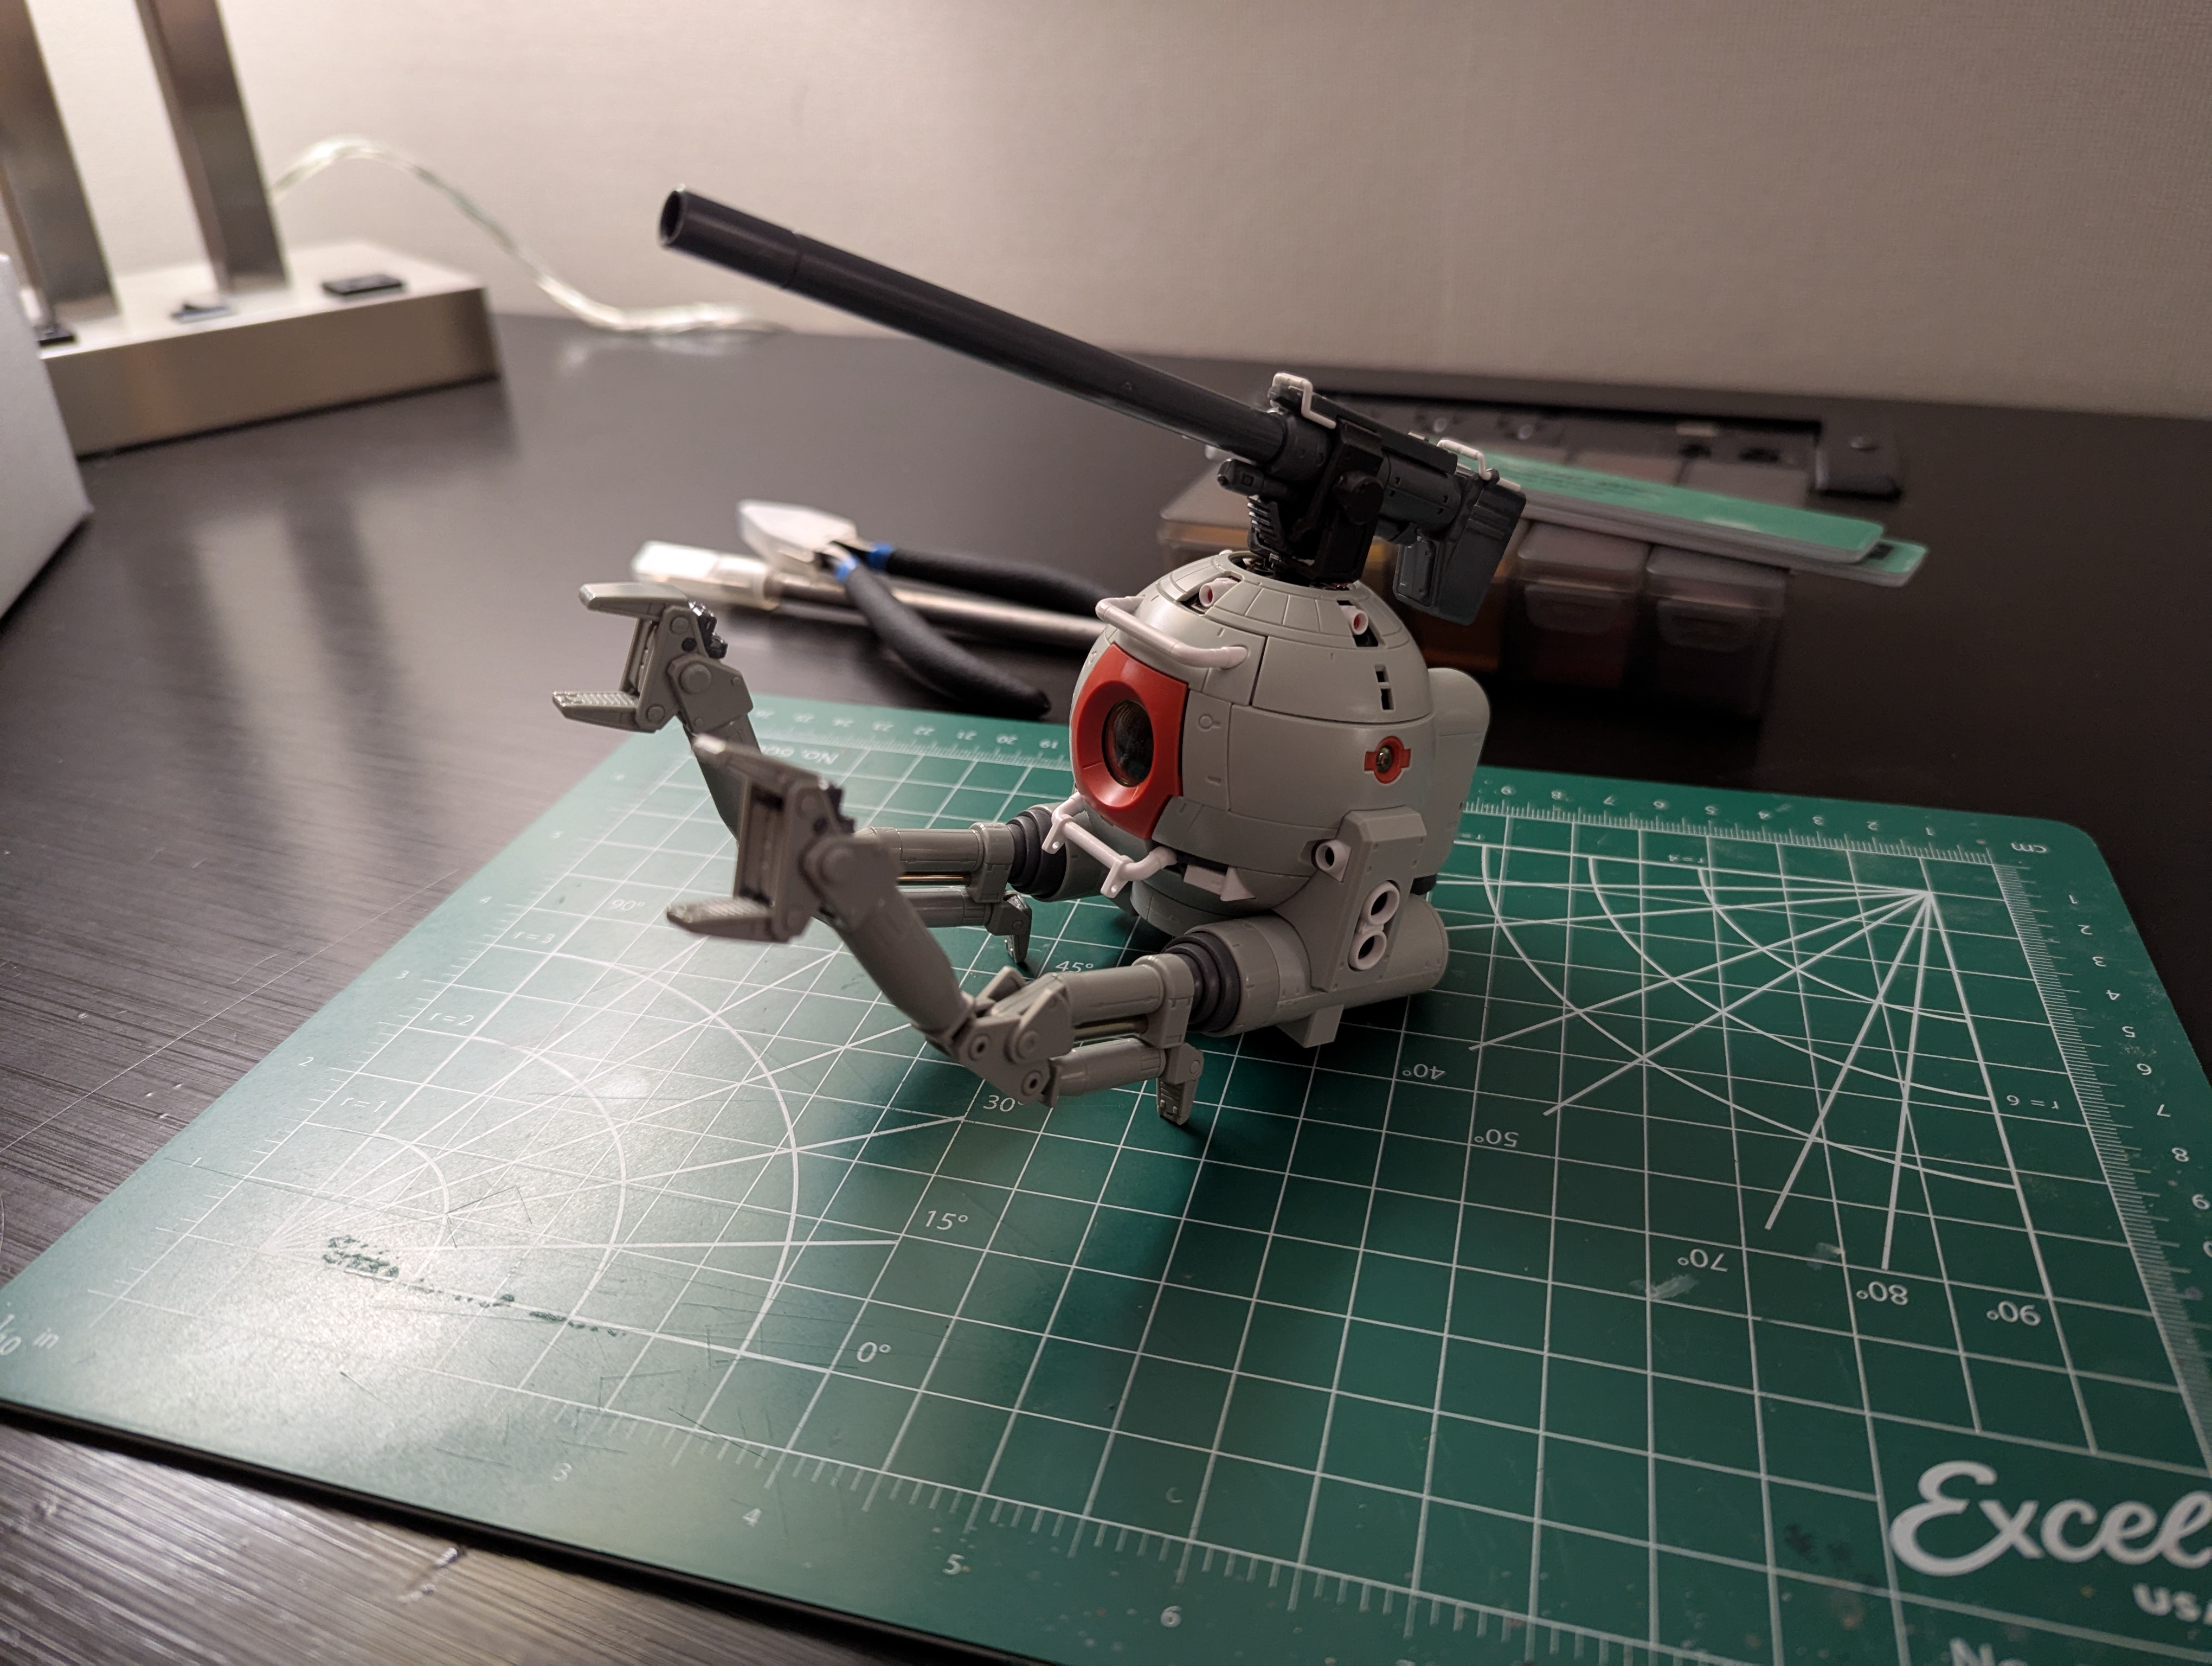
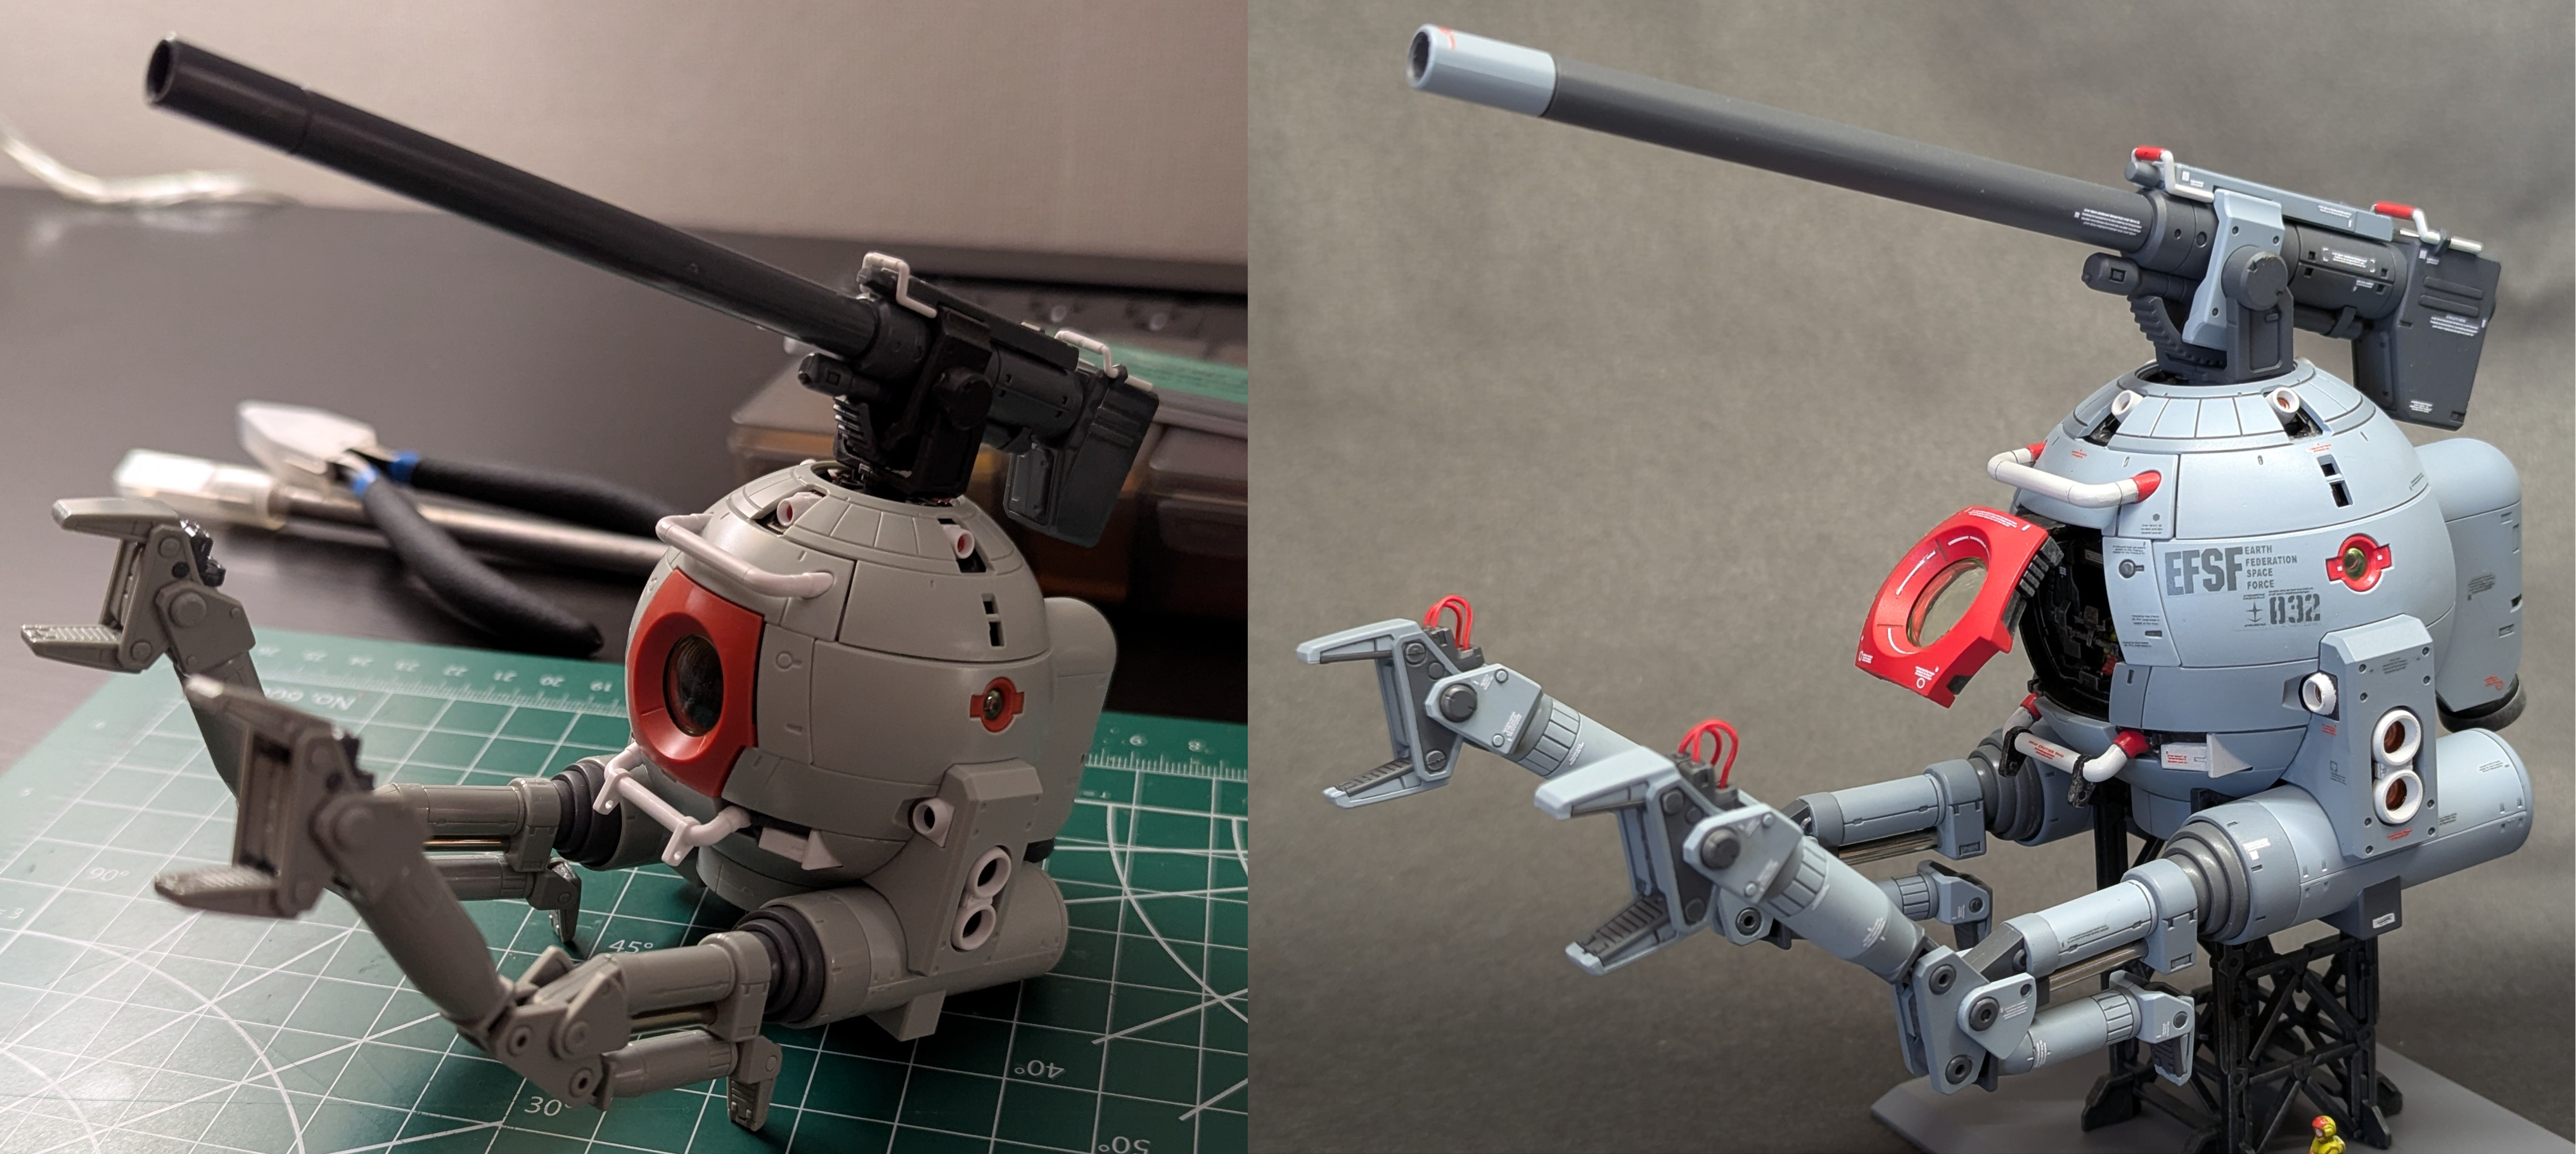
I was surprised by just how big the Ball is when the outer frame is added - it's maybe half as tall as a typical 1/100 mobile suit, but being a sphere makes it quite chunky.
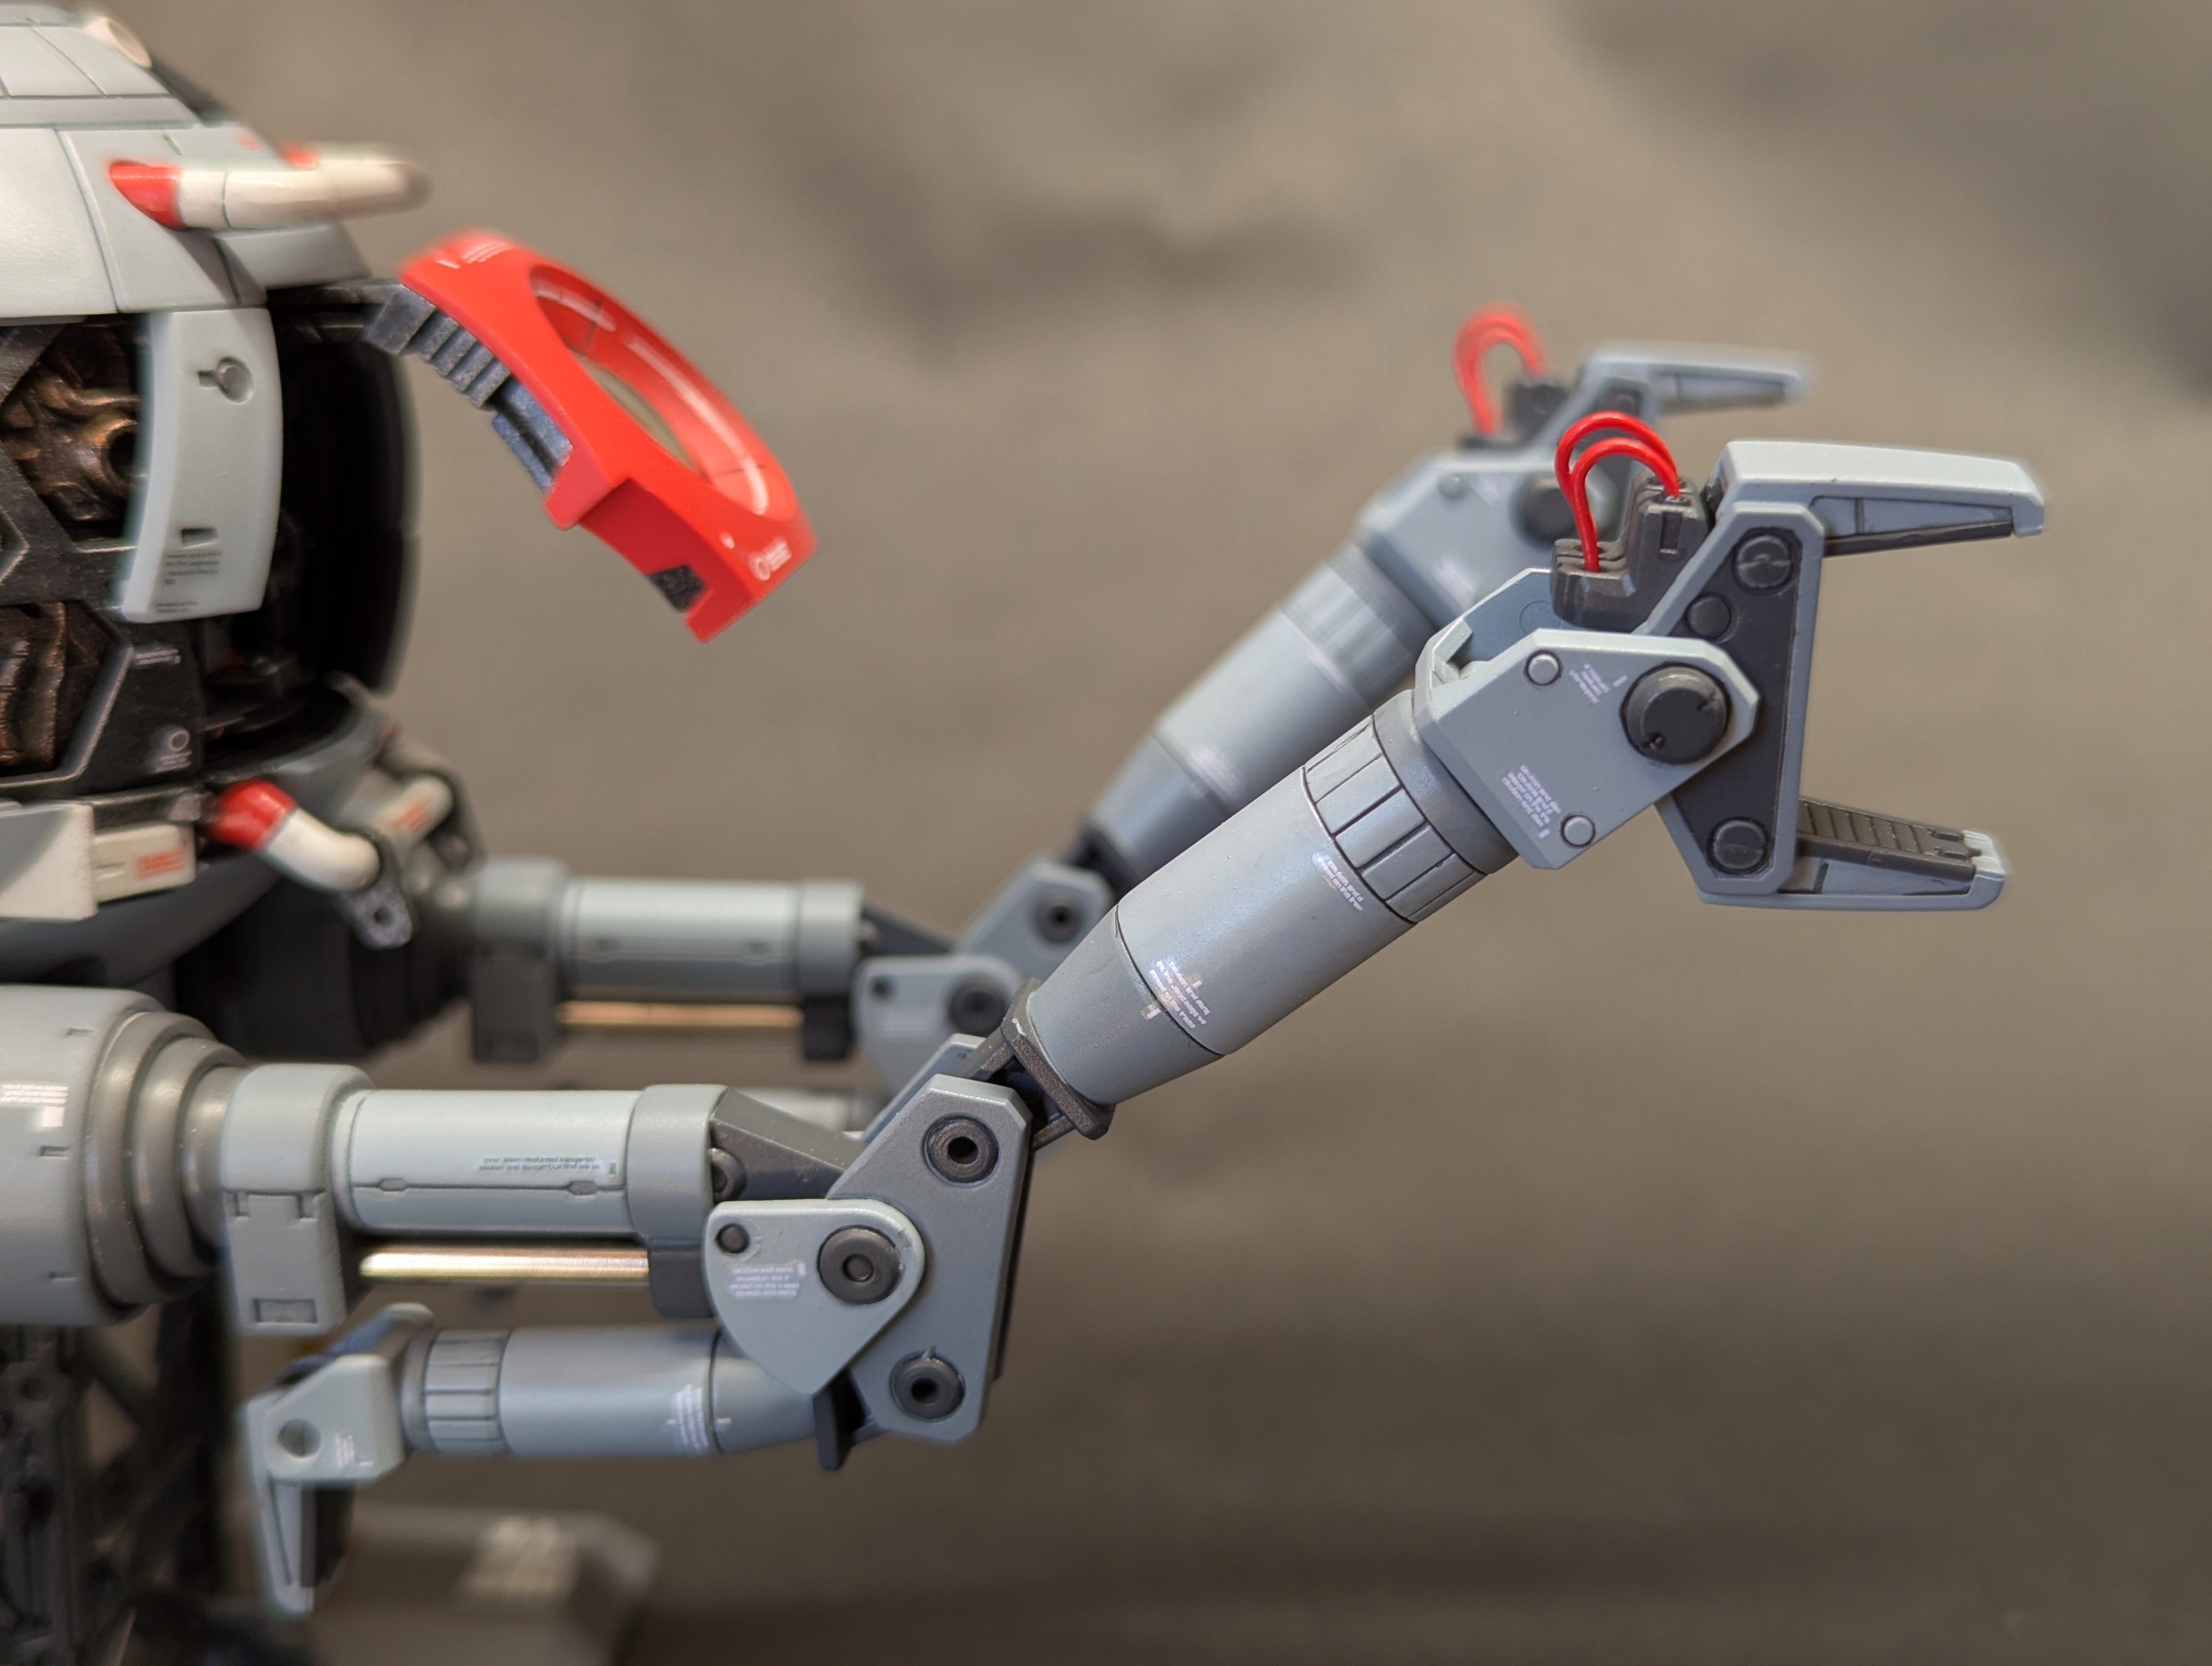
And the arms add some significant volume to the model, too. Color separation on the arms is a bit weak - they're all in this gray color, while the official renders/paint in the manual has a few dark gray bits for breaking up the monotony. I don't think this will be that bad to mask, though. The arms also feature some chrome metal parts in these false pistons, as well as wires that are supposed to attach onto the main grabber - but I didn't build those here, since disassembly might be tricky with those.
I was surprised by just how big the Ball is when the outer frame is added - it's maybe half as tall as a typical 1/100 mobile suit, but being a sphere makes it quite chunky.
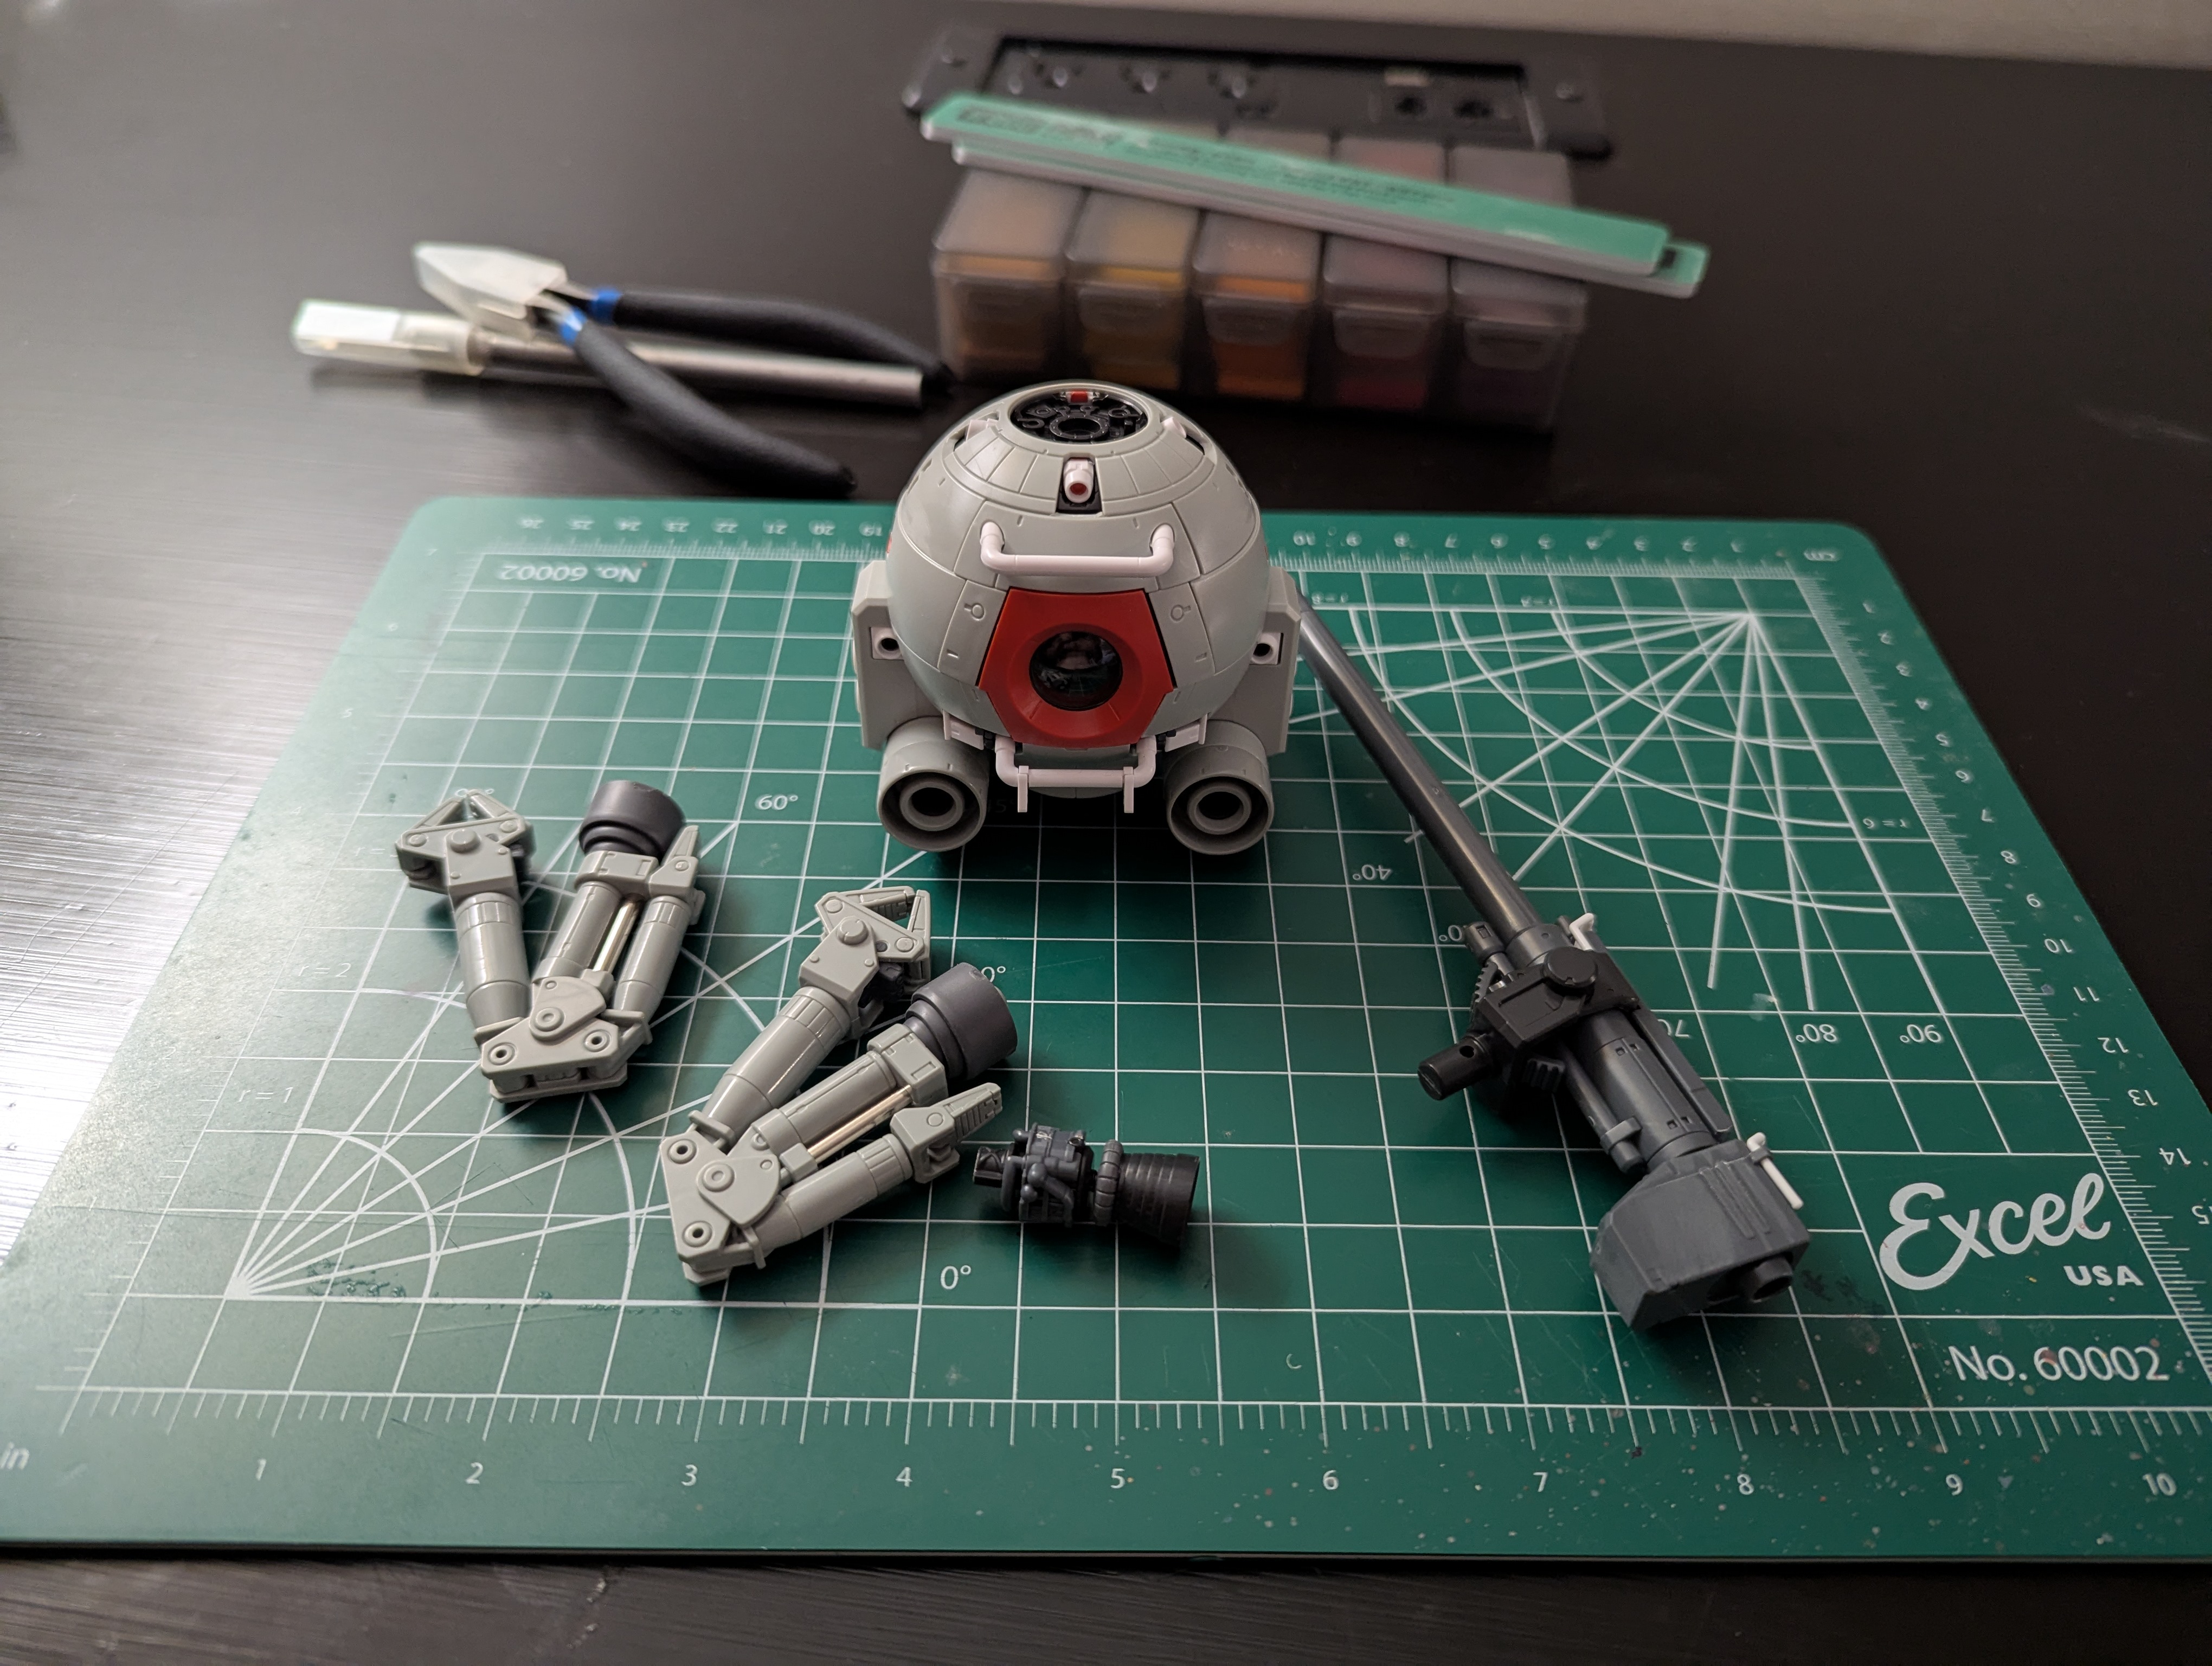
Before flying back, I disassembled the main parts of the Ball, then packed everything into the box snugly with a t-shirt for cushioning. the only thing that I didn't assemble here was the stand, which I saved for home. No problems with any of this stuff surviving being checked luggage.
Date Posted: September 6, 2025
Progress Update 2: Body Inner Frame
Back in the shed.
I'm approaching this build slightly differently than I have approached previous ones - I'm going to focus on completing individual subassemblies rather than grouping parts by color. My hope is that this helps reduce the number of parts in play at once, helping to keep the workstation a little more manageable. Honestly, this is yet another lesson from the abandoned
God Gundam - at a few points I had an uncomfortable number of parts that were in varied states of completion. This is actually a big contributor to cognitive load for me and makes the project hard to enjoy. So for the start of this project - I'll just limit myself to the inner frame for the main body.
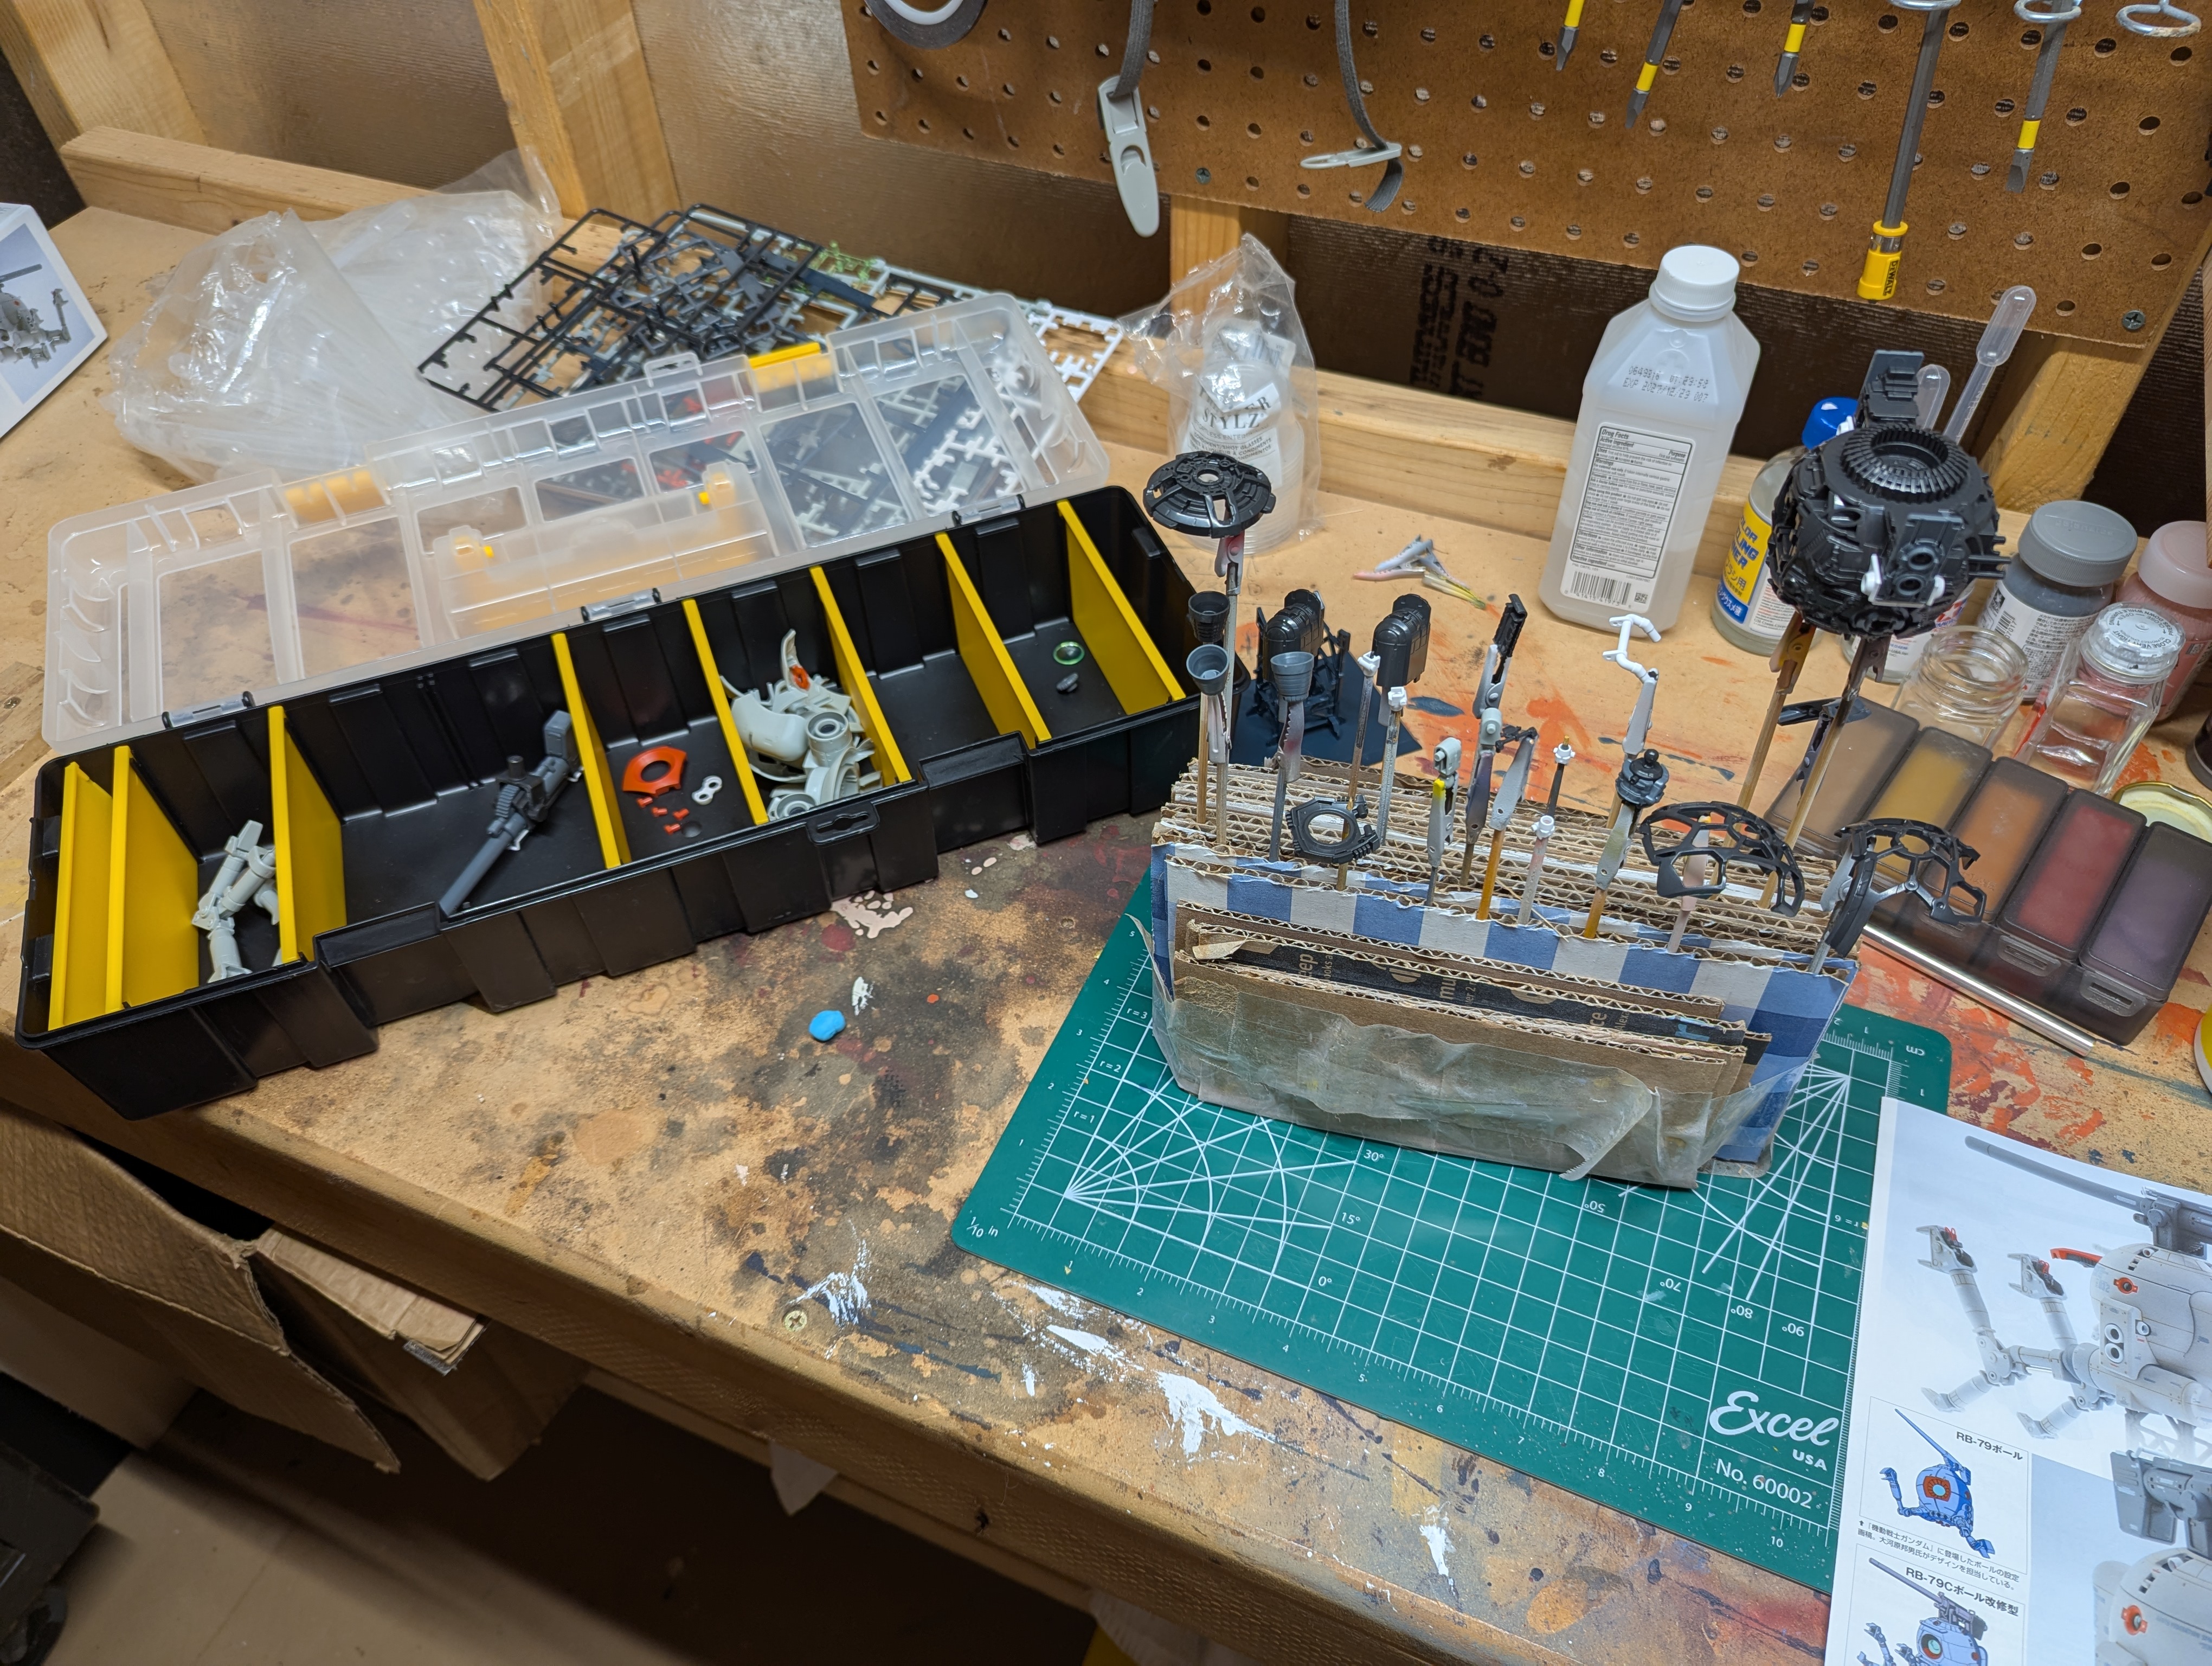
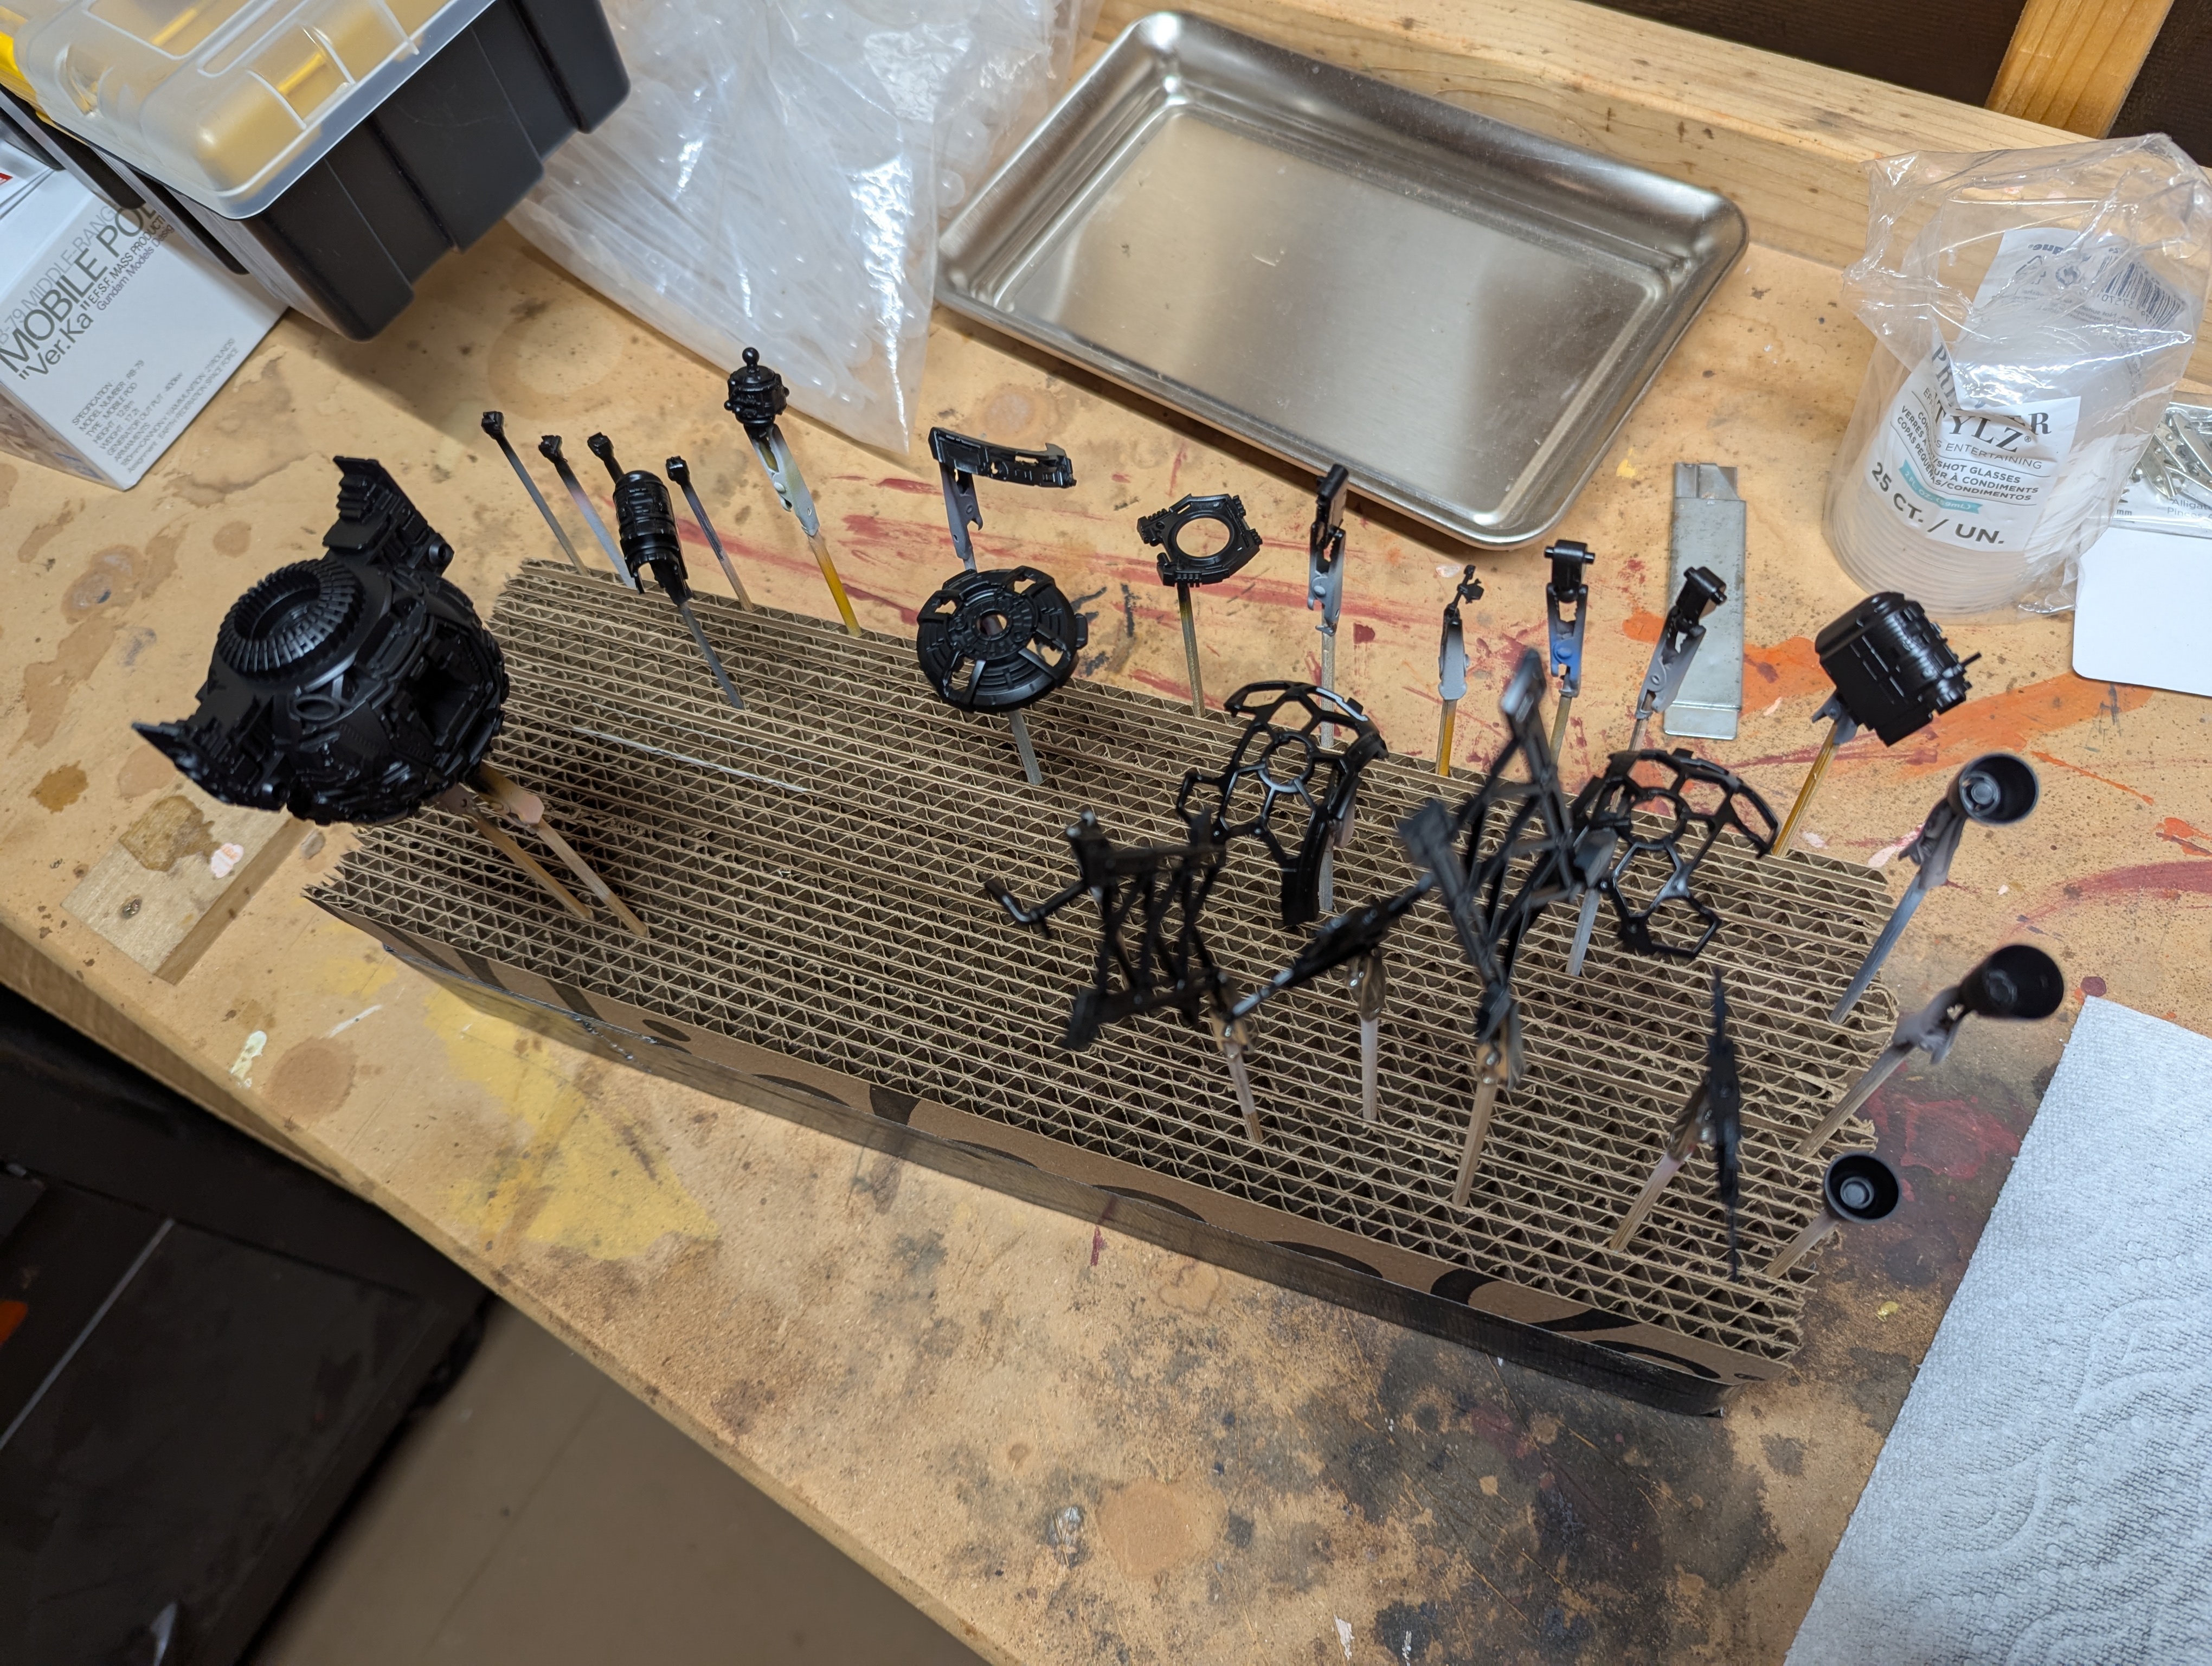
I painted almost all of the parts black here. I'll be experimenting with overbrushing and drybrushing, which are handpainting techniques, on the inner frame. This is something I'd like to bring forward to other builds too, if it works out. Metallic paints really don't agree with my airbrush.
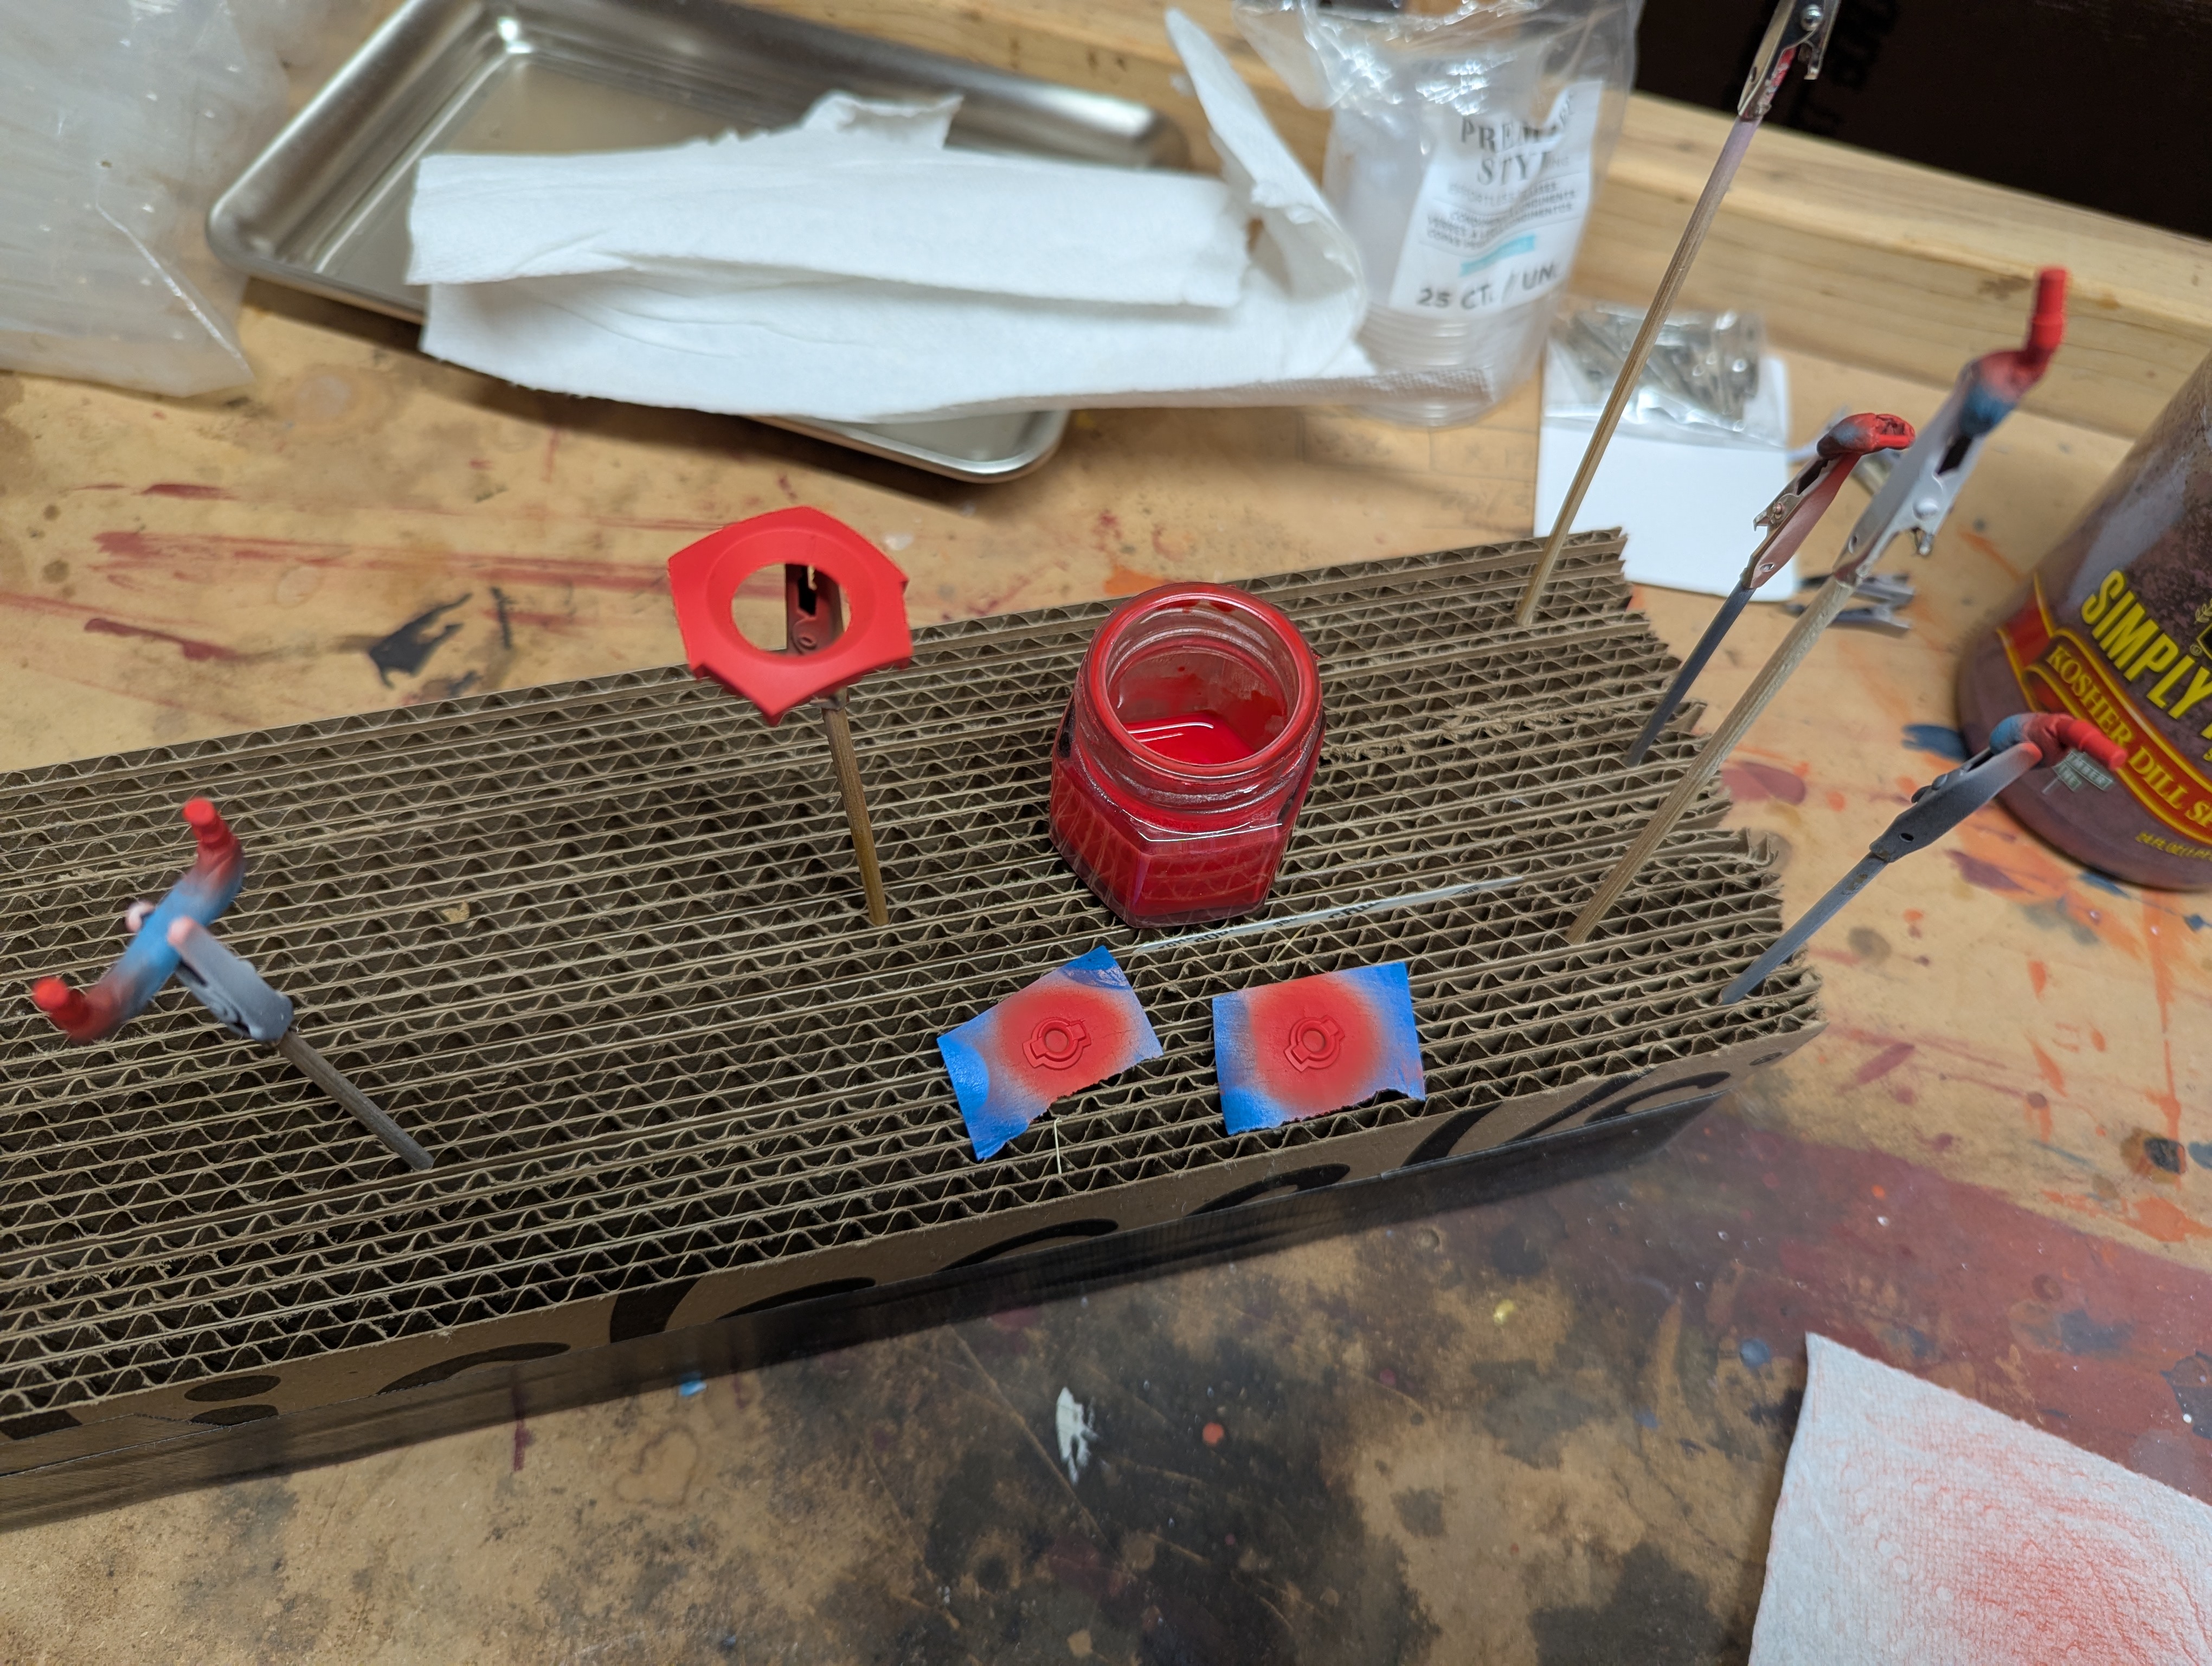
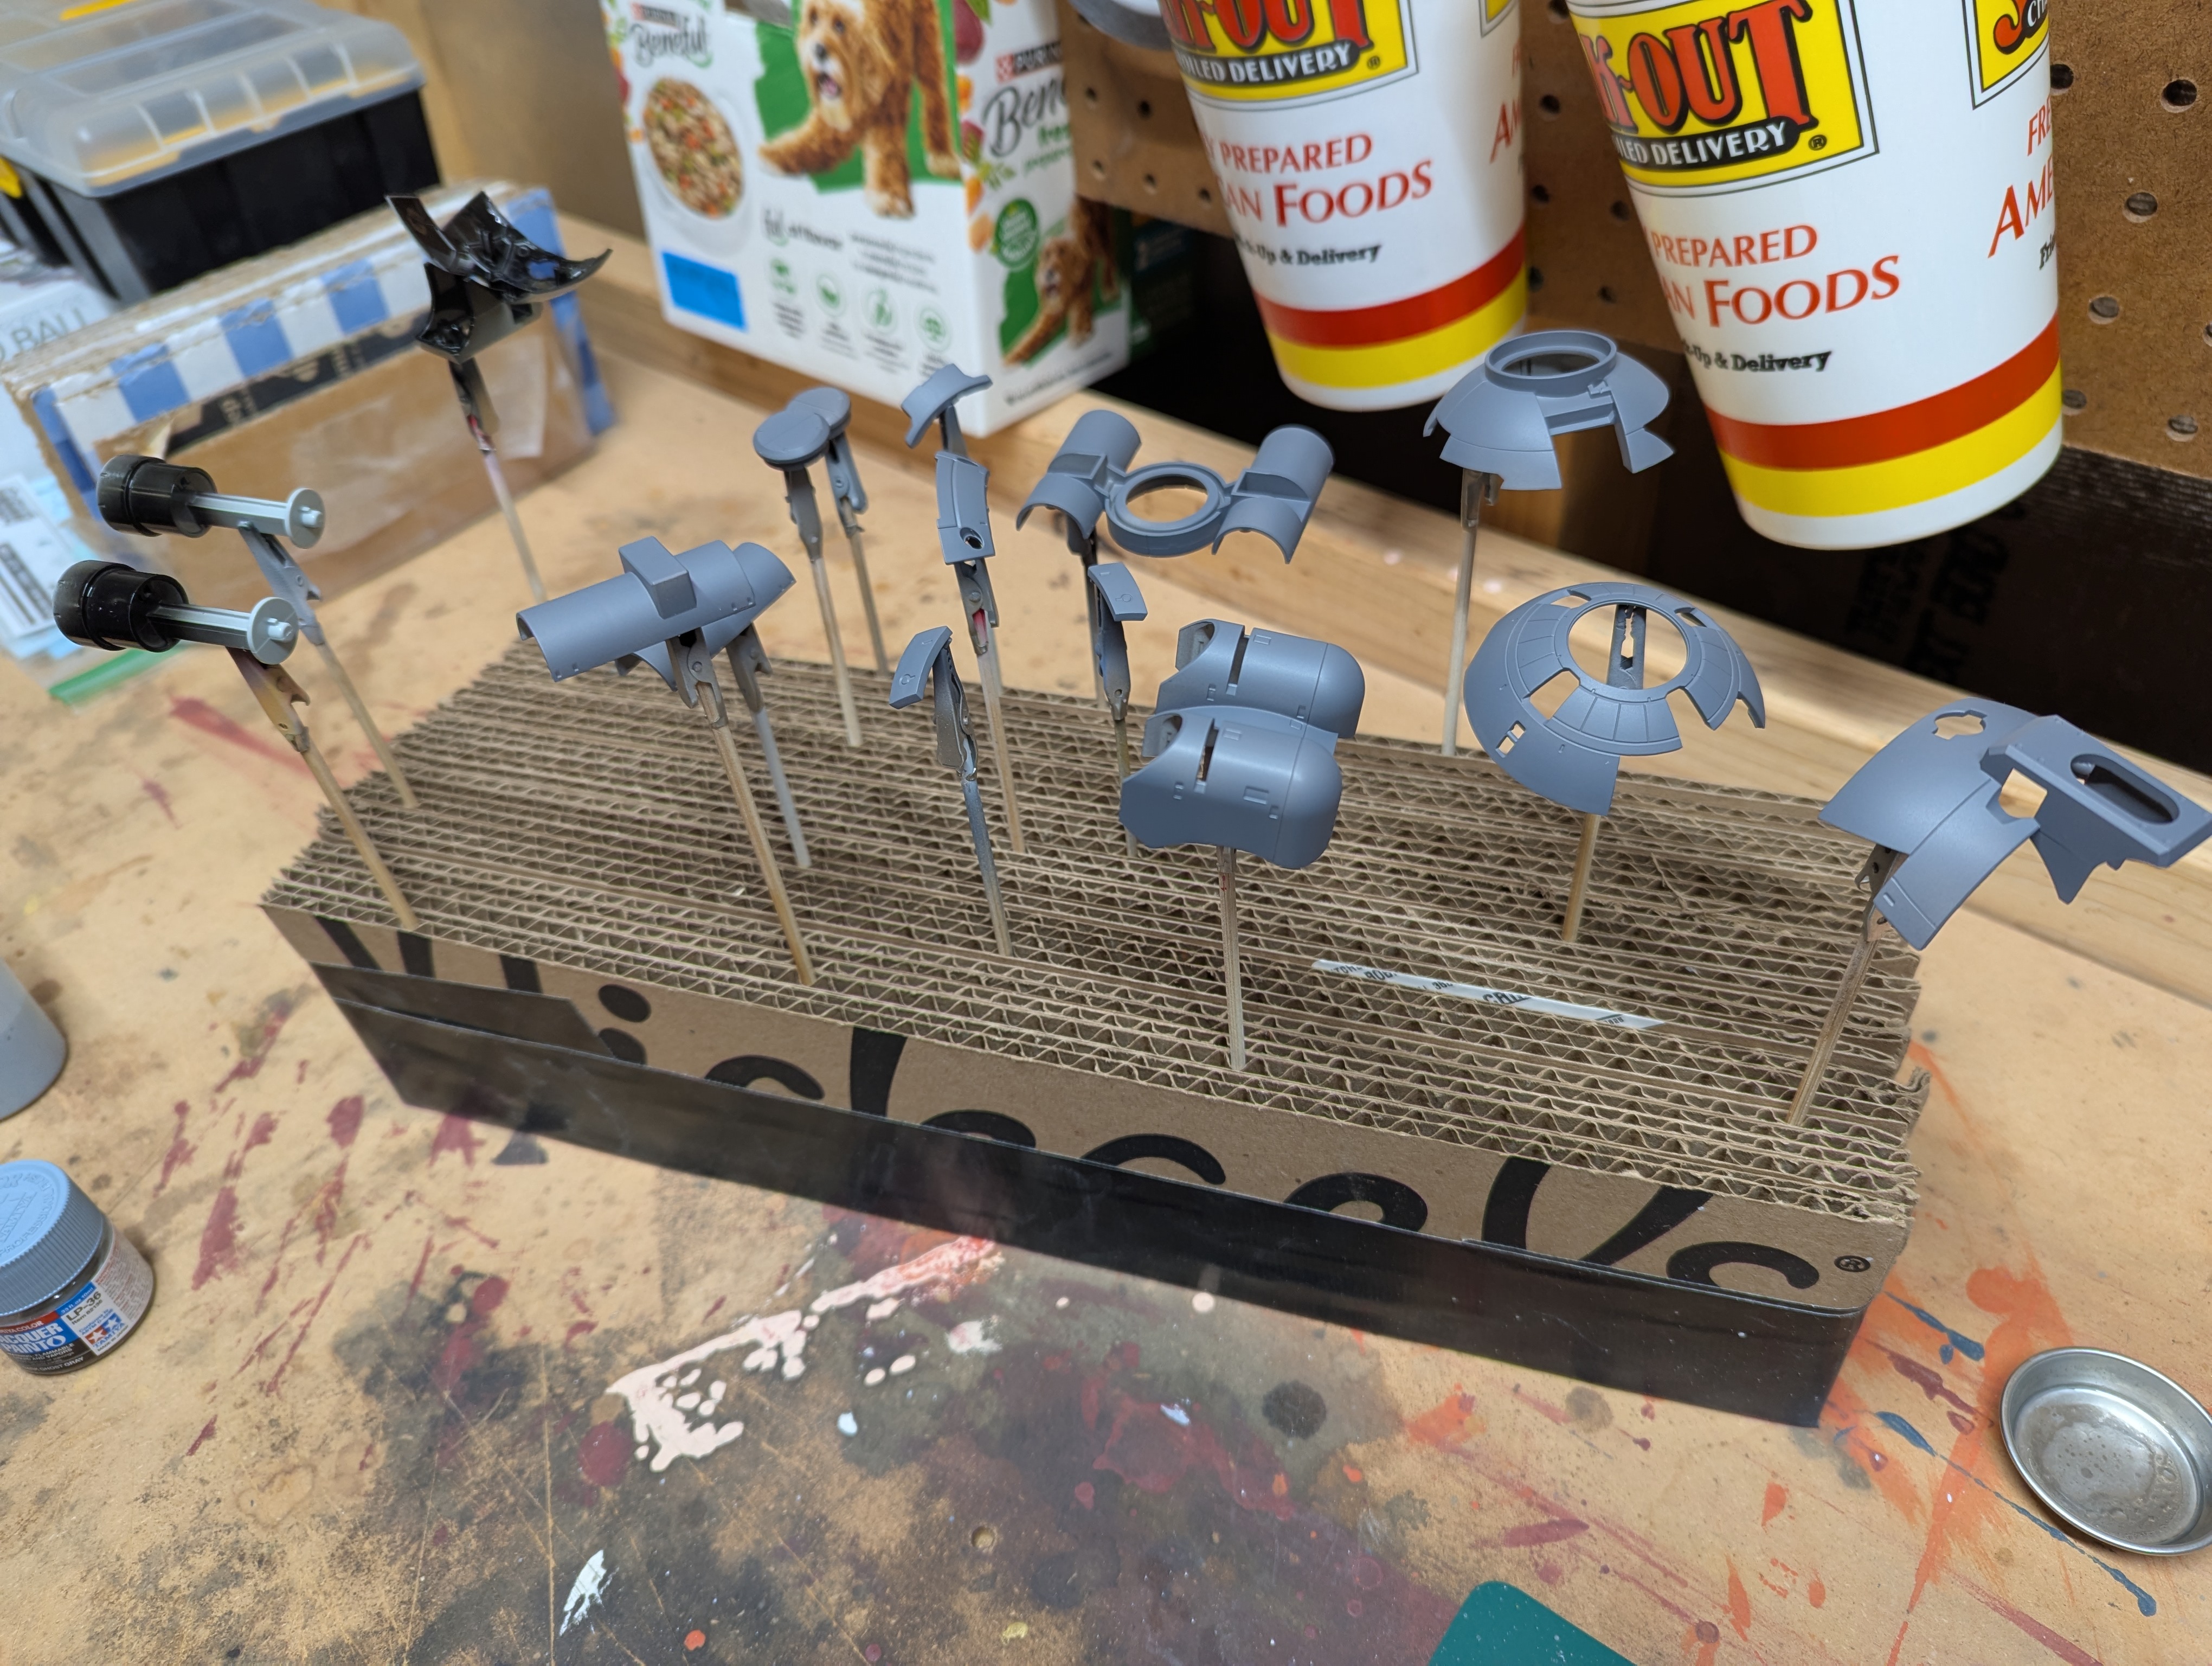
I also took some time to make a much better parts holder for painting and airbrushing - my old one was getting a bit cramped and dingy. I used an appropriately sized board to line up cuts on cardboard to get everything nice and even, then just wrapped the bottom in duct tape.
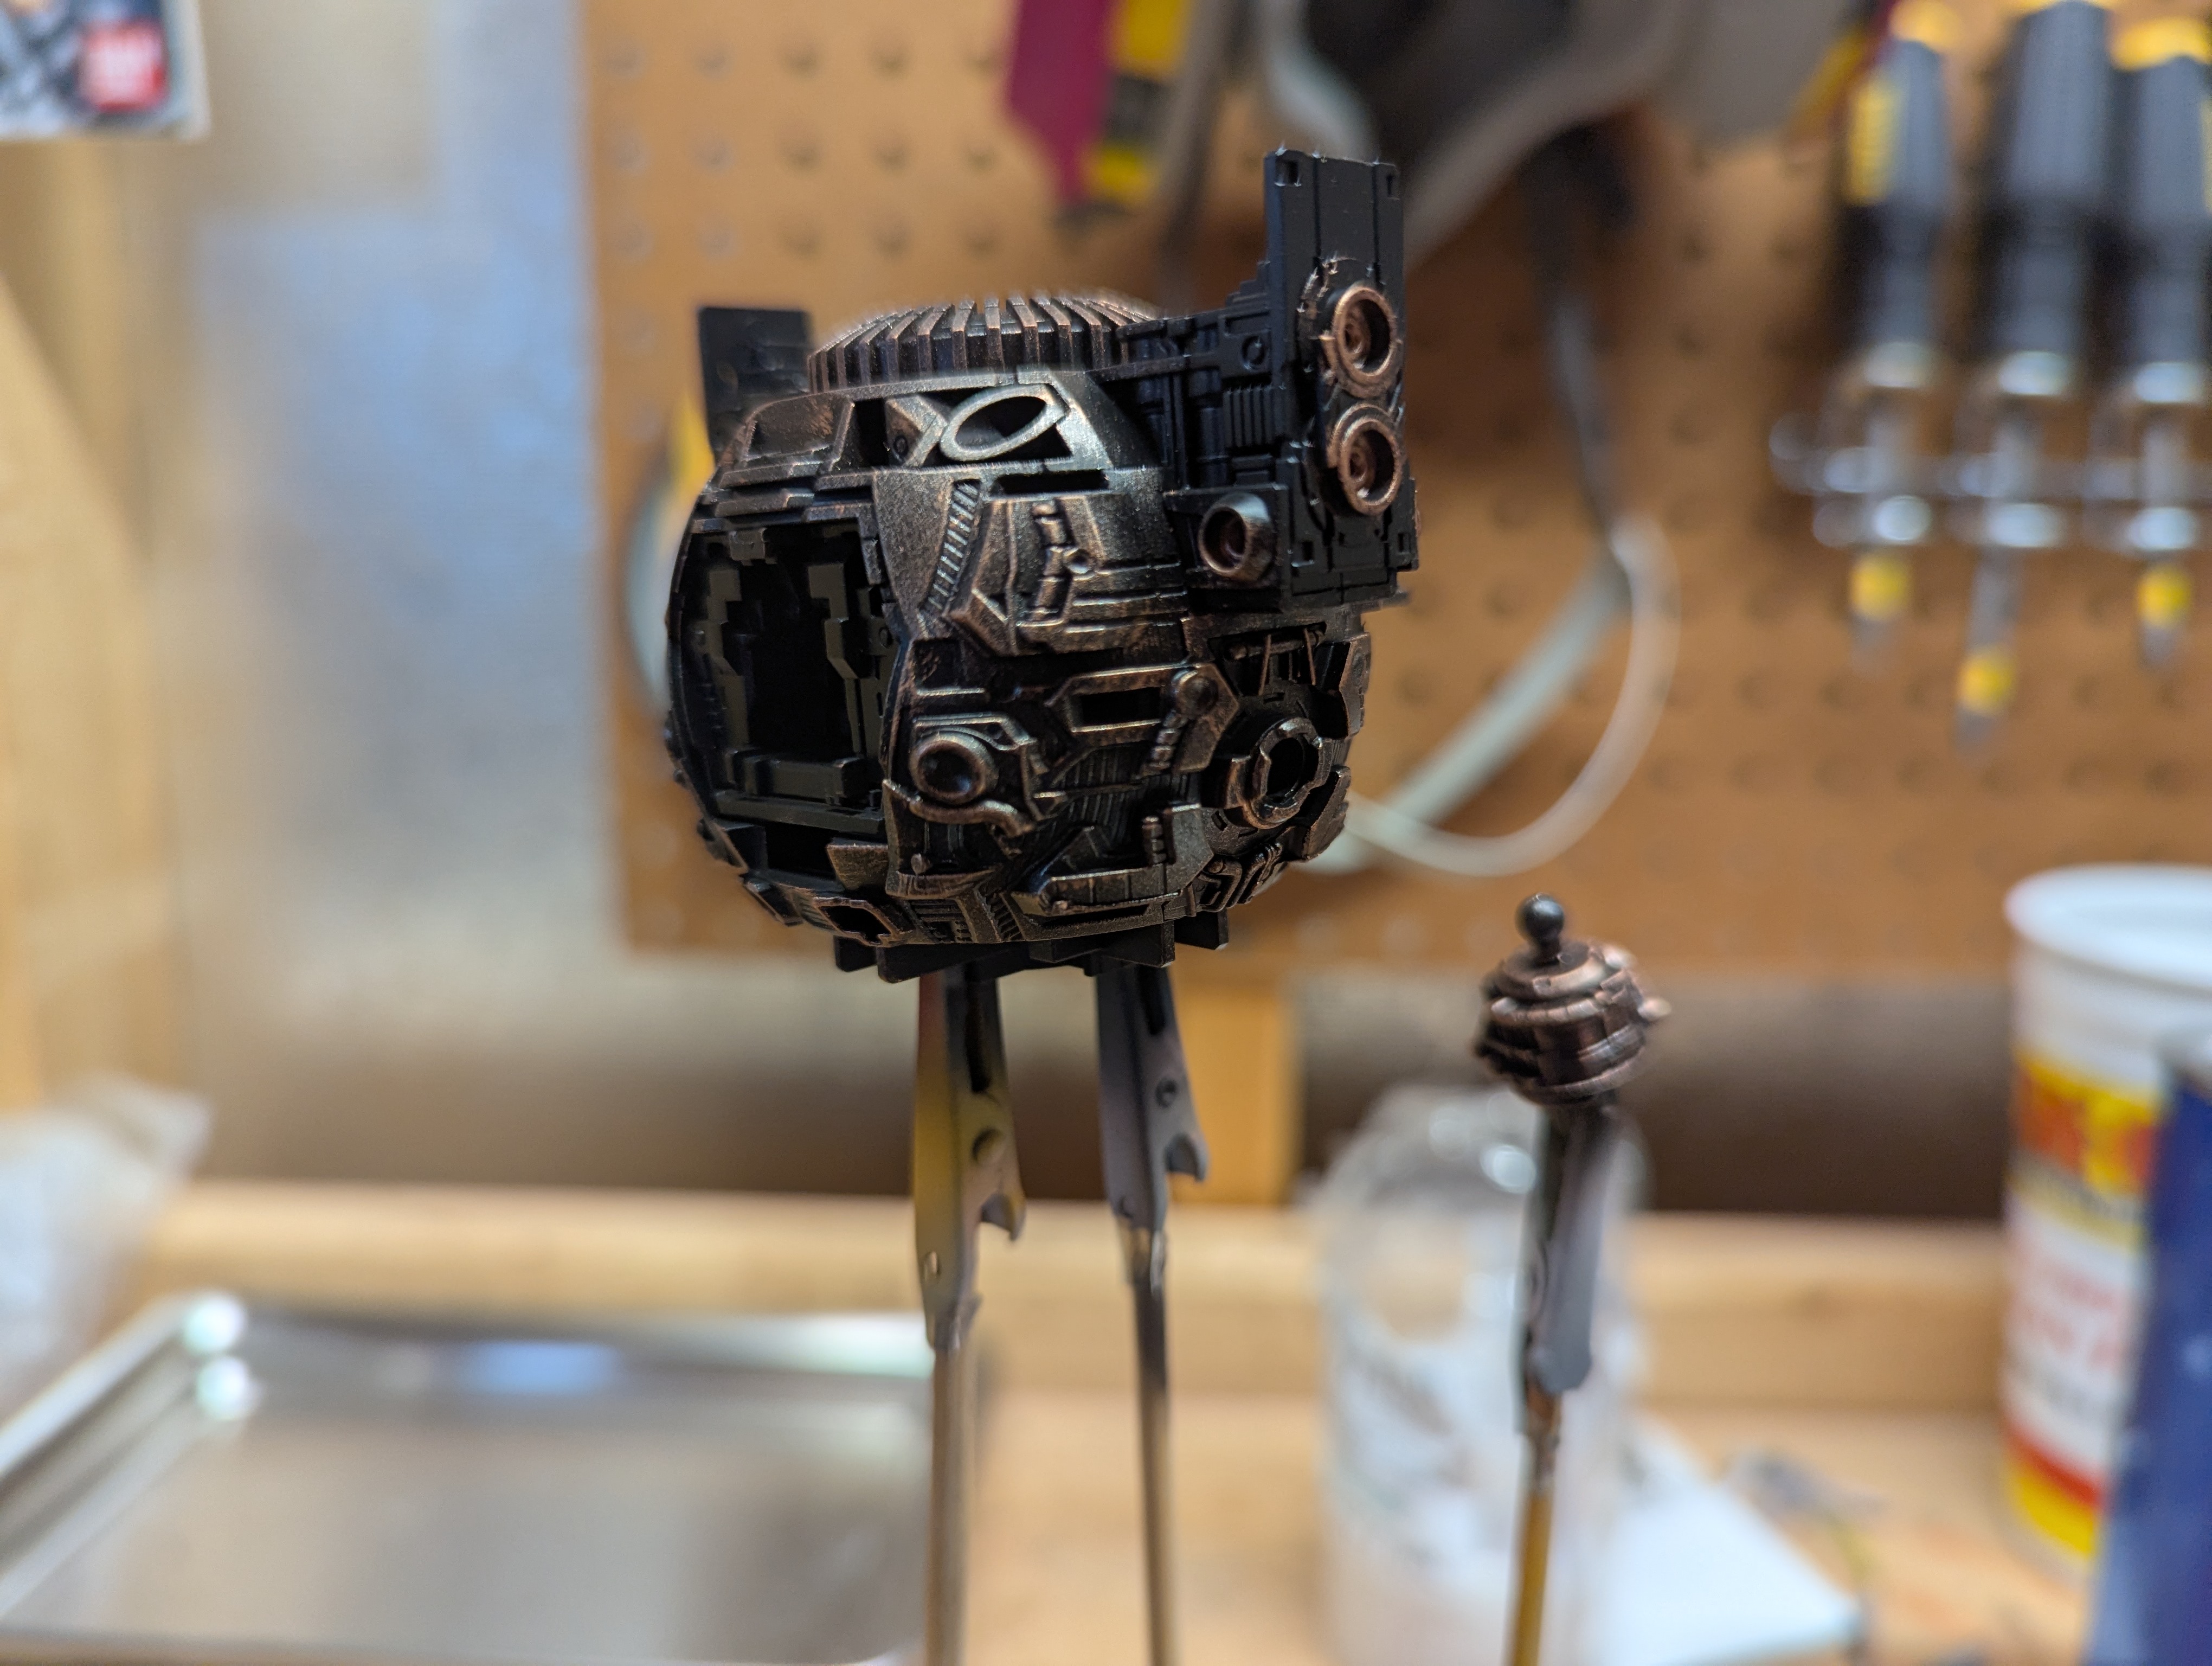
Instead of following the colors suggested by the plastic, I went with my own color scheme - I'll be painting some parts a metallic bronze/copper, and other parts metallic silver. I'll also intentionally make some pieces brighter for additional contrast.
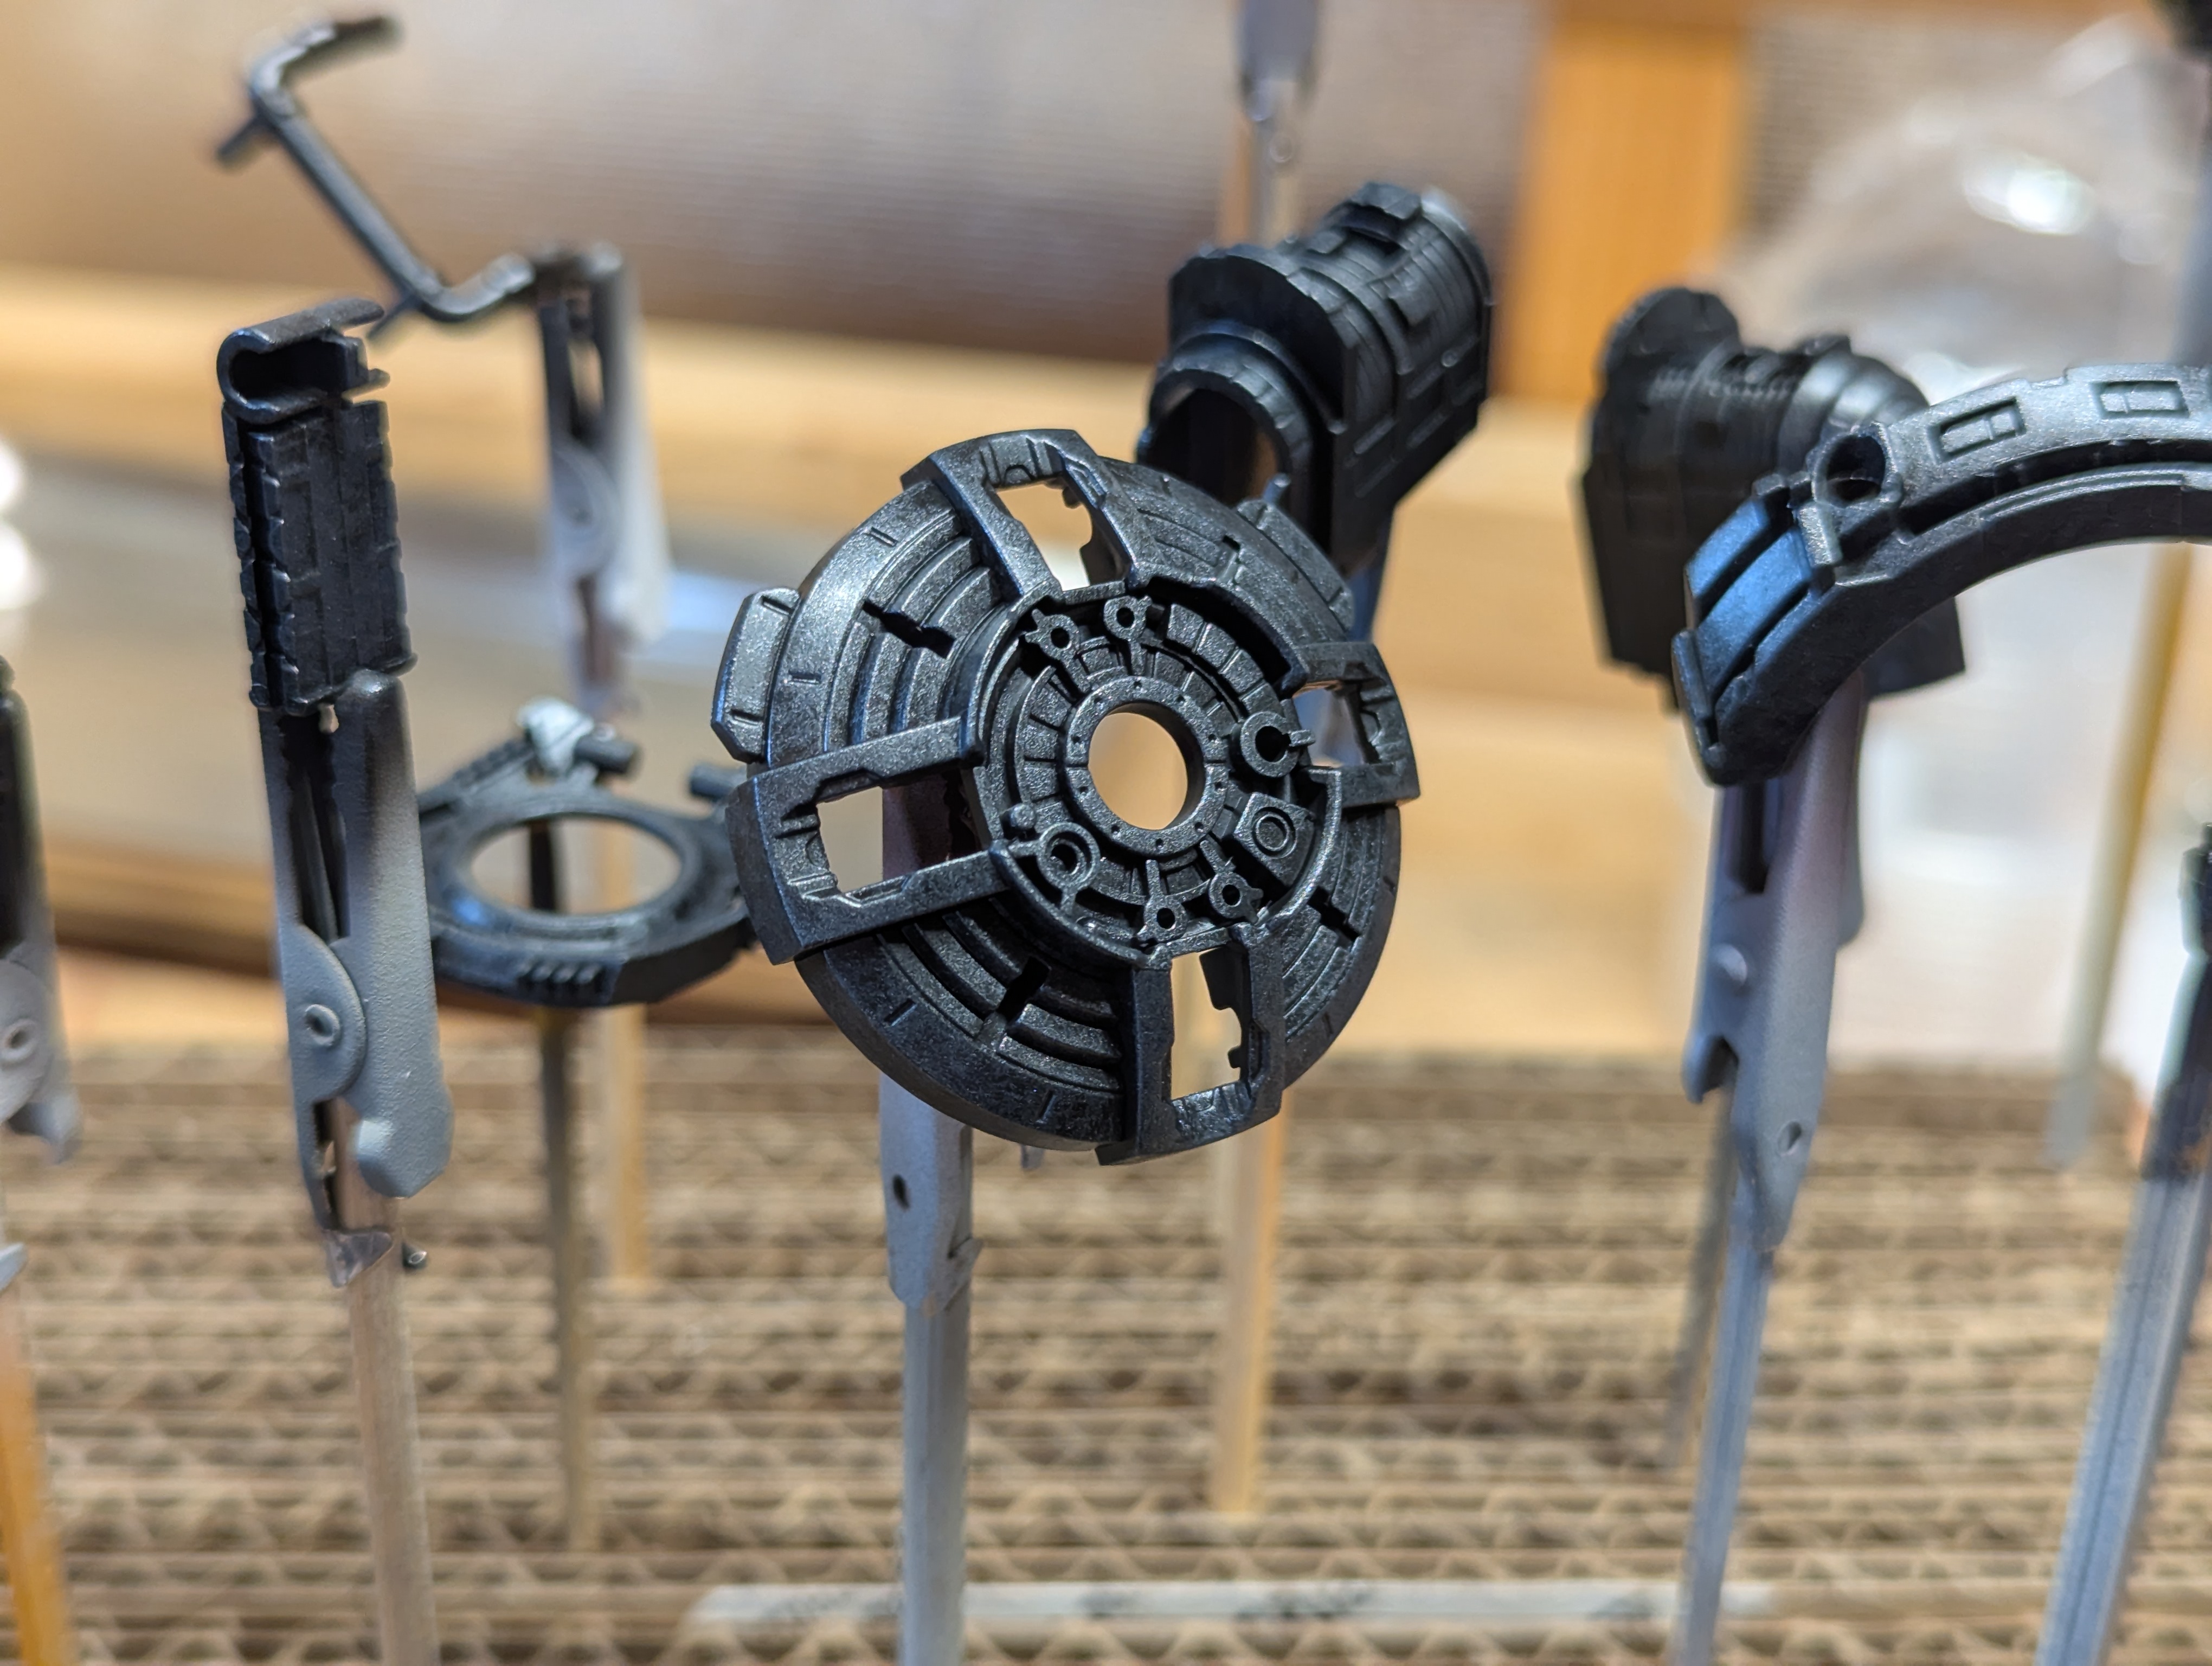
I did this in two stages - I overbrushed with Tamiya X-33 Bronze and Mr. Color UG05 U.N.T.'s MS Gray. Overbrushing is a technique that's similar to drybrushing - you lightly add paint to the brush, then wipe off almost all of it with a paper towel, leaving a small amount of dry-ish pigment on the brush. You feather onto the surface of the model and this tends to naturally concentrate the paint at the high points of the model geometry, naturally creating a shading gradient. The main difference is that overbrushing is a performed with a bit more paint and coats the surface more evenly, while drybrushing is really only meant to hit those highlights.
Mr. Color is a lacquer paint, and while the Tamiya was technically acrylic, it uses a harsh solvent which makes it behave approximately like a lacquer, which made these kinda gummy and unpleasant to hand paint with.
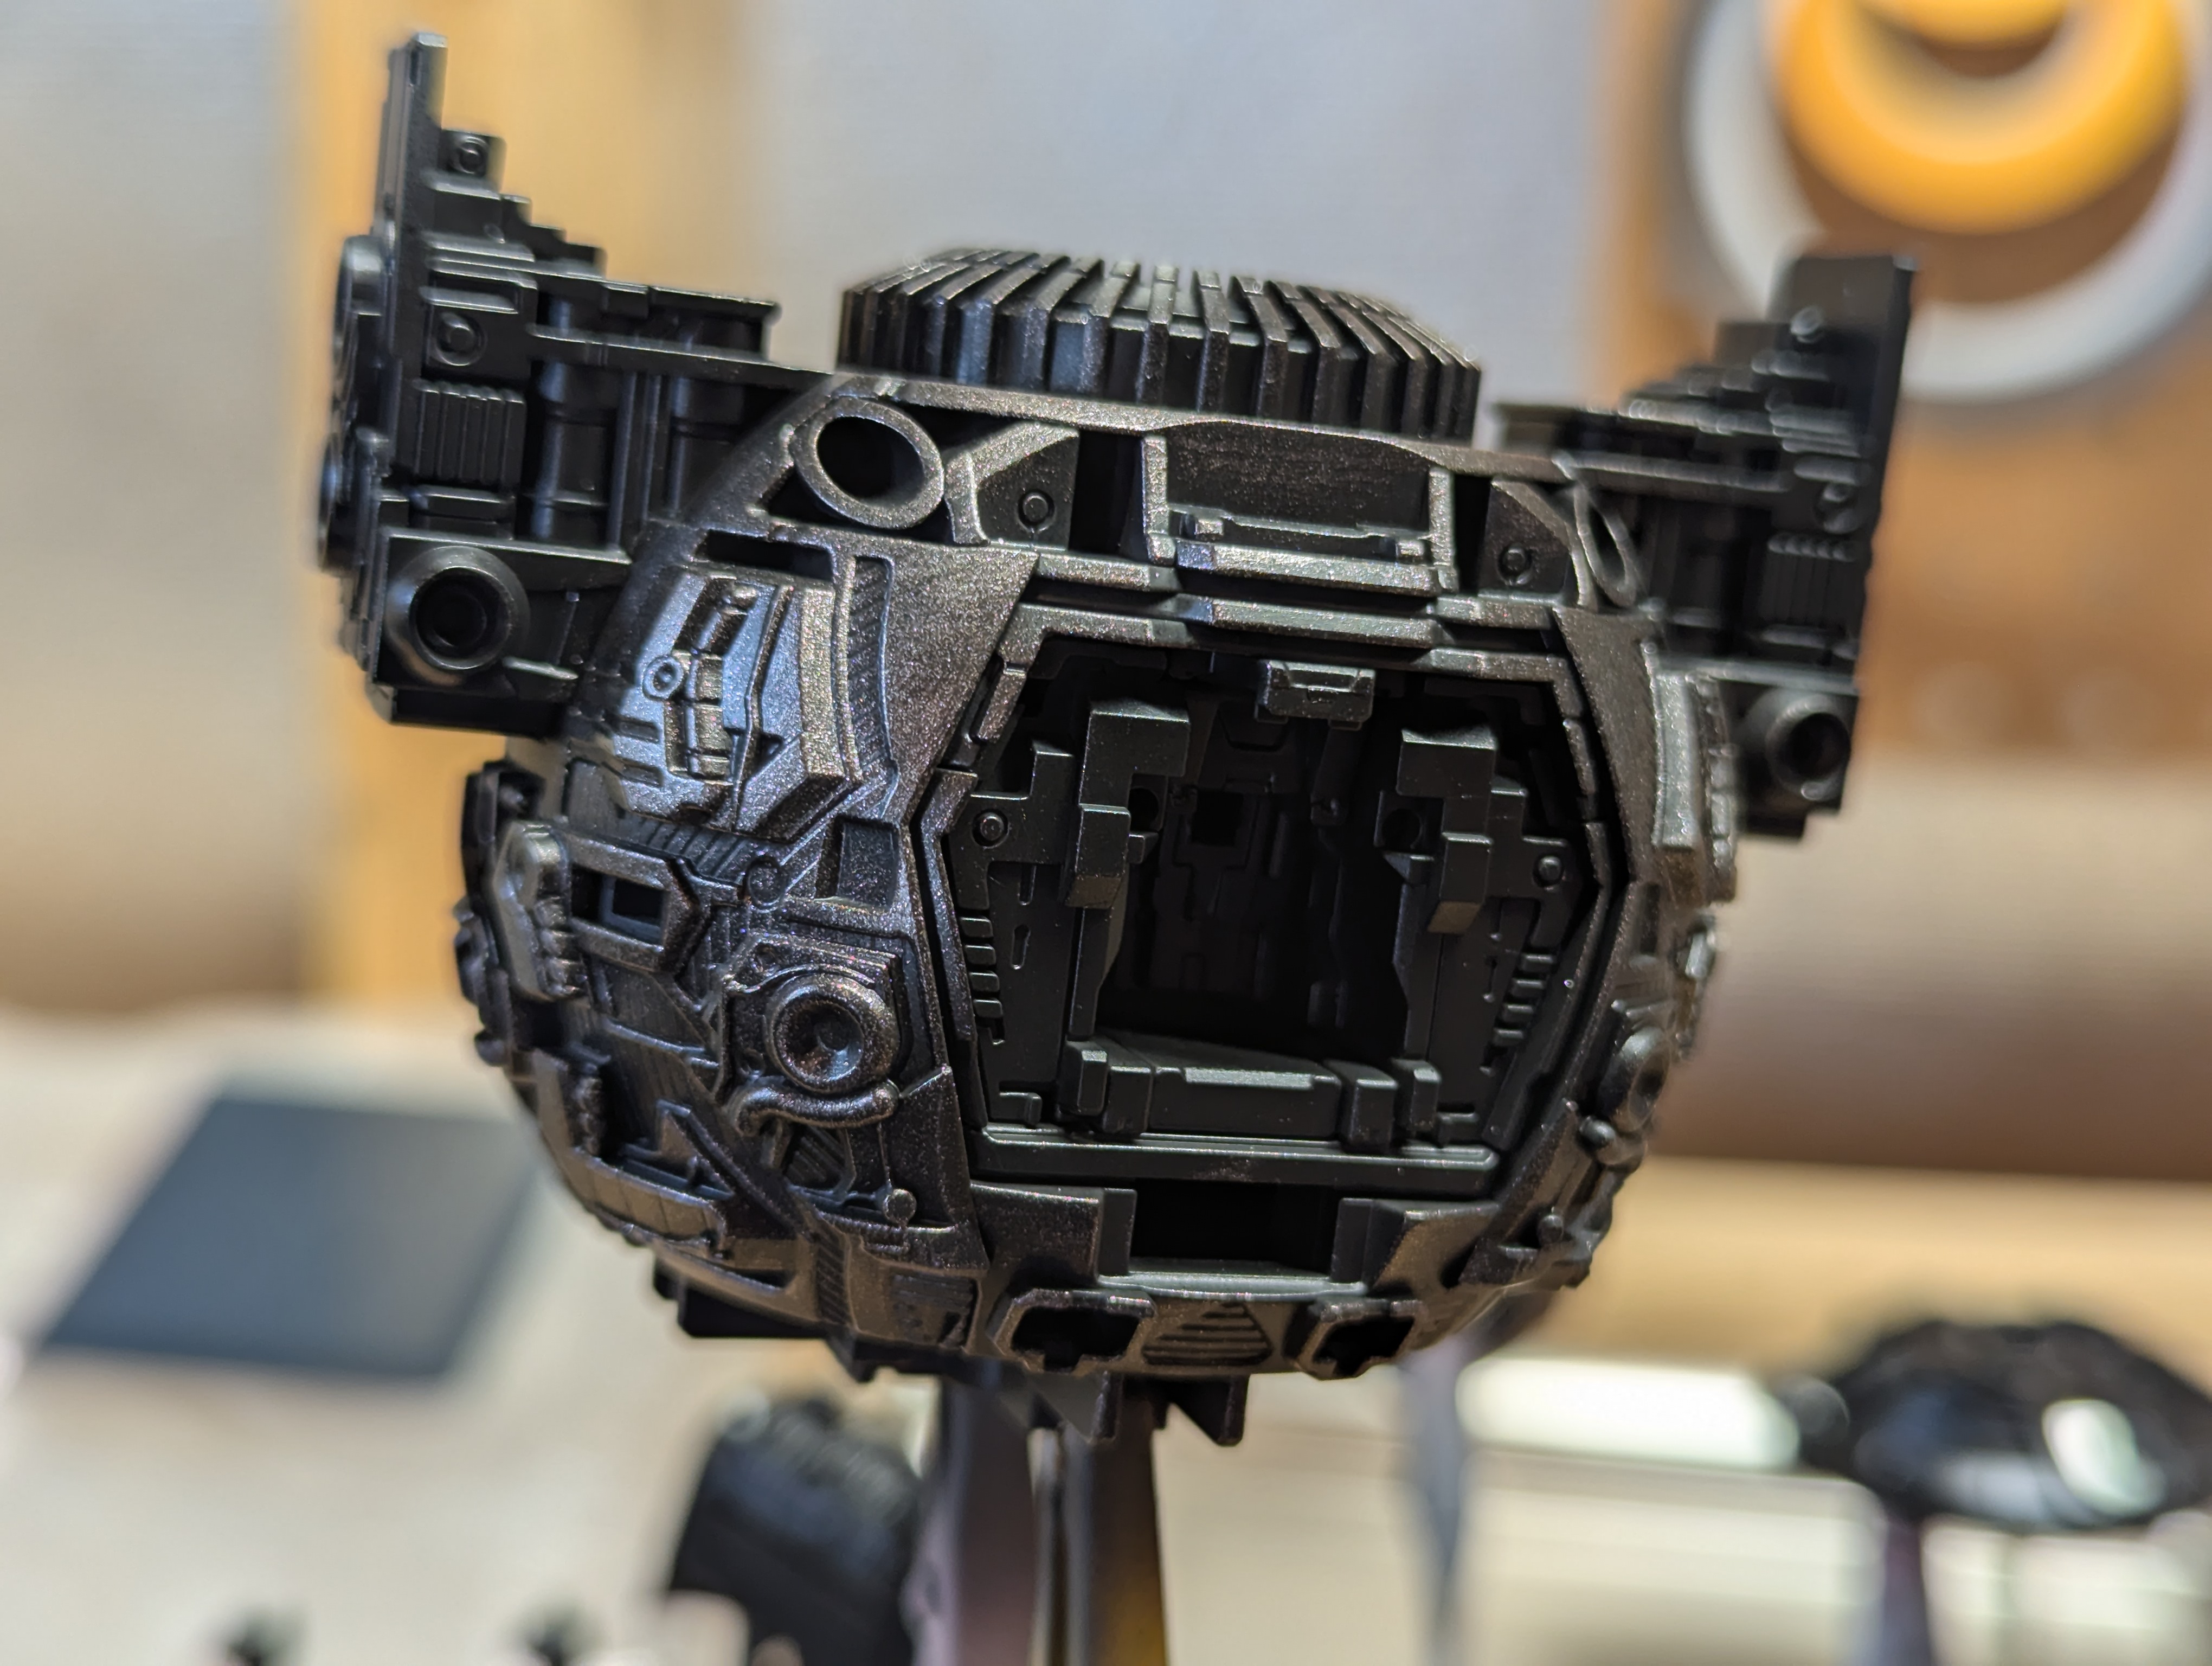
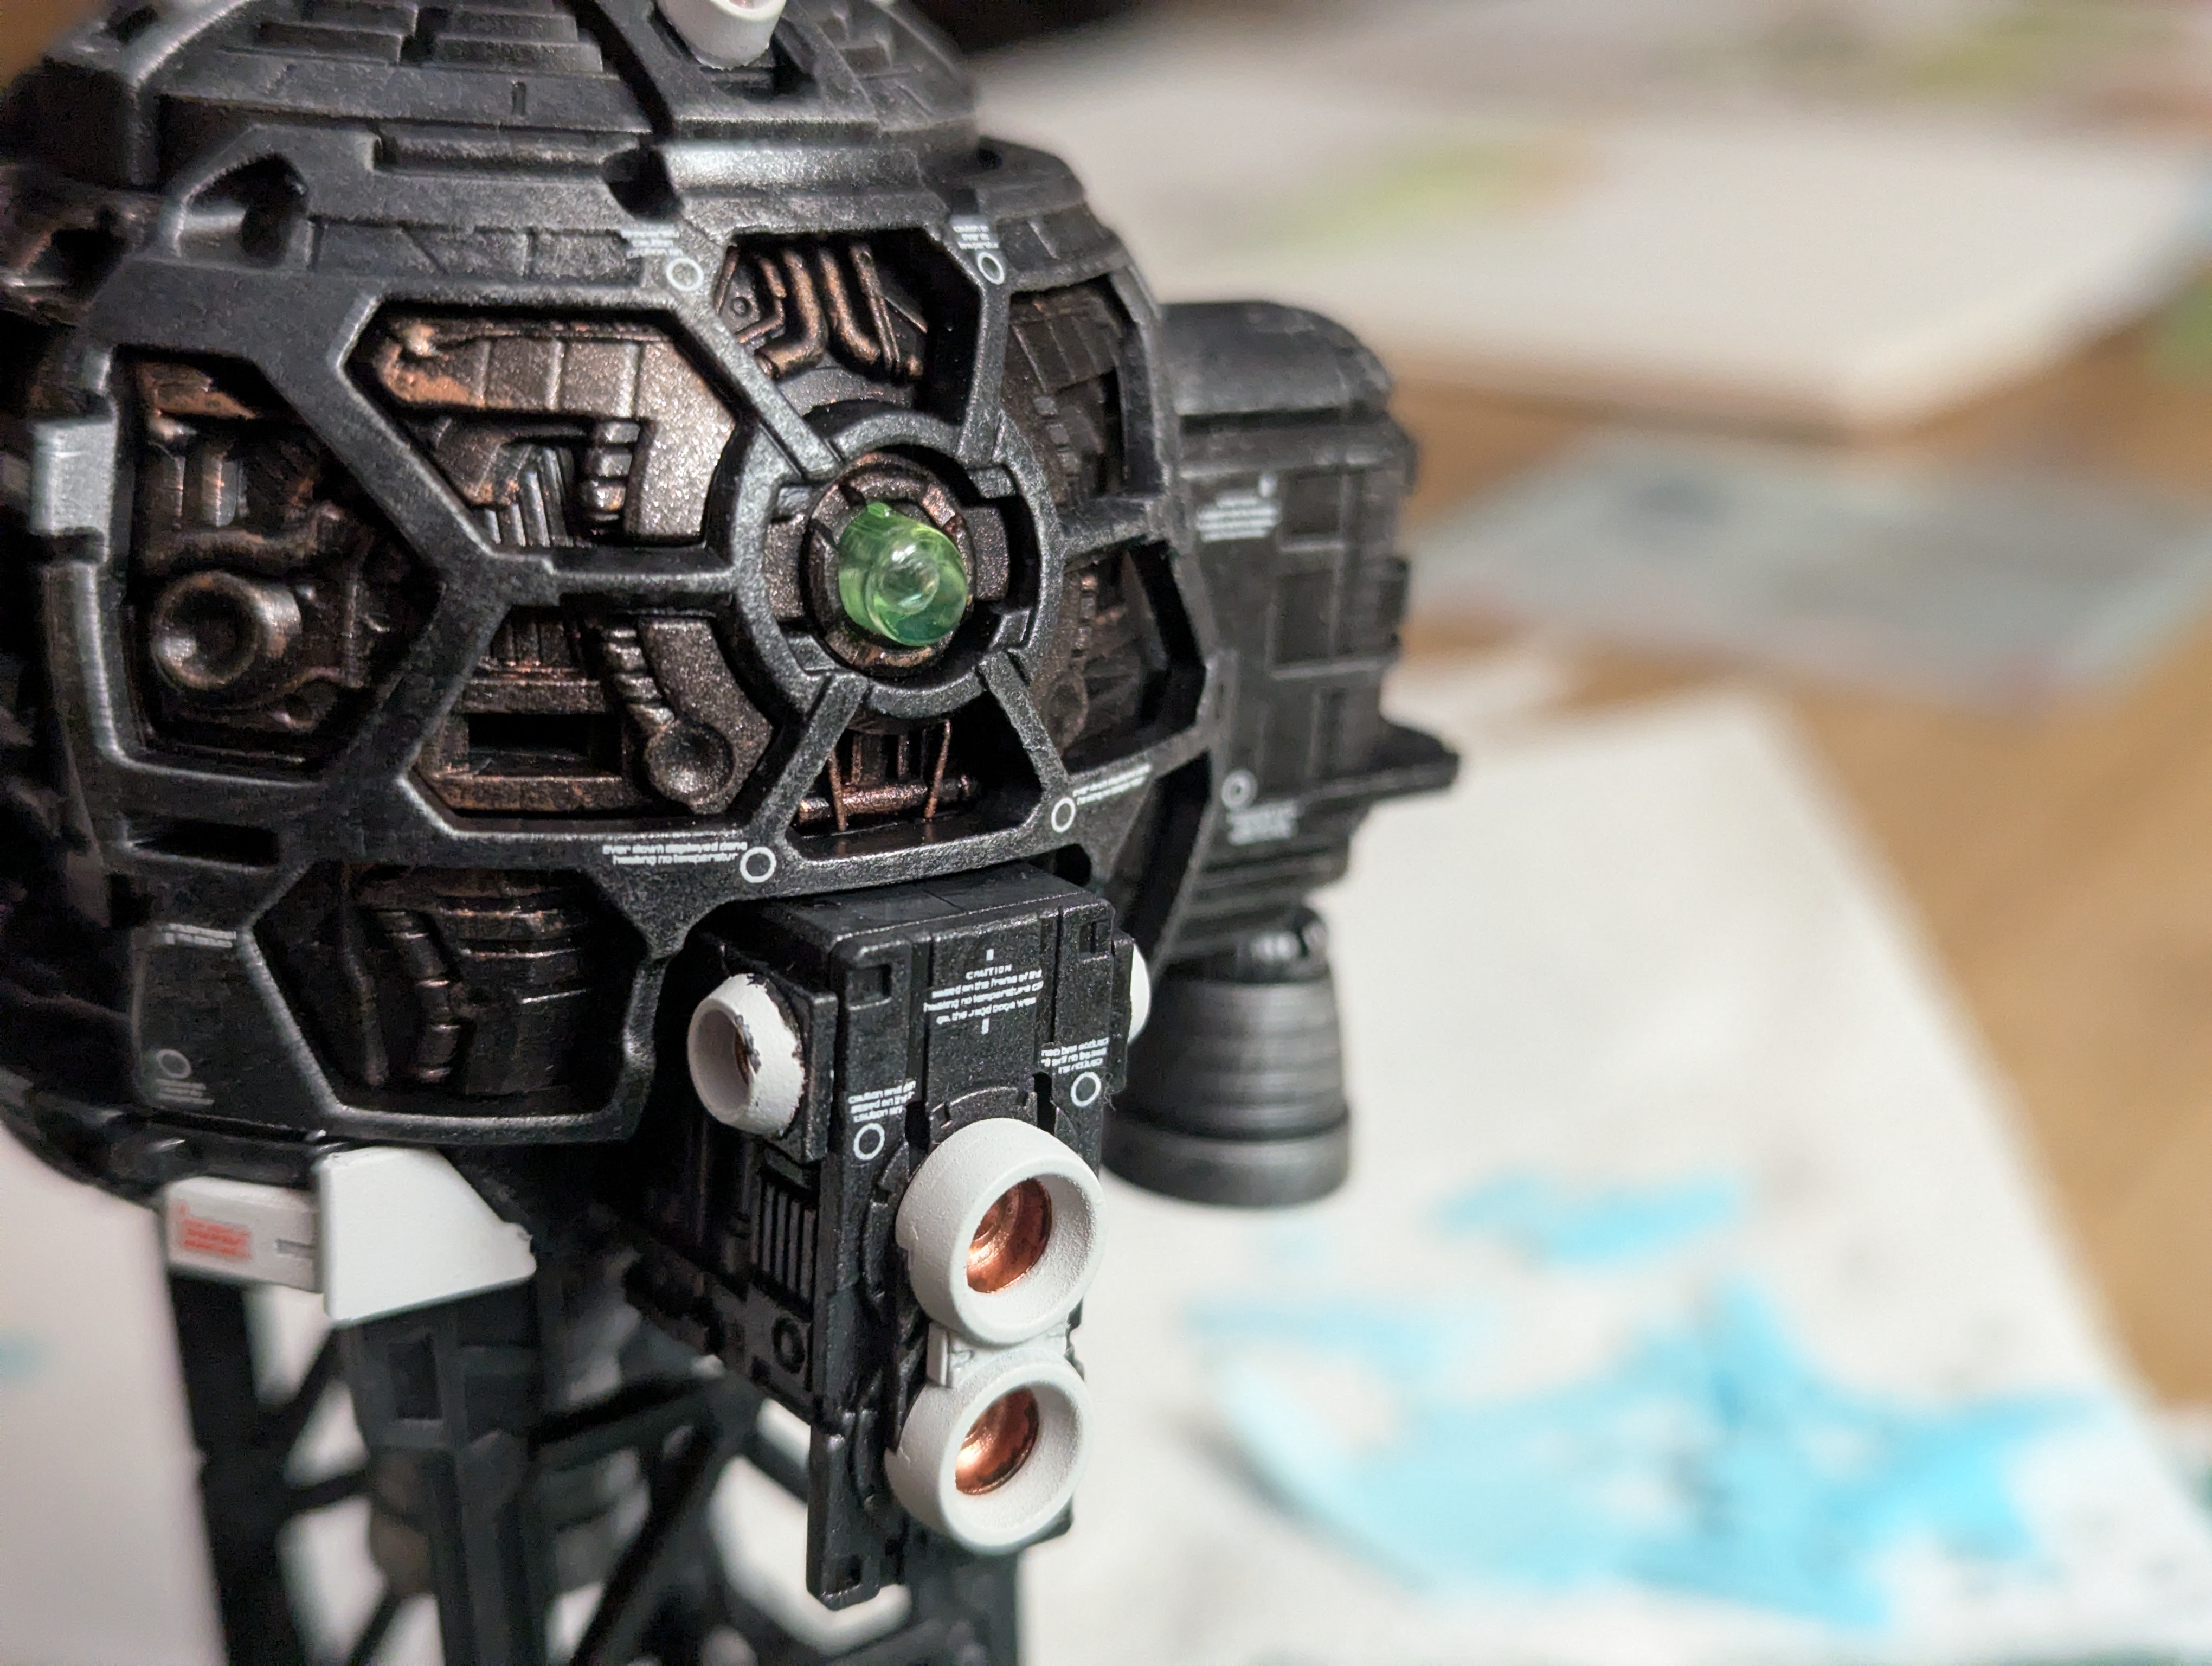
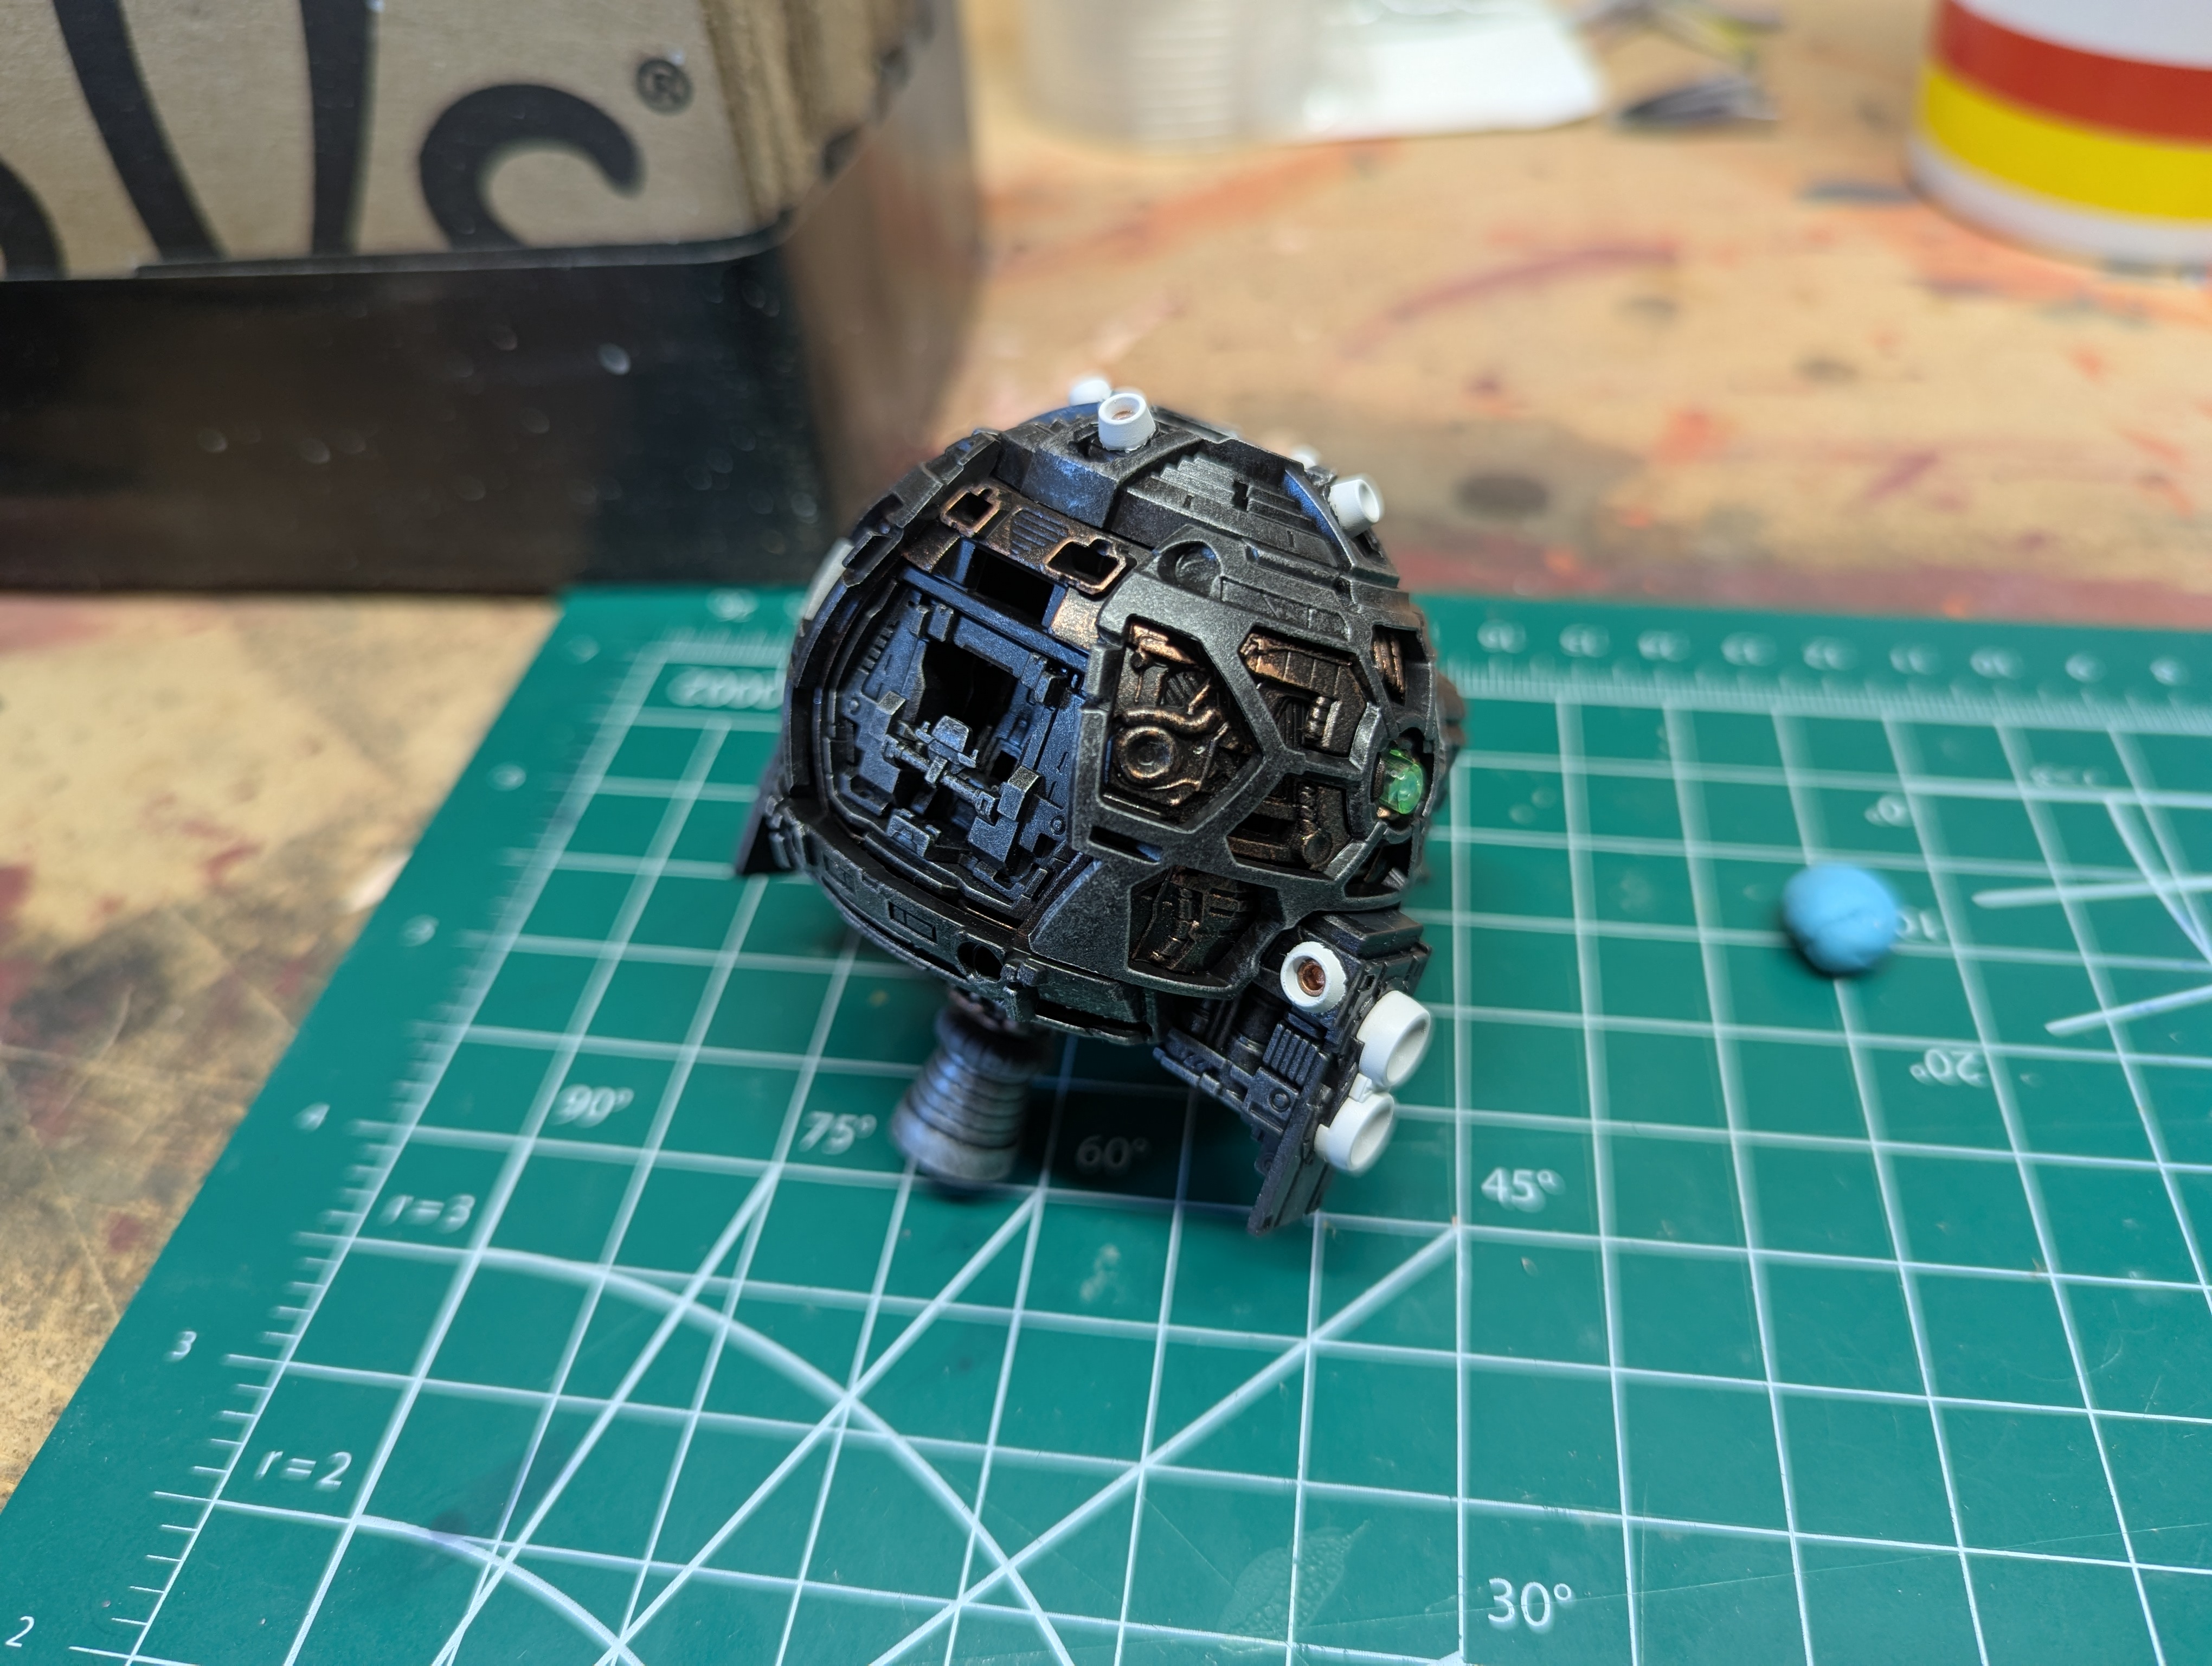
After drybrushing with Testor's copper enamel, I really liked the result on the main body. I painted the inside of all the thrusters with copper a bit heavier as well.
I did just a bit of masking to add some color differentiation to this part as well.
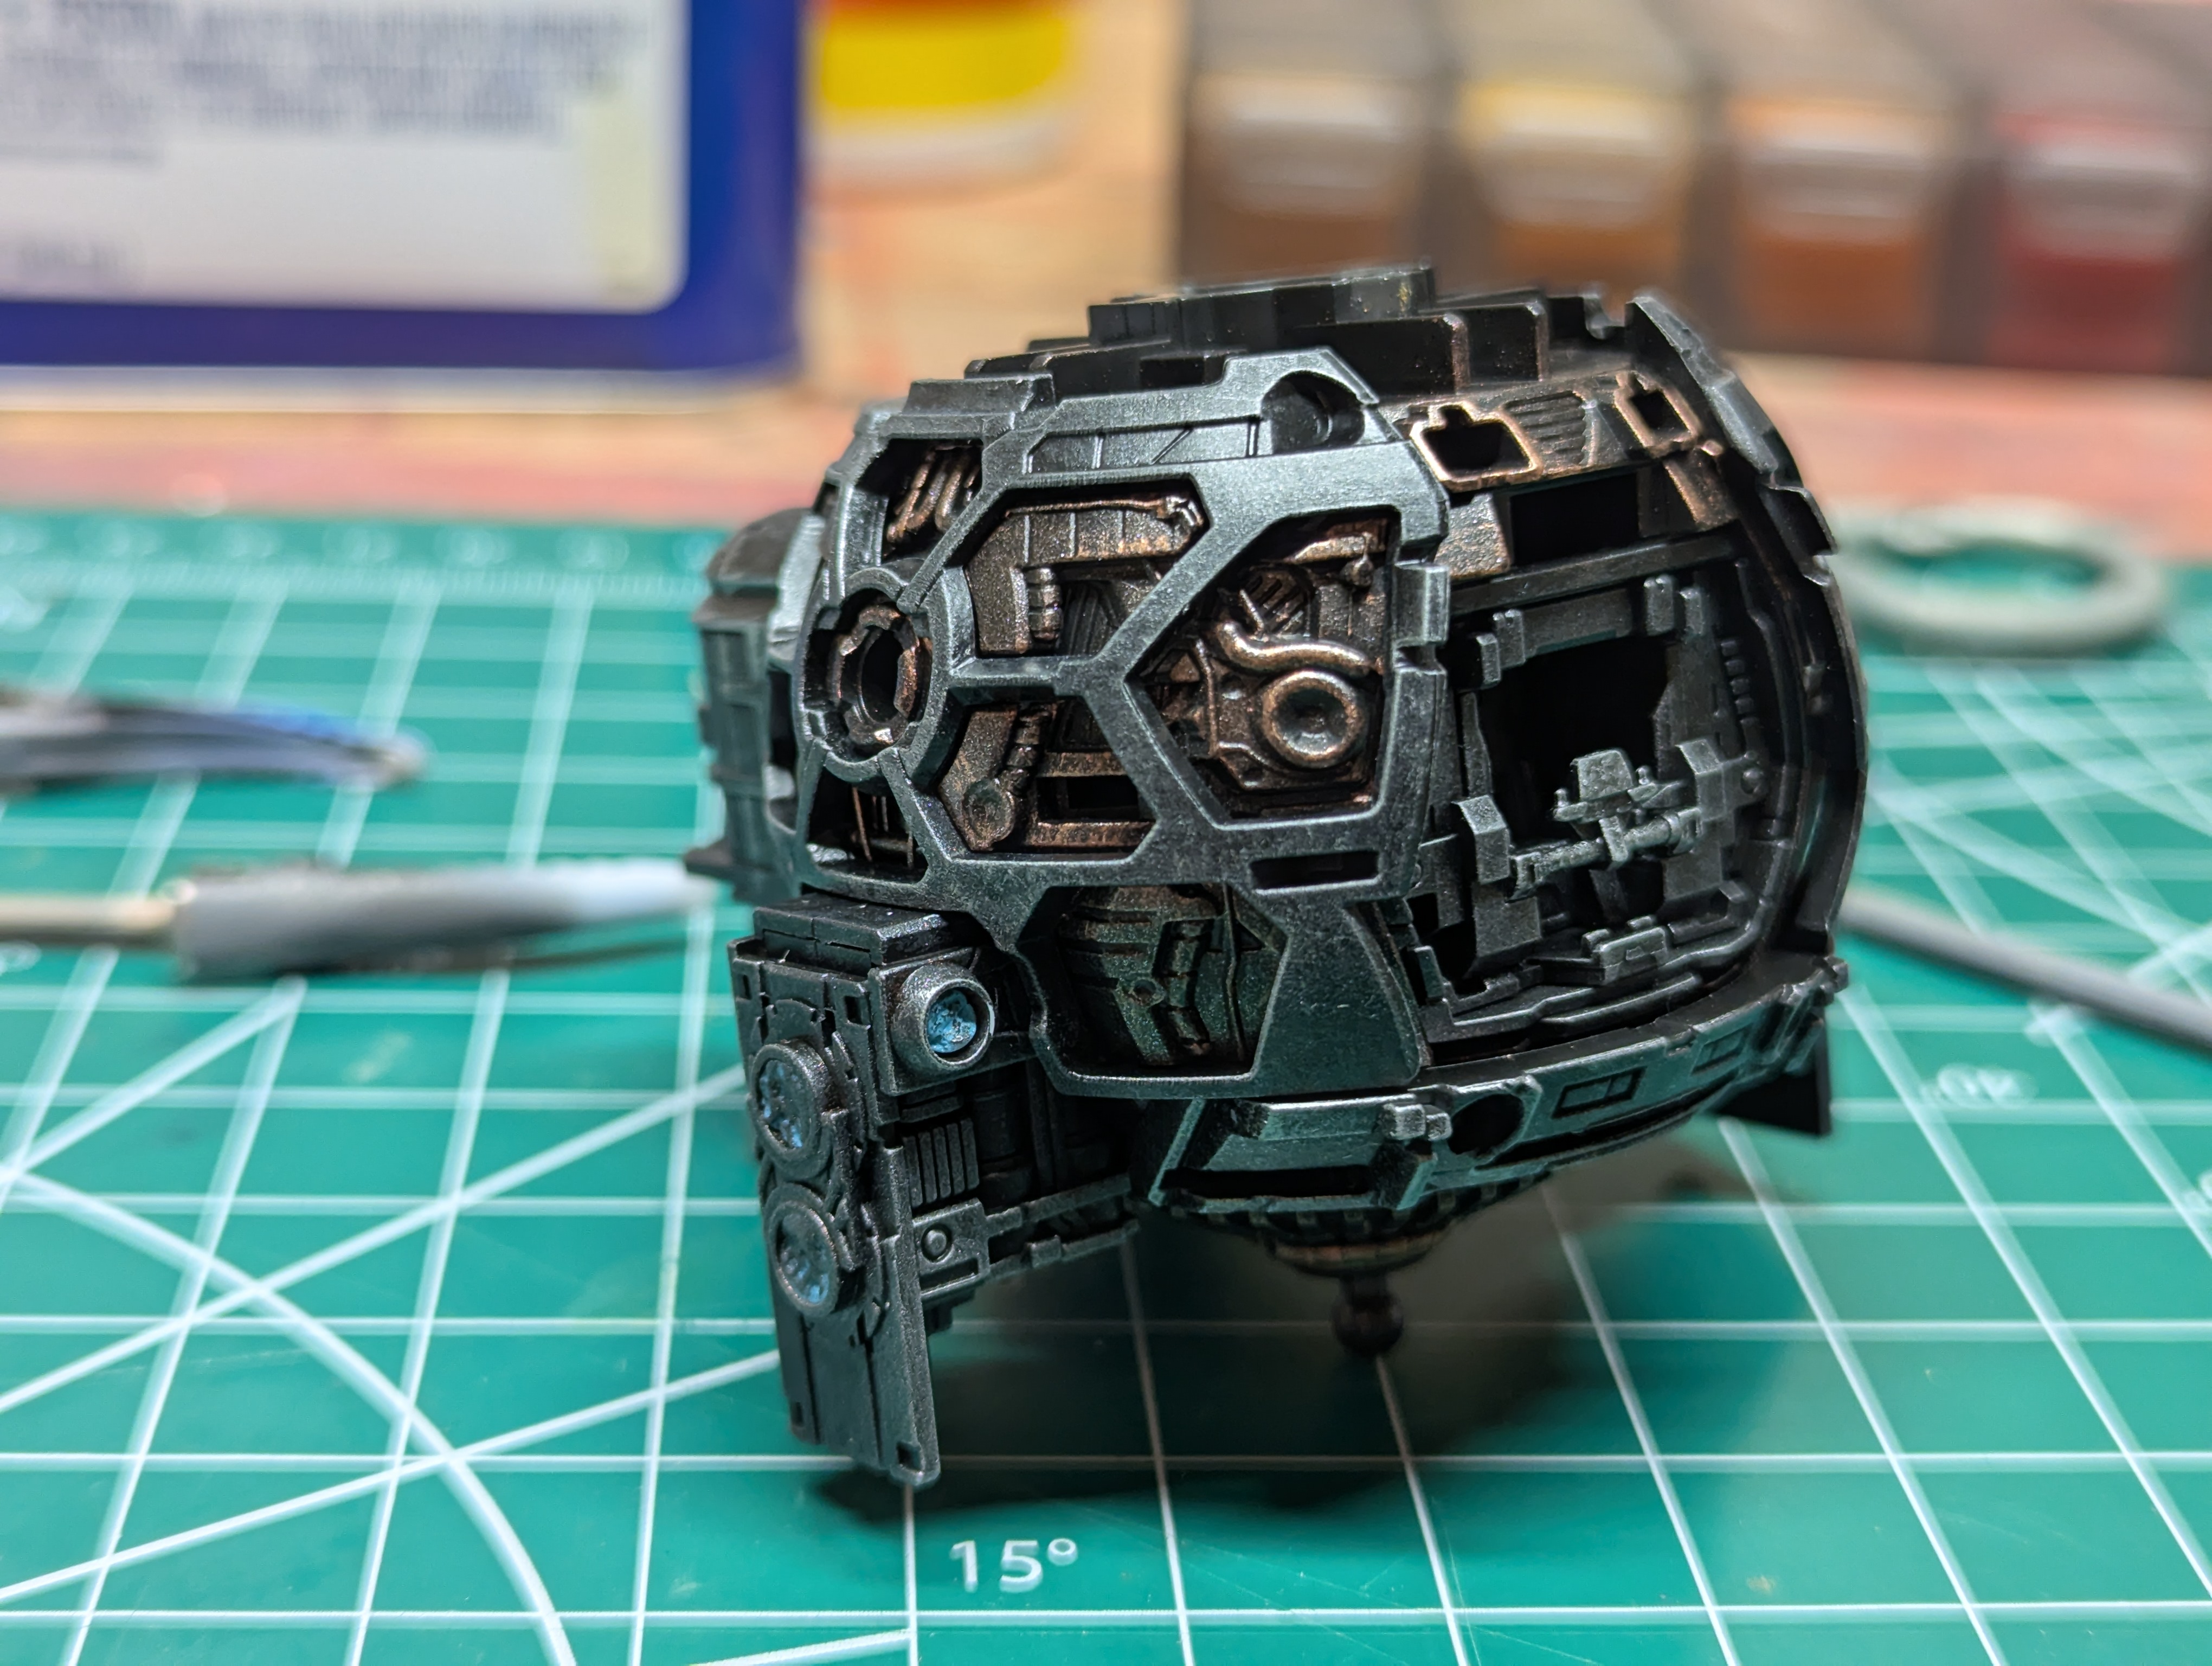
Test fitting after completing the drybrushing parts of the frame. I think I overdid the brushing on the silver pieces, but the result is still great I think. One of the main simplifations I wanted to make with this process was eliminating panel lining from the frame - and this totally succeeds there, which will make future builds a lot more efficient.
Most of the copper will be covered here (well, almost all of this will be covered depending on how it's displayed - we'll cross that bridge later) - but I think this is okay. I conceptualized the copper as representing pipes and other heat management hardware used by the machine, and the steel as the otherwise dominant metal used. There's actually some very nerdy debate over the realism of shading metallics like this for scale models - I think the general consensus is that almost all of this material would be painted in reality, especially for machines used in atmosphere. You never see bare metal on tanks, for instance. But I think the metallics pop really nicely when I see them in other builds, so I think at least being a bit grounded with the materials helps keep it in check.

I used blue tack pretty heavily in the masking for these thruster parts - there were a good deal that needed to be half color corrected after doing the metallic work. These helped complete more of the inner frame.
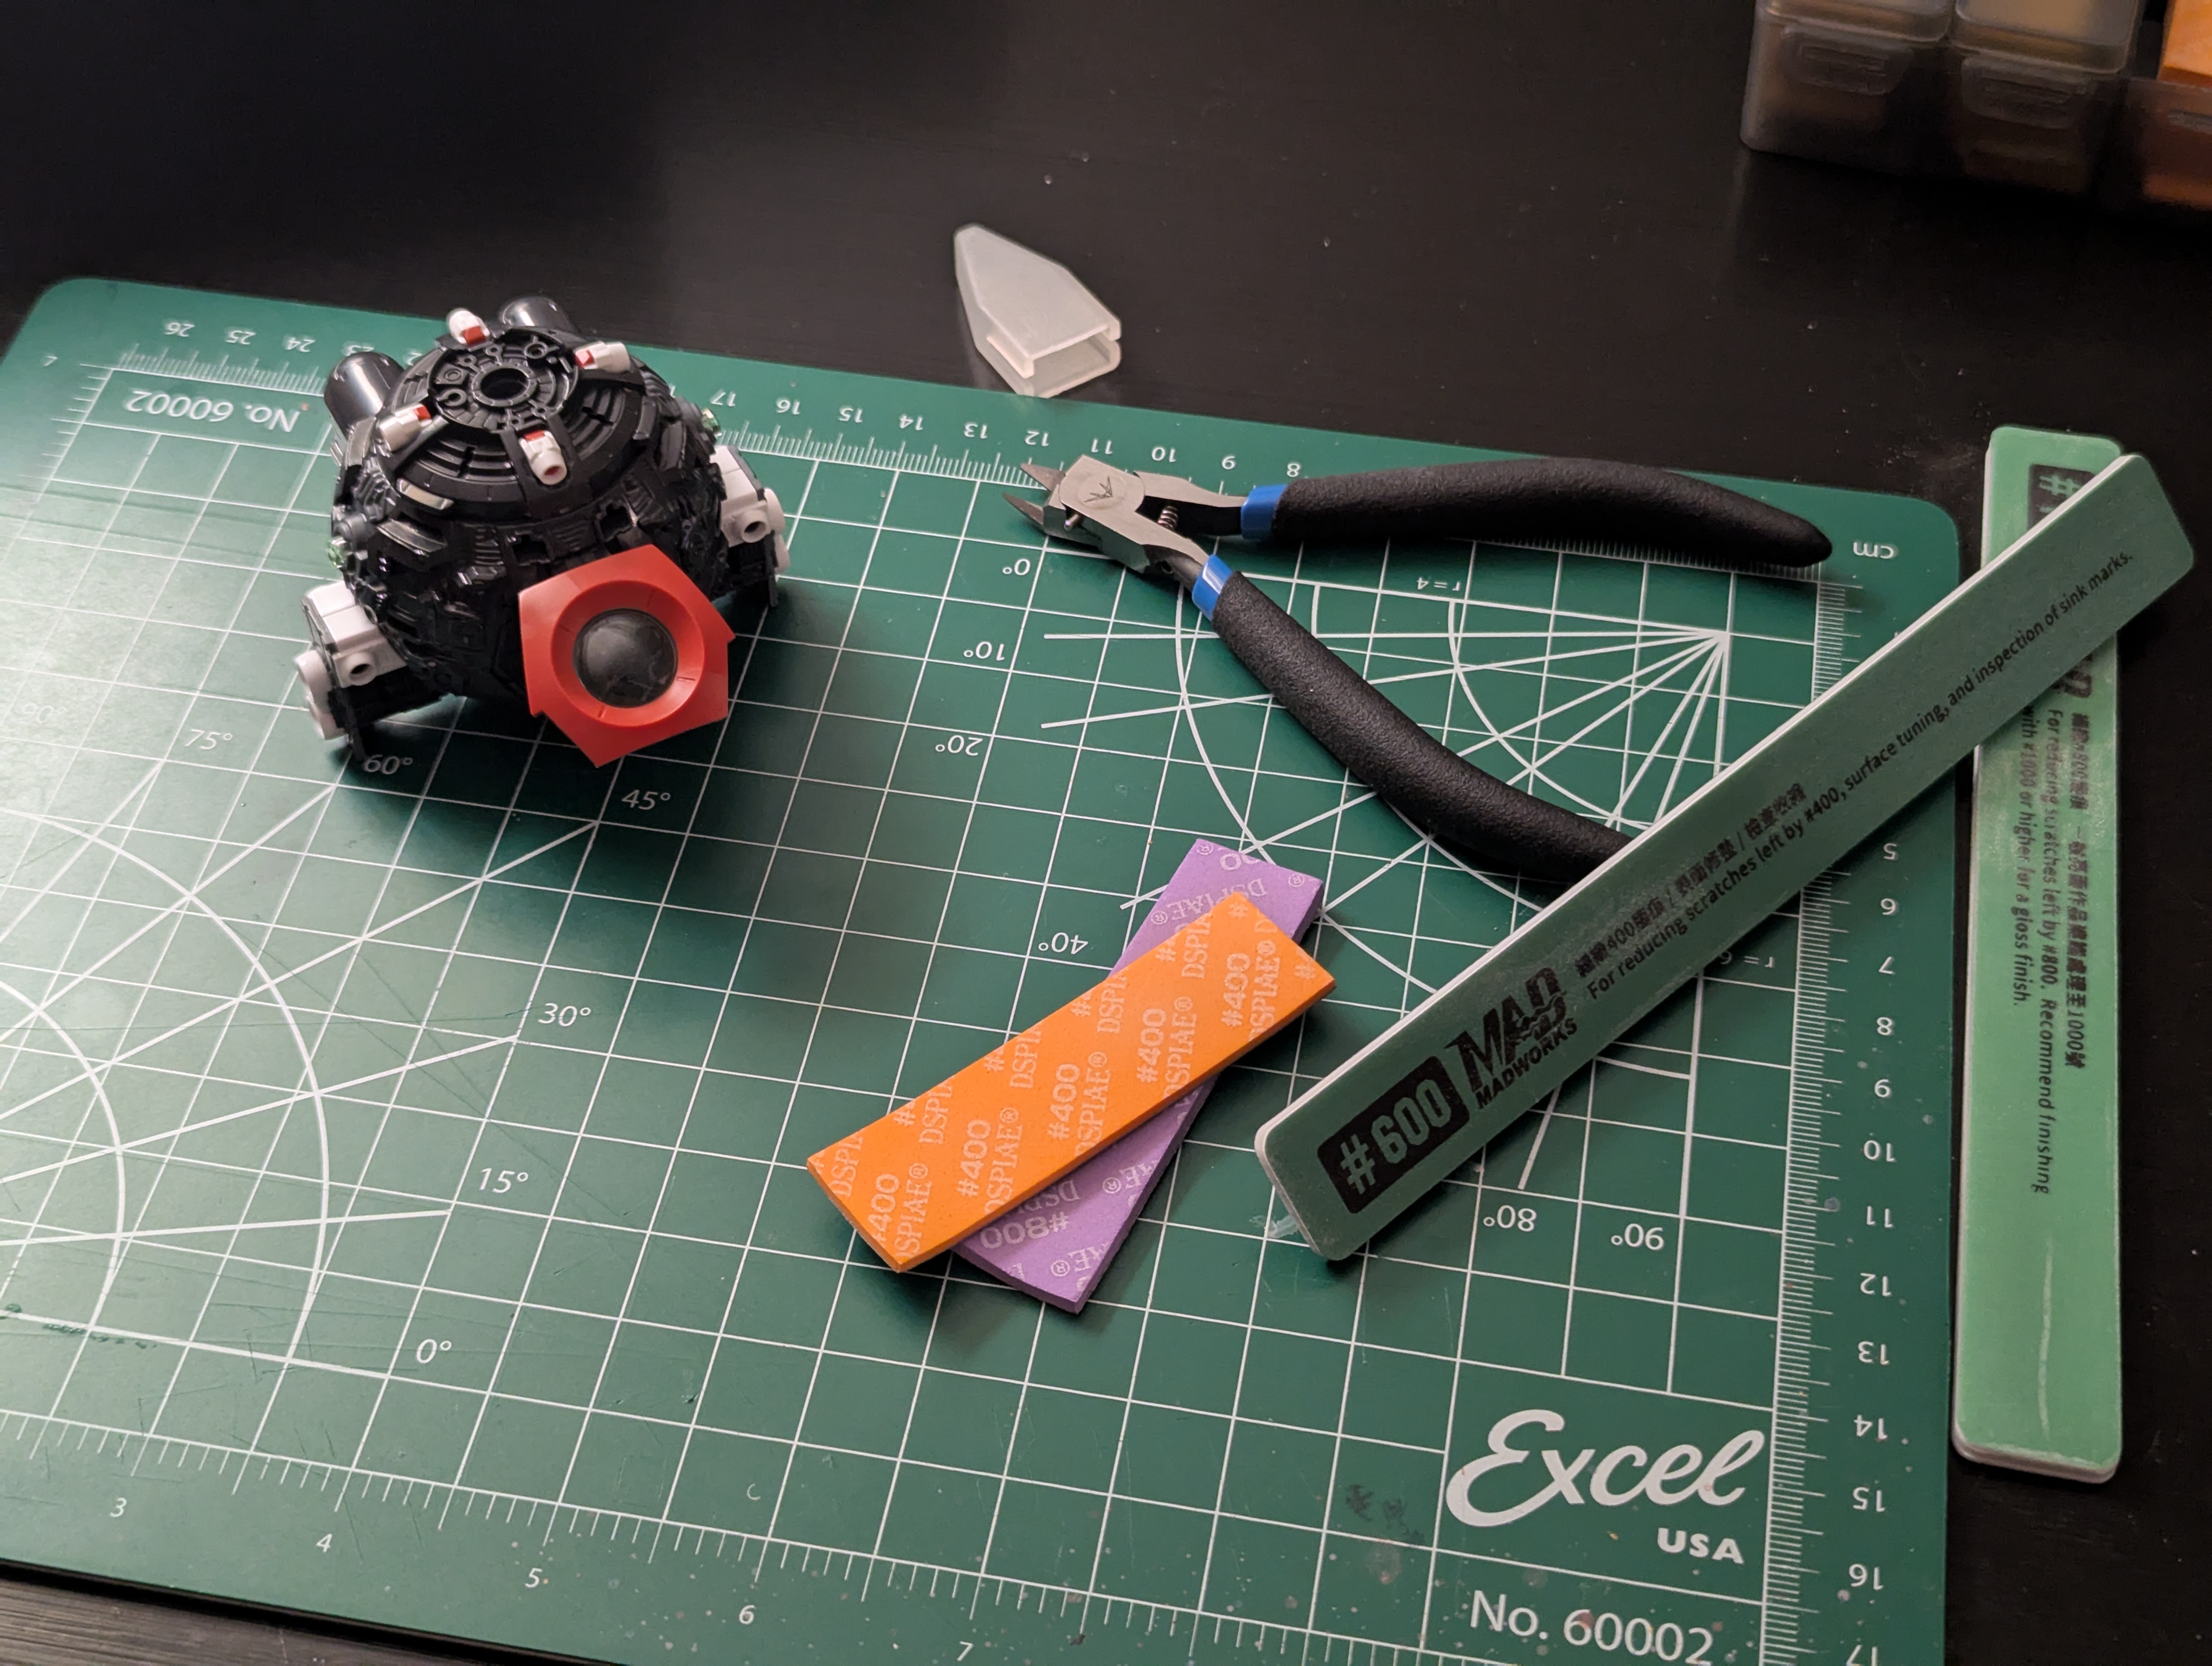
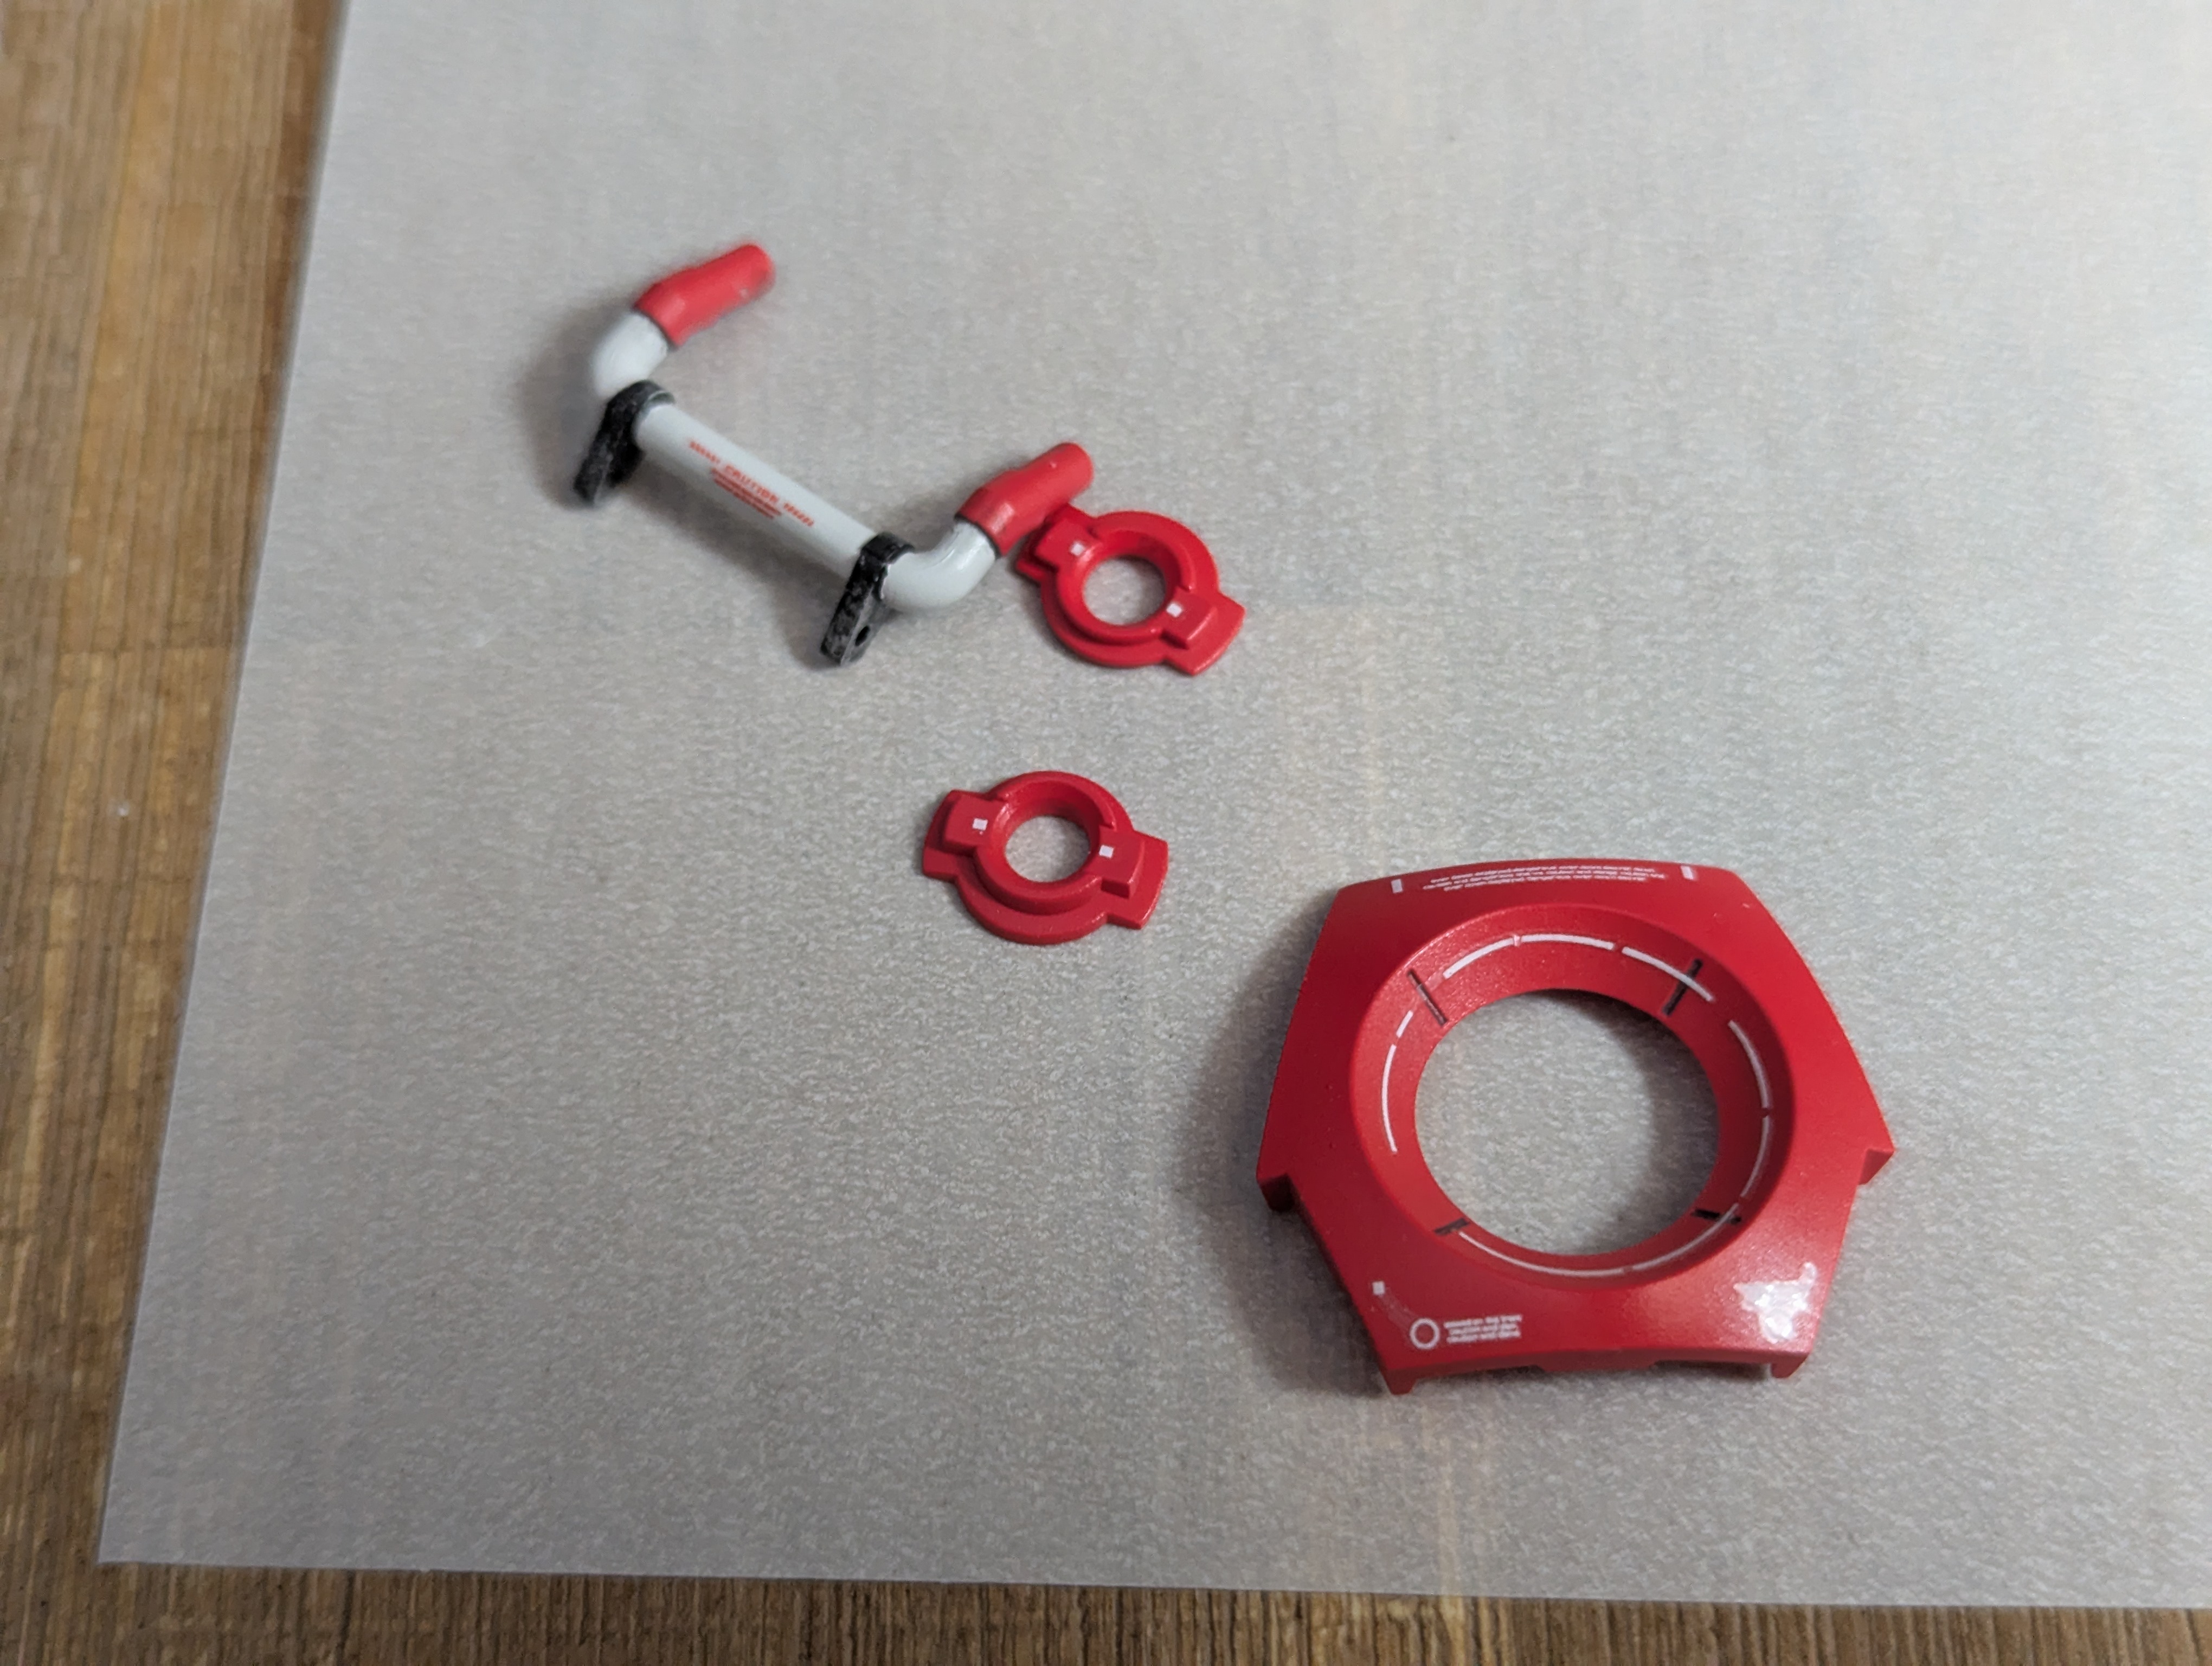
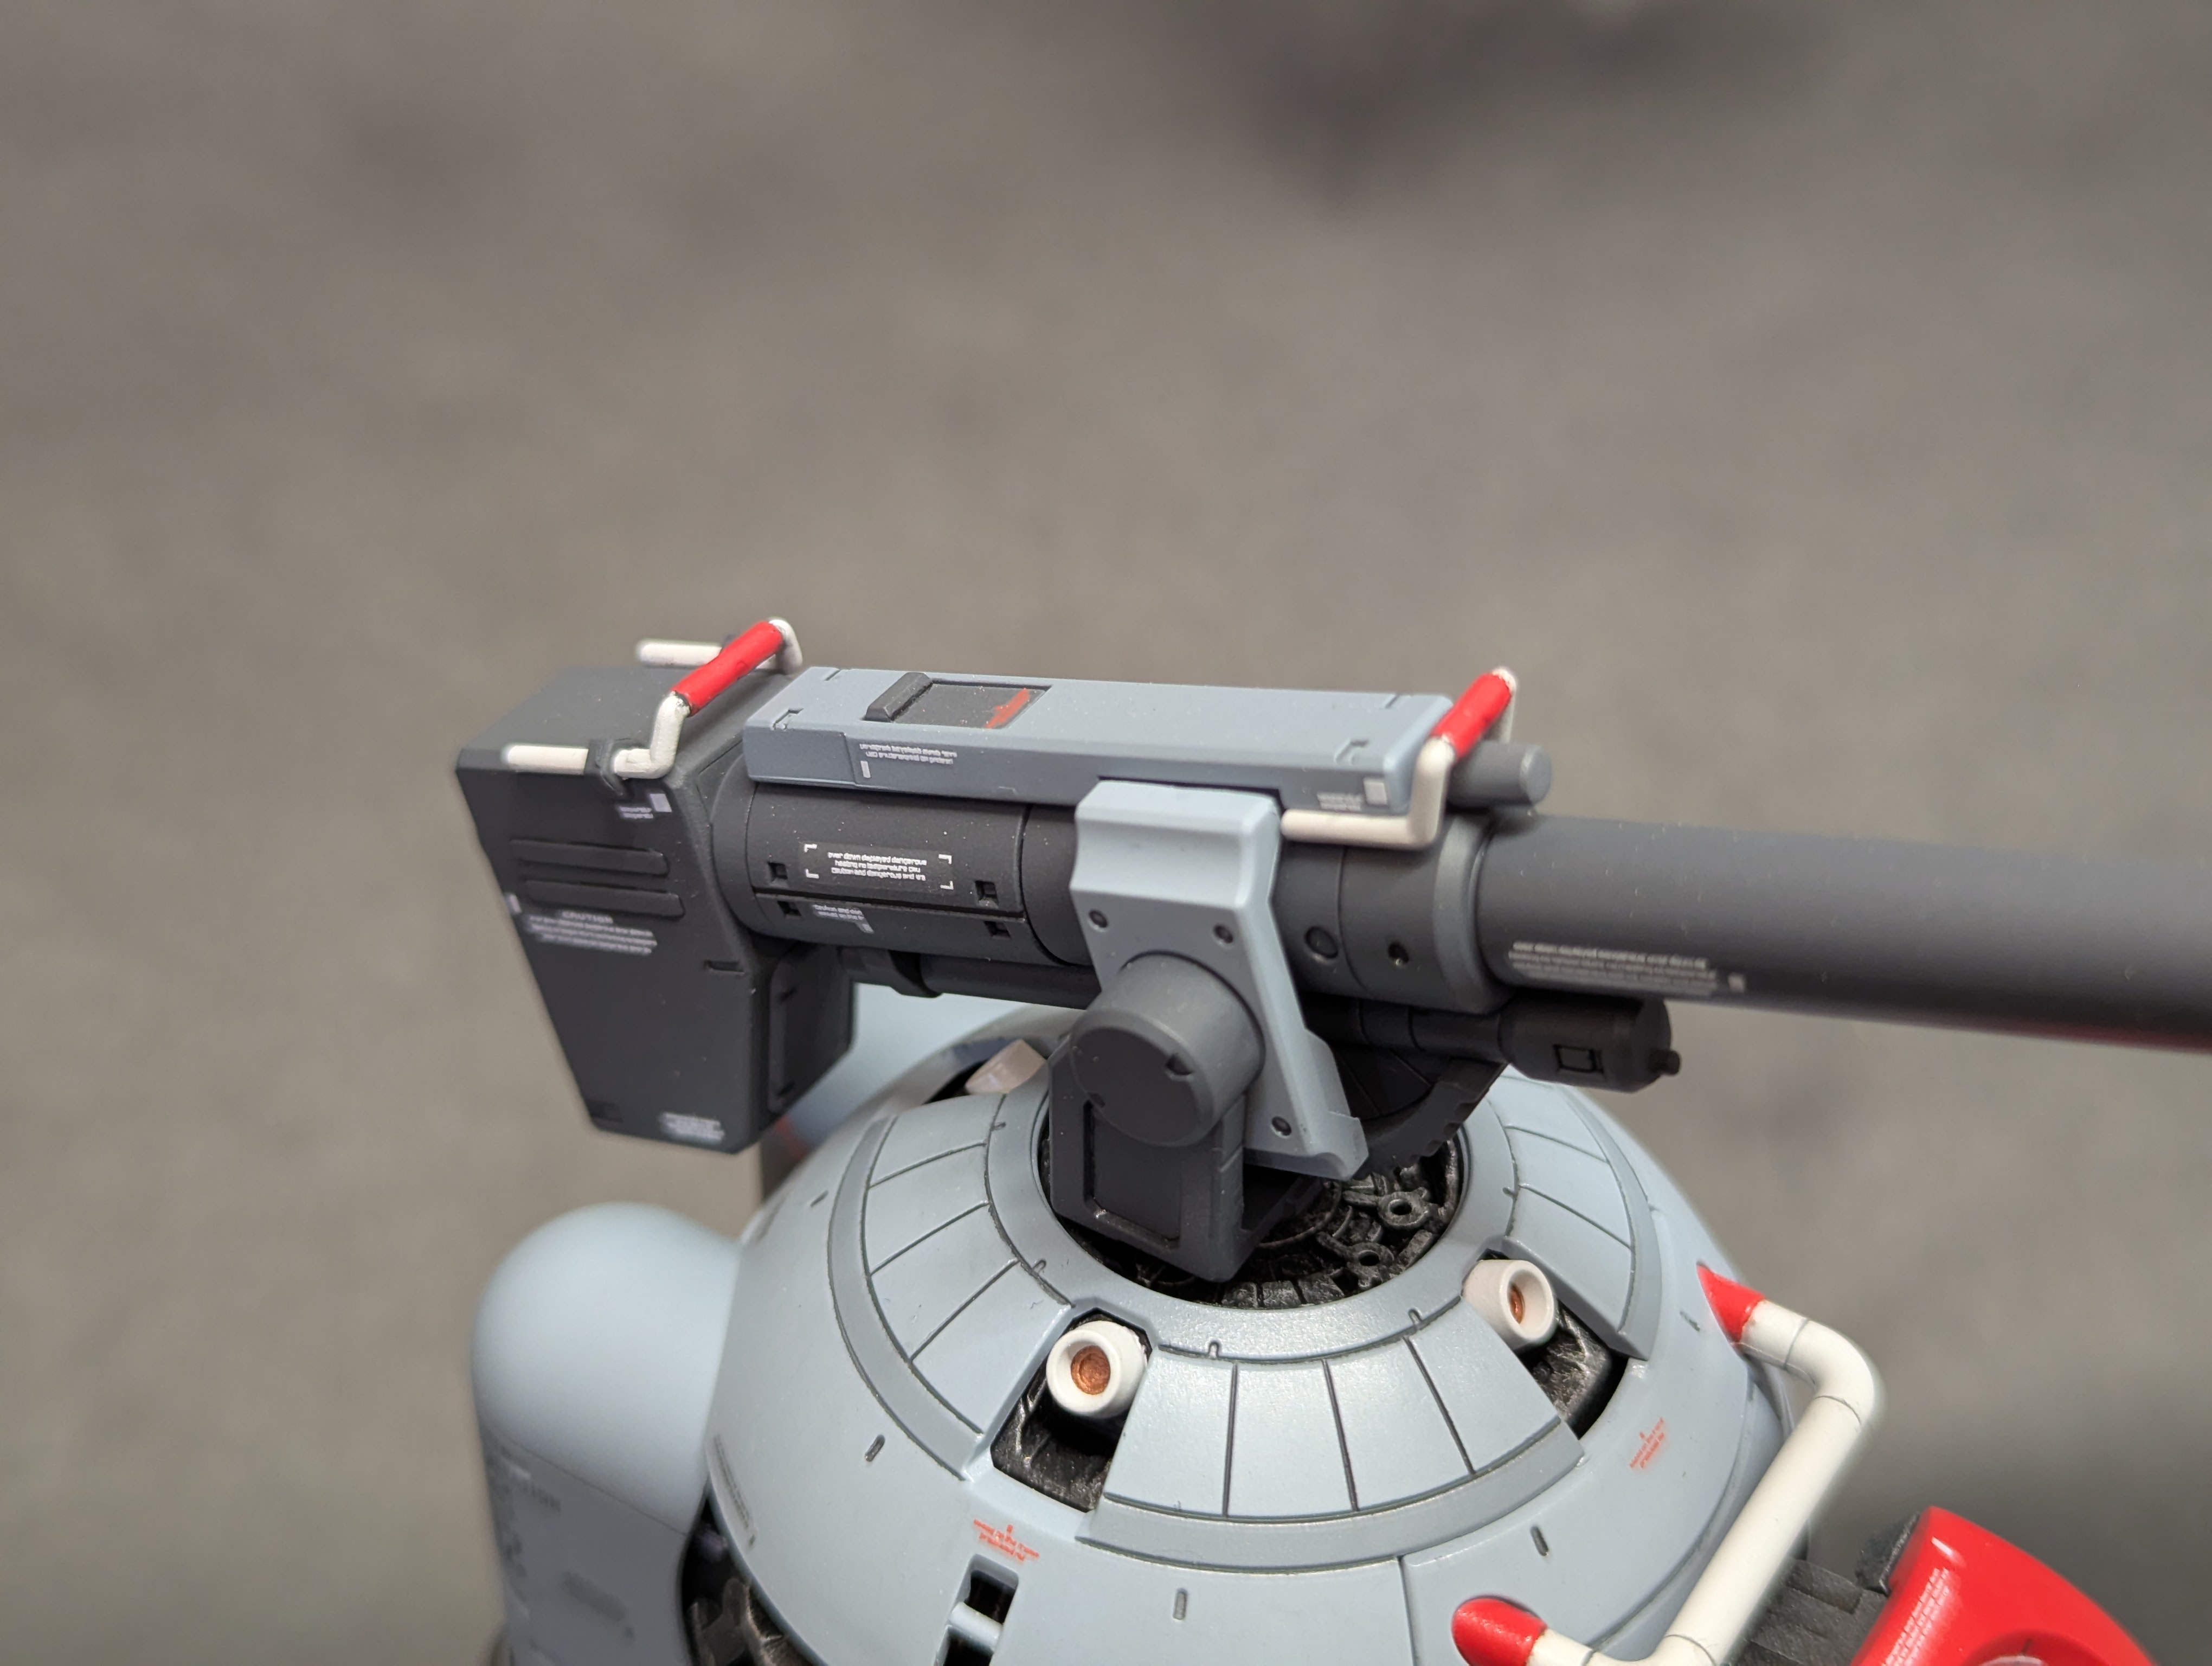
As a final paint step, I did all of the red parts. The base kit only has the windows and top thruster bells molded in red - I added a few other reds in some of the bars that will go into the main body and the cannon. This red was a mix of Mr. Hobby UG12 MS Sazabi Red, Mr. Hobby UG21 RX-78 Yellow Ver. Anime, and NAZCA NC-008 Neutral White. This gave it less intense red that better matches the molded color.
Although this is happening mid-update, I took a break of several months (September 2025 - February 2026) after painting the red parts. You know how it goes. Sometimes the mojo evaporates.
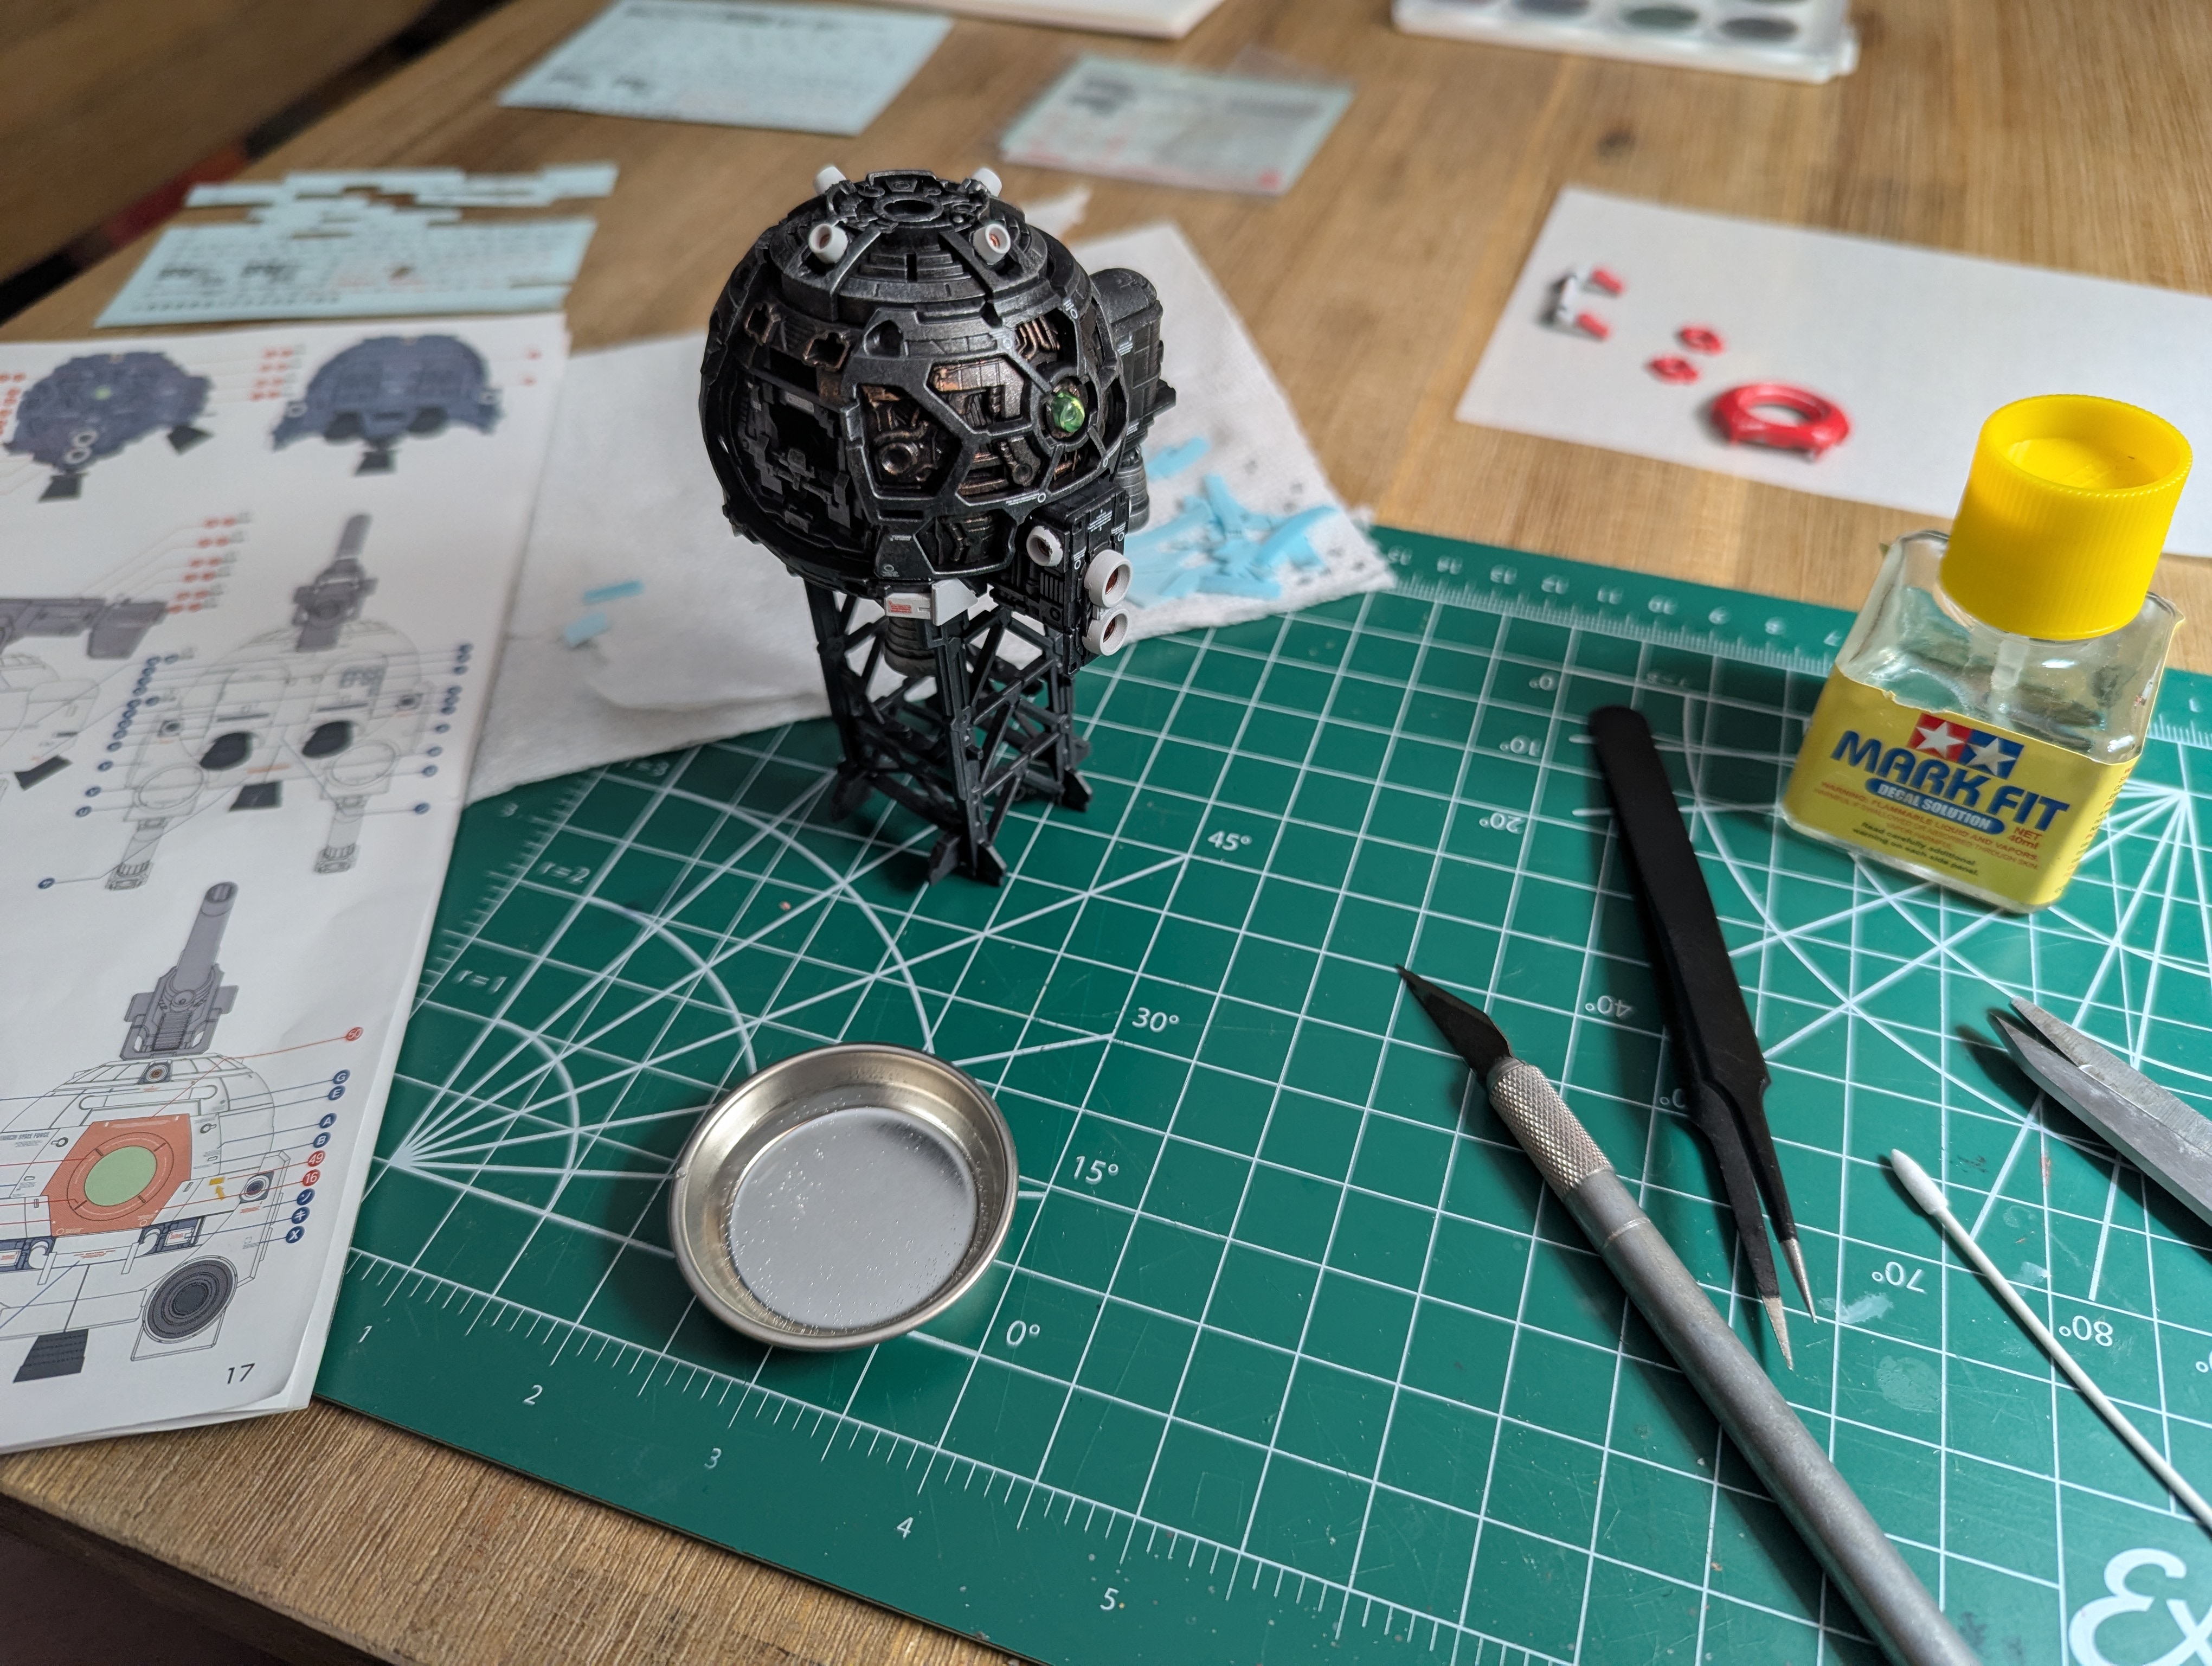
Waterslides are the next step for finishing the inner frame. This set has loads of dry transfer decals and stickers, as Katoki kits are known for - and a good number of them are on these frame pieces which get covered up. Still, I'm a good modeler, and will follow my programming as Katoki-san requires. I ordered third-party waterslides to replace the stickers - and I'll probably use them instead of the dry transfers, too. I just prefer the waterslide process.
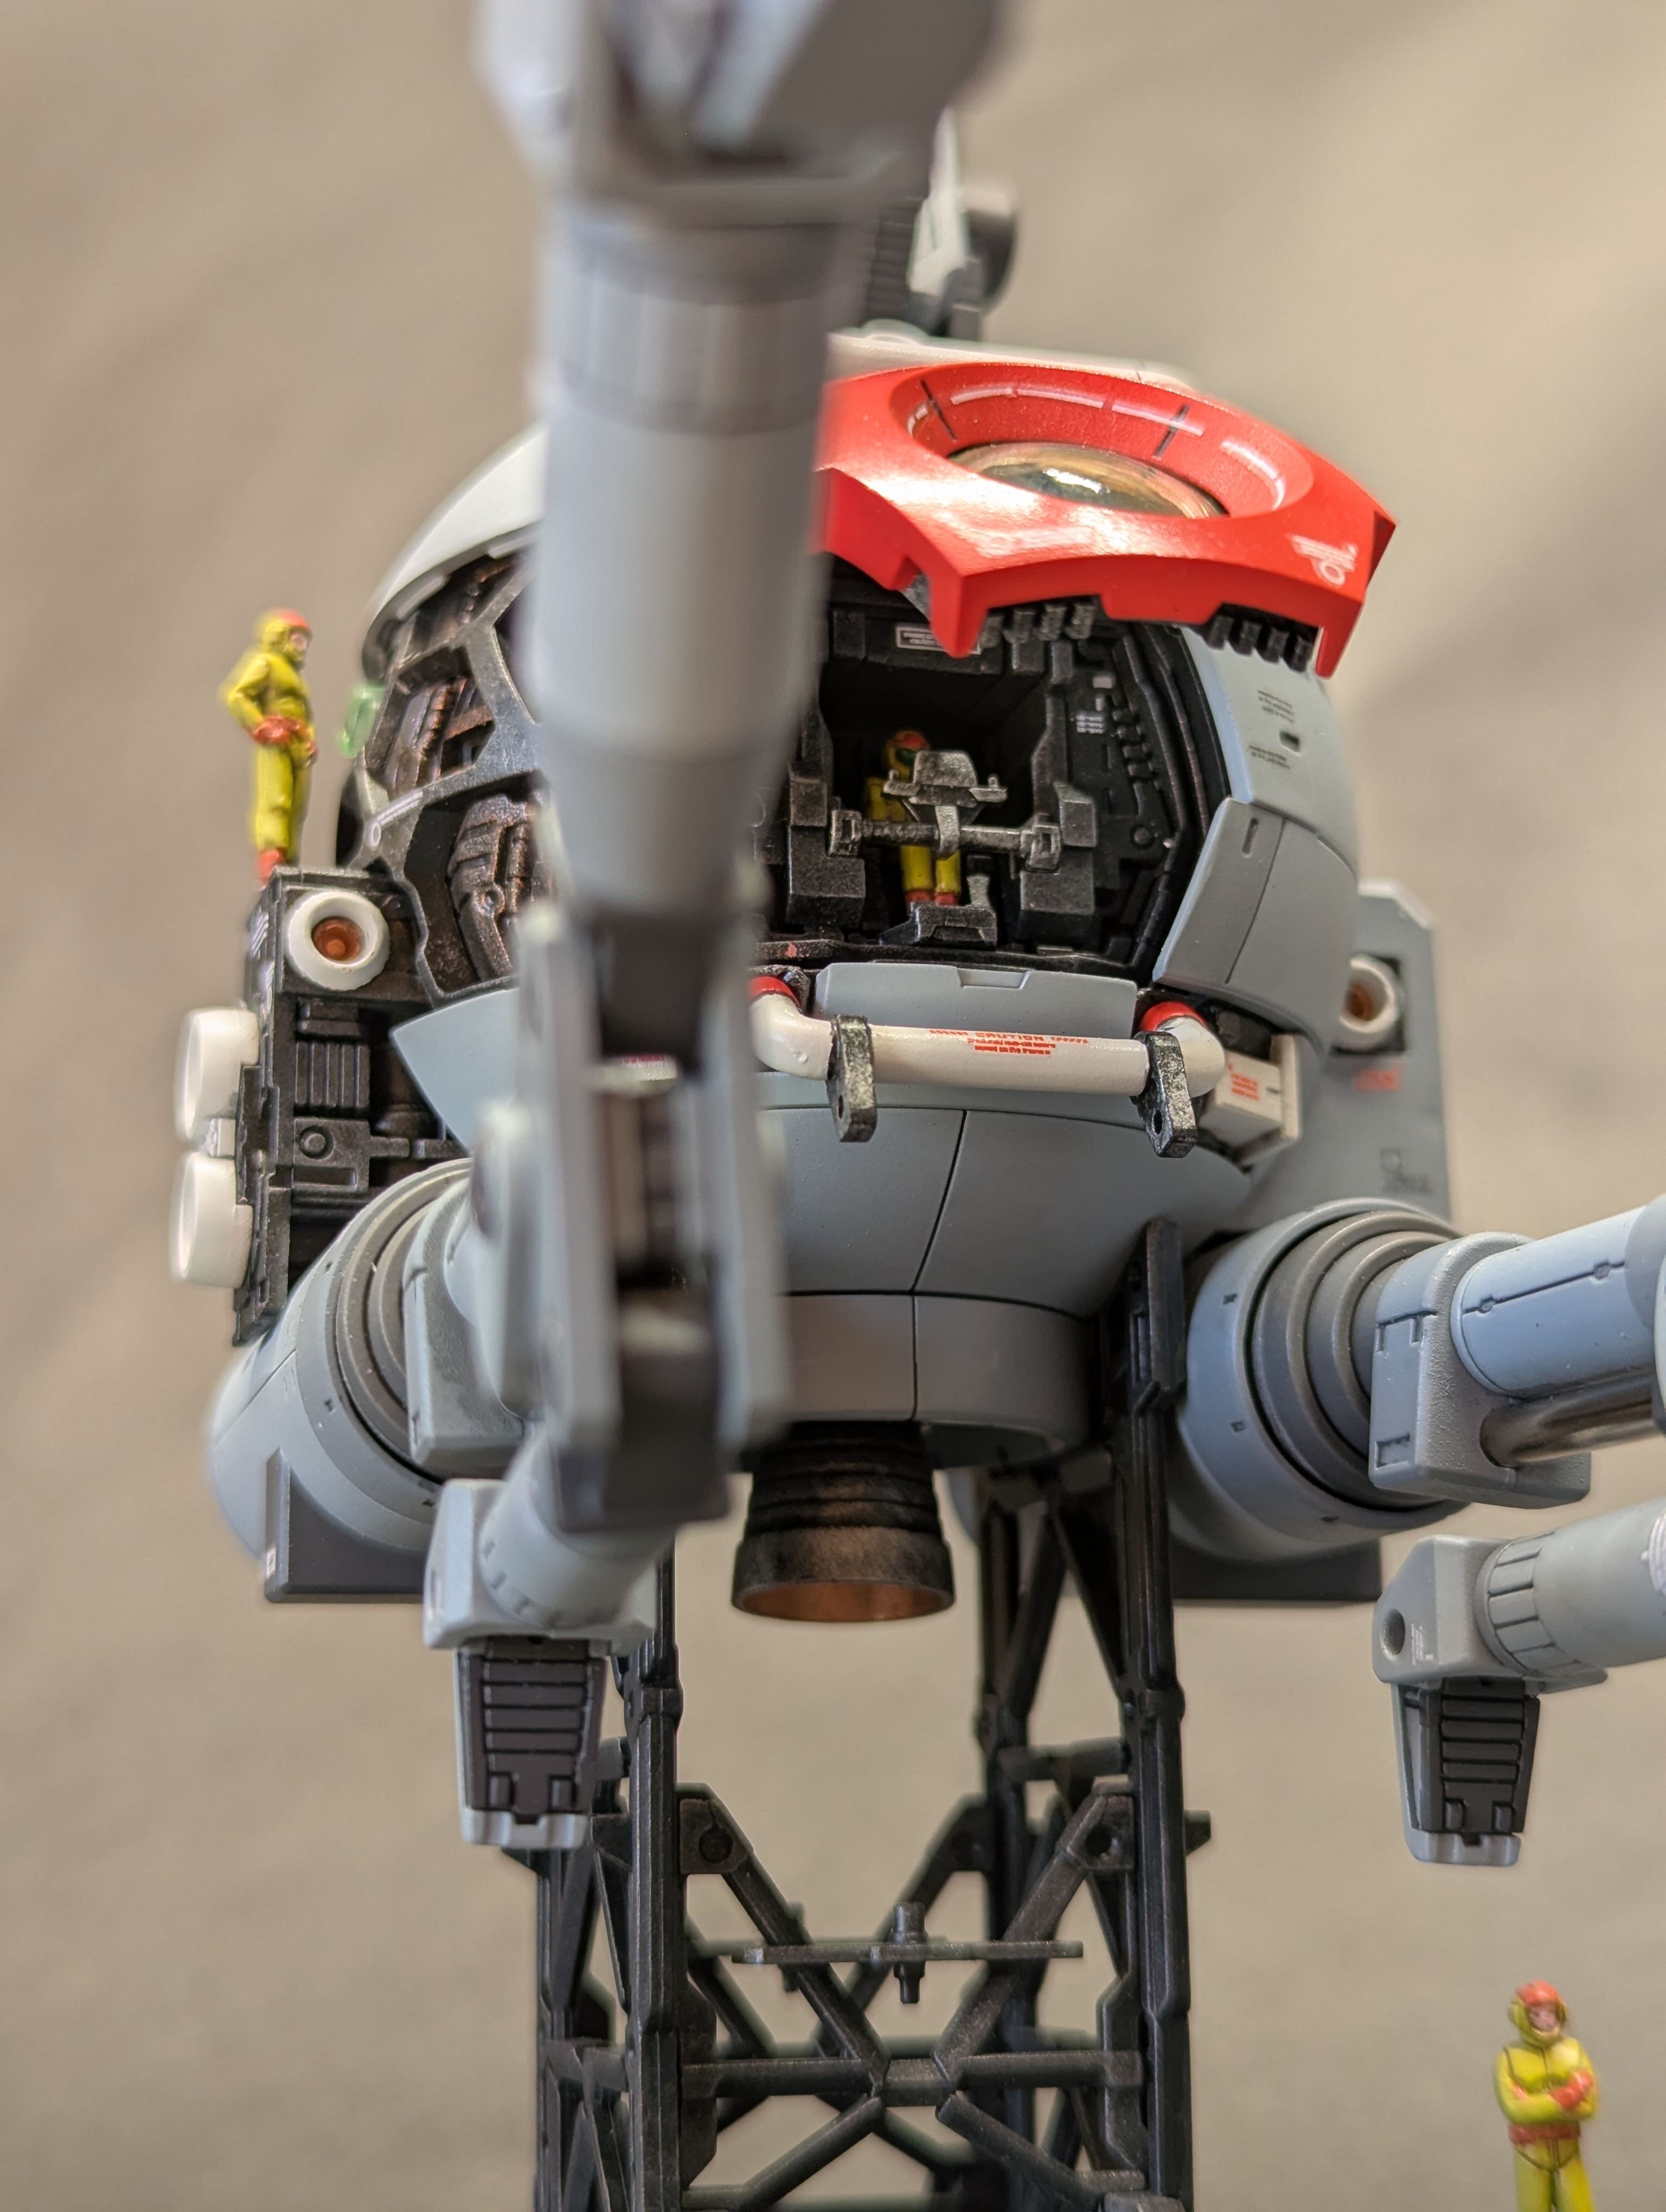
Some close-ups after application. The rings on the cockpit window were
rough to apply, and I didn't do a perfect job in the end - but the rest went on with no issues.
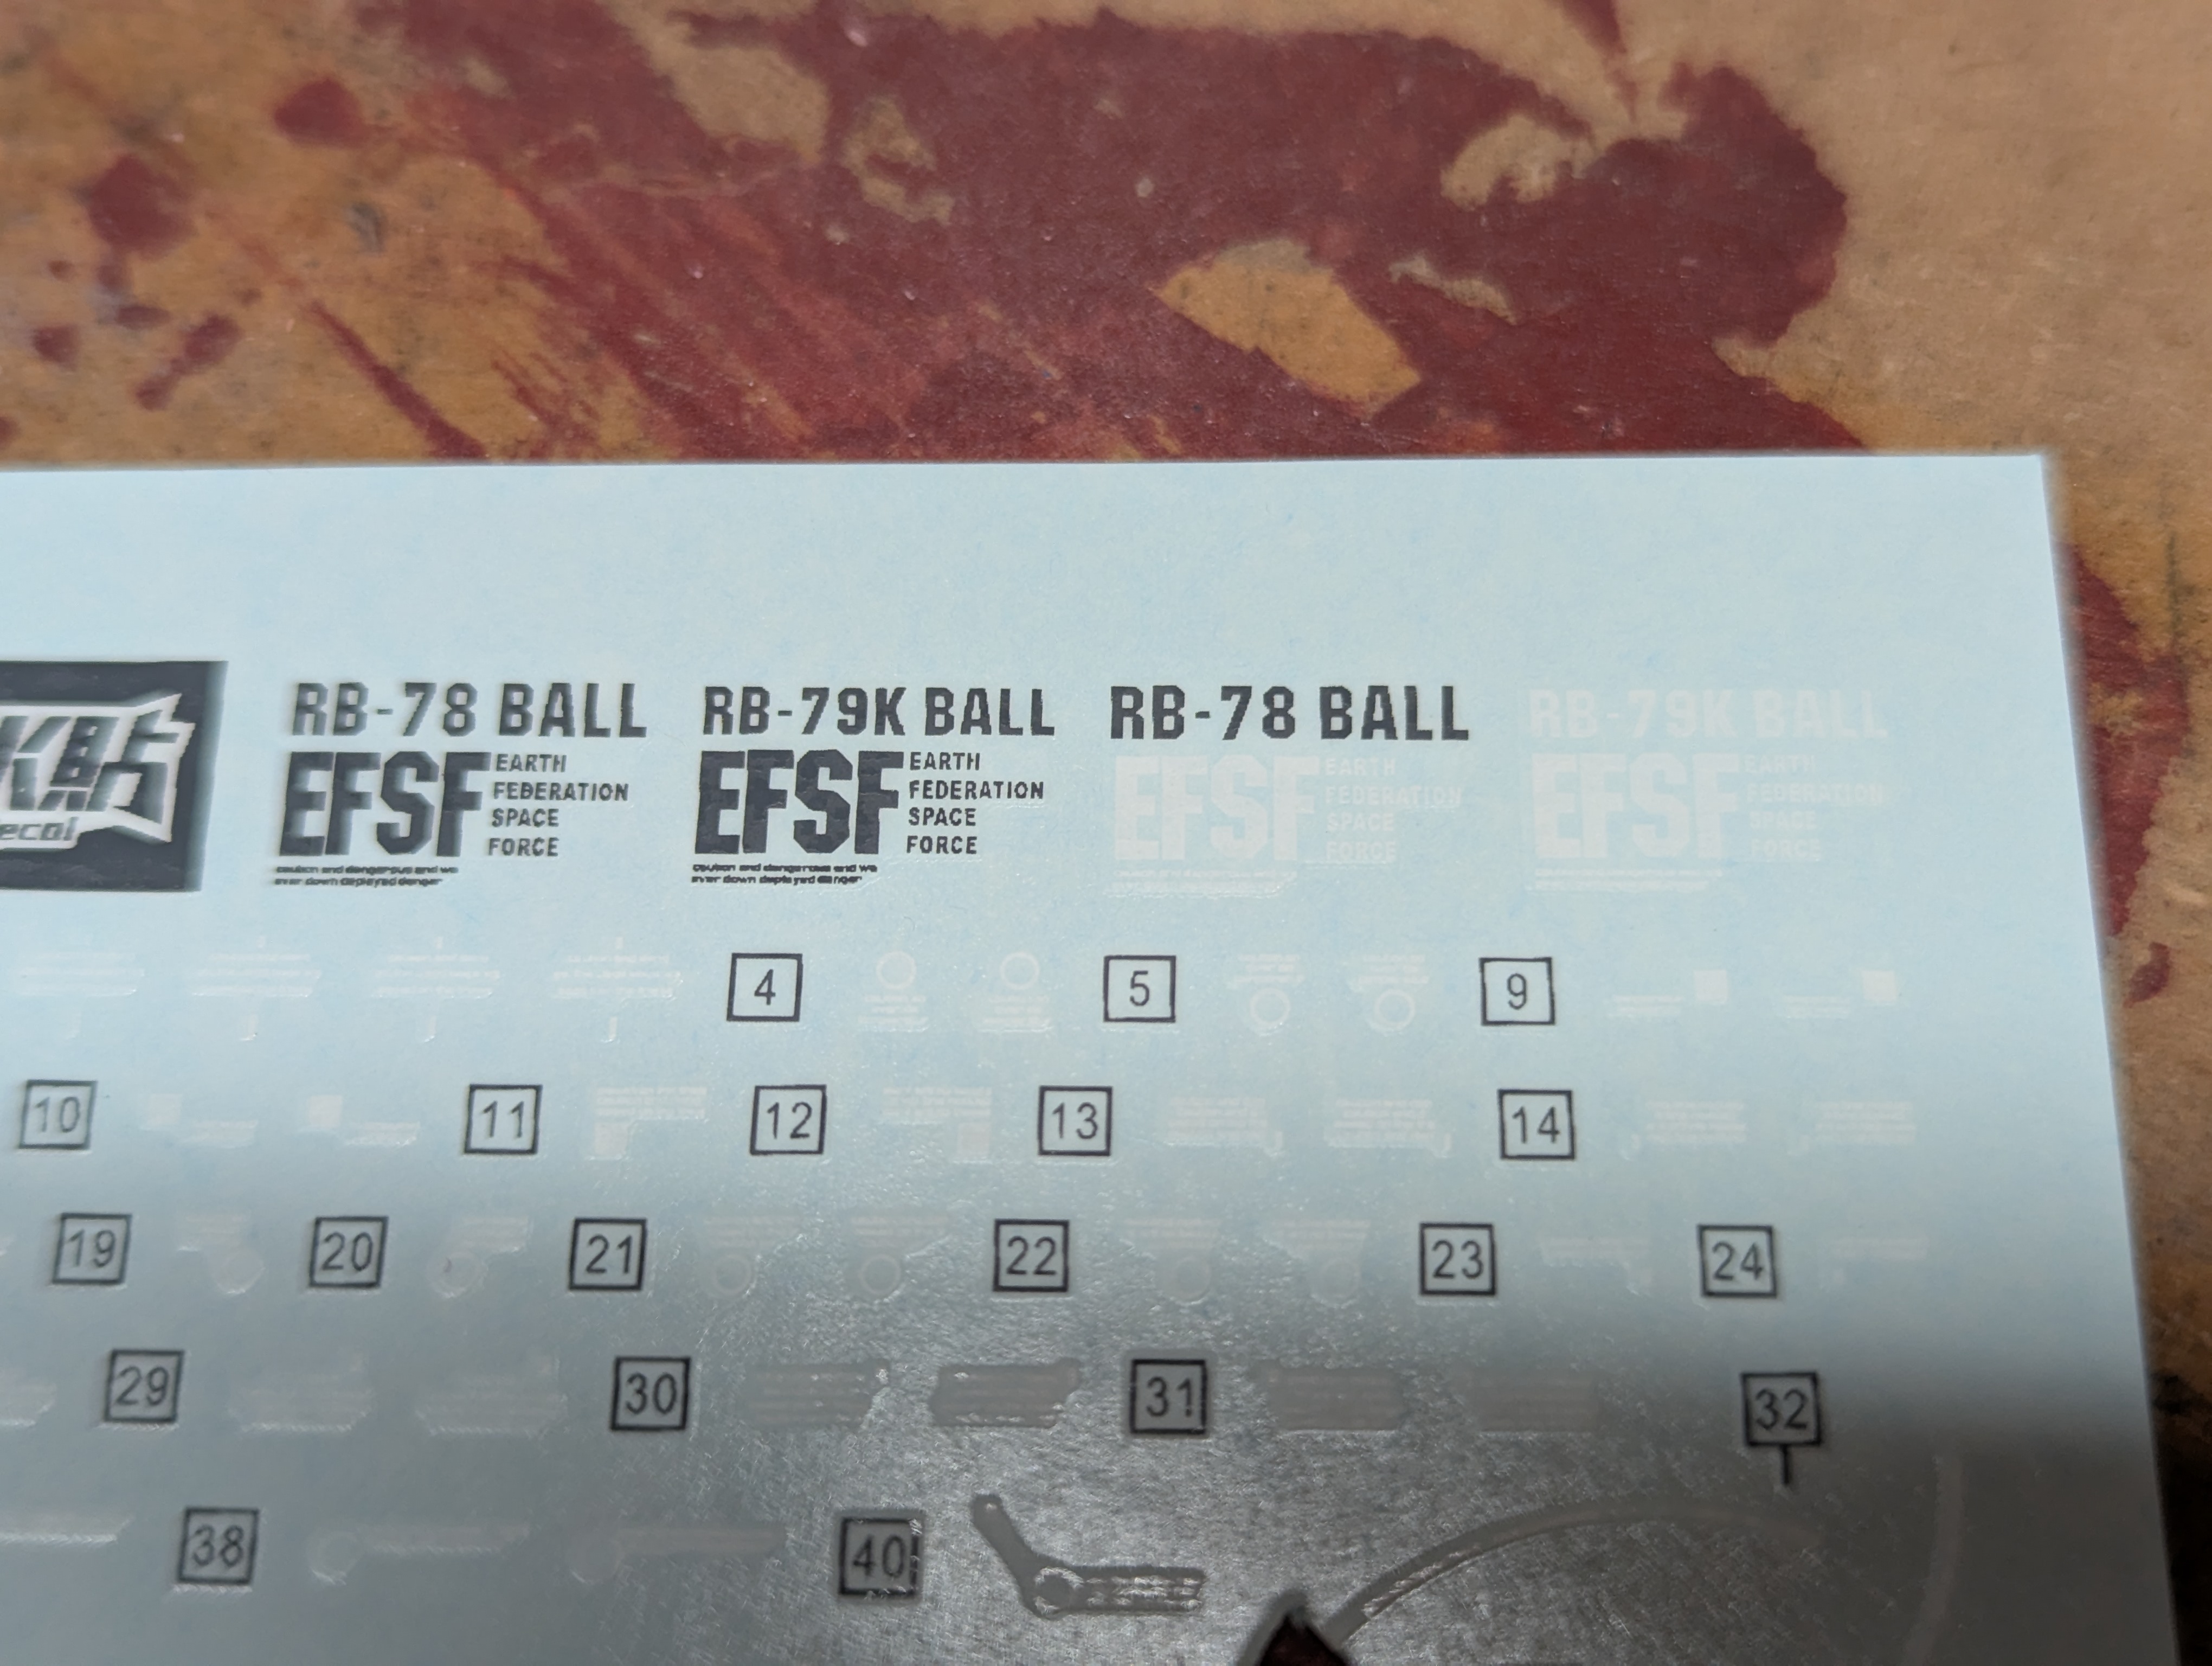
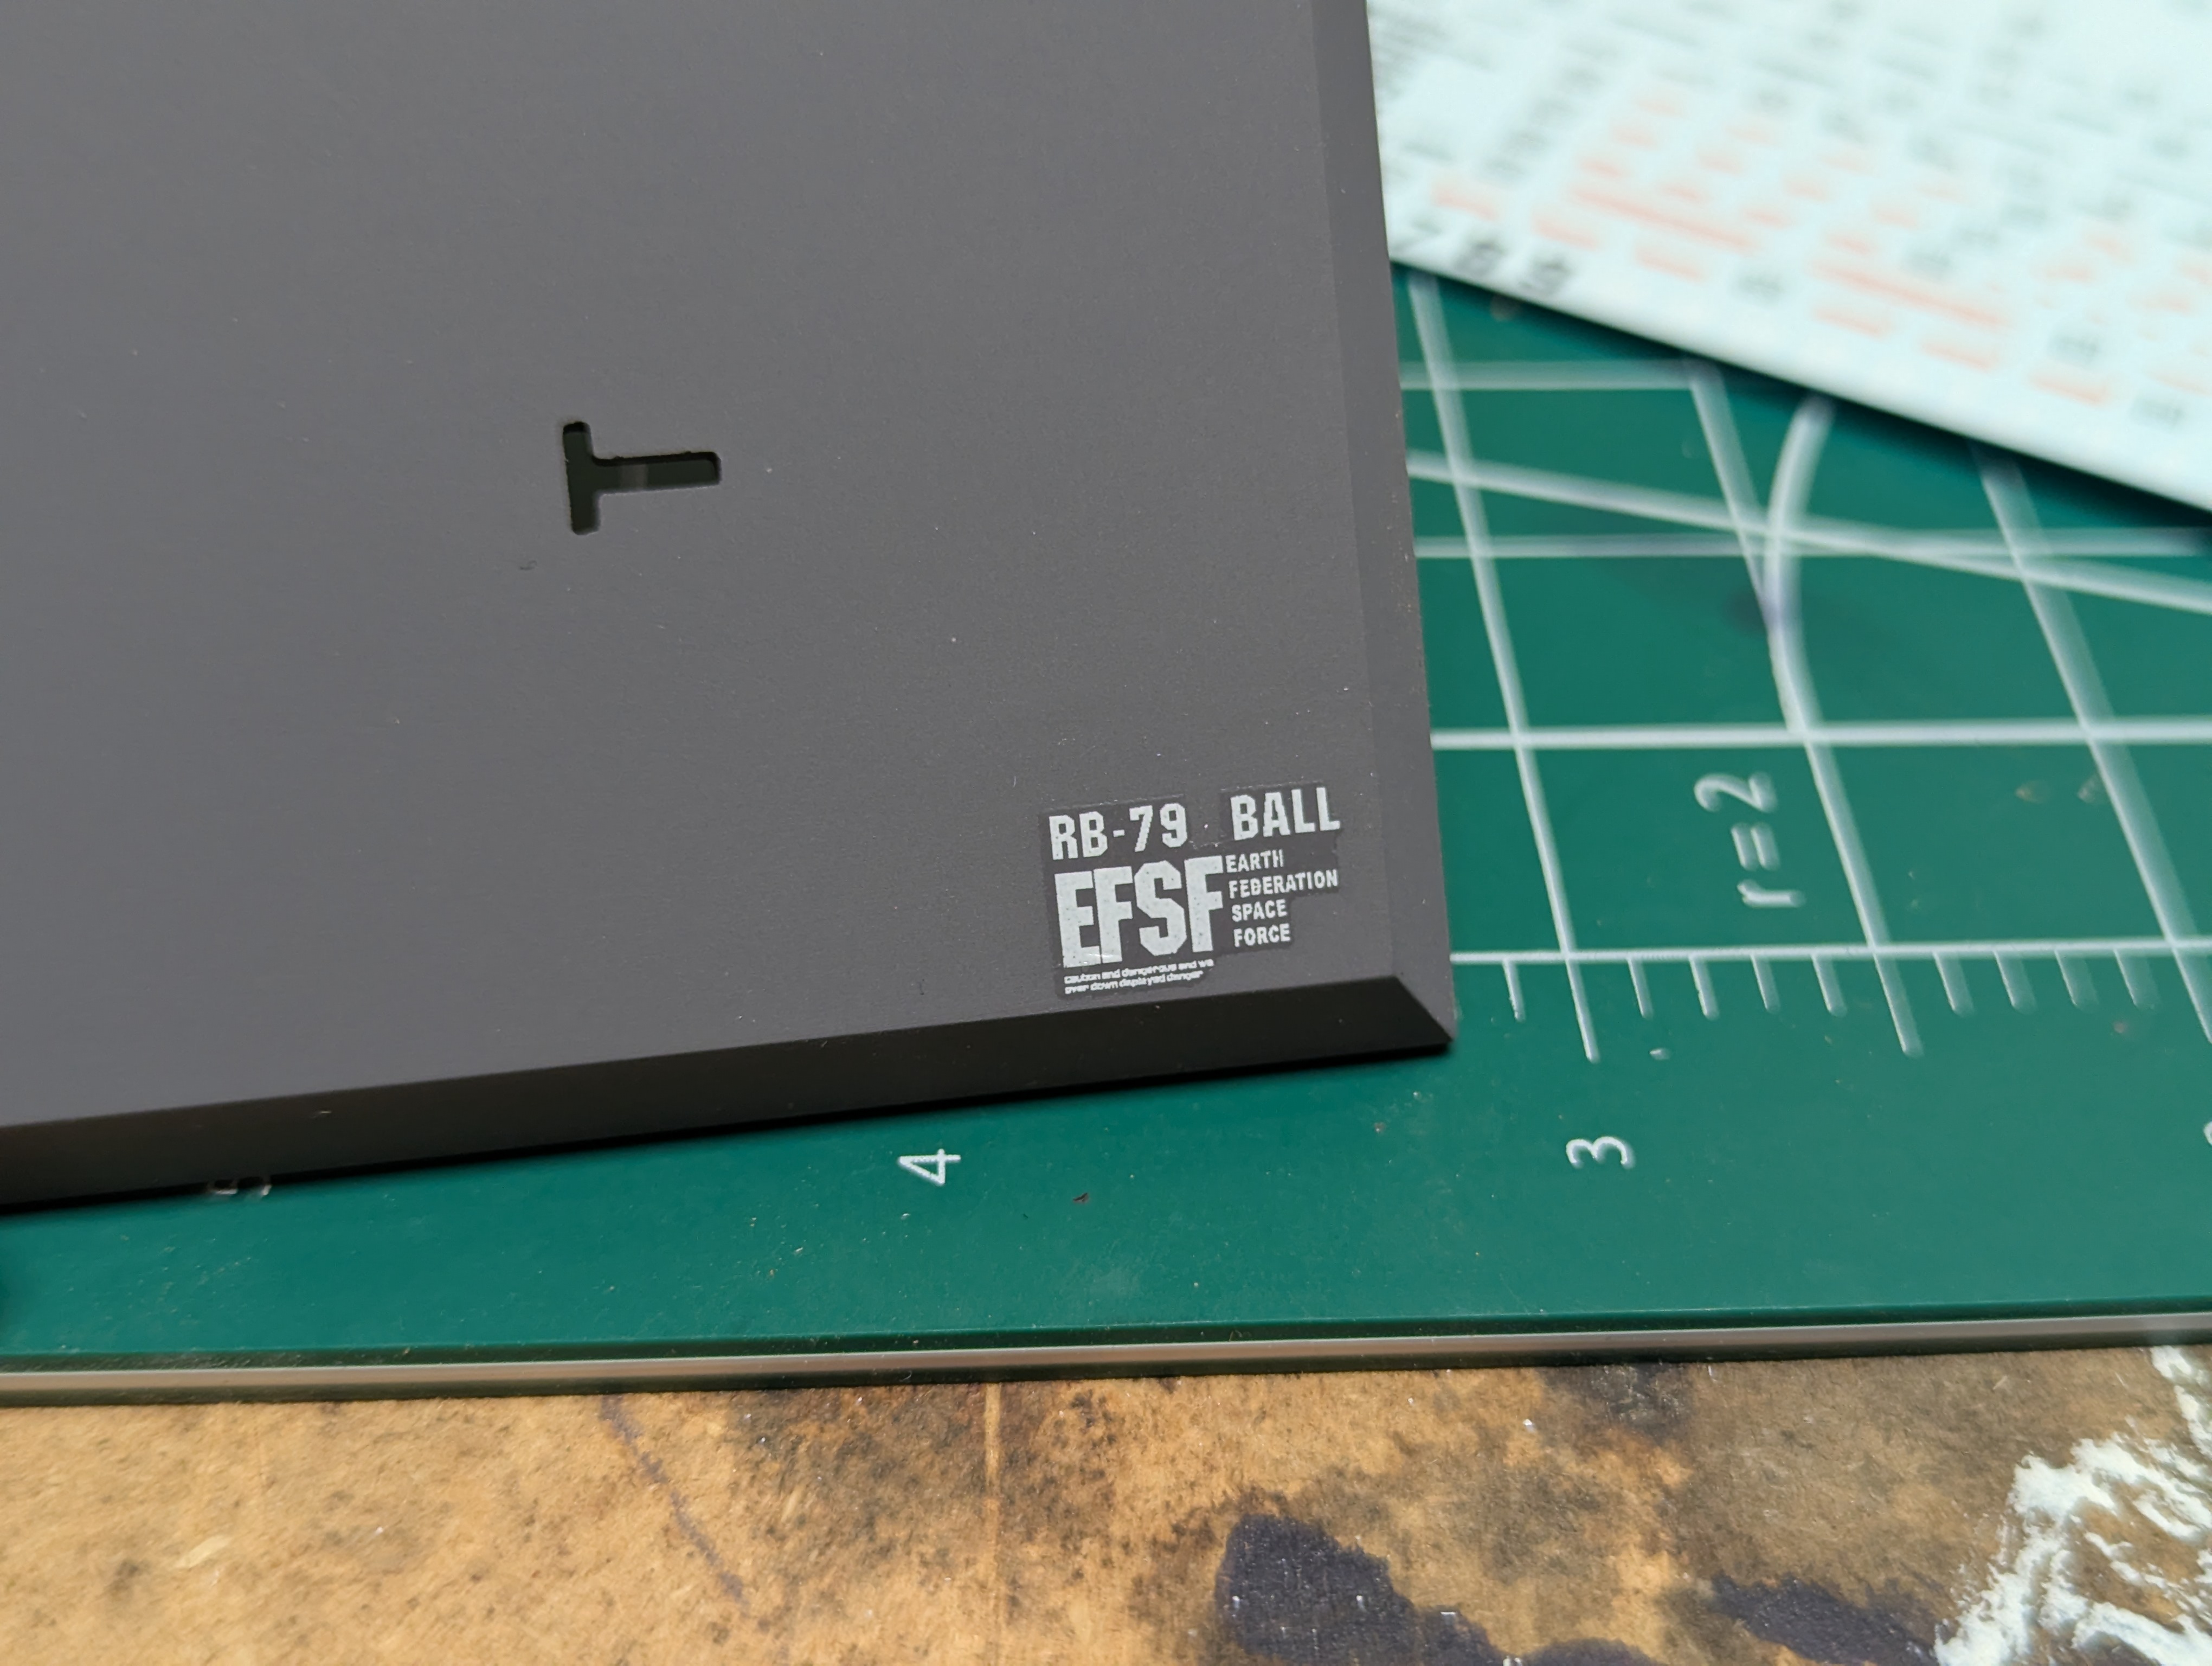
One thing I wanted to do was apply a decal for the kit onto the included stand. This set of waterslides had some extra designator + name decals that were perfect... except the model designator had a typo for "RB-78" instead of "RB-79". It has "RB-79K" for a different configuration of the ball, but no "RB-79". This is exactly the kind of stupid shit that drives me nuts if I notice it, so using either of these was out of the question.
I ended up using a hobby knife to carefully slice the "K" out of one of the decals and applied this to the base. I think a good top-coat will hide the silvering and the space doesn't look to awkward here. Still, hope someone was fired over this blunder.
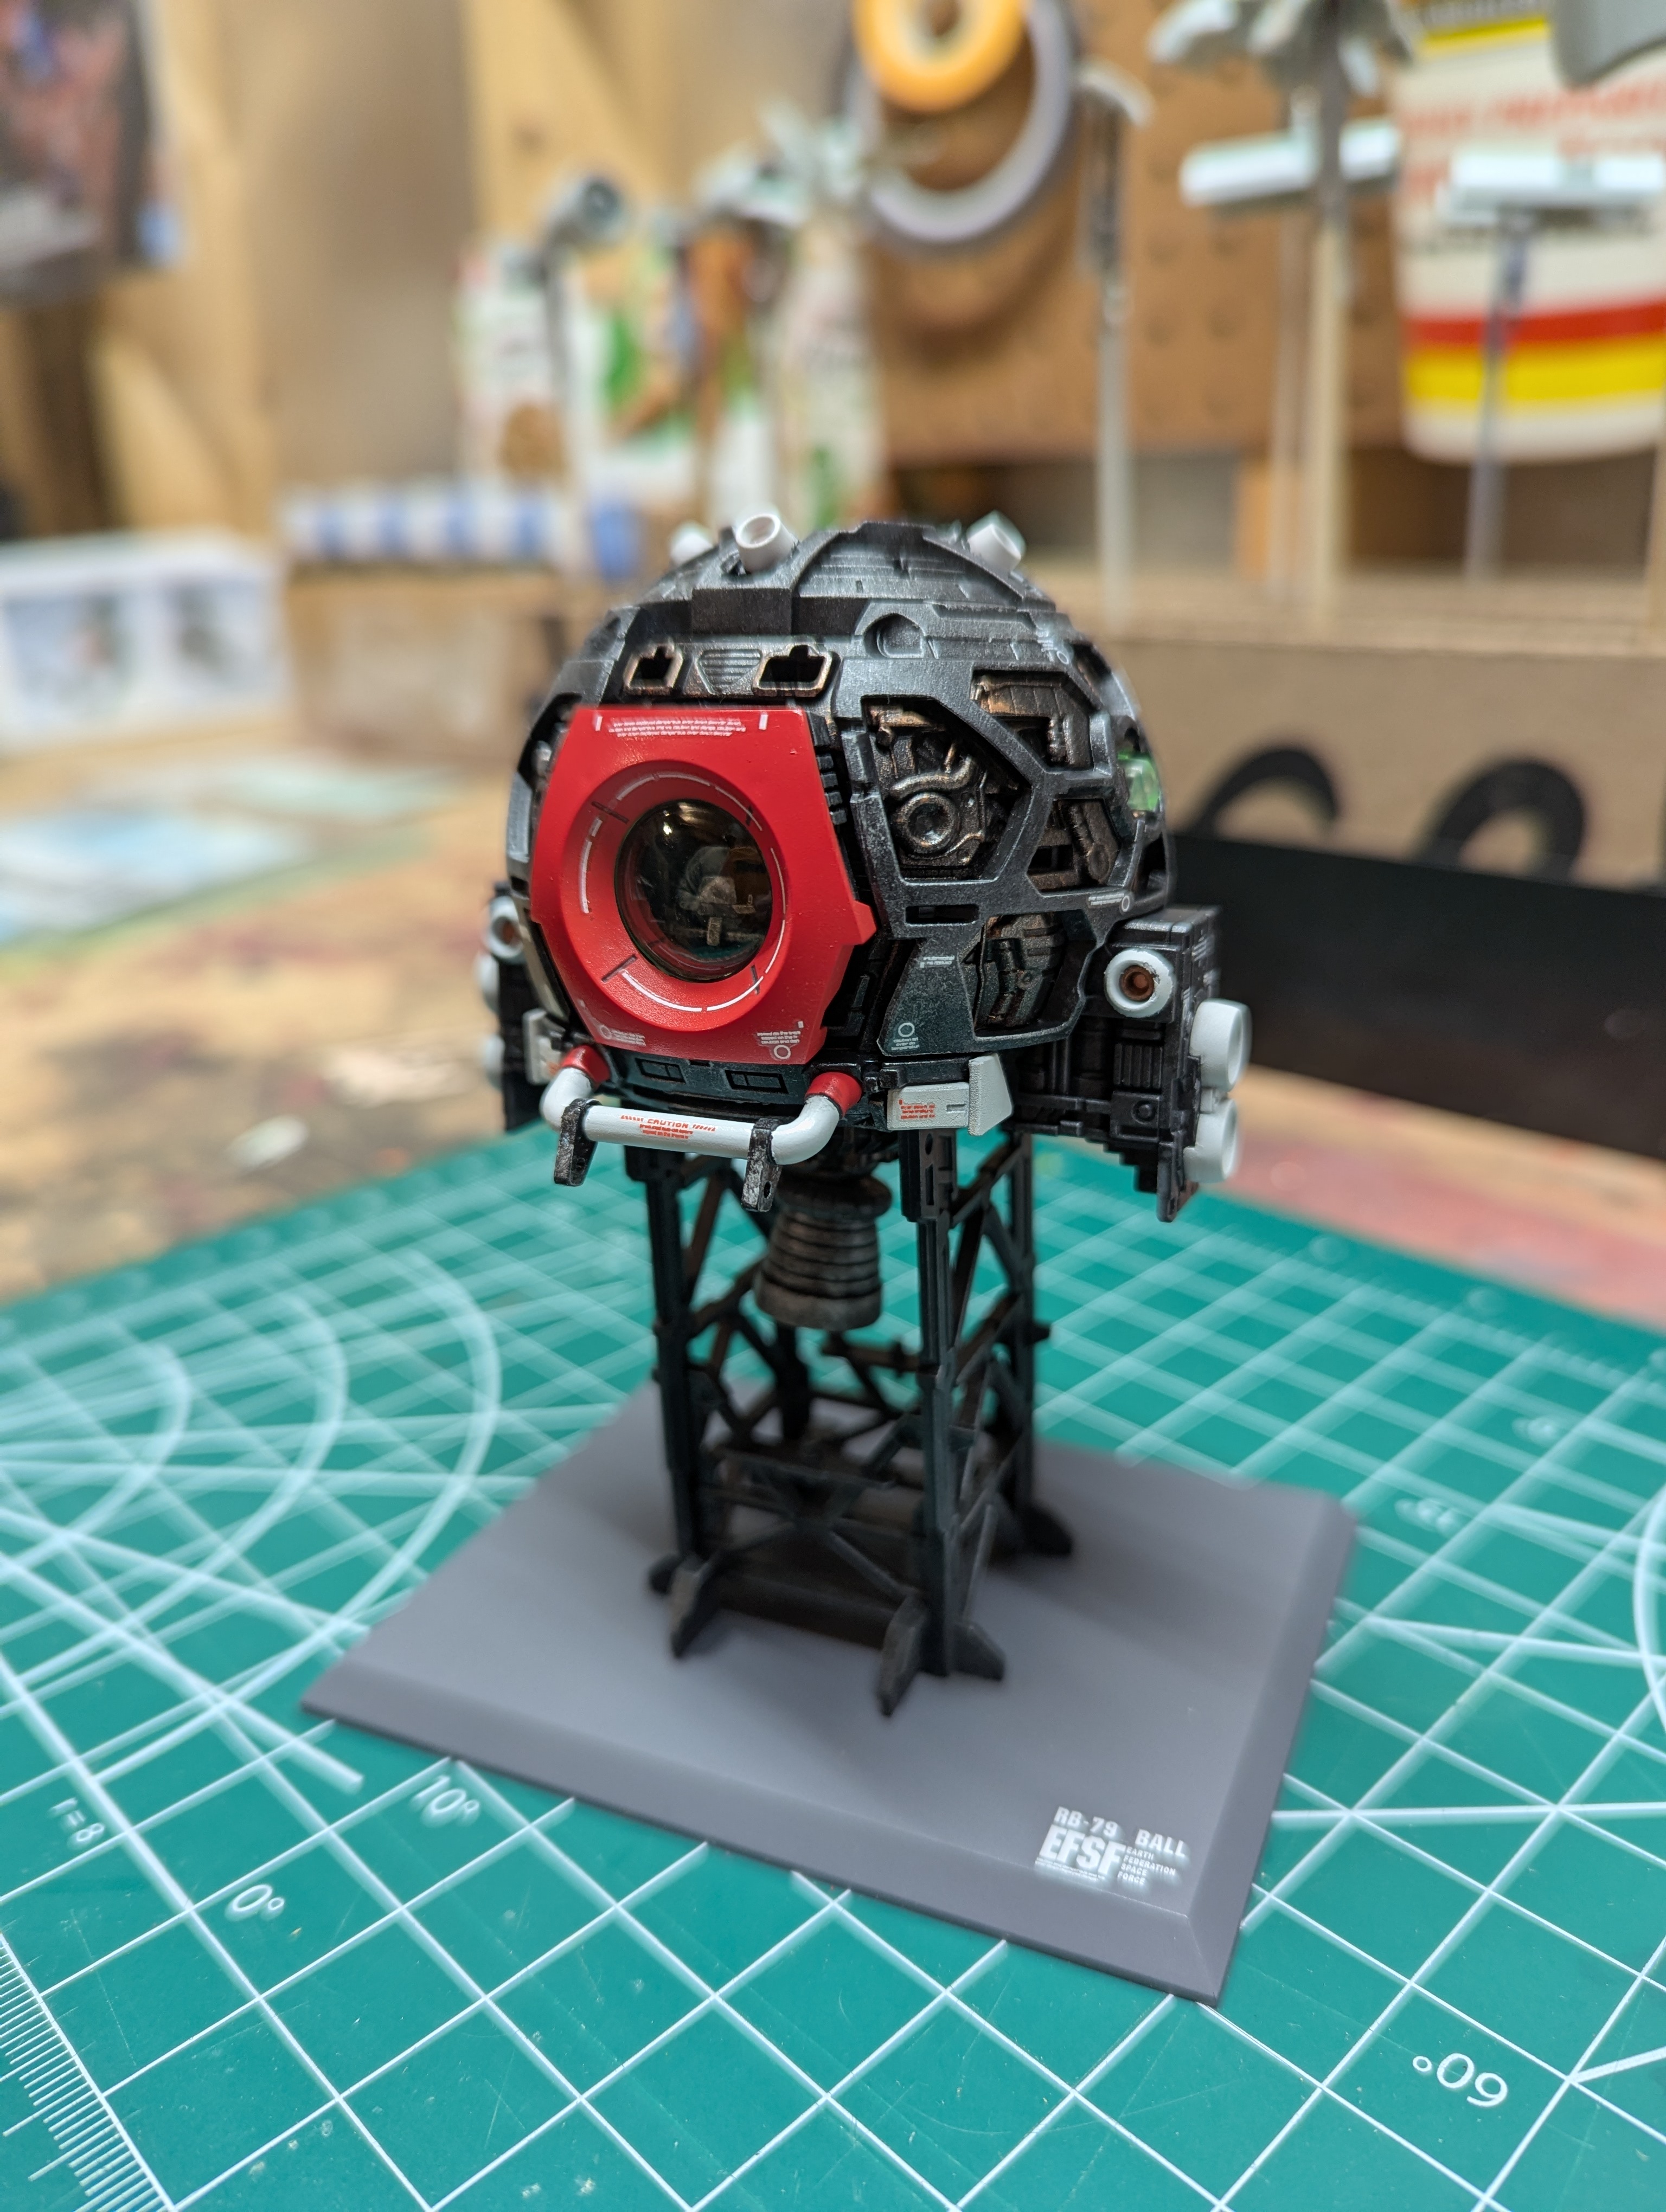
And assembled after top-coating with a semi-gloss mix. I'll still have to be a little cognizant of the windows when doing future coats, but this helps condense a lot of work into one finished sub-unit. Next up is wrapping this in the armor panels.
Date Posted: February 23, 2026
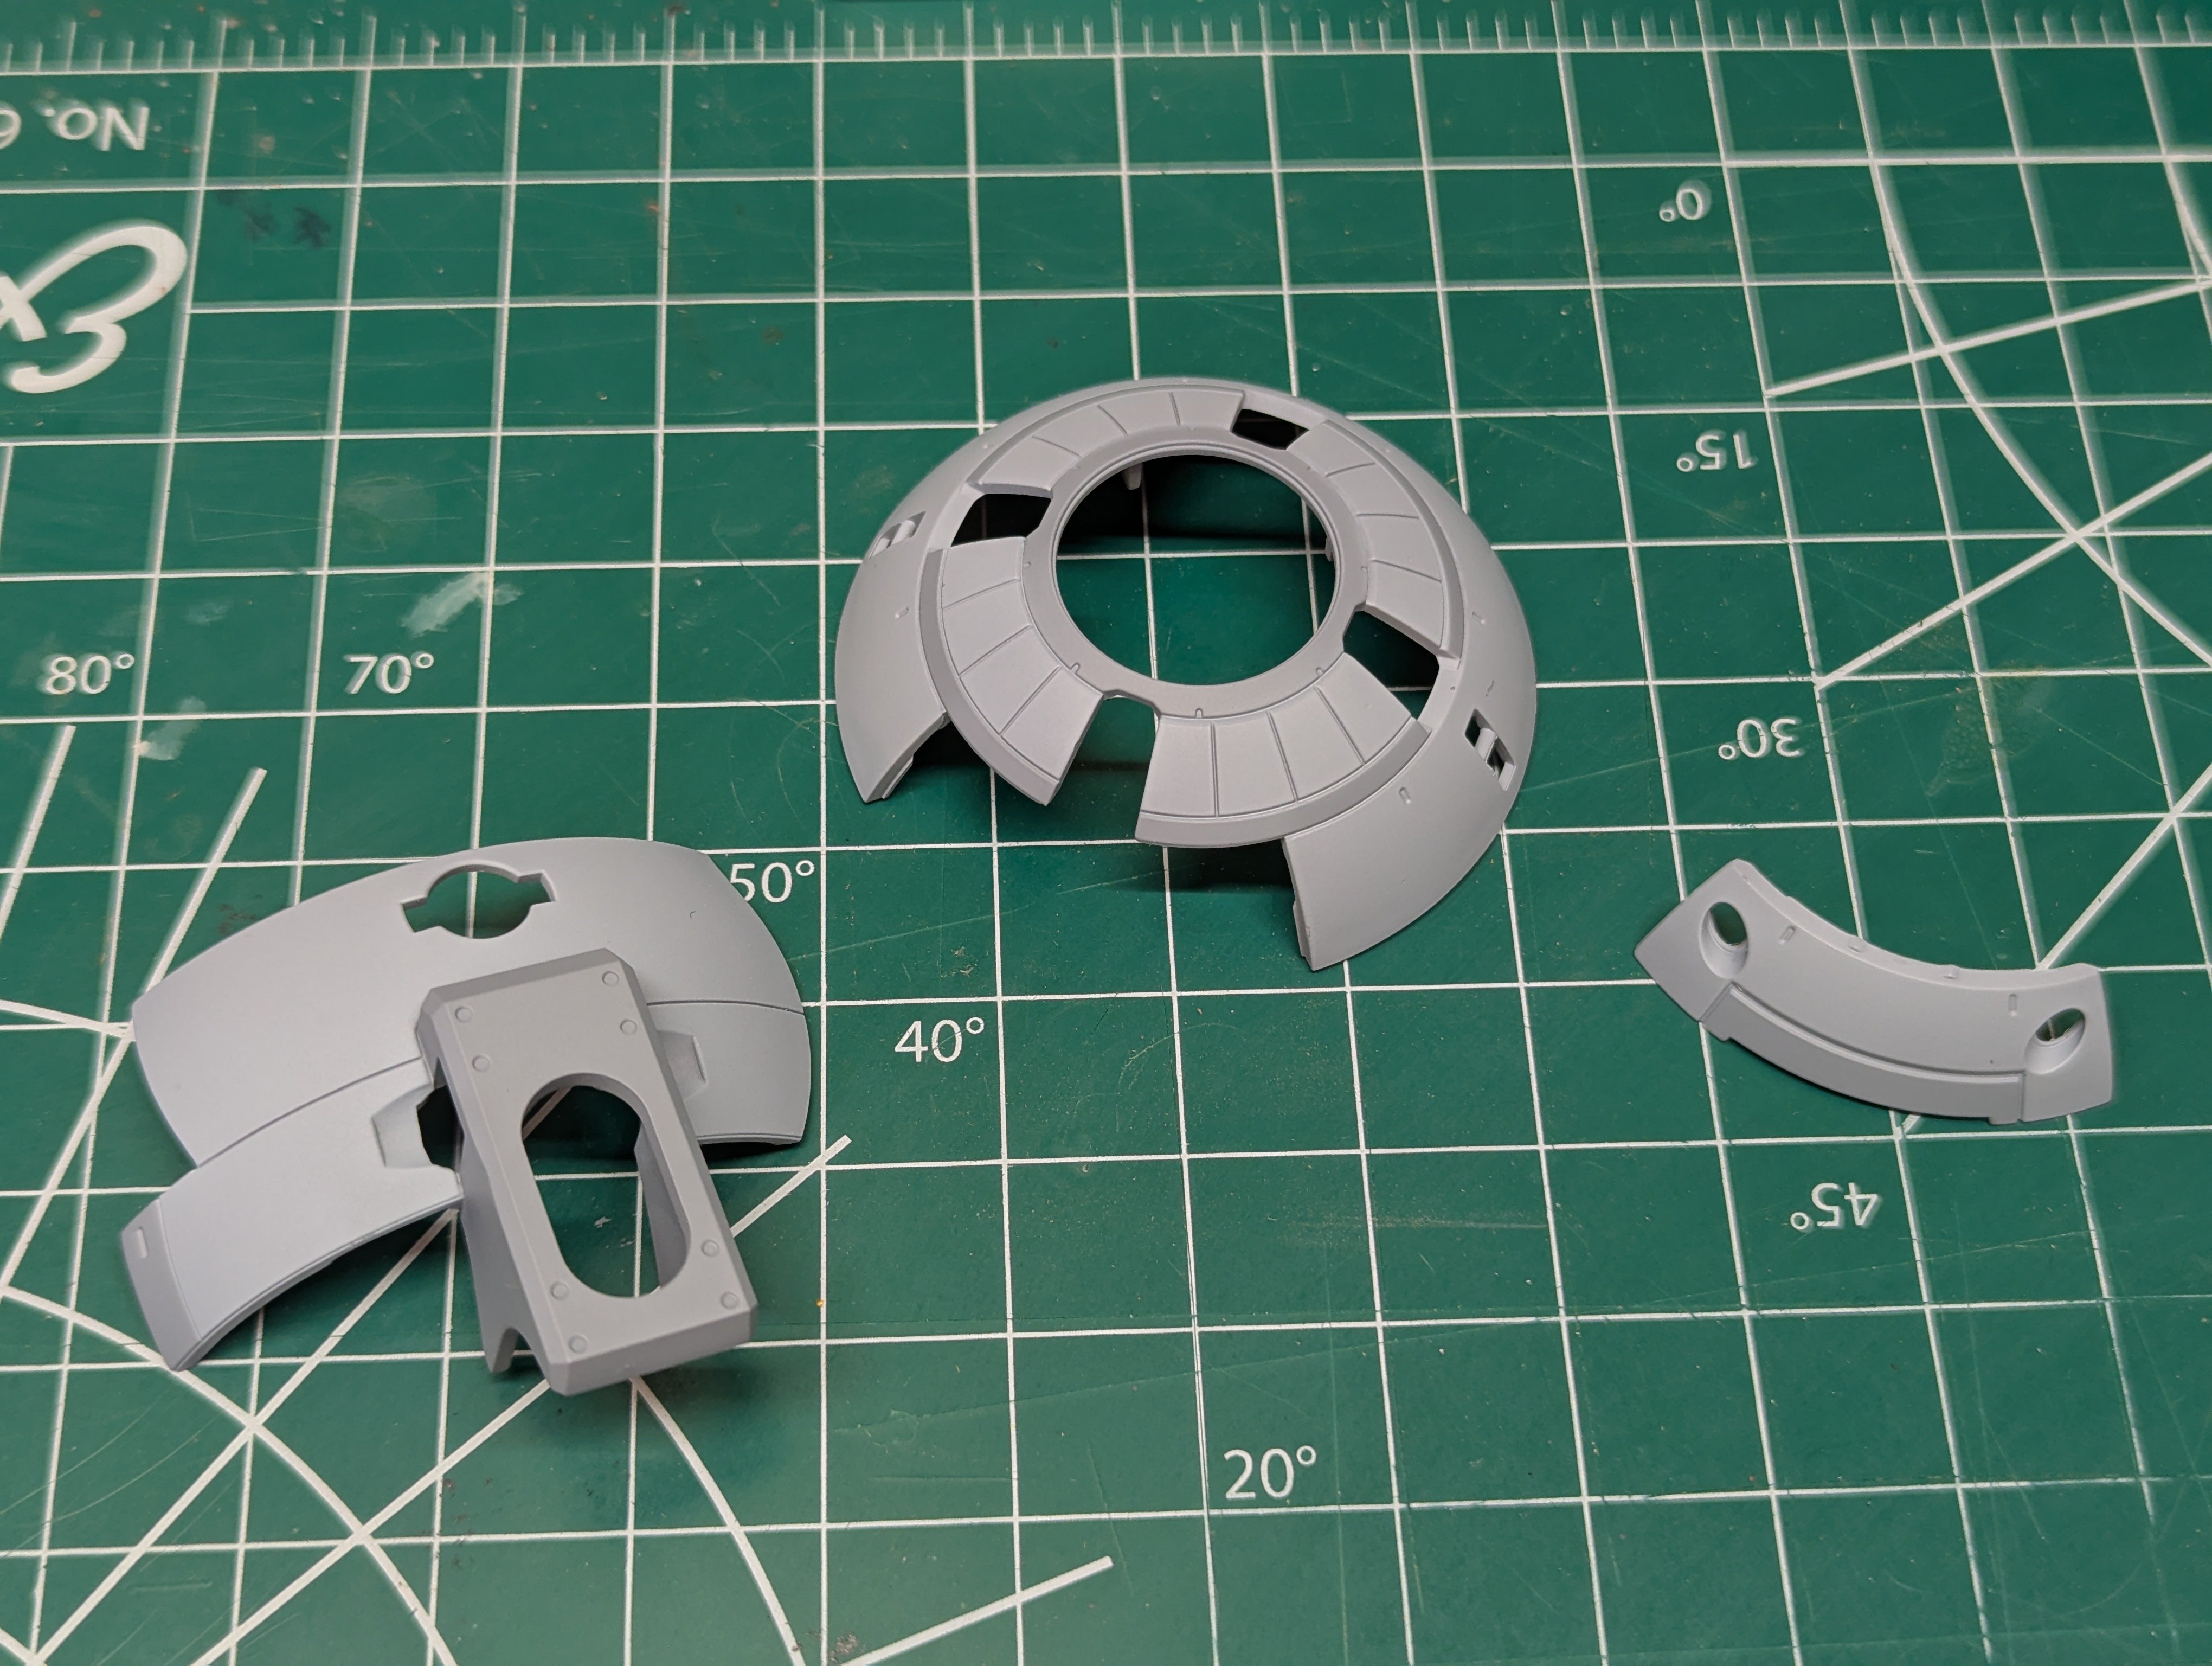
Progress Update 3: Body Armor Panels and Cannon
Ah, pure airbrushing.
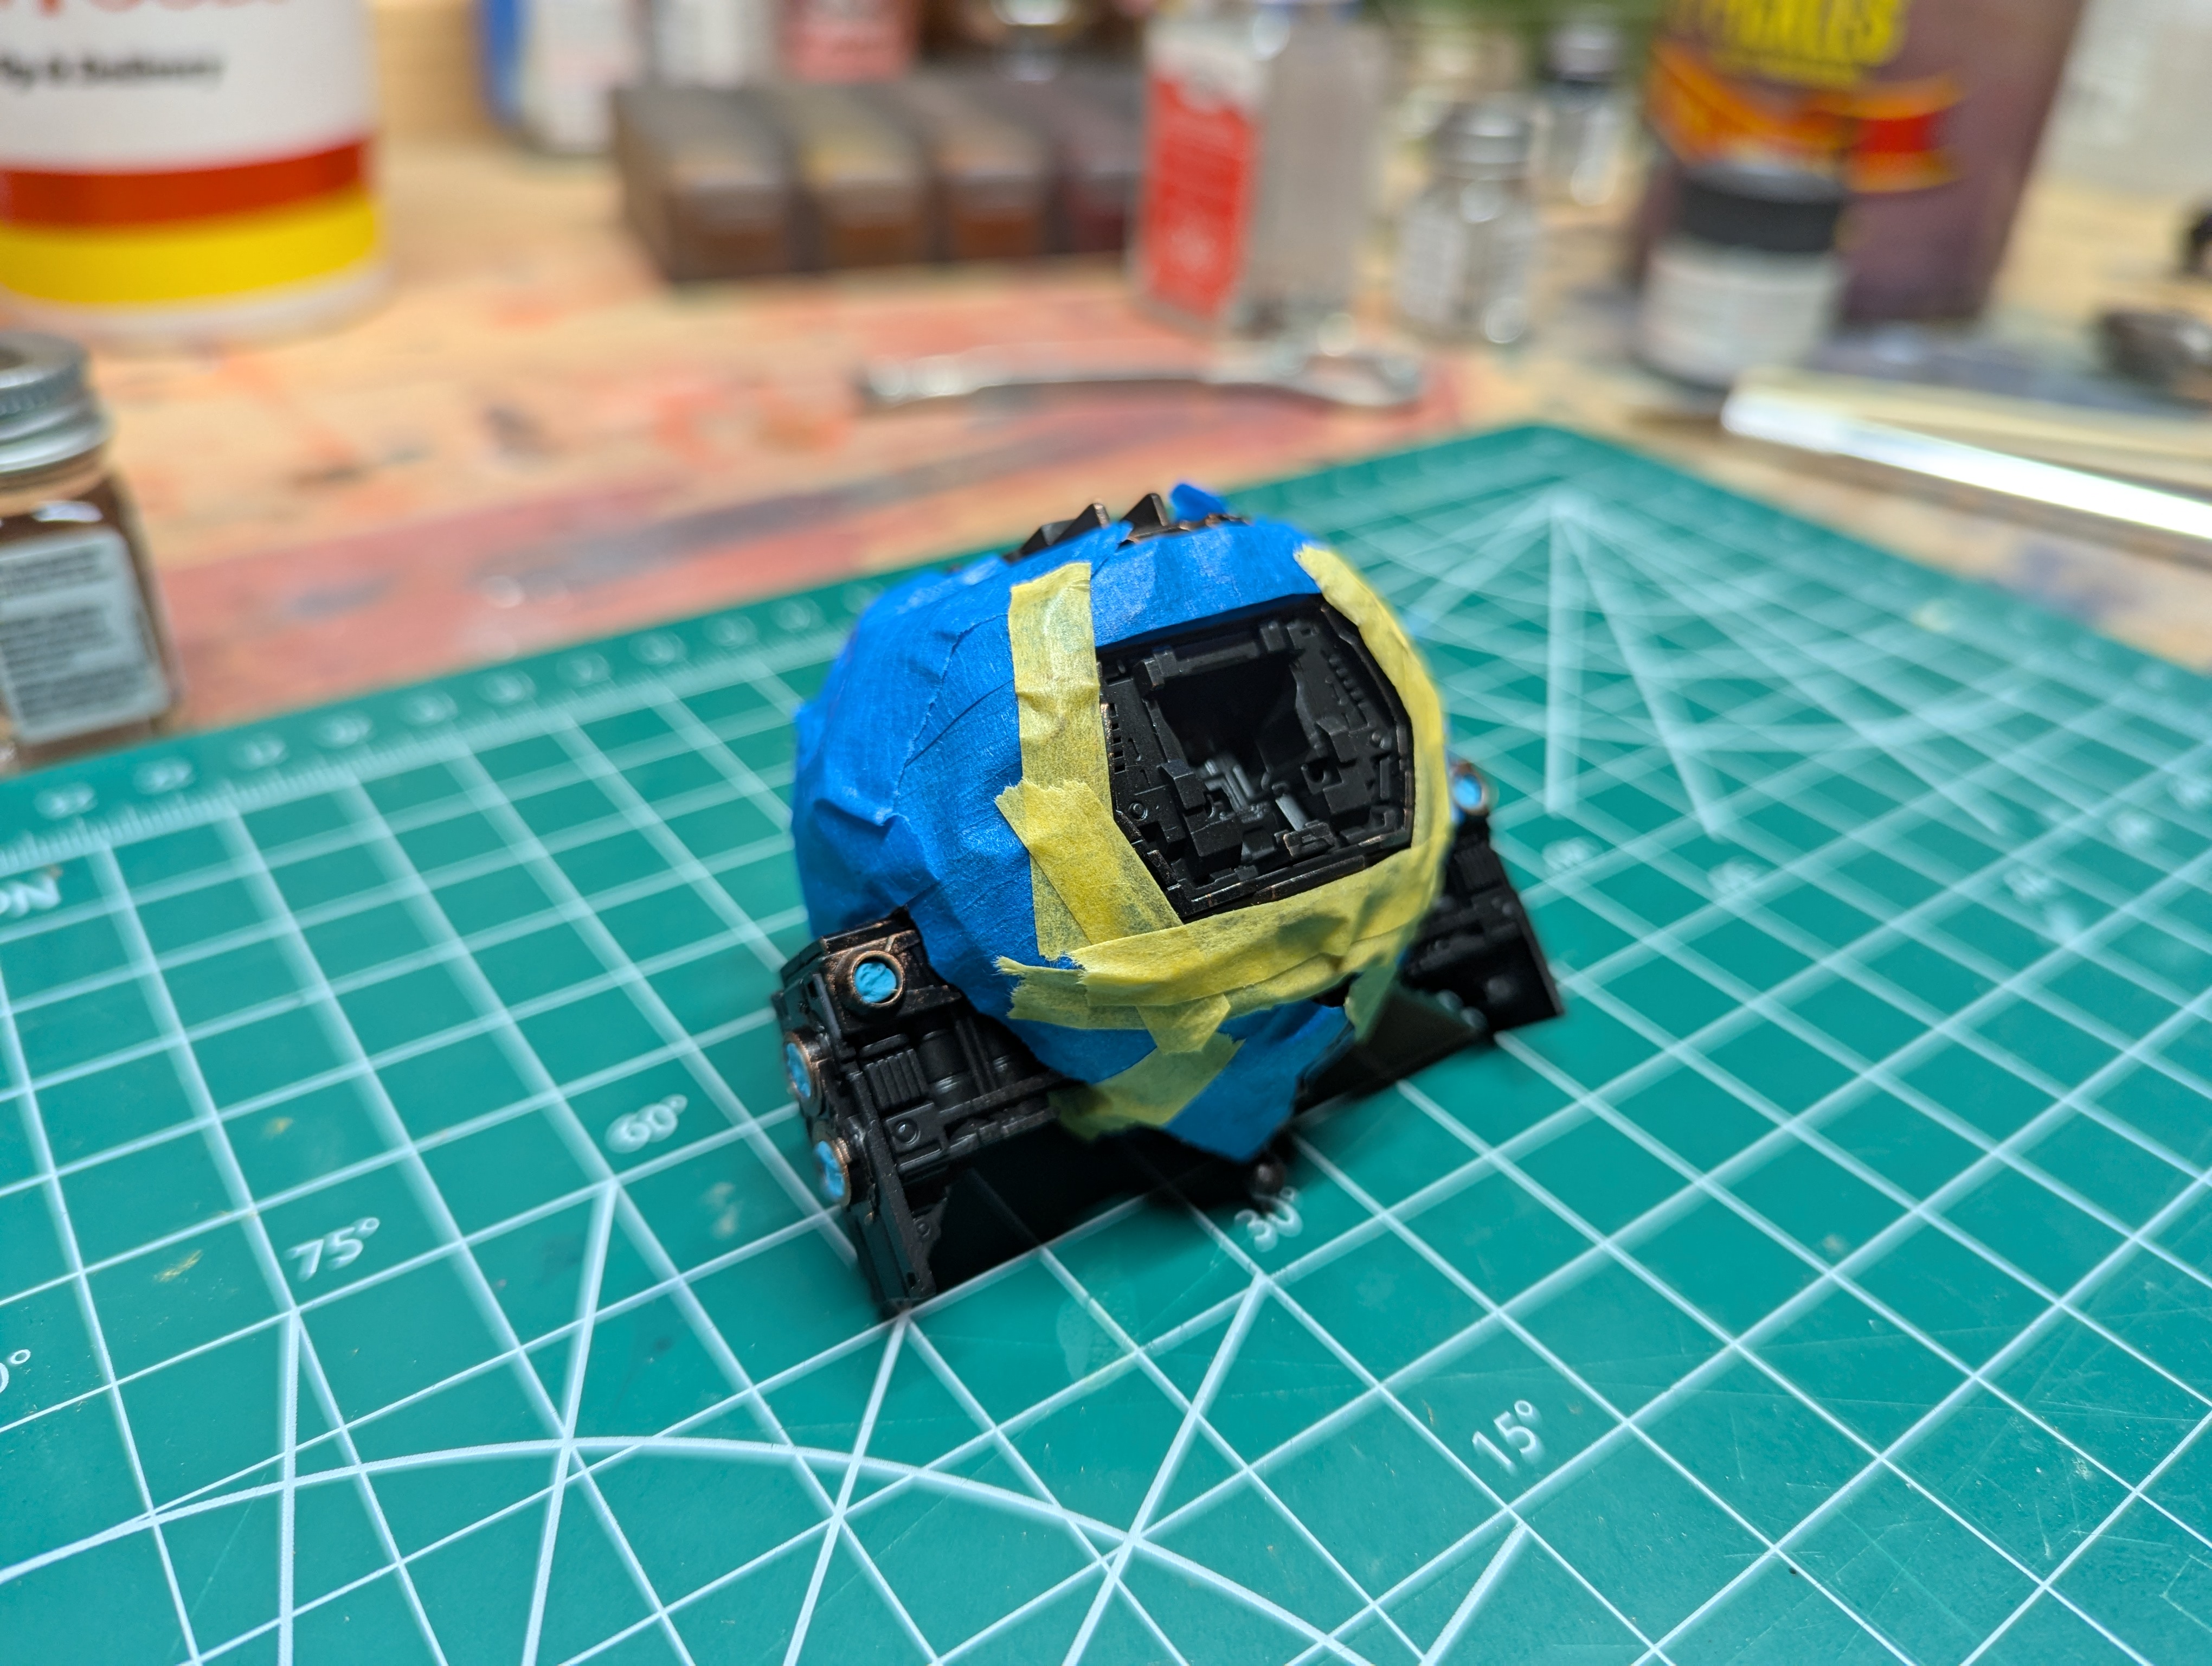
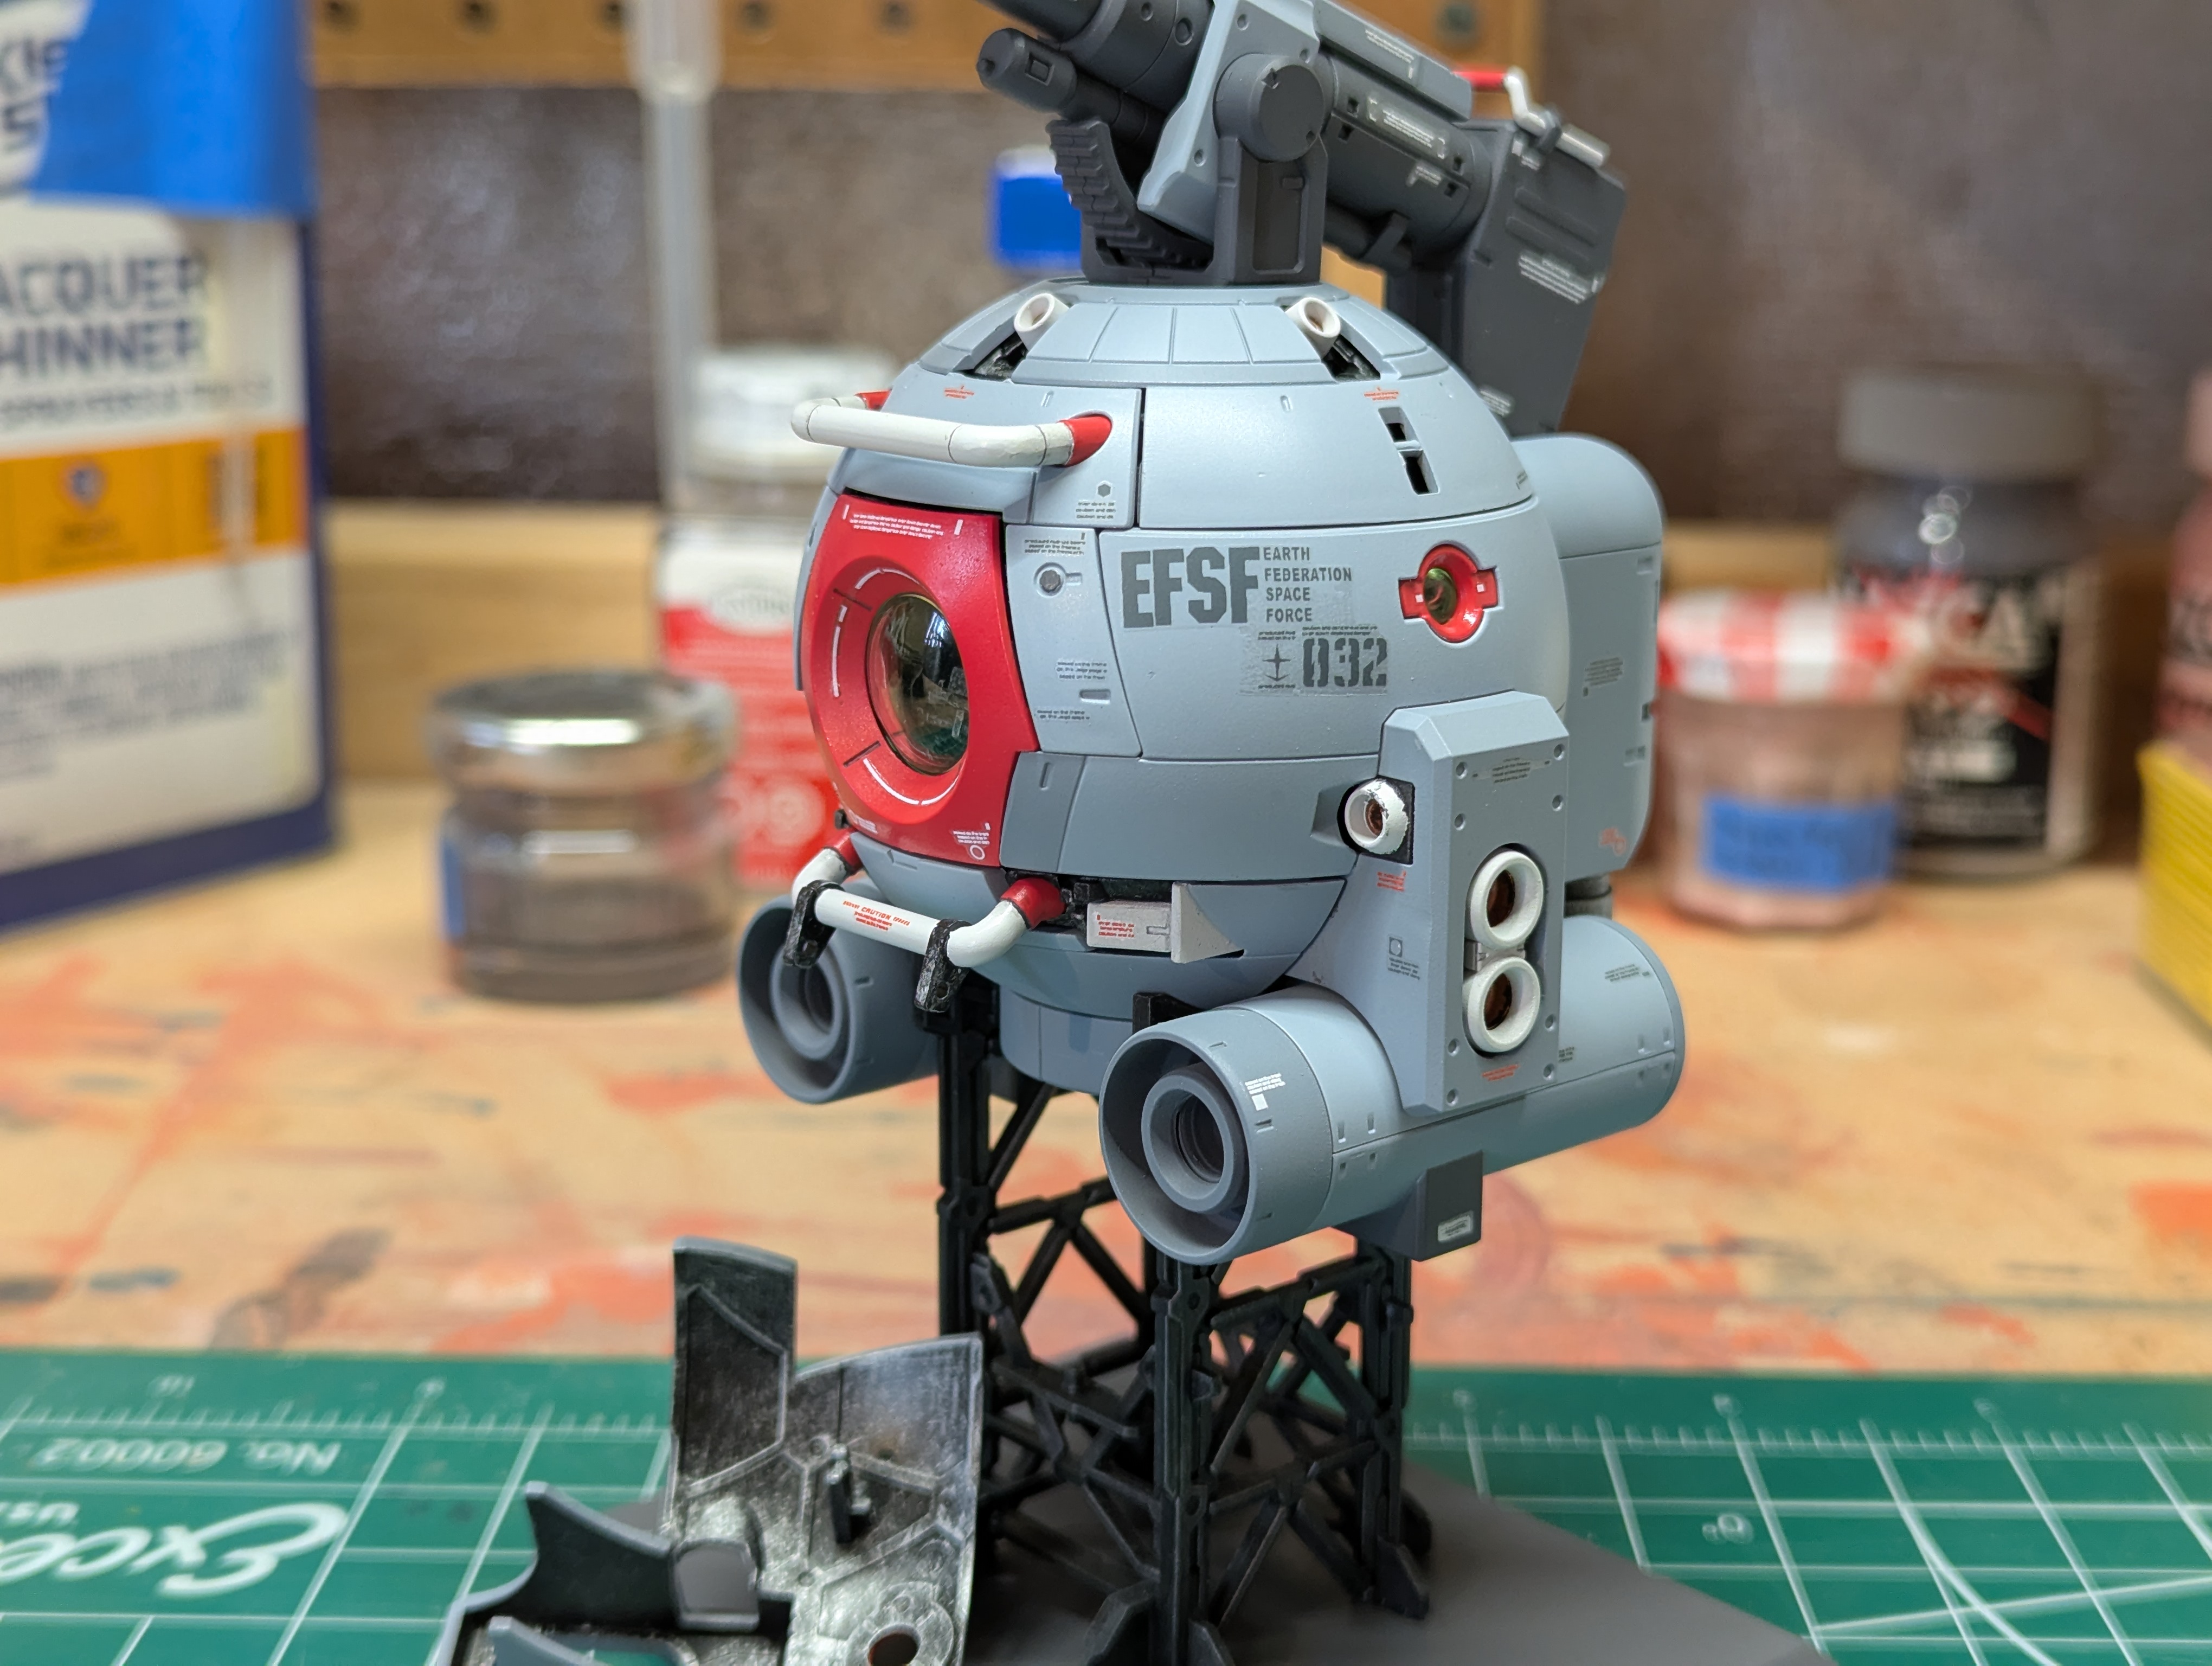
For these pieces, I'm priming everything with my NAZCA Heavy Mechanical Surfacer, since these are all pretty gray shaded. For the armor, I went off of the molded color scheme and am using Tamiya Ghost Gray - LP-36 for light, and LP-37 for dark. The kit does also have slight color differentiation with two different grays, but I'll be ignoring this and enforcing my own panel arrangement. These colors seem like a decent middleground between the light grays of this kit and the blue/purple of the original anime design. I'll also be incorporating Tamiya LP-27 German Gray for some pieces as well, particularly on the cannon.
Some of these parts here are getting a black coat for a small amount of frame painting - the exposed pistons in the arms, and the reverse of one of the armor panels. This is to prep for my eventual display plans.
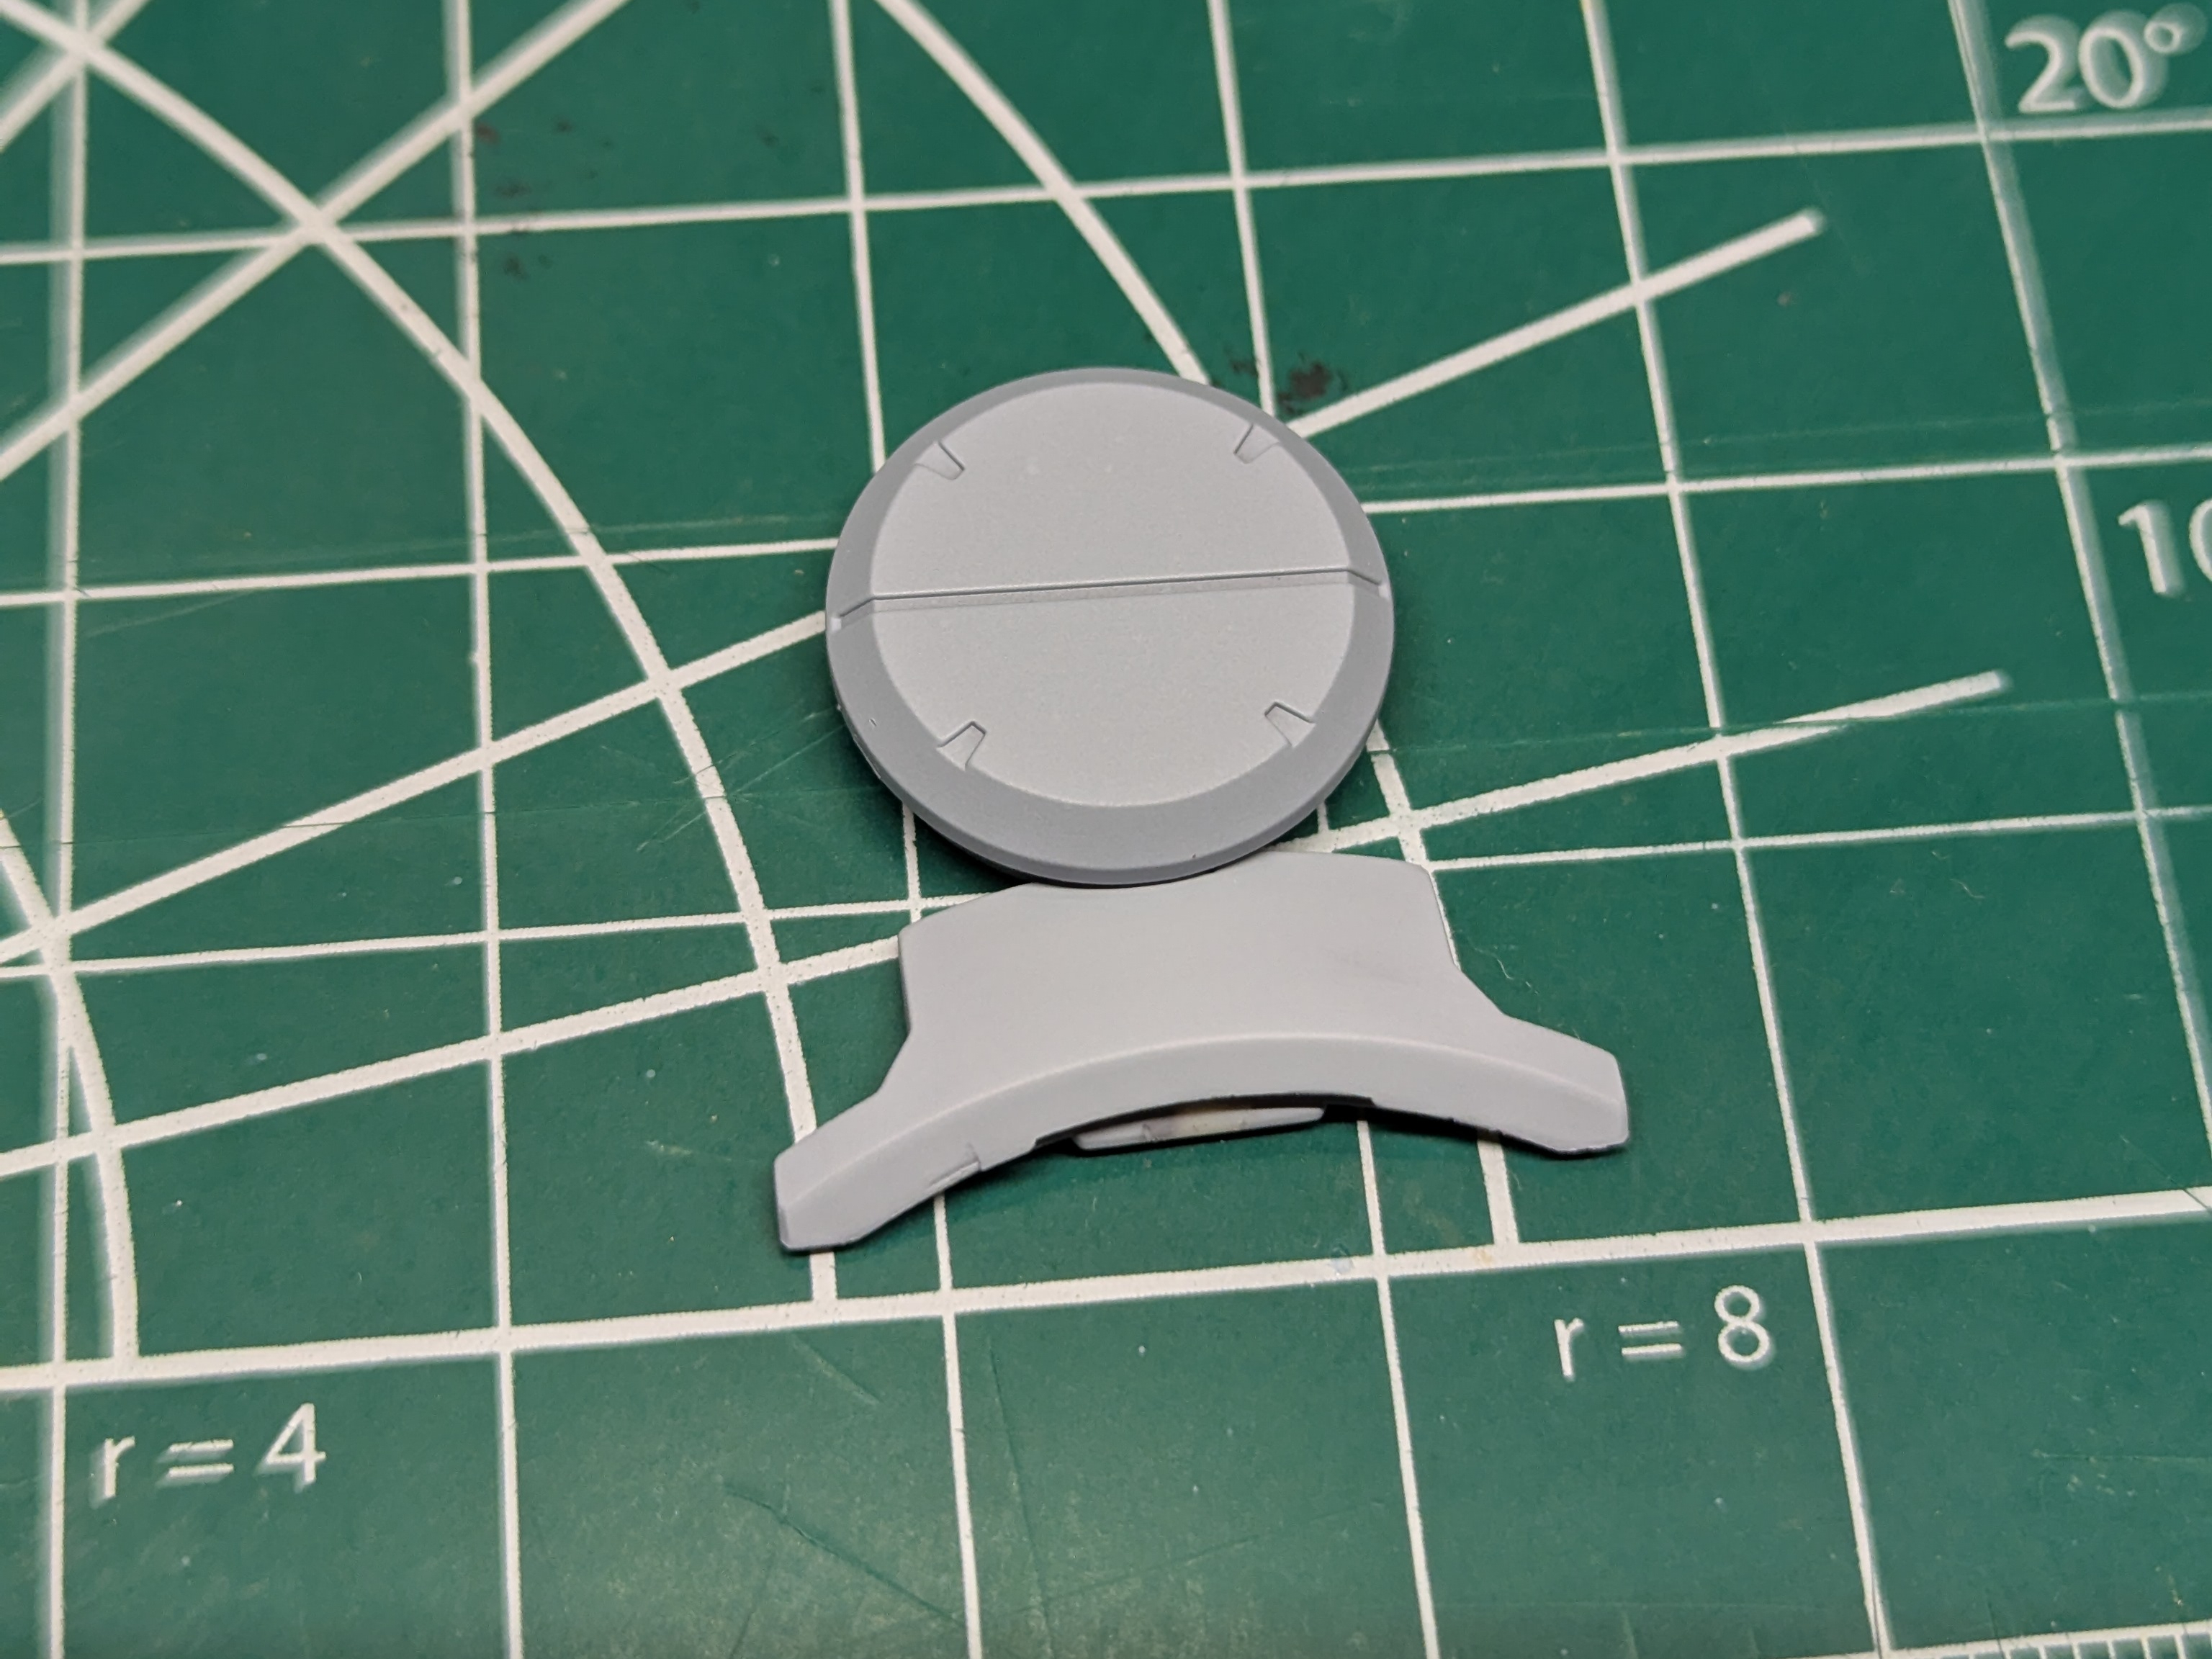
Masking wasn't too bad at 1/100 scale. The top round piece was kind of difficult and I just resorted to sticky tack in the end, but that's only because I'm masking it differently than its original scheme.
However, after checking the difference between LP-36 and LP-37 the results are... really subtle. The bottom part is supposed to be light and the top is supposed to be dark, but I can barely tell the difference in my shop lighting. This might be down to my choice of primer - both of these paints are hard to get coverage with, so I think the darker gray is thumbing them both towards each other. So I think I'll mix some of the German Gray into the darker tone to try to get more contrast. Not a big deal though, since I didn't remove any of the masking - I'll just mix up a new batch and respray.
Mixing the Dark Ghost Gray and German Gray at a 4:1 ratio seems like it got the contrast right where I wanted it. Very happy with my masking this time as well - the parts have very defined lines and are fairly large, so even the curved masks weren't too much trouble.
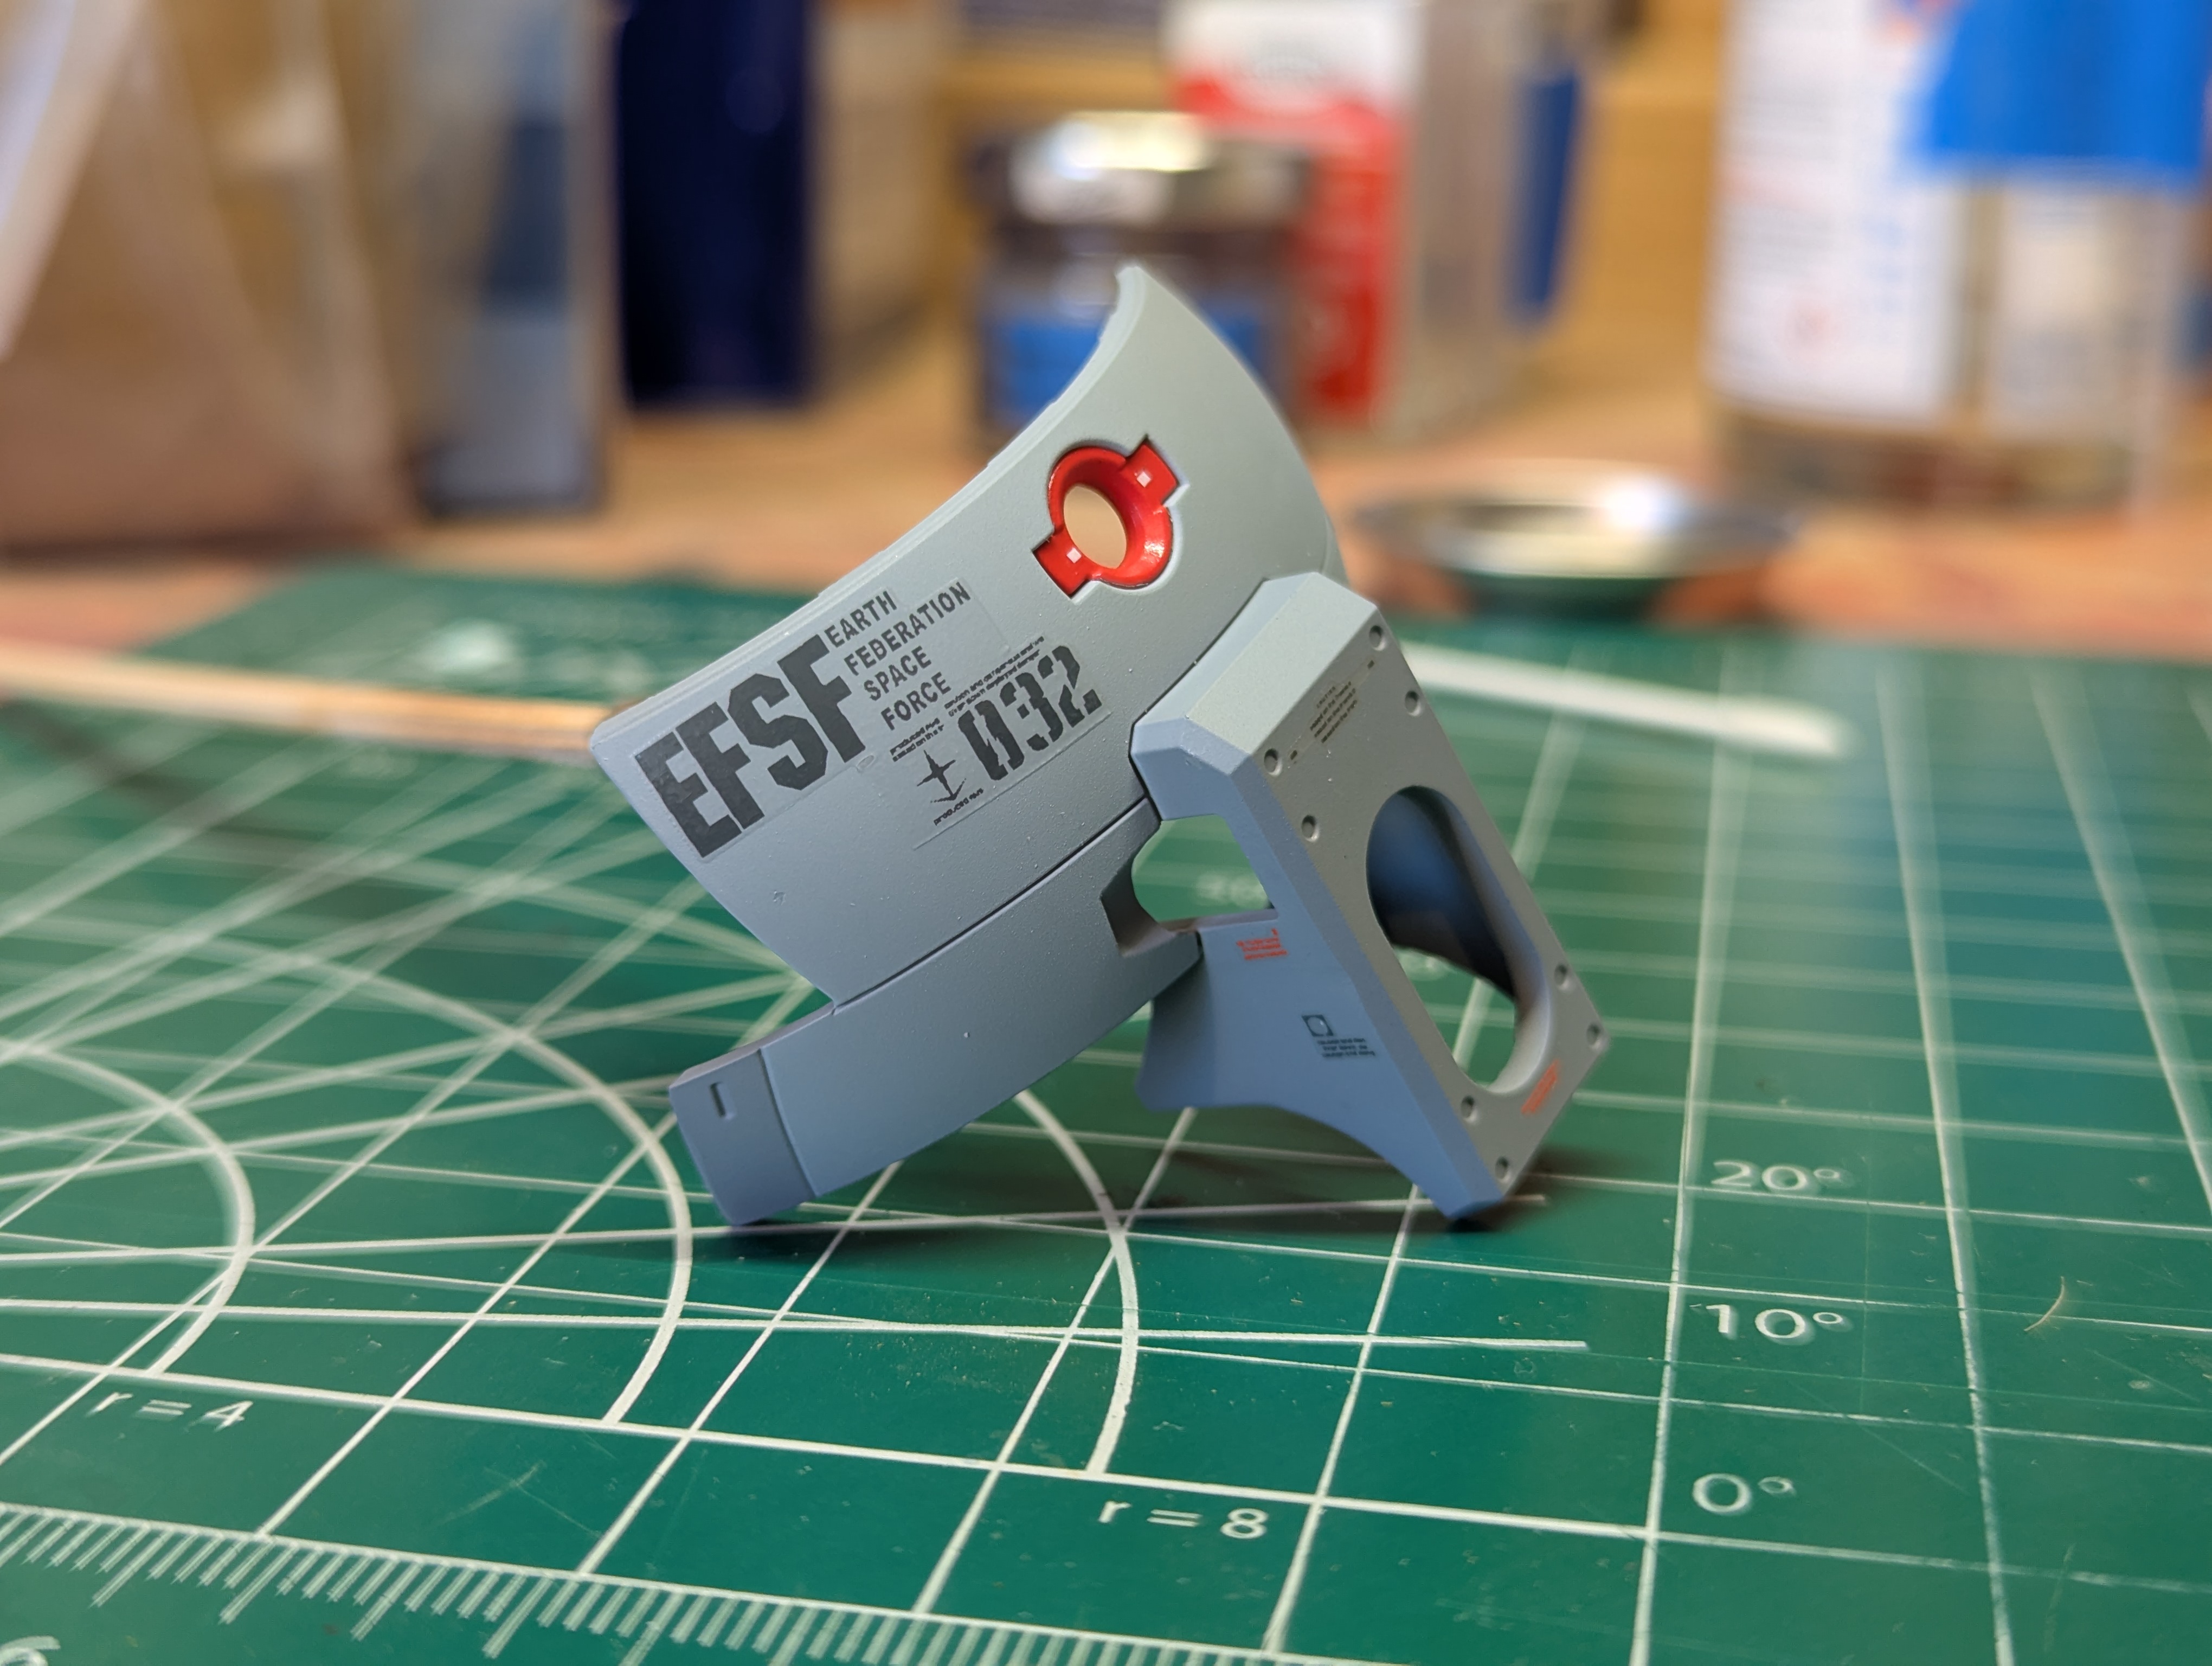
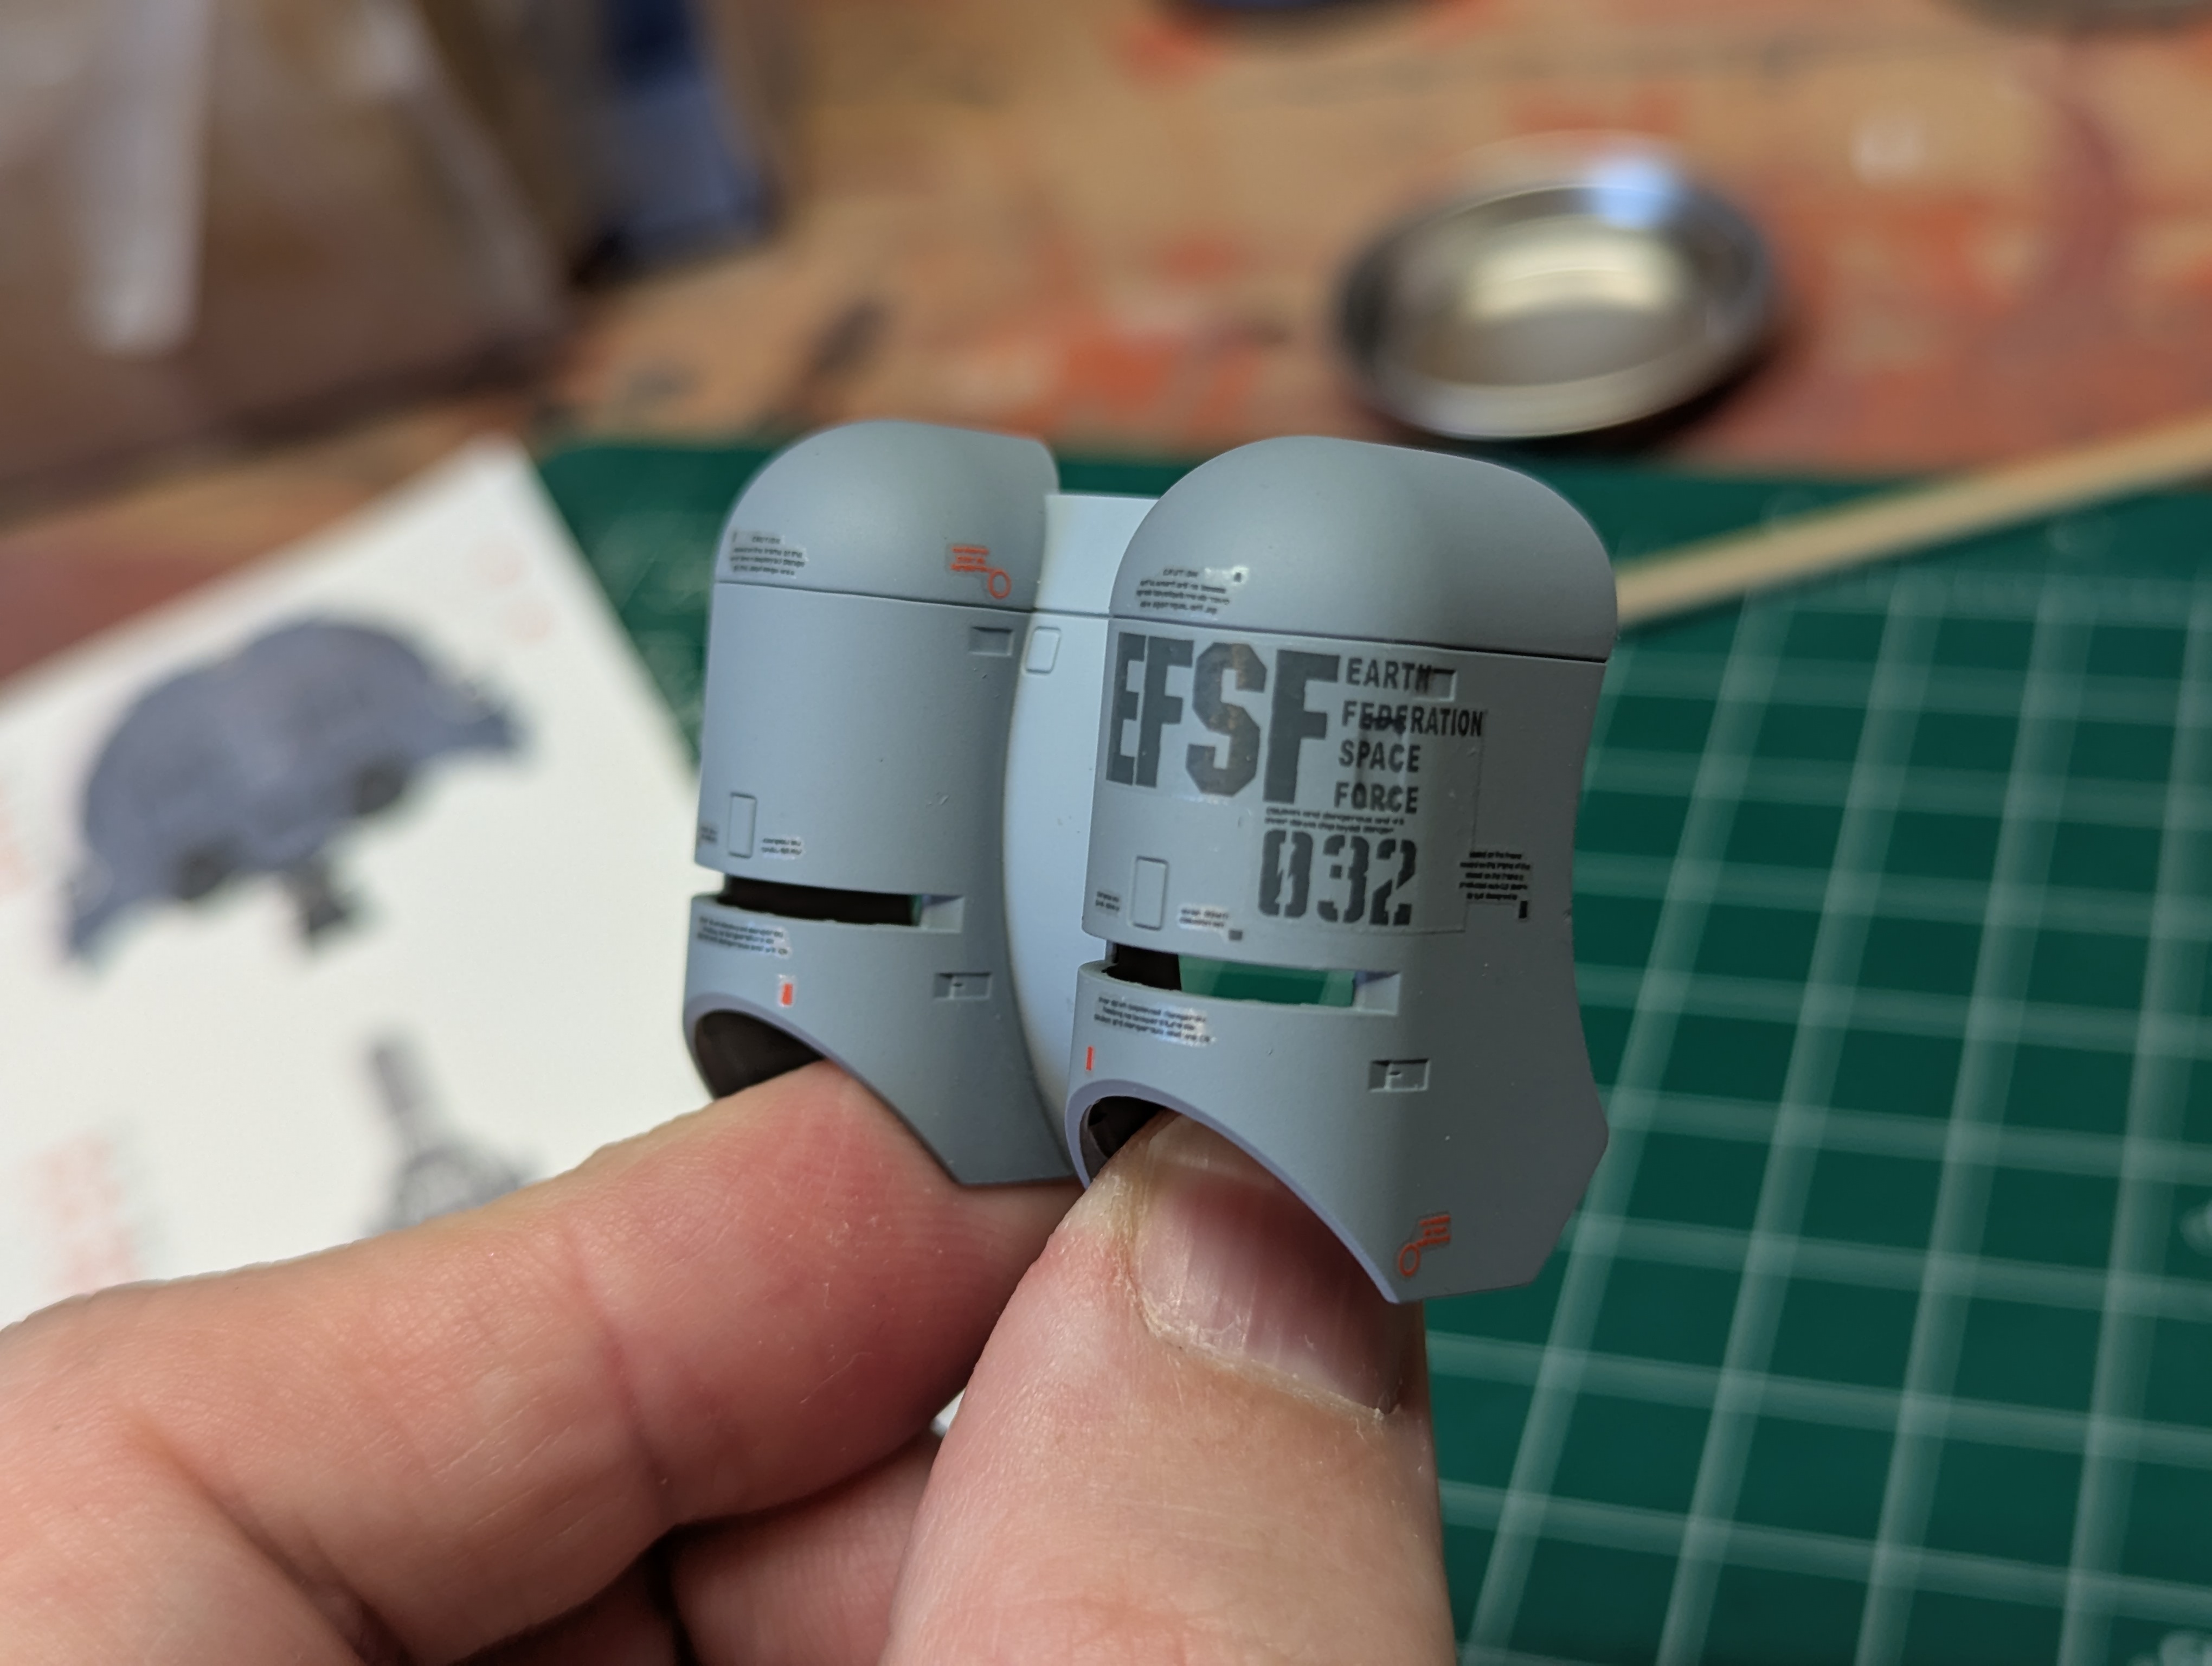
I opted to place decals before topcoating and panel lining. This seems a little more efficient to me, and I think I prefer breaking up the processes a little bit instead of doing a ton of decals all in one batch at the end. They'll also get two topcoat steps like this, which might help hide the decal edges a bit. Since I was usig darker colors than the kit, I was worried that the red decals wouldn't have enough contrast. However, that's not the case at all and they pop really nicely against the blue-green gray color.
This large decal on the back of the thruster covers goes over some molded details - that's not my favorite thing in the world. If I'd known before painting, I might have filled these to give it a smooth surface to adhere too. Hopefully with some Markfit this will recess nicely and not look too rough.
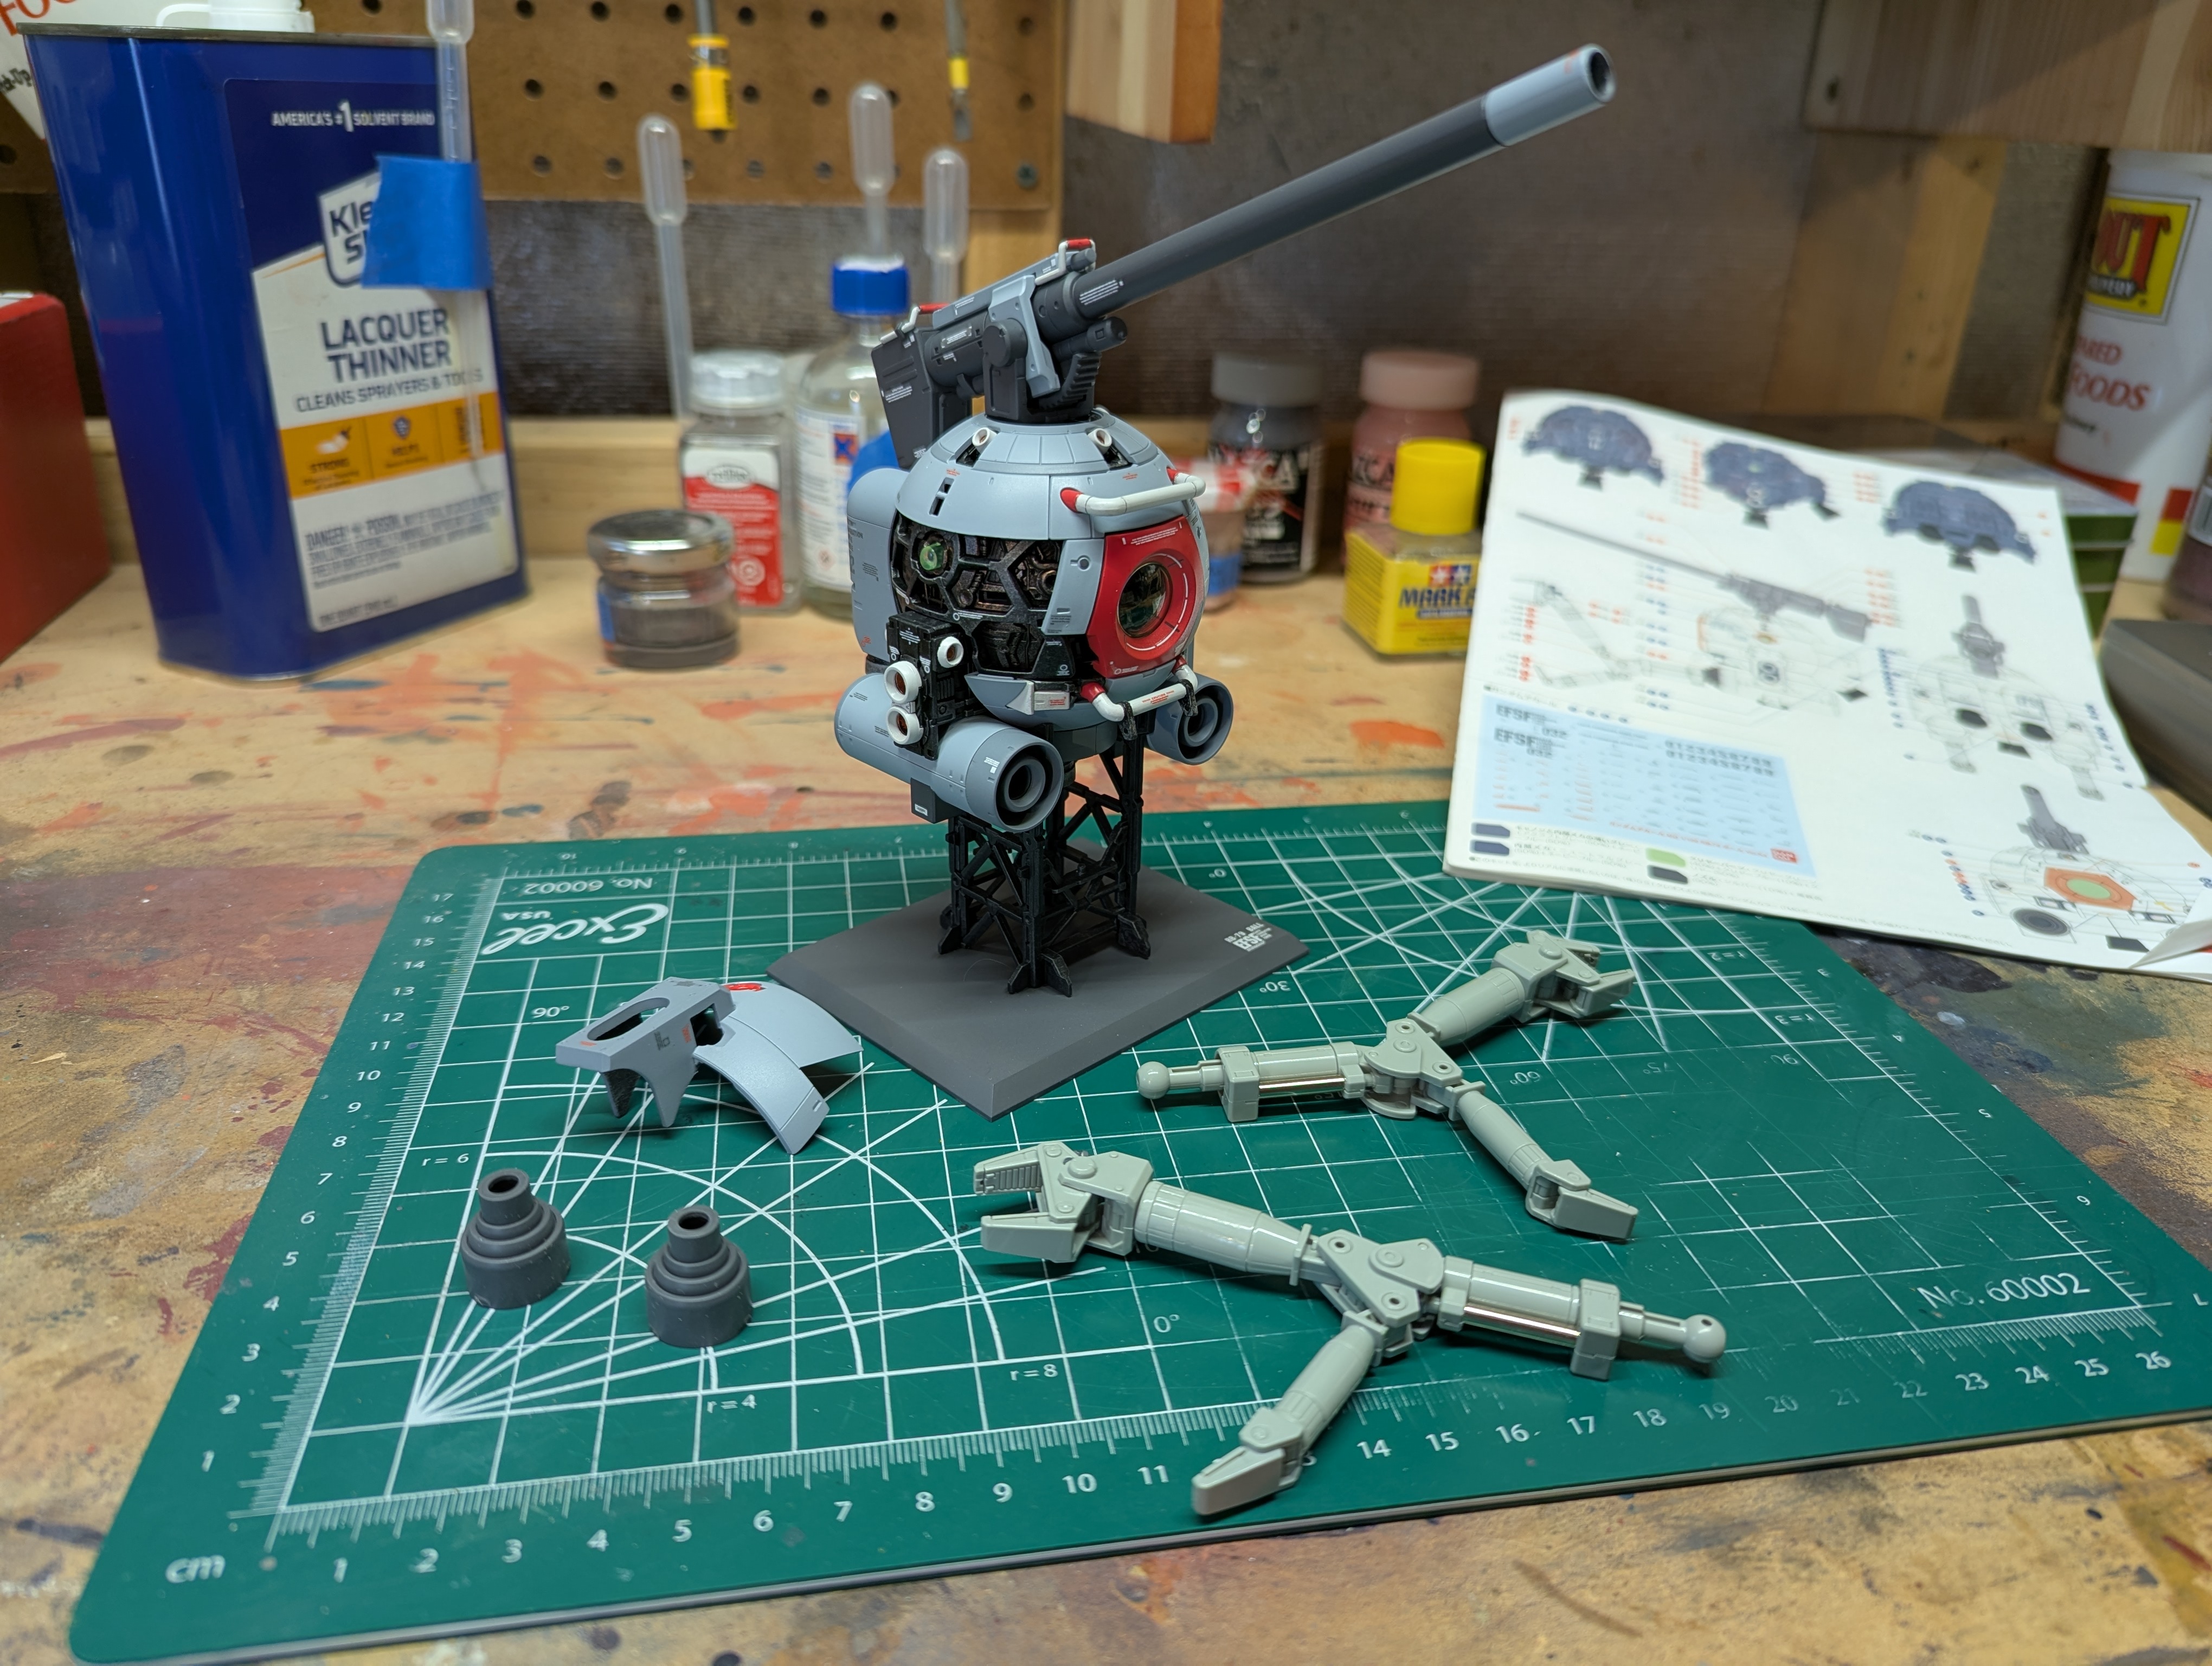
One final shot before the top coat goes on. I condensed parts of the cannon and bottom of the ball into single assemblies before top coating, as these had no moving parts.
This felt really good to put together - I've been waiting a while to see everything pulled together. This will still need panel lining, cleanup, and another top coat - I probably won't photograph this part though as it's pretty boring. I'll just handle it in parallel with the arm work.
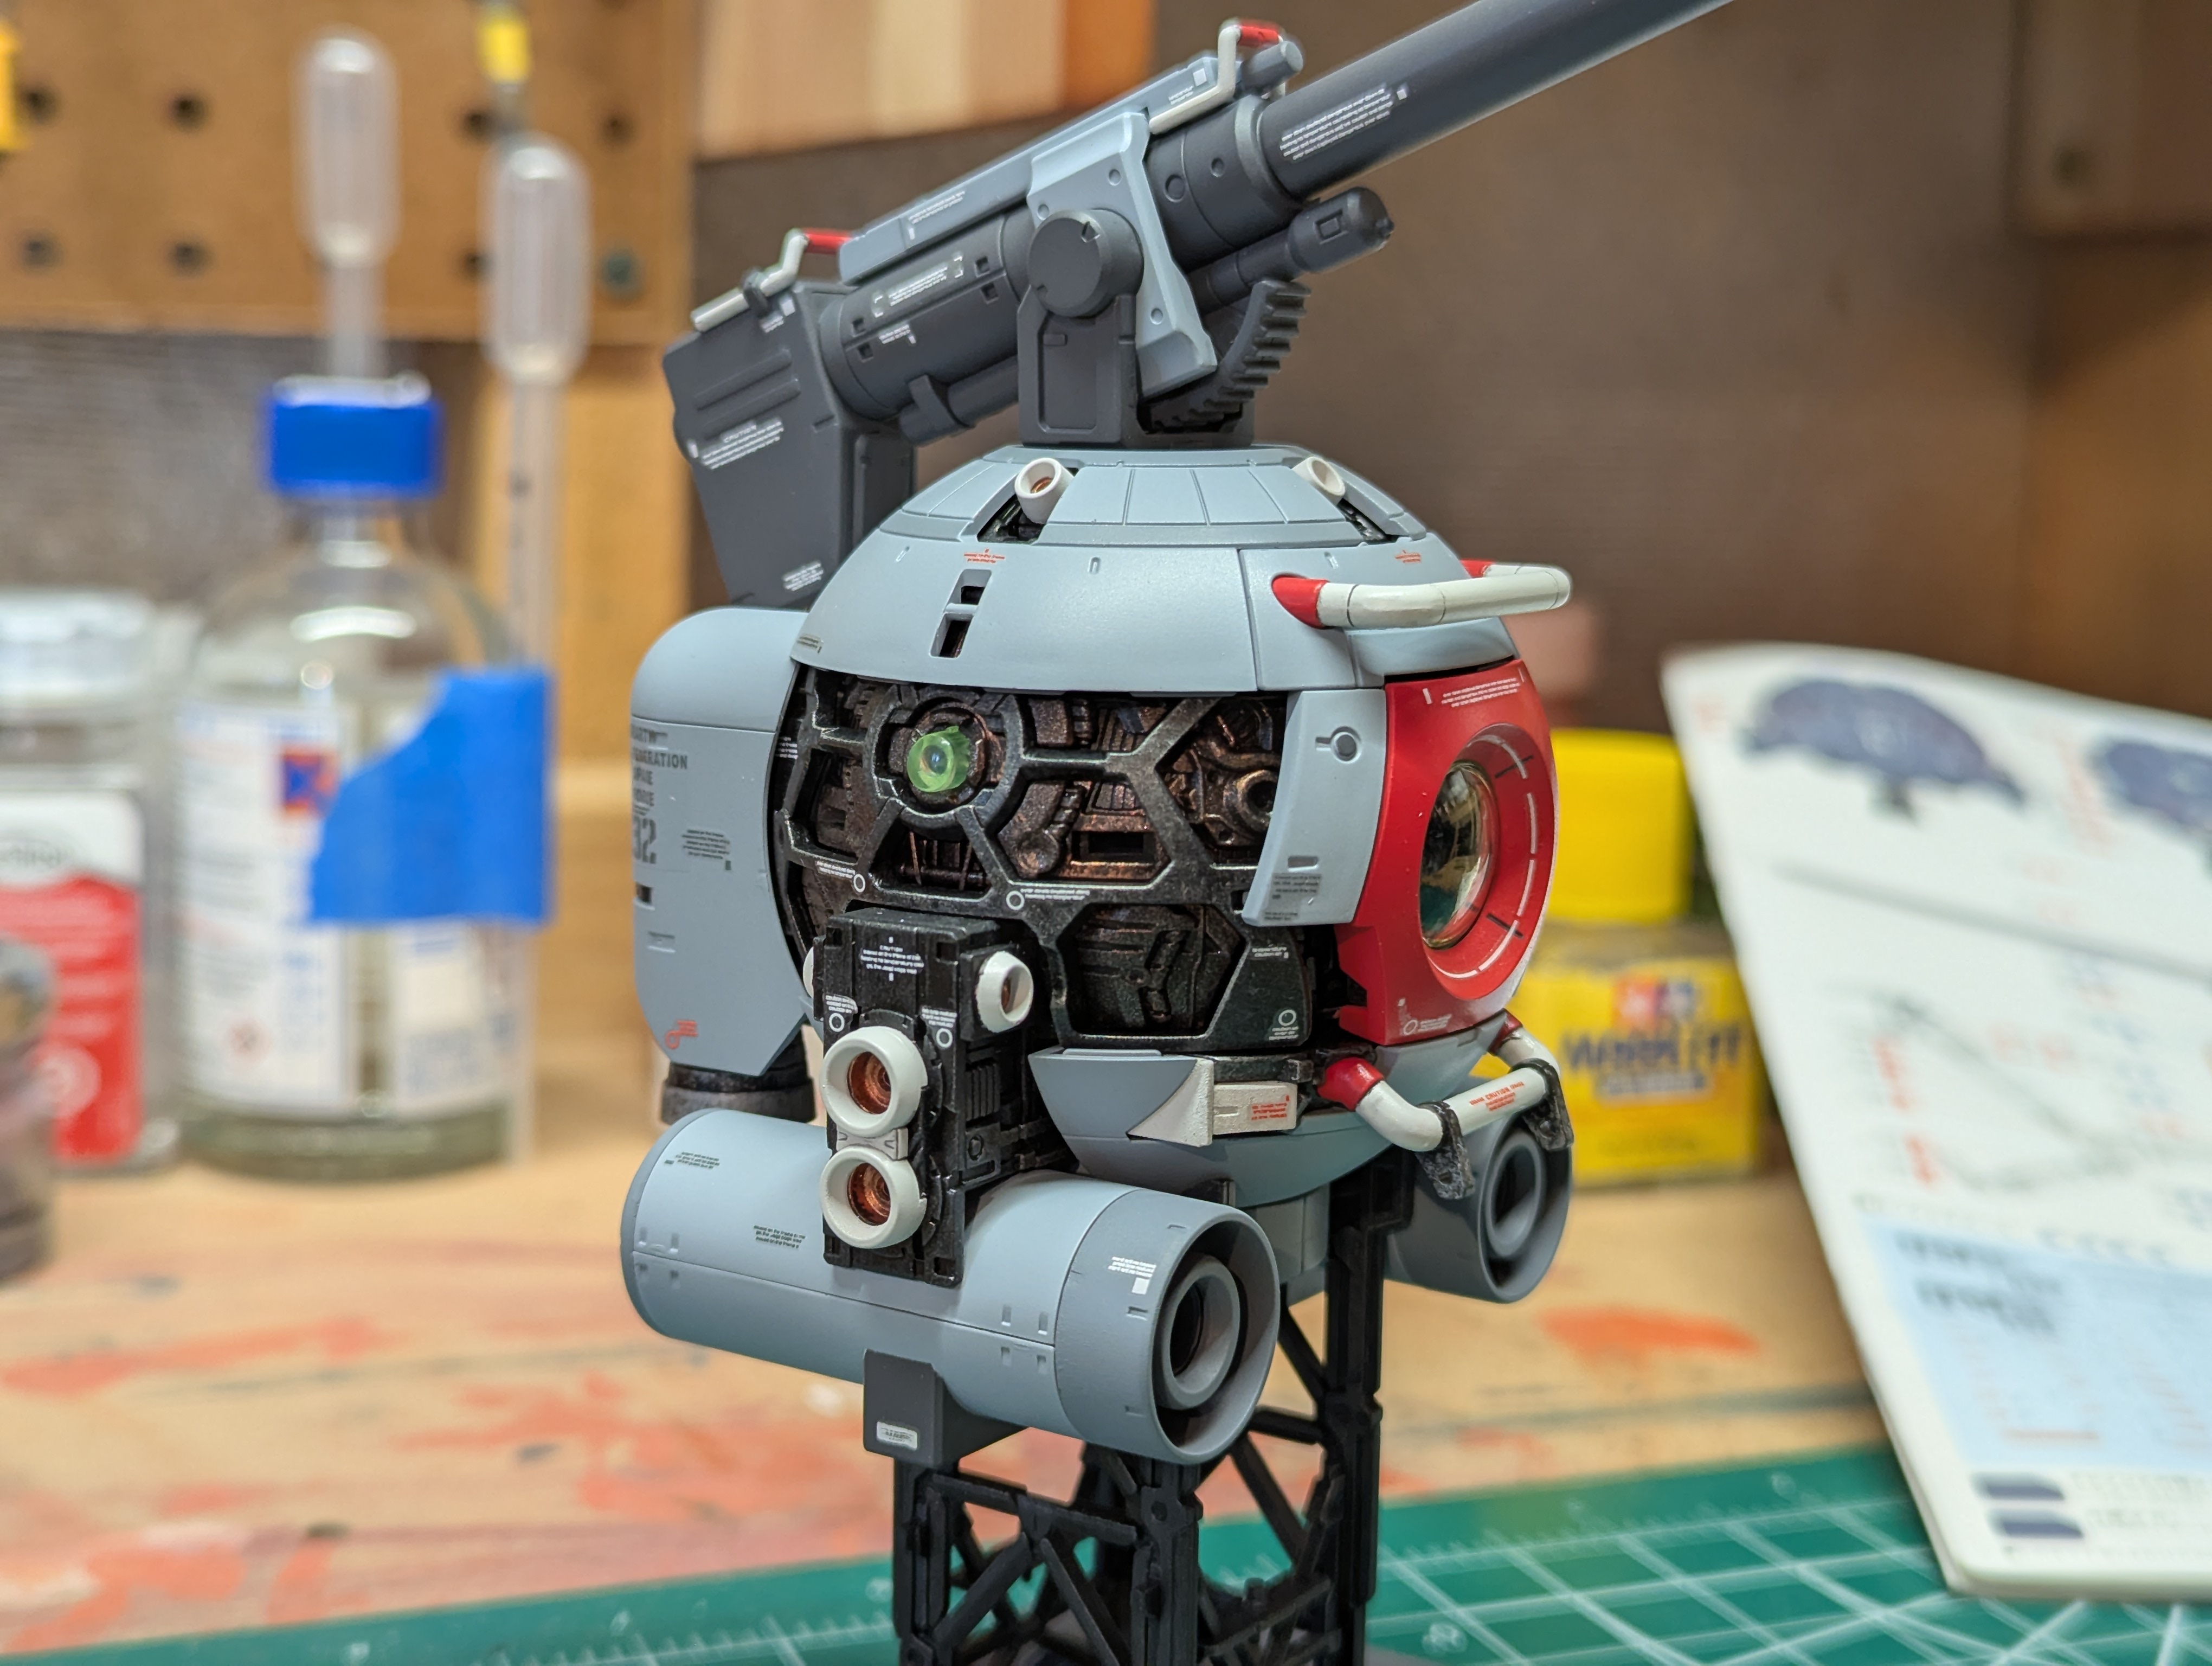
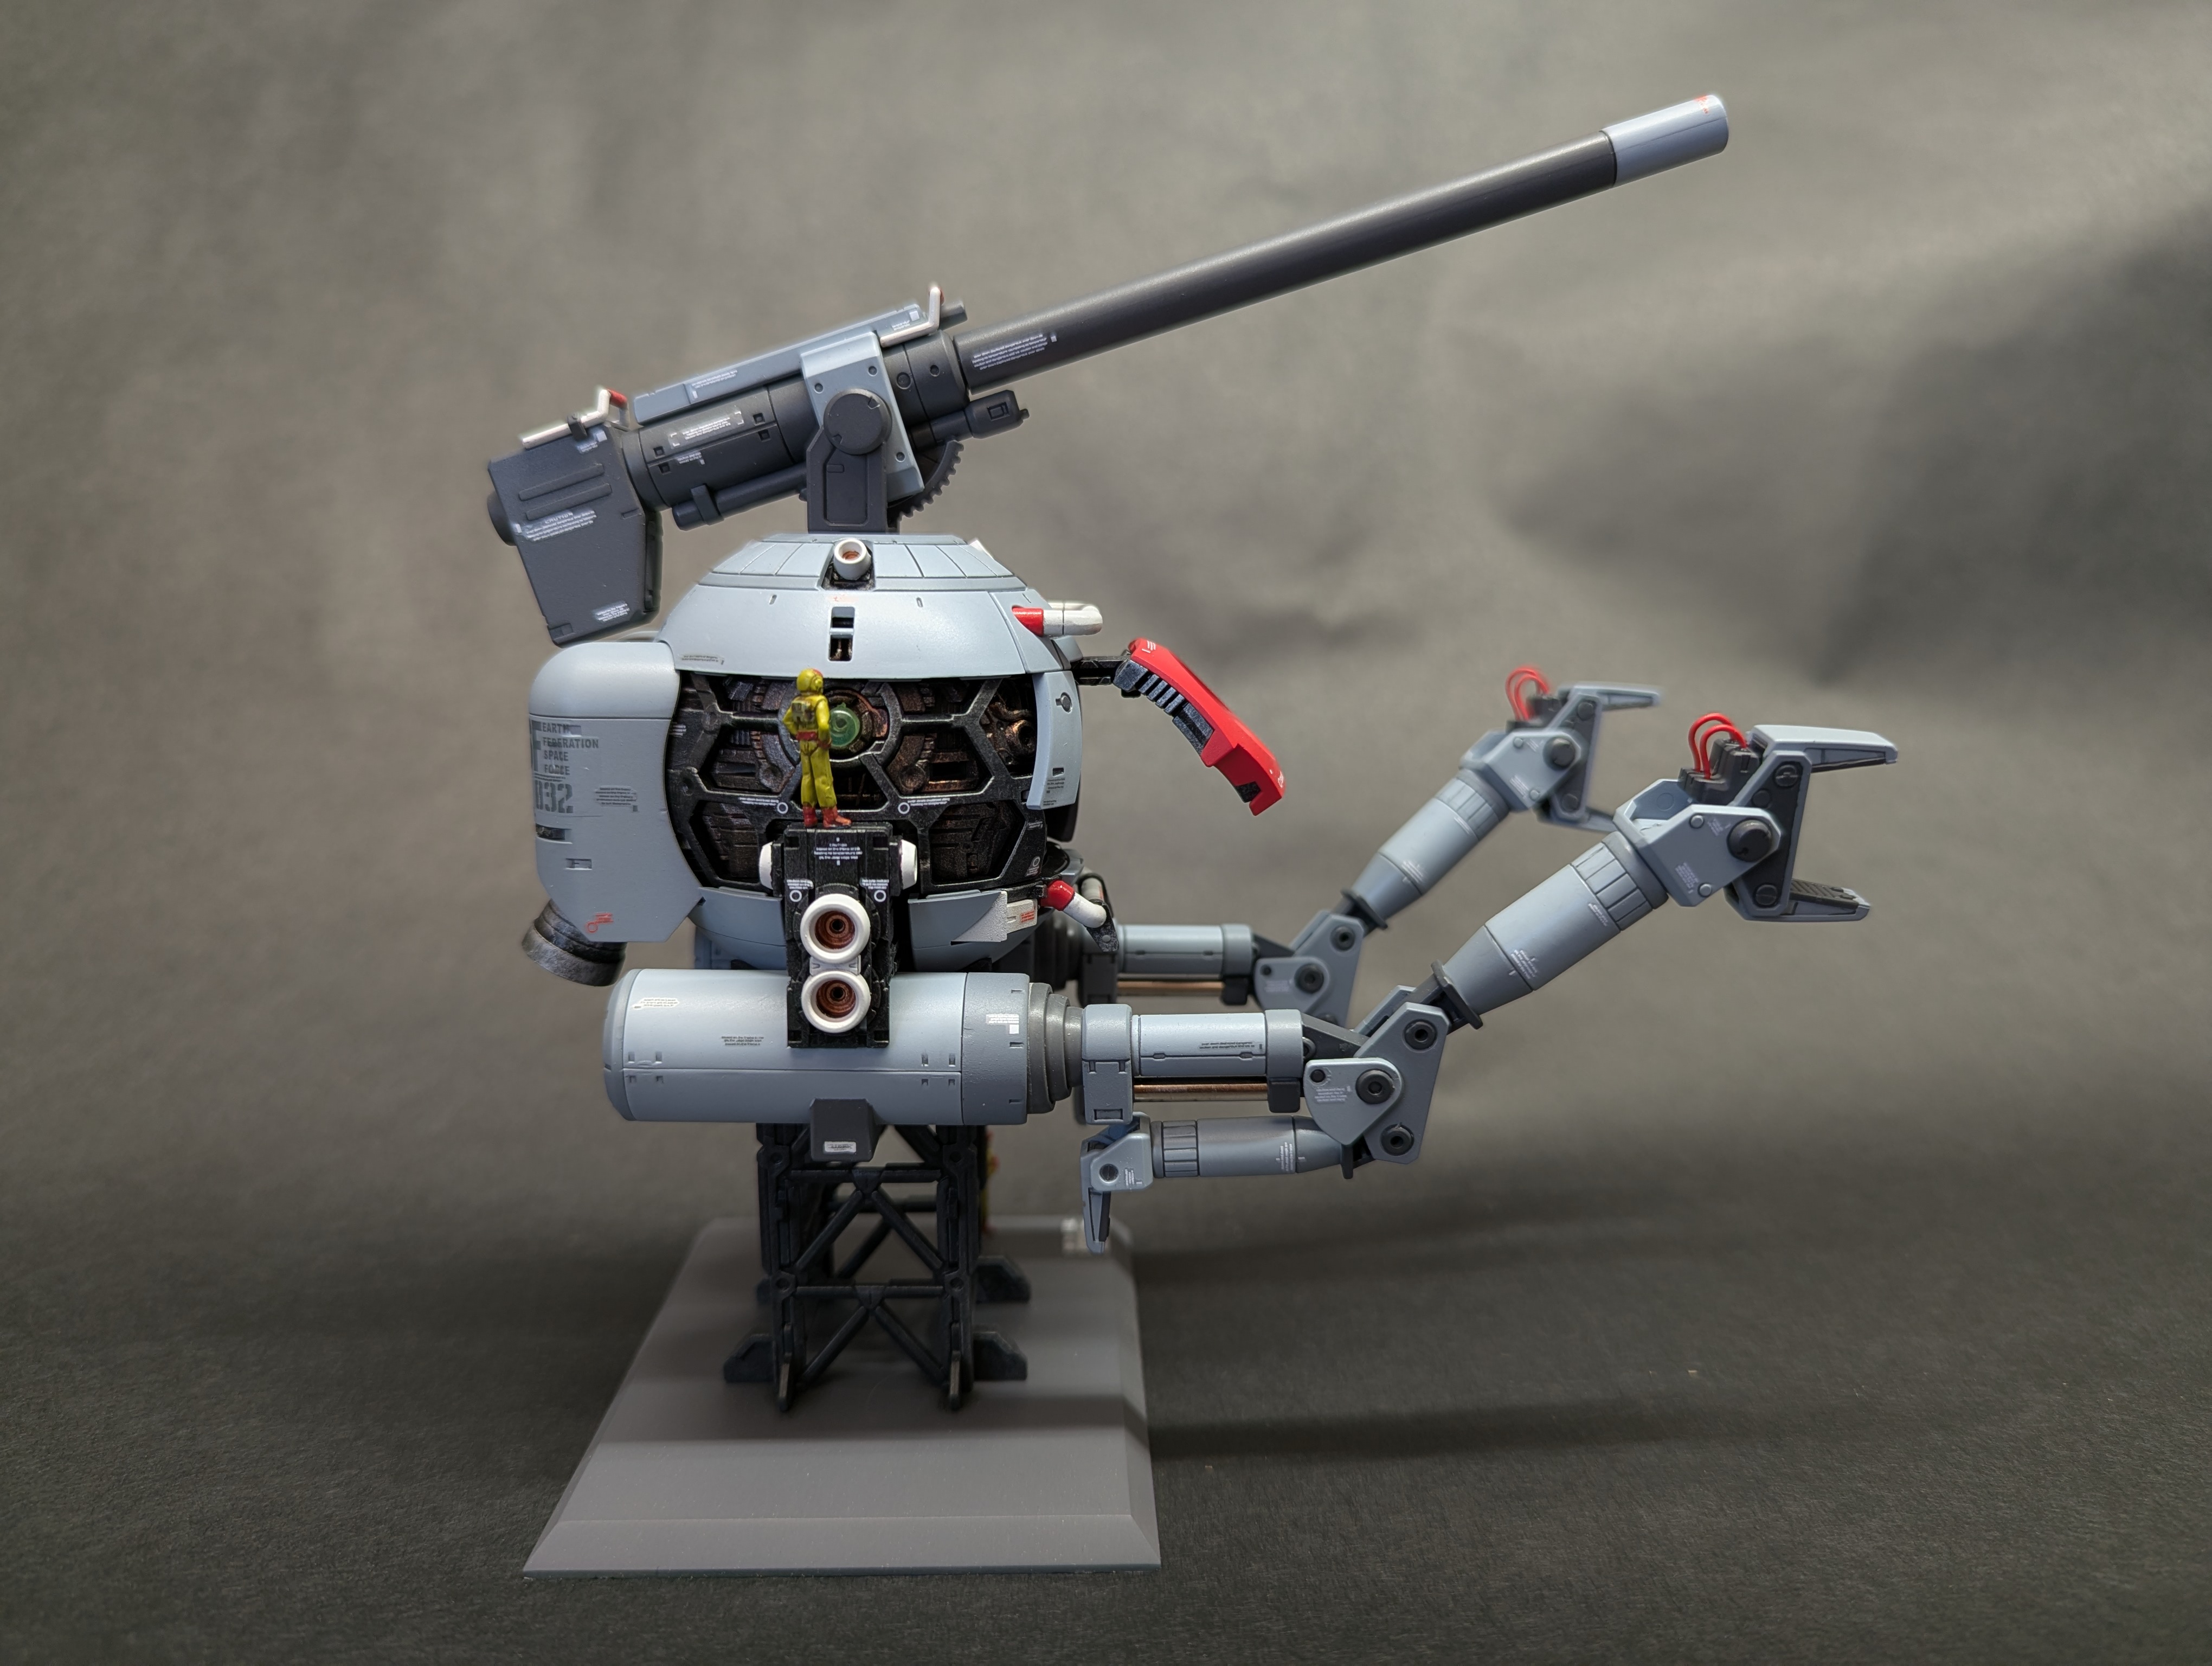
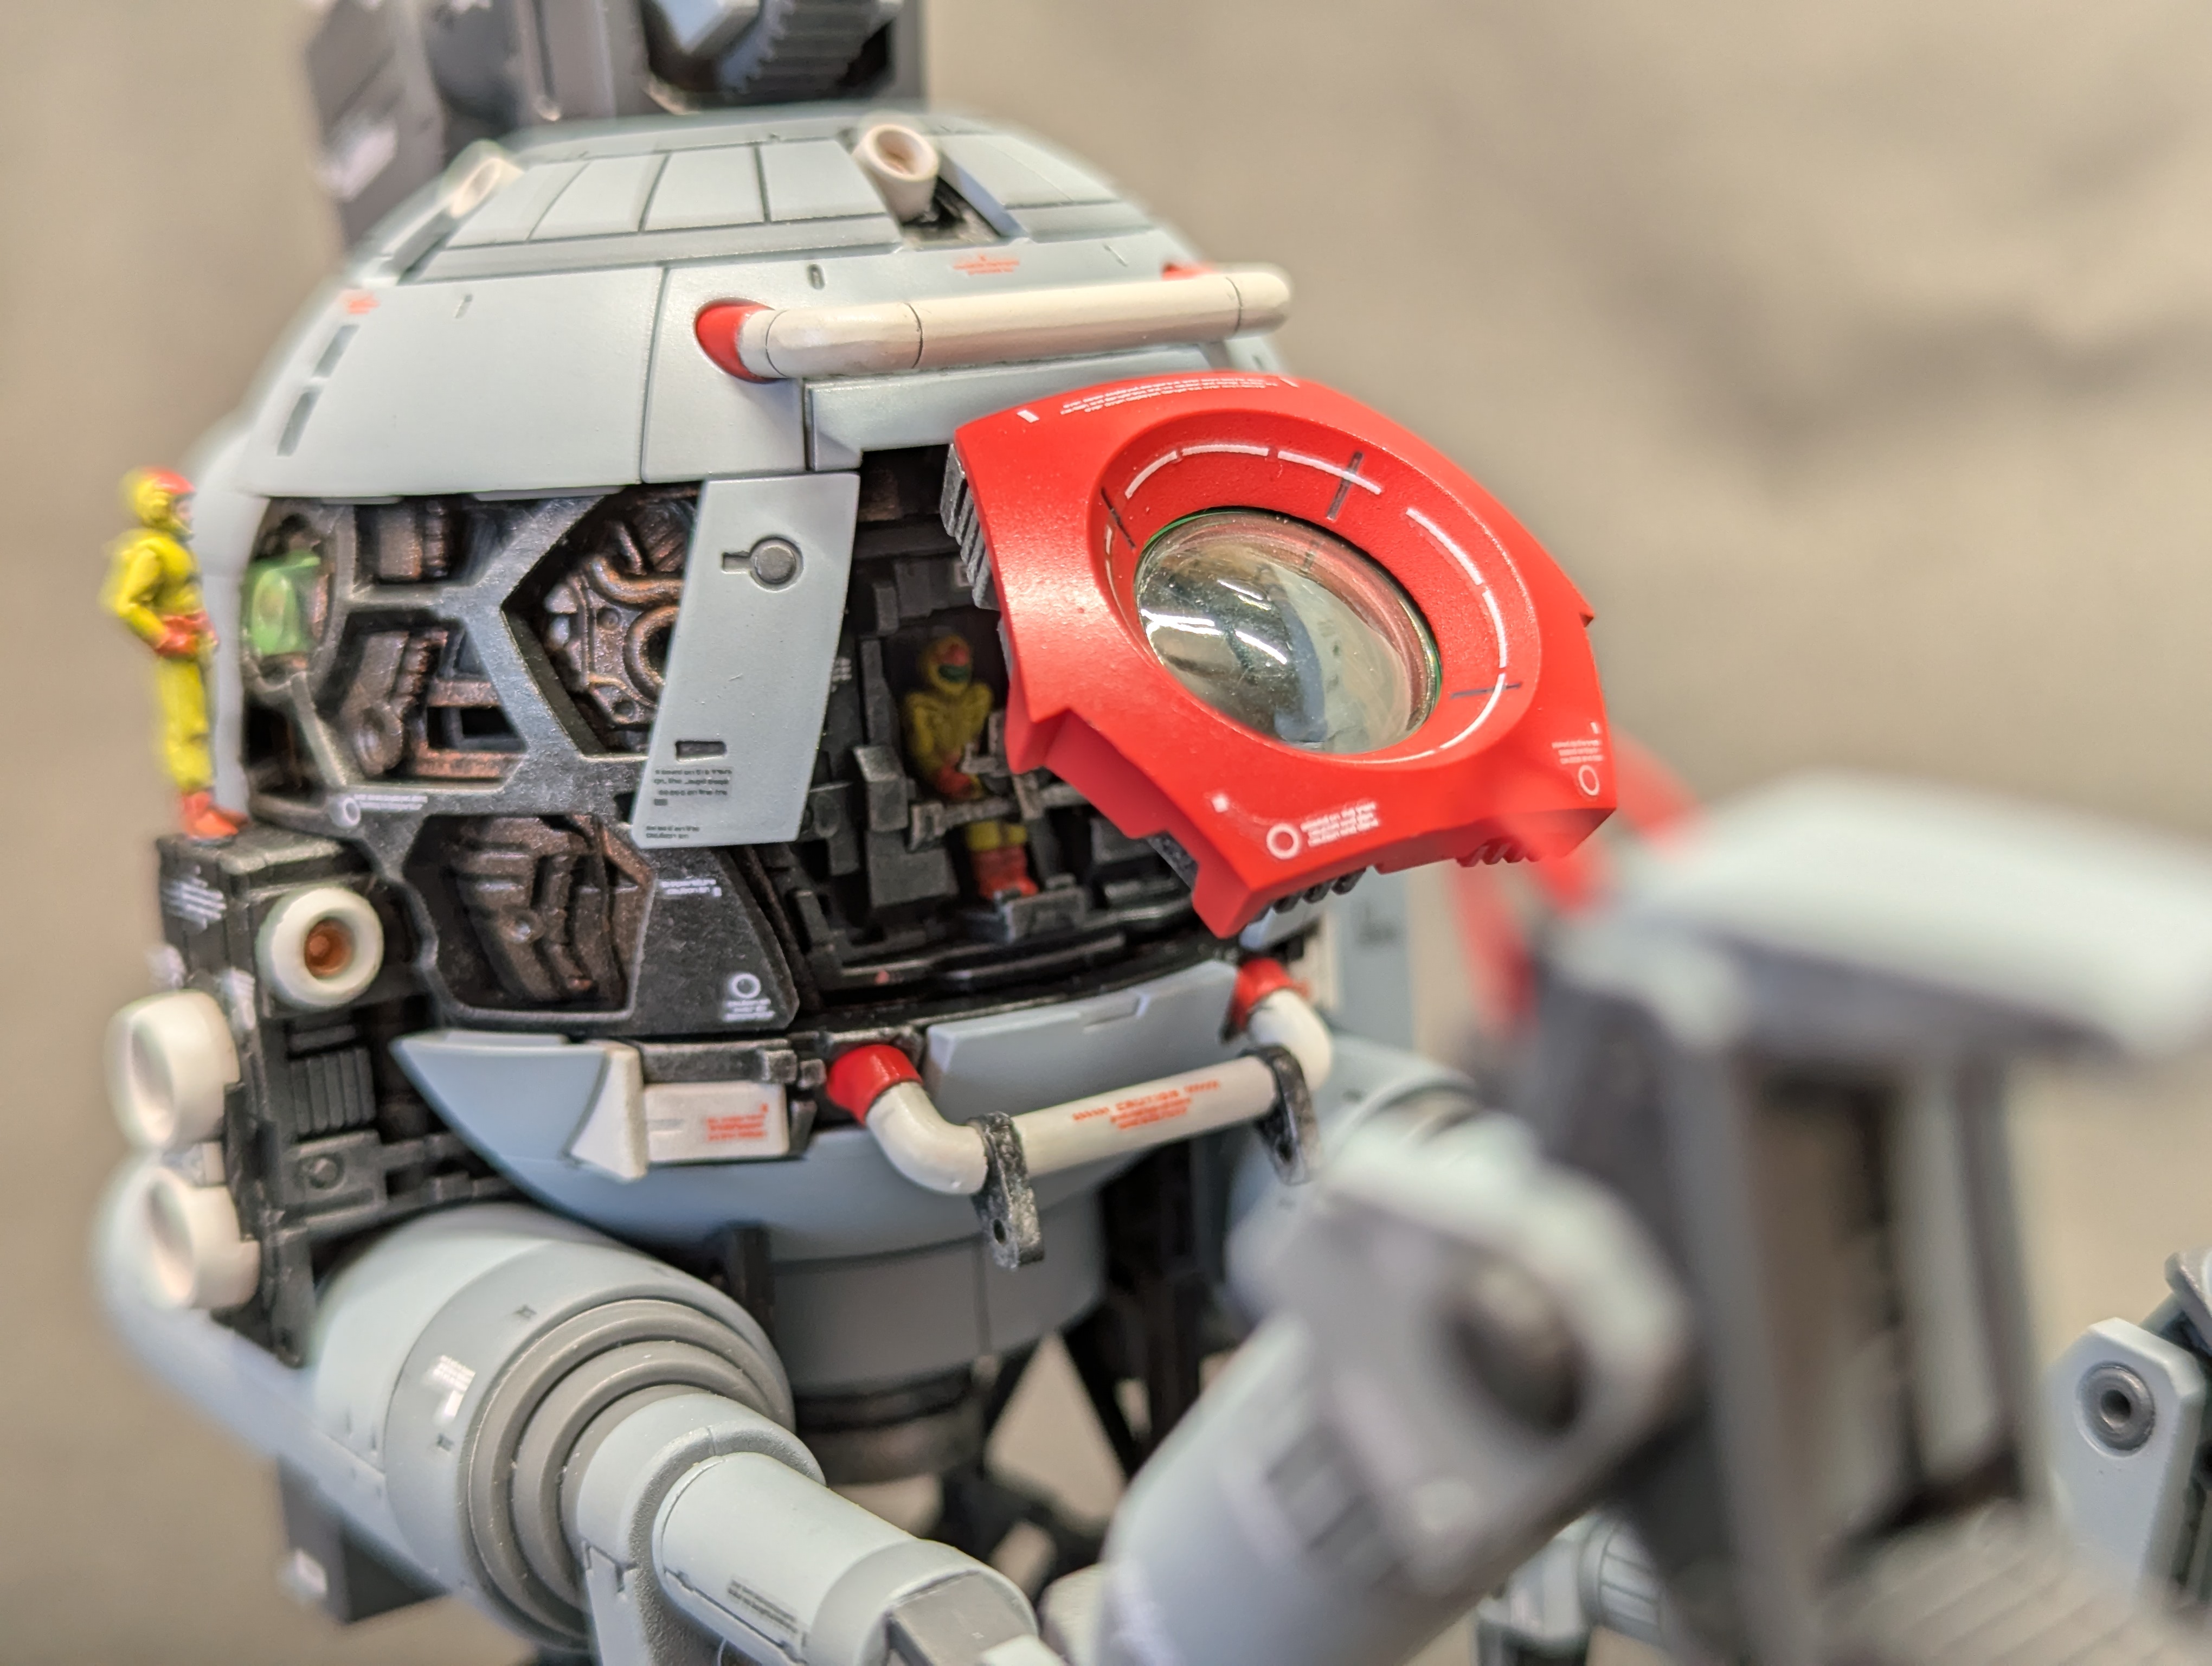
And some more close-ups to finish out the update. You can see the right-side panel's reverse in the left photo - this was the only piece I painted the inside of, as I plan to display it without this panel attached.
Date Posted: March 2, 2026
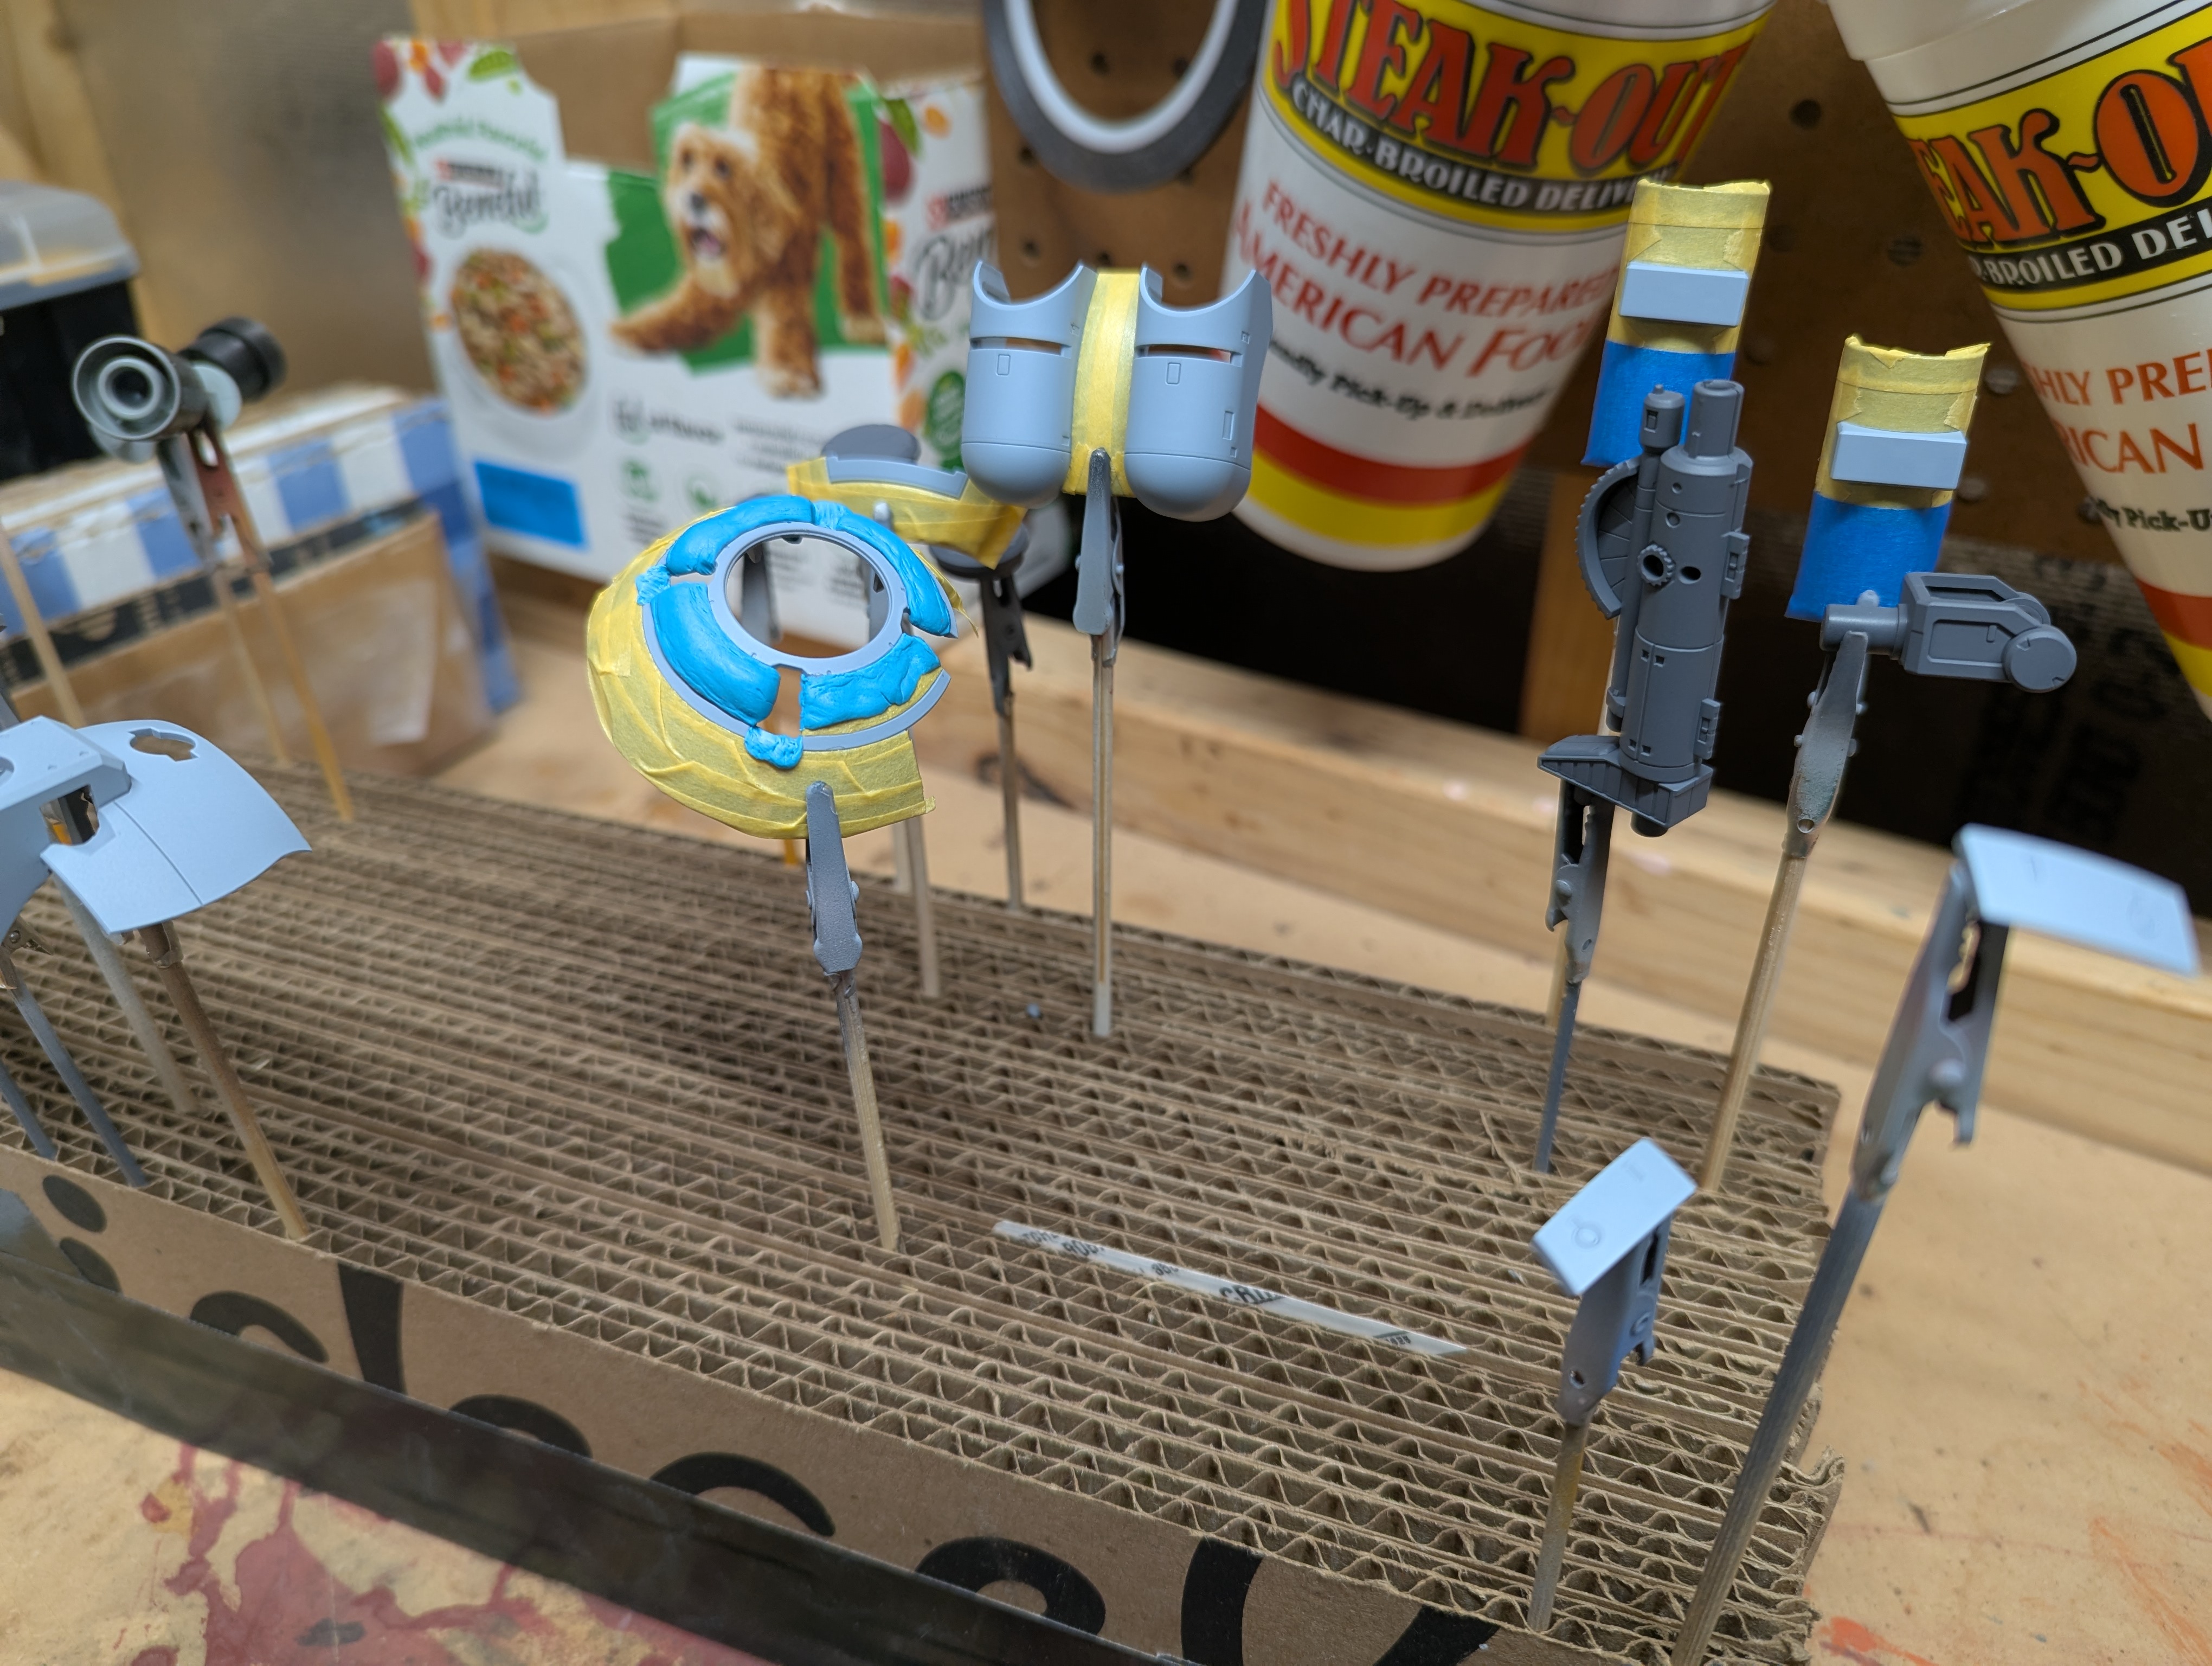
Progress Update 4: Arms and Cleanup
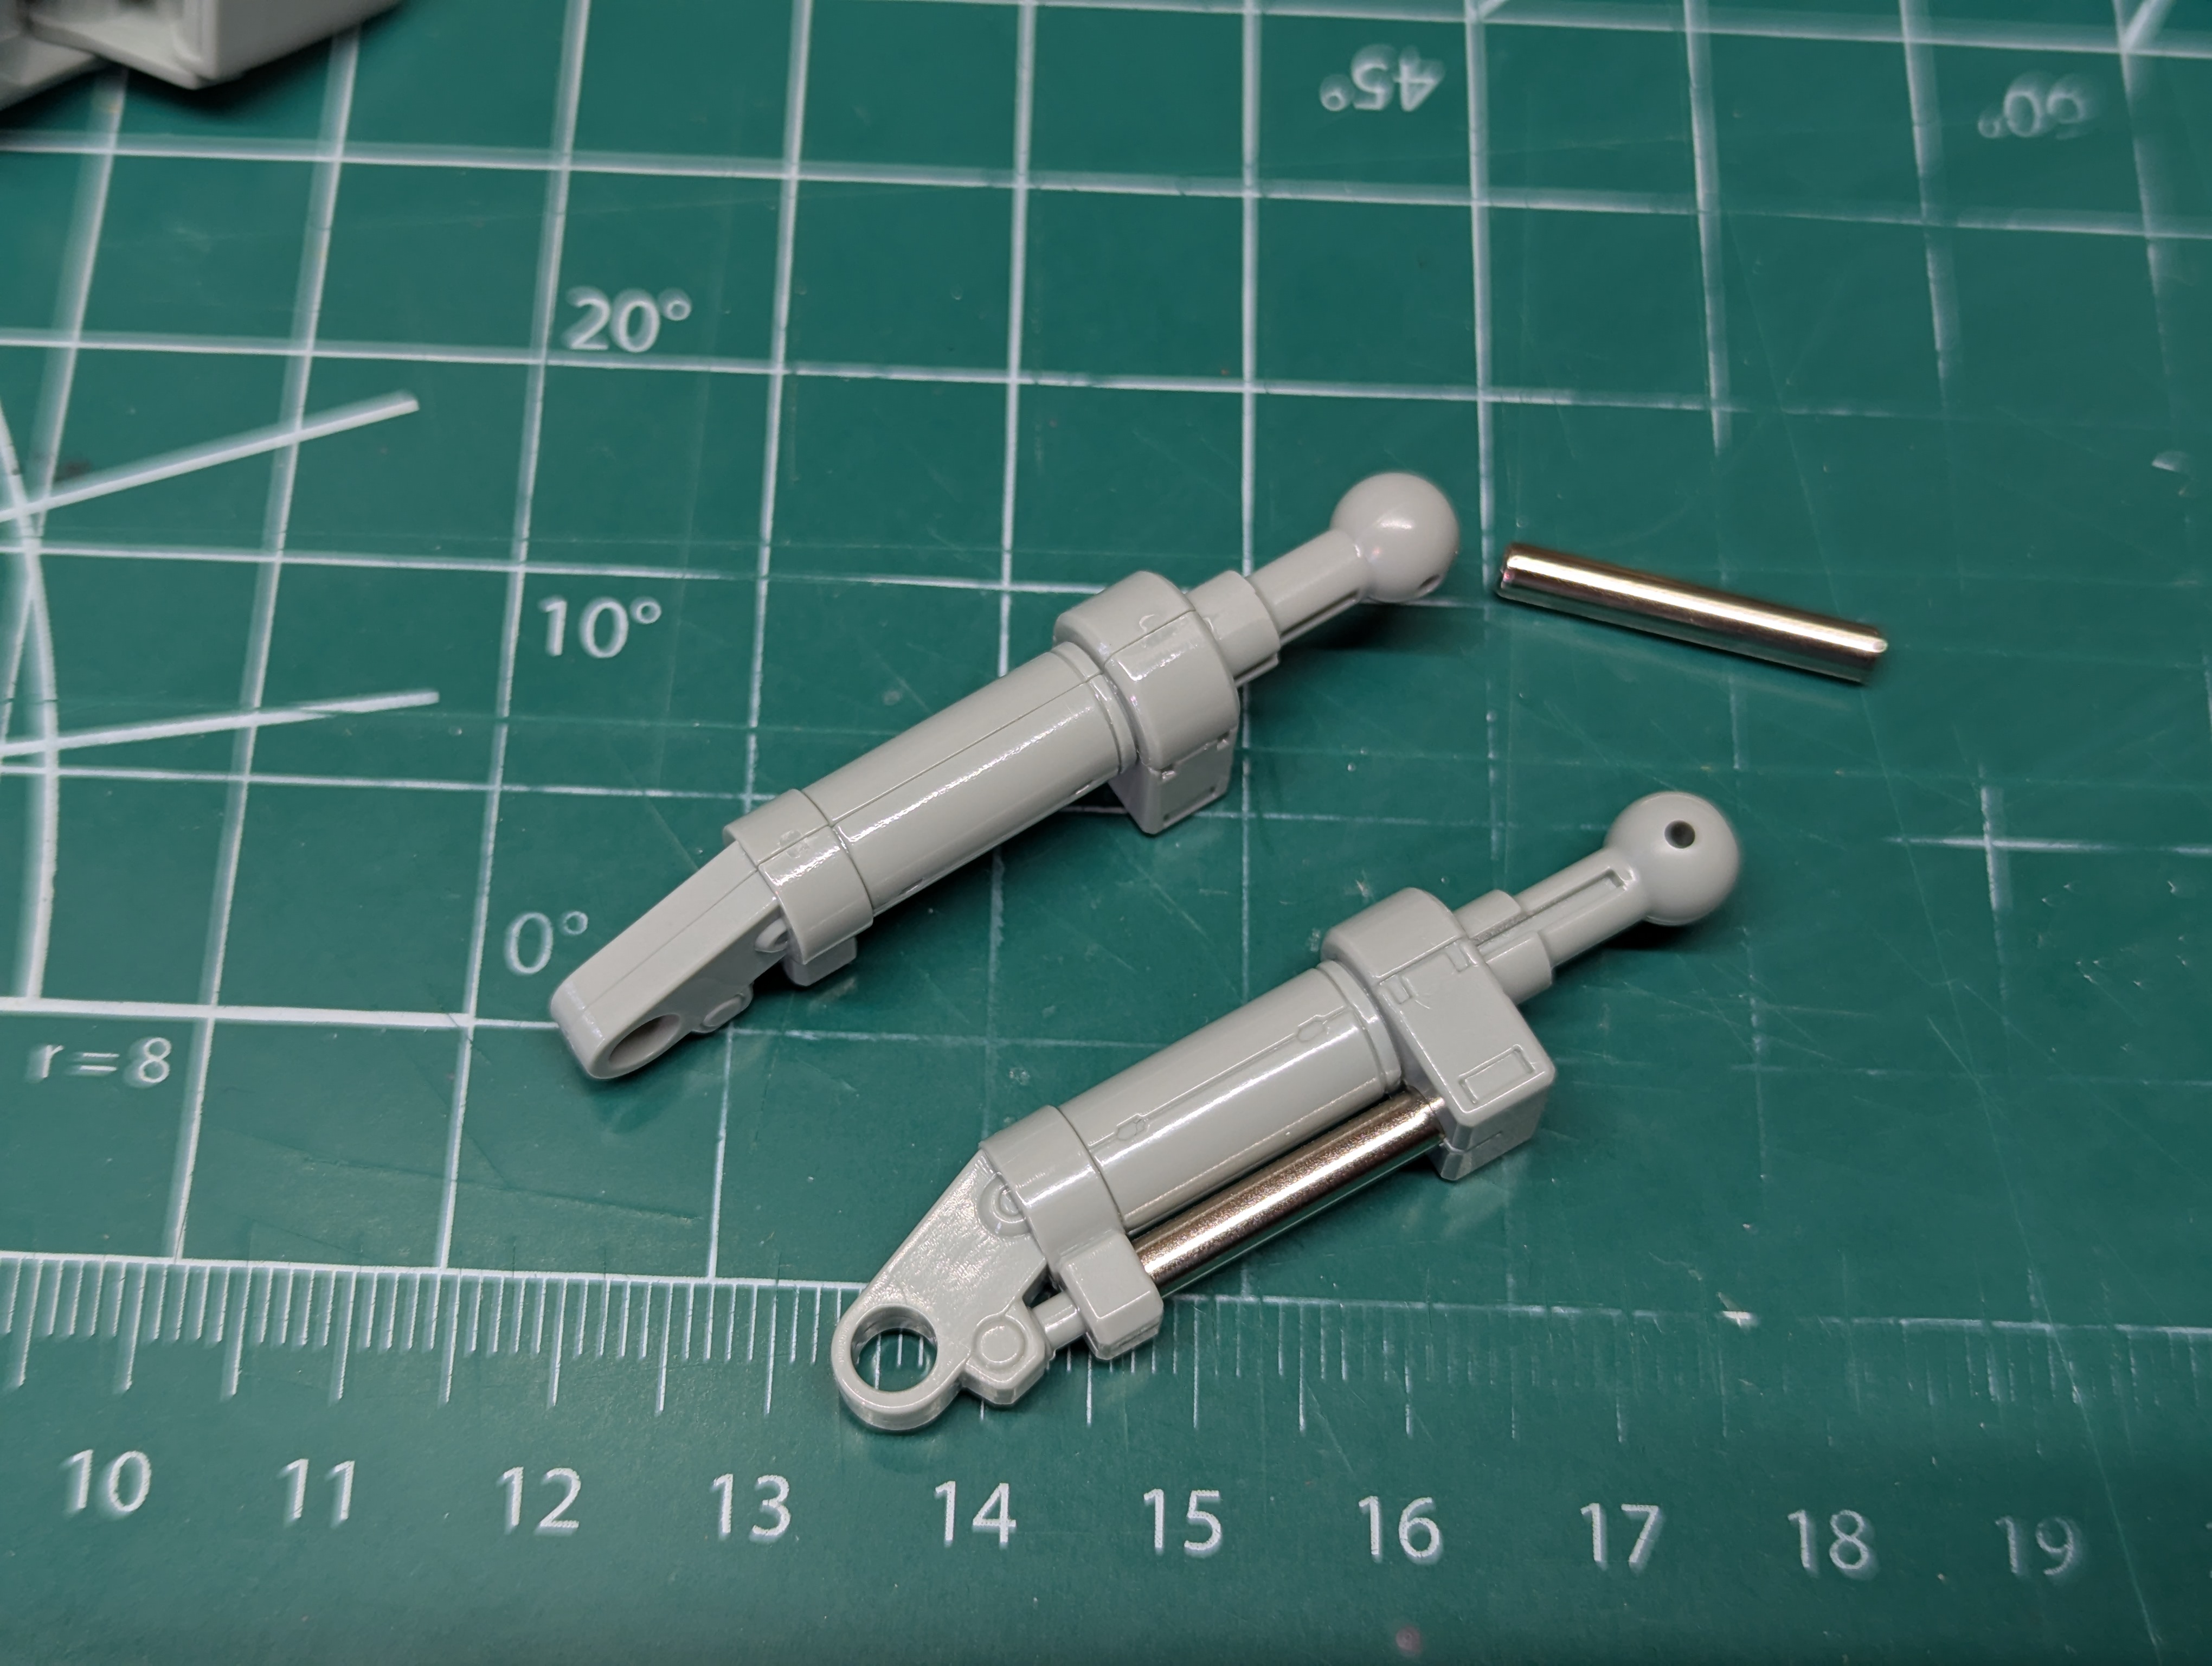
The arms are where the construction of the kit gets far simpler. There's no inner frame or panels to speak of - it's just the outer layer with nothing underneath. They cut a few corners on the assembly as a result, and these arm linkages have an ugly seam line over the top. These are assembled over the metal rods, too, so it's not as simple as just cementing, sanding, and painting - you have to mask out the rod. Still, nothing too bad. I used some Mr. Putty R thinned with lacquer thinner to fill in the seam, since it seemed like there was a divot where the corners of the pieces were. I don't think I did this perfectly but hopefully it's good enough that the painting process will pick up the slack.
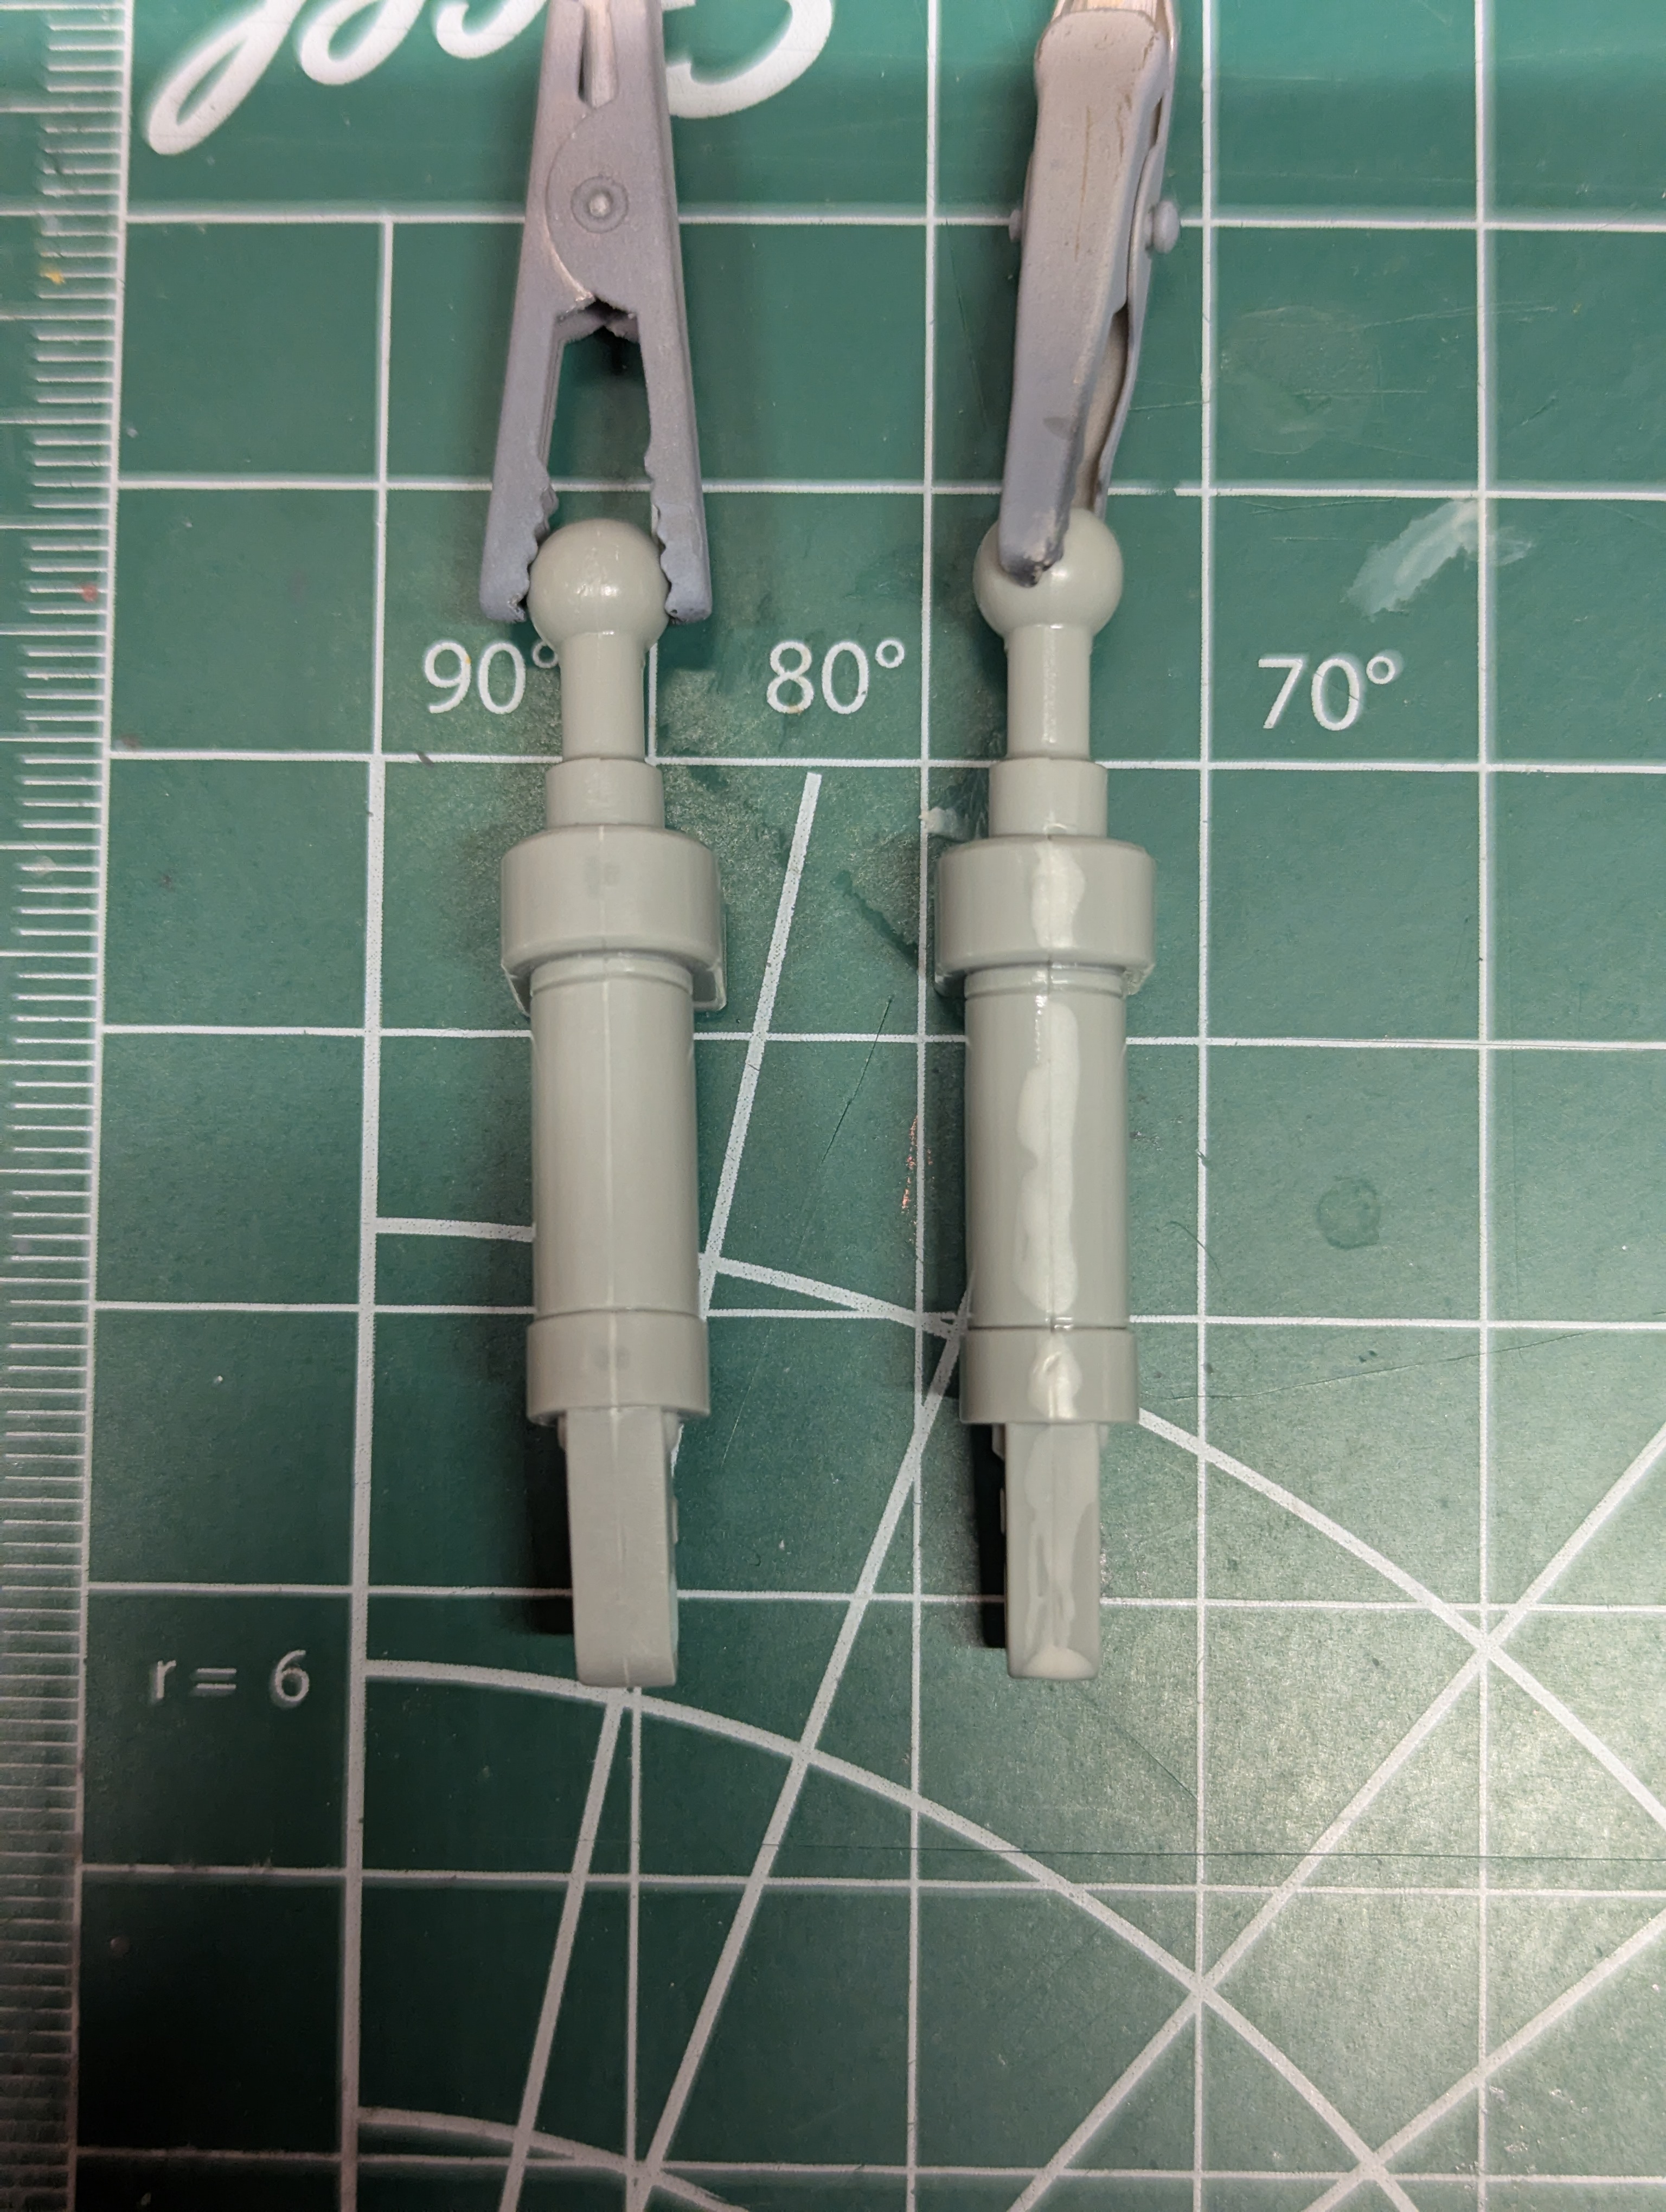
The masking here was much more substantial, and I resorted to blue tack for a lot of pieces. I'm trying not to let the project rush itself at the end and keep the color separation that I established on the main body armor panels.
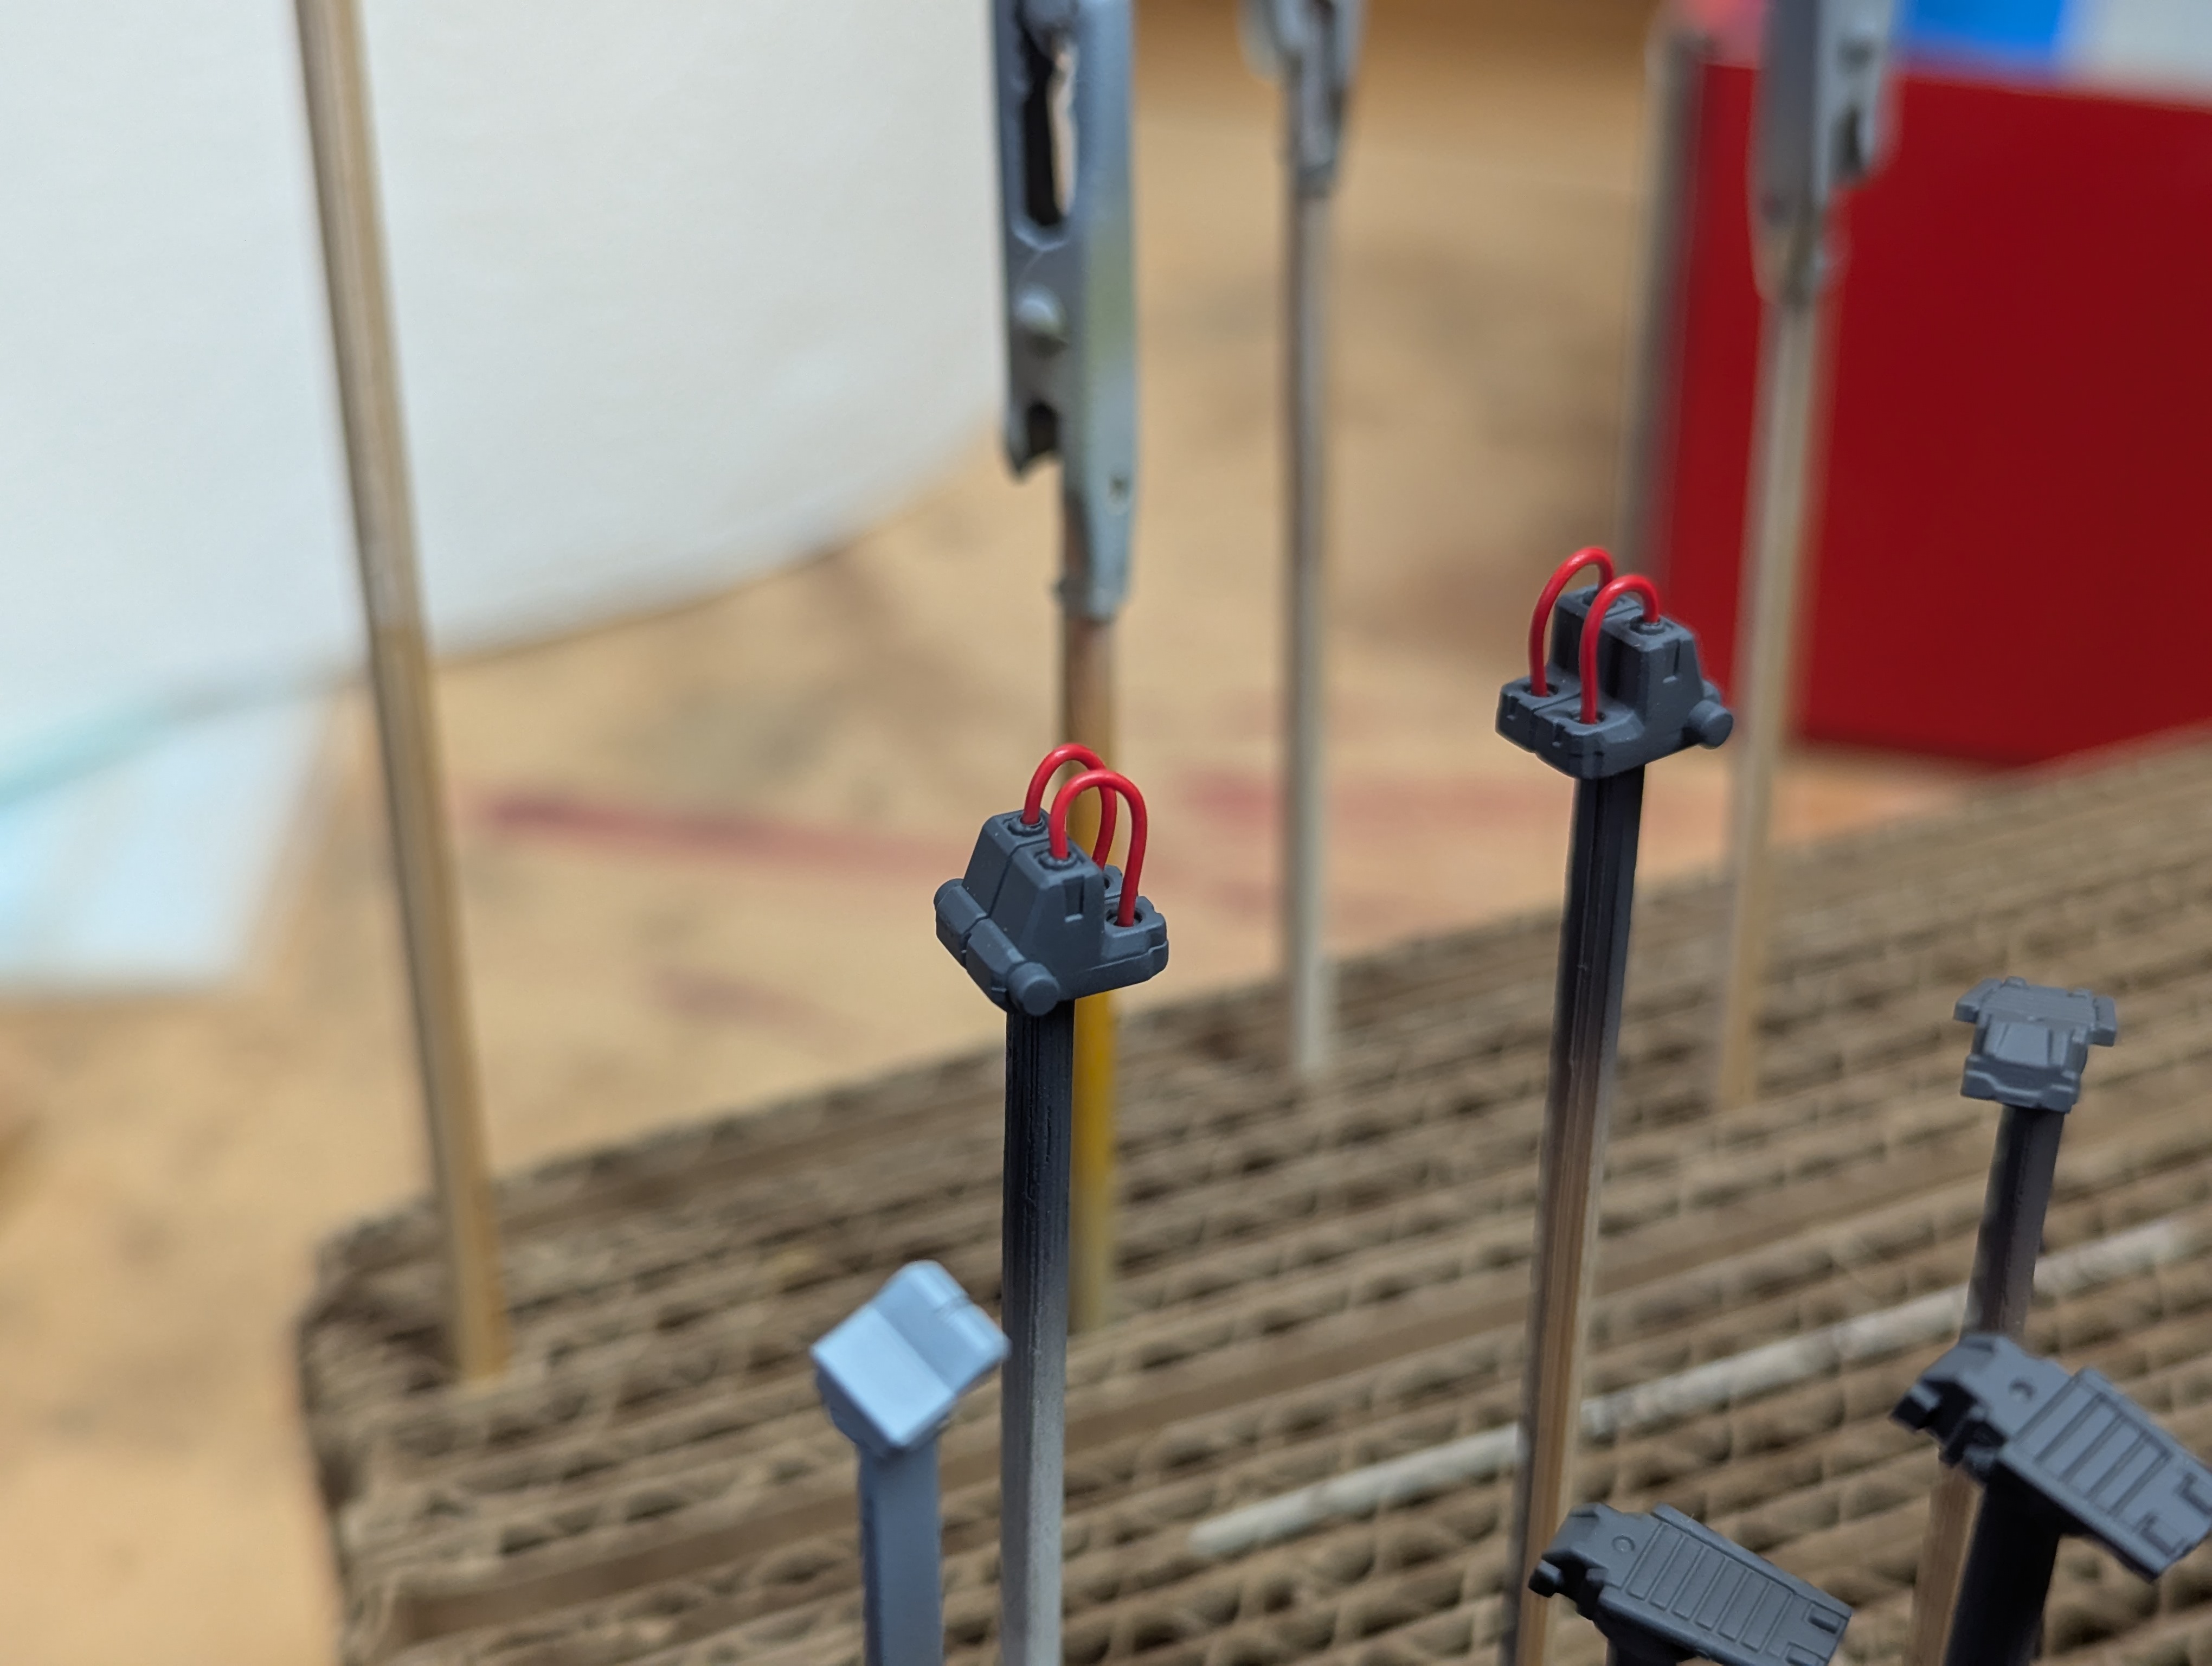
I also finally added in the wires to these pieces. This leaves only the pilot/technician figures in the unused parts box. I'm tempted to skip those, even though I have been planning to give painting them a whirl... just really want to cross the finish line at this point.
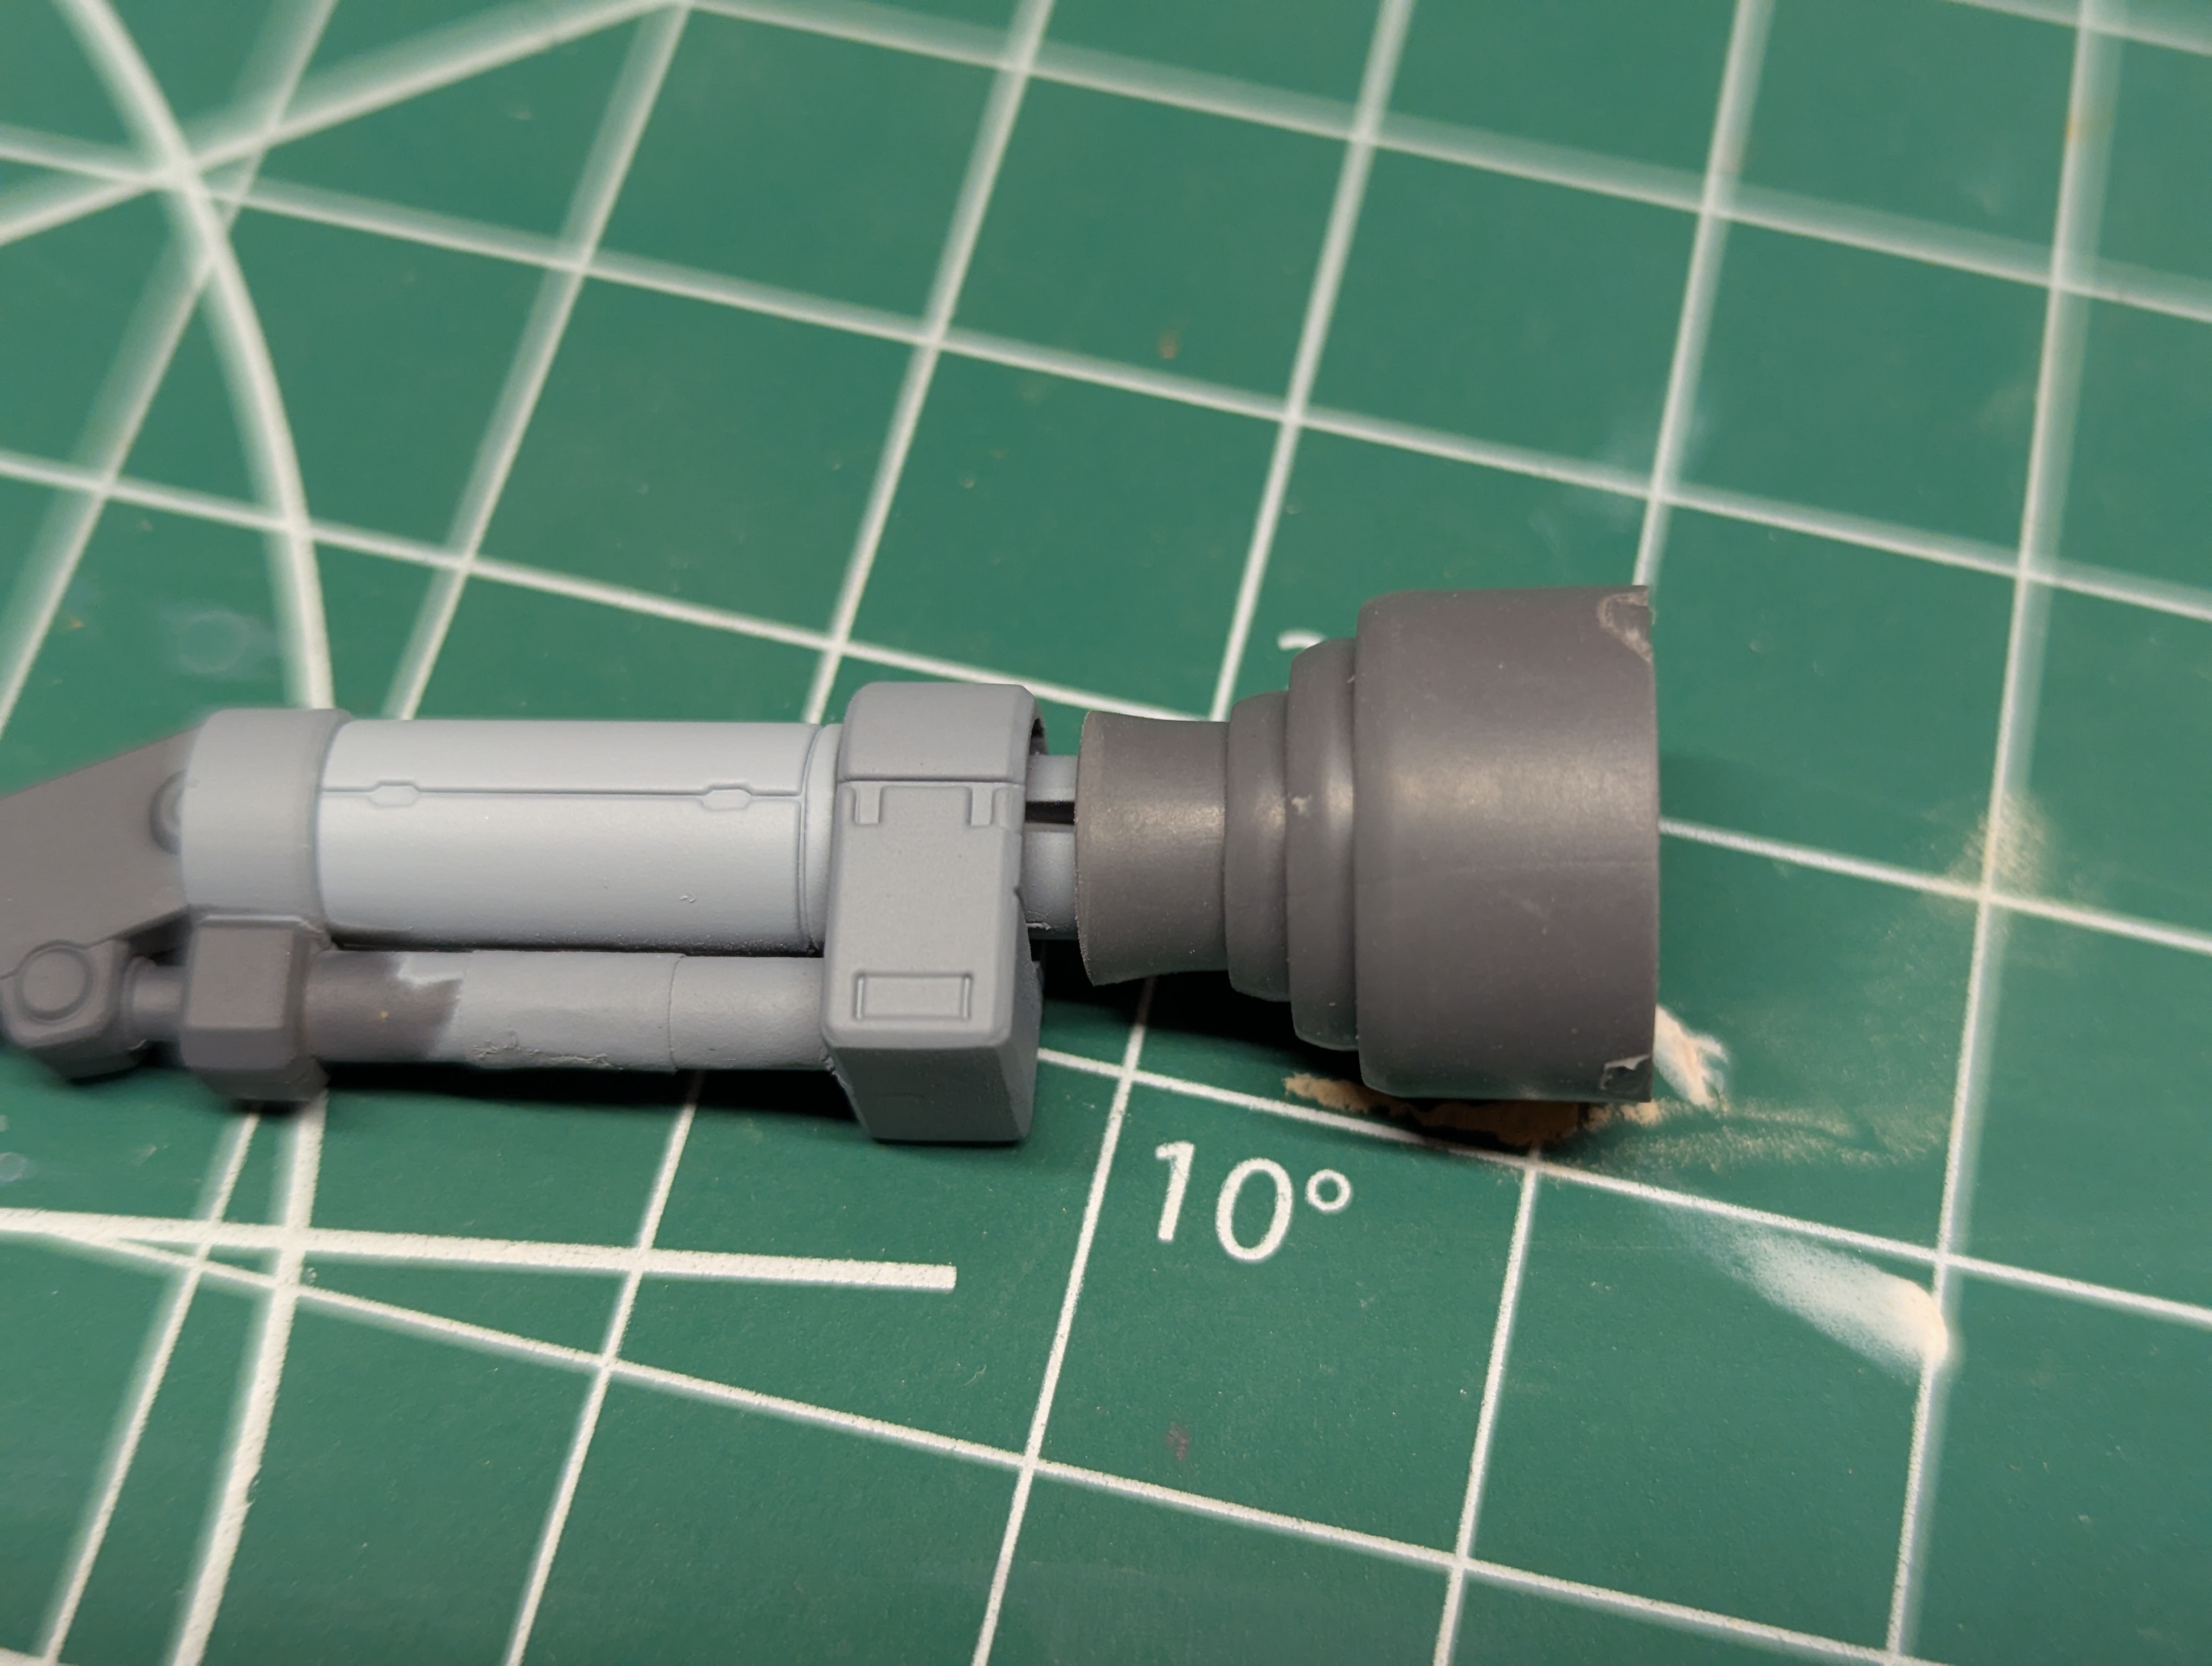
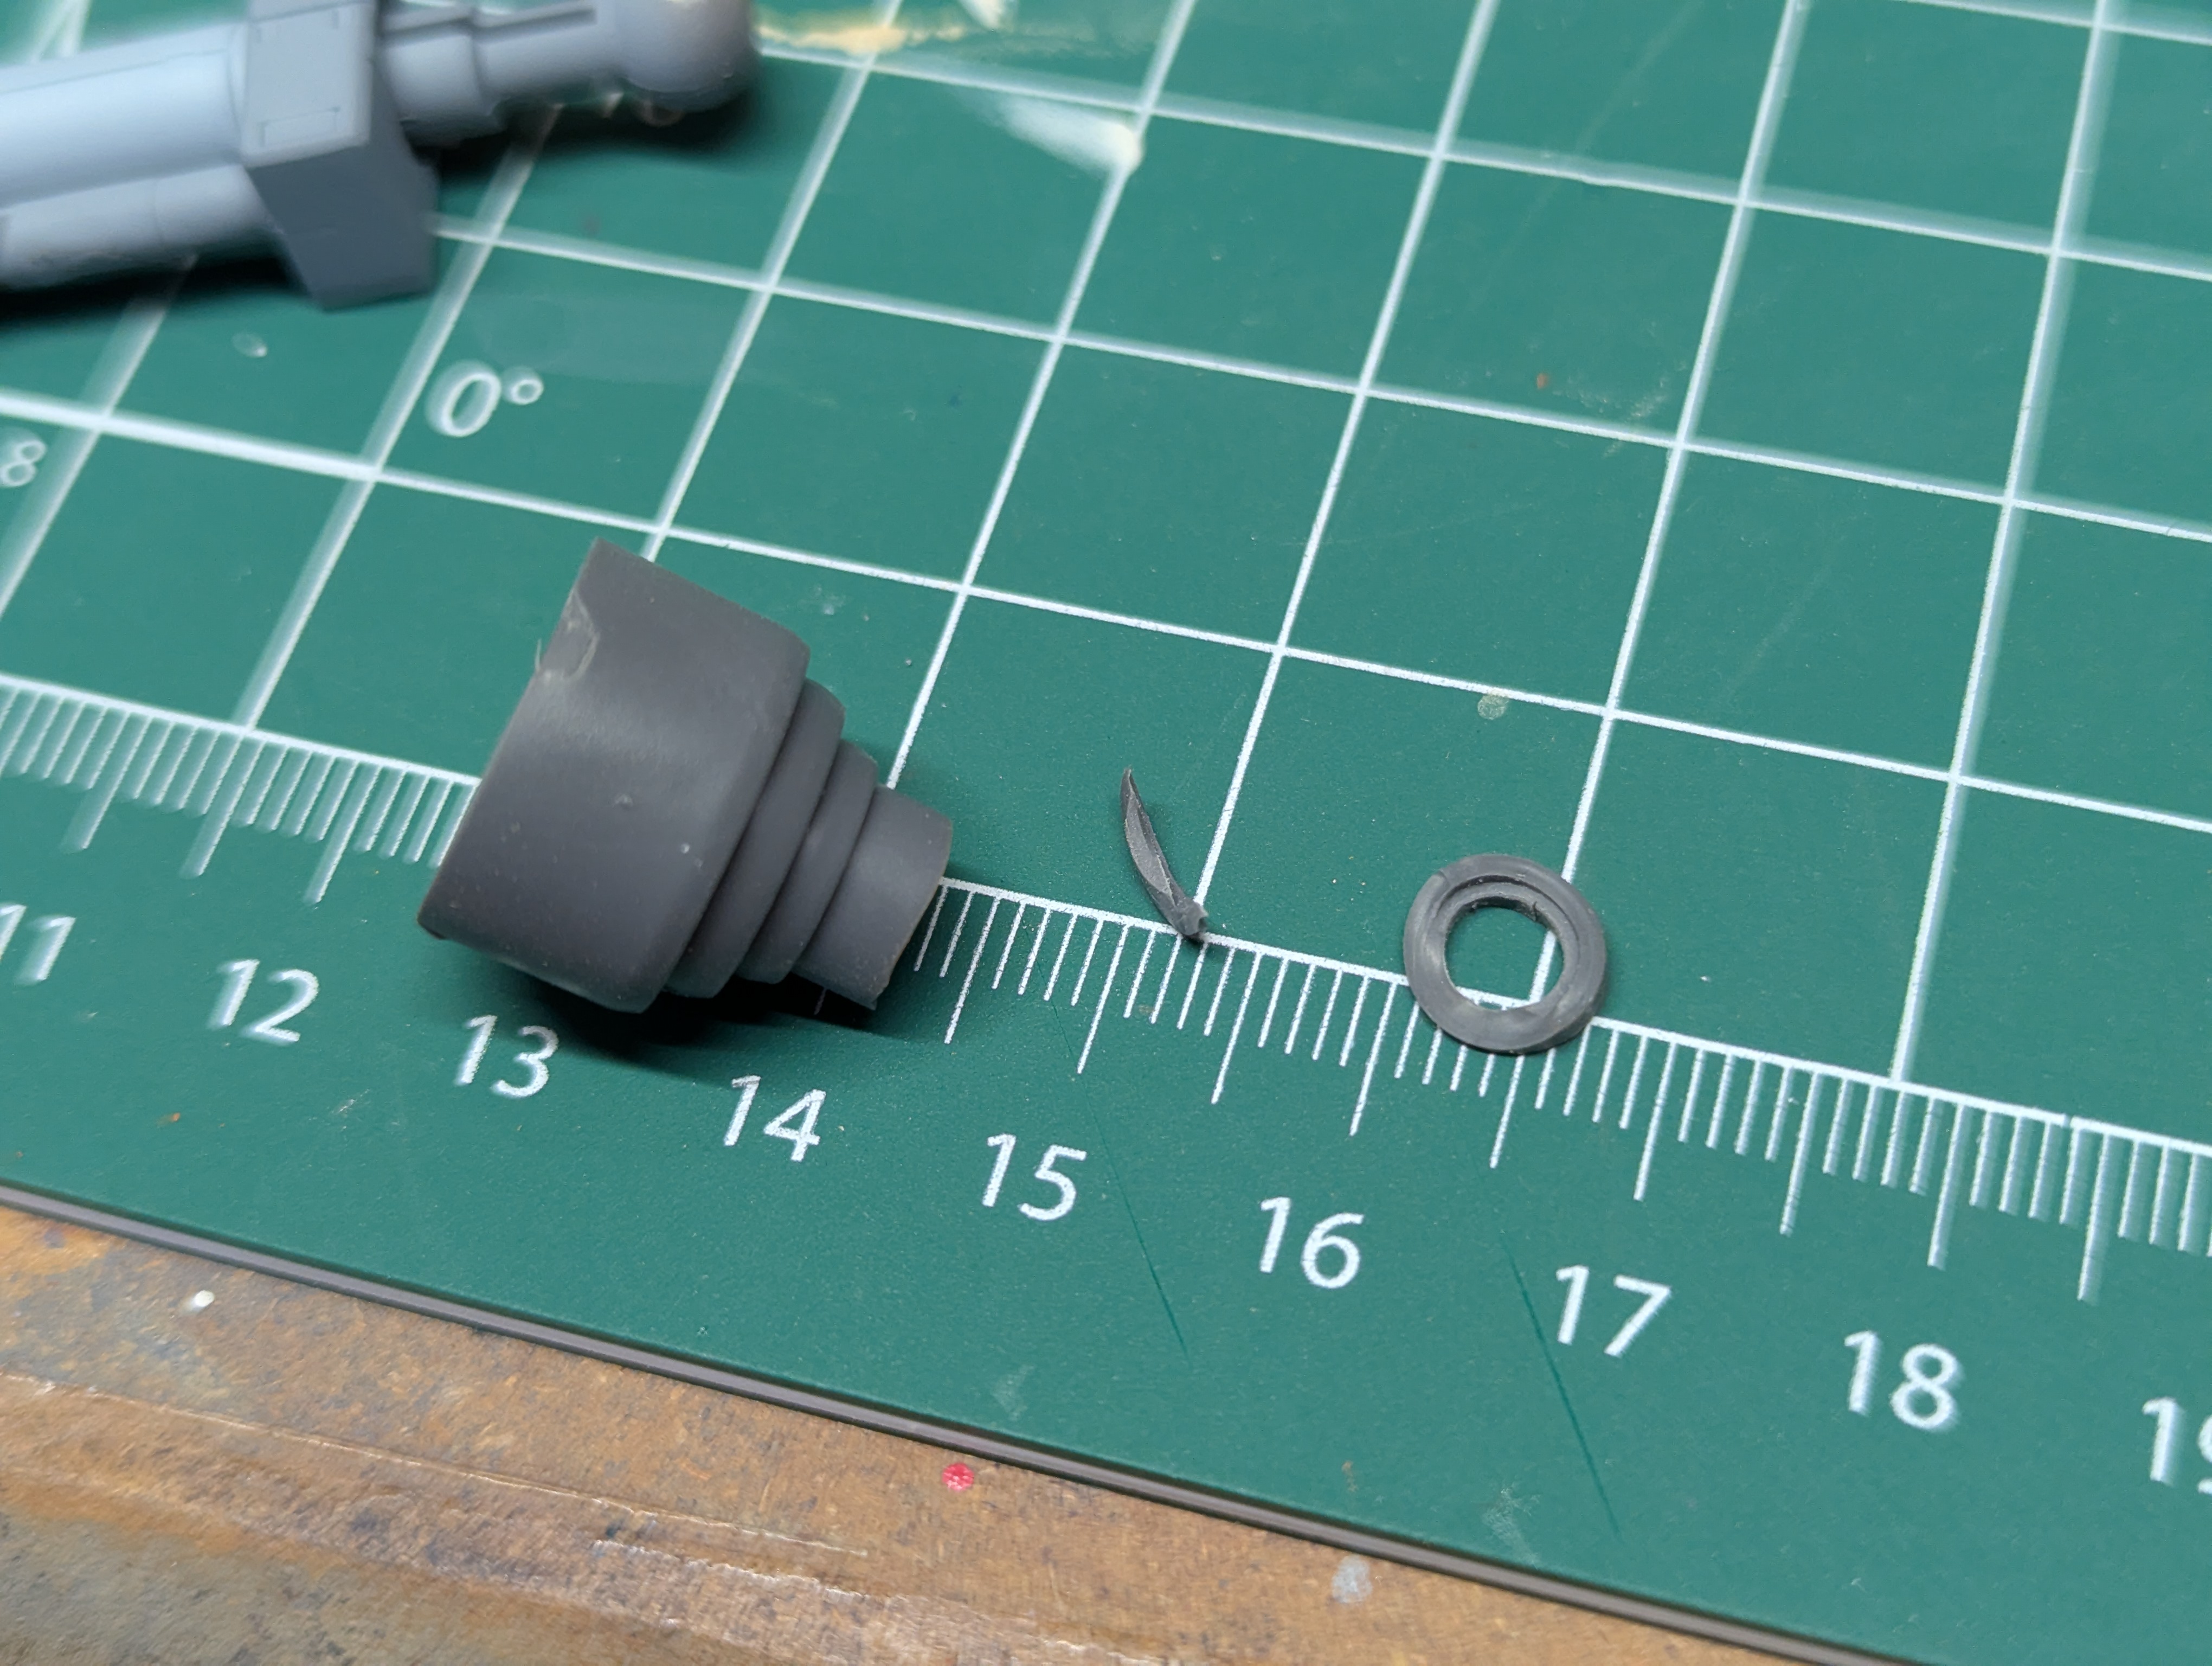
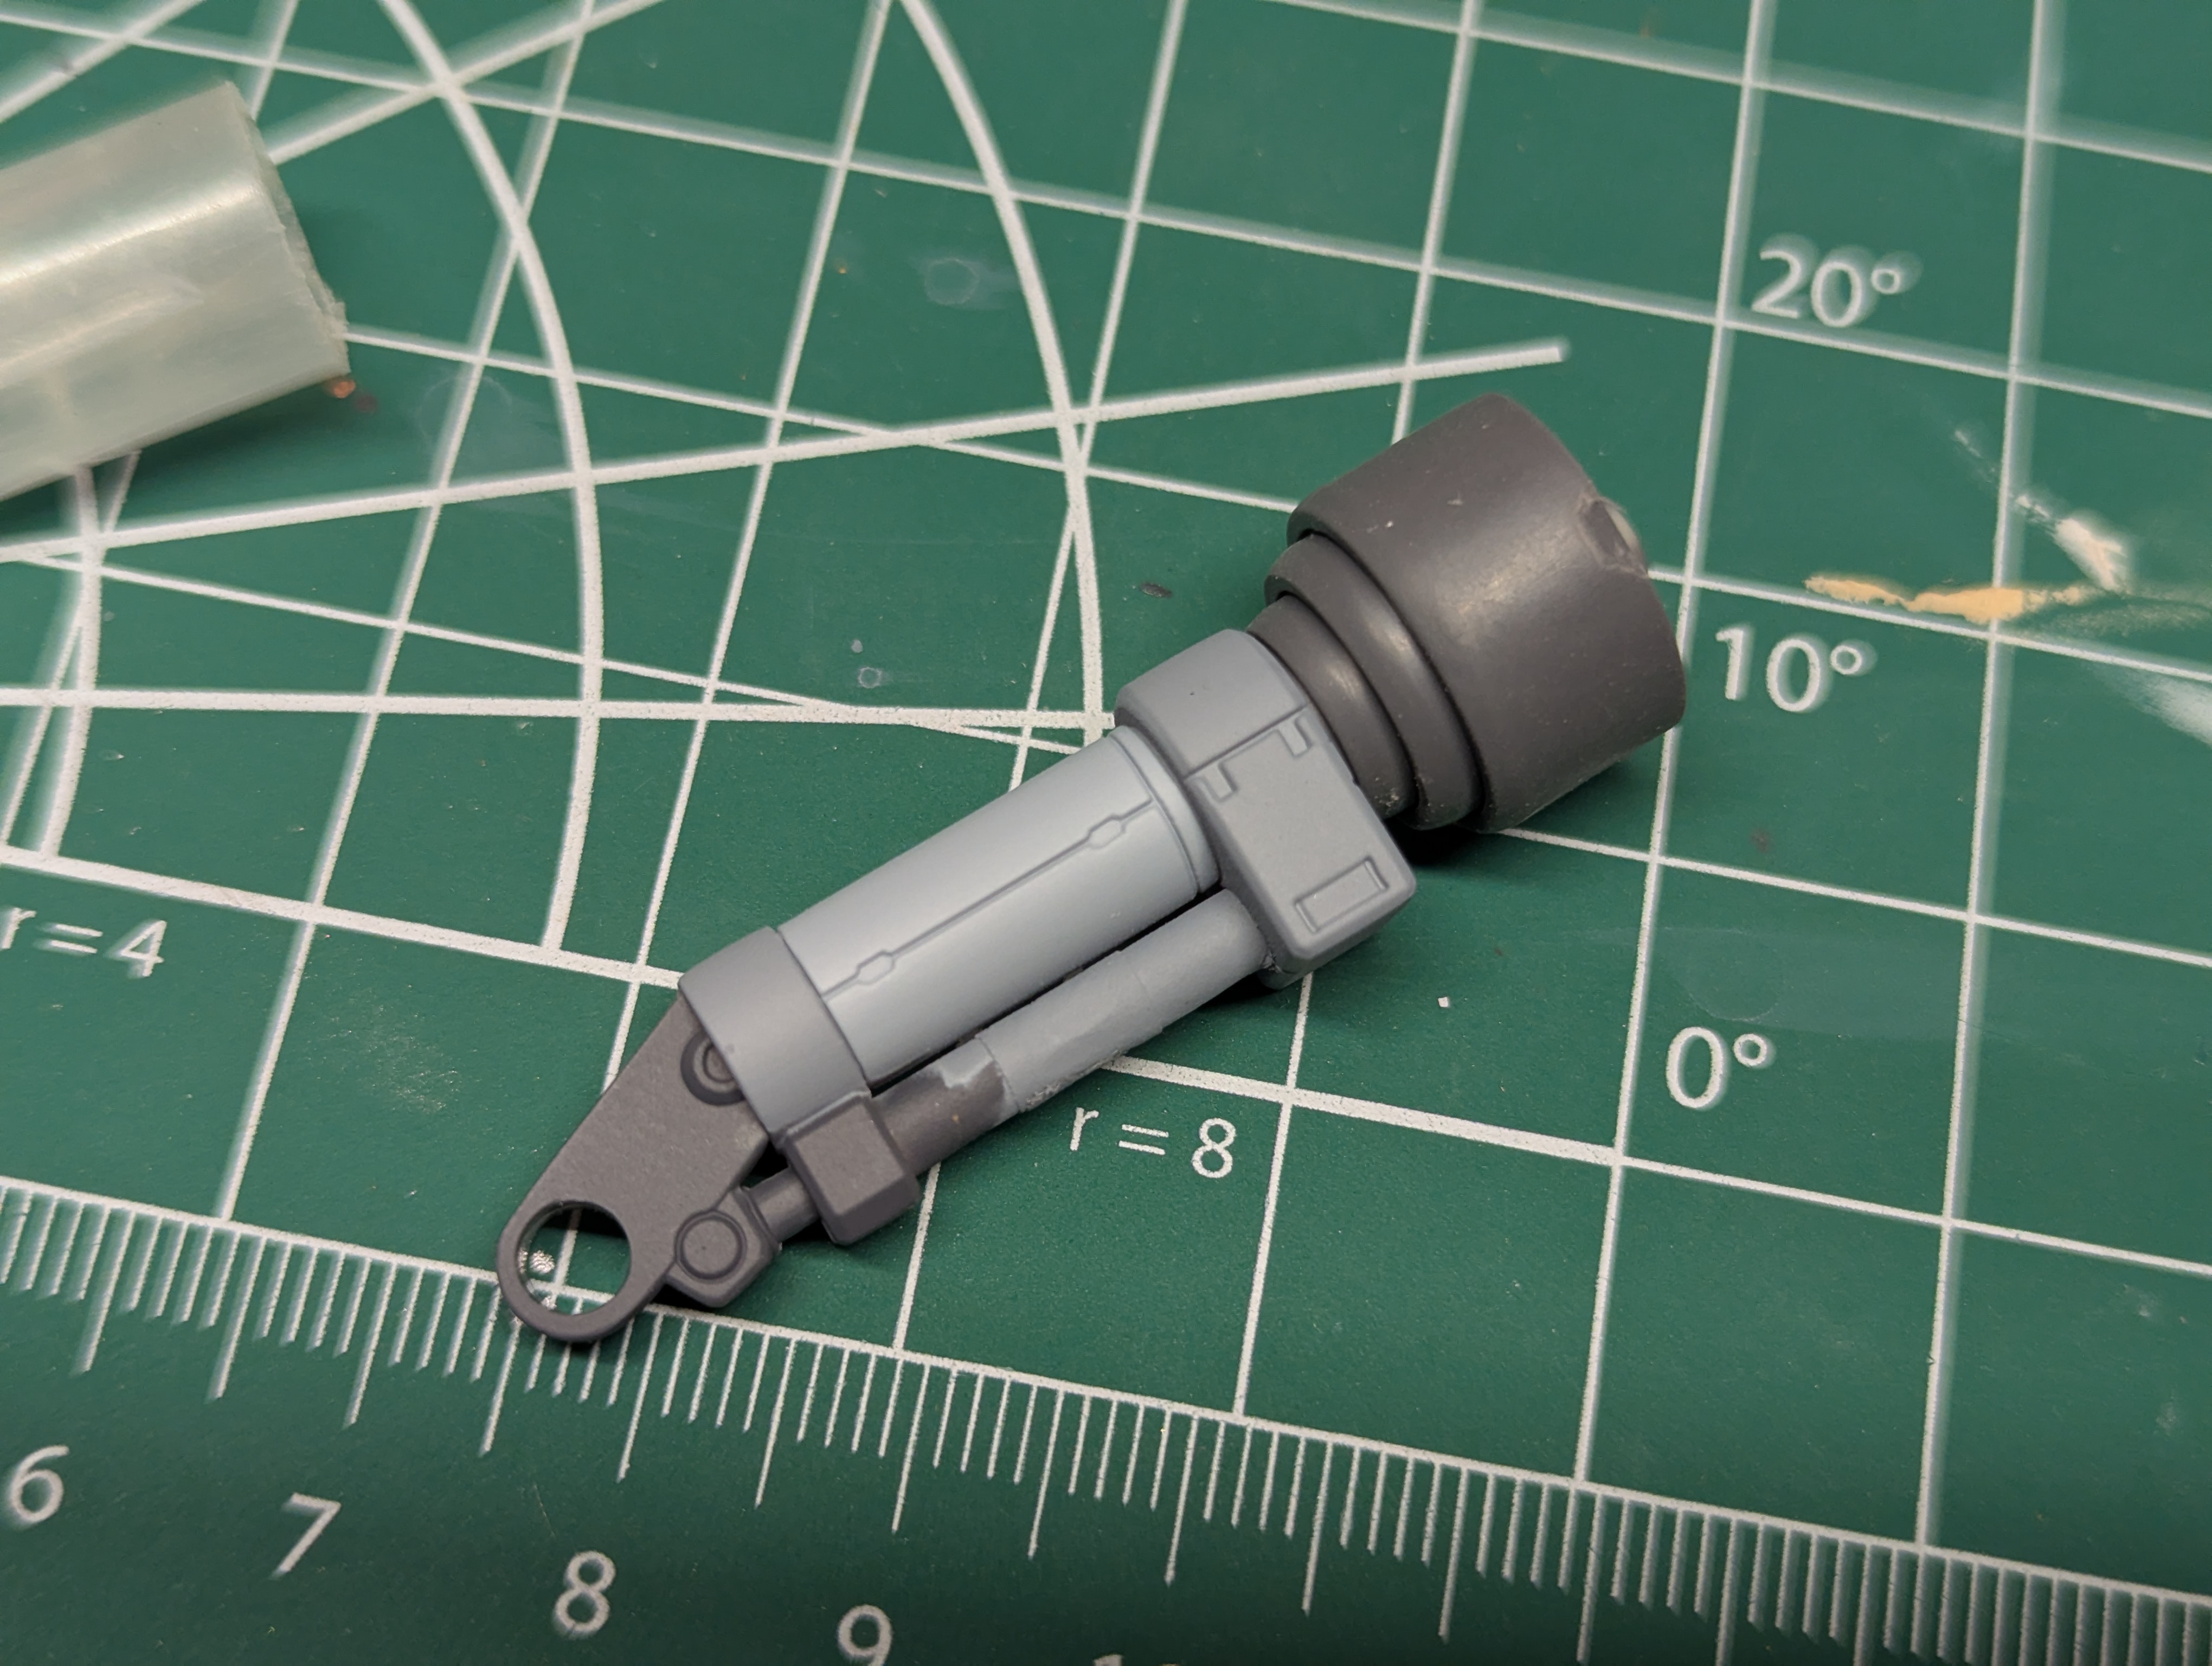
One thing I didn't remember when cementing the arms was that the rubber covers for the ball joints have an inside lip that needs to be locked into the assembly as it's built, so now these won't insert properly. You can see that it's flared up against the column.
Luckily, it's pretty easy to simply trim this part of the rubber off. It doesn't even really serve that much of a purpose, since the piece is pretty tightly sandwiched anyway... makes me wonder why they bothered.
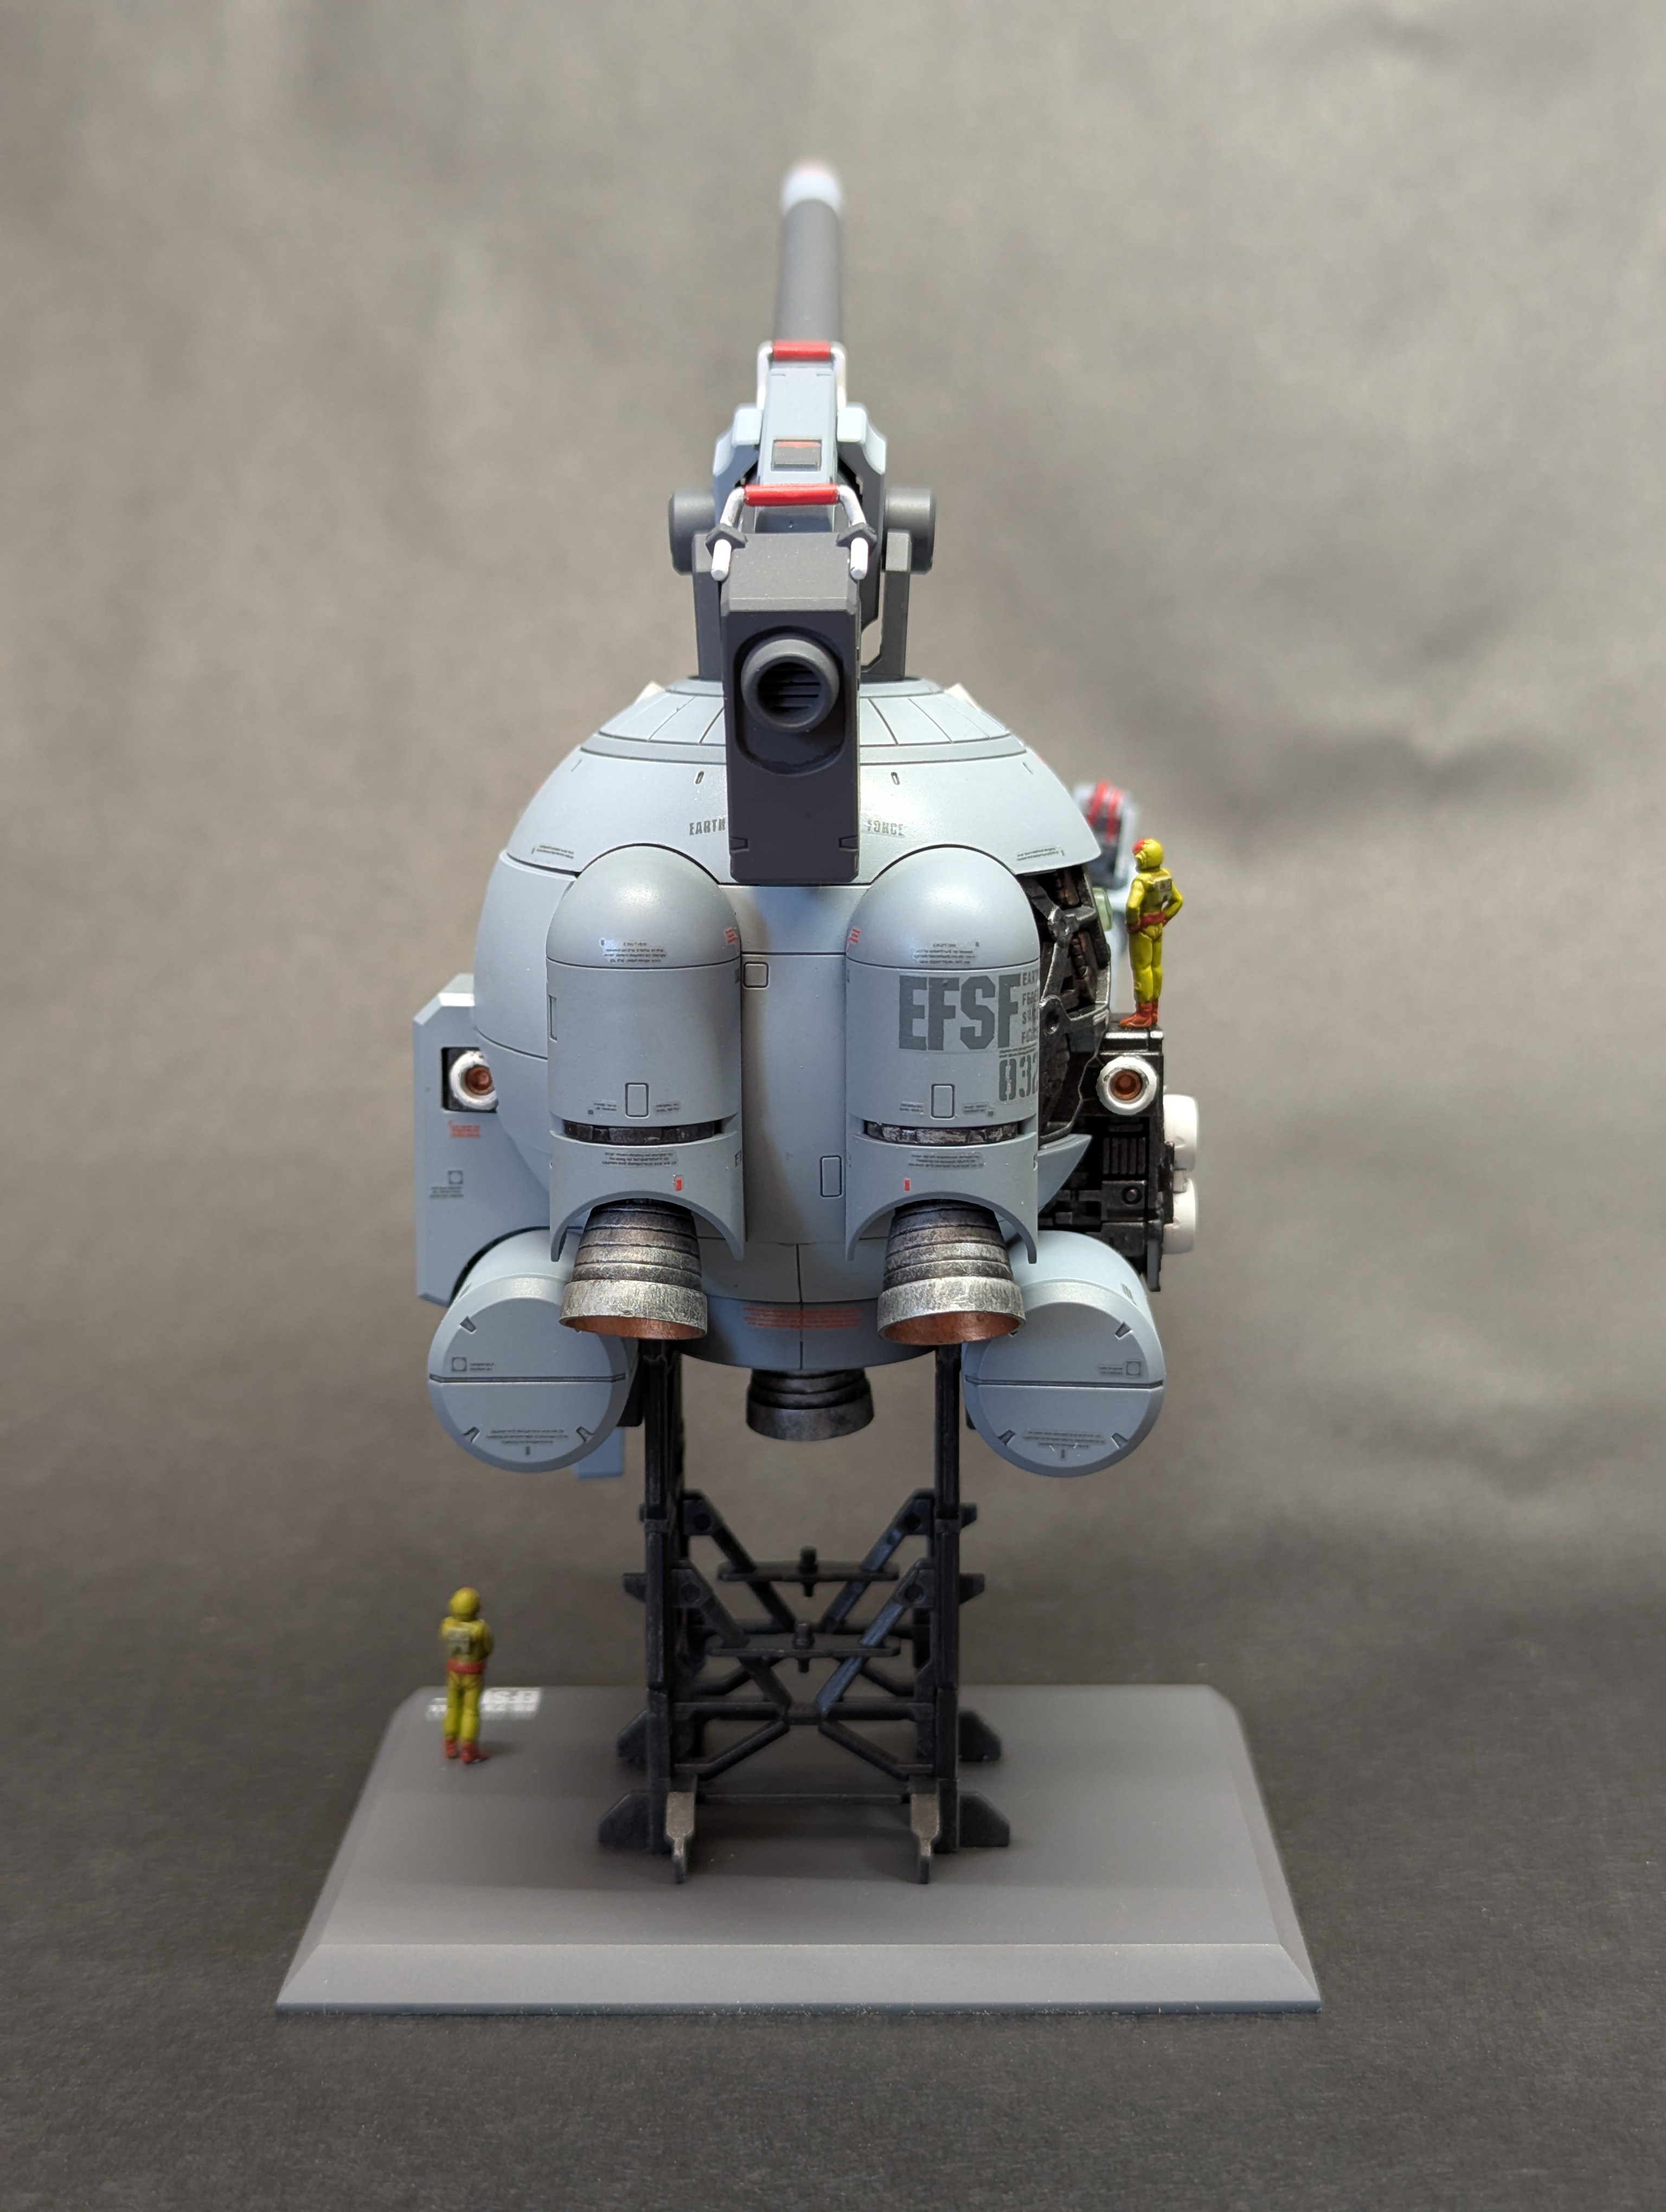
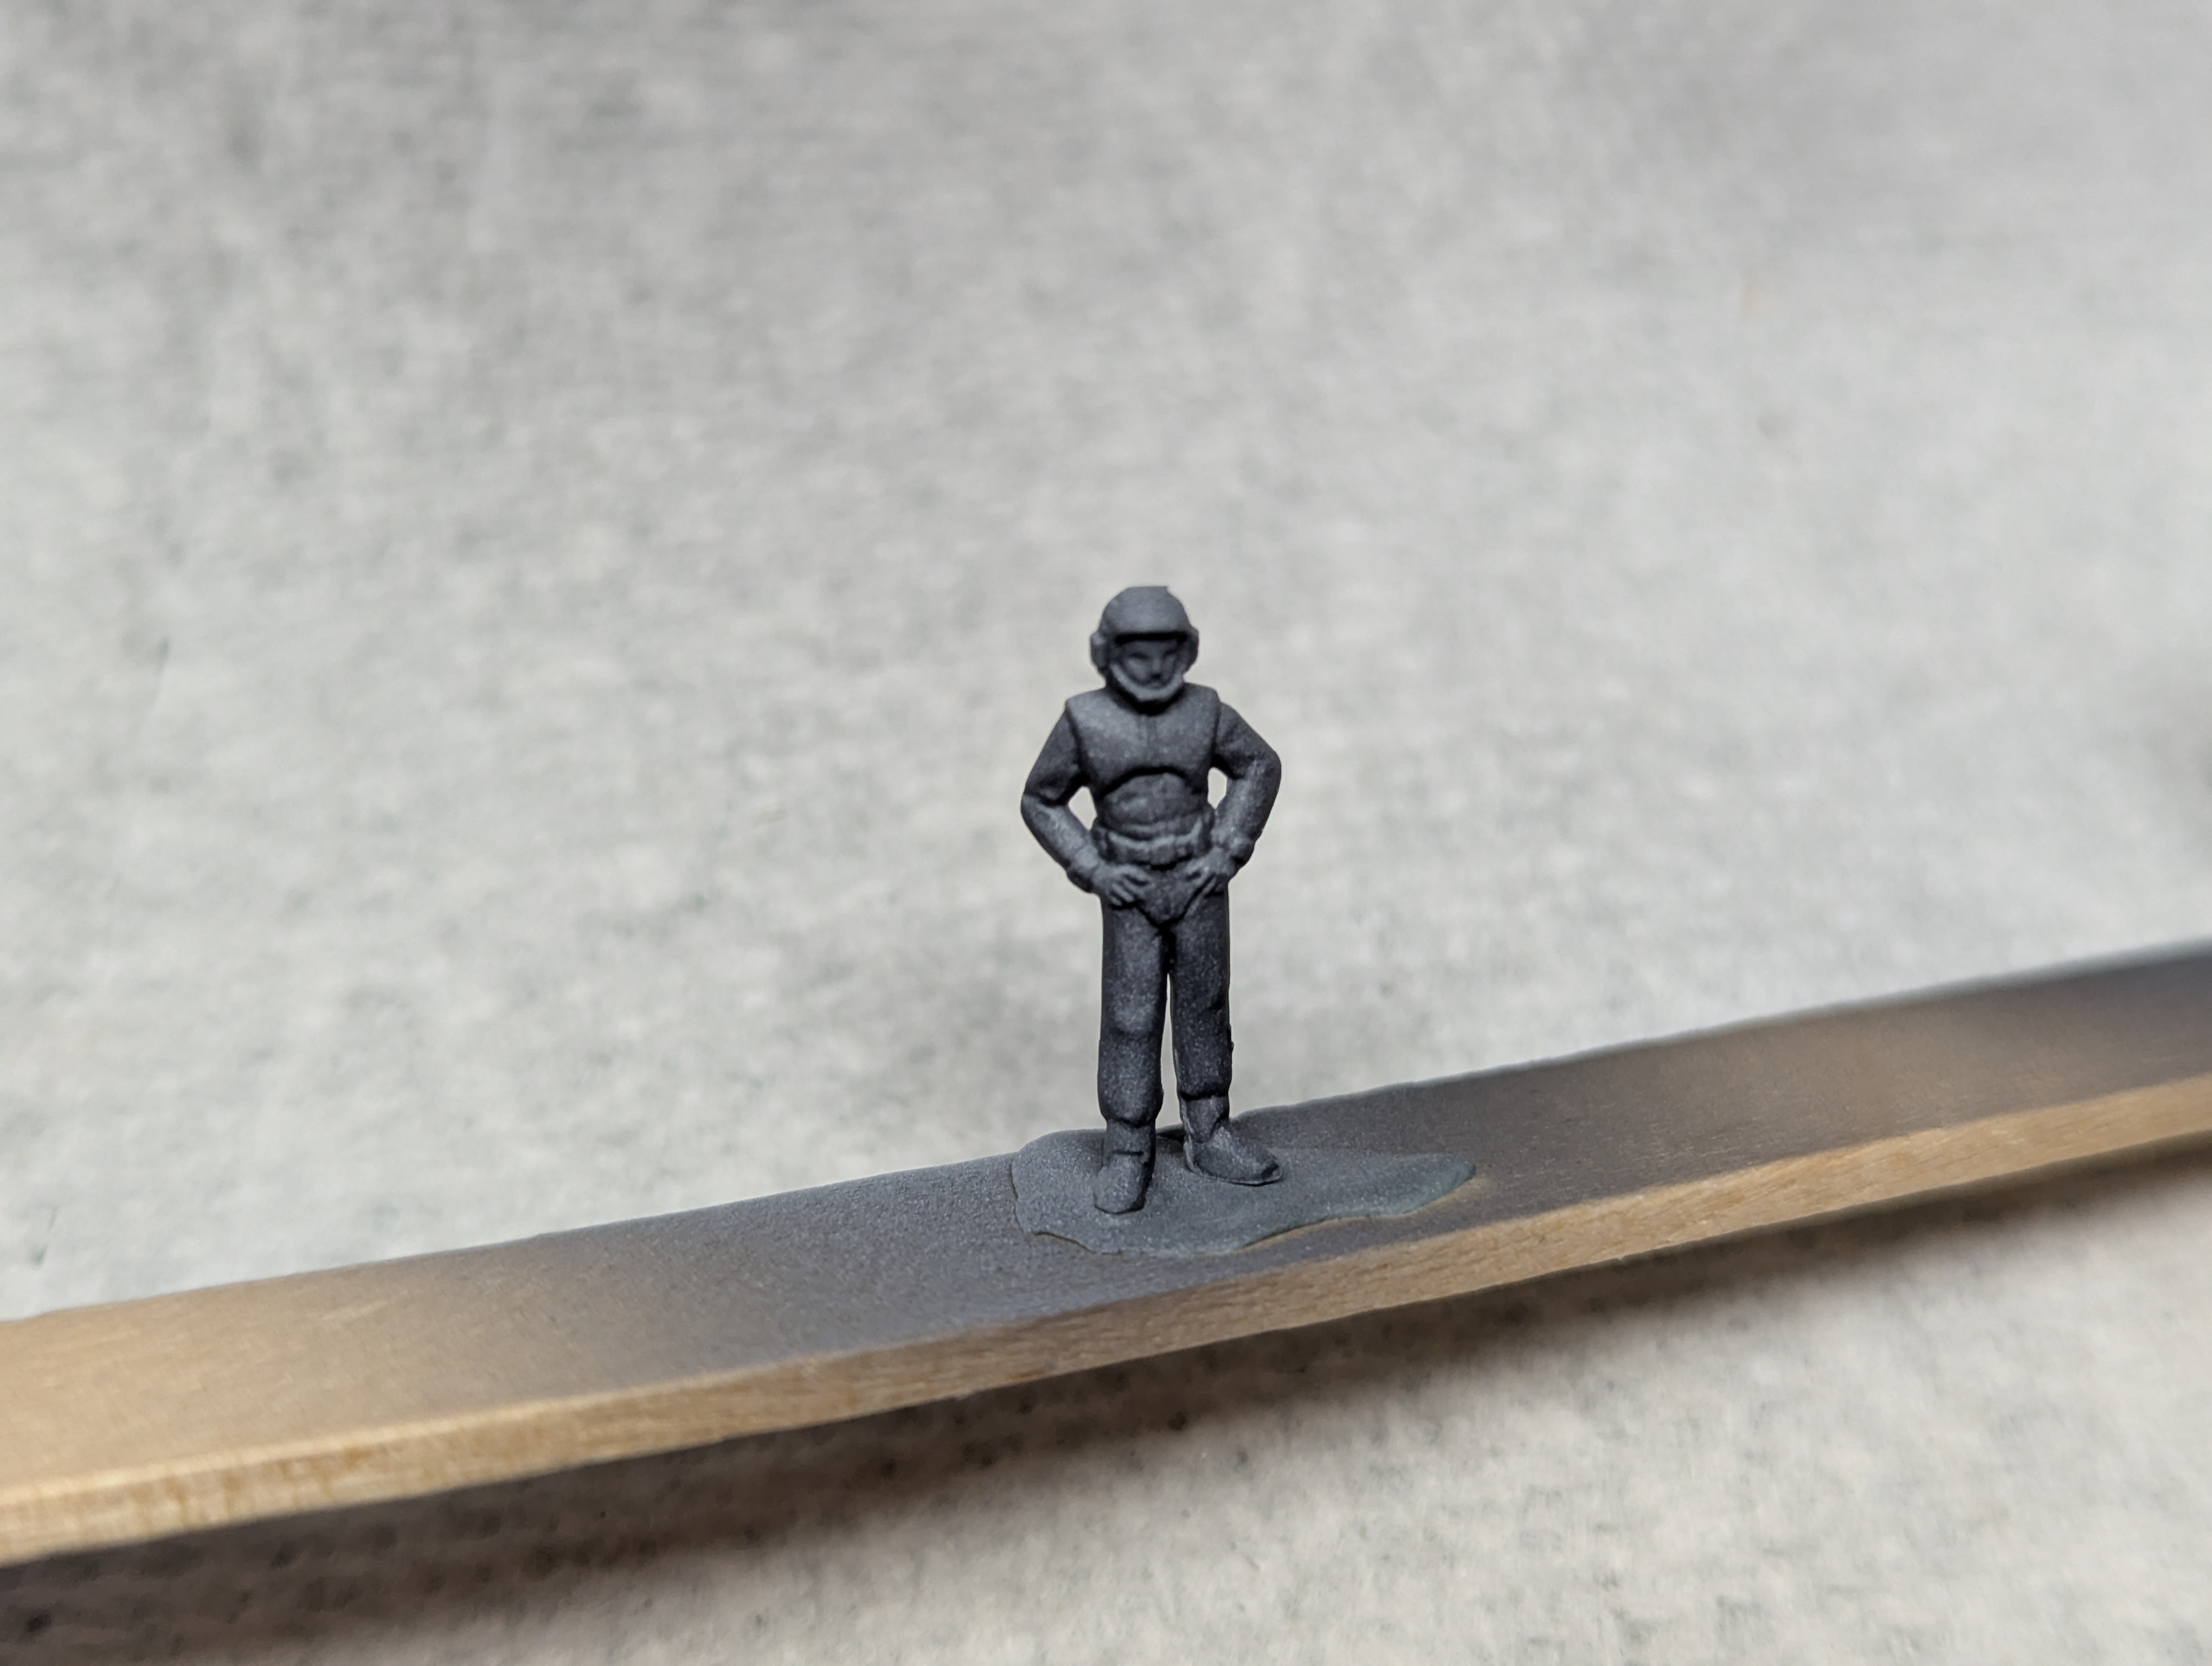
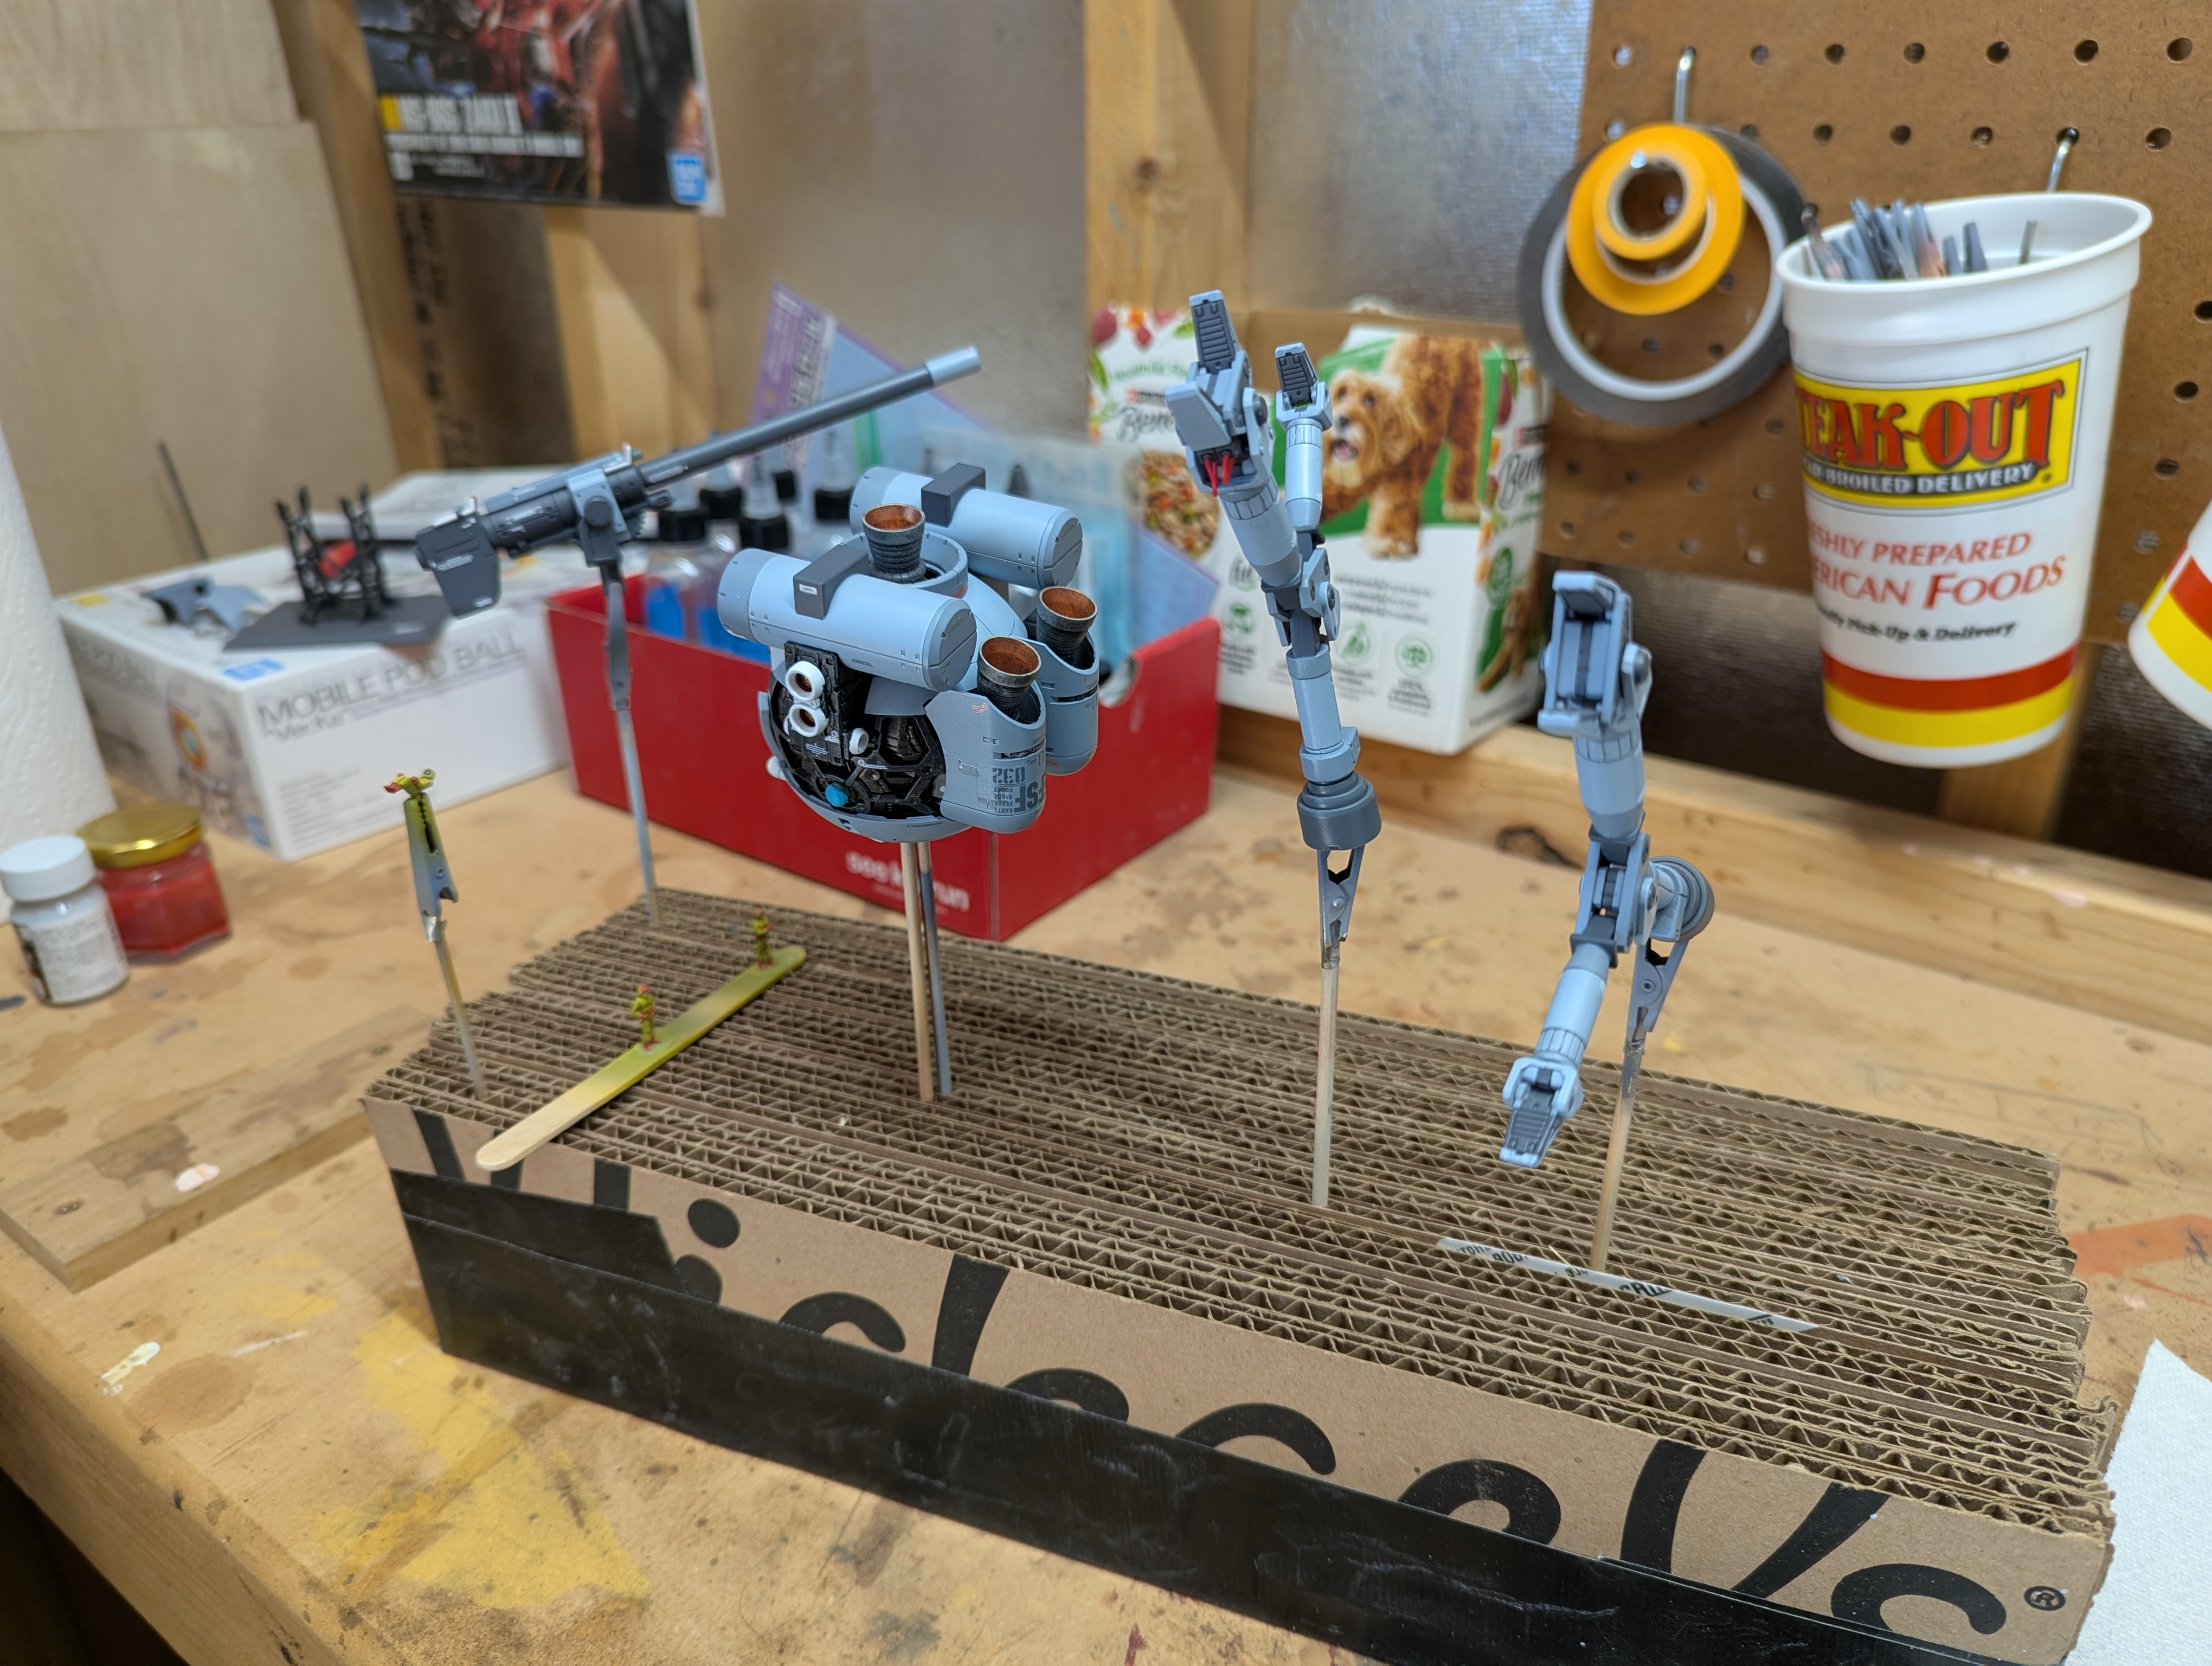
I did decide to take the plunge and painted the technicians and pilot after all. I sort of made up the process as I went but ended up very happy with it. I did as much with the airbrush as I could, priming it in gray and then applying zenithal highlights in white. For the standing techs, I did this from above - for the pilot, I did this from the front to simulate the light from the monitor and window. After that, I basecoated the entire figure with a yellow/white mix. I actually miscolored the pilot, since they're supposed to have a different normal suit - but I justified this to myself as making them all technicians, one's just doing some calibration from the cockpit.
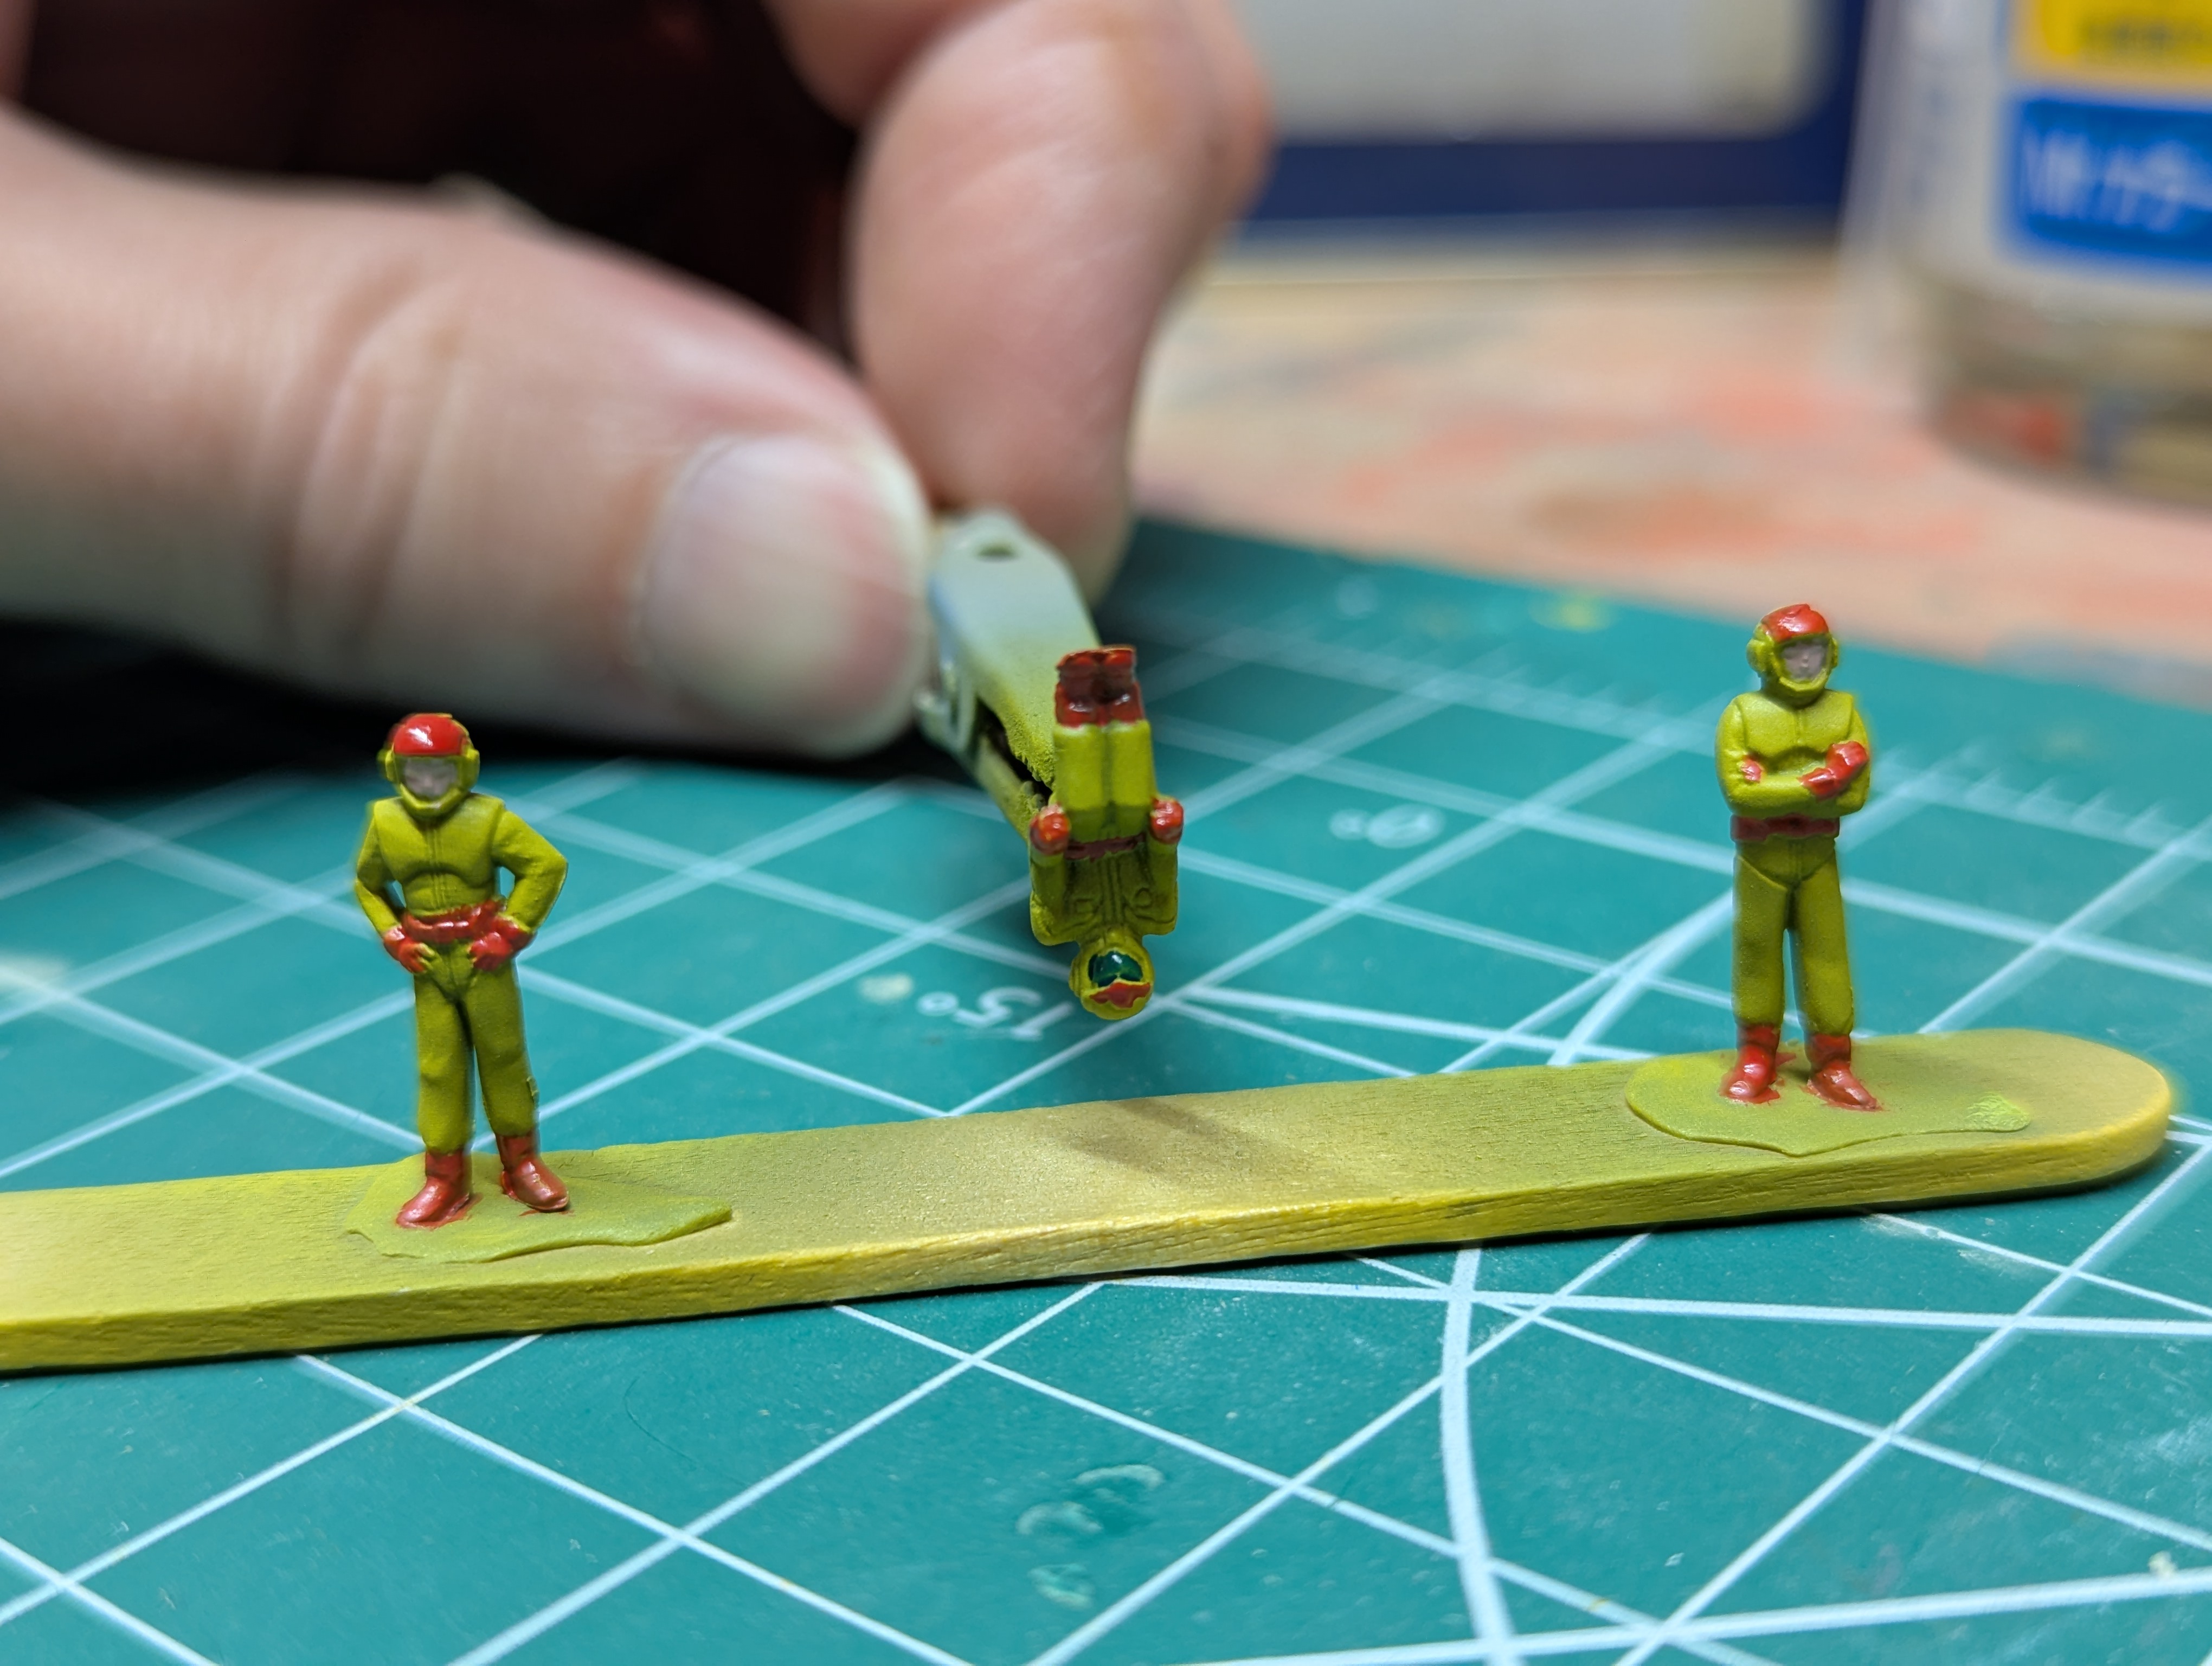
And then I just hit details with lacquer paints and a very fine brush. For the skin tone, I mixed mainly white with the same red that I was using for the accents. For the "pilot" visor, I used clear blue over the base yellow to get a nice green color. I was very pleased at this point, but wanted to do an enamel wash in a brown color to really bring out the details - so you'll see that in the final project gallery.
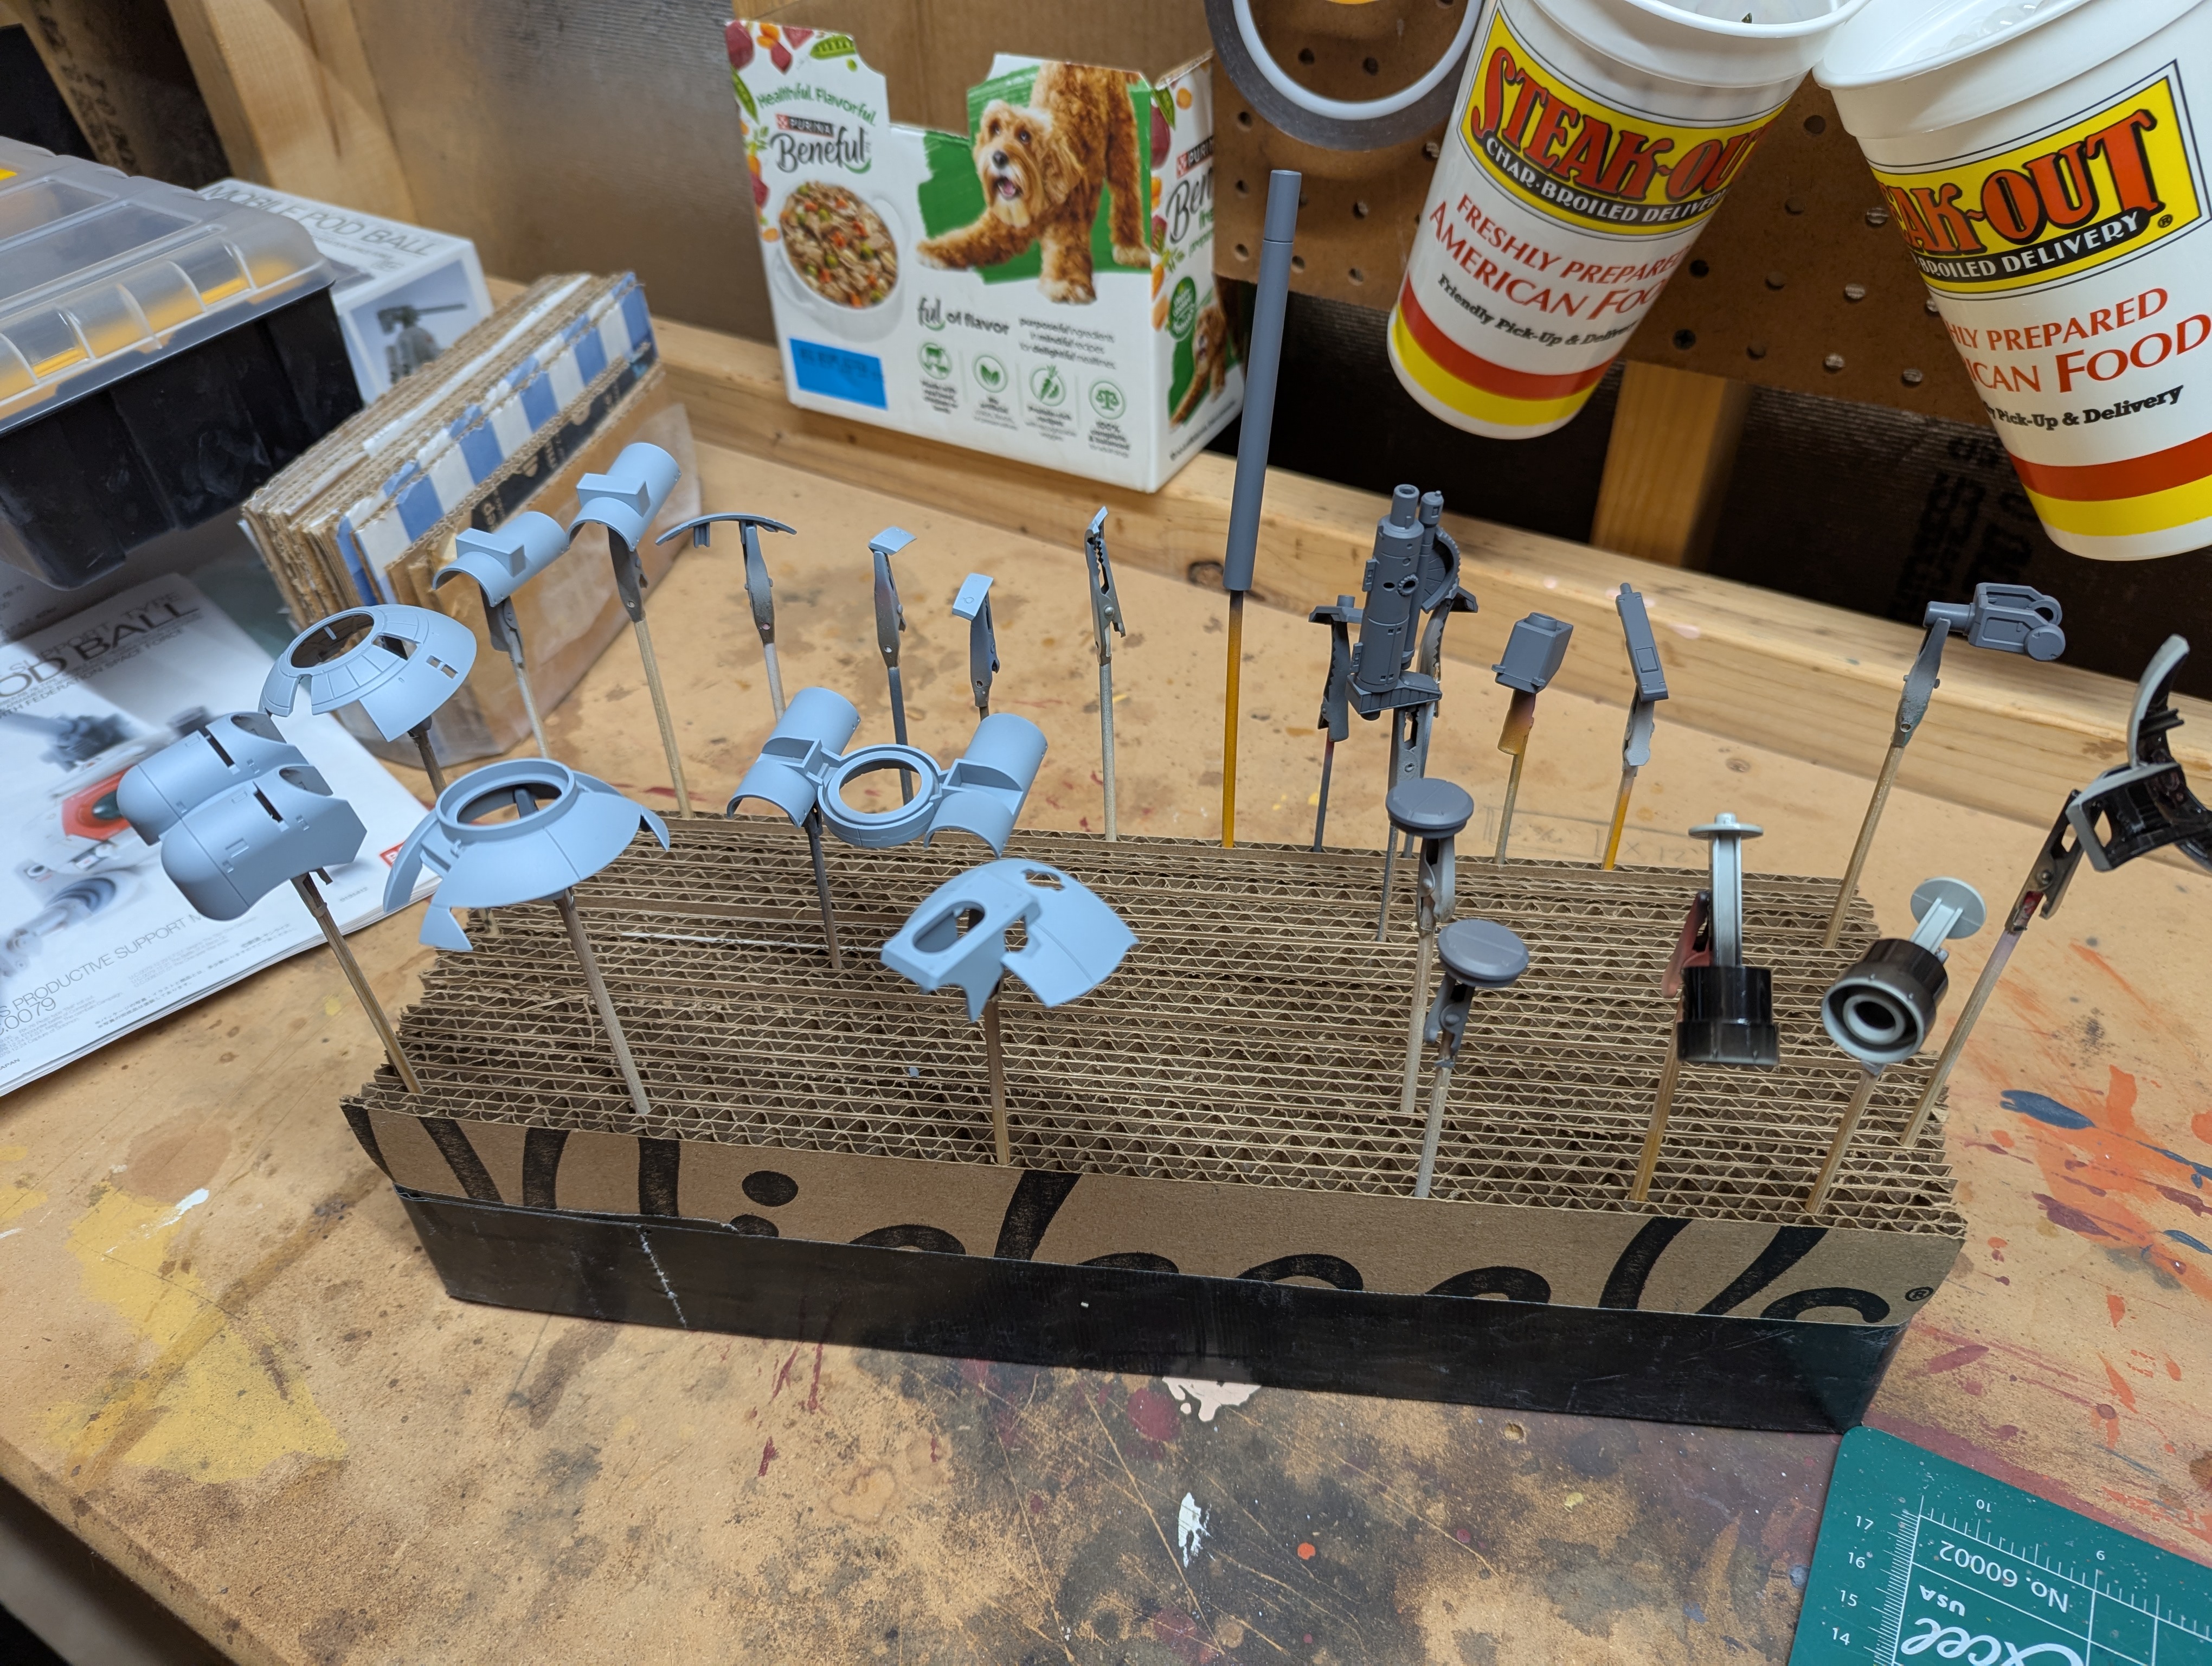
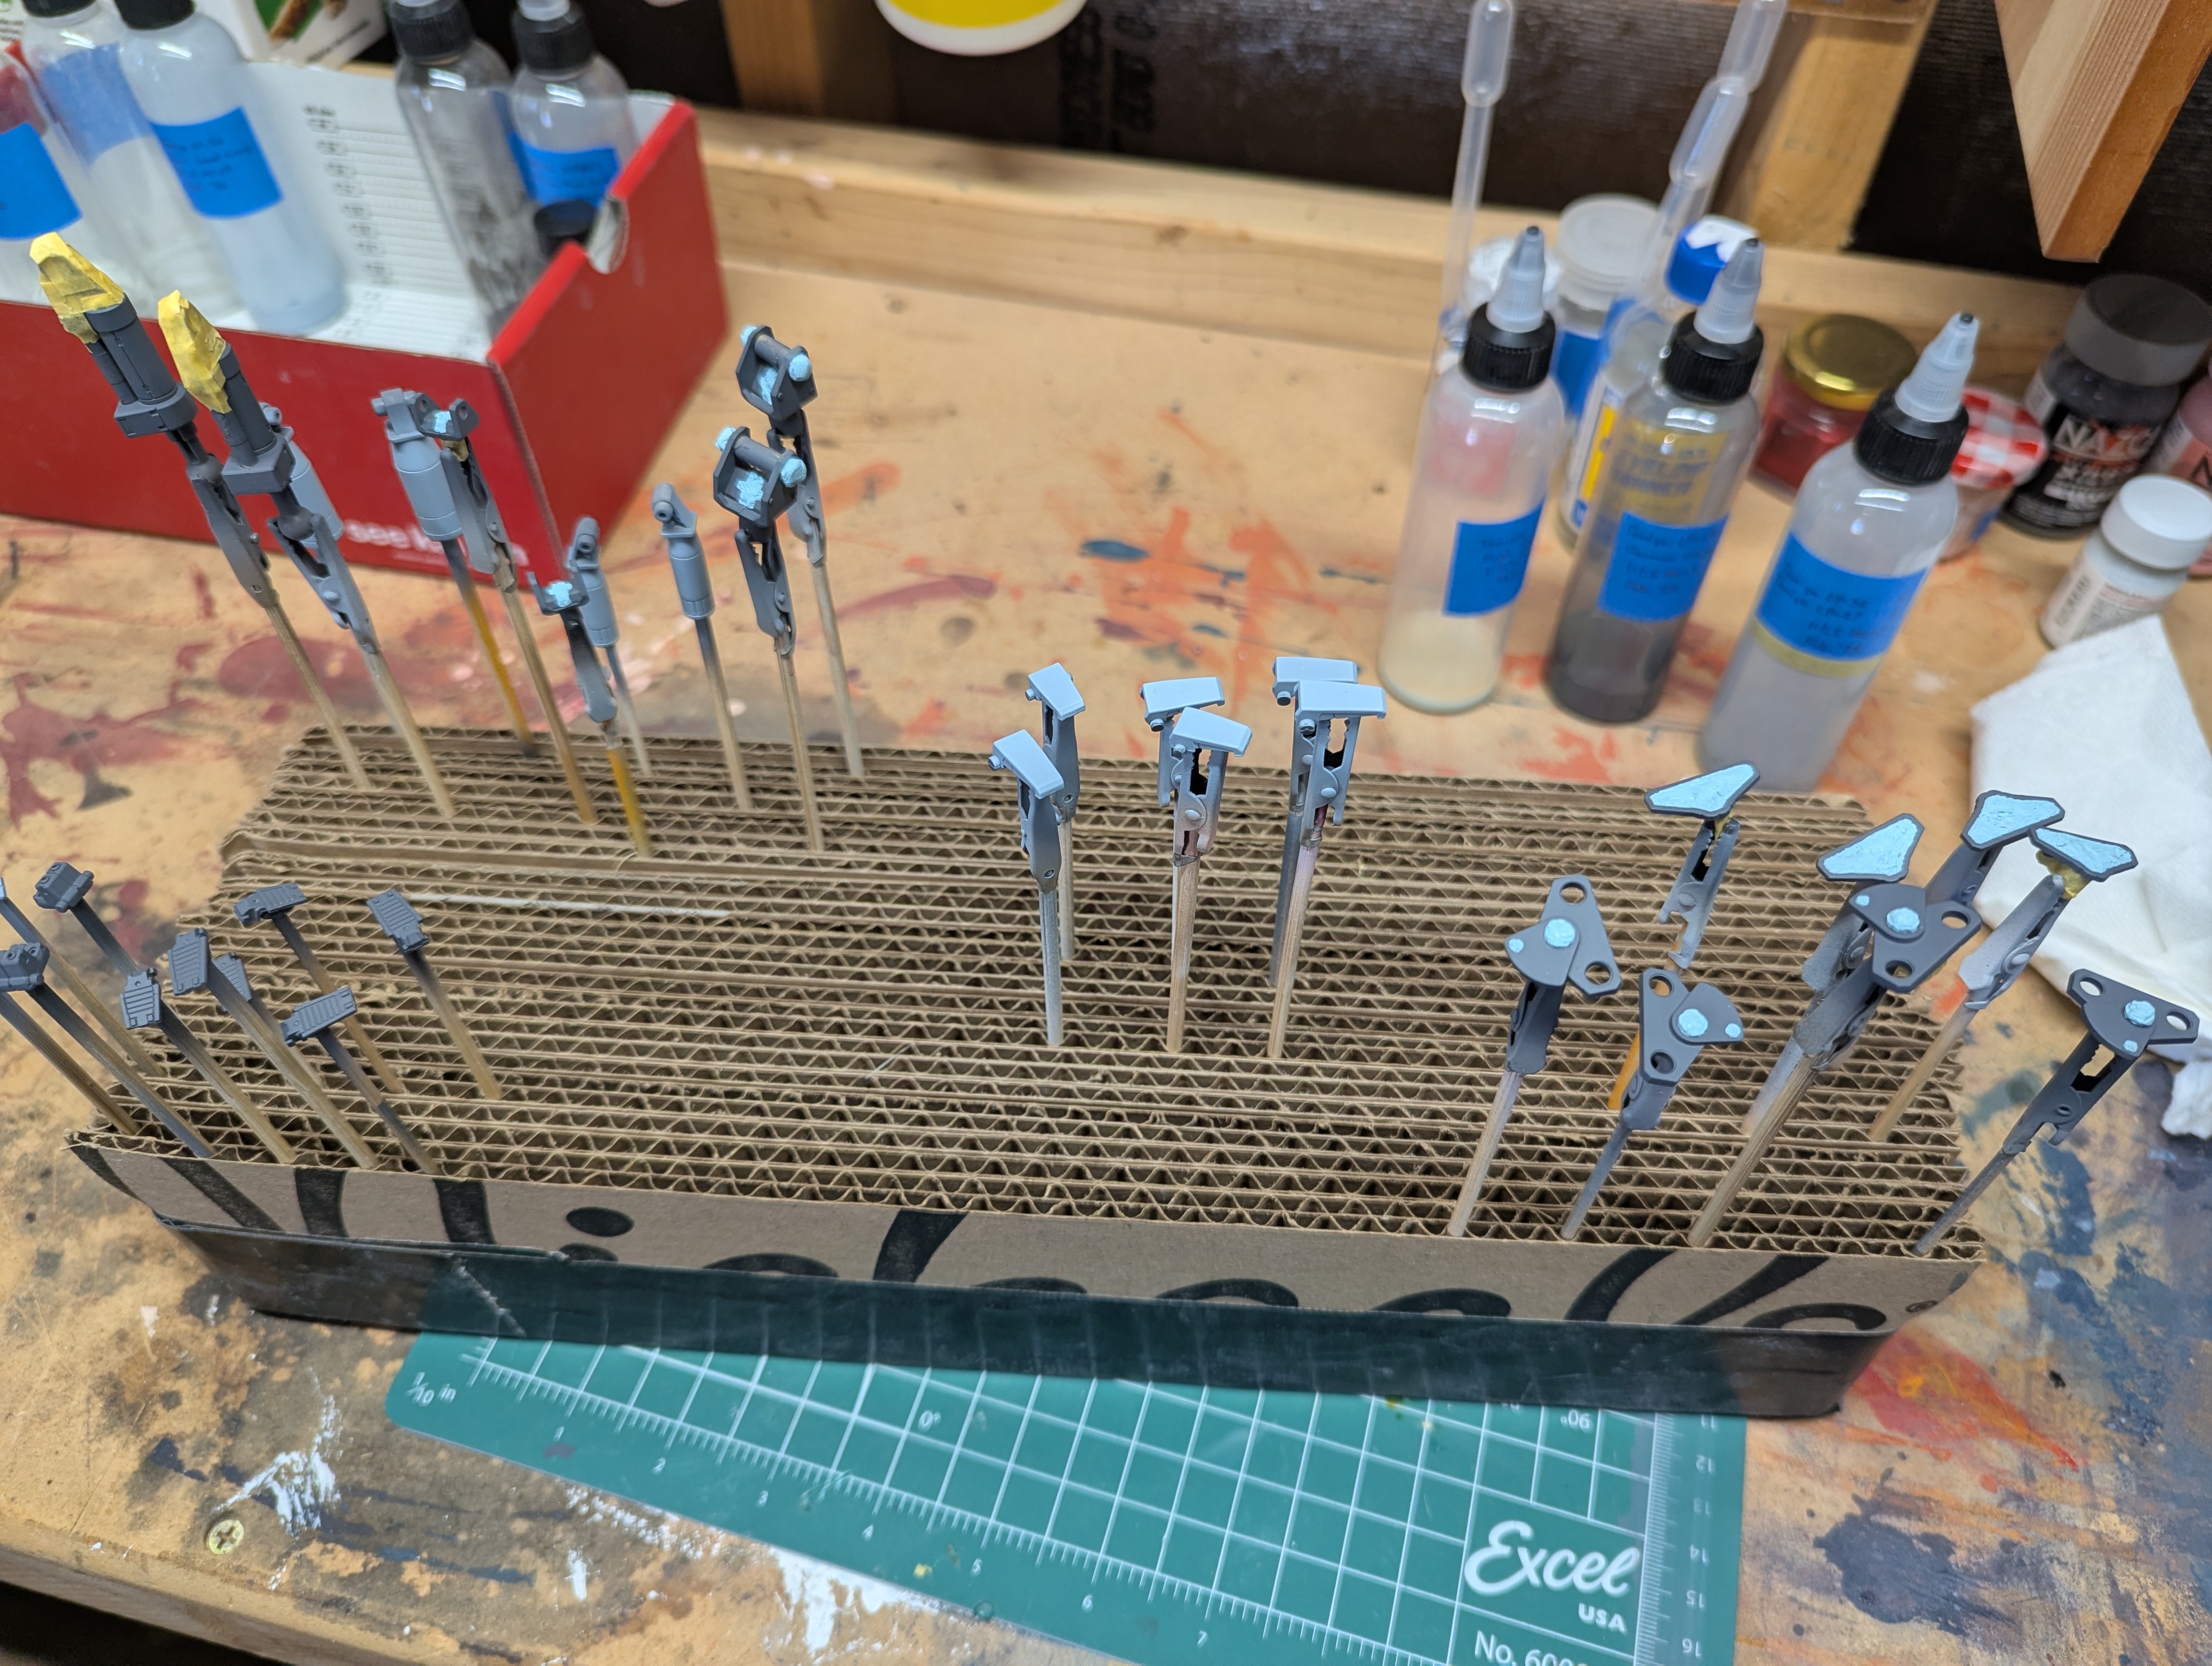
And everything on clips for the final topcoat.
Date Posted: March 20, 2026