![Mitchfork :]](../images/banner.png)
1/144 High Grade God Gundam
Mobile Suit: GF13-017NJII God Gundam
Release Date: May 2010
Series: Mobile Fighter G Gundam
Start Date: May 17, 2025*
Drop Date: August 1, 2025
The identity crisis Gundam. Sometimes simply referred to as "
G Gundam" and localized to "Burning Gundam" in America due to the religious angle, the God Gundam is the mid-season upgrade suit for the series protagonist. G Gundam is in its own self-contained universe within the franchise and the designs focus a lot more on hand-to-hand combat, martial arts, and camp - but as the protagonist suit, this design still plays pretty close to the chest and has the fundamental Gundam color scheme and proportions.
This kit is very anime accurate in details and panel lining, but updates the proportions a bit - the torso feels a bit shorter and thinner, and the shoulders are smaller as well. I think it's a solid revamp and I actually prefer the design over the Master Grade version.
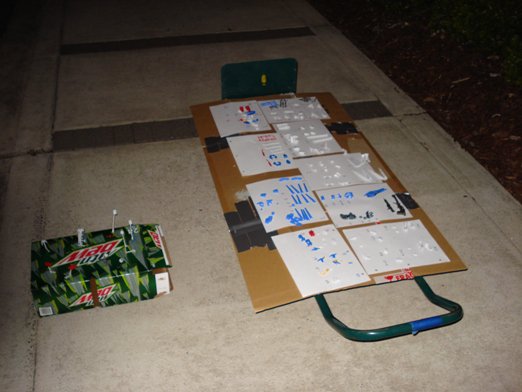
The start date is a bit of a lie. My roommate and I bought kits - including this one - in the fall of 2010. We planned to spray paint these and did but had no idea what we were doing.
Since we were strapped for materials and money we just... painted parts by half on cardboard outside the dorm. Predictably, this didn't end up looking super good.
Kind of a globby textured mess. (Also peep the torso which got mixed into my rommate's parts and was painted black and half-sanded back down). Anyway, we both abandoned these, probably due to being pretty dissatisfied with the paint. To be honest, I don't even know why I pushed for us to paint at all.
I've had the kit in storage though since it just felt wrong to discard. I recently read about some success stories with stripping old paint and decided that this could be a way to revive it.
I decided to make a list of goals for this build, since it was going to involve a lot of firsts for me, and I wanted to be intentional about what I wanted out of it and avoid scope creep:
- Focus on surface prep, sanding, and clean parts. The paint stripping will probably yield some compromised parts, so this is extra important. Included in this is very light part modification to fill in some part fills, but no other customization.
- Rescribe panel lines. I've always had gripes with these in other kits, and have researched rescribing as a way to achieve cleaner, better lines. I won't be scribing any new ones - this will be my first time with a chisel and I just want to focus on technique.
- Airbrush. I've only ever used spray cans, but they're so expensive. Since this kit is "free" I can sink some money into getting a setup going and use this as a practice piece. I won't do pre-shading or post-shading - I just want to focus on clean coloration here.
- Only add color separation as necessary - I won't be adding sub-tones for armor pieces.
- Custom decal application - I have some leftover 1/44 scale decals from RG Tallgeese that could be used here.
Date Posted: May 21, 2025
Progress Update 1
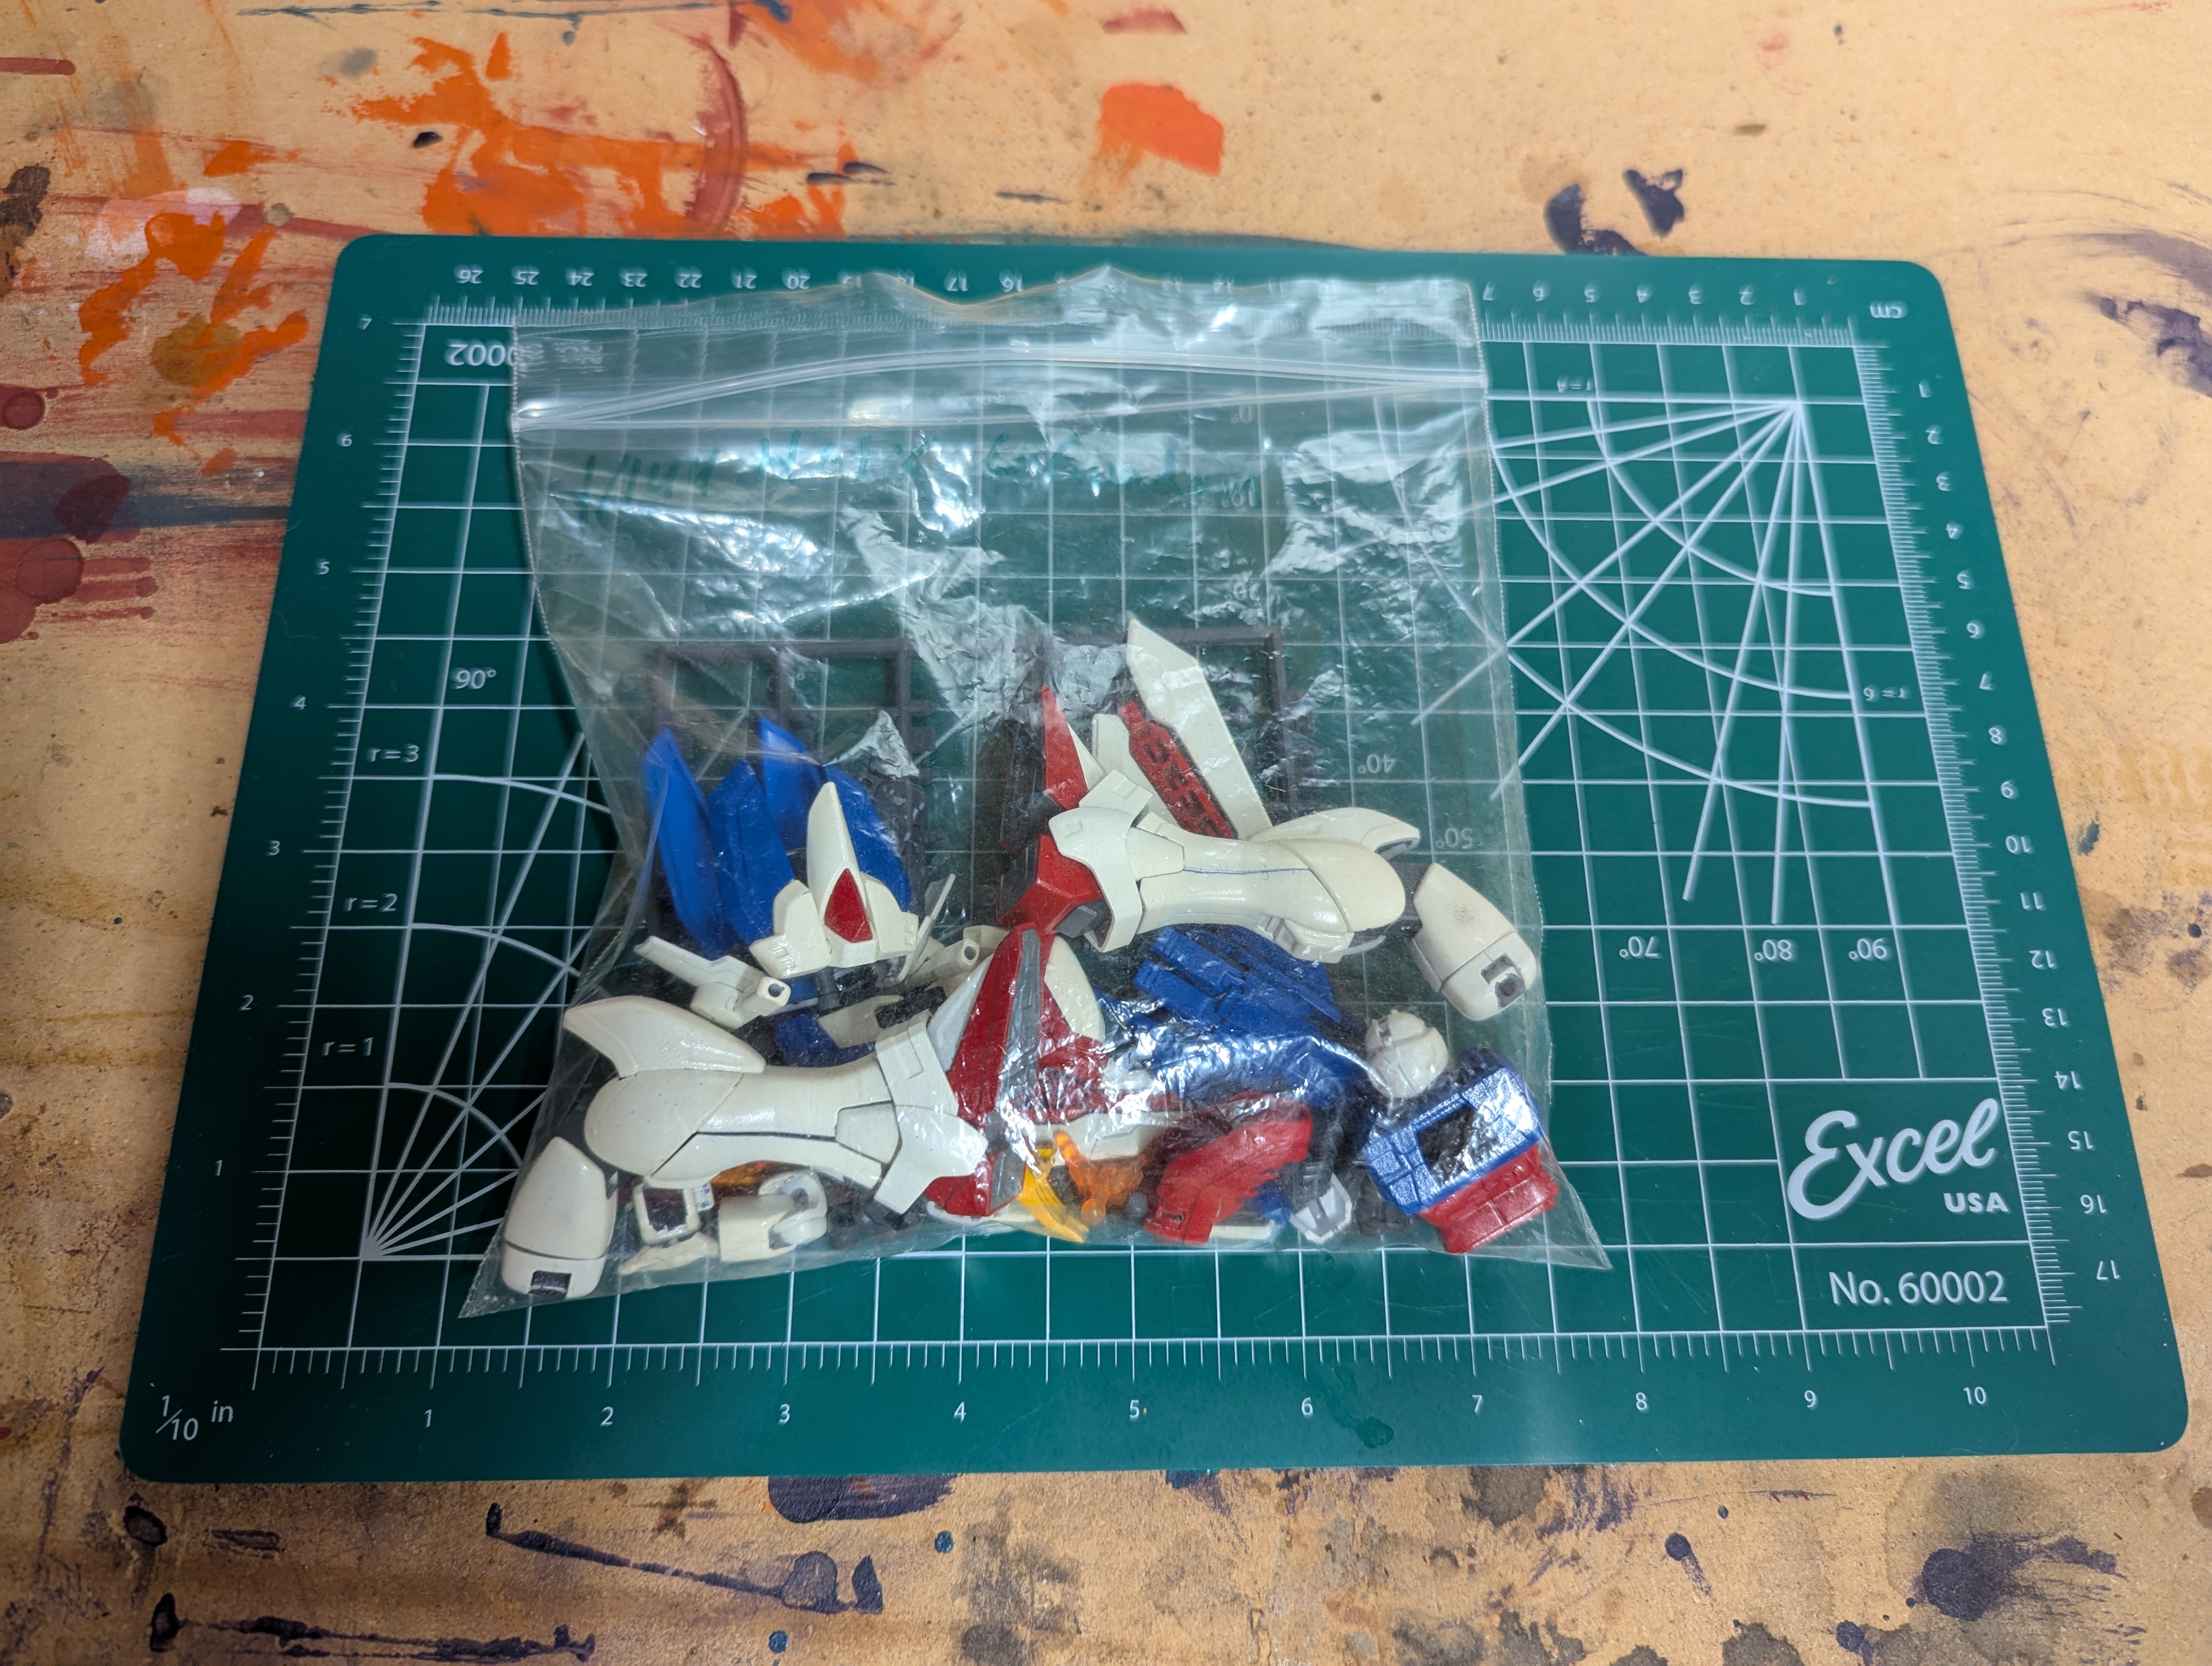
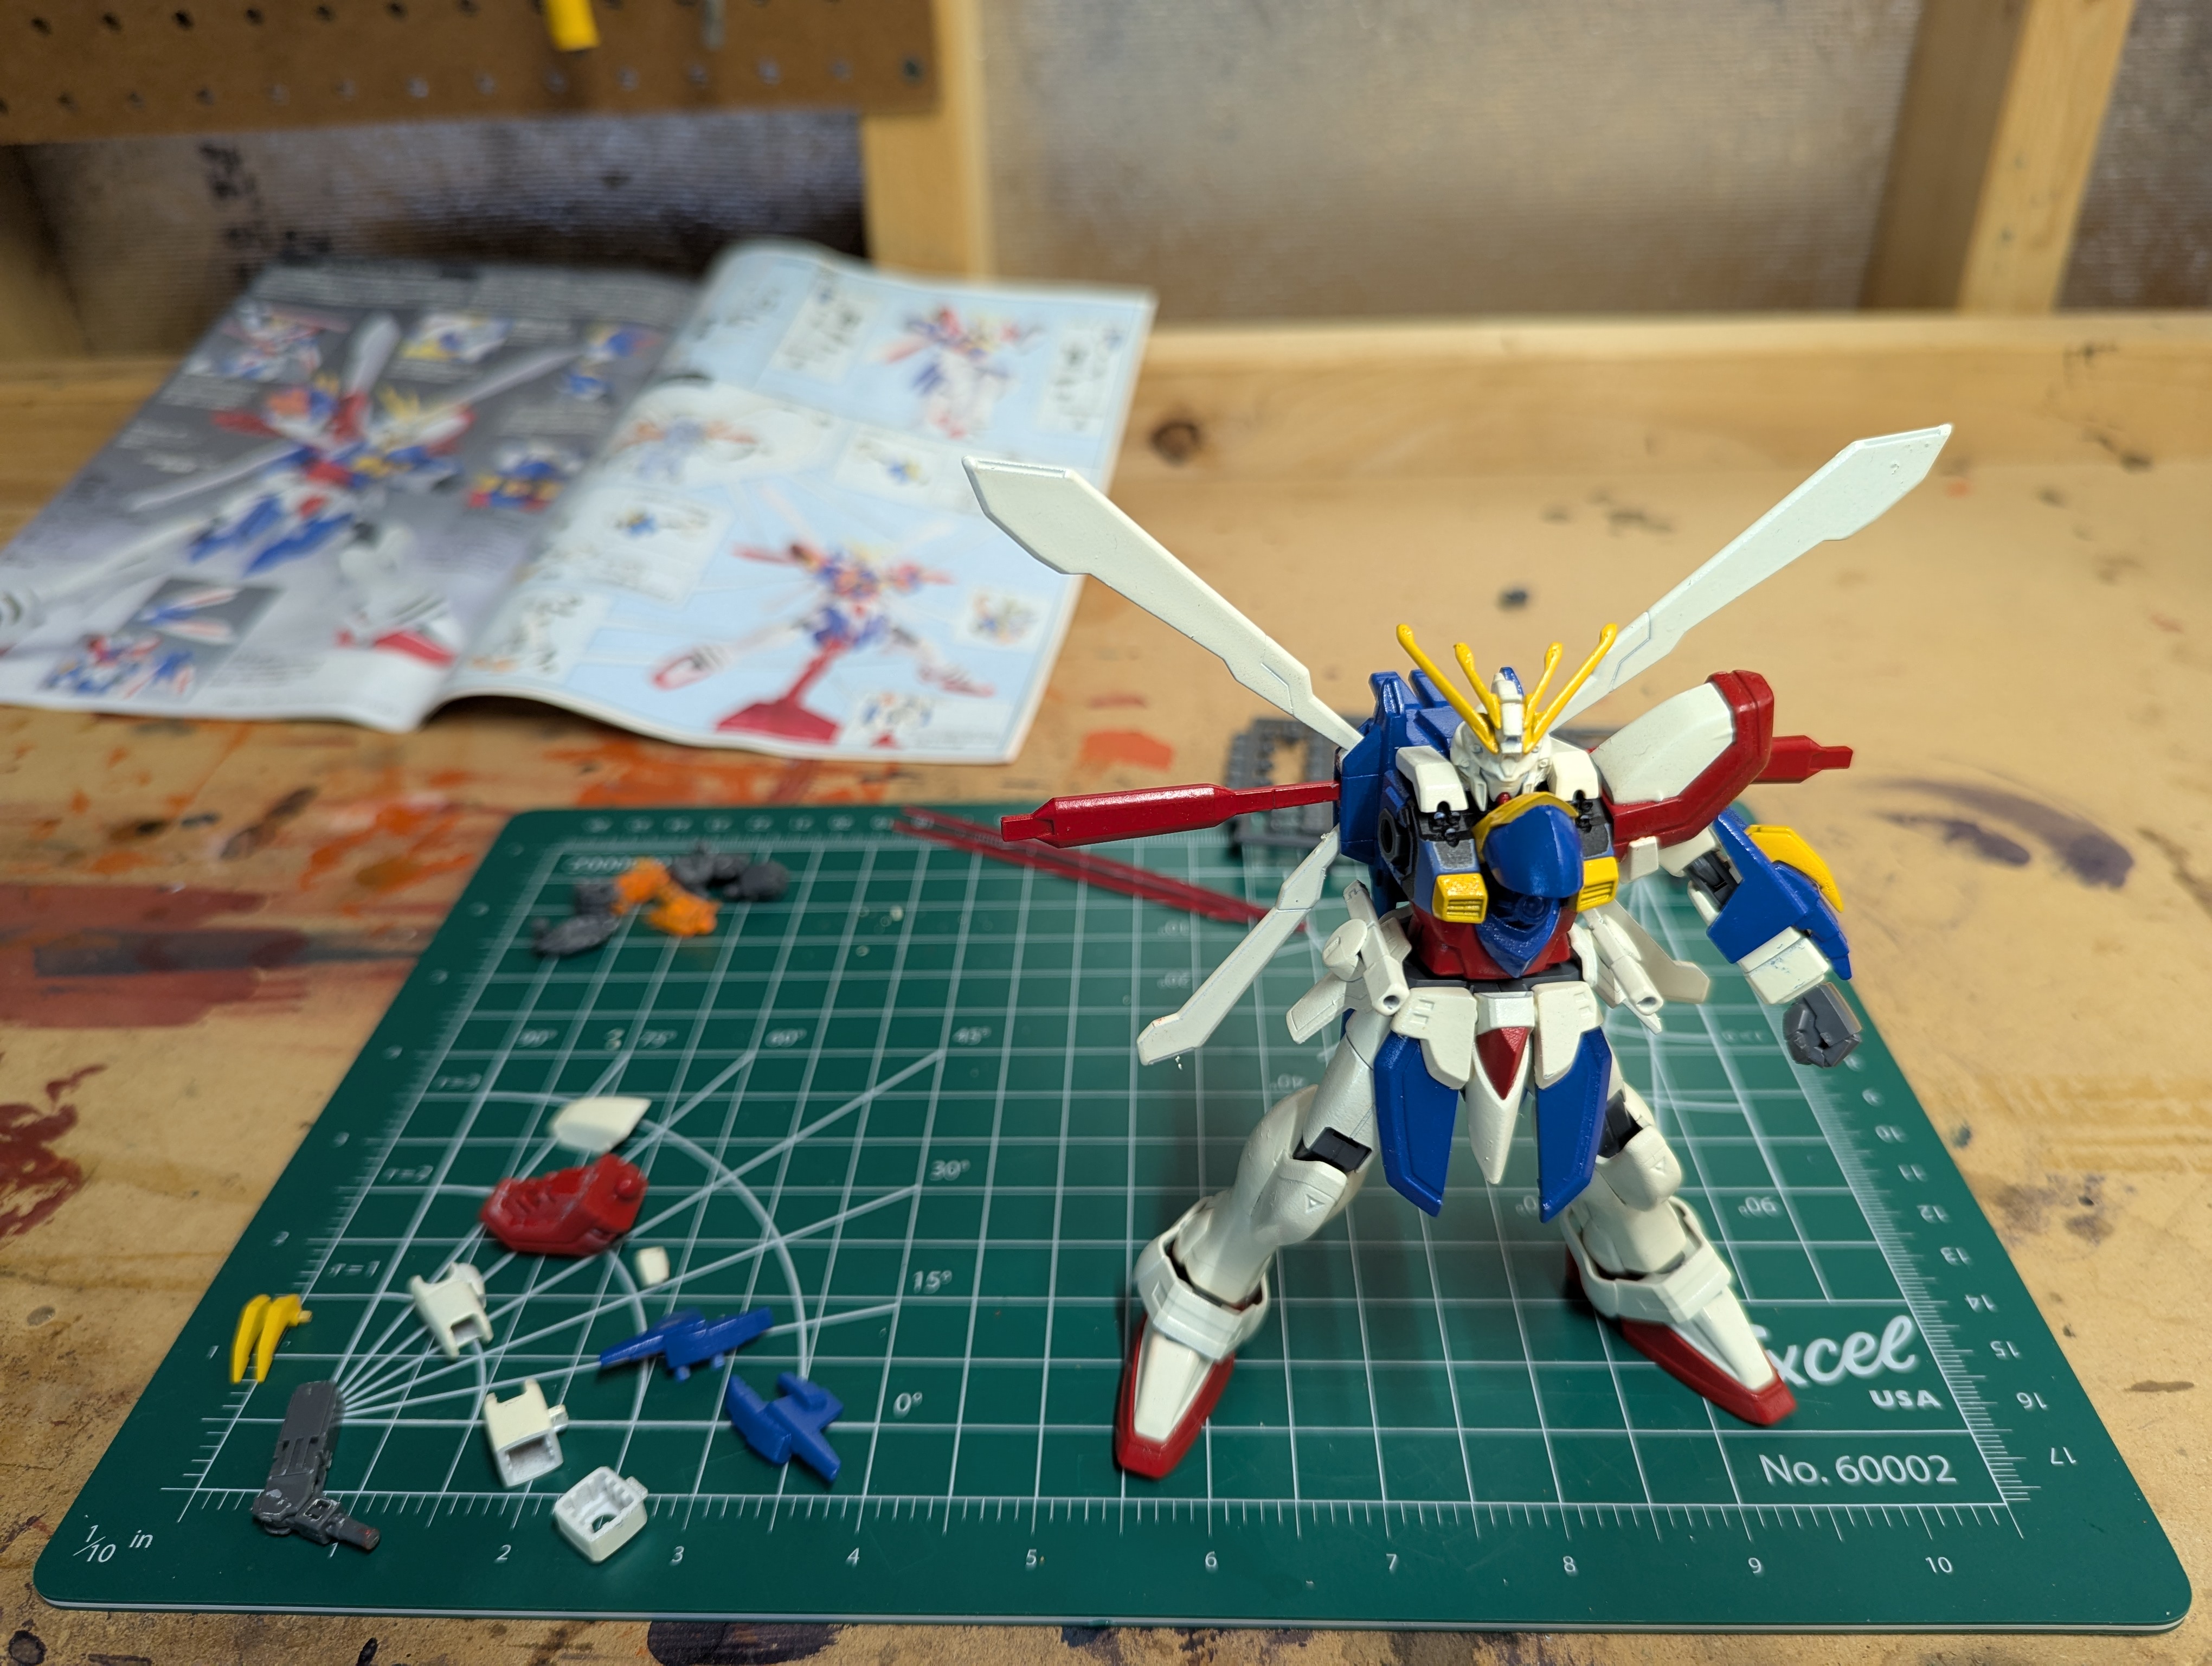
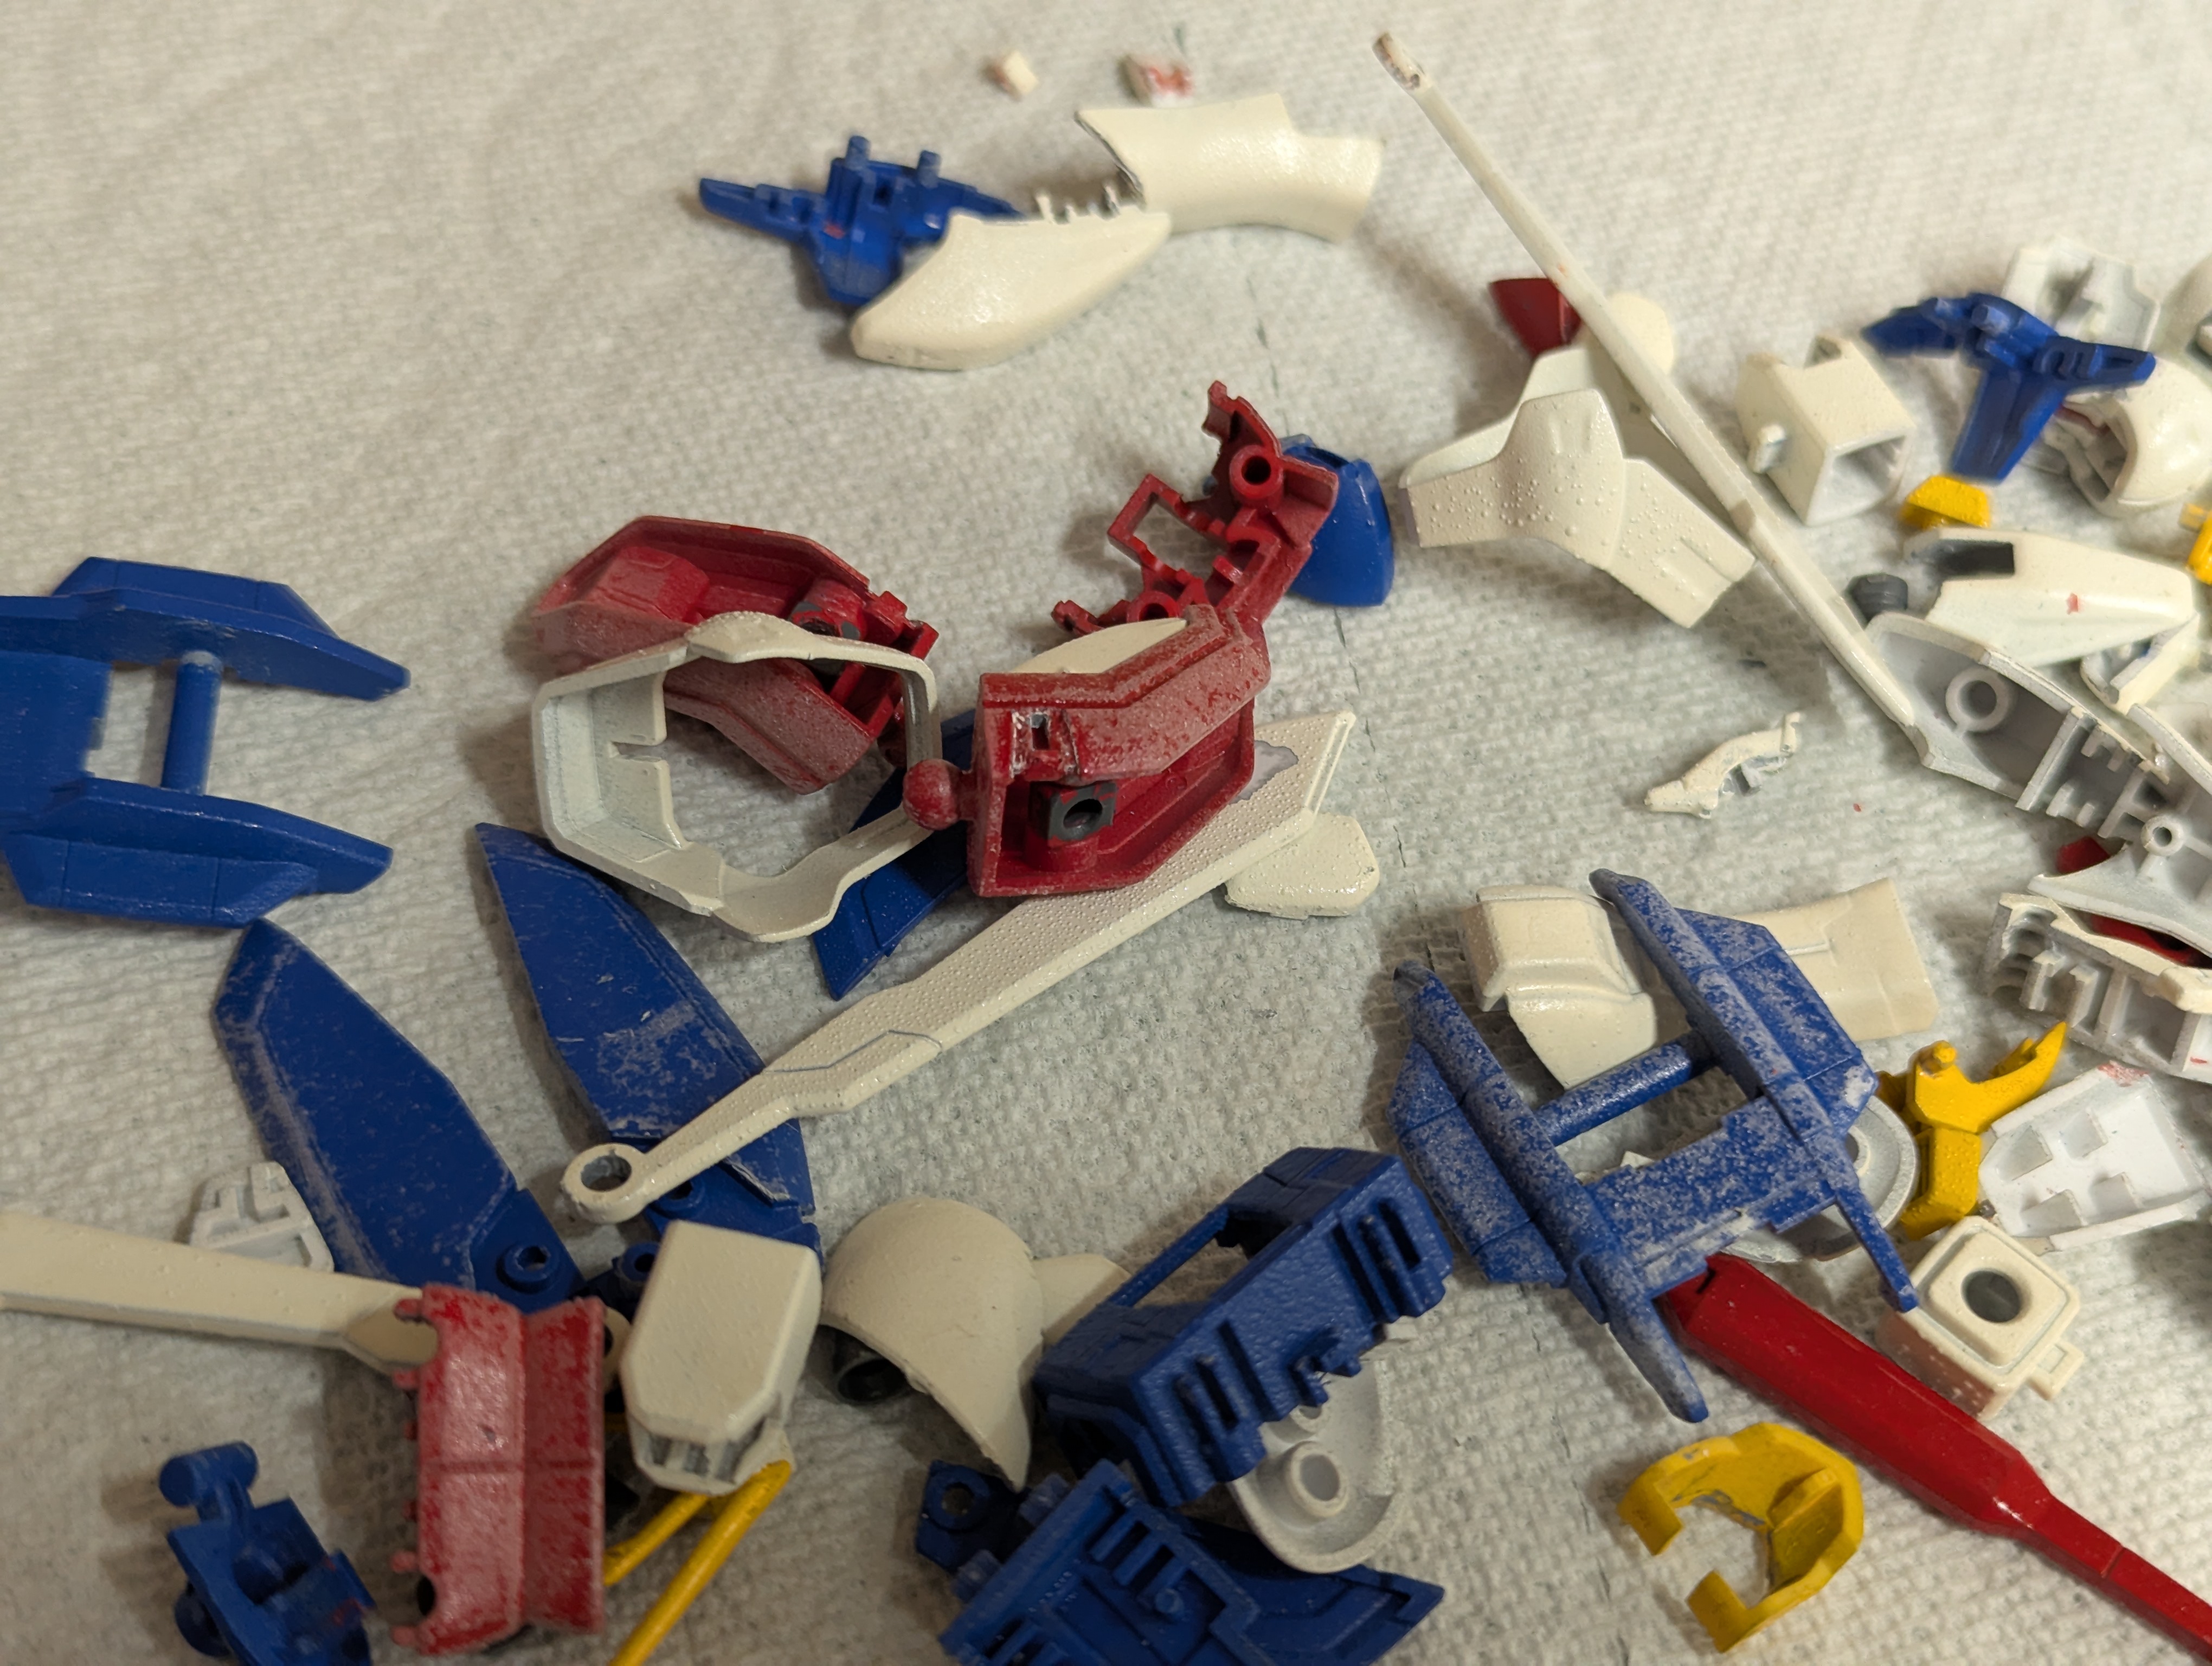
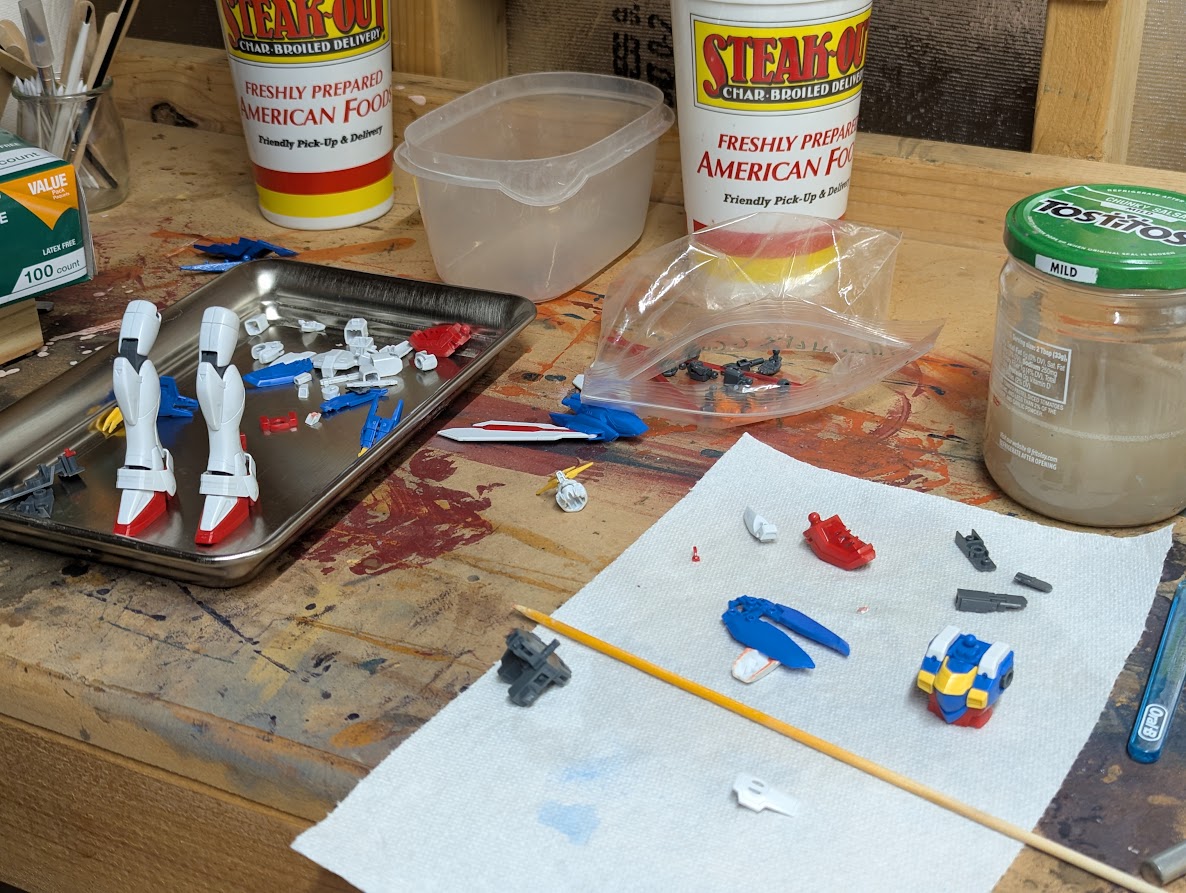
Started with the old parts in a plastic baggy. I snap-built the kit just to make sure I wasn't missing everything and it looks like everything is accounted for.
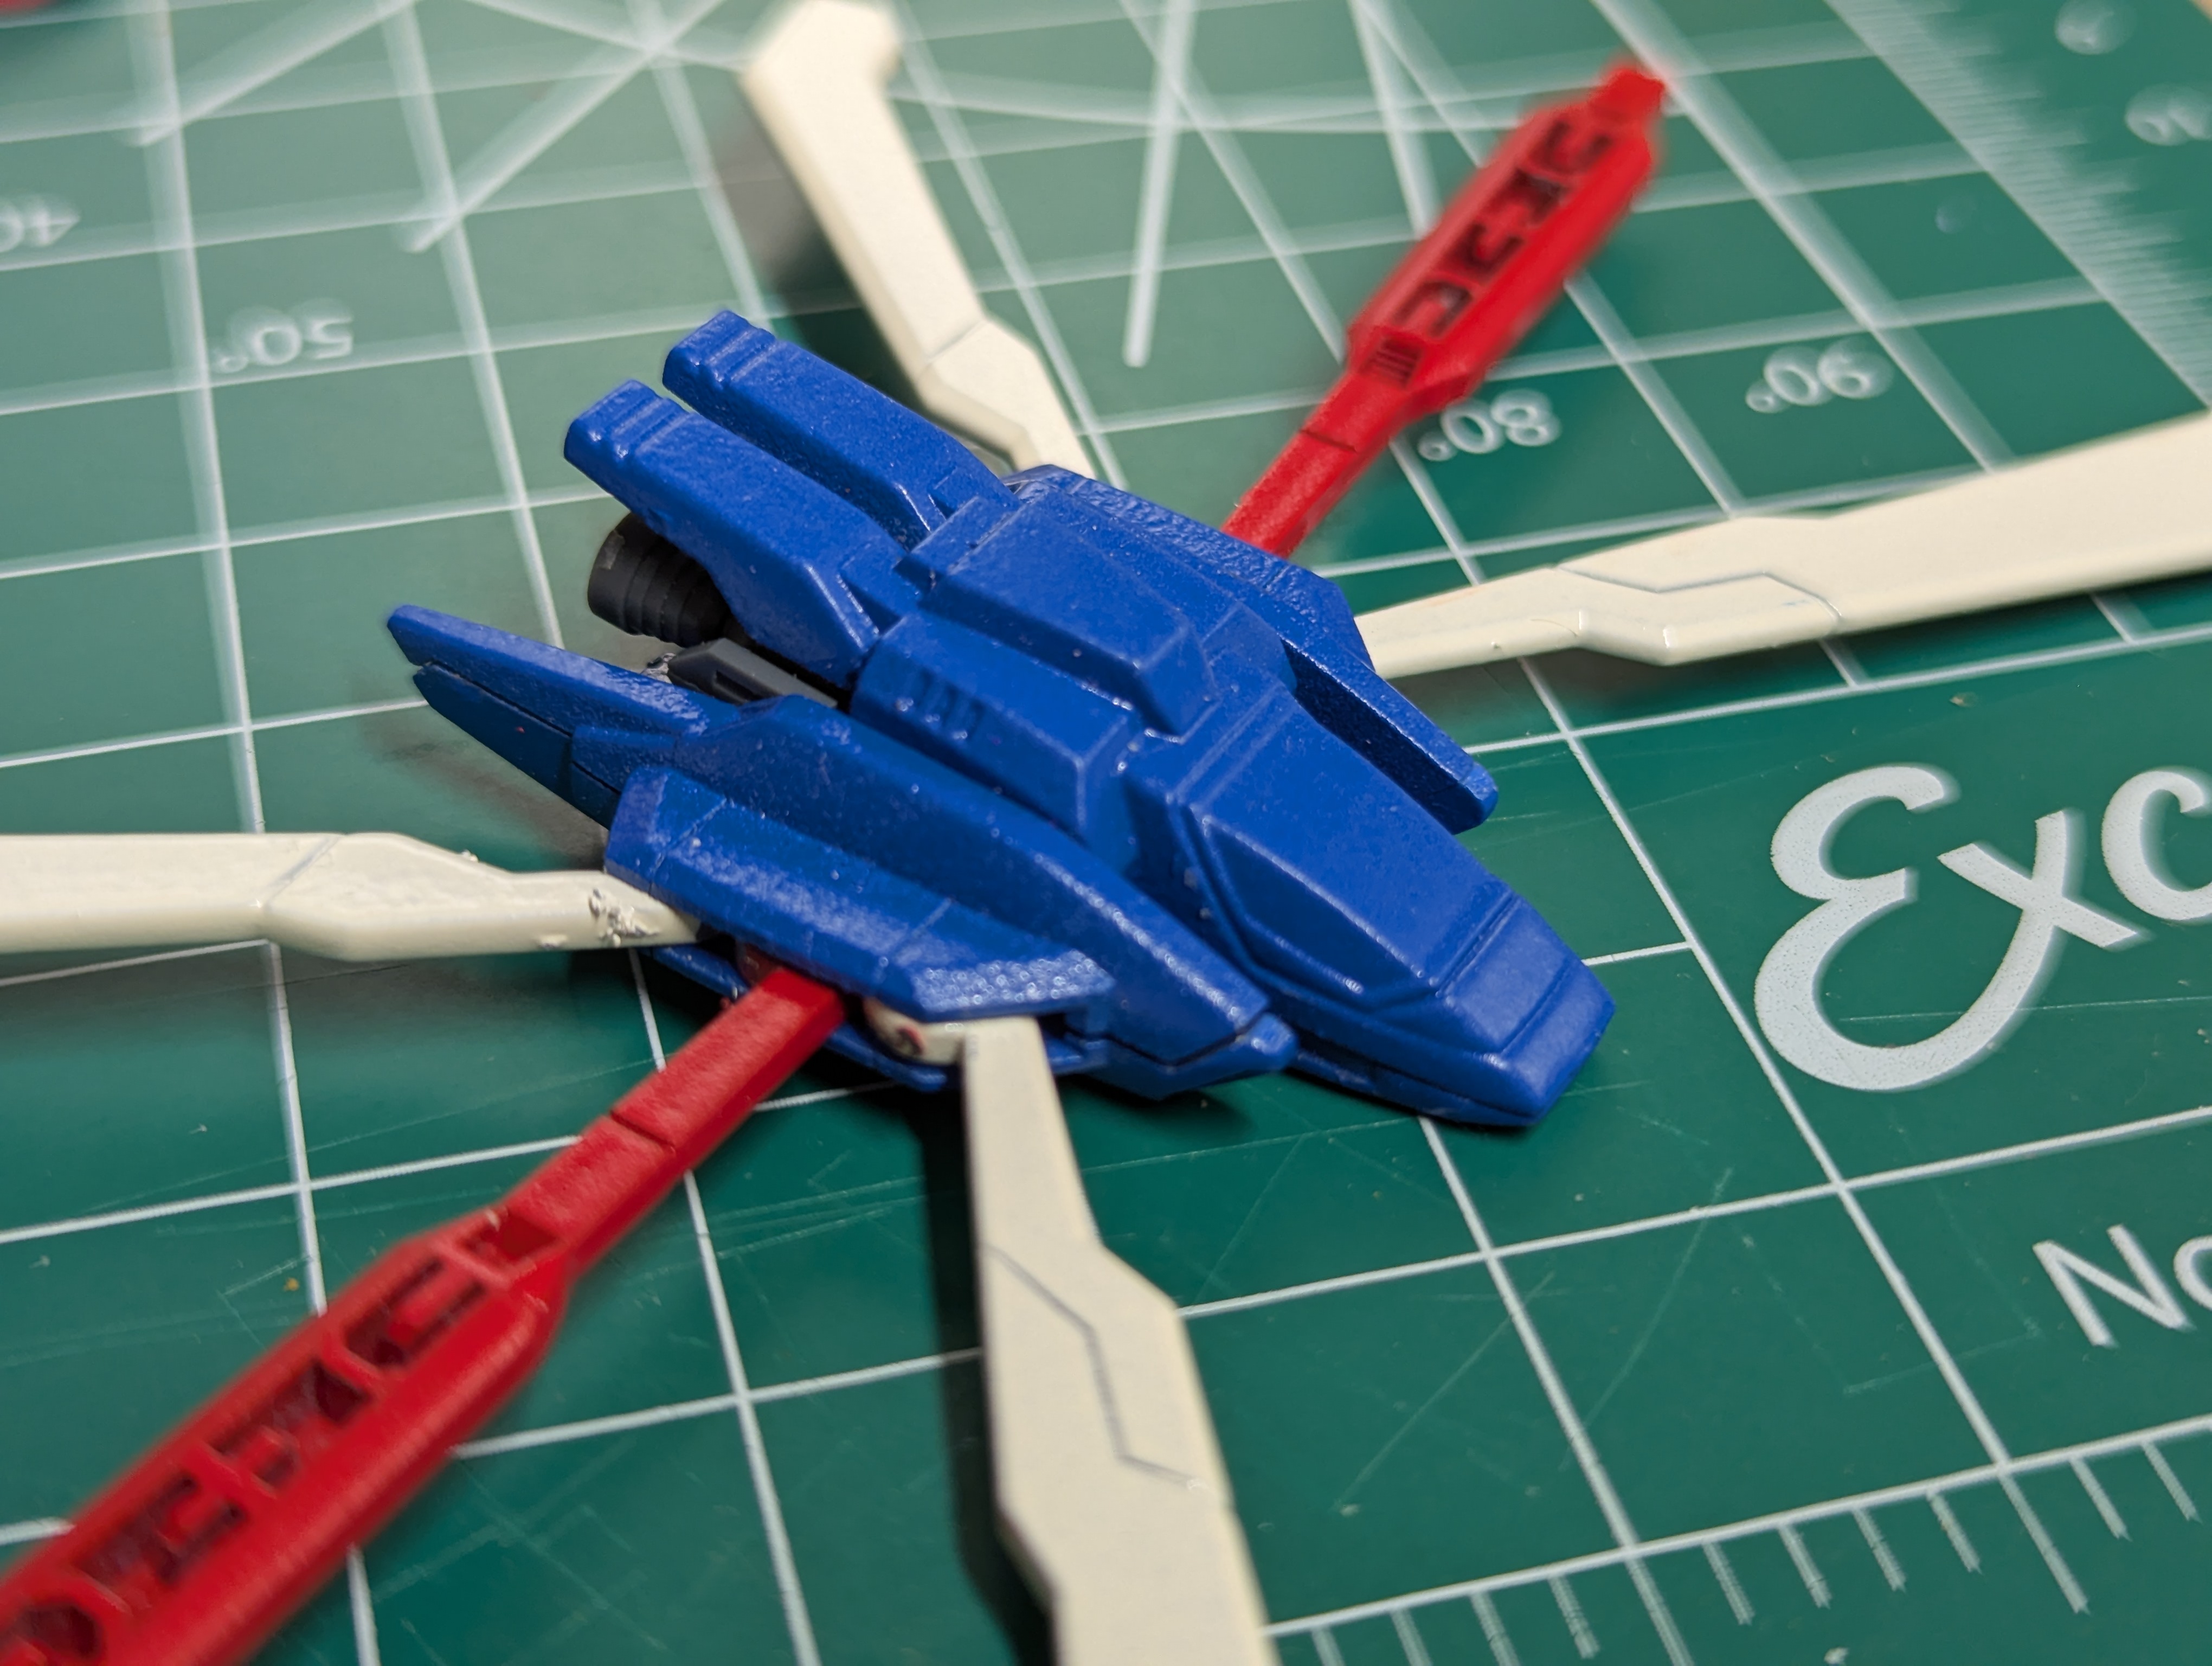
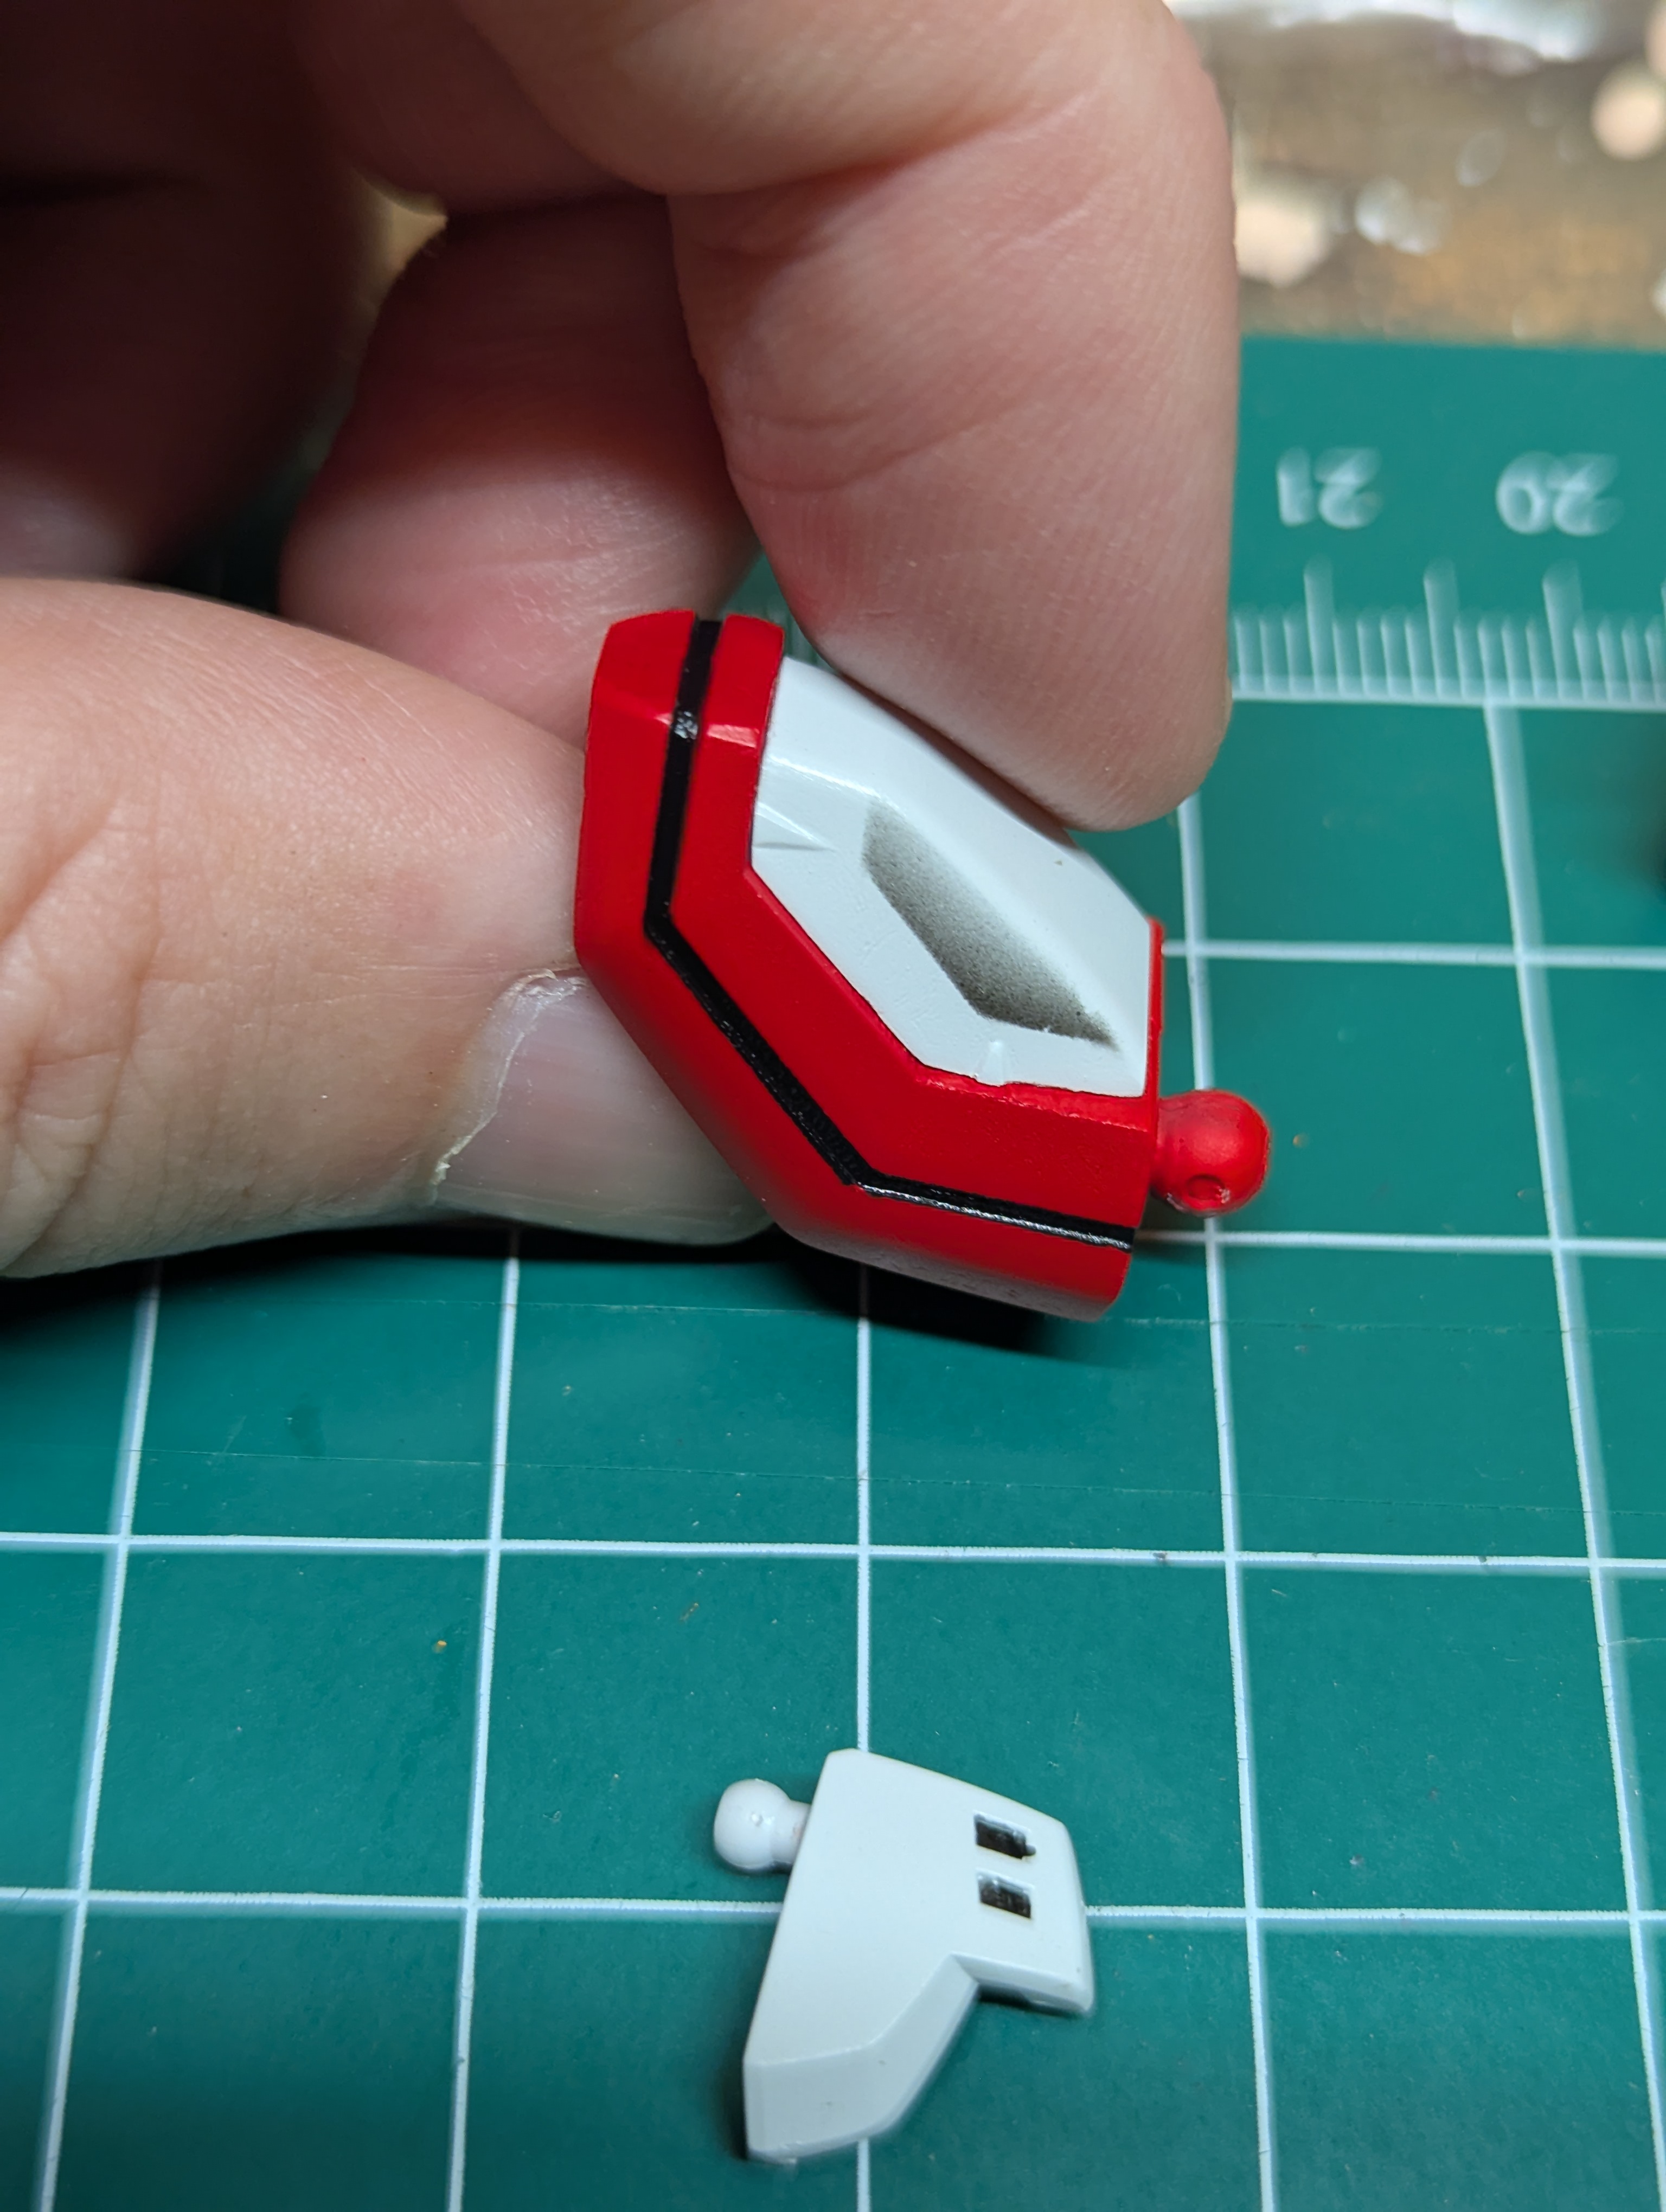
Close-up on this horrendous paint job on the core lander.
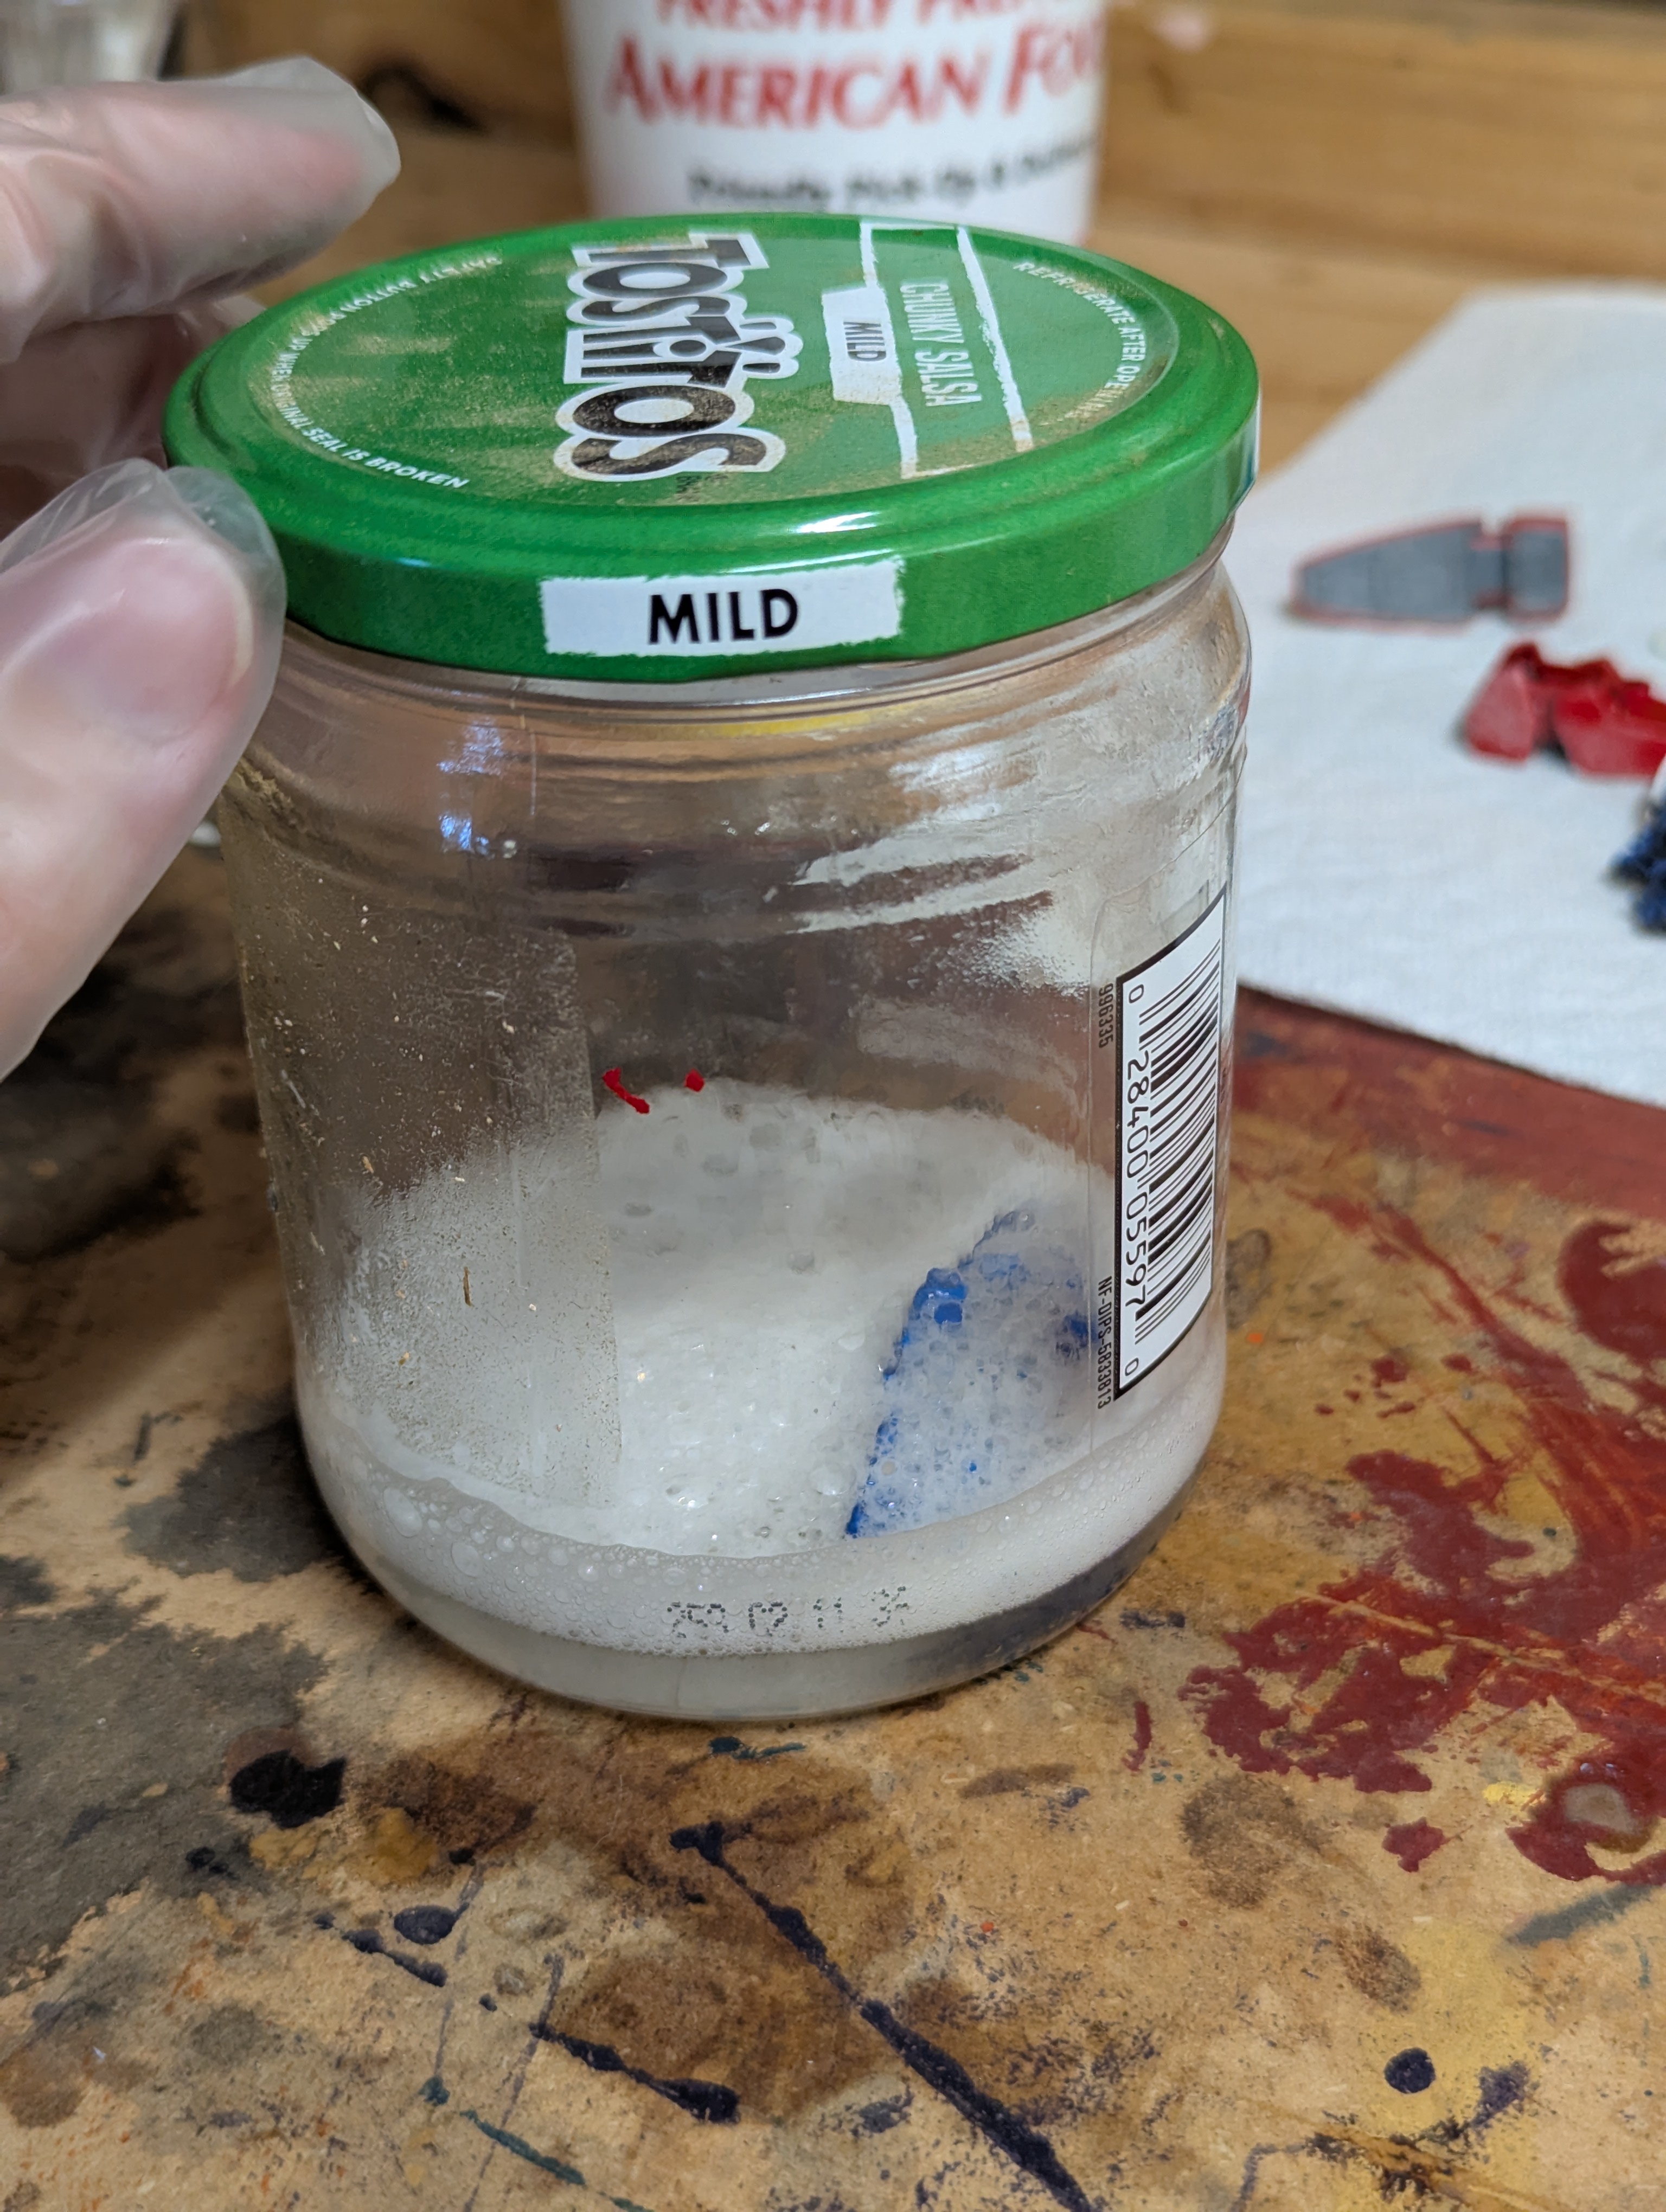
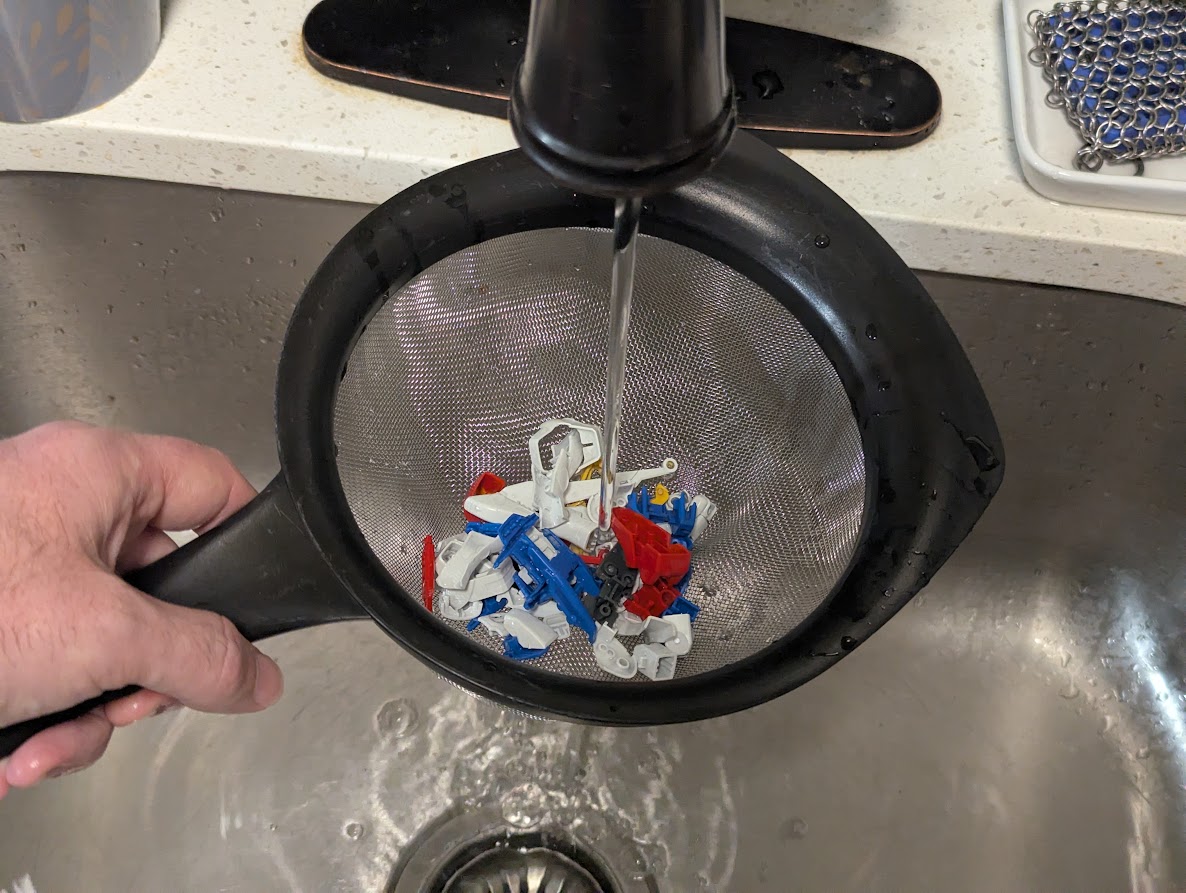
I dissassembled as many parts as I could and soaked in ~50% isopropyl alcohol.
Quick explanation of paint chemistry: modelers typically use acrylics, enamels, or lacquers to paint. Lacquers are considered the toughest, most resistant paints, and acrylics are the least durable. Acrylics can be dissolved in water (although some brands like Tamiya and Mr. Color do use a proprietary solvent) - enamels and lacquers always use chemical solvents (i.e. paint thinner). The solvents will melt plastic if too much is applied or is left wet for too long. When airbrushing or spraying, this is normally not a concern, as the application is very light and dries quickly. For paint removal, any soak would destroy the plastic entirely - so we have to use less aggressive chemicals to work through the paint layer.
As far as I can remember, this kit used spray enamels. Alcohol should be plastic safe, but is normally recommended for breaking down acrylic paints - since enamels are tougher, I wasn't sure if it would actually work. I'd forgotten that we actually did do some cementing/seam-line removal on these kits, so not everything was disassemblable, but most should still be very paintable with minimal masking.
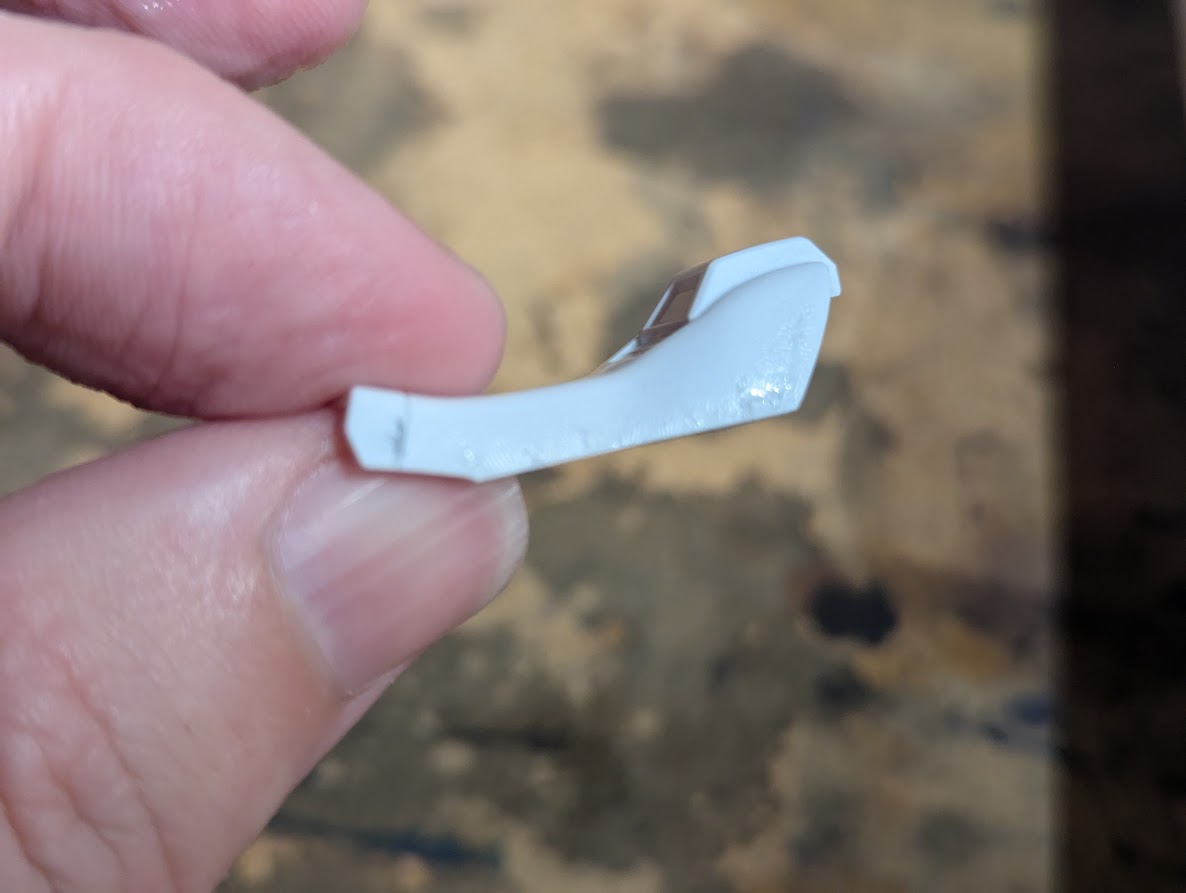
Broke this piece on the left shoulder when disassembling. I think we built these parts before the paint fully cured, and didn't mask joints - so there are several pieces that glued themselves together, basically. I should be able to fix this with cement, though. For other stubborn parts, I soaked them assembled and figured that the paint breakdown would help to unfuse them. The thrusters must have been gouged when I did the initial snap build all those years ago... not sure how to address this. Considering replacing them with some thruster option parts.
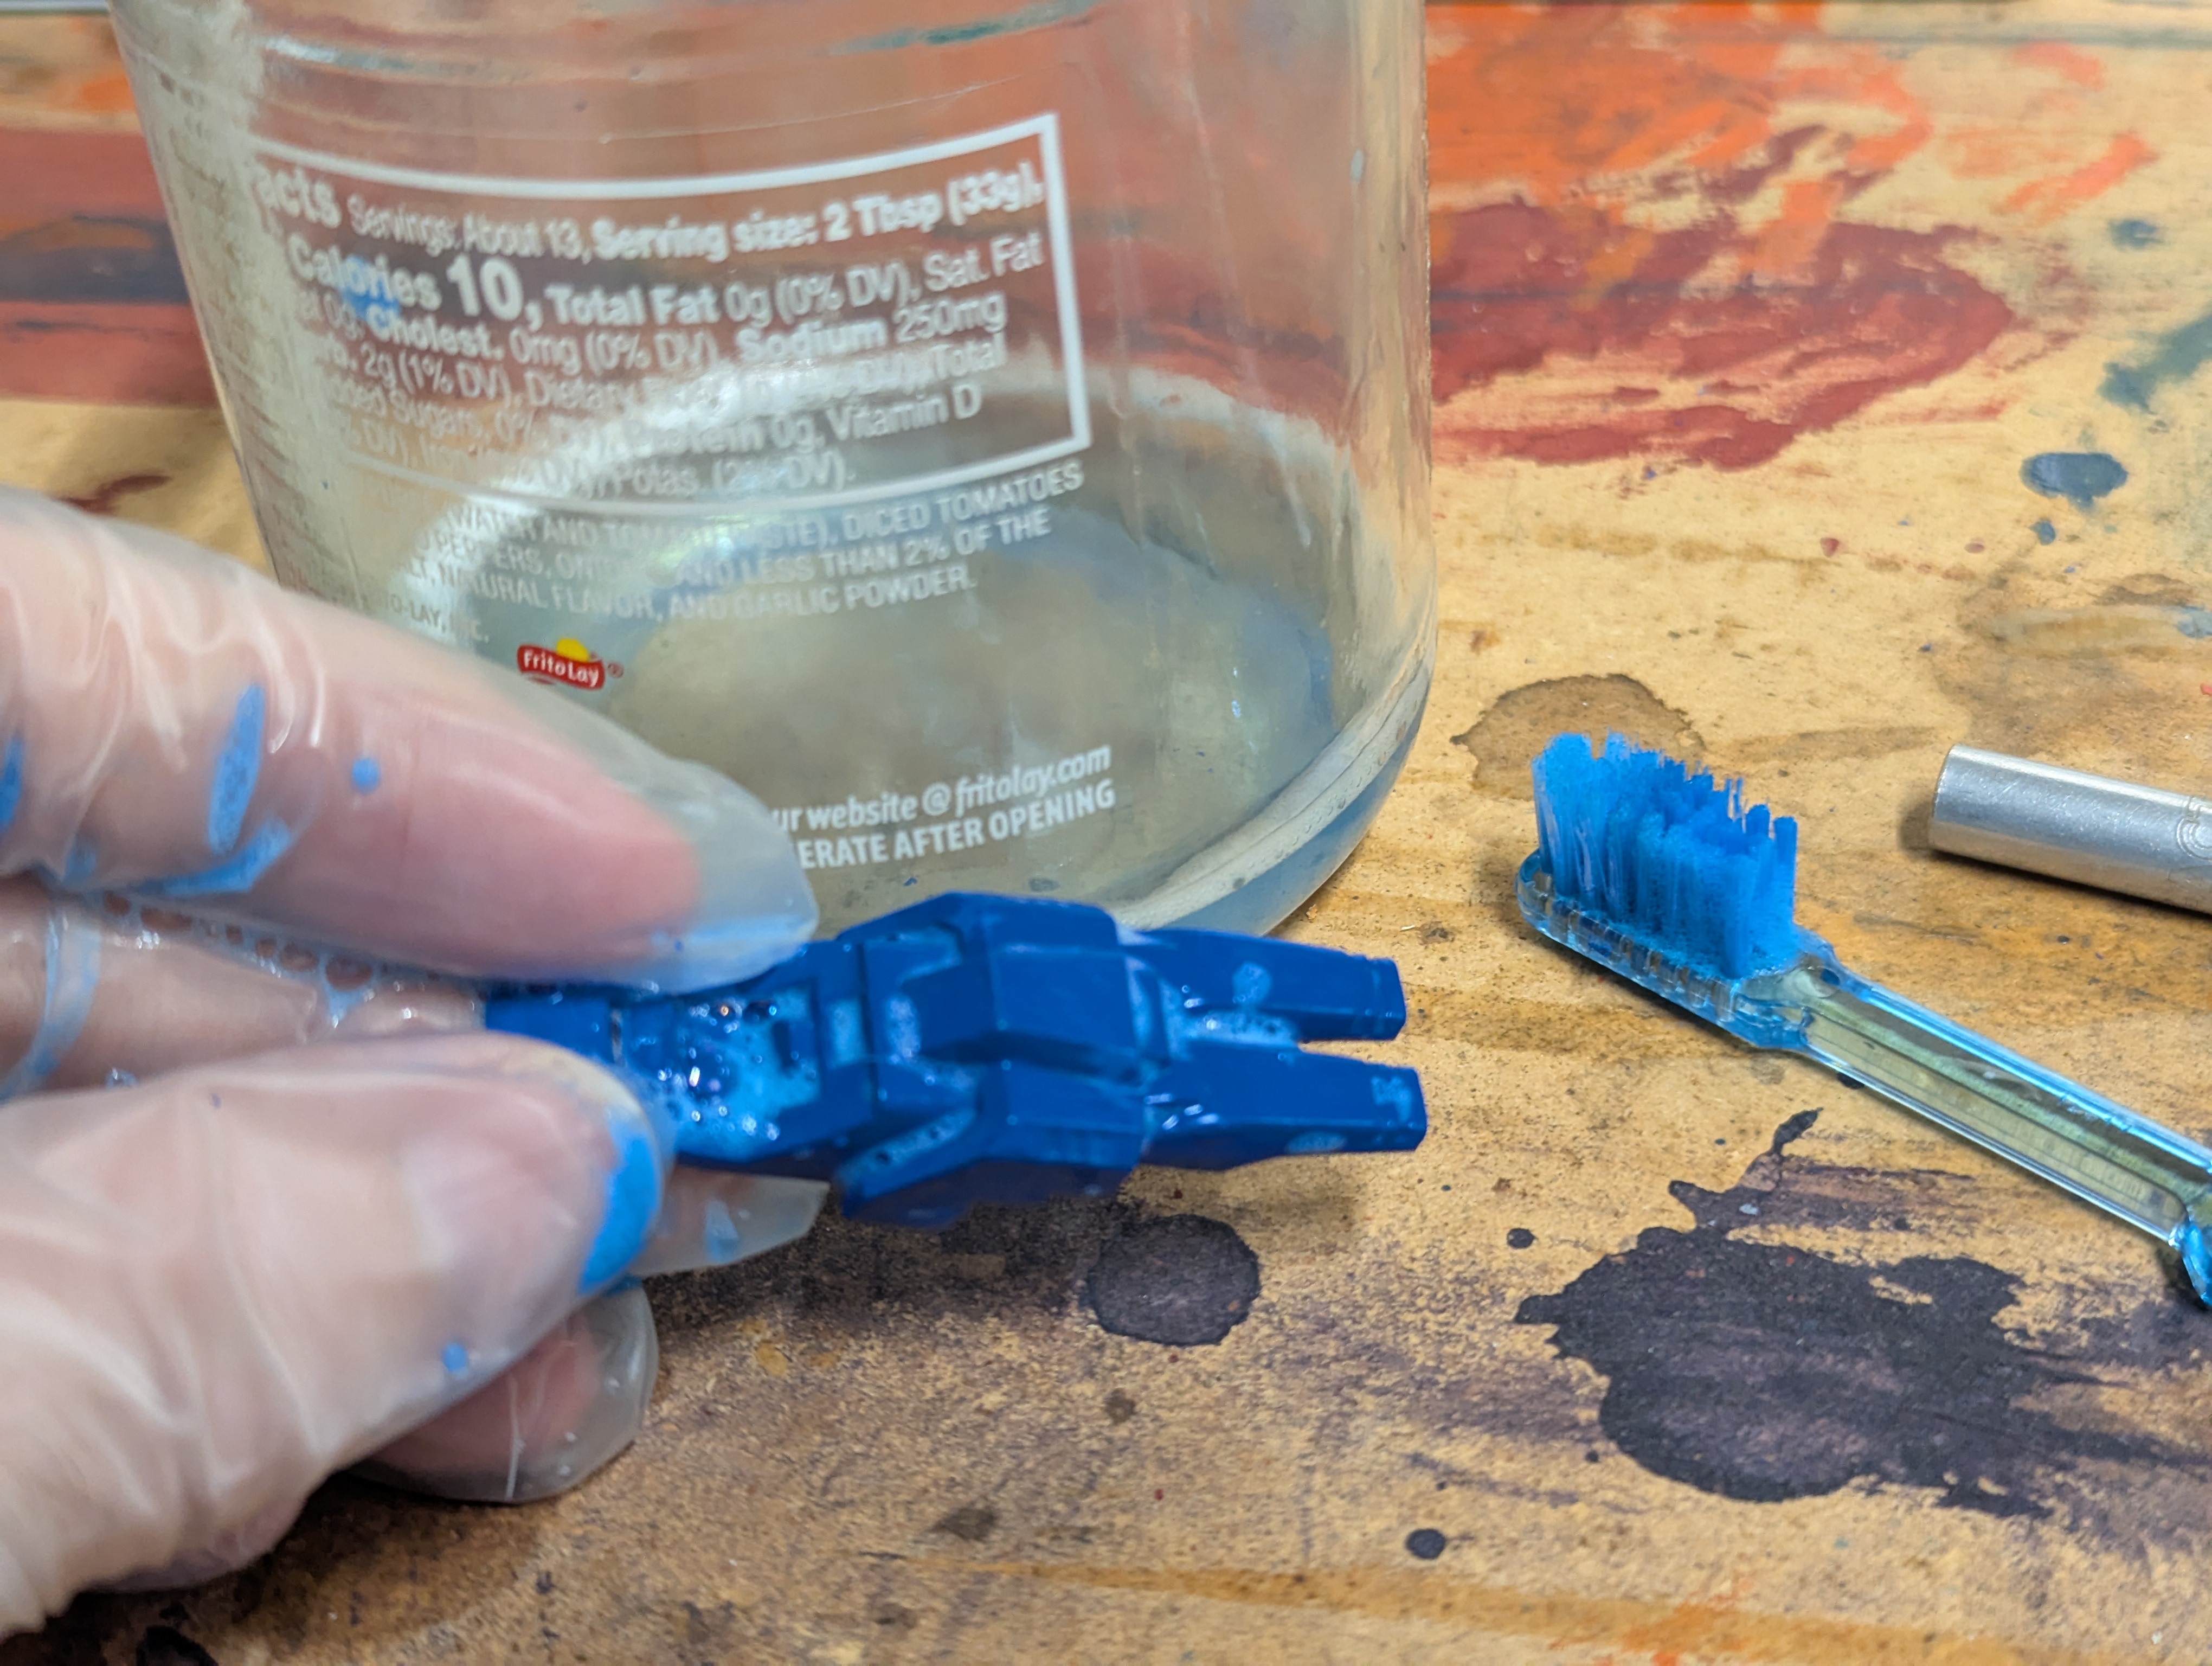
After roughly 48 hours soaking, we got... some results. Definitely some breakdown of the paint. But primer was almost completely unaffected, and scrubbing was yielding nothing further, so I decided we needed a different chemical approach.
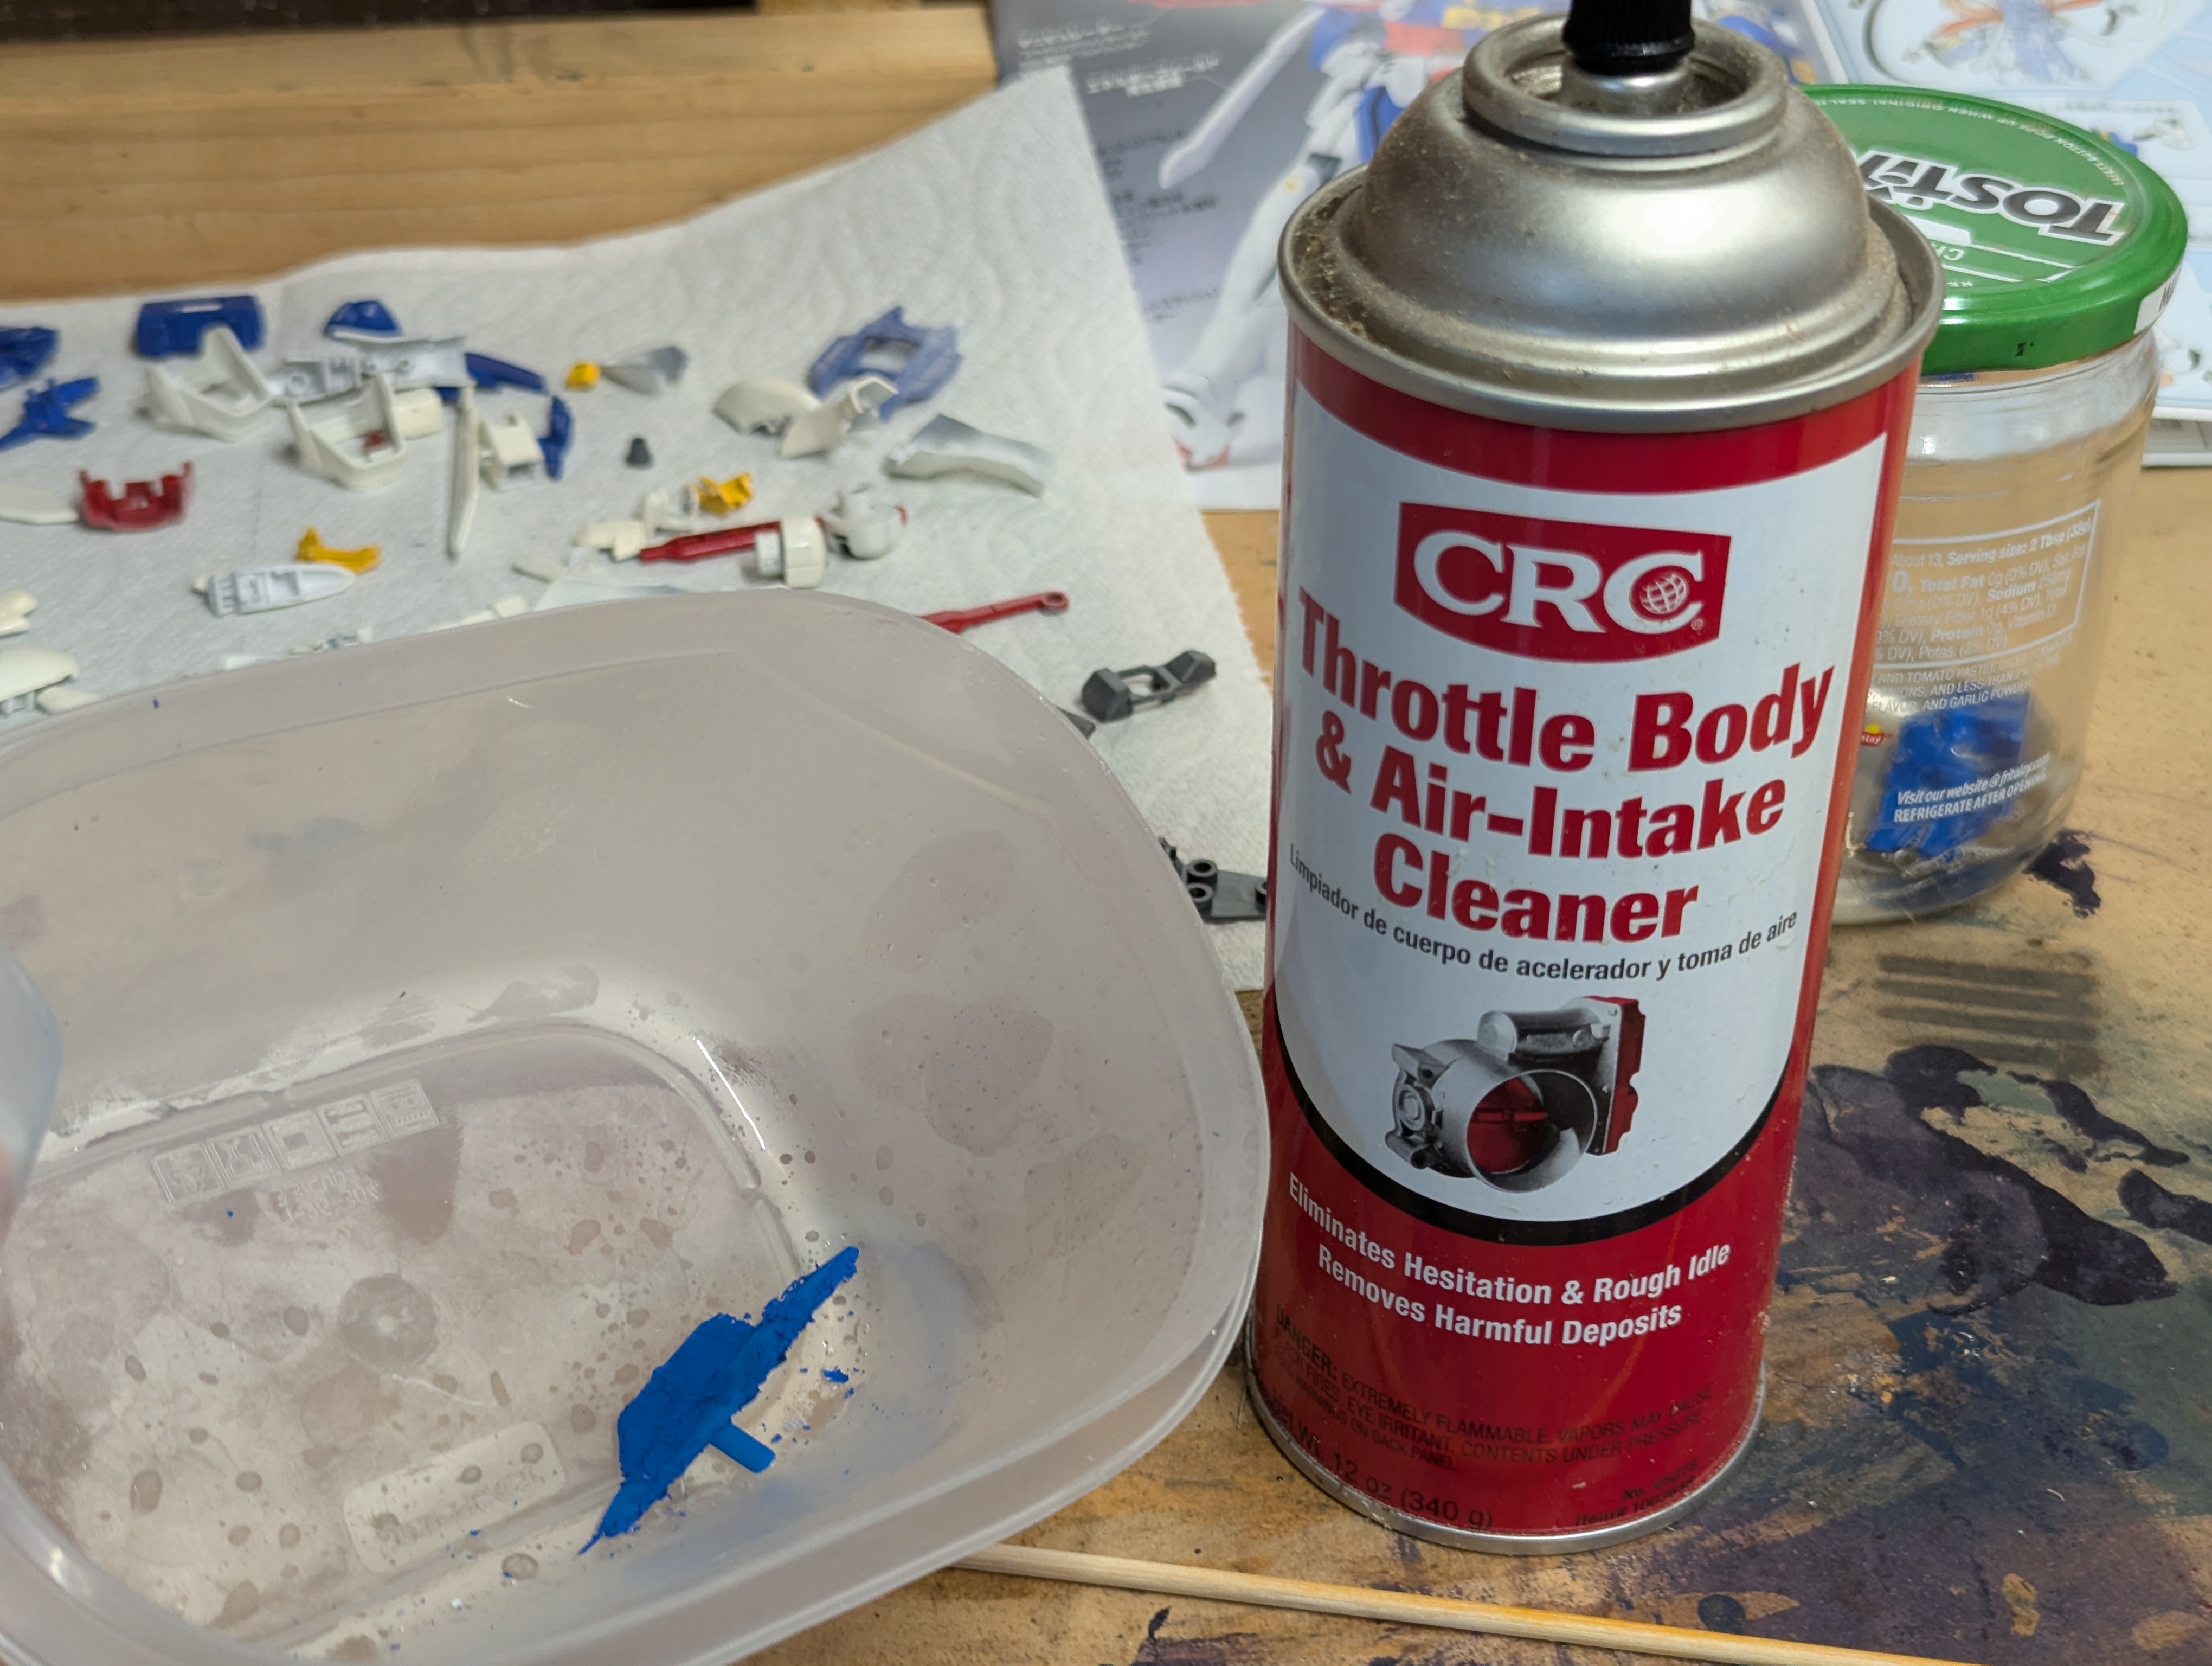
I had some even more ancient painted parts from the 1994 1/100 God Gundam, so tried out this kitchen degreaser and this auto parts cleaner.
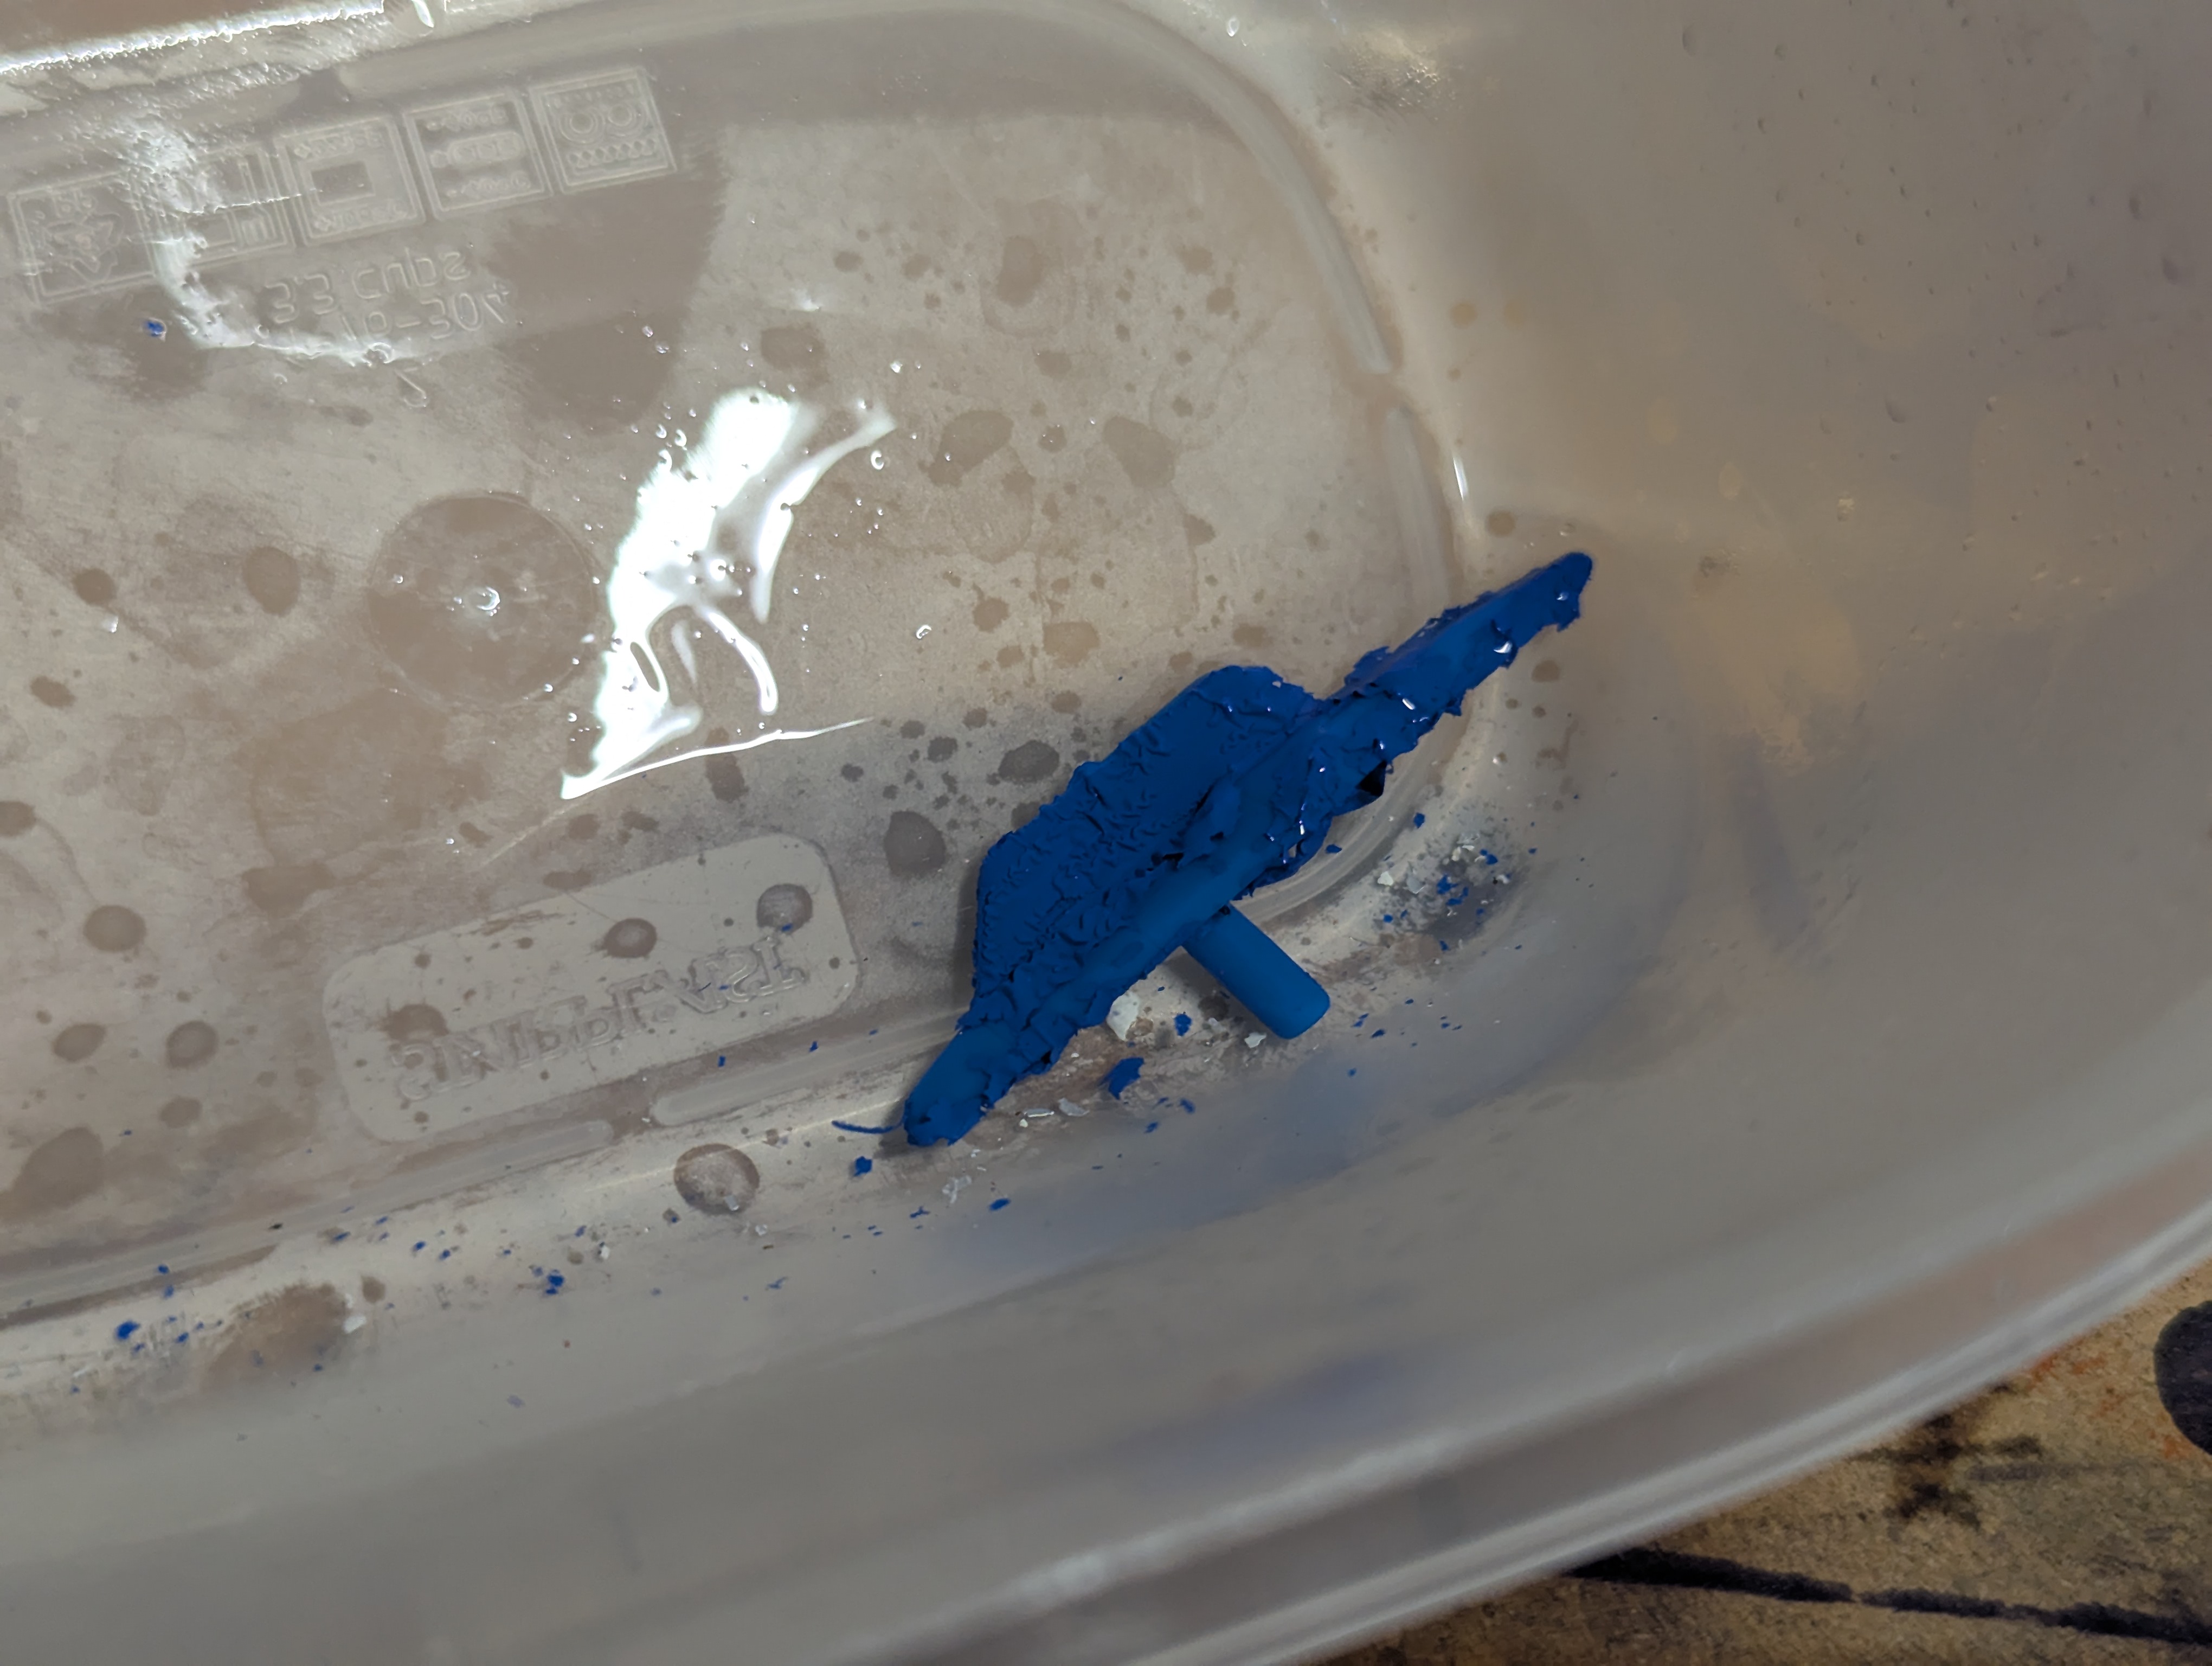
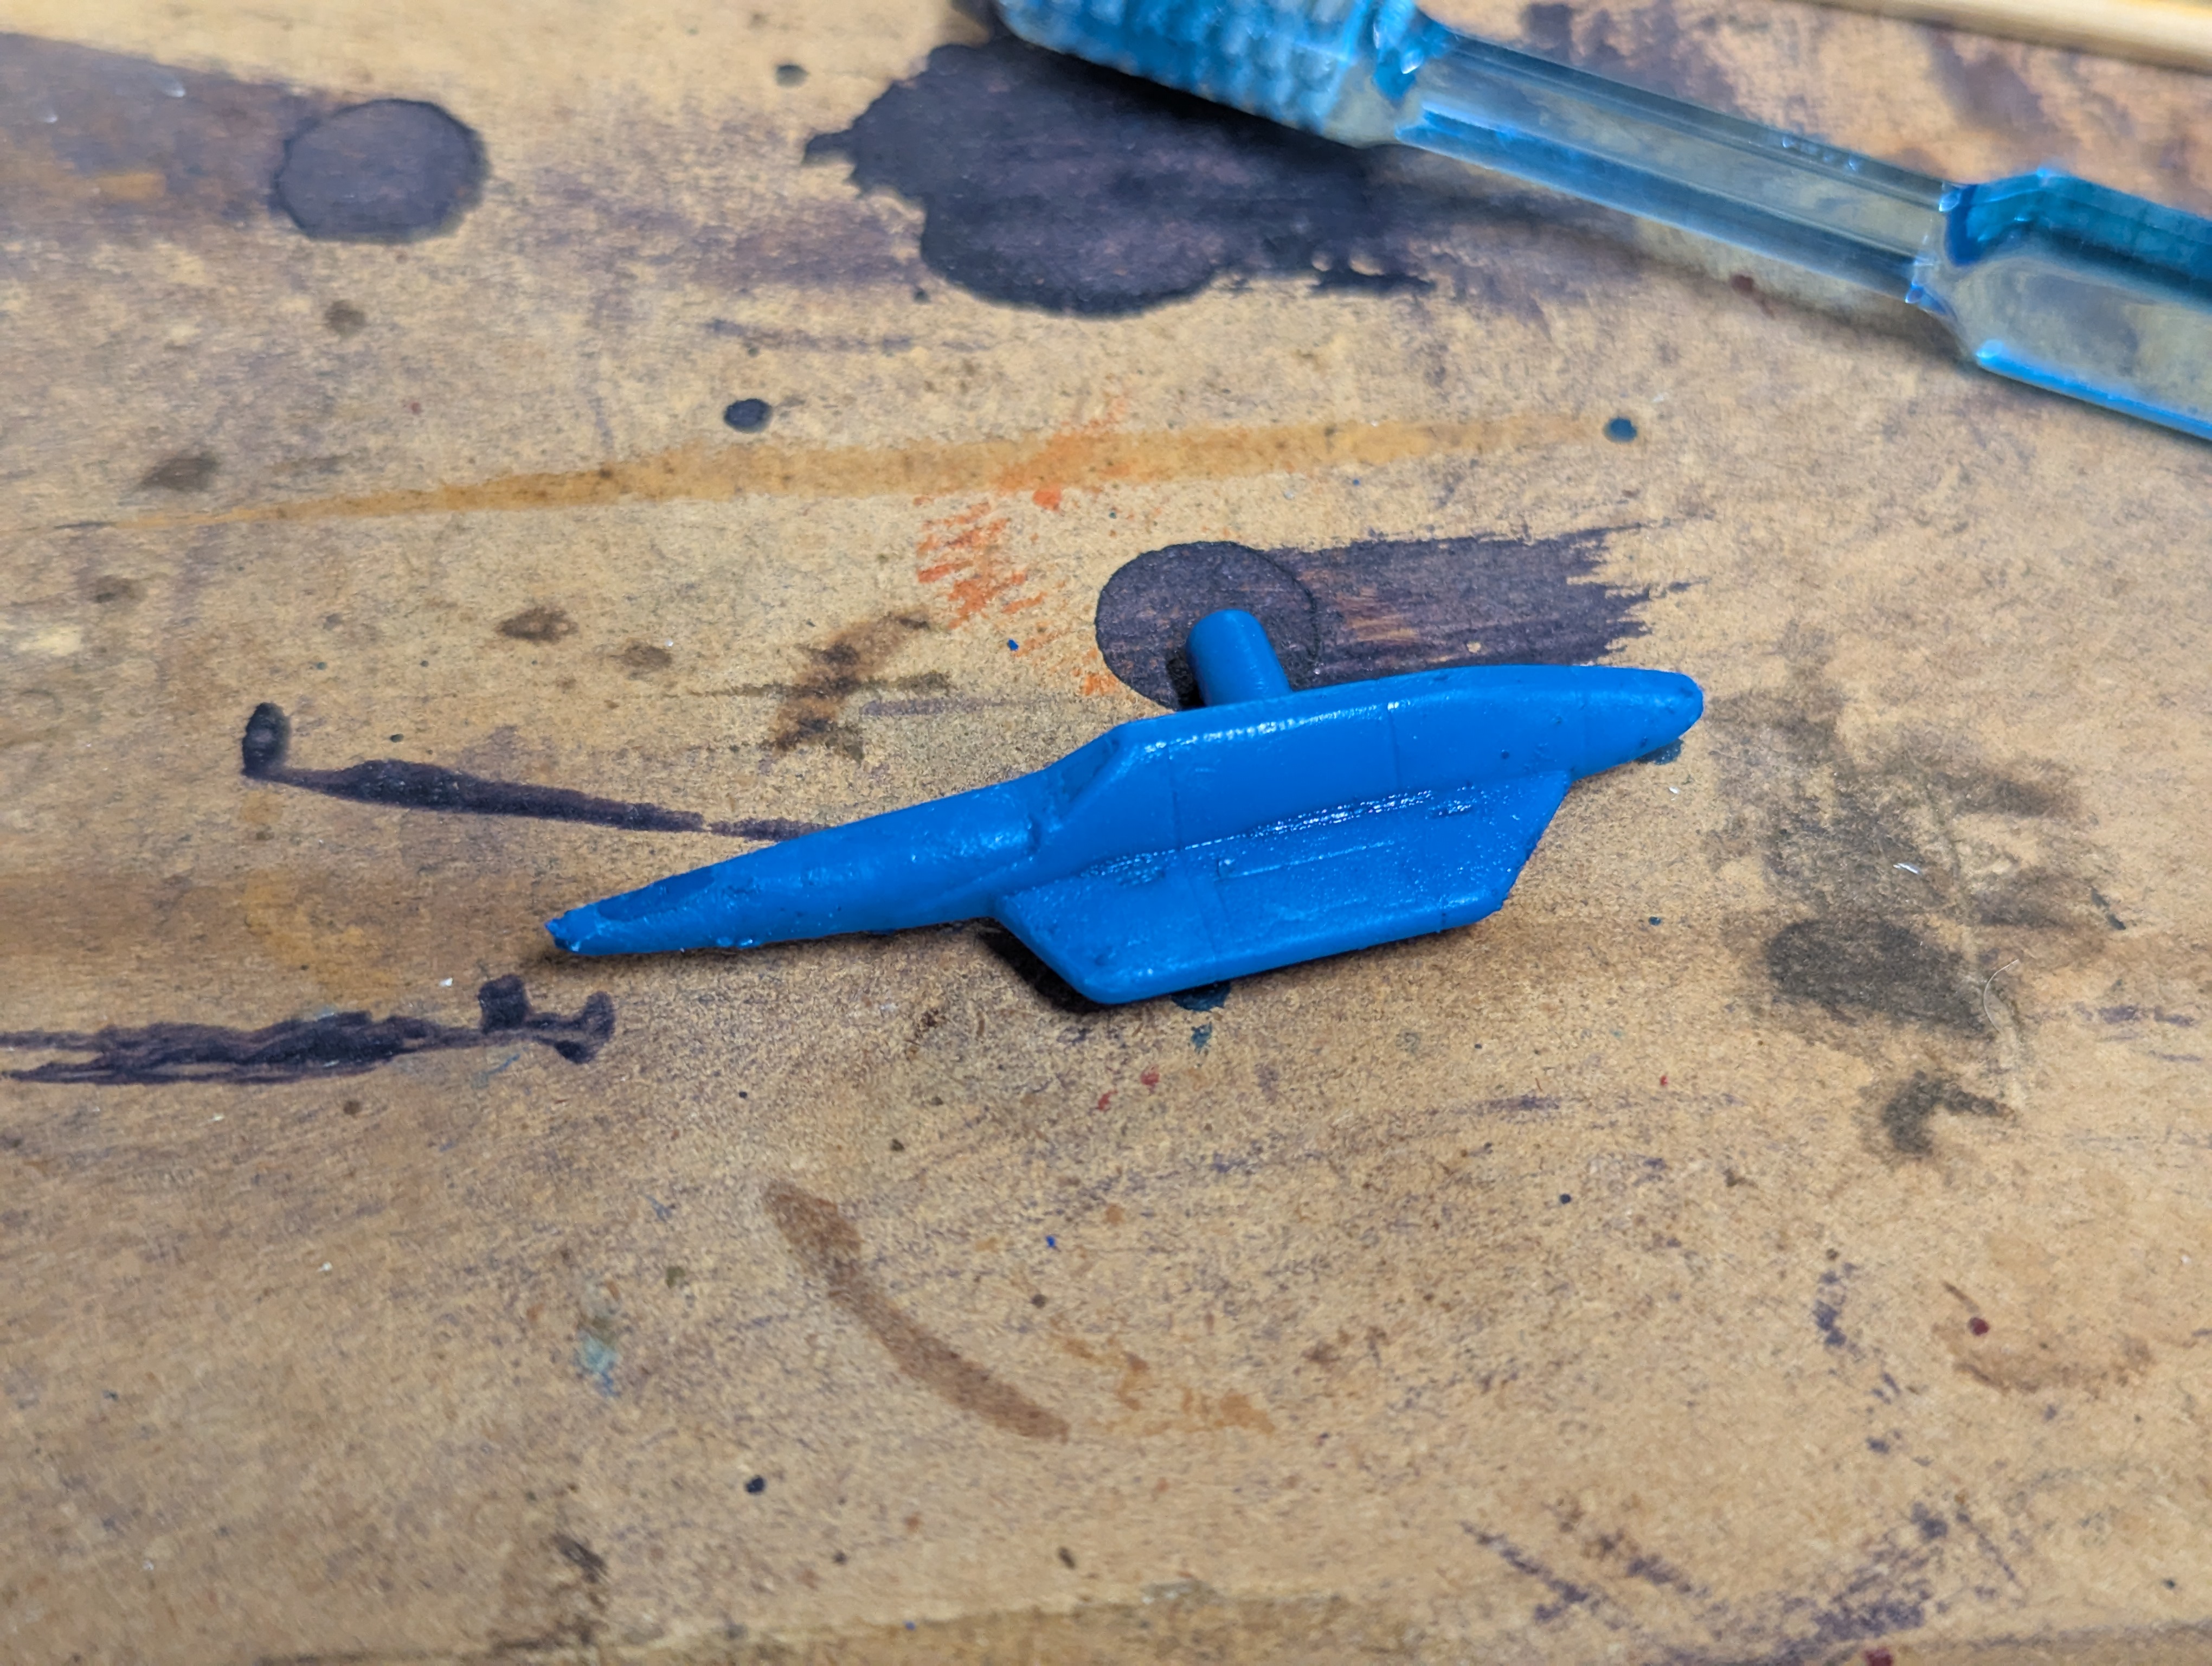
The auto parts cleaner peeled the paint almost immediately, but it was obviously muddying the surface texture of the plastic, so wasn't usable.
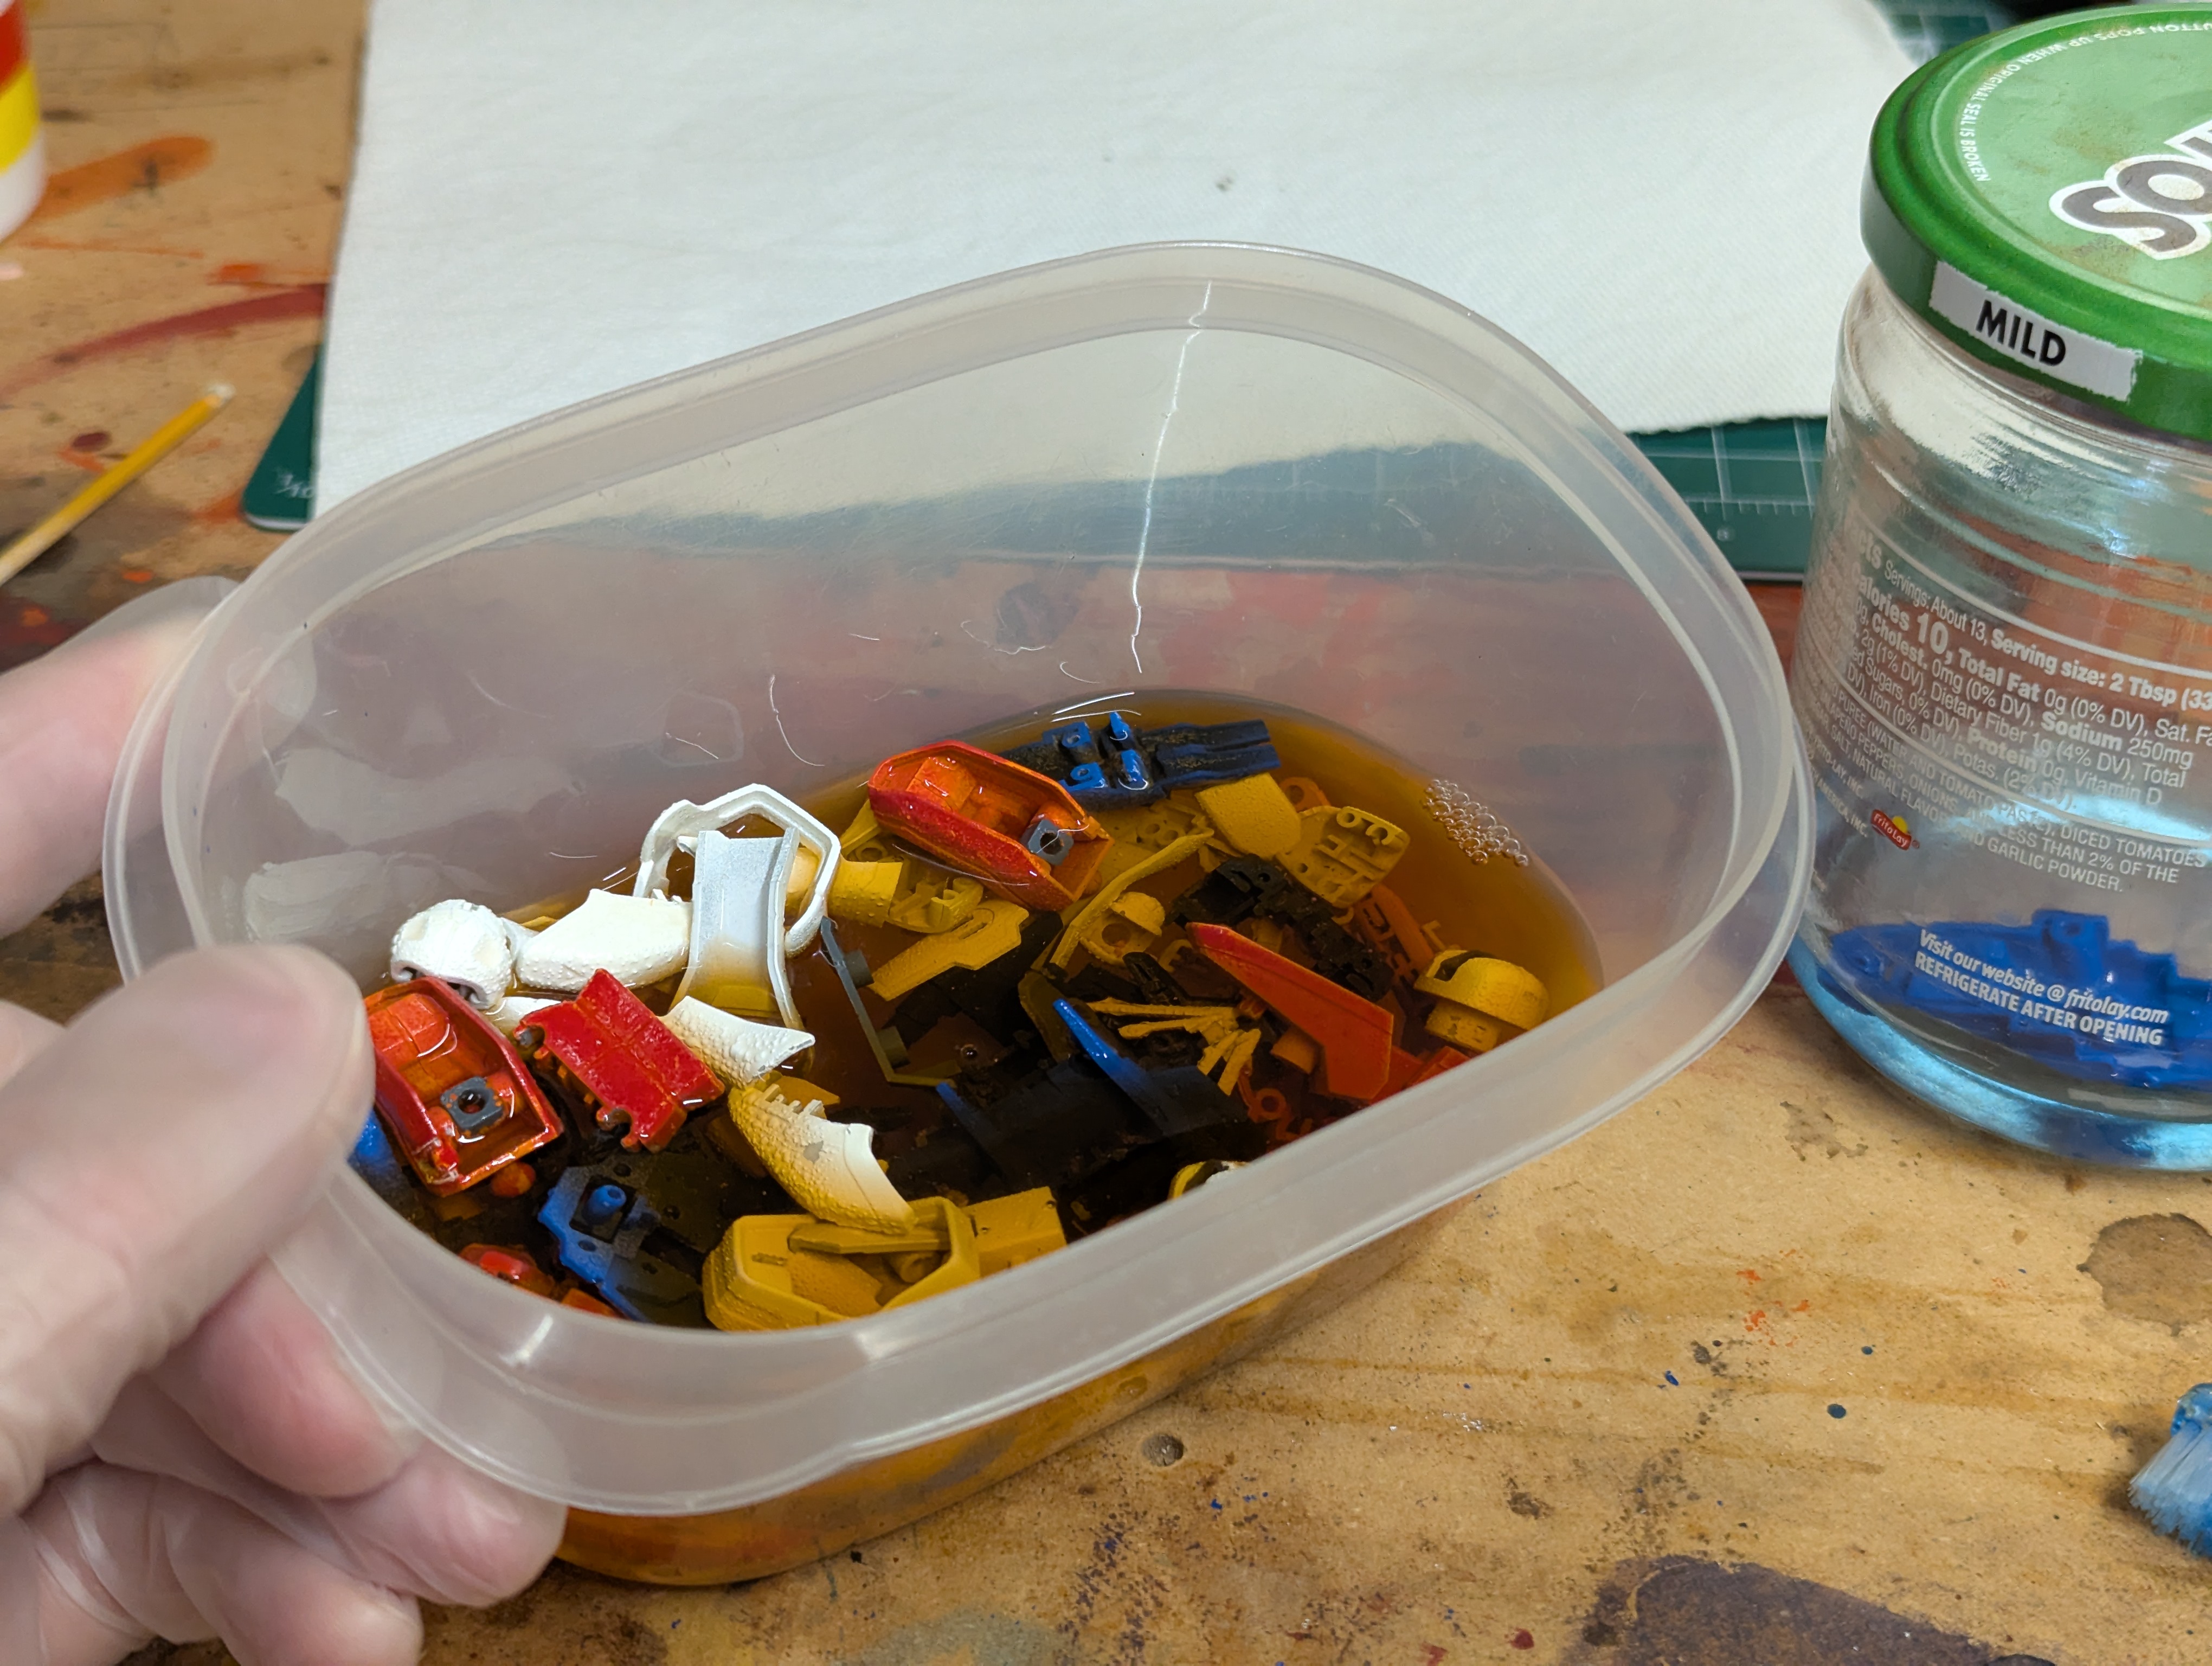
The degreaser took longer - but after about 8 hours I was definitely getting some paint removal with no effect on the plastic, so resoaked all of the pieces from the main kit.
After about 24 hours, had really good progress. Some primer was still clinging, so I brushed everything off to get rid of the vast majority of paint, then soaked in fresh degreaser for another 24 hours.
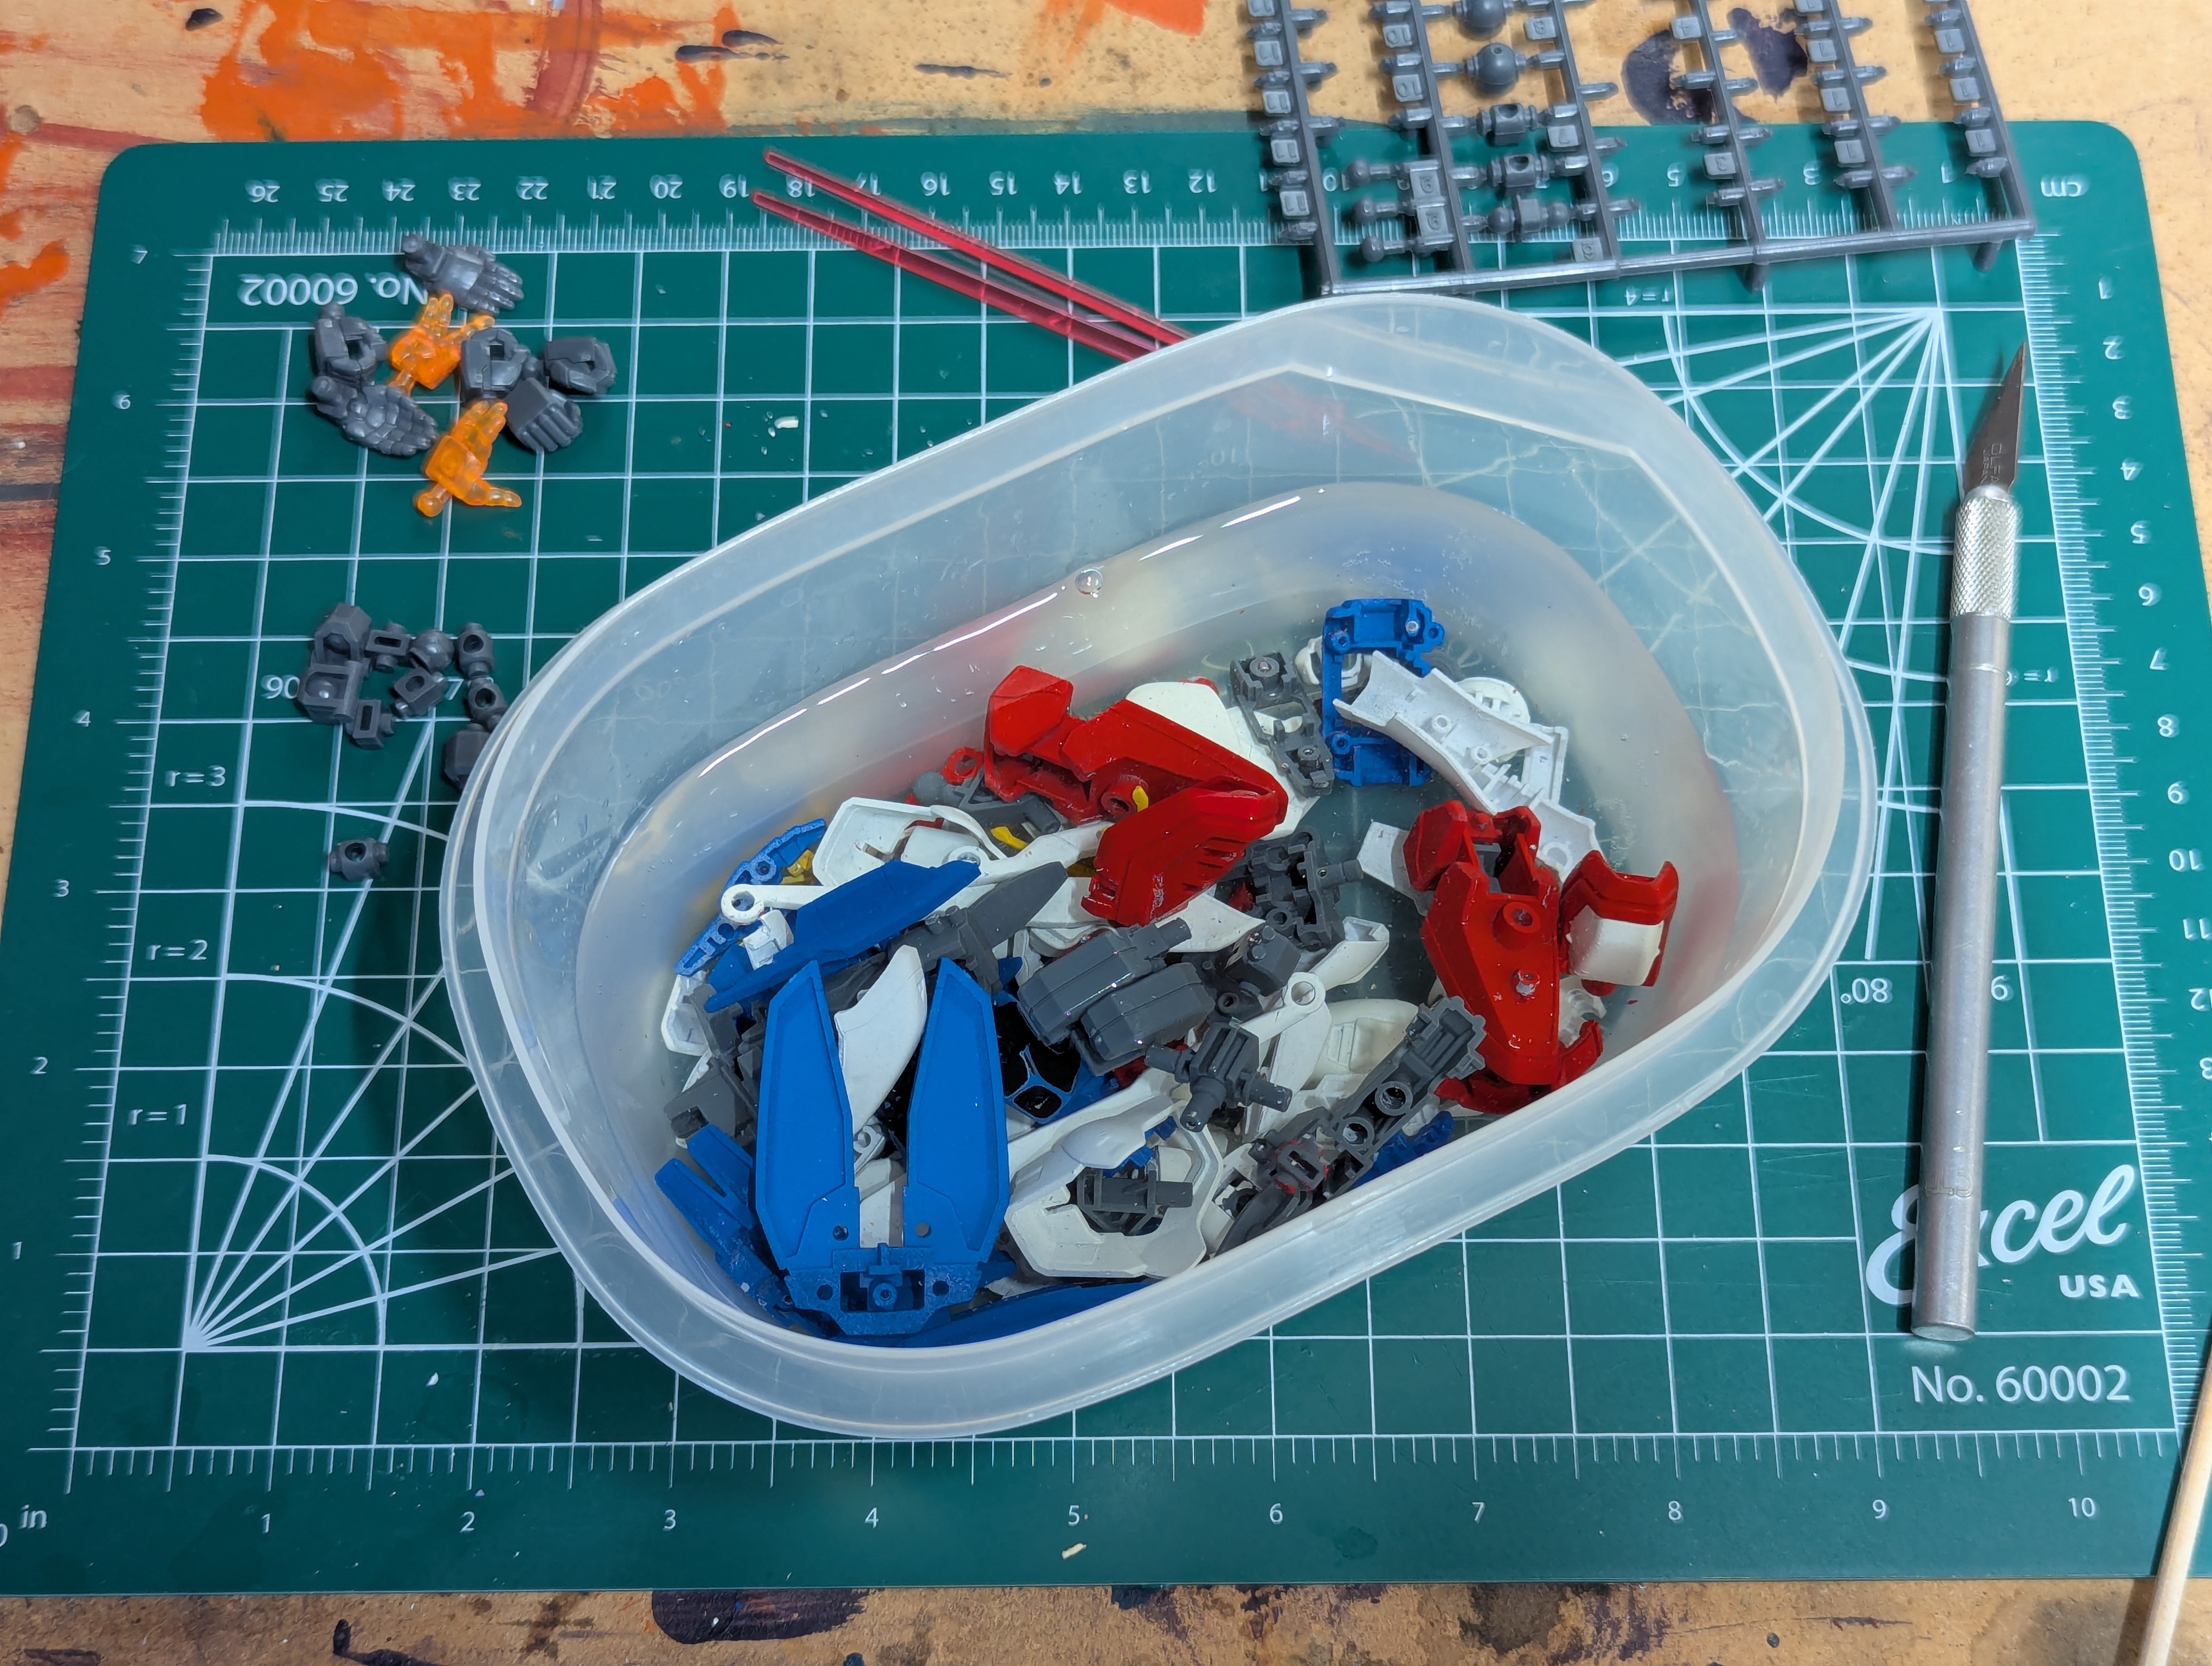
After another round of scrubbing, the vast majority of the kit was cleaned. I rinsed in water just to prevent any long-term chemical reactions from taking place.
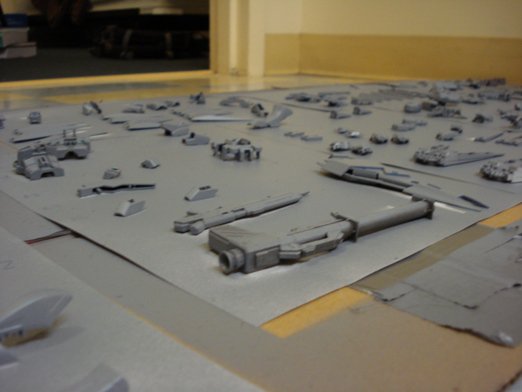
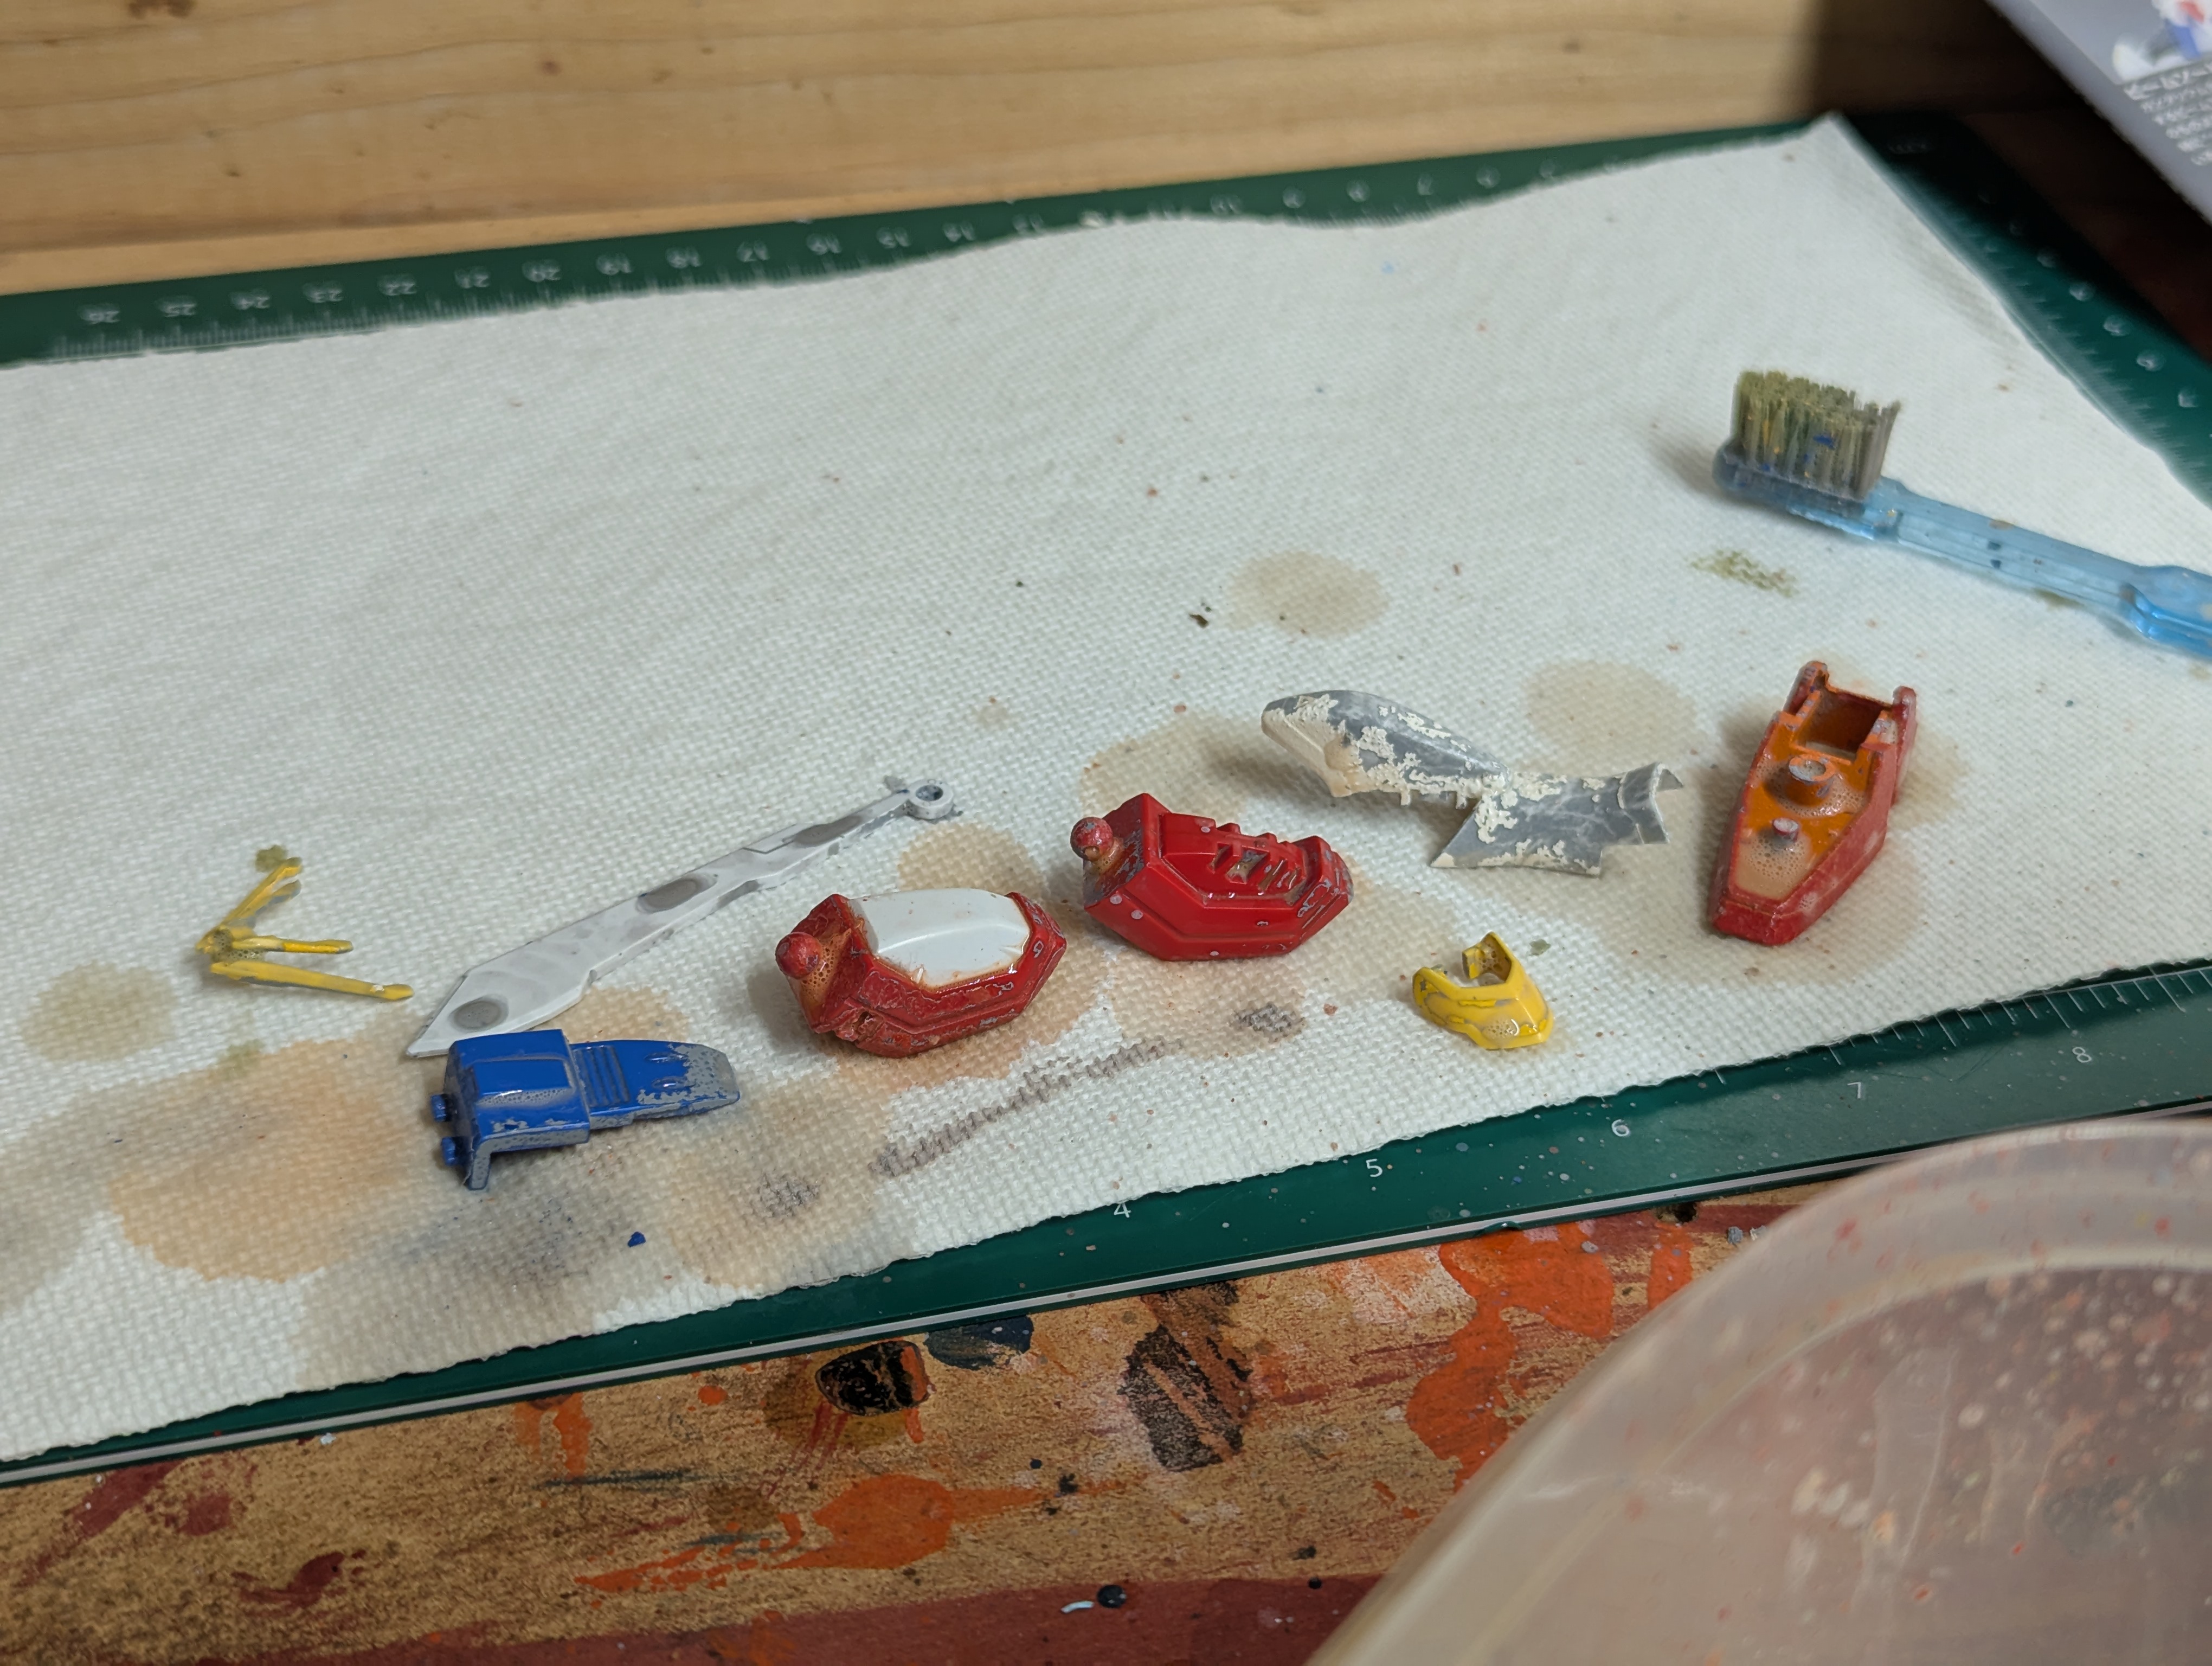
Placed and vaguely organized pieces to make sure that I didn't lose any at the bottom of the jar. Not all parts are visible here, as about 10 had to go for one more soak. Mostly blue pieces, for whatever reason.
I did notice some parts had some rough texturing - not many, but enough to be annoying. I don't think this was the degreaser melting the plastic - rather I feel like we way might have oversprayed primer to the point that the enamel solvents etched into the plastic slightly way back when. I say this because I didn't see it at all on unpainted surfaces, which would have been hardest attacked by anything in the degreaser. Most parts will be easy enough to sand or putty out I think, so I'm still not concerned - it'll just lengthen the surface prep stage.
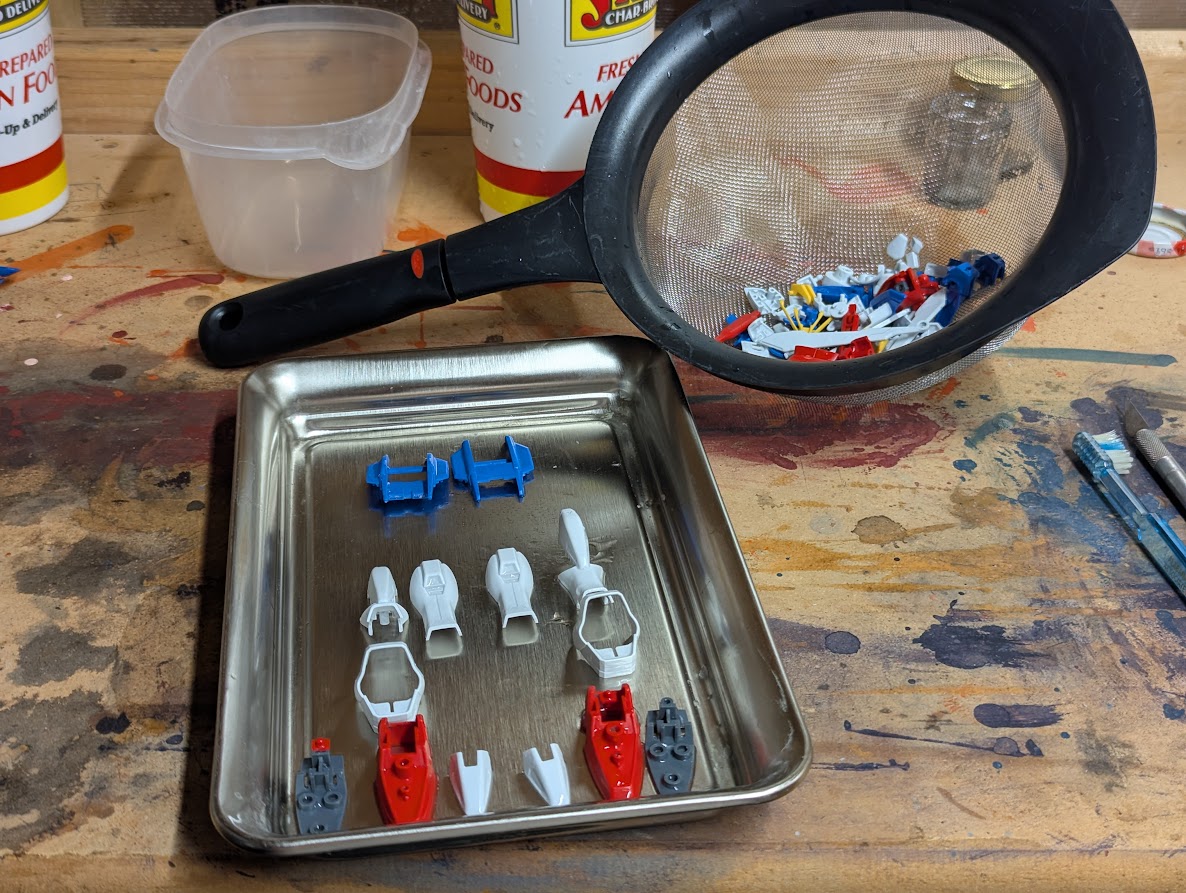
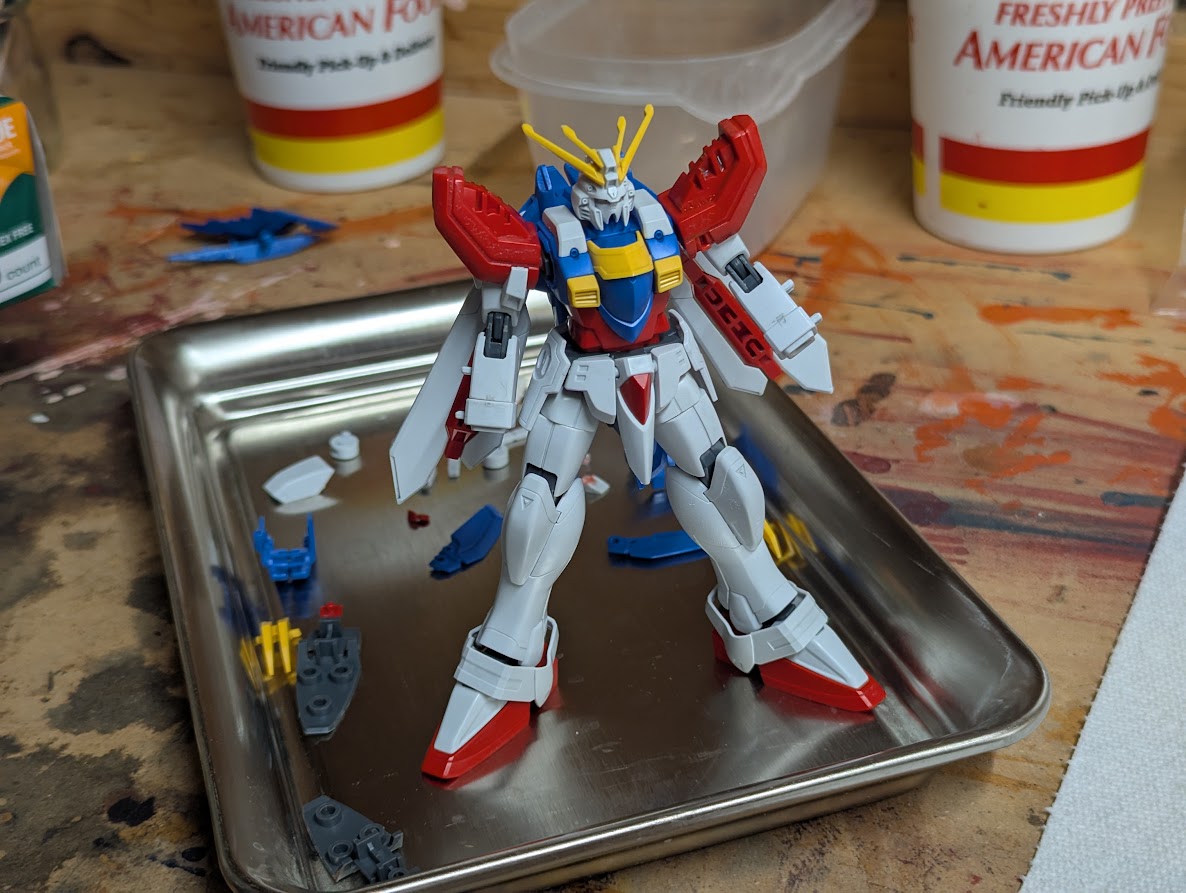
Done with the degreaser soak and doing another loose snapfit. This is just to really check my visible surfaces and start planning any further sanding or masking that is required.
I left a few parts unassembled where I felt like it would be too much trouble to unsnap them.
Date Posted: June 21, 2025
Progress Update 2
Much boring-er update since we're doing a lot of sanding, which doesn't photograph super well. I enjoy sanding but only for limited time blocks (then I start to lose focus and start rushing) so this update was really several quick nights of work on the kit. I'm waiting for airbrush paints/equipment to come in the mail though, so there's no real reason to go quicker.
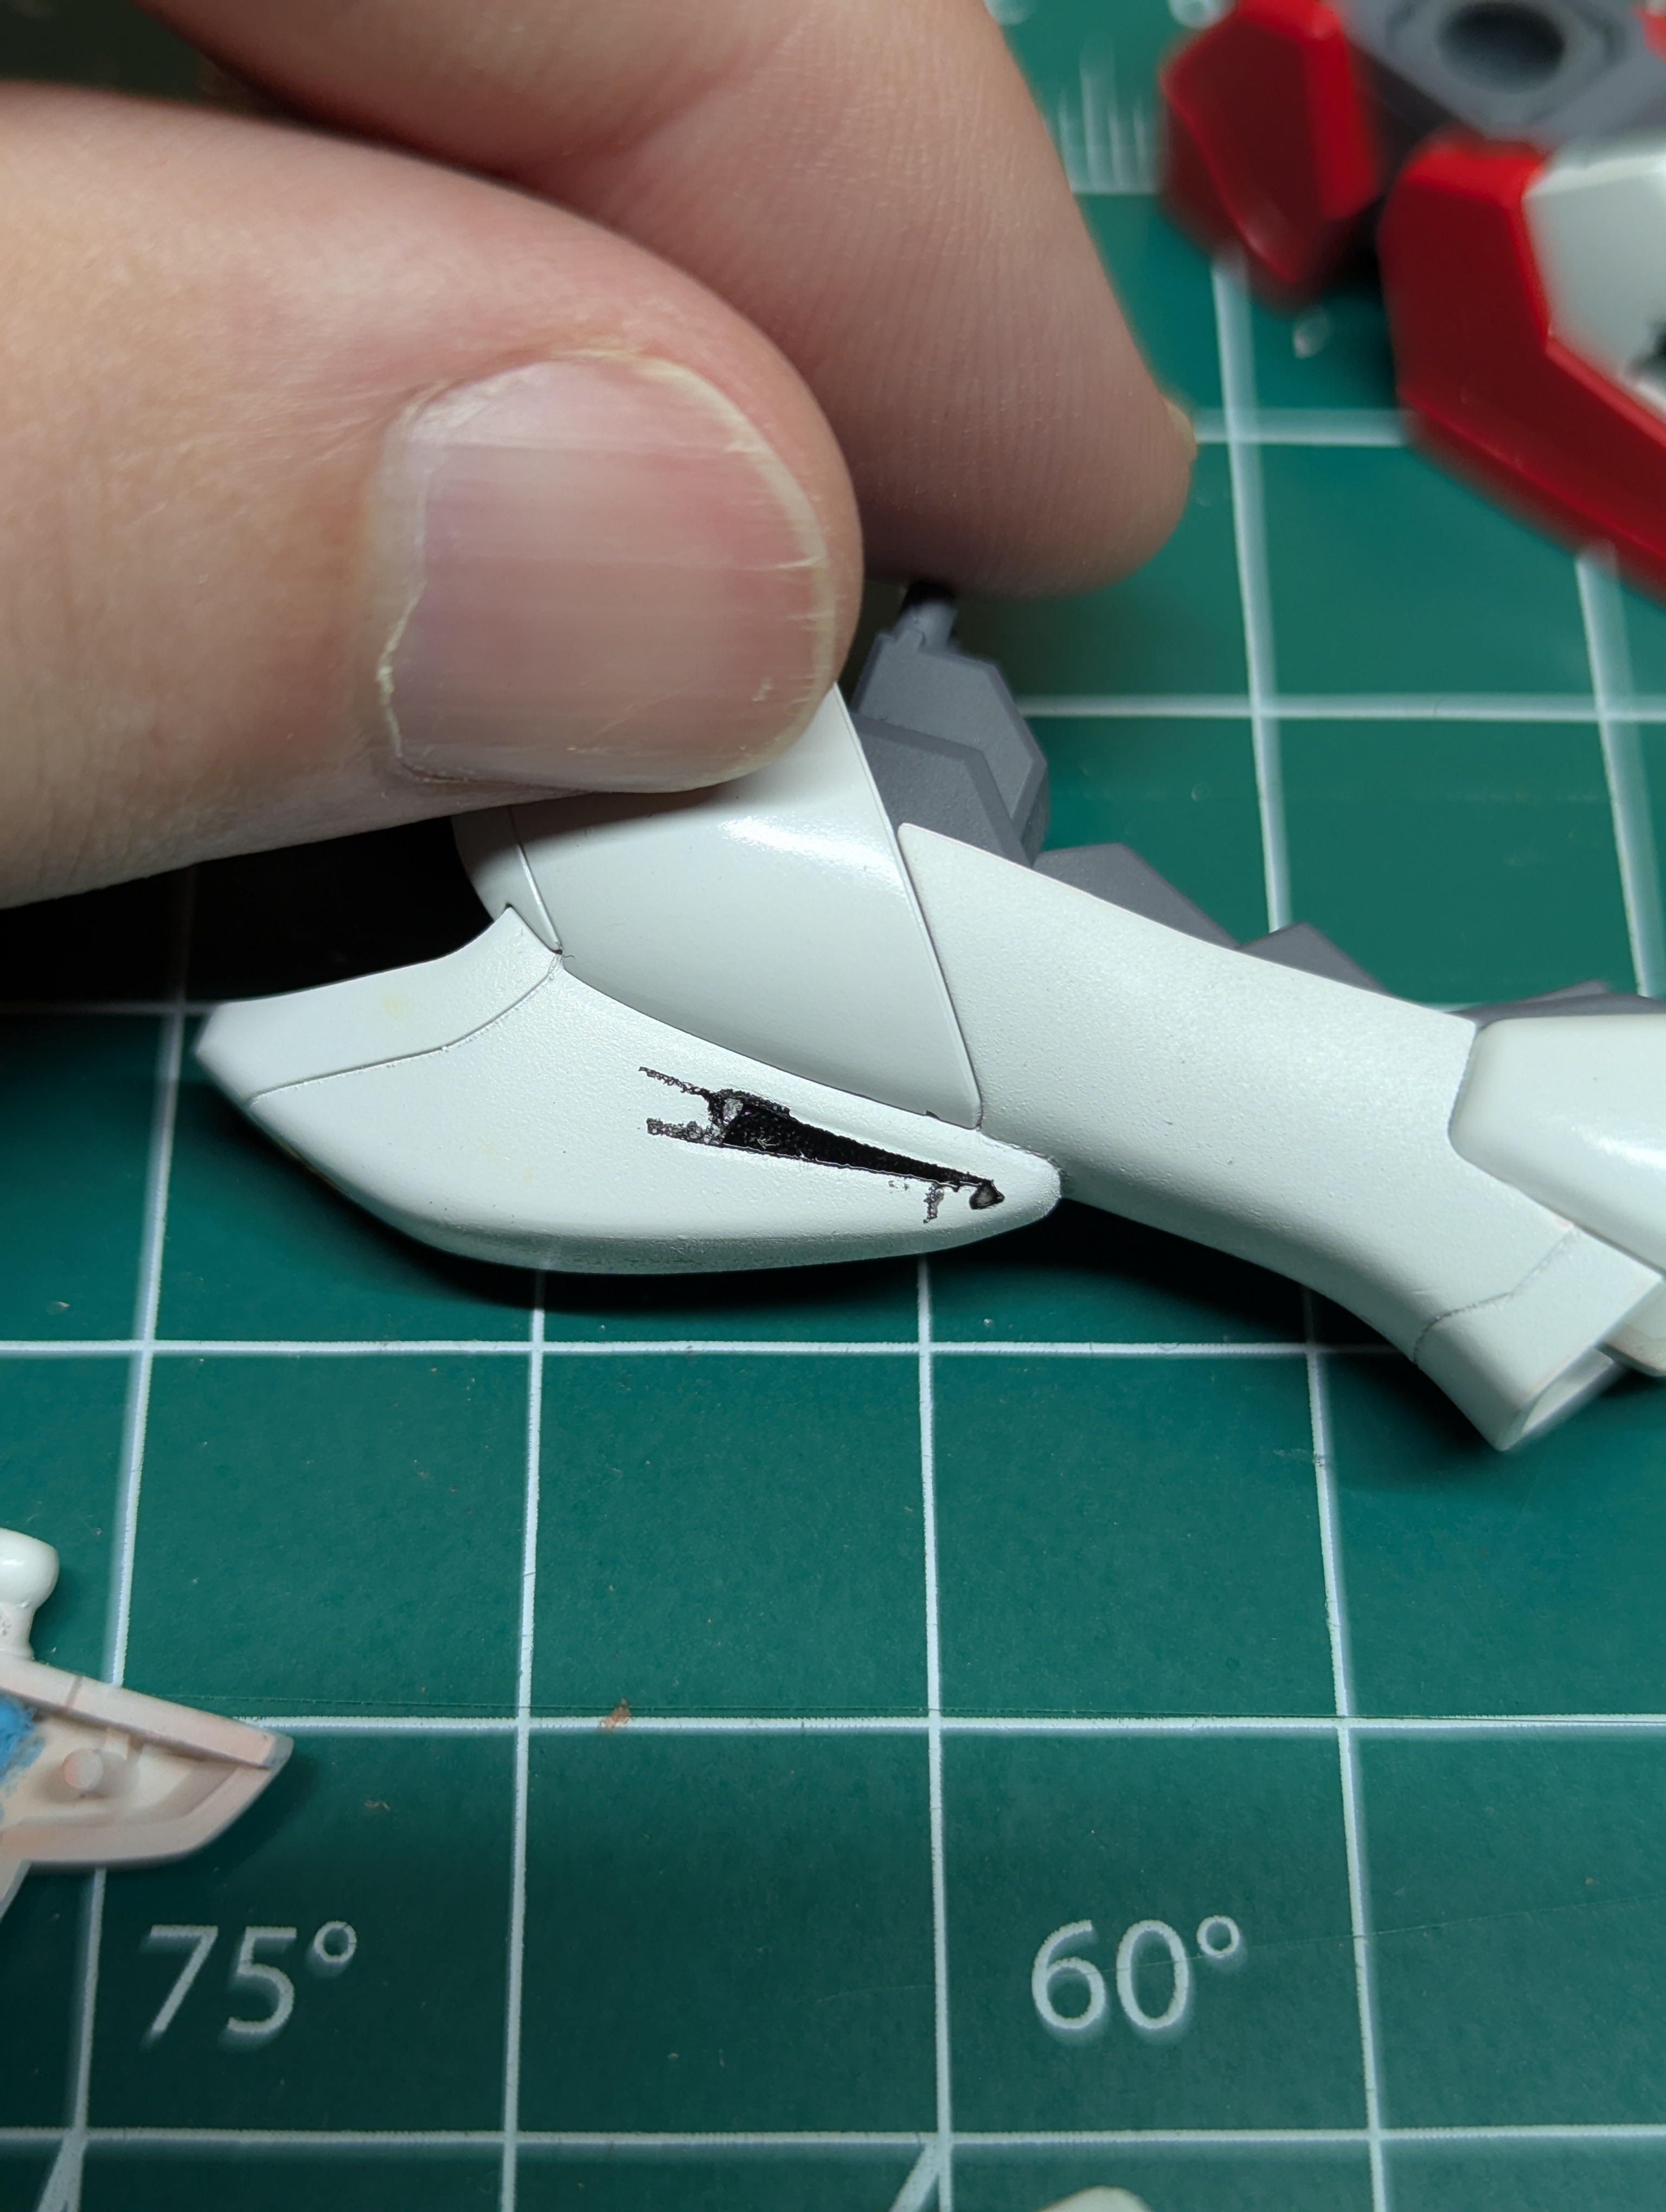
Starting with repairing this piece that attaches to the shoulder. Since it was a clean break, this cememted back easily and just needed a light sand job after.
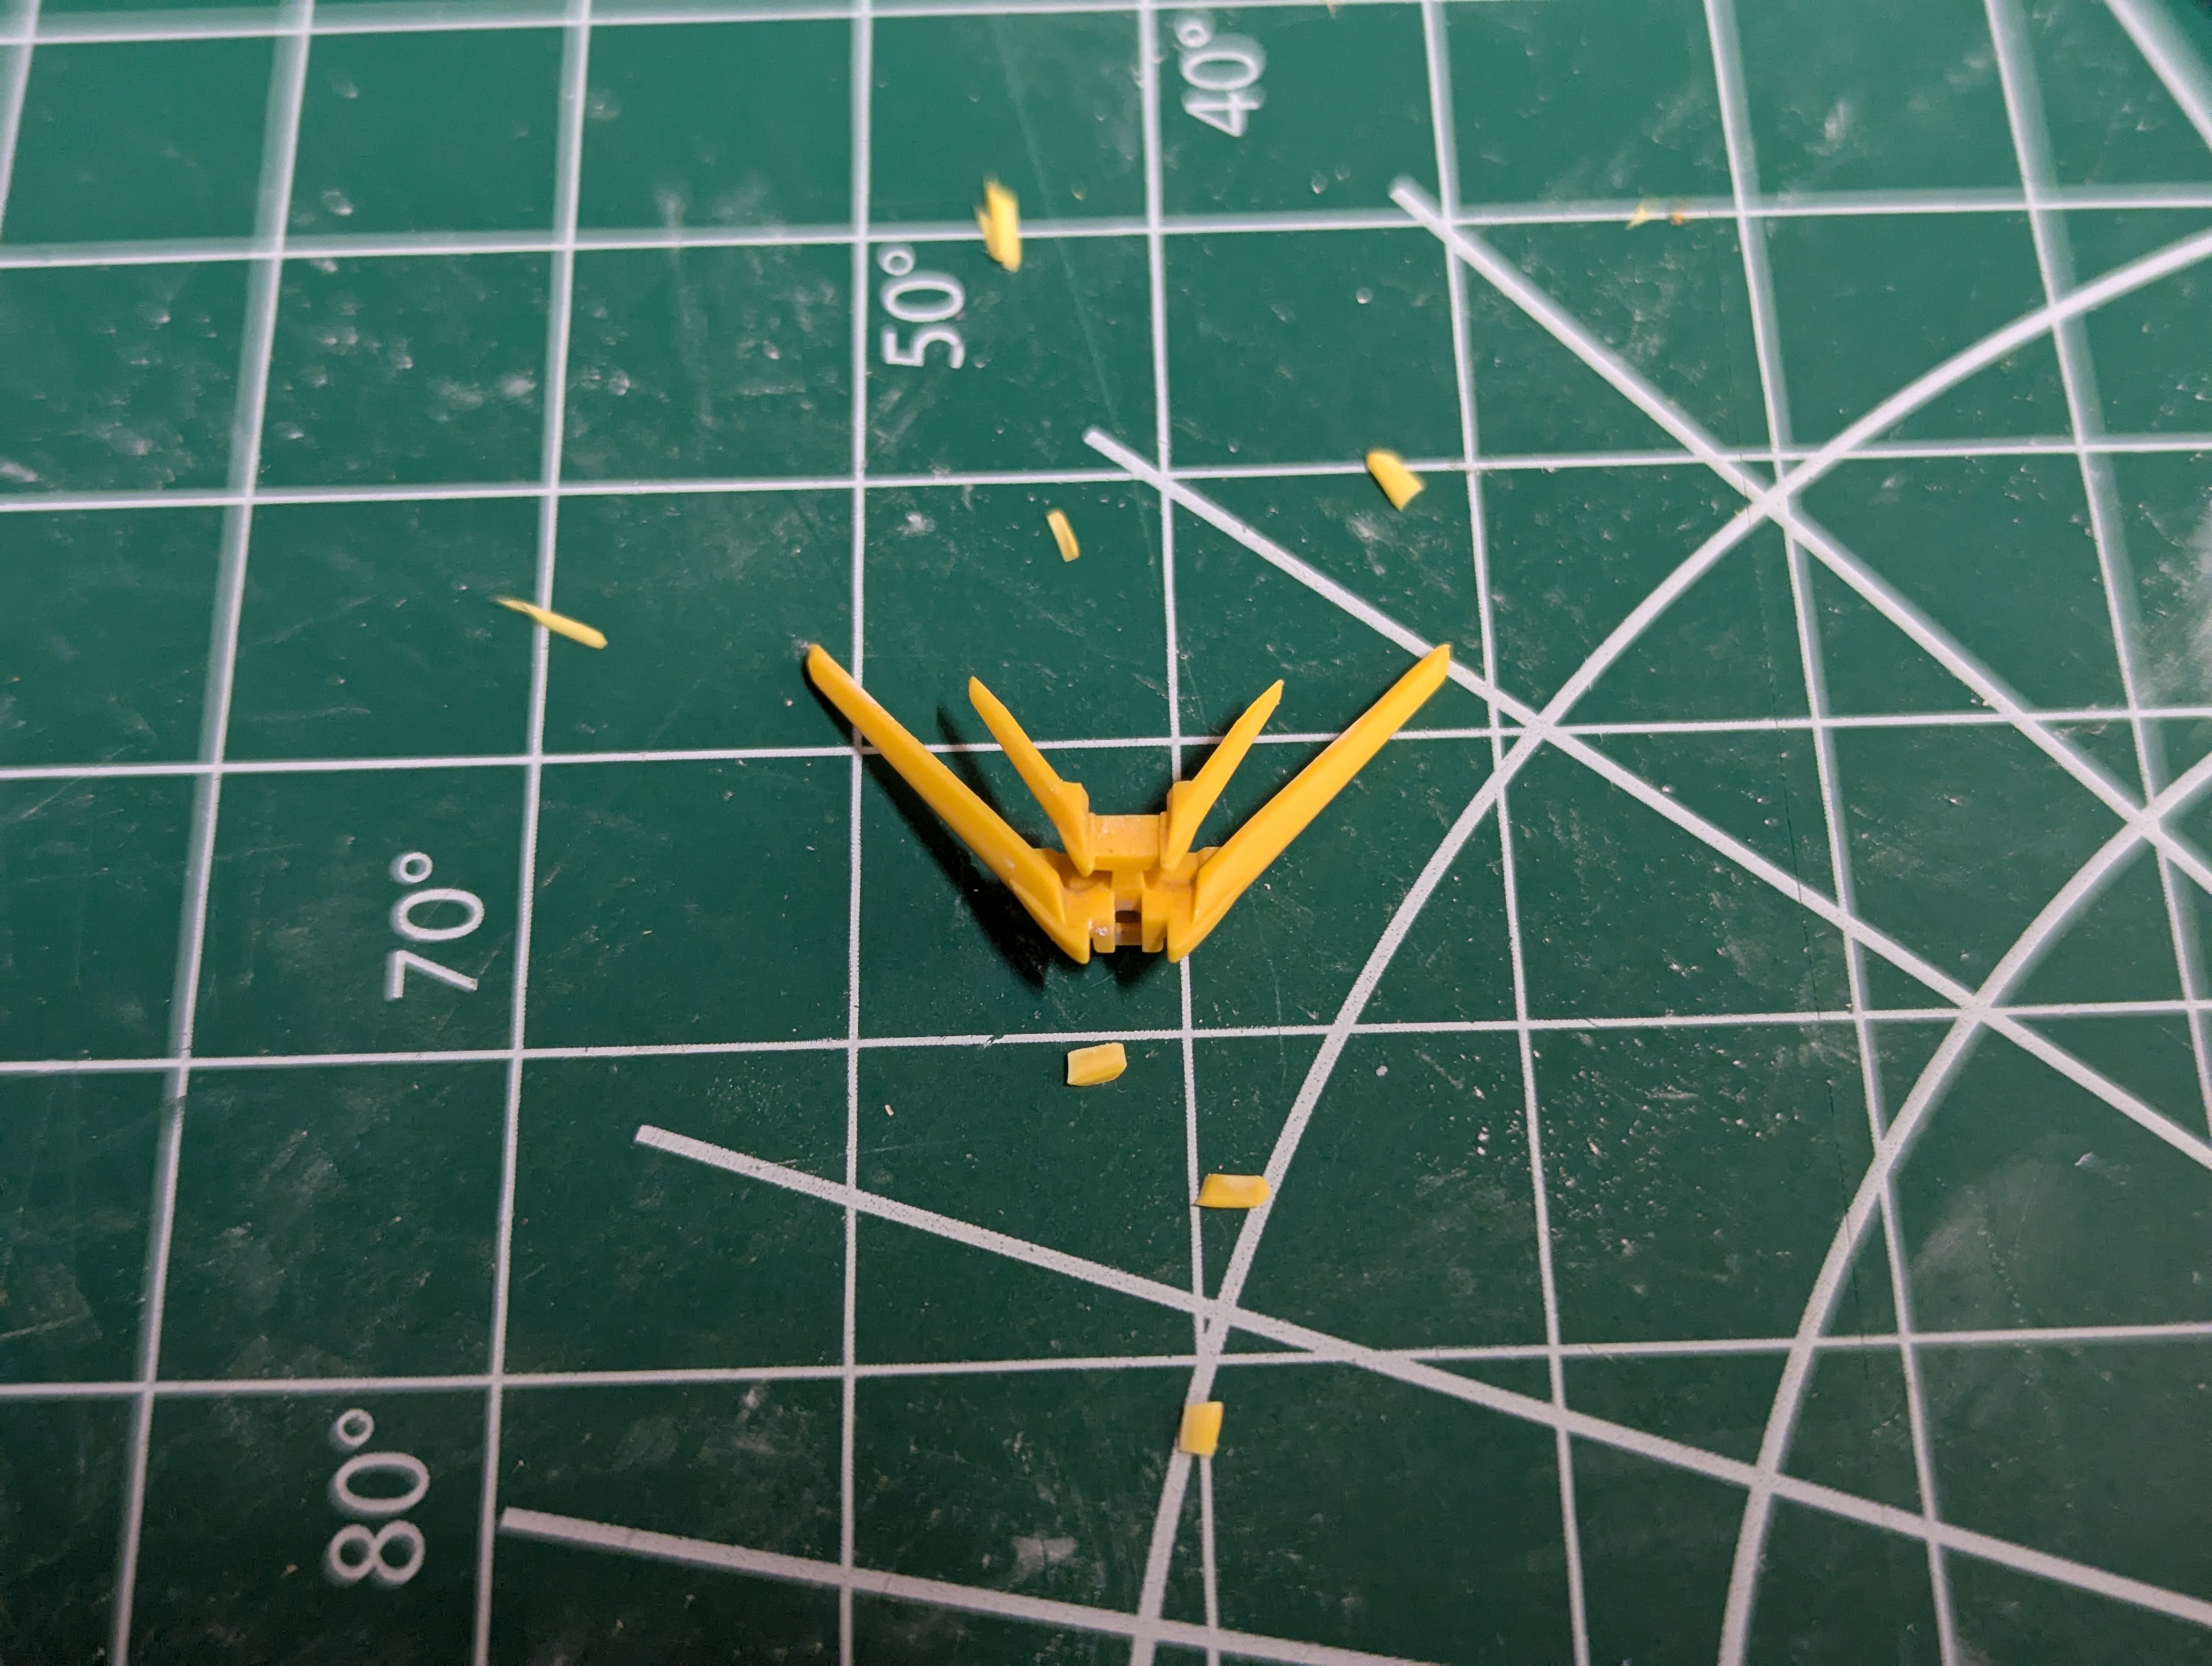
Getting into some light parts modifications, I trimmed the flags from the V-fin. Typically HG kits add these bumps to the end of the fins to... I guess protect against pokey bits in kids' toys? Trimming them helps with the aesthetic of the head a lot though.
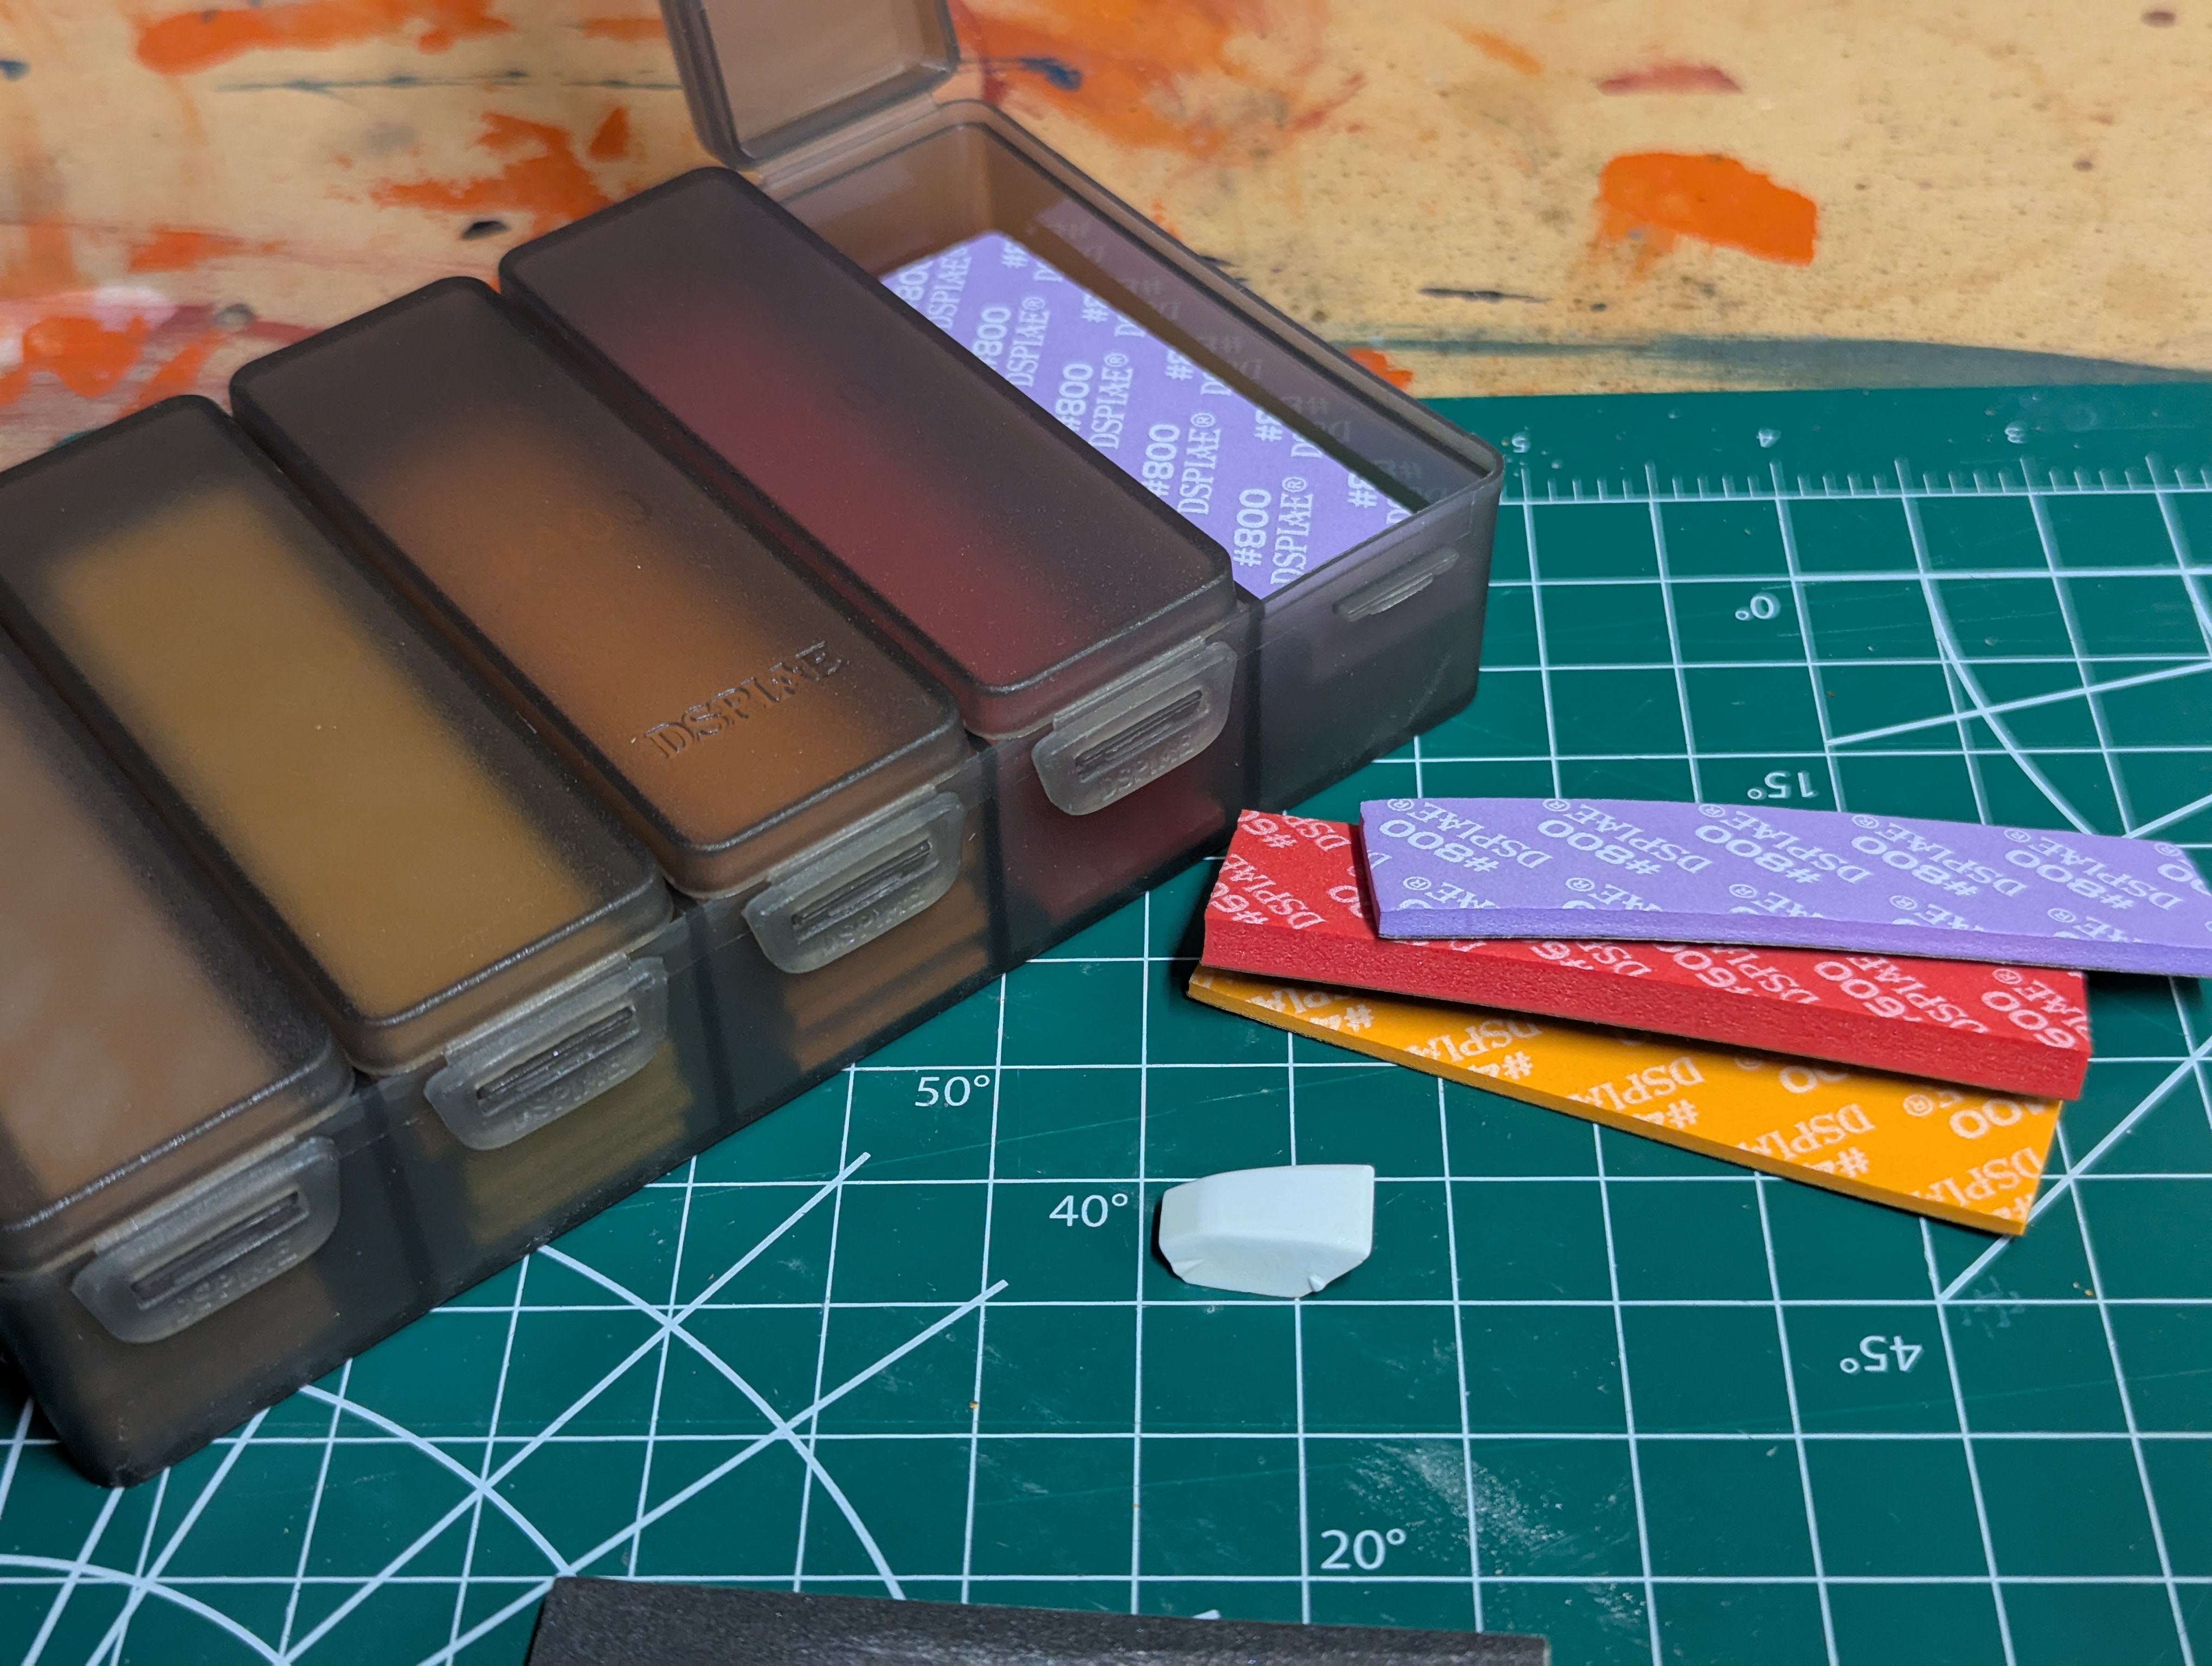
For sanding, I picked up these foam sanding blocks from DSPIAE. The company says DSPIAE means Dream, Strive, Perfection, Innovation, Advance, and Excellent. I think they got a little lazy with the last one, because isn't excellence already kind of included in and worse than perfection? They're not even making a real word so they could have left it at DSPIA. But then again what the hell does "Advance" mean here too?
Anyway, these were really useful for sanding curved surfaces and they seem to clean up pretty well with a spare toothbrush, so I'm happy with DSPI. I settled into going from 400-600-800 on parts where there were nubs that needed sanding down, and just hitting 600-800 on parts with no big surface imperfections. I did use the lower grits to tackle the putty work below, though. On a fresh kit, I'd do much, much less sanding because the surfaces would be a lot cleaner out of the box.
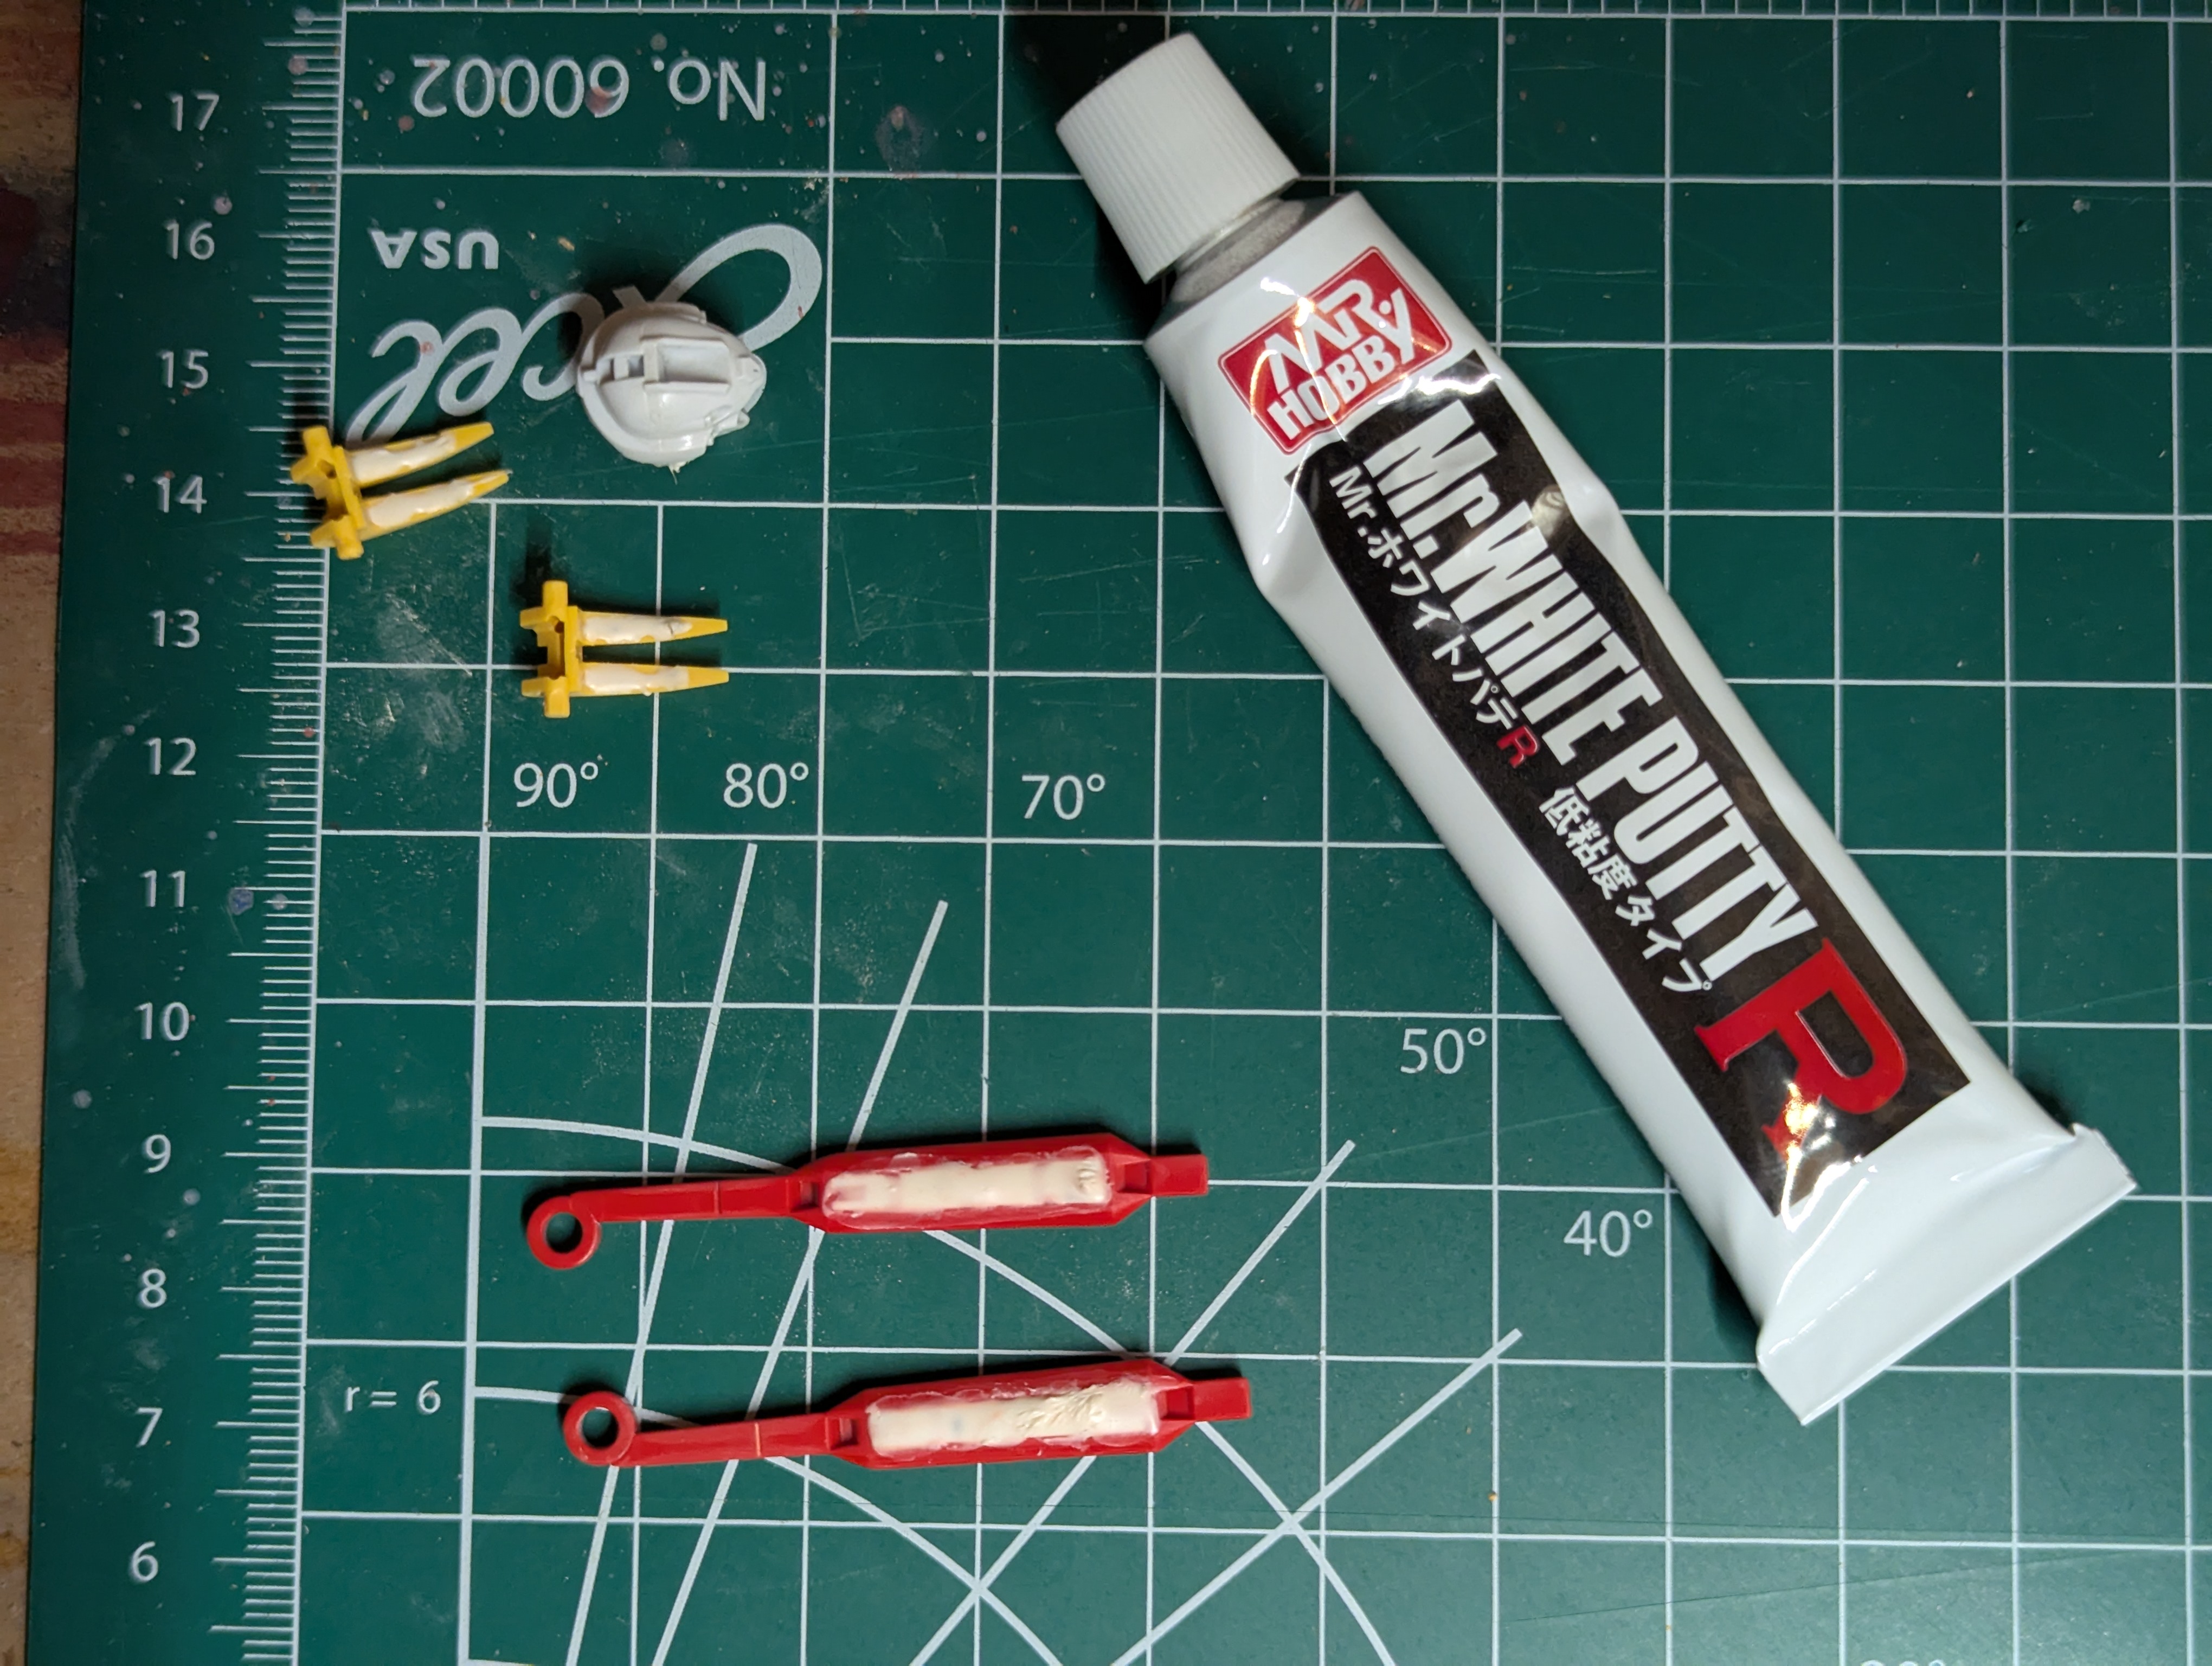
More parts modification - this time I used some Mr. Hobby putty to fill in gaps in the wings and claws. There was also a small chunk missing from the side of the face (probably bad knife work 15 years ago), so I filled that in. This took a few rounds, since the putty shrinks when it cures, but I sanded it flat and it should paint perfectly now - or at least be easily flattened after priming.
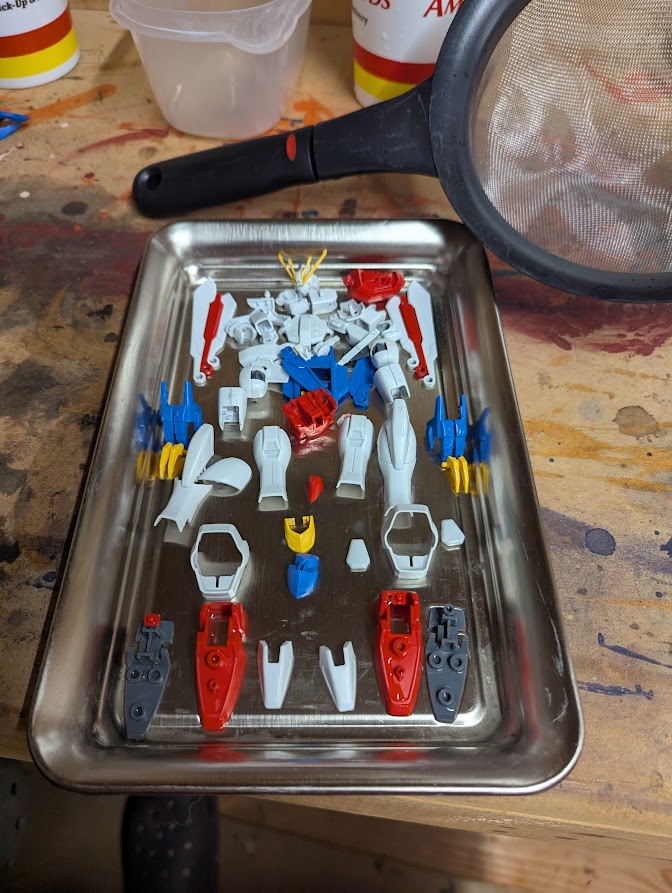
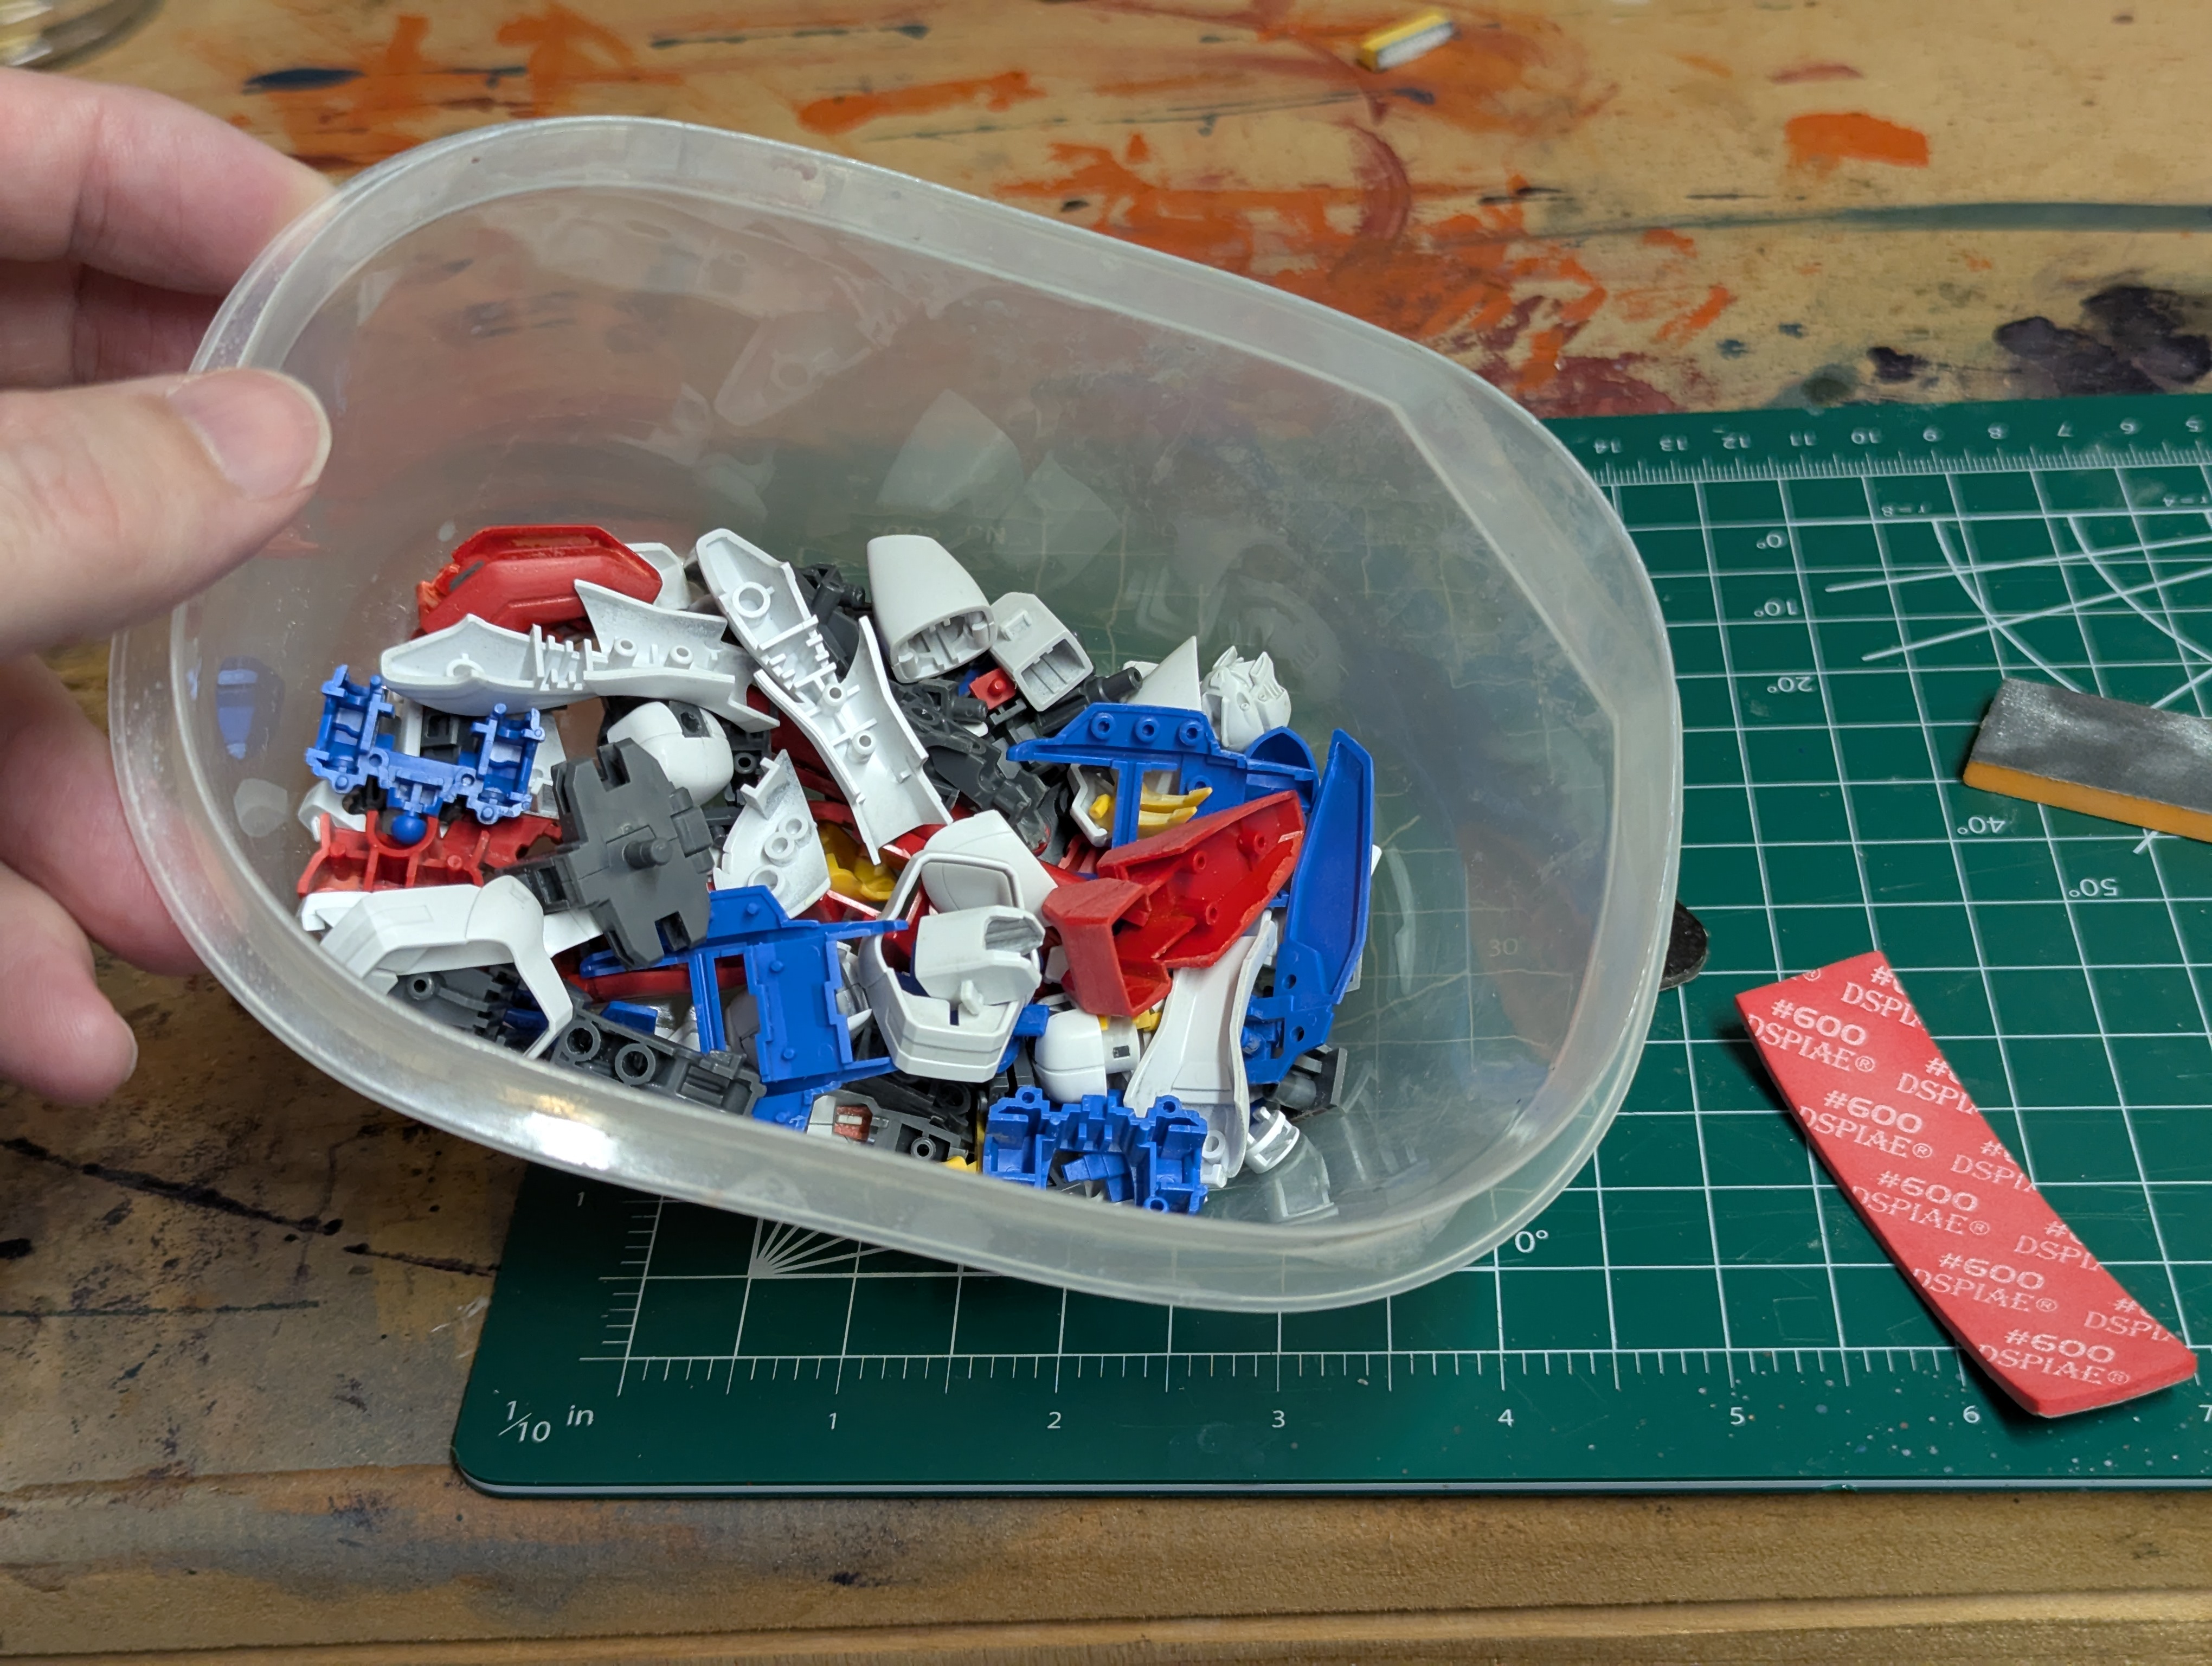
Everything binned up after sanding.
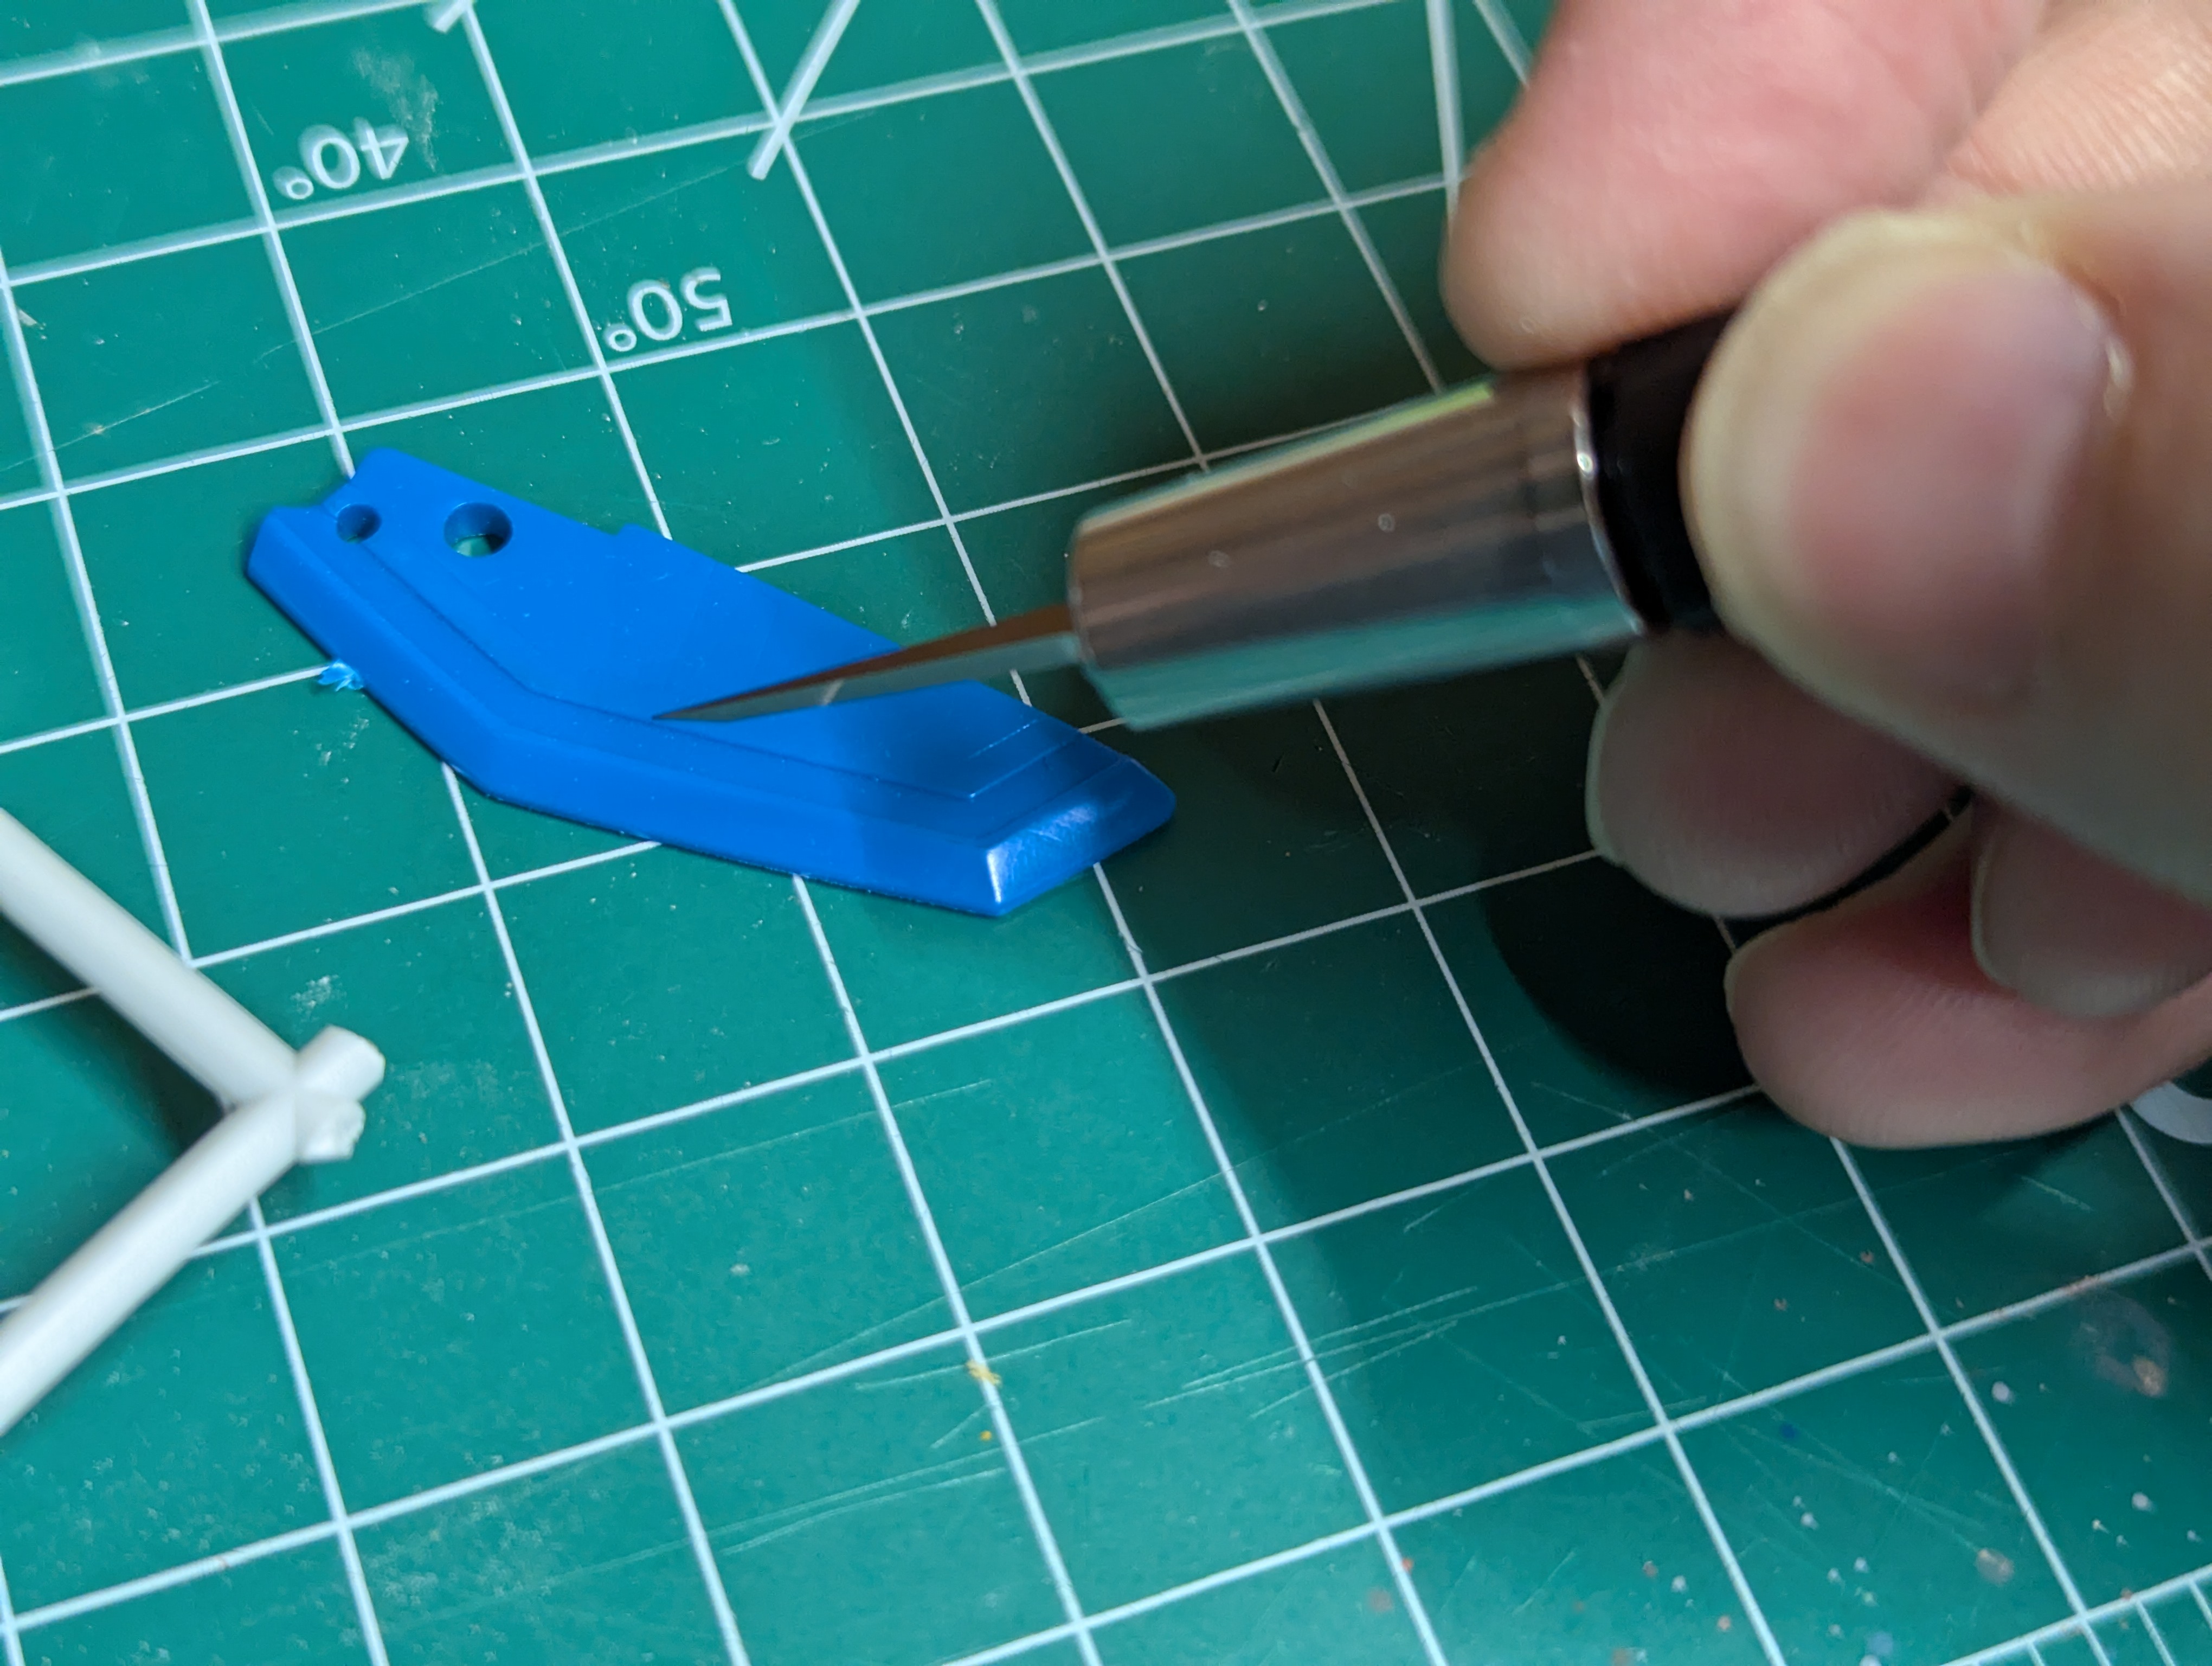
Into some very new territoy with rescribing. This essentially takes a small chisel - 0.15mm thick in my case - and runs it along the existing panel lines and against molded geometry to deepen the lines dividing panels on the pieces. The reason for this is that, after priming, painting, and gloss coating the kit to prep for panel lining, these depressions will get quite shallow. Since I've never quite been happy with my panel lines on previous kits, I wanted to try it here. Additionally, I was worried about leftover paint/gunk in the panel lines from the previous paint job.
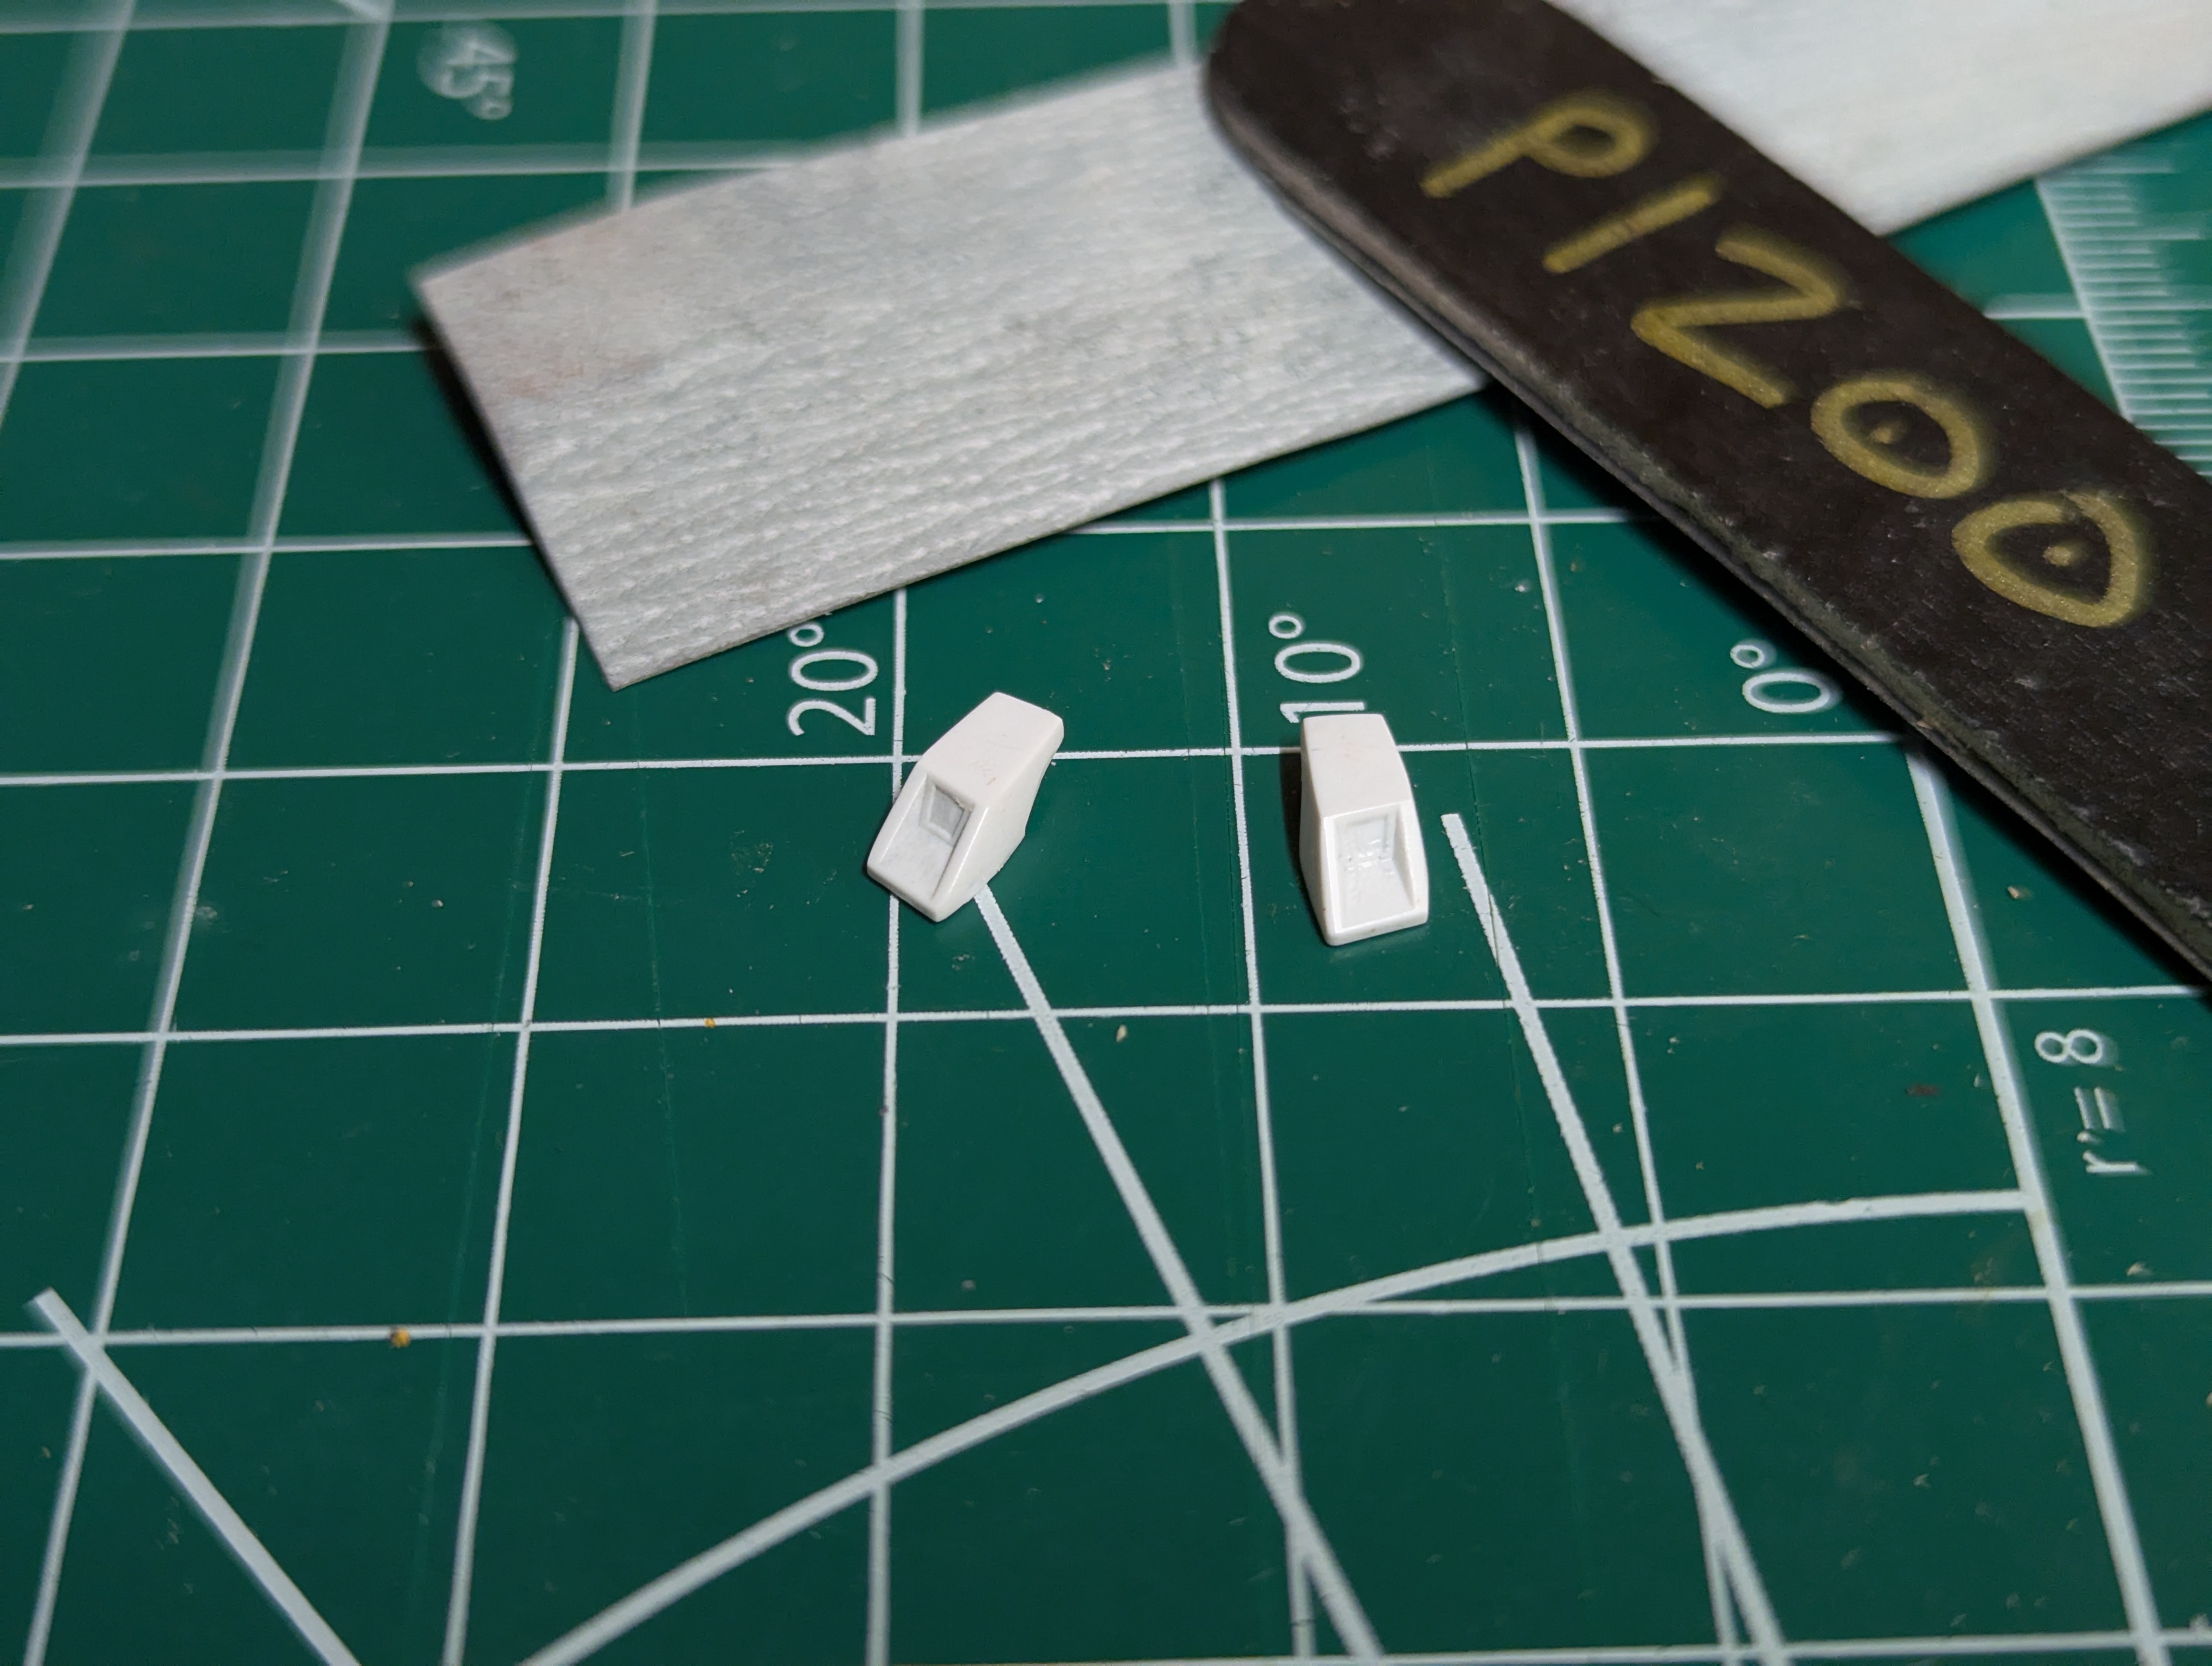
This was significantly harder than I expected. I watched and read a lot of instructional material prior that emphasized light pressure with the first passes, but it's more complicated than that. You have to apply extremely light pressure downwards into the part - otherwise you will lose the line and cut into the flat parts of the piece - but still apply kind of a "diagonal" pressure into the wall of the line so that you don't jump out of the groove, too. I practiced on some scrap pieces from a really old model kit first to get my bearings, then did a block of the bottom of the feet. I figured this was a good place to start since any mistakes would be hidden in the final build.
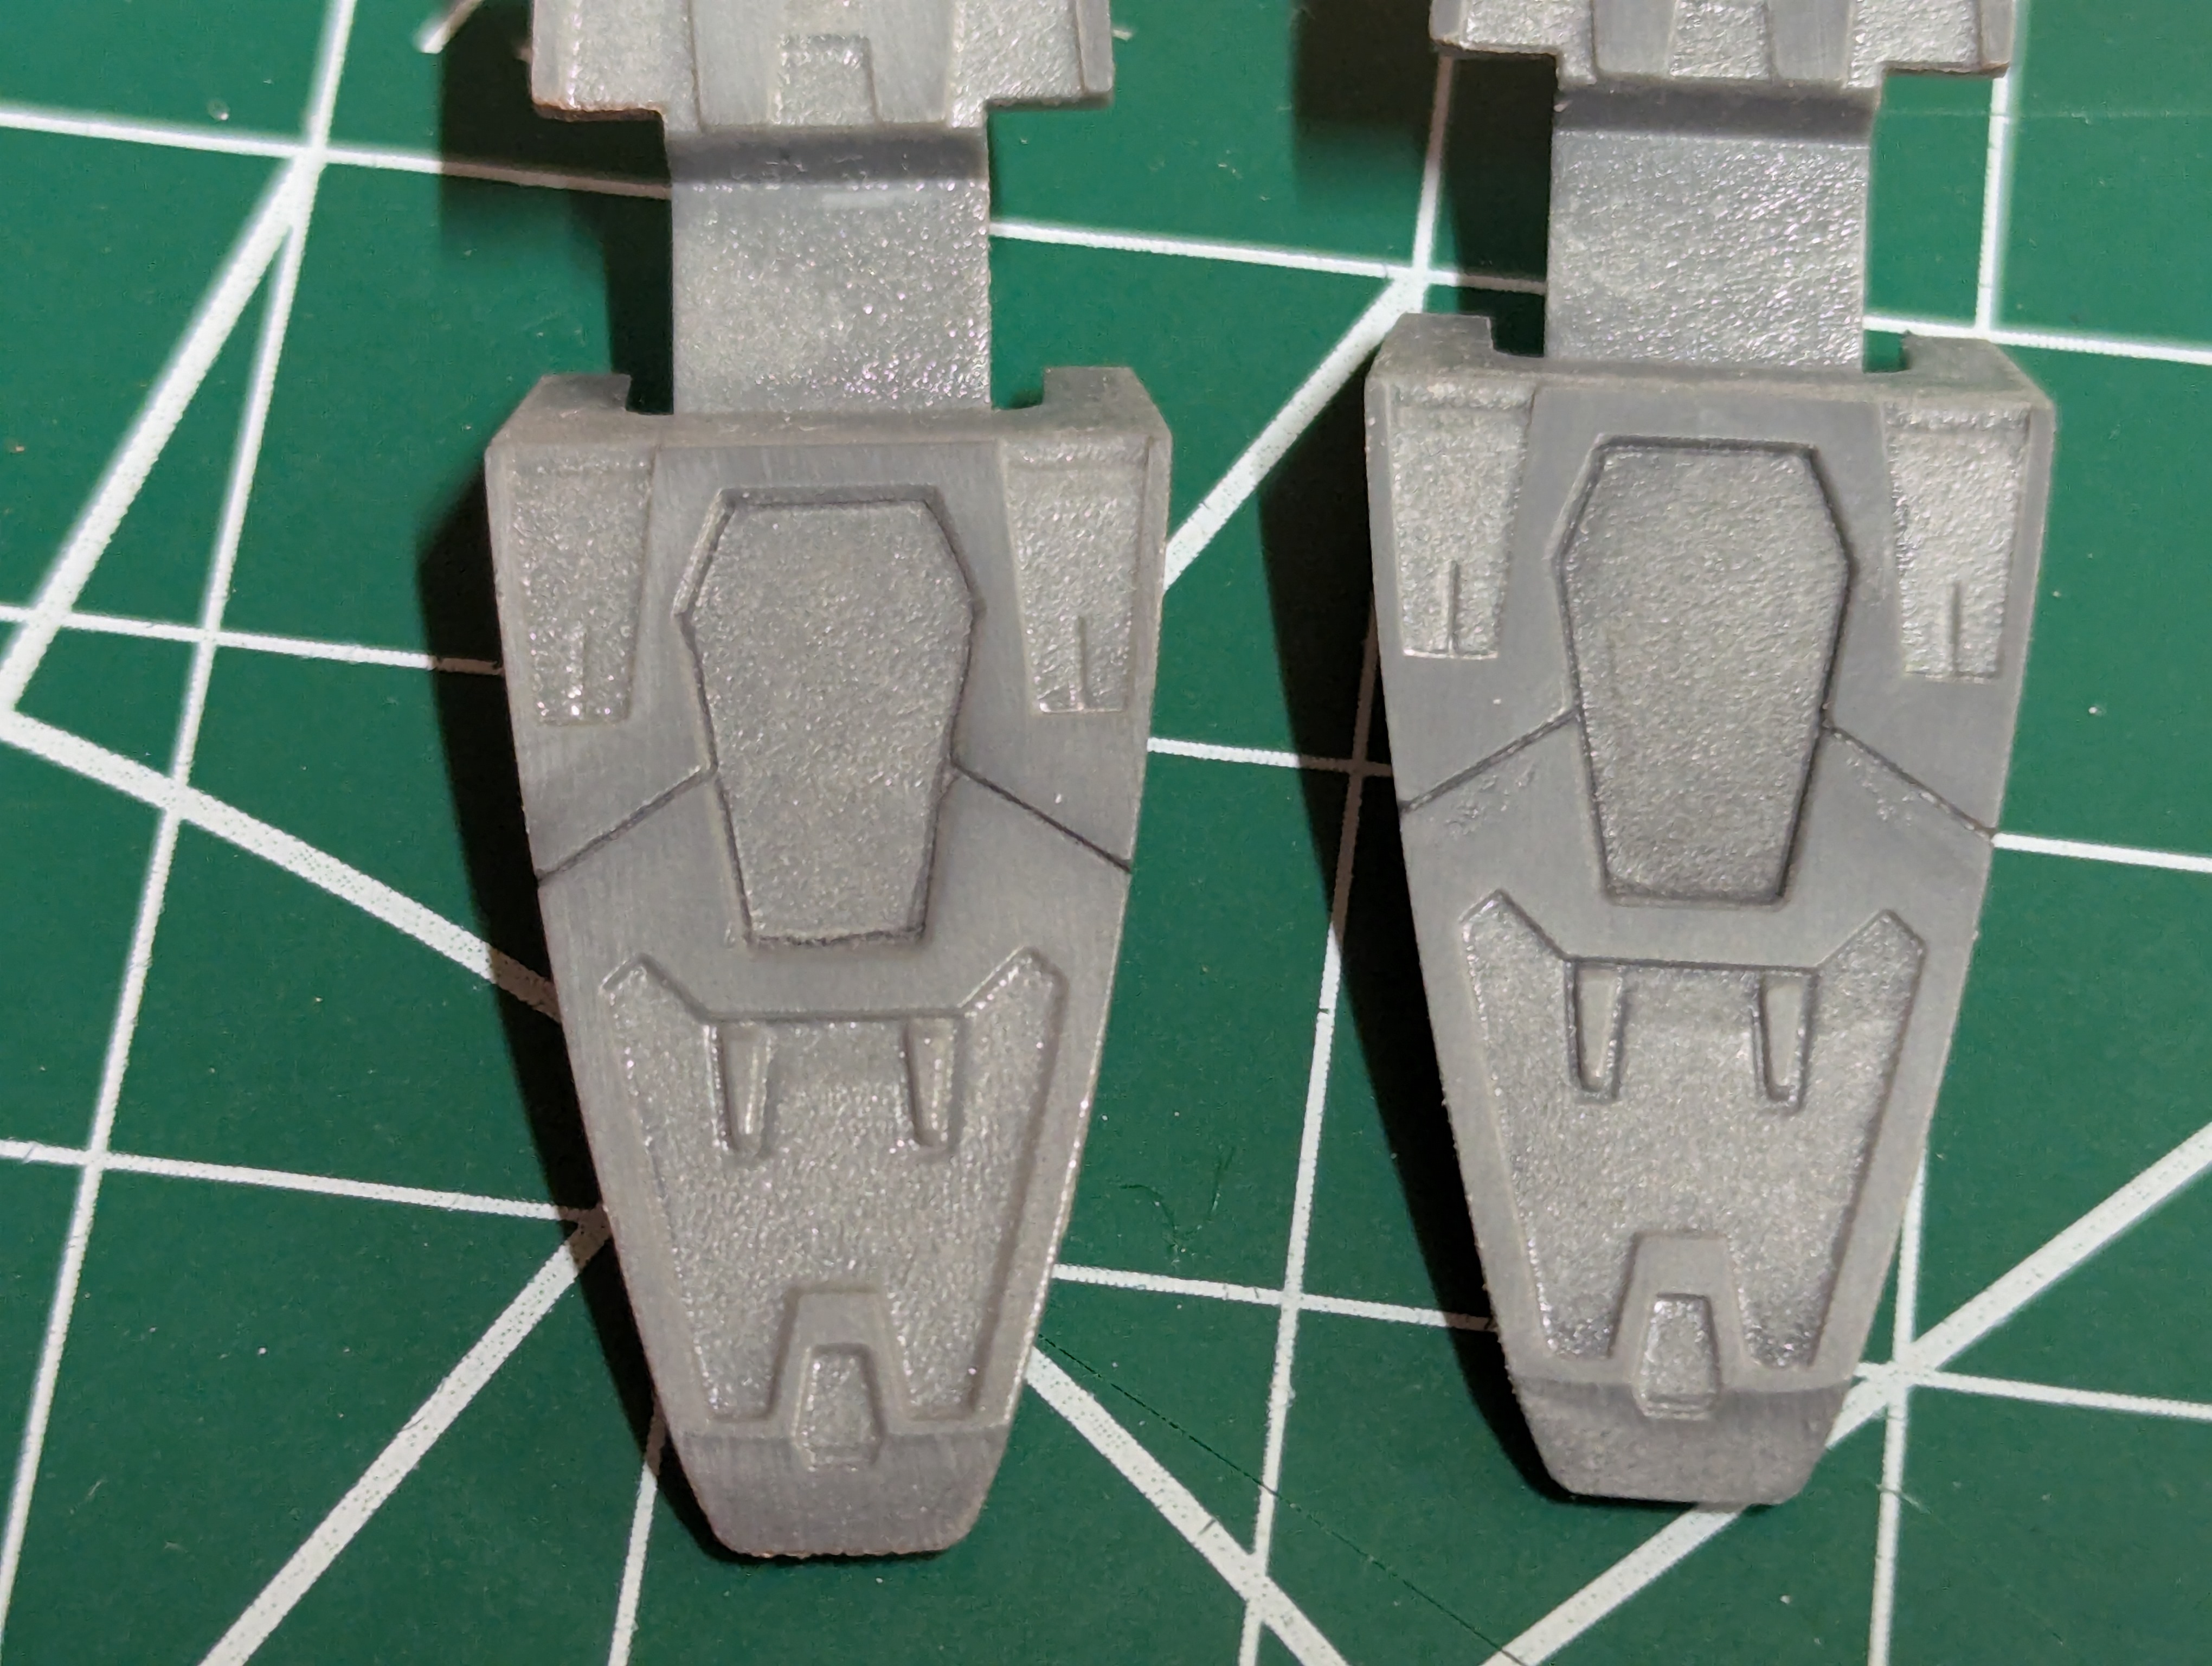
You can see my first attempt at the middle coffin shape on the feet - first on the left, second on the right. You can see how I came out of the corners on the left foot and the line is a bit off. I did better on the second, but this still felt way tricker than I expected. I was actually really discouraged here - I was worried I was going to essentially ruin the finished look with bad lining. But I took the same approach I did for sanding above and just let myself to break for the day - I don't think forcing this skill is going to help.
And I had much more success the second round - I got through everything on the tray on my second night. Now, I was pretty selective in what I decided to line - I only really did this for lines I thought looked pretty shallow due to sanding, or for emphasizing molded geometry, so it looks like a lot more parts than it really was. I still may have some complaints after I get to the panel lining step, but I think these are pretty clean overall now - better than the initial attempts on the feet. On some panel lines, I applied some plastic cement into the groove - this lightly melts the plastic before evaporating, smoothing any rough cuts.
Sorry for the lack of photos here - similar to sanding, this just doesn't photo well at all.
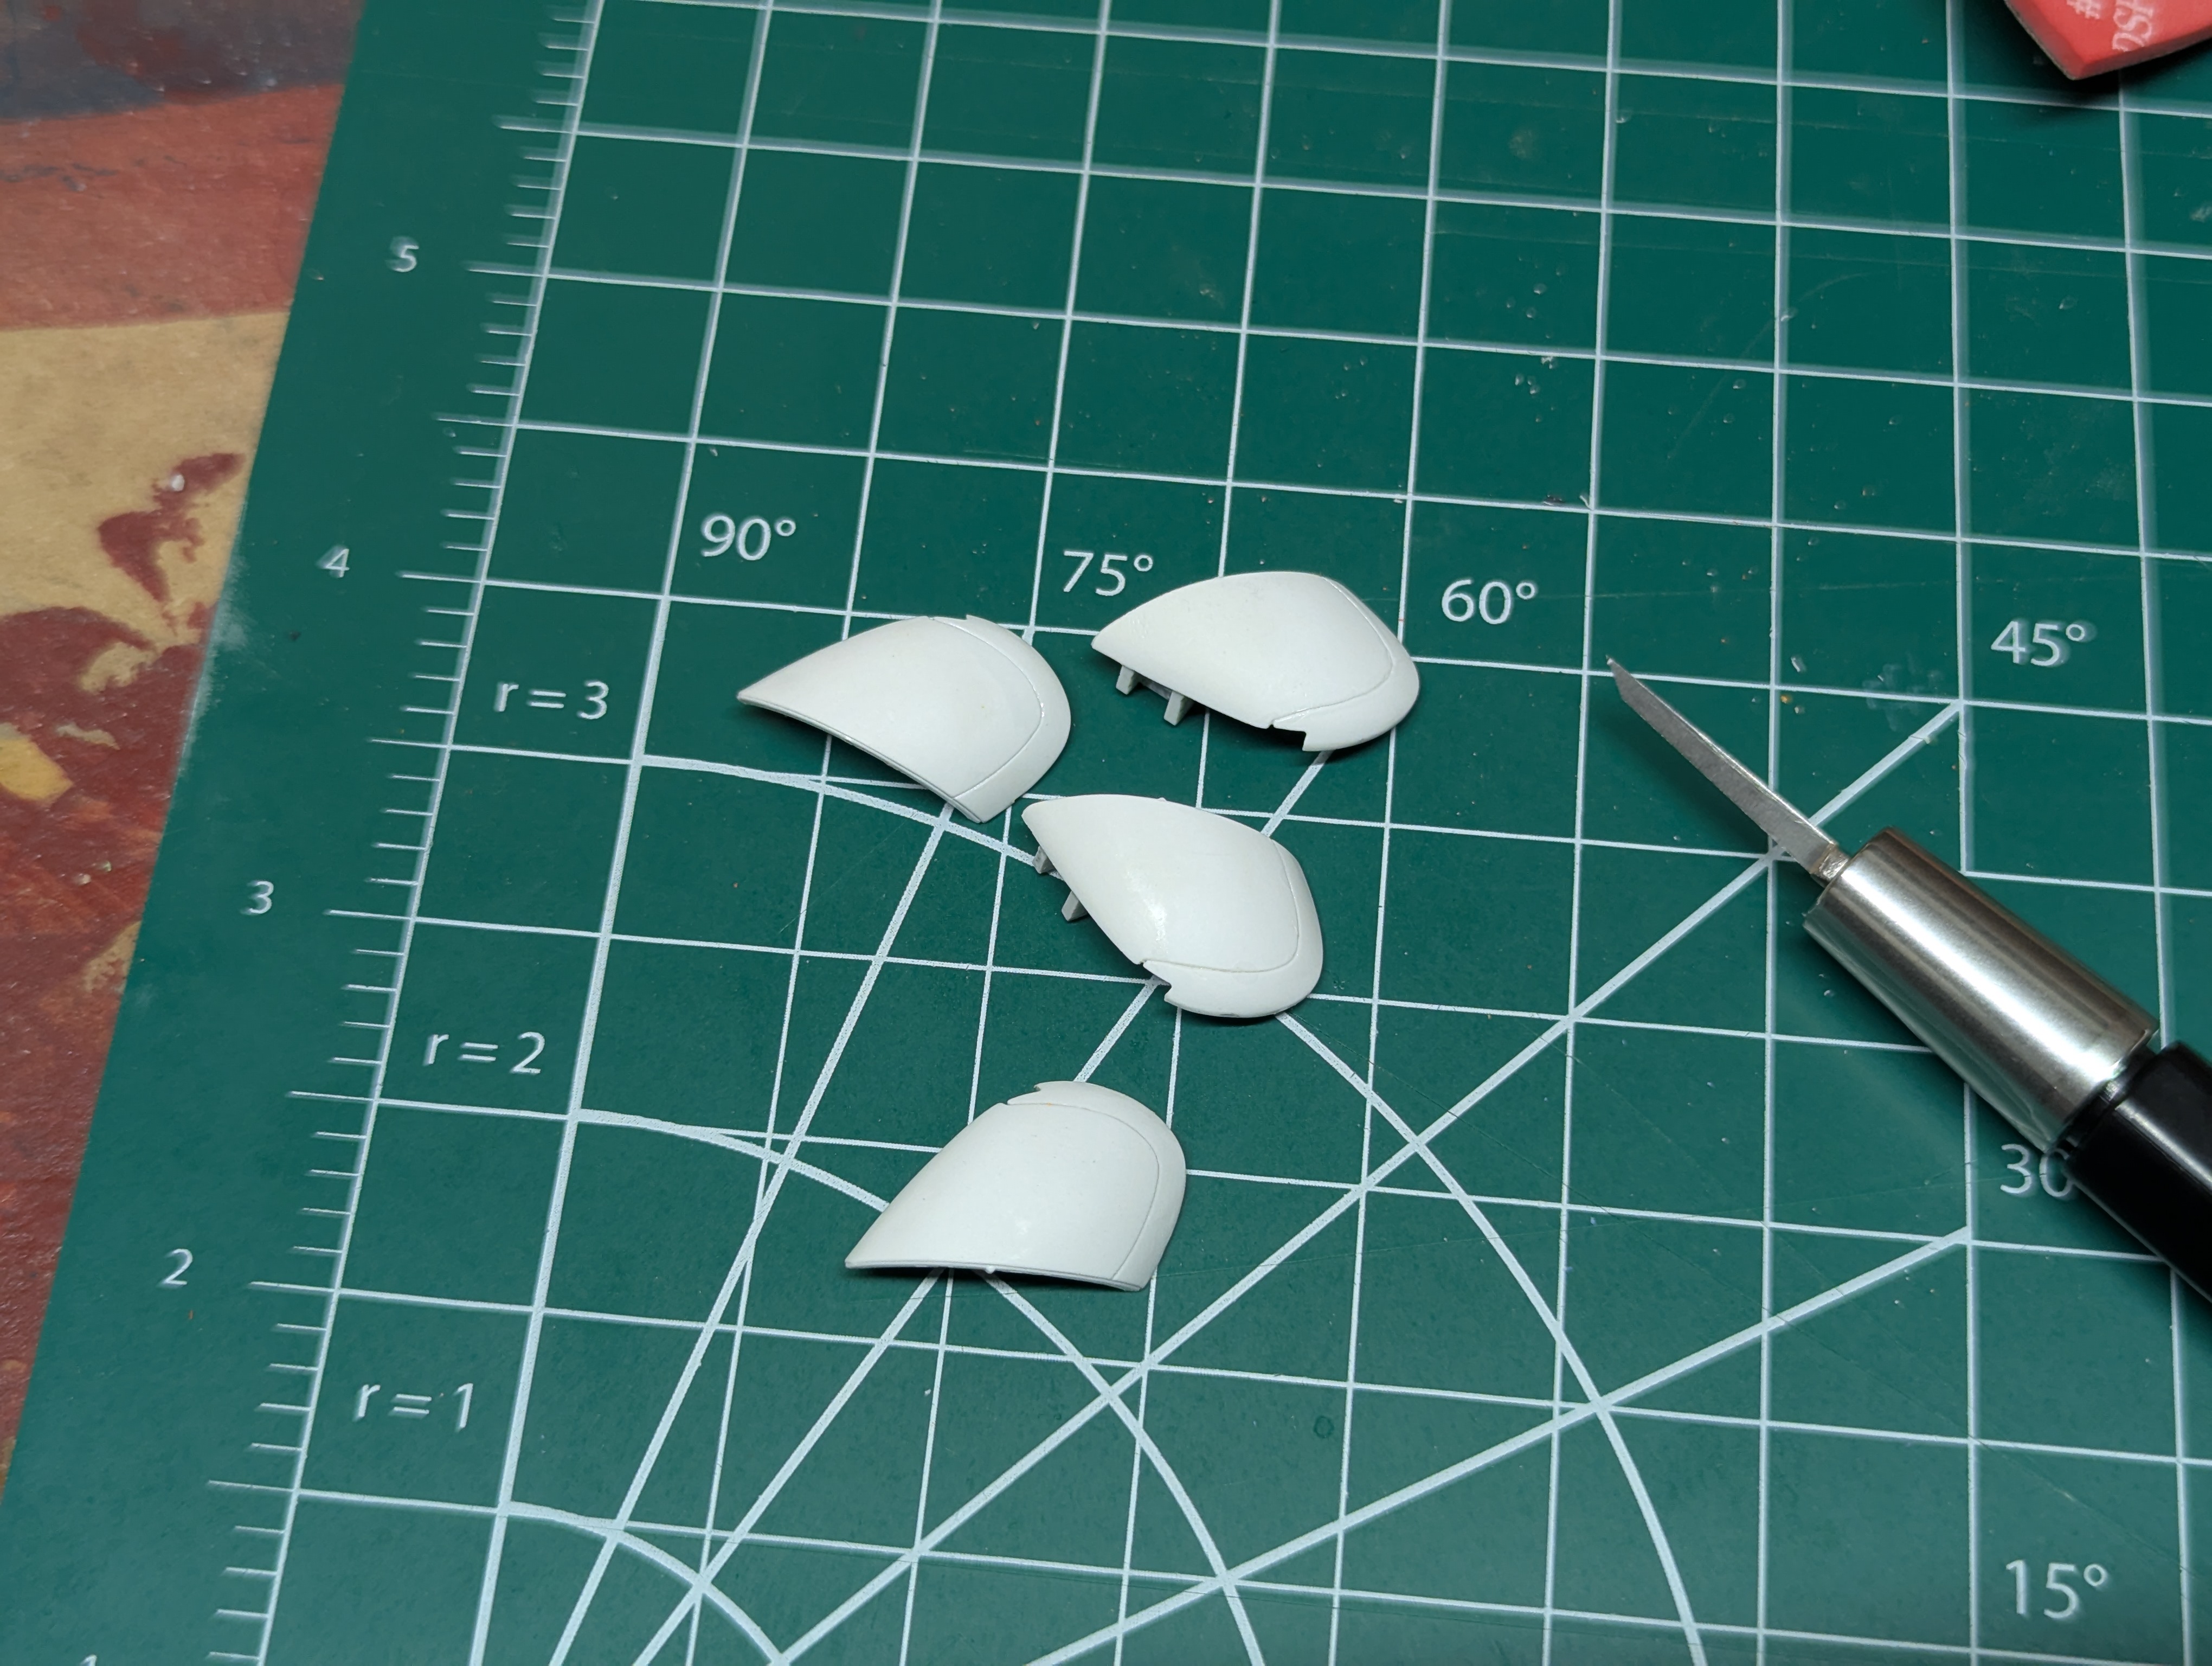
These parts, which form the inside/outside parts of the calves, were the most trouble and still gave me a big headache. Since it's a single long curved line, it's very hard to stay in the groove for a single continuous chisel - so I learned by the last one to break the curve into segments, lightly pass over each segment individually, and only when the groove is well-established to try running over a single pass. I wouldn't be surprised if there is a little roughness on these lines that gets exposed after painting though.
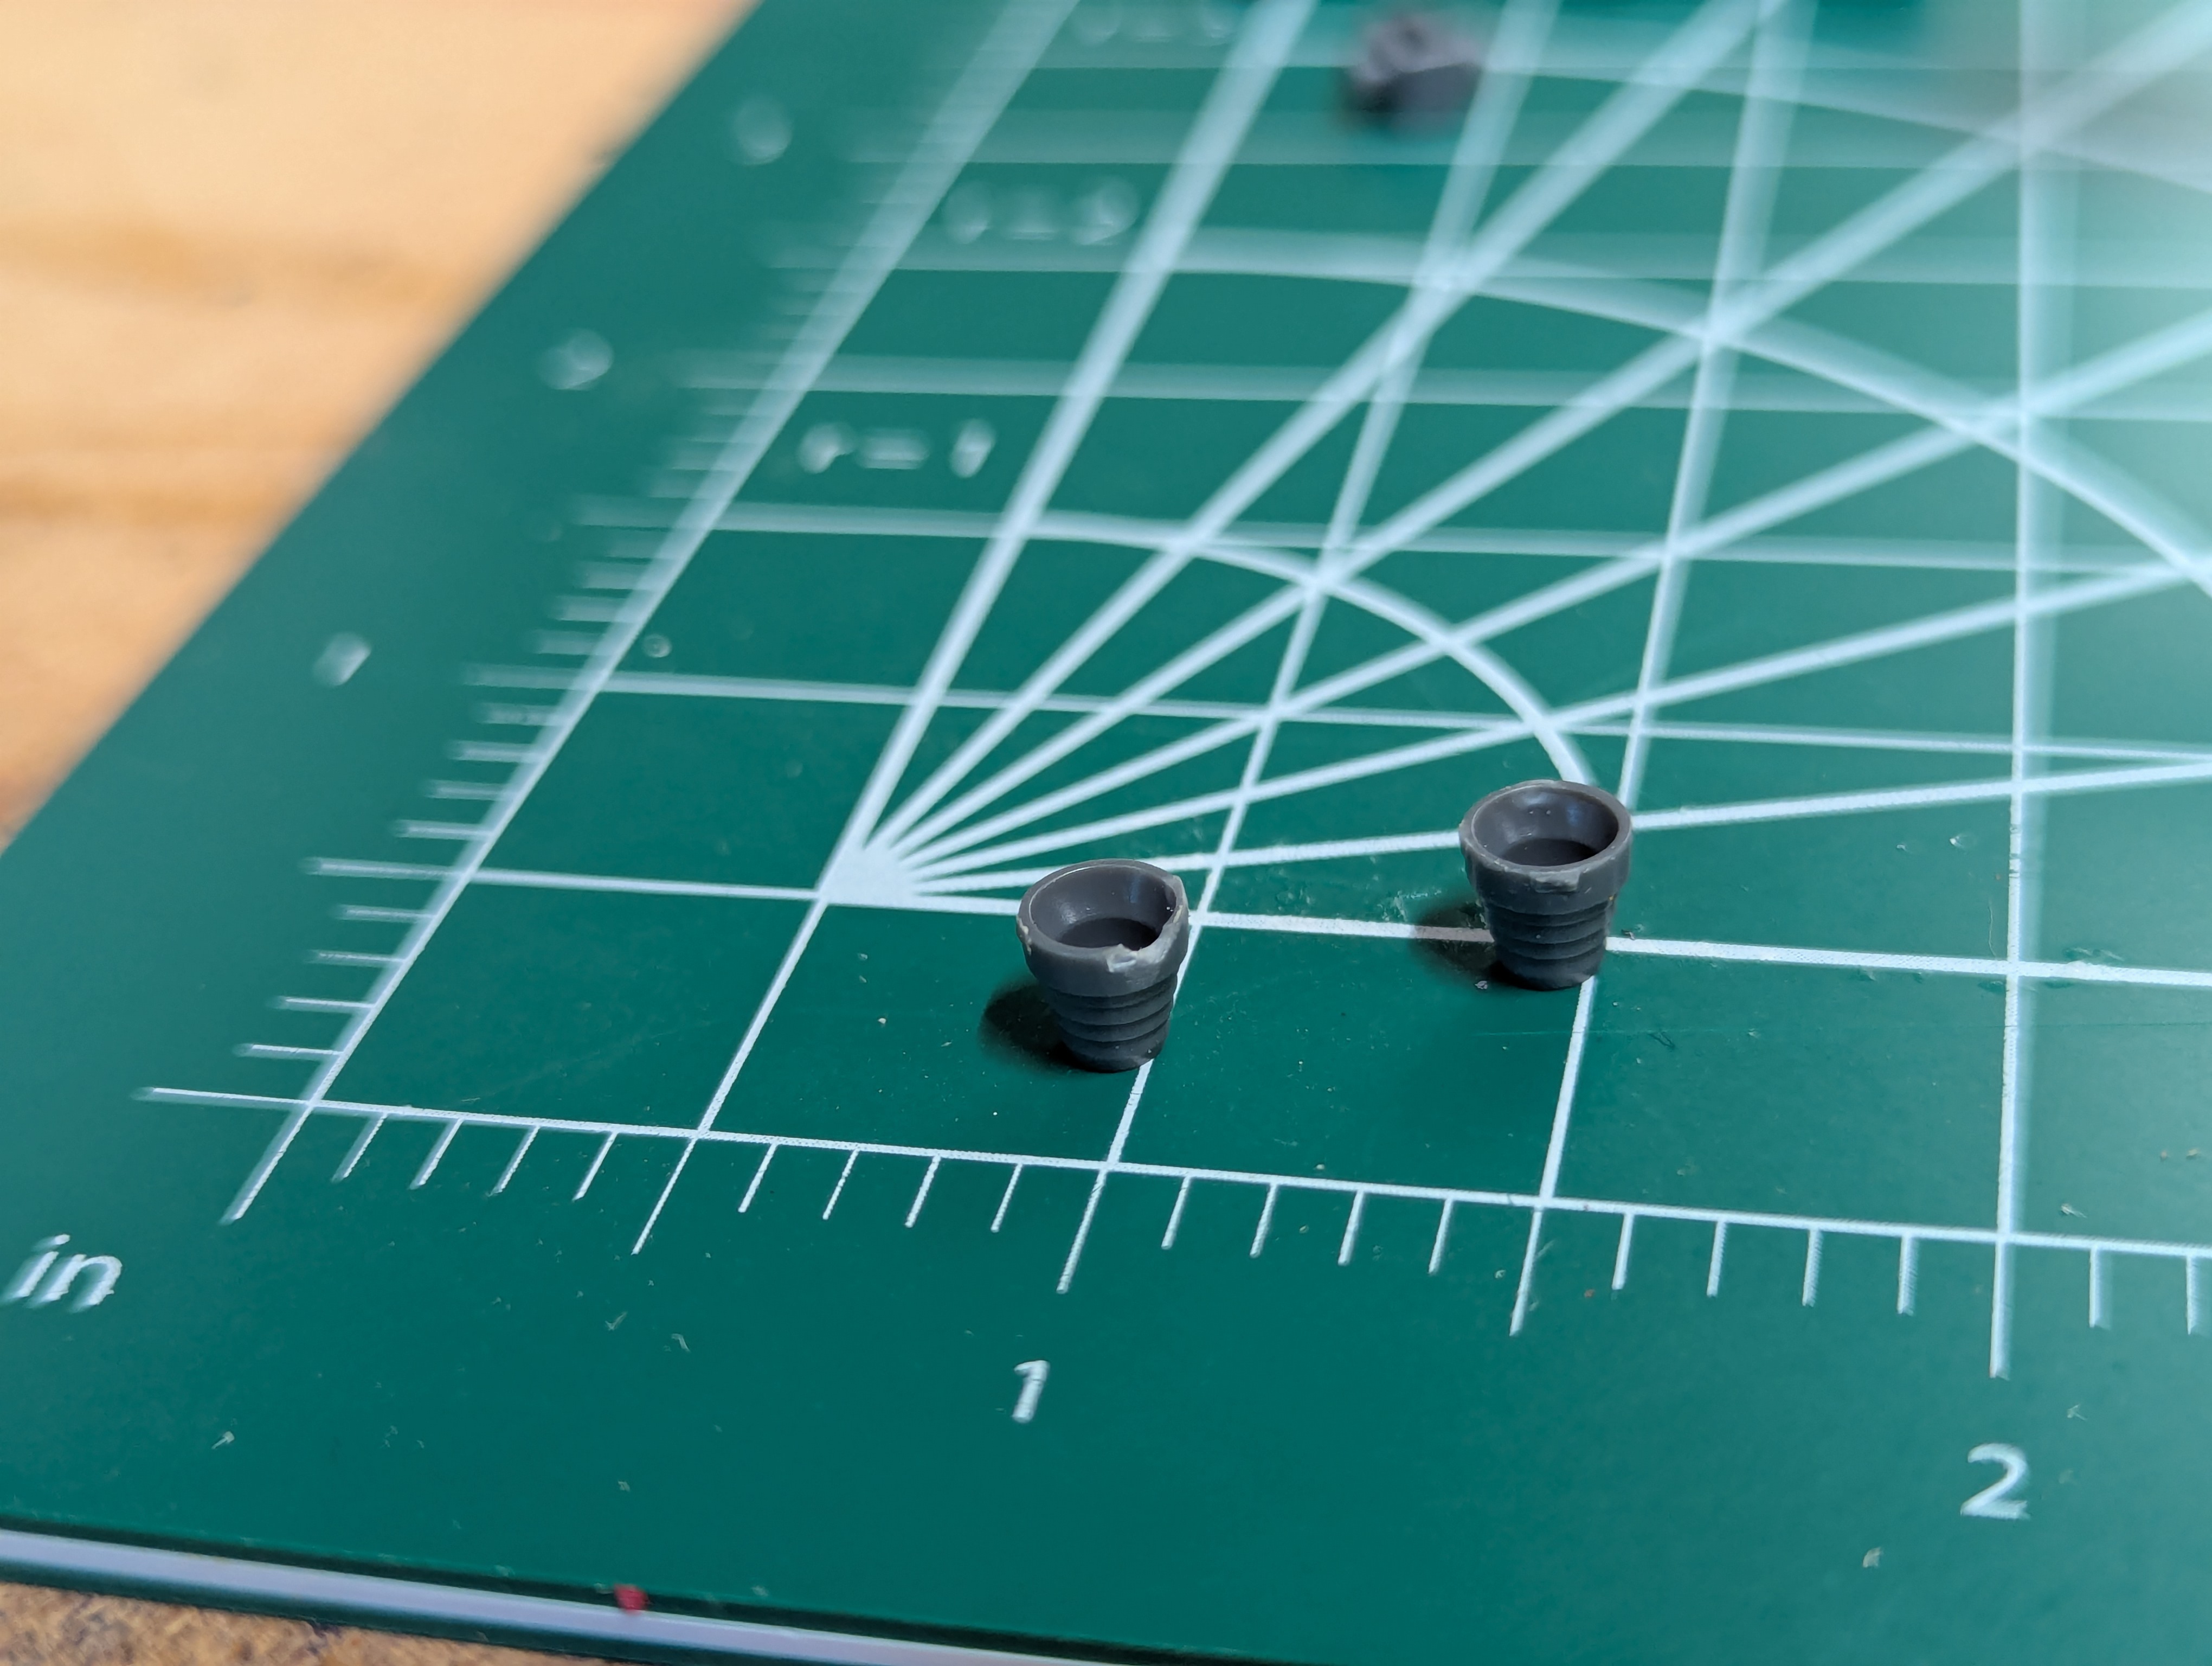
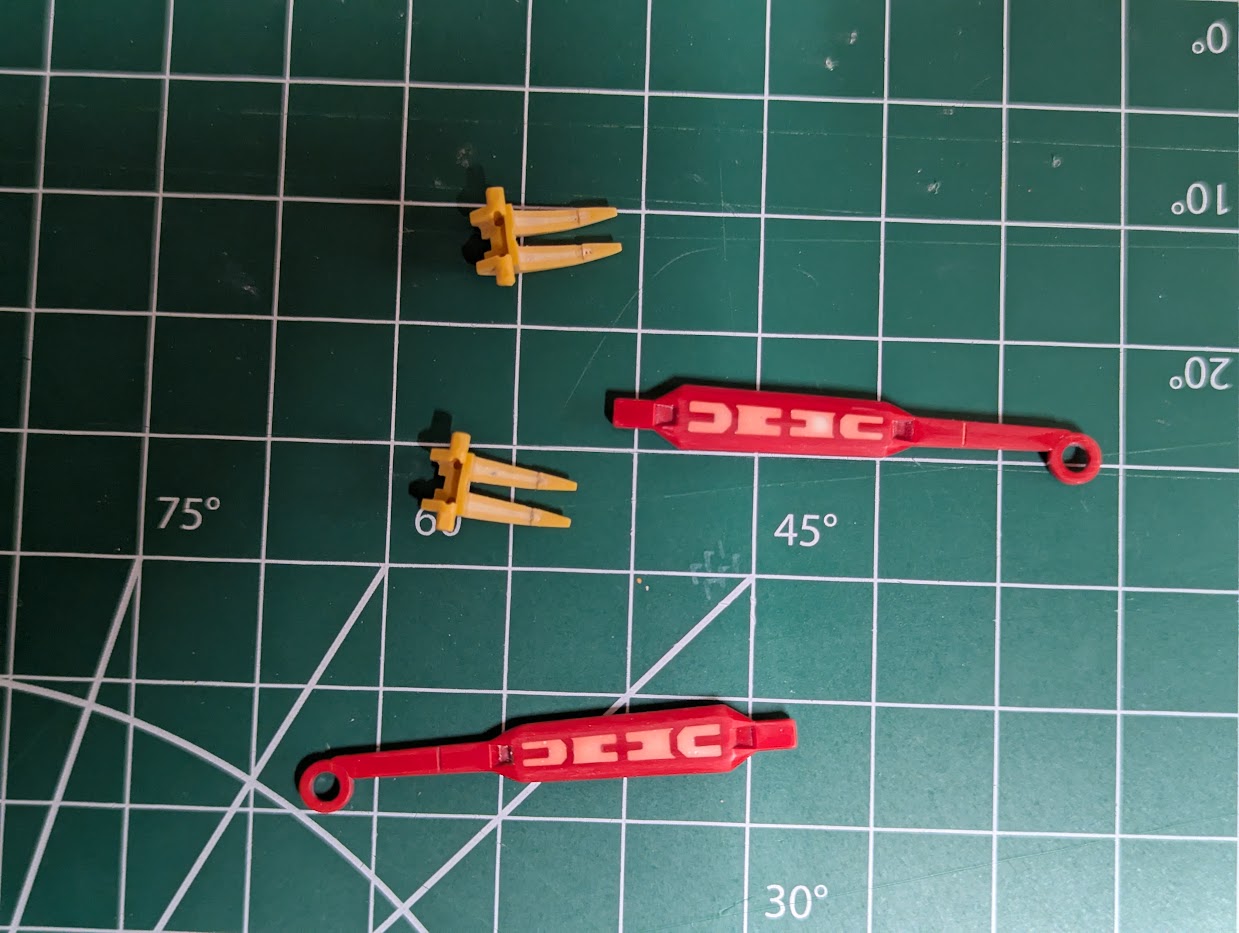
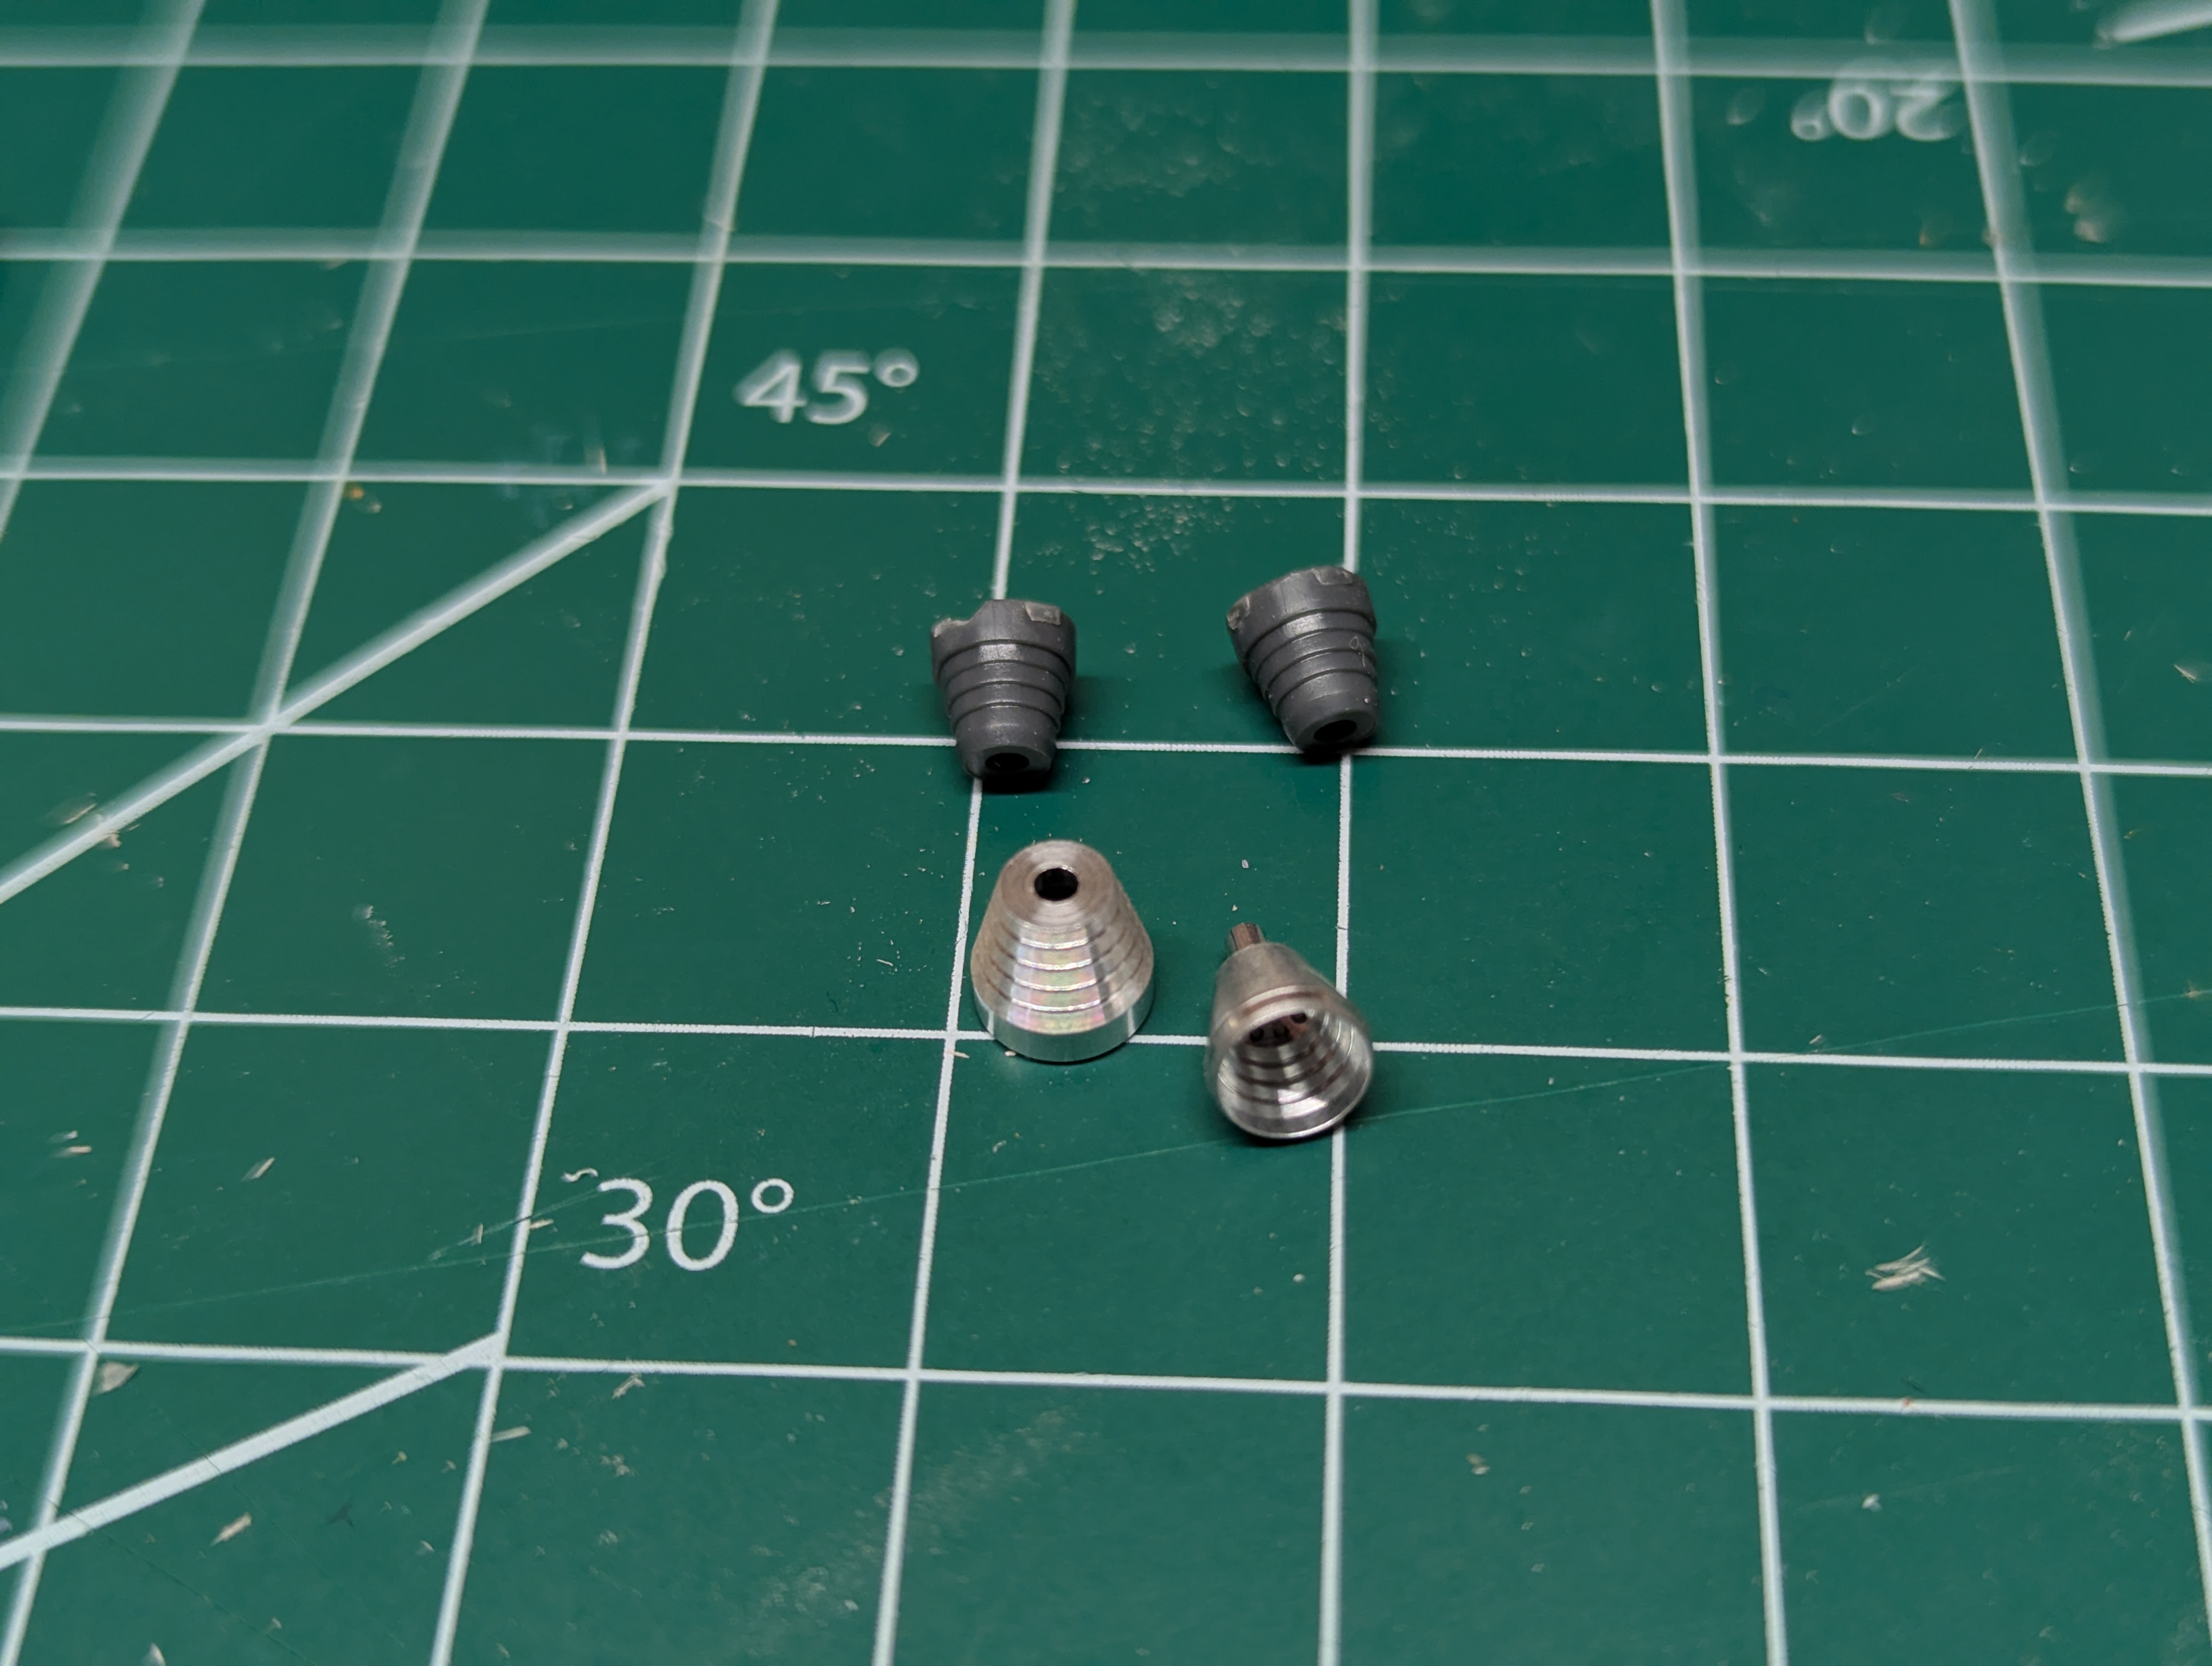
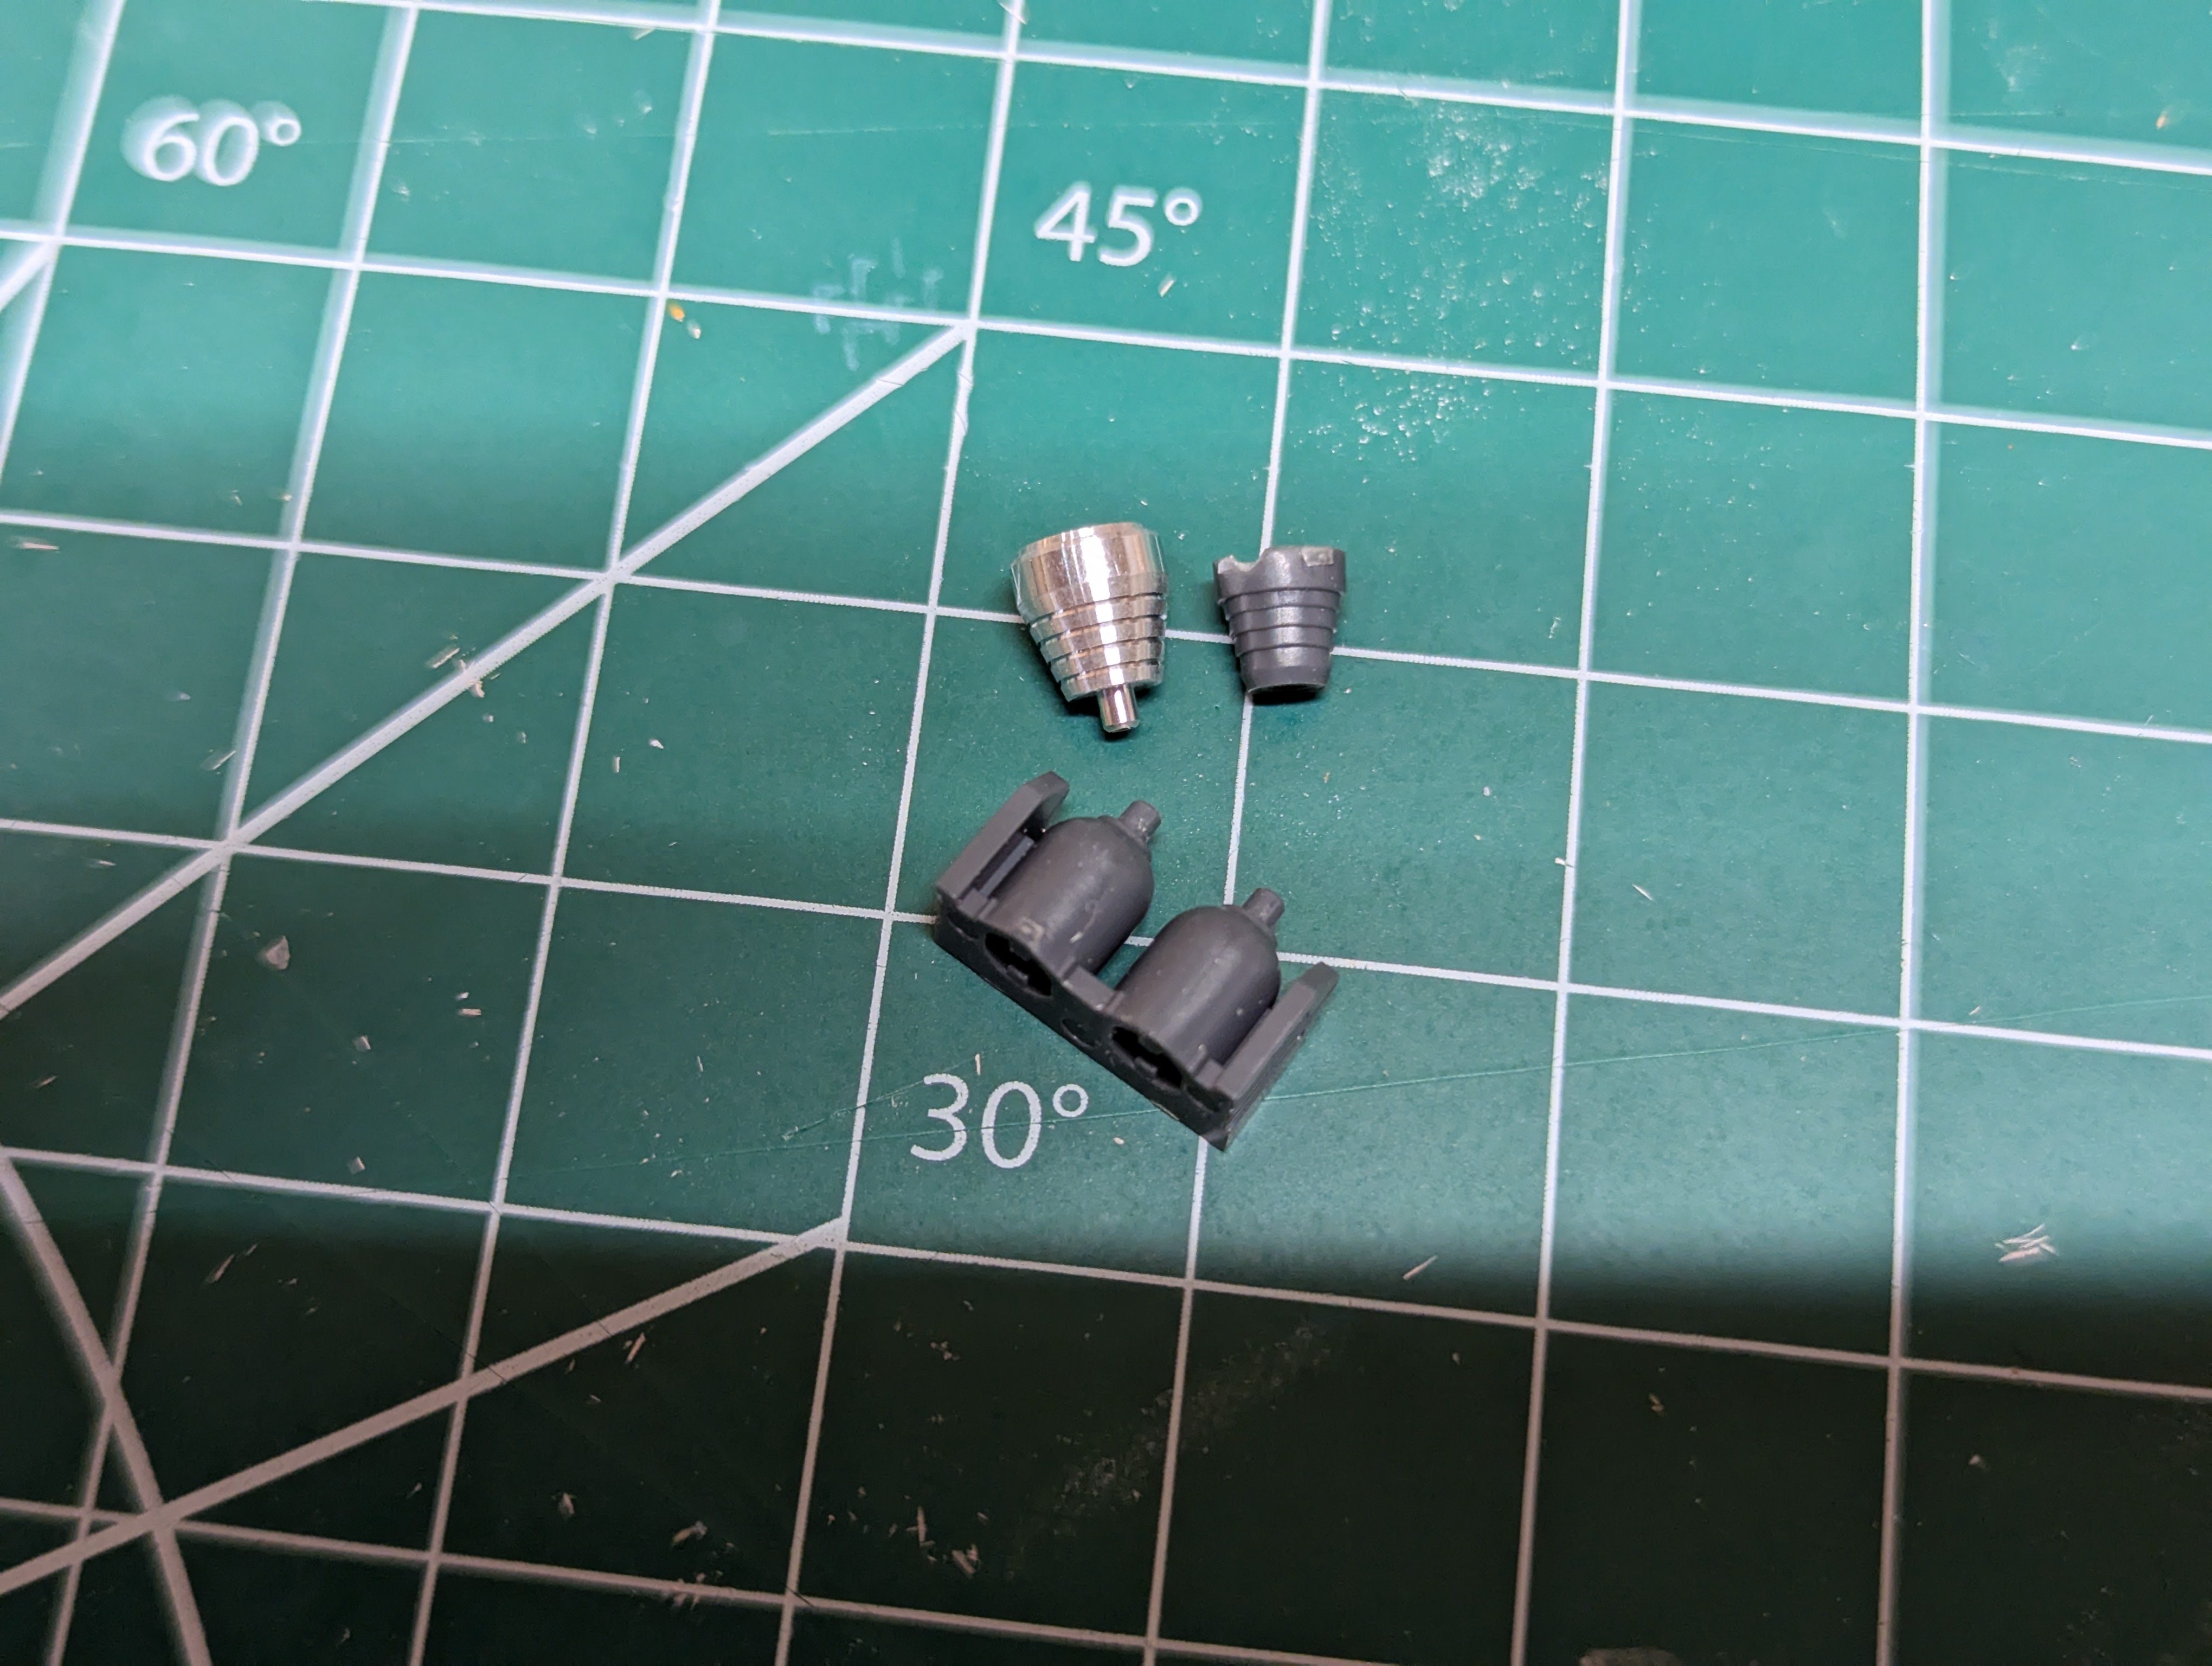
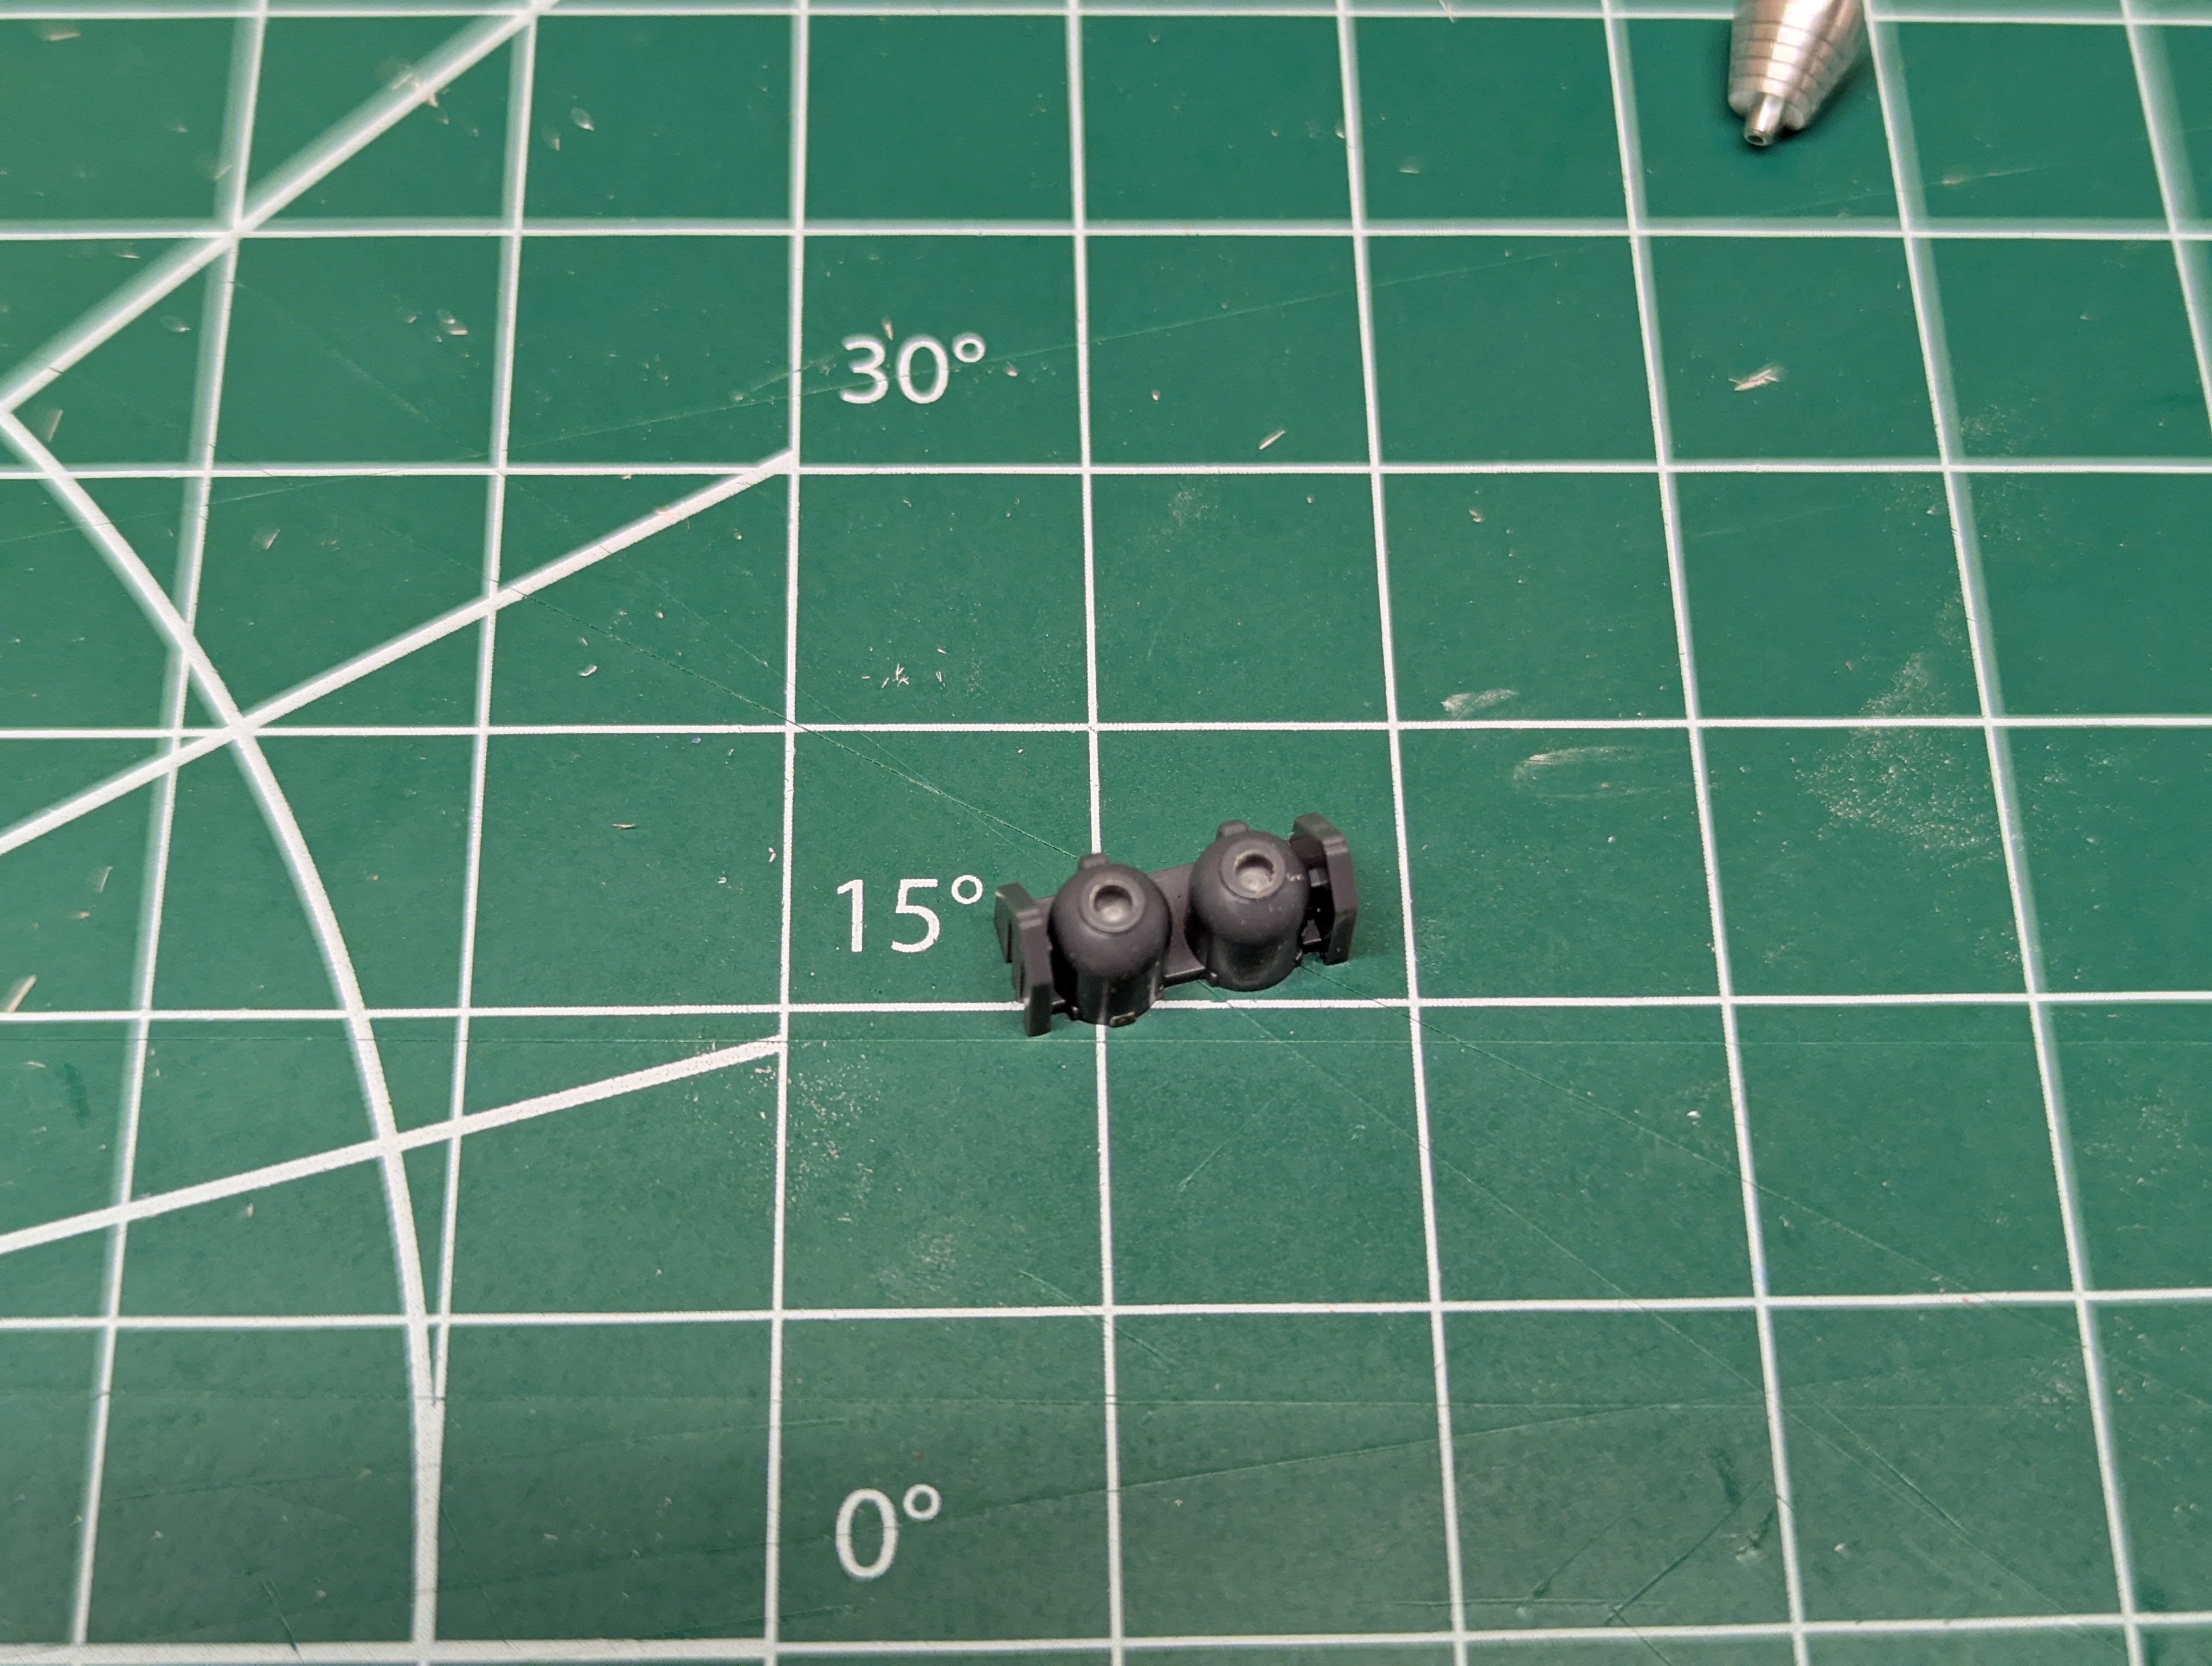
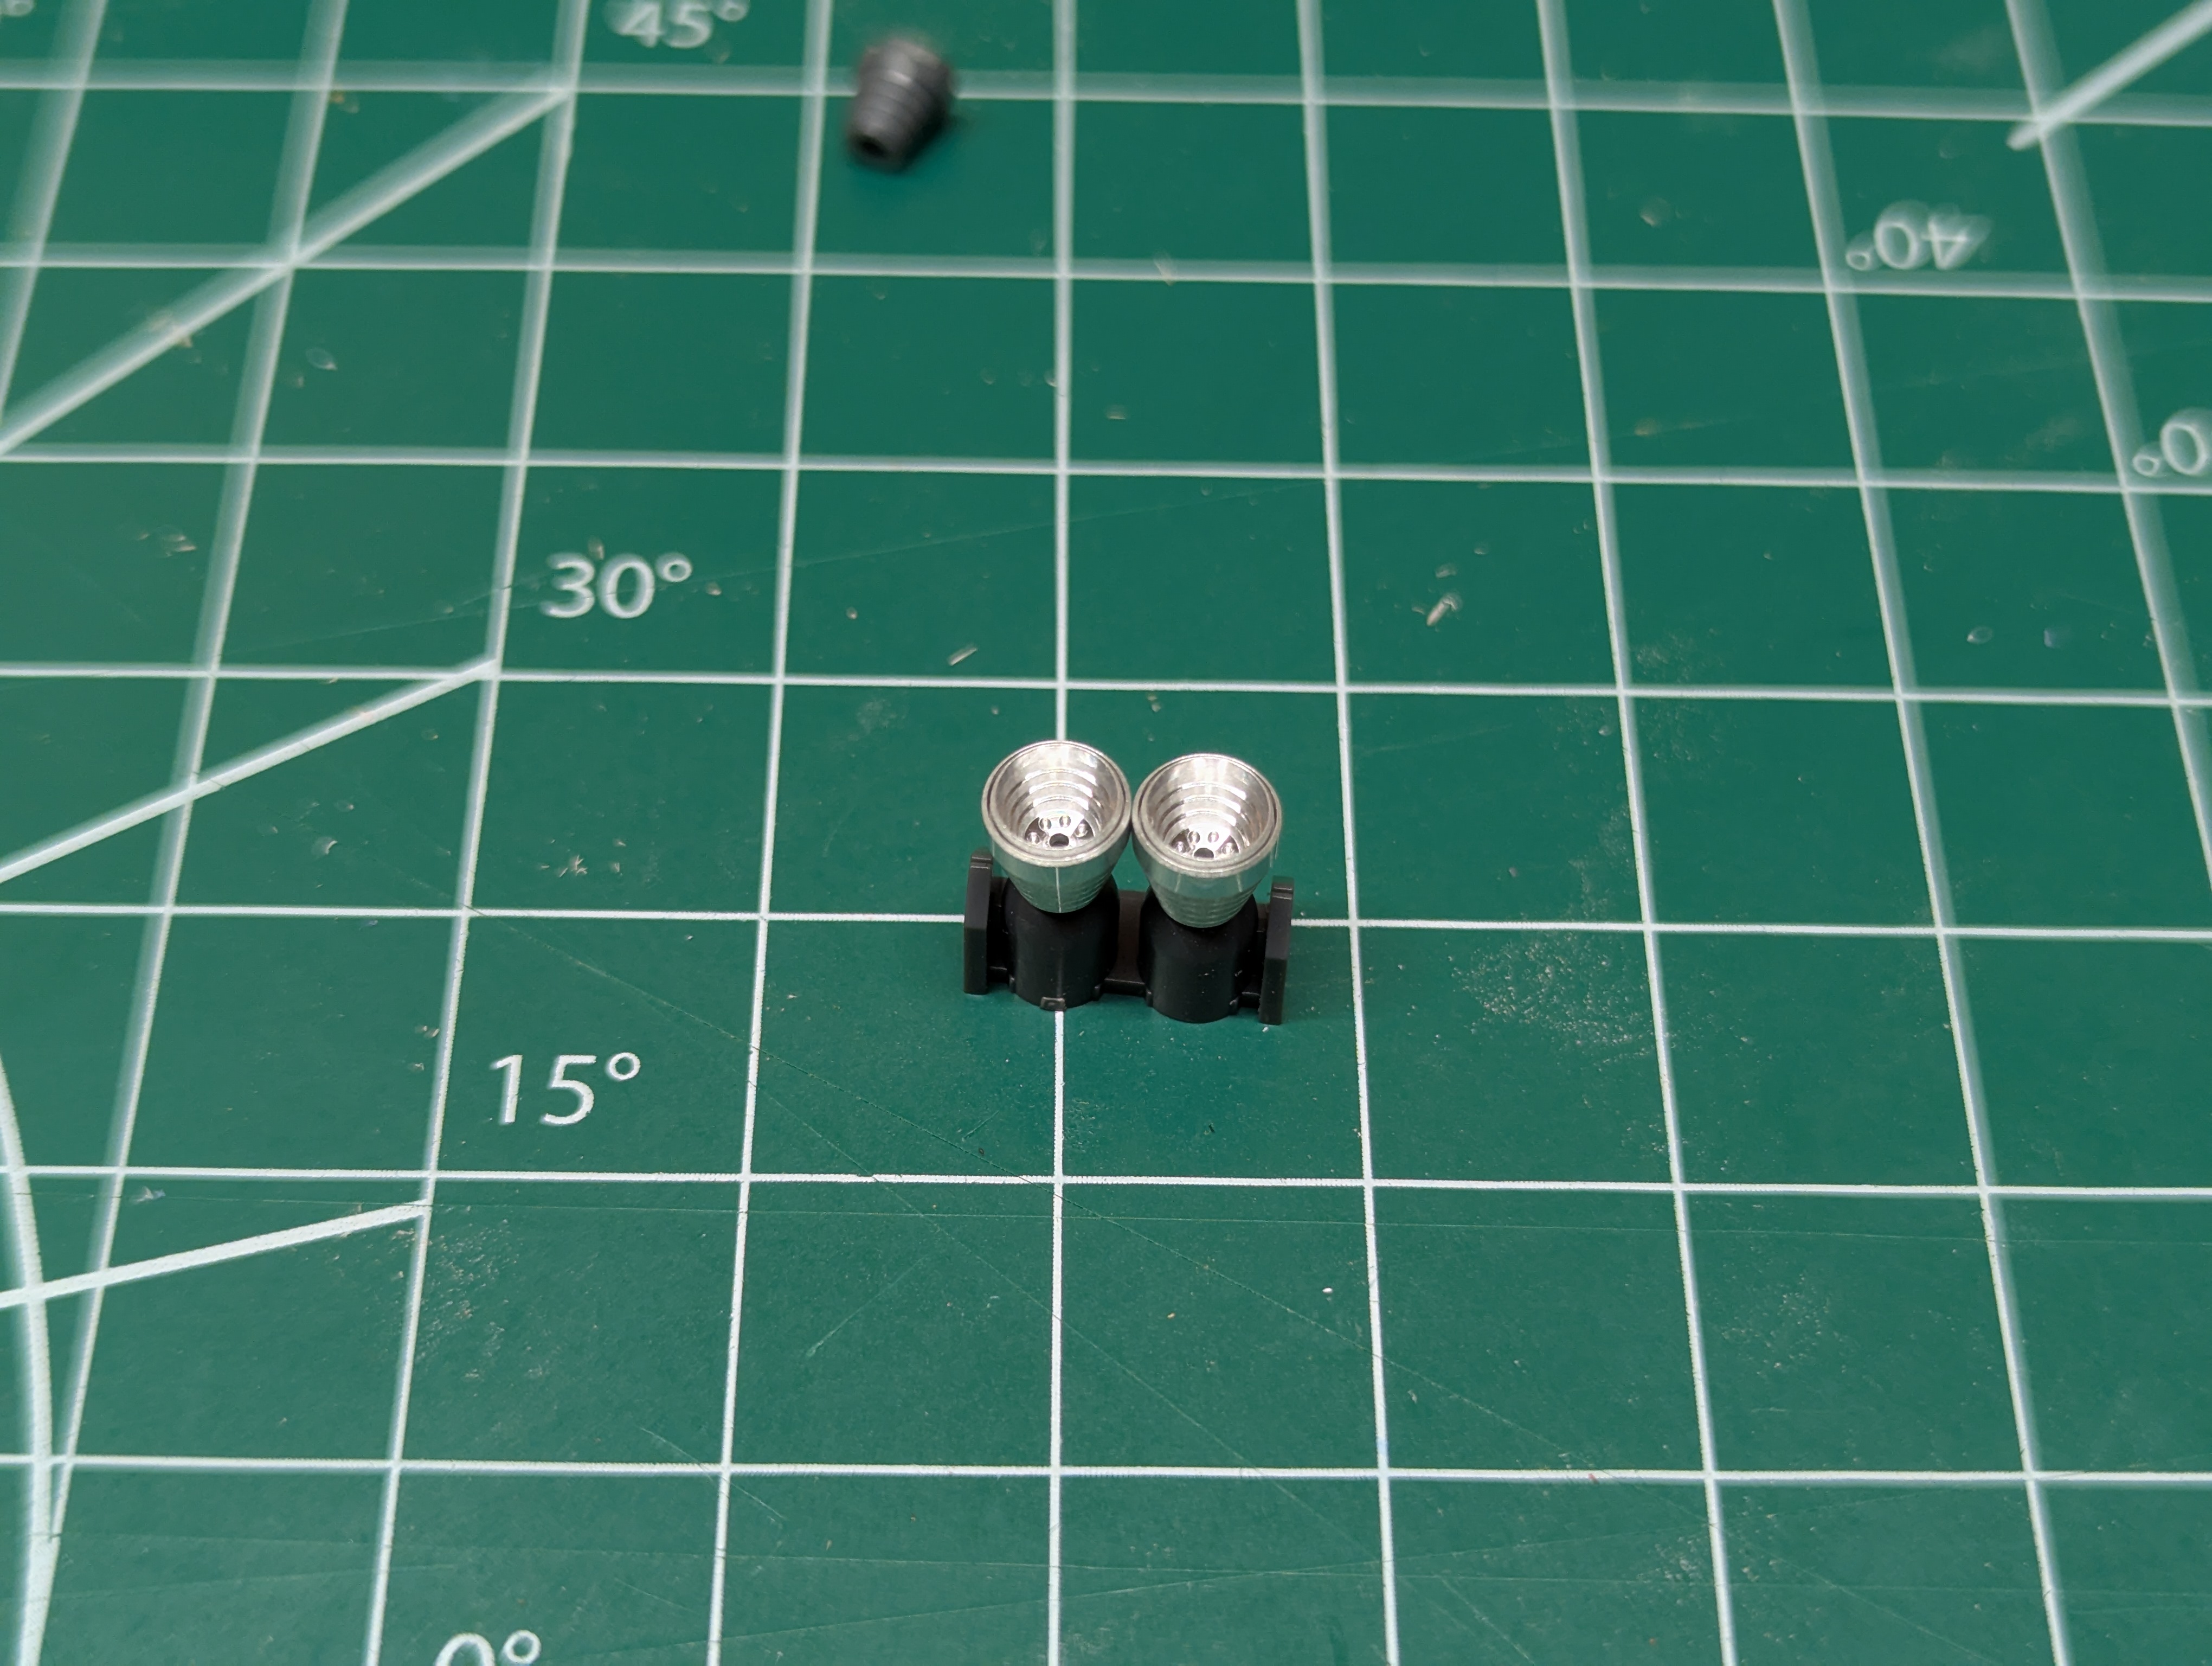
The final bit of parts modification was replacing these chipped thrusters which go on the back of the core lander/backpack. I ordered some replacement metal thrusters - they come in two pieces, with the pegged one fitting inside the larger one. I assume this is to simplify painting or some artifact of the manufacturing process.
There was a slight incompoatibility where the old thruster had a hole for a peg on the gray part - but the new thruster has a peg. So I trimmed off the gray part pegs and drilled a small 1/16" hole for each thruster. This hole is slightly oversized but I should be able to glue it when the time comes - and the fit looks pretty okay, even though the new thrusters are slightly larger.
Date Posted: June 21, 2025
Progress Update 3
Alright, painting!
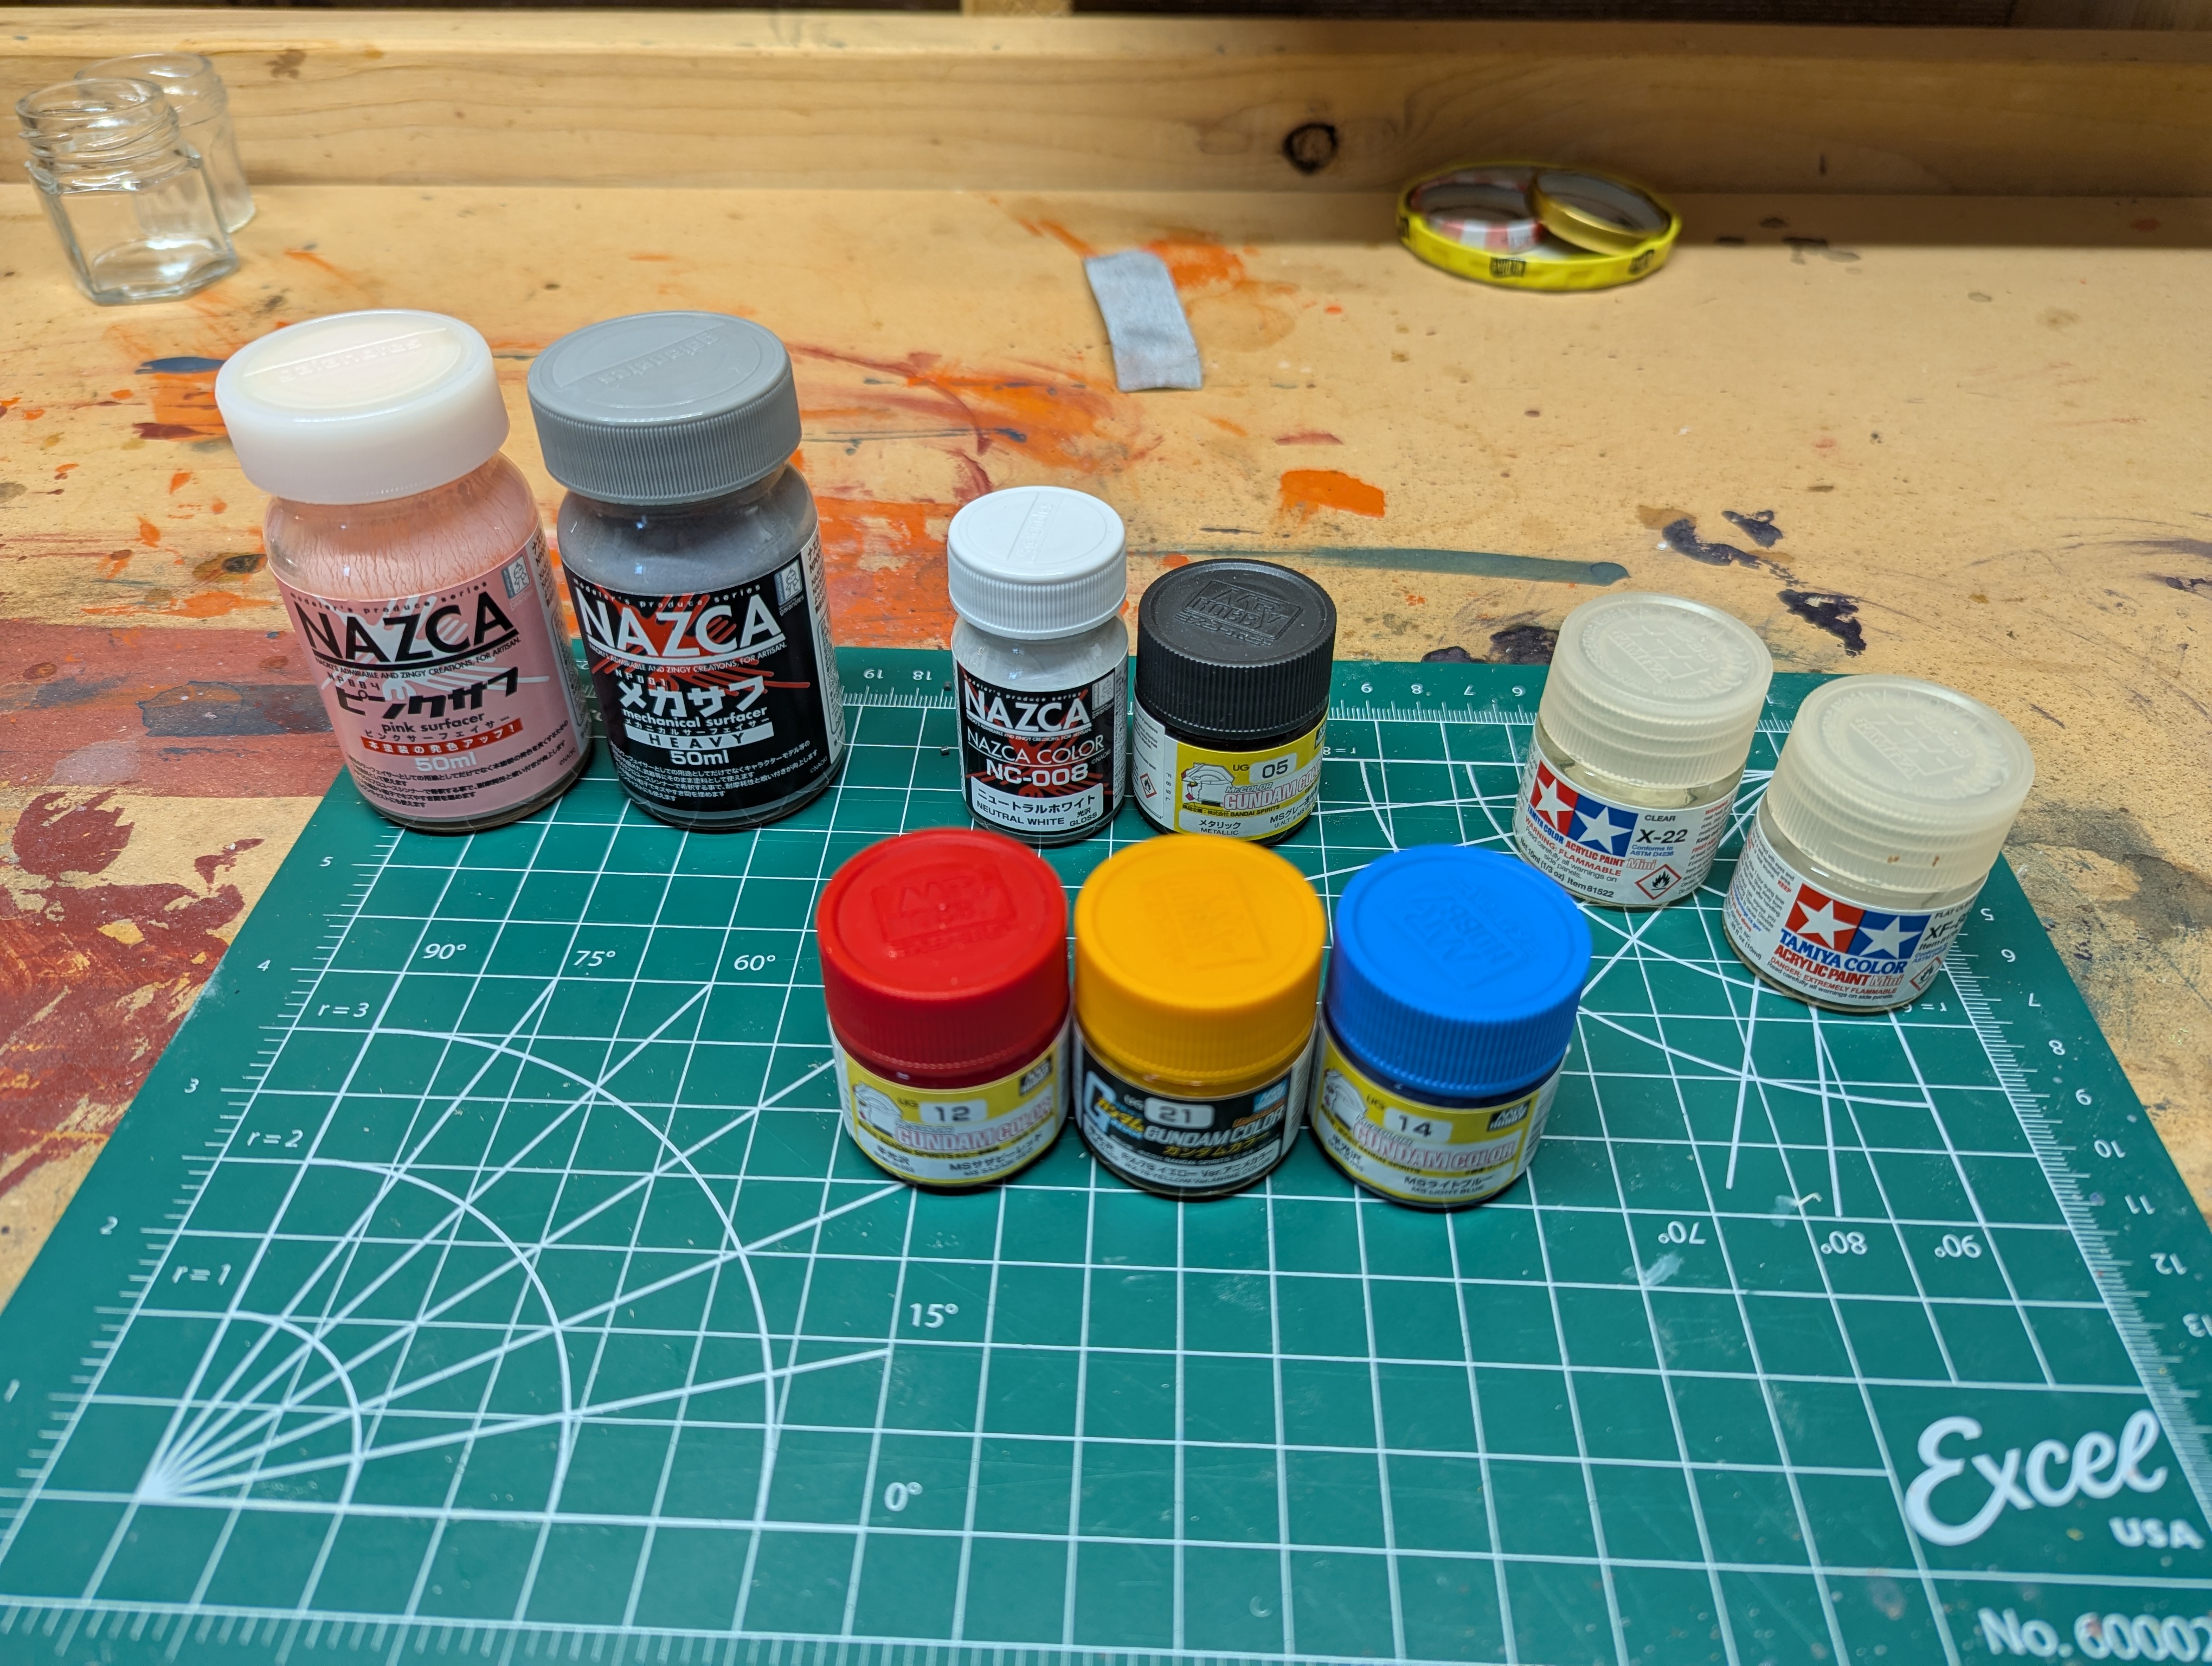
These are the paints I got. I leaned towards lacquer paints. These are generally considered the easiest to use when airbrushing, but do require specialized thinner and cleaner, which I don't like - however, I thought it was important to give myself the best shot of a successful paint job, and once my technique is built up, I can experiment with things like acrylics (hard to airbrush, but easy to clean) should I want to.
- NAZCA Pink Surfacer
- NAZCA Mechanical Surfacer (Heavy)
For actual paints:
- White: NAZCA NC-008 Neutral White
- Dark Gray: Mr. Hobby UG05 Metallic U.N.T.'s MS Gray
- Red: Mr. Hobby UG12 MS Sazabi Red
- Yellow: Mr. Hobby UG21 RX-78 Yellow Ver. Anime
- Blue: Mr. Hobby UG14 MS Light Blue
And I also have Tamiya gloss/flat clears, which I'll experiment with mixing in a ratio for a flat-leaning semi-gloss. If those don't turn out attractive, I'll just stick to straight flat.
The surfacers are important, as they greatly increase the adhesion of paint on the parts. Gray is a workhorse good-for-everything base color. This particular gray is very close to the kit's own gray color - it's designed to give you the option to use it as an all-in-one paint, but I'll compare to the metallic gray before committing to that. Pink seems strange, but I've seen really good results using it as a basecoat for yellow, red, and white. It preserves the brightness of the color a lot more than gray, which tends to dull it - especially on yellow, I want something very vibrant in the finished product.
I will need to add some other paints for effect parts (head sensors, beam sabers, God Finger hands, and chest sensor). Additionally, there are prominent black stripes in this design - I'll either handpaint this with black enamel, or get some black lacquer paint and mask them for airbrushing - depends on how we're doing with the brushing.
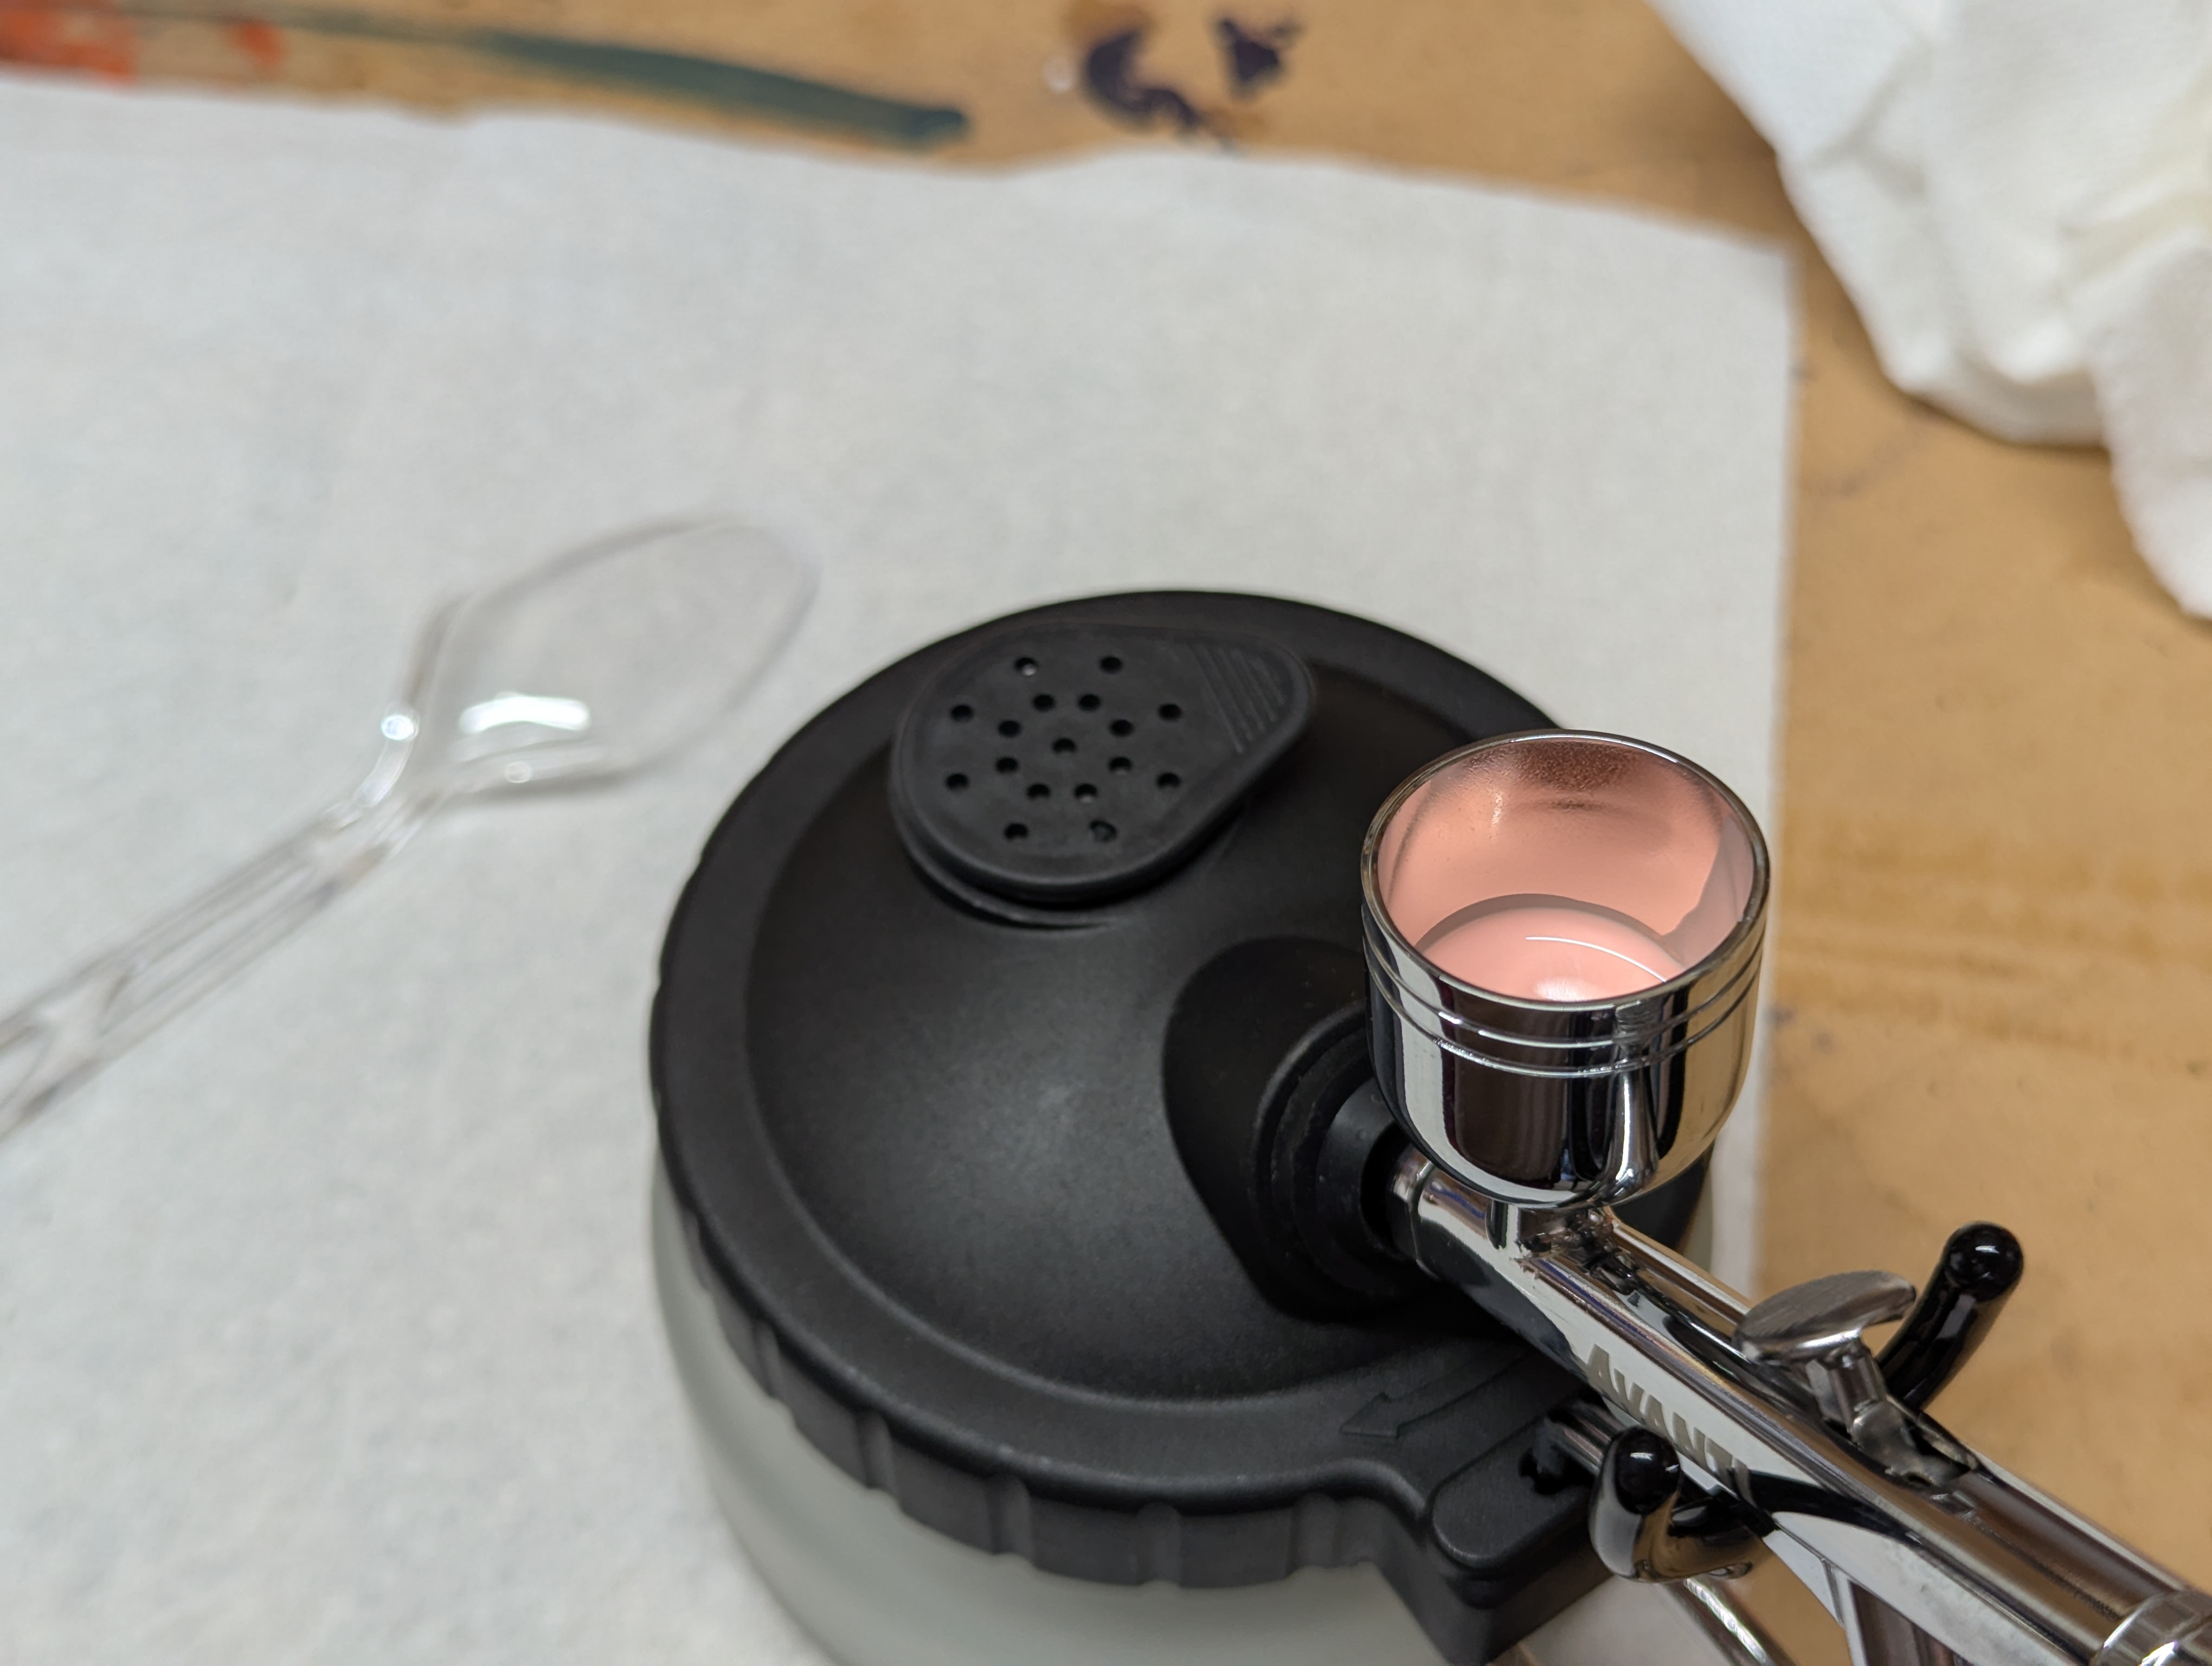
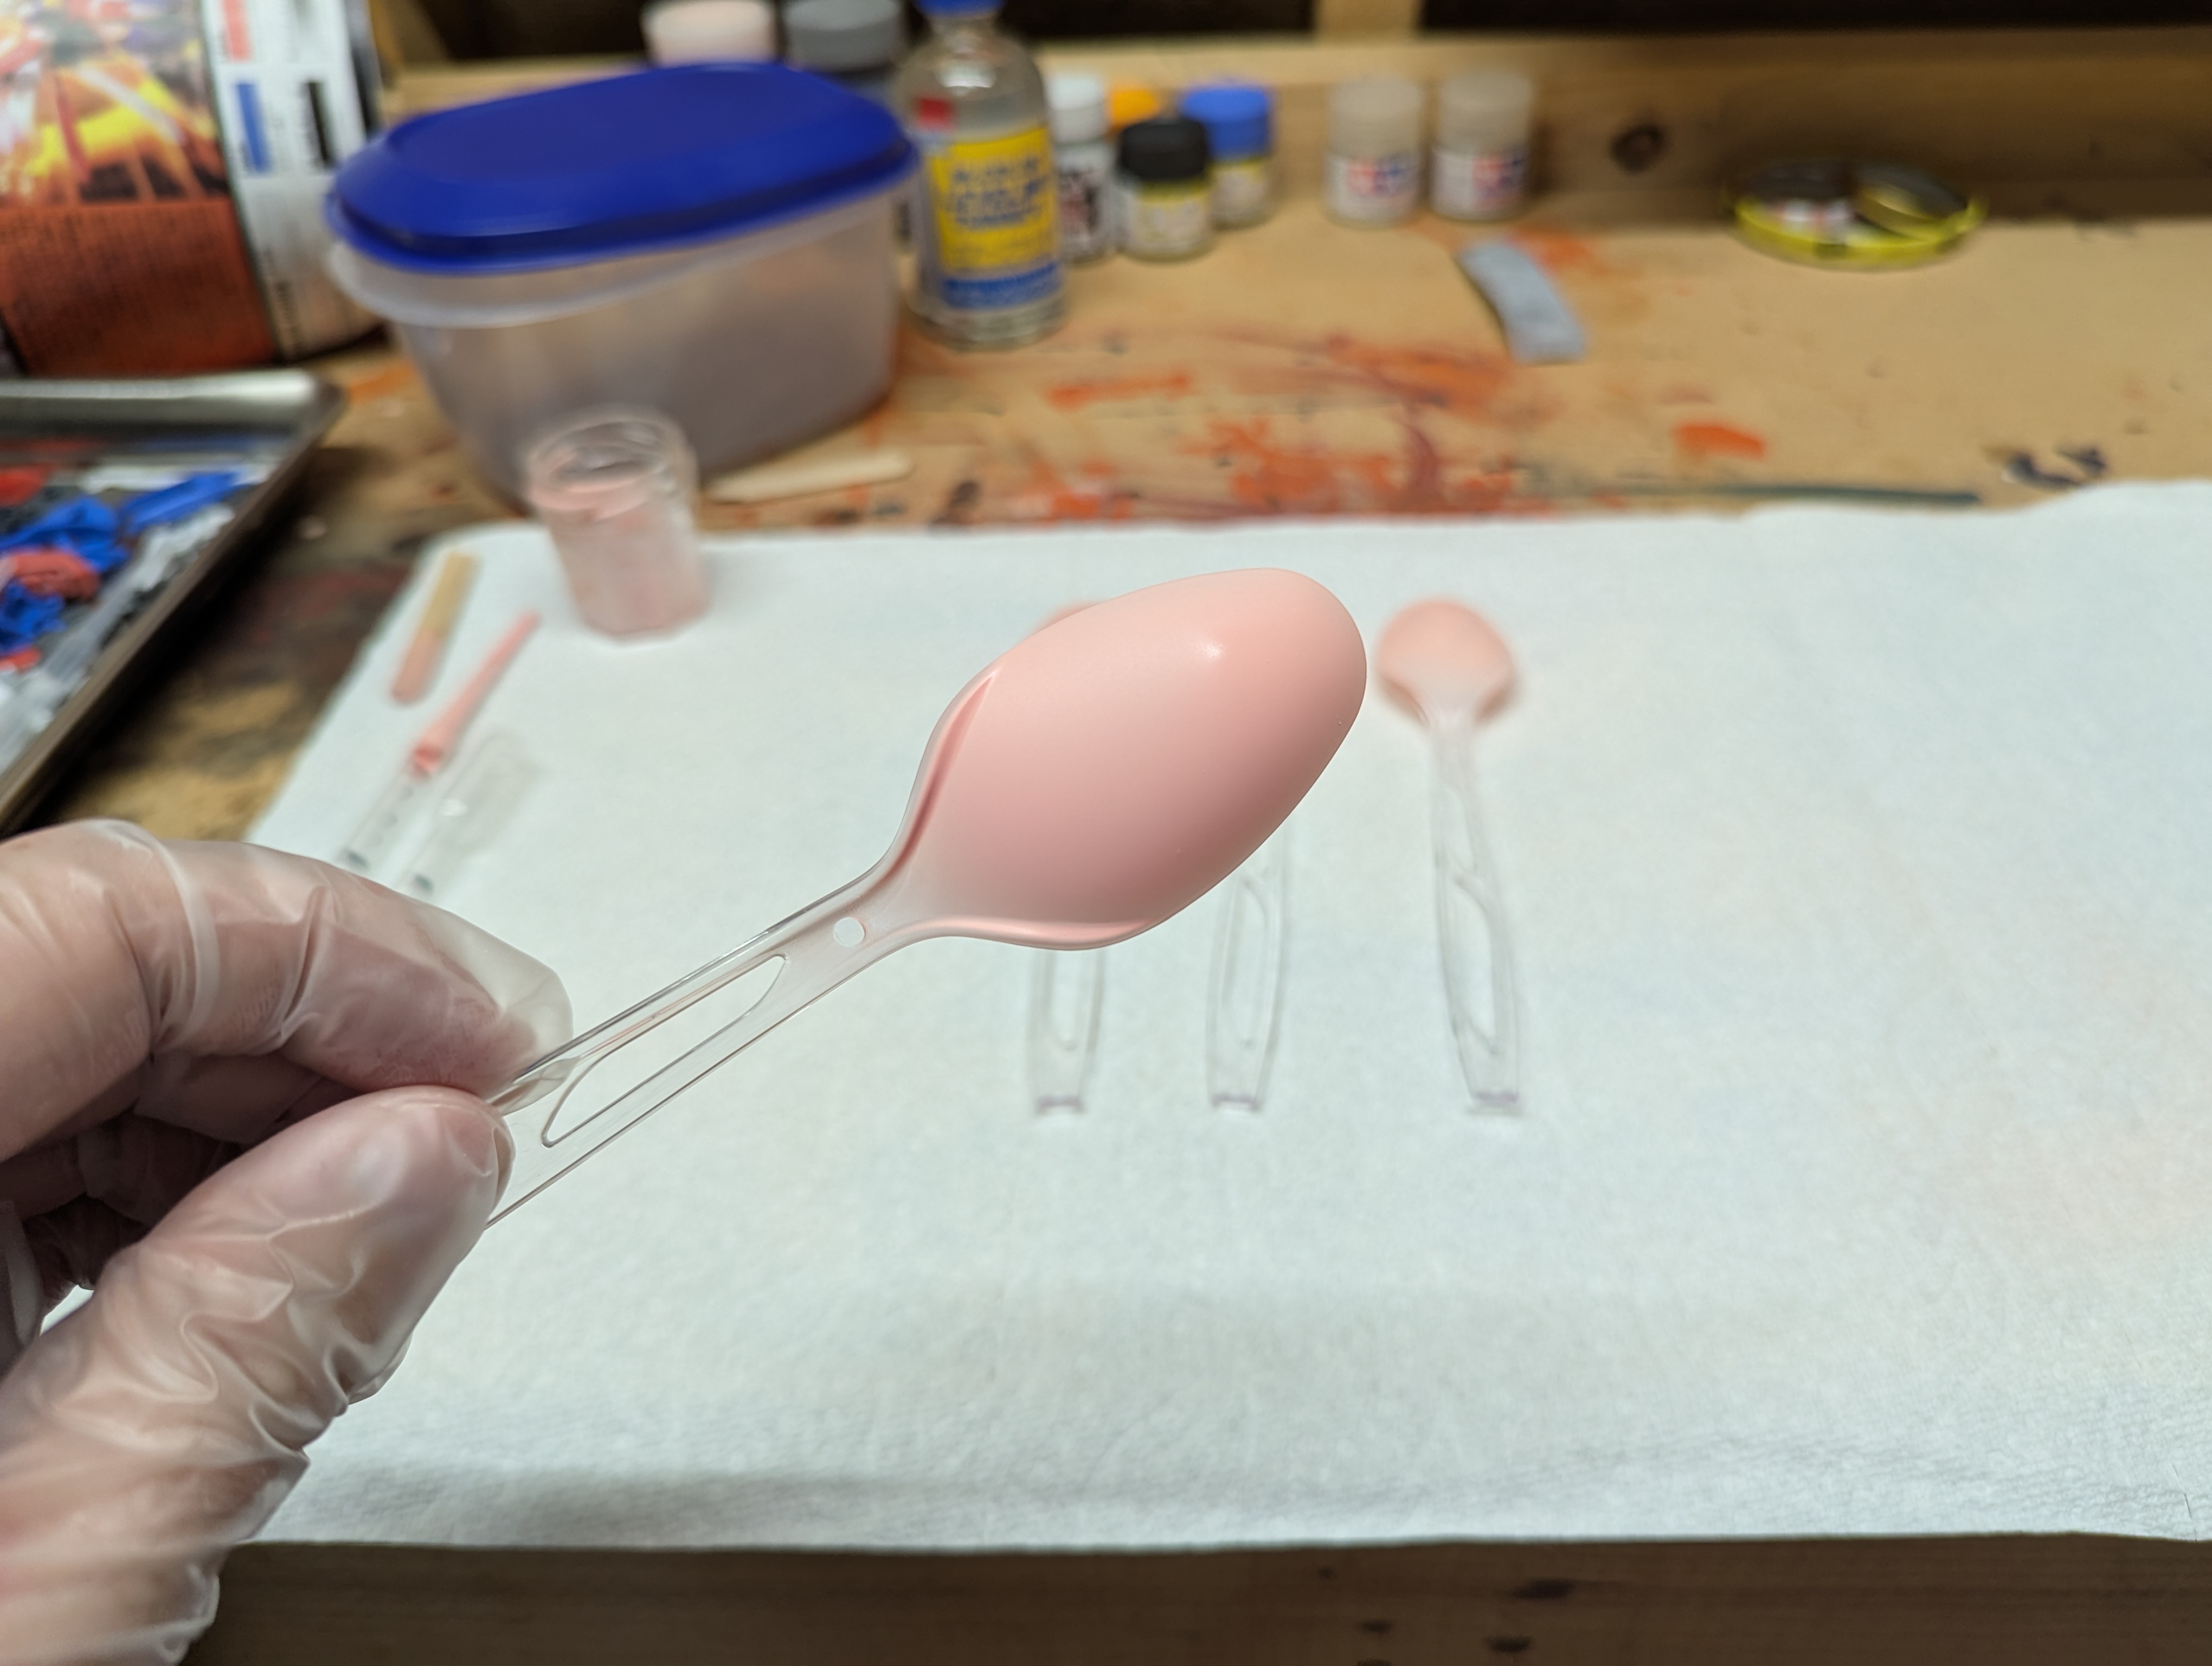
To start, I decided to paint the backs of some disposable spoons. This is a common technique in scale modeling to test out primer/paint interactions, or compare colors in a real-world scenario. I started with just the primers today - pink first to follow the general advice of going lighter to darker when switching between paints. I mixed it in a 2:3 ratio with Mr. Leveling Thinner, a popular brand of lacquer solvent.
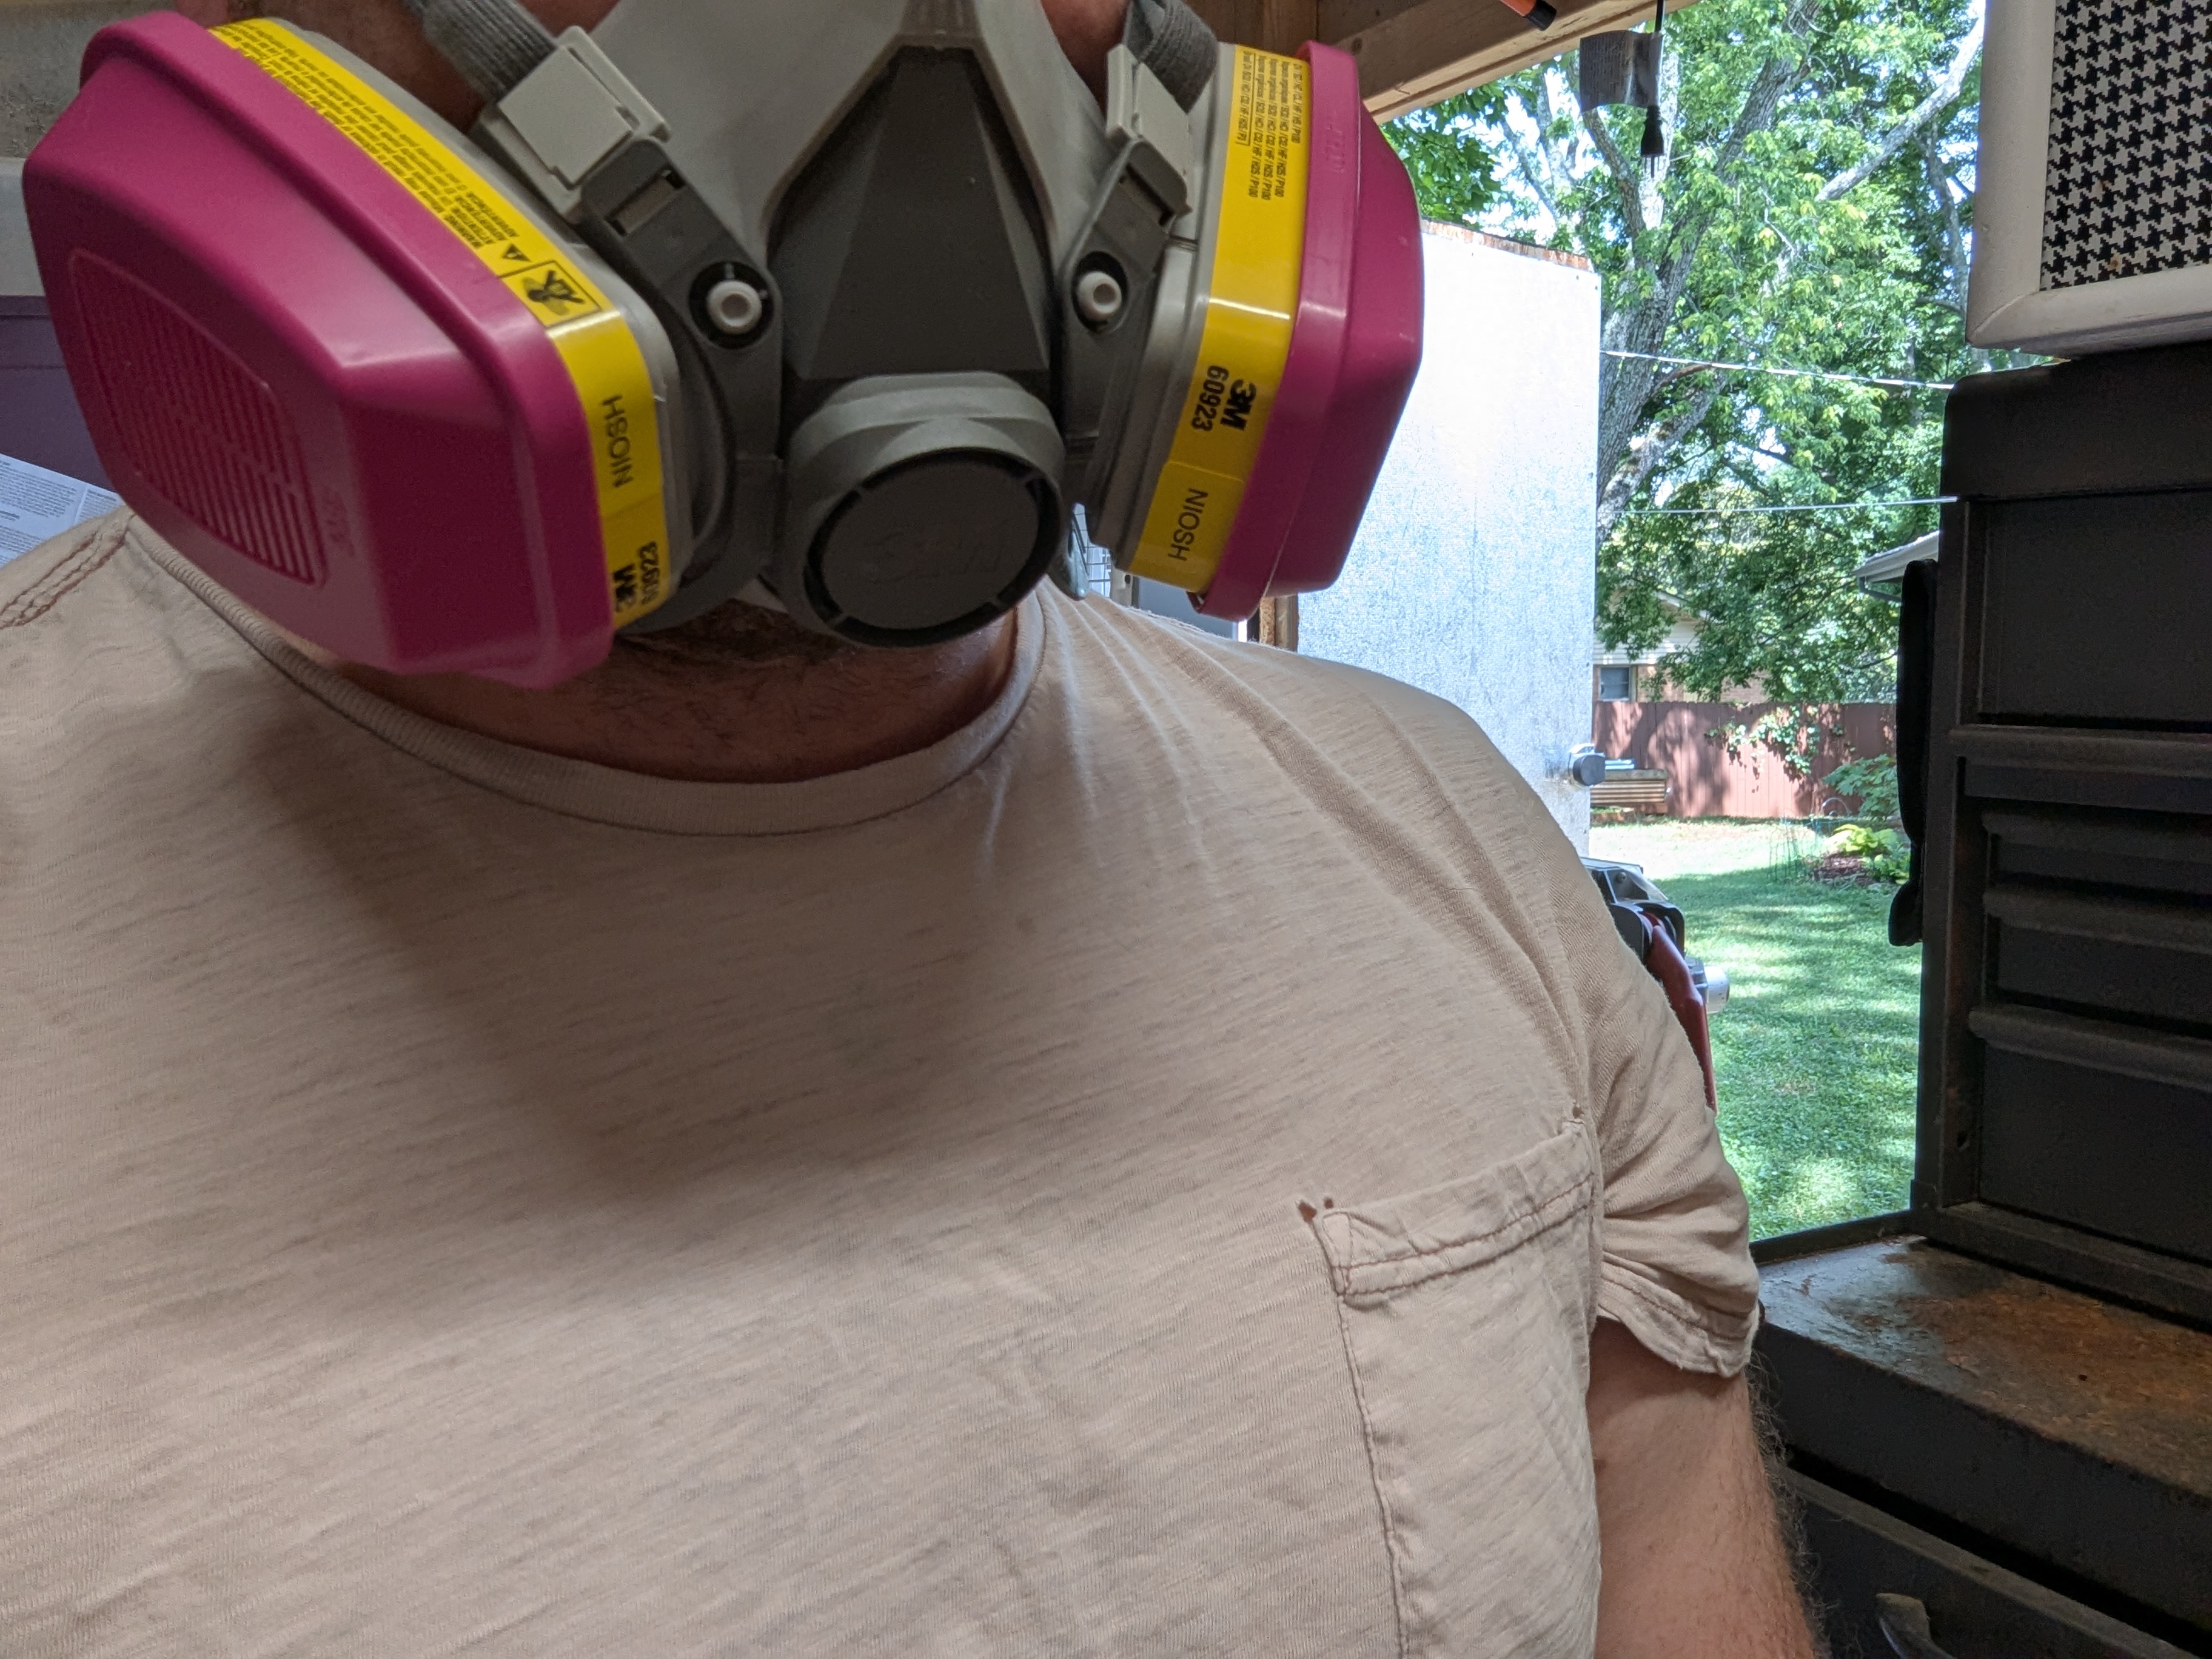
Also - I have no spray booth, and am doing this in a shed. The mask is important since lacquer and enamel paints are thinned with organc solvents which are super bad for you. I didn't catch a whiff of thinner while wearing this, so pretty happy here.
I ended up using about 1mL of surfacer to do the backs of four spoons. These aren't totally uniform in coverage, but I felt I was improving on this as I went - and this is something that could be solved with more coats on a real part. My experience with virtually every type of chemical finish - spray paint cans, wood varnish, whatever - is that you always get better results from underdoing it and applying repeat coats than trying to glob it in one.
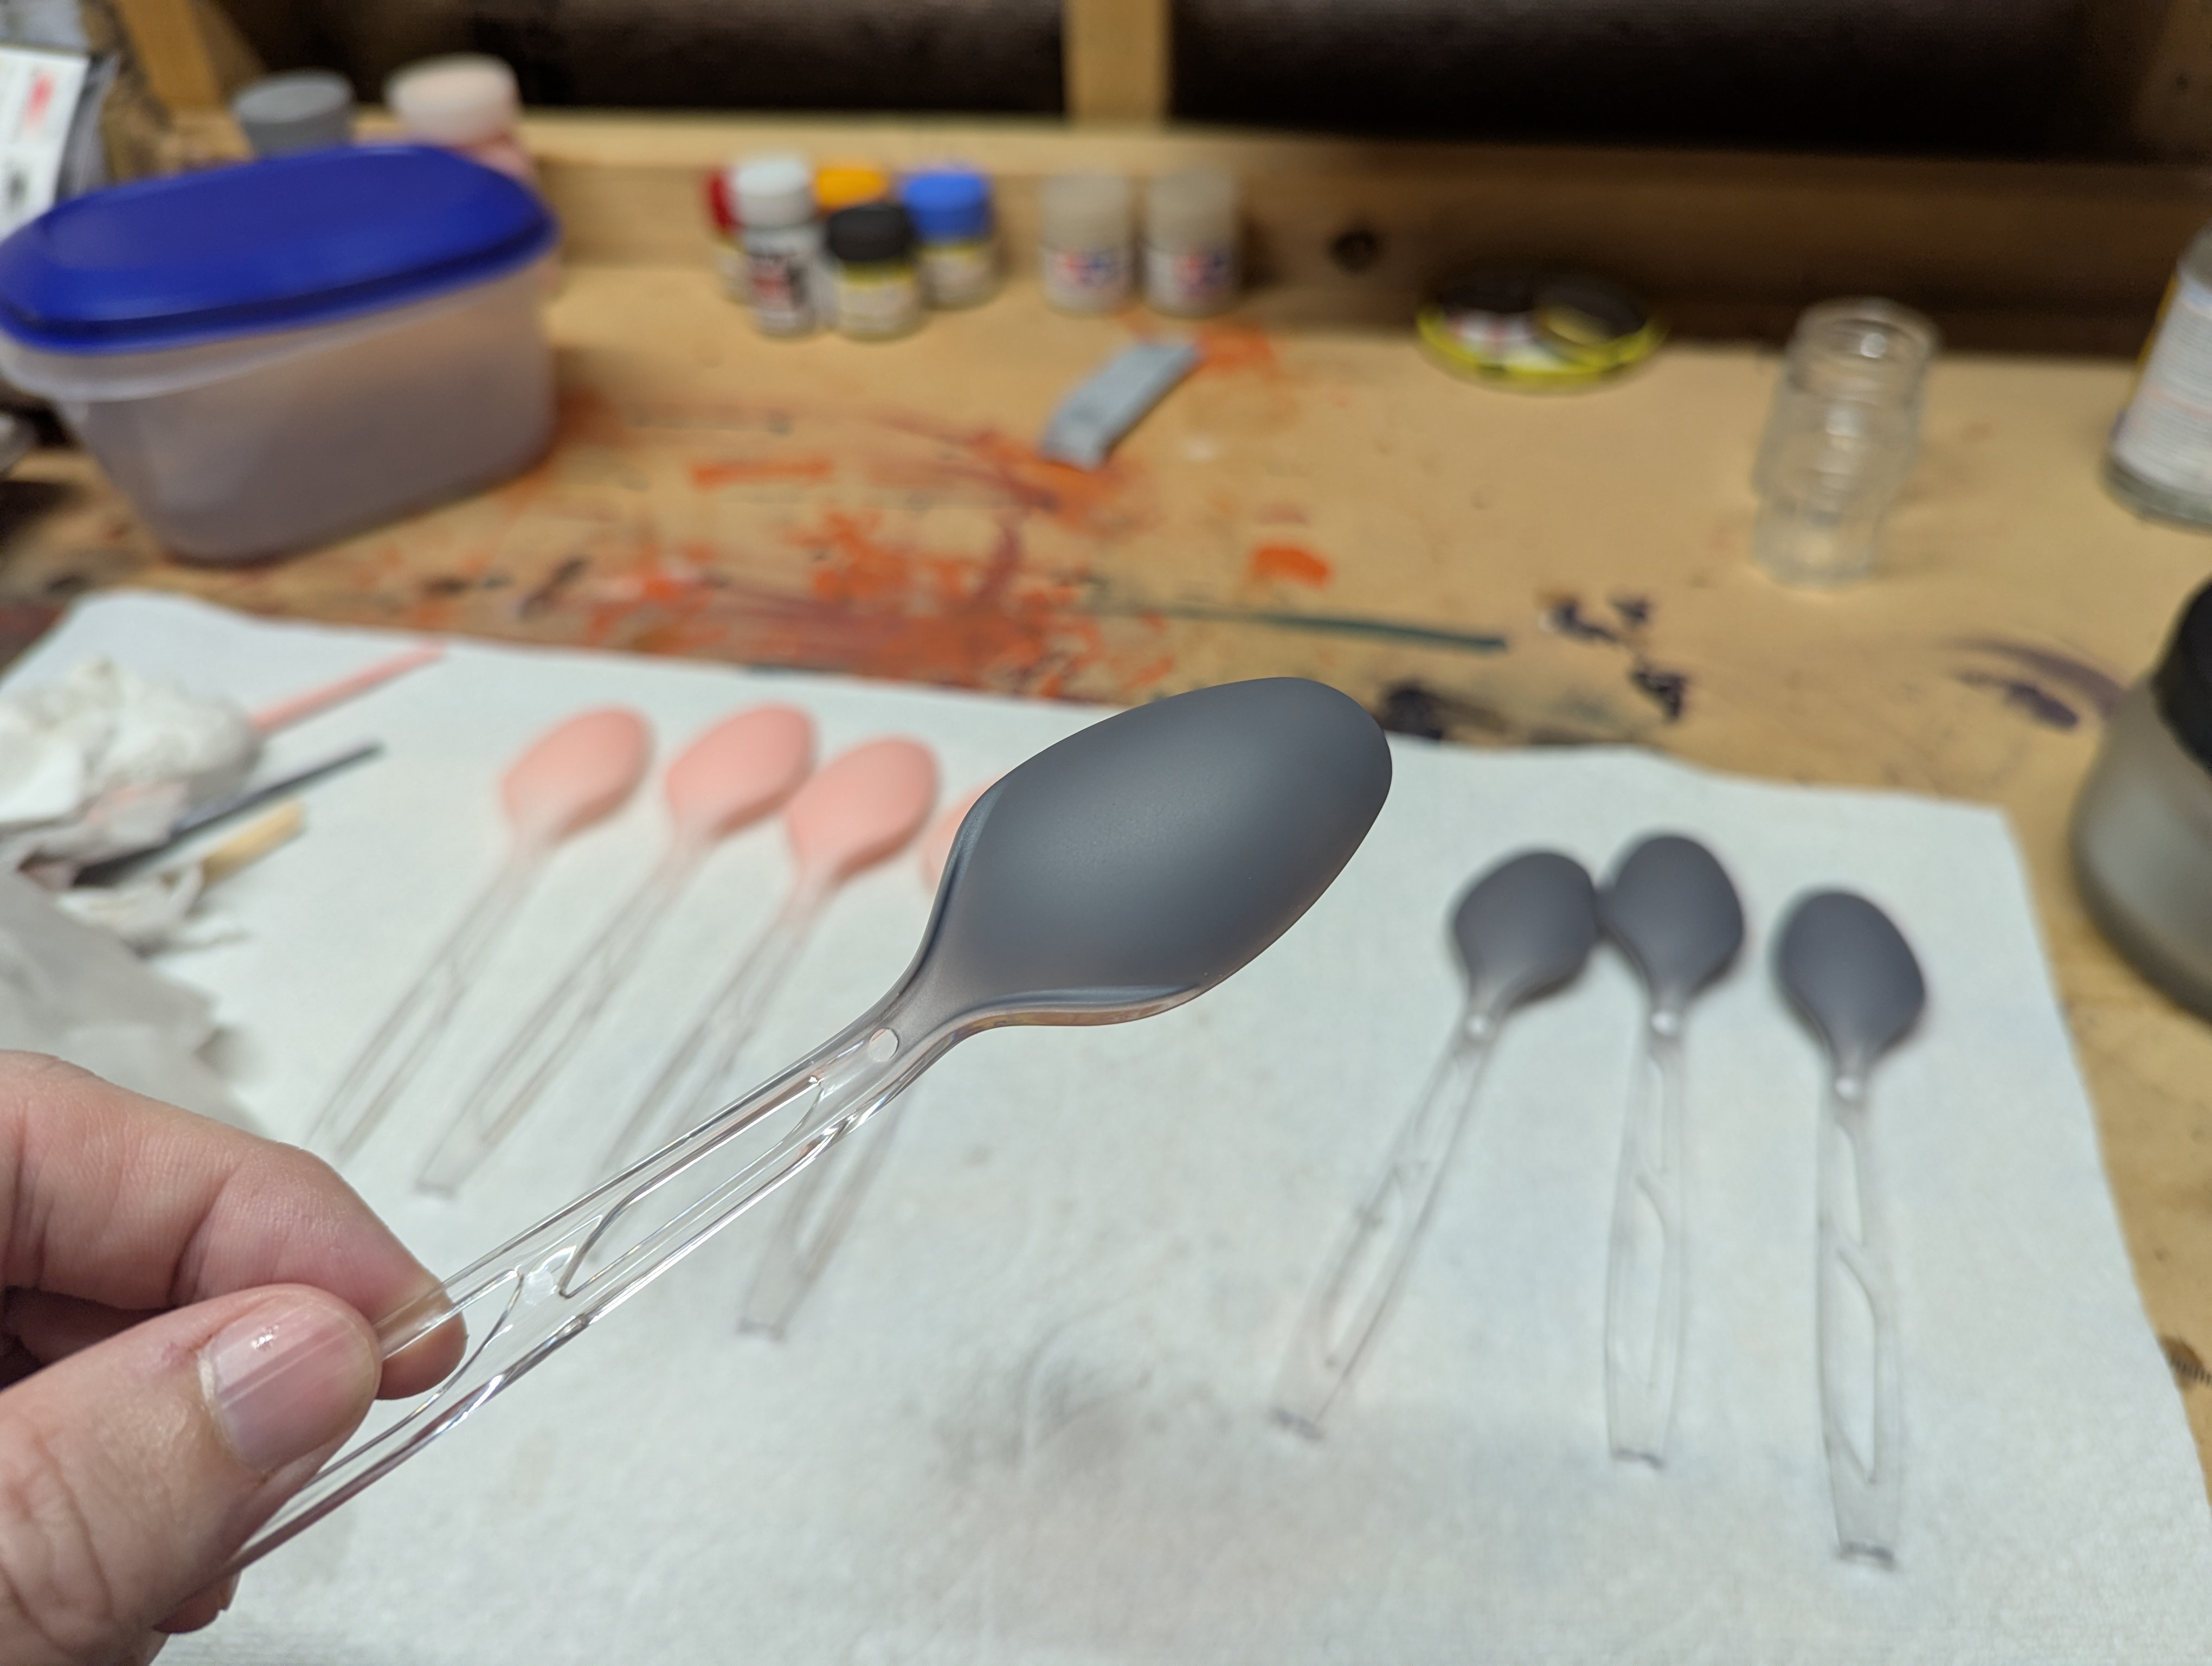
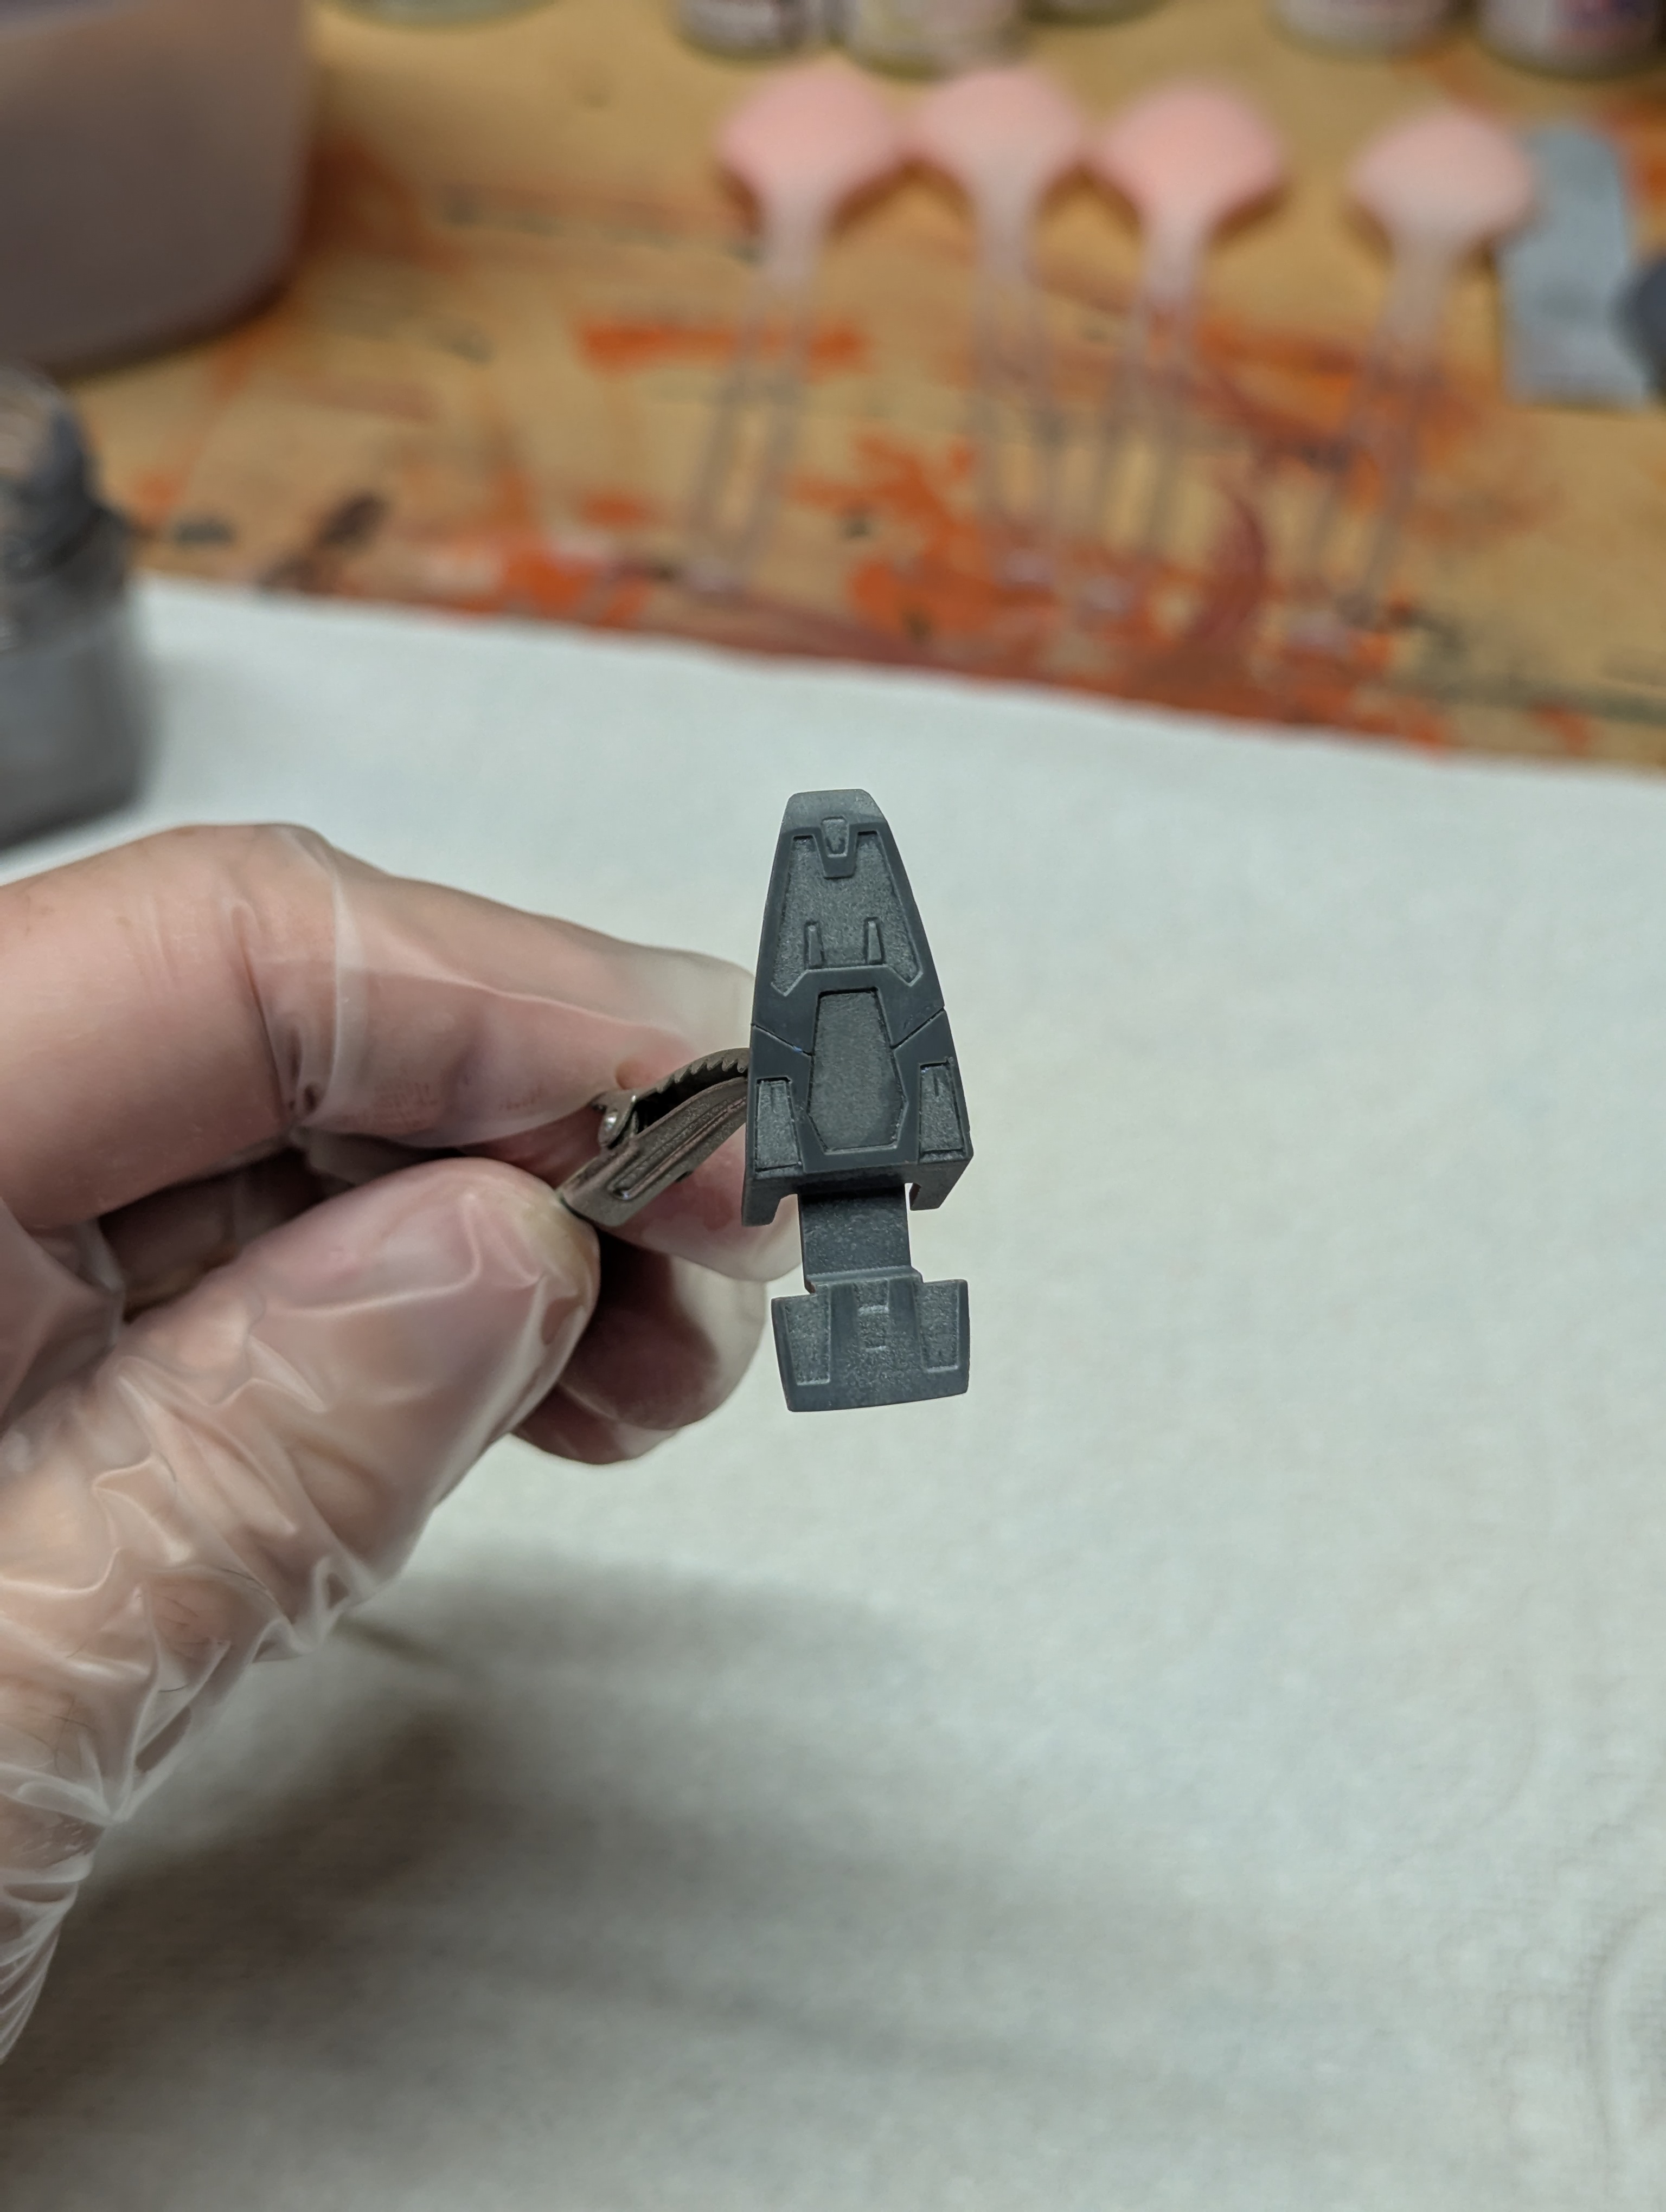
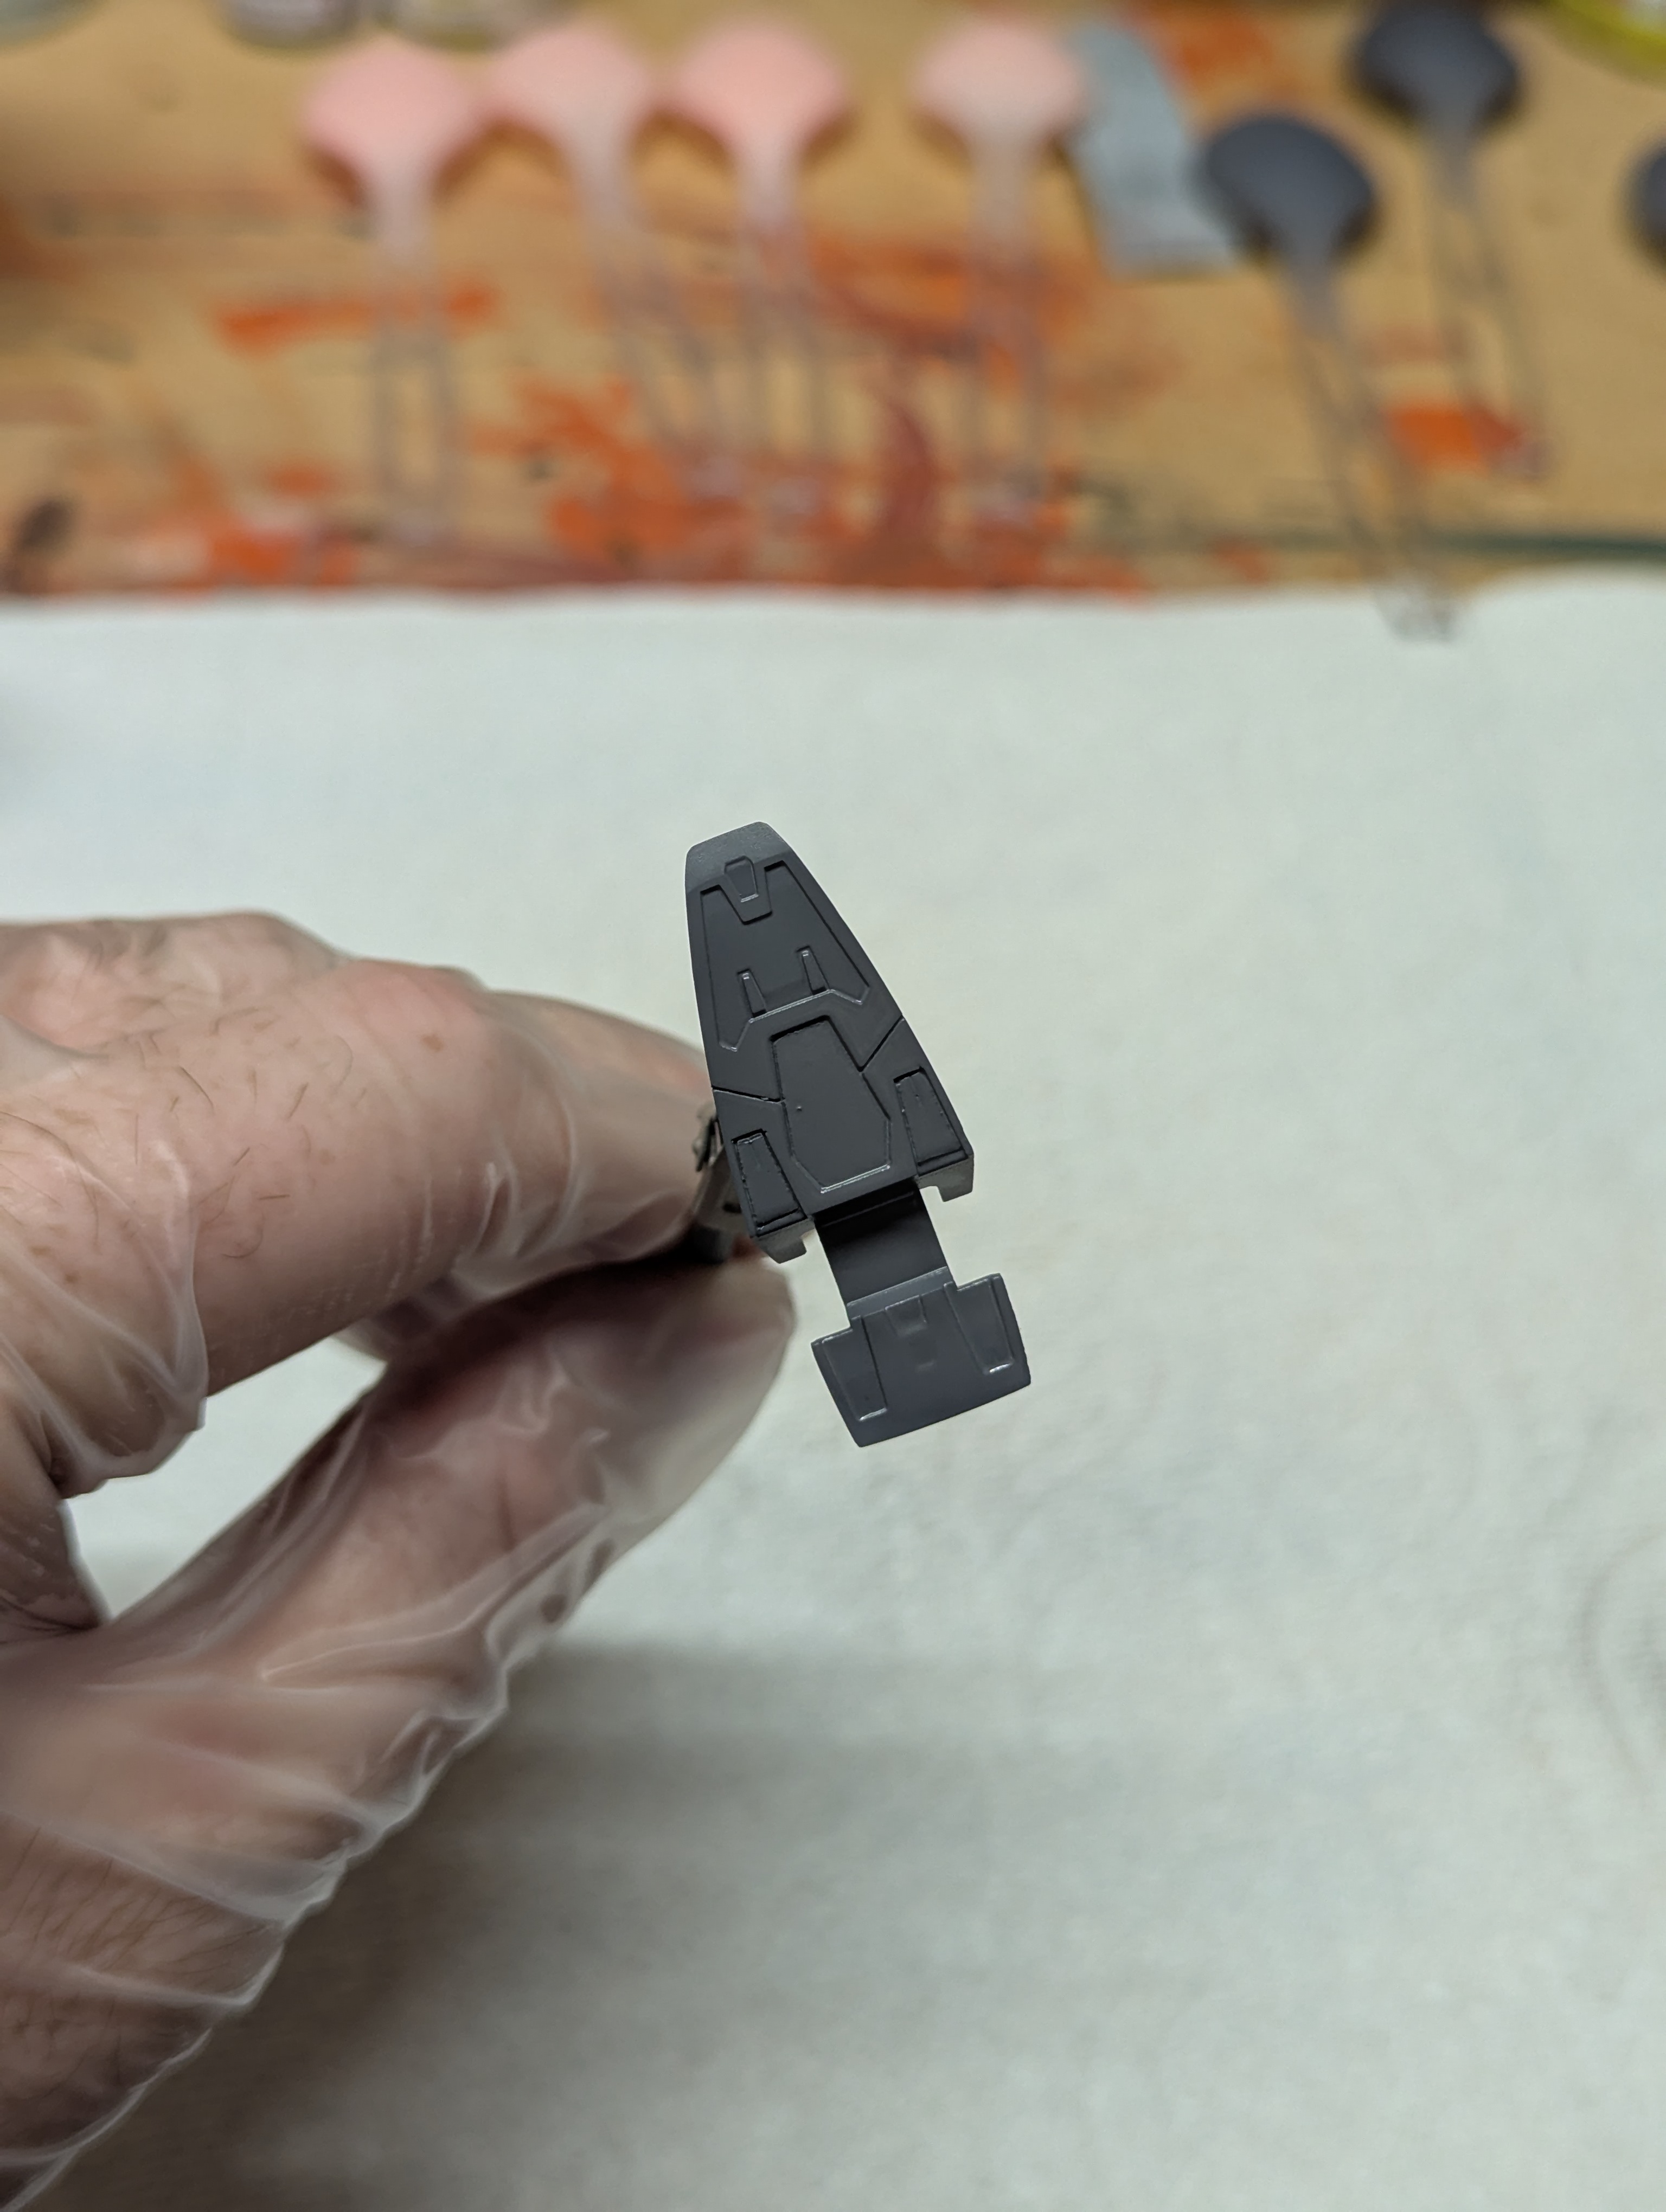
I had a little extra gray surfacer, and didn't want to waste it - so I primed the bottoms of the feet, just to try out paint on a real part.
After doing these, I was a sweaty mess since it was upwards of 90% humidity on a 90F day in the shed. I did want to try this out under challening humid conditions, though, since we routinely have them where I live - I didn't notice any ill effects, but we'll see how everything dries.
Upon drying, I could see a small difference between the "melted" surfaces from the previous paint, and the surfaces I was able to sand well - I'll just have to accept this to some degree and hope topcoating handles most of the texture difference, since I'm not going to sand every nook and cranny on this set.
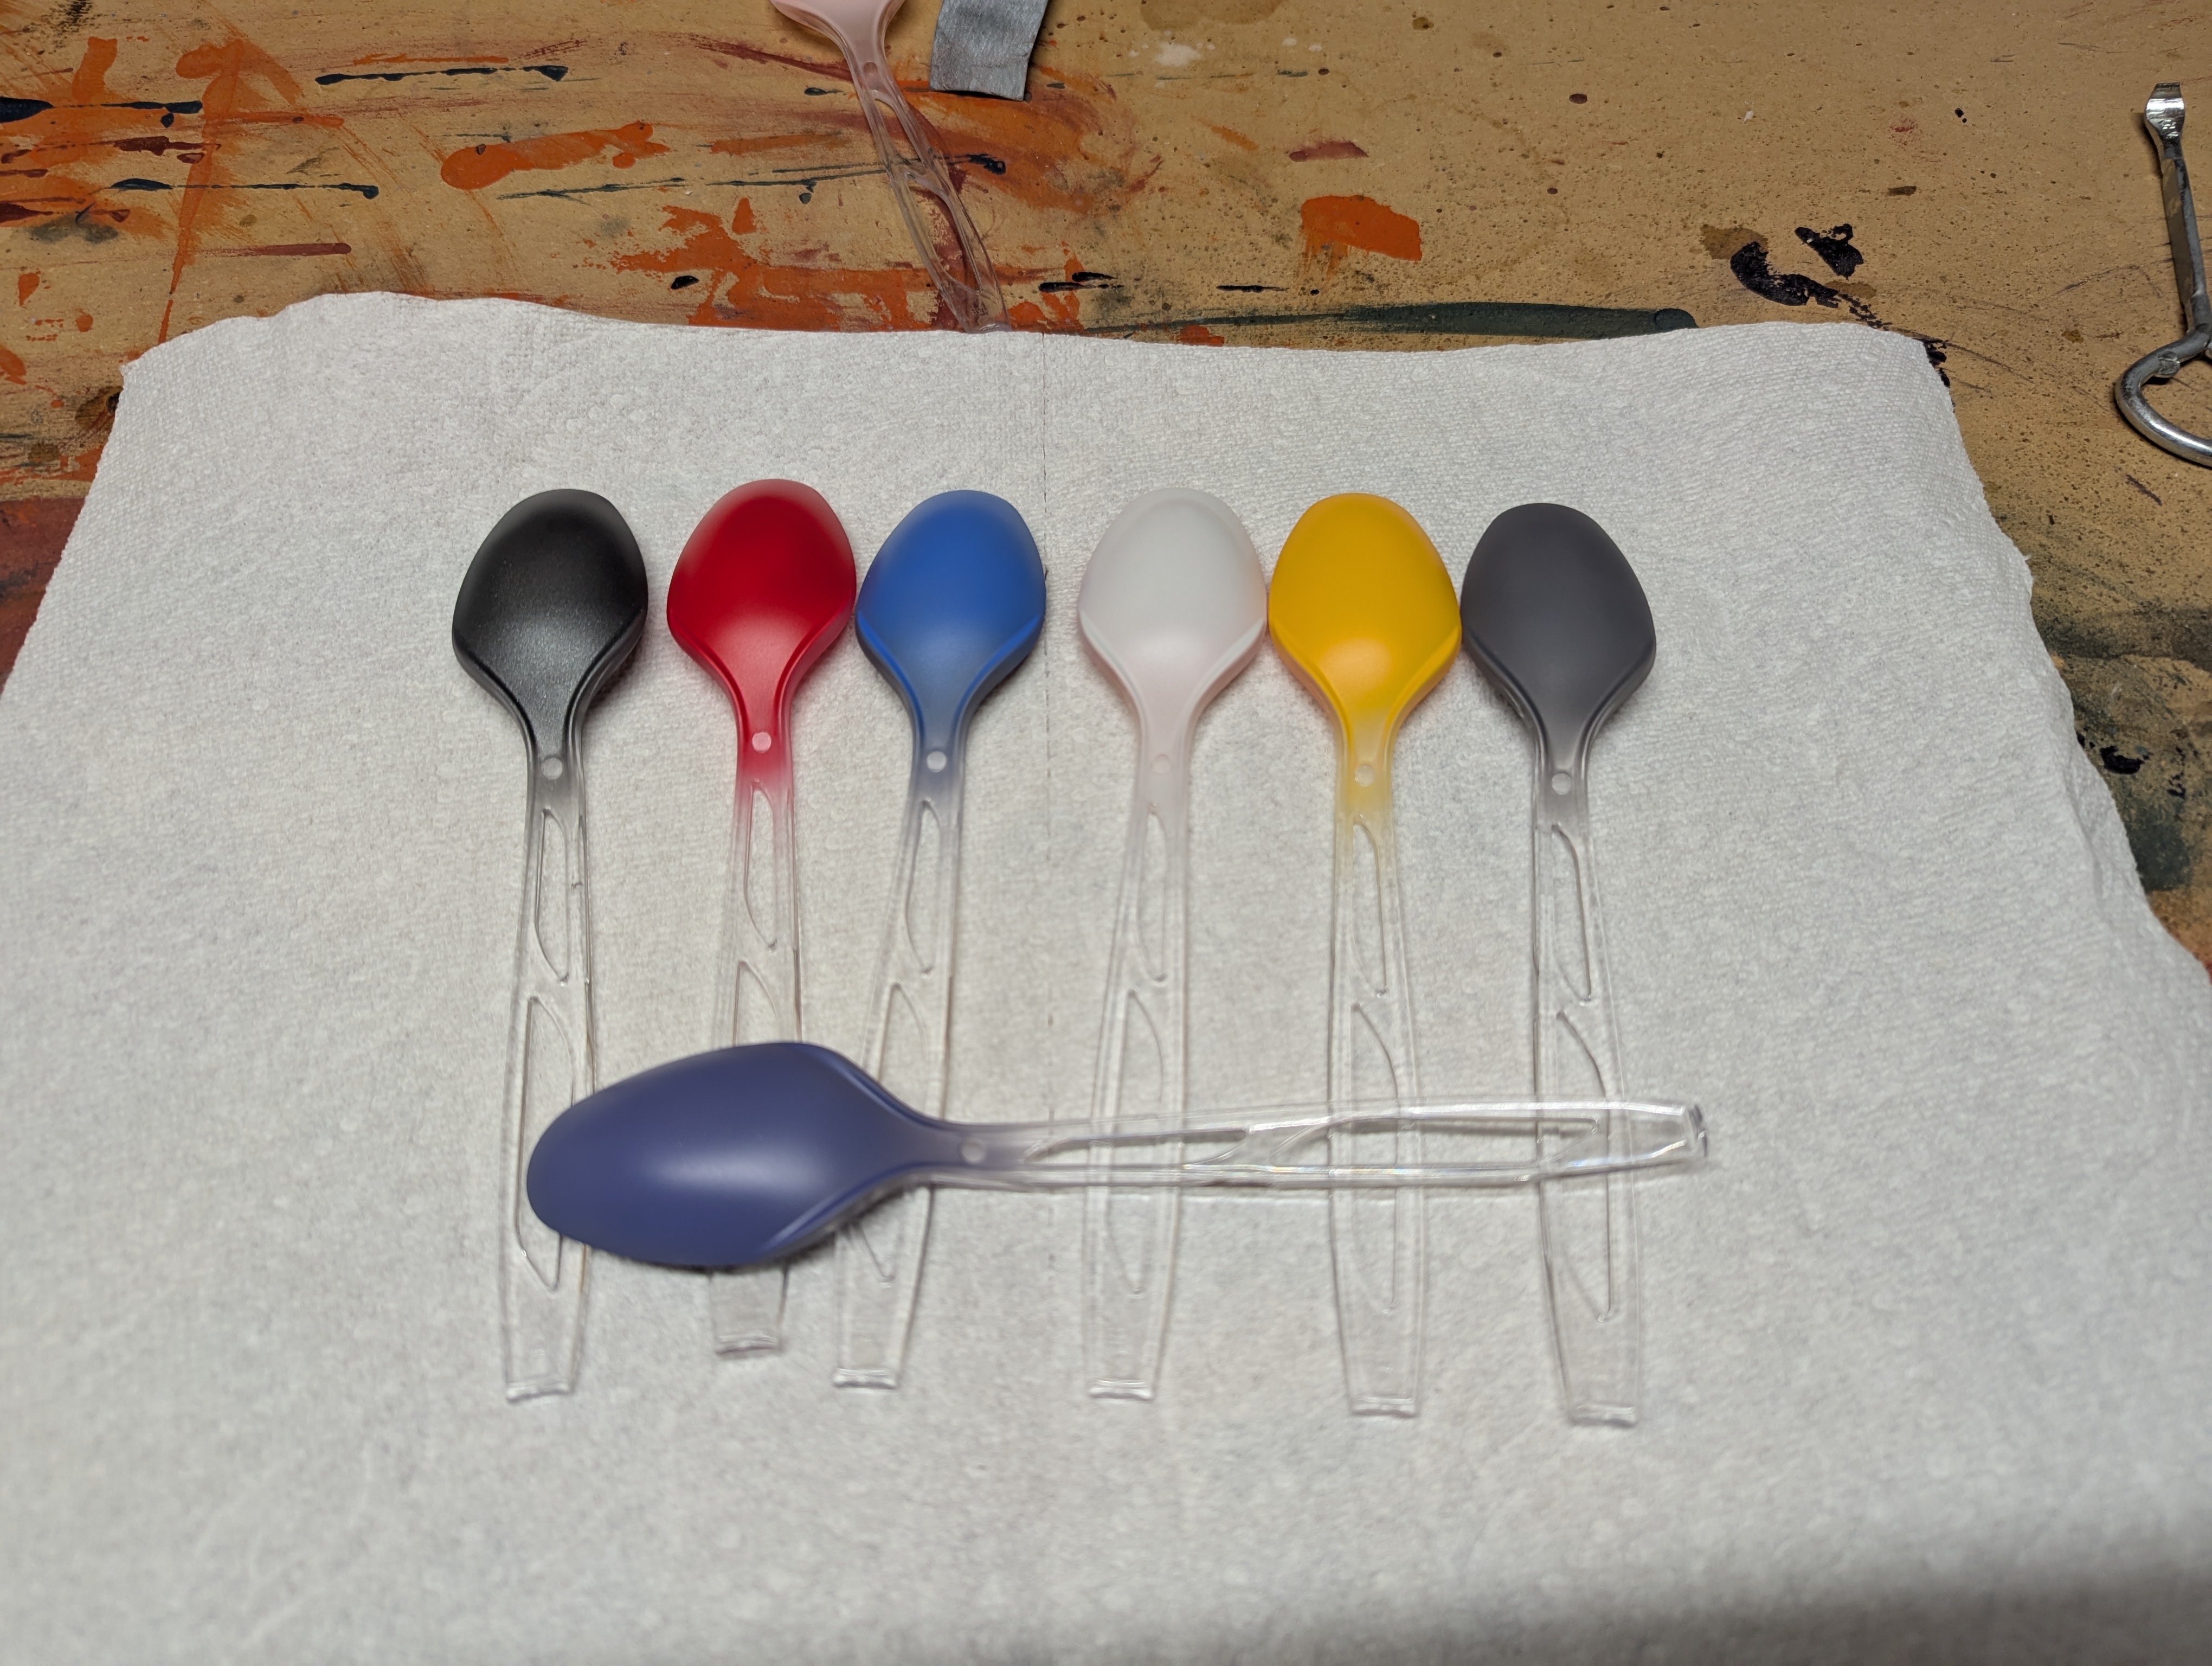
I'll end this post with a paint color comparison - all of the vertical spoons are the paint colors listed above, plus one that's bare gray primer. The horizontal spoon was an experimental mix between the light blue and red - probably about 80%/20% in ratio.
I like almost all of these - the yellow may be a little too pale for me, but I'll use it as-is and assess on the final product - the pink primer definitely helps it, though. The metallic dark gray (leftmost spoon) looks fine in this image, but I ended up really disliking the metallic flecks. Rather than looking believably metallic, it just... looks like metallic paint. (Yes, I know, this is what it is, but it's just not the look.) I'll just use the gray primer for my frame parts and leave the dark gray for another day, I think.
The experimental mix ended up being more gray than I liked, but I was encouraged by the ability of the paints to mix well. I could see myself doing light tint up/down for color variation in the future - just not on this kit. I'll stick to the pure light blue for now.
Date Posted: July 10, 2025
Progress Update 4
Alright, painting [2]!
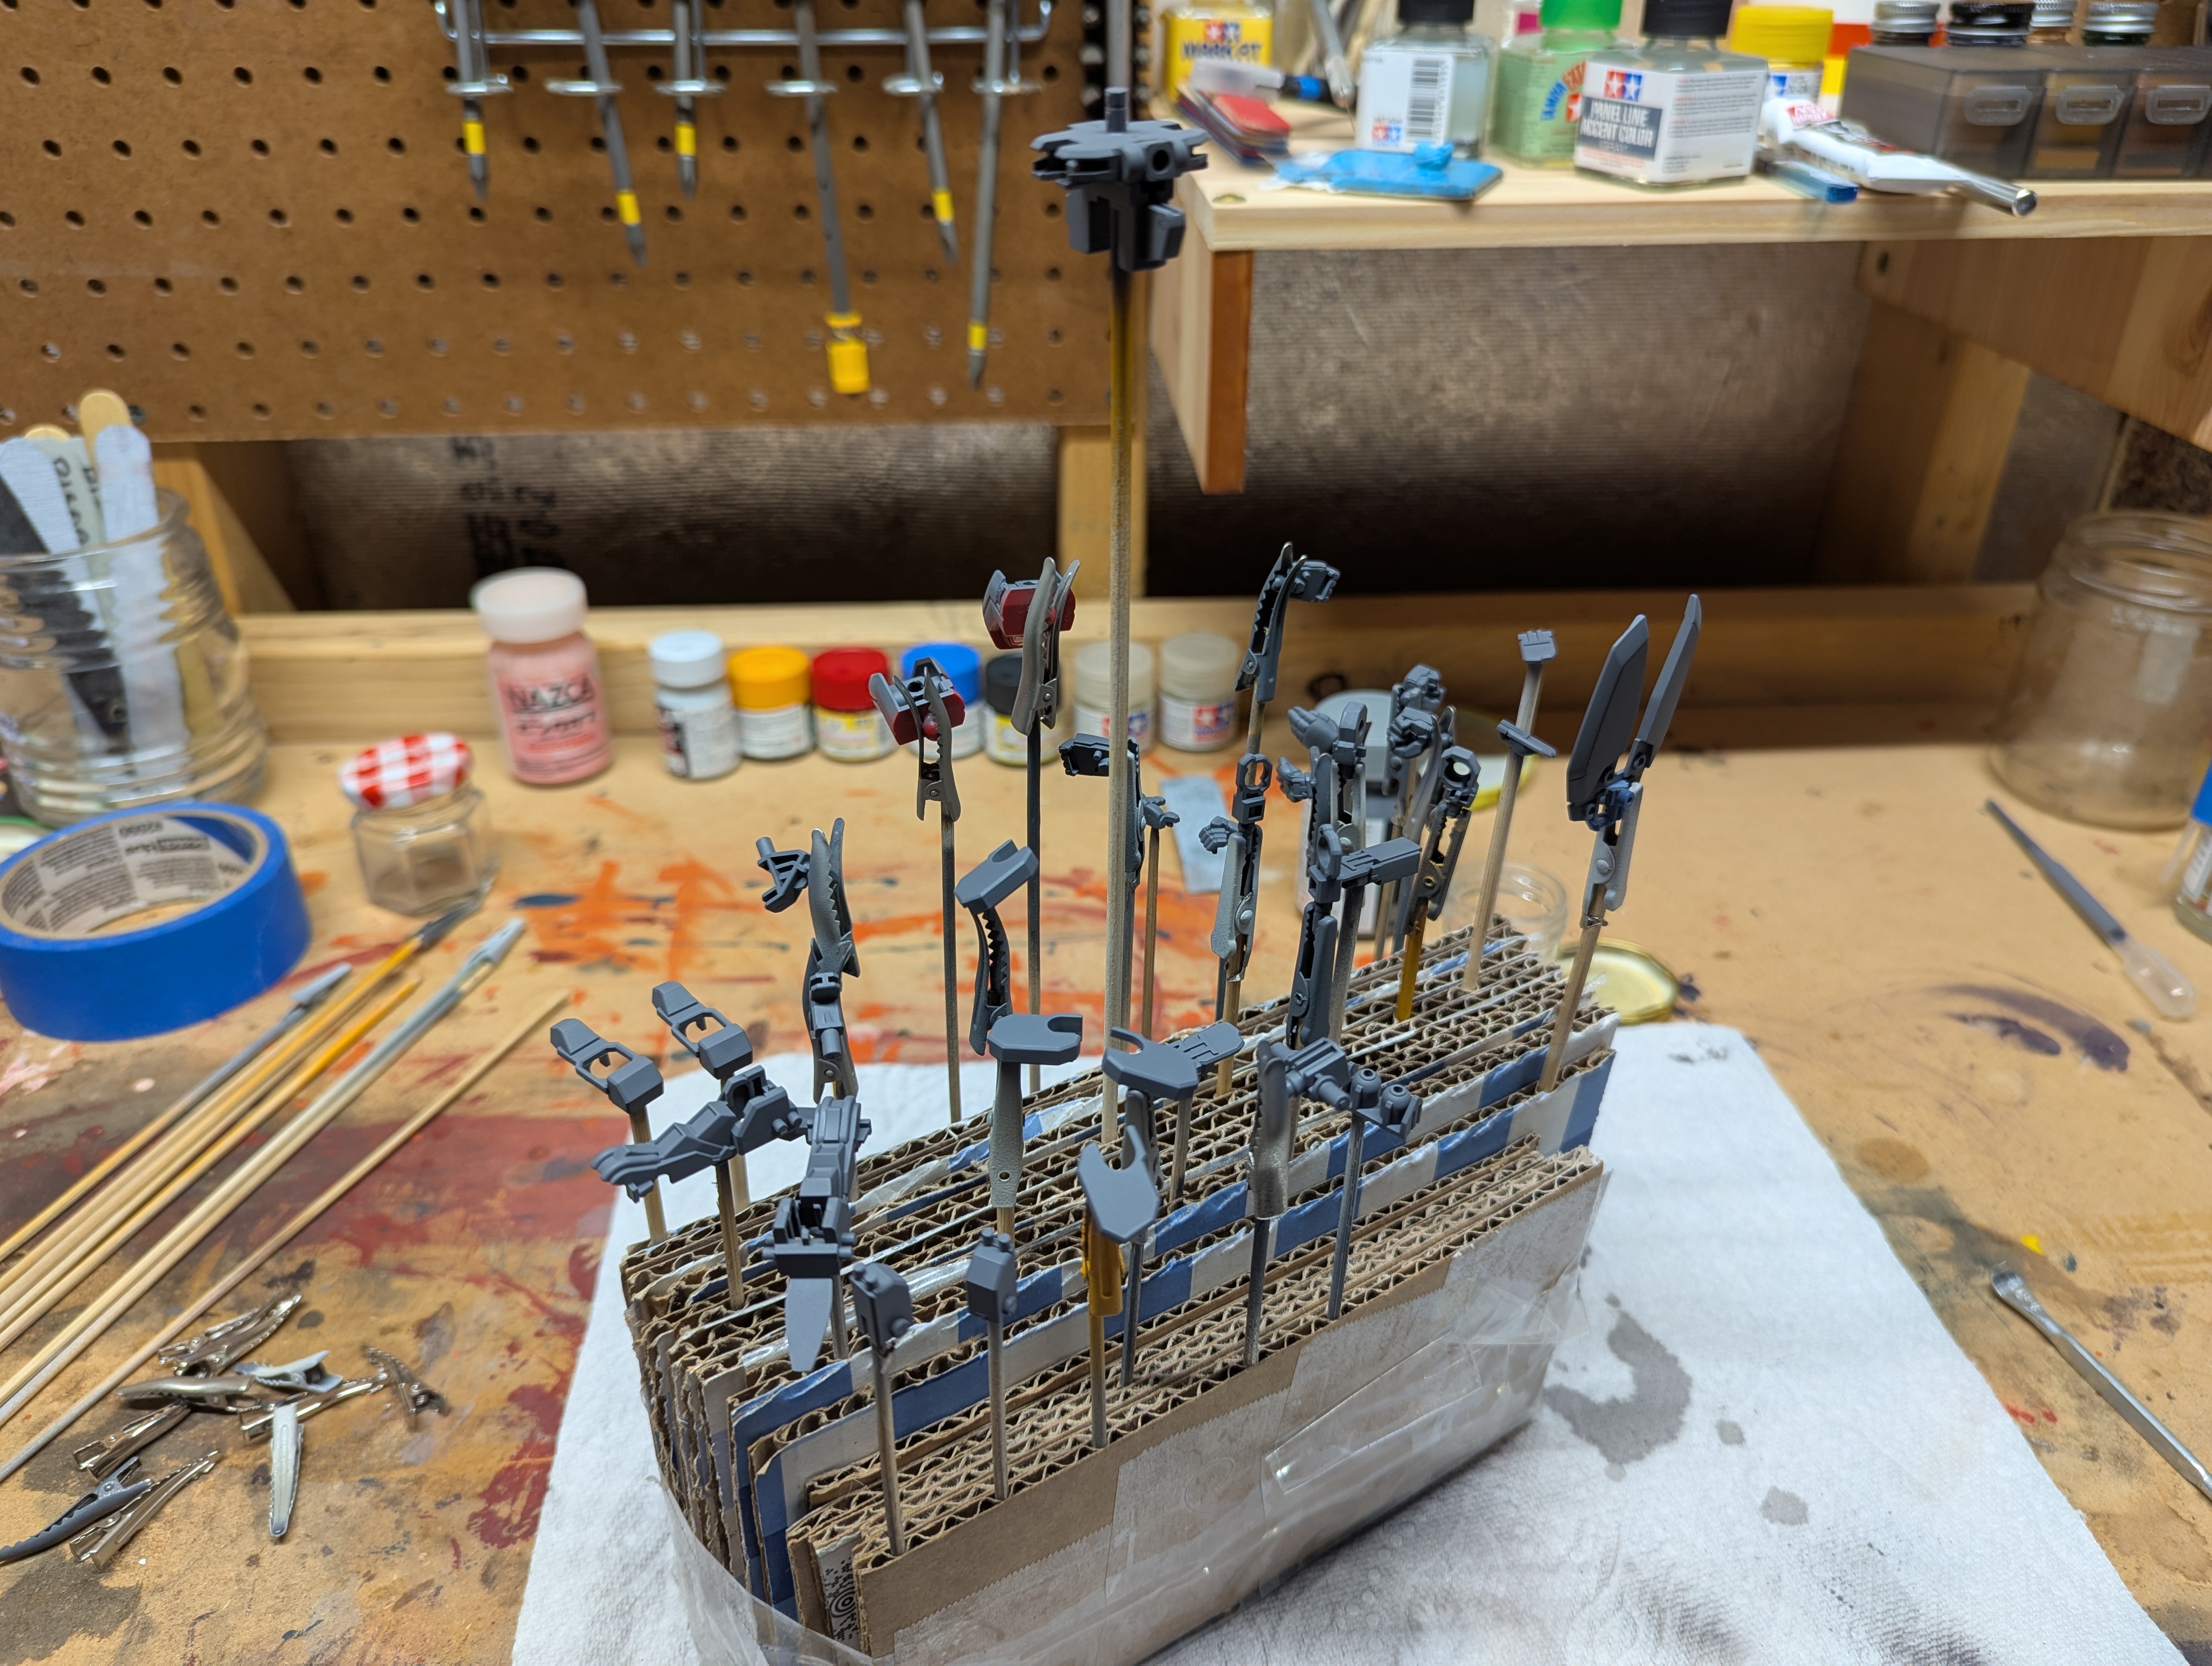
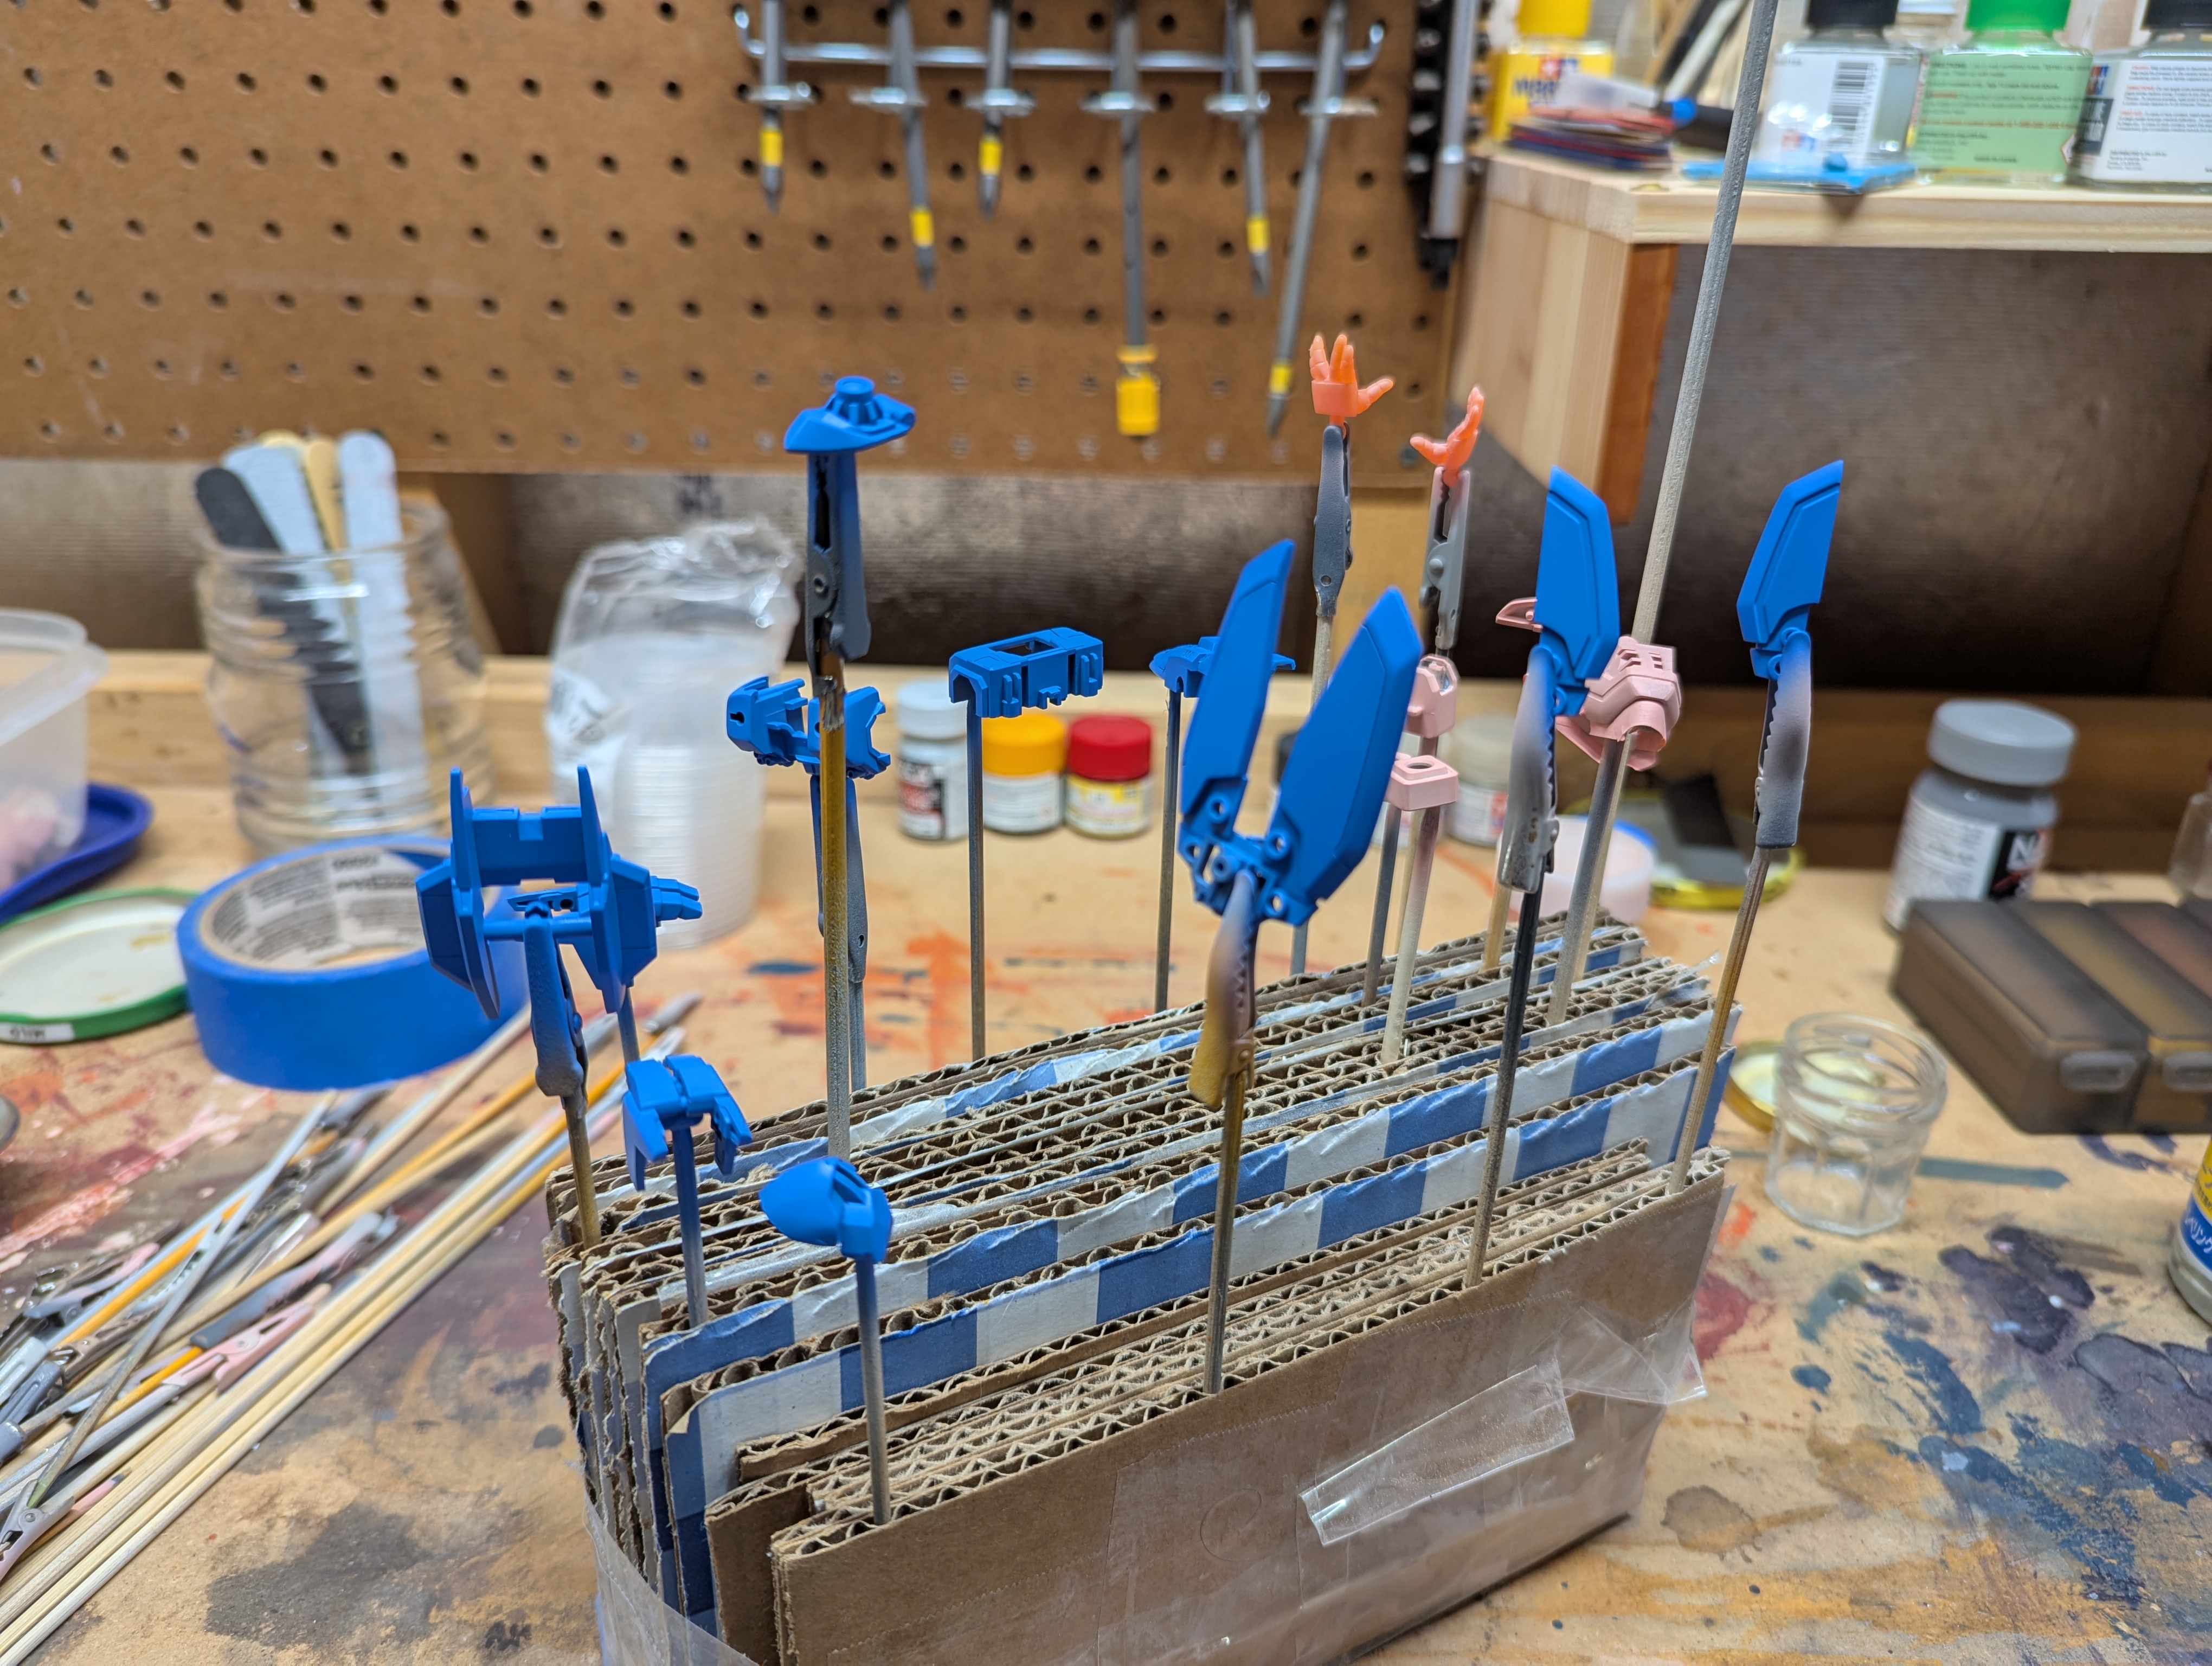
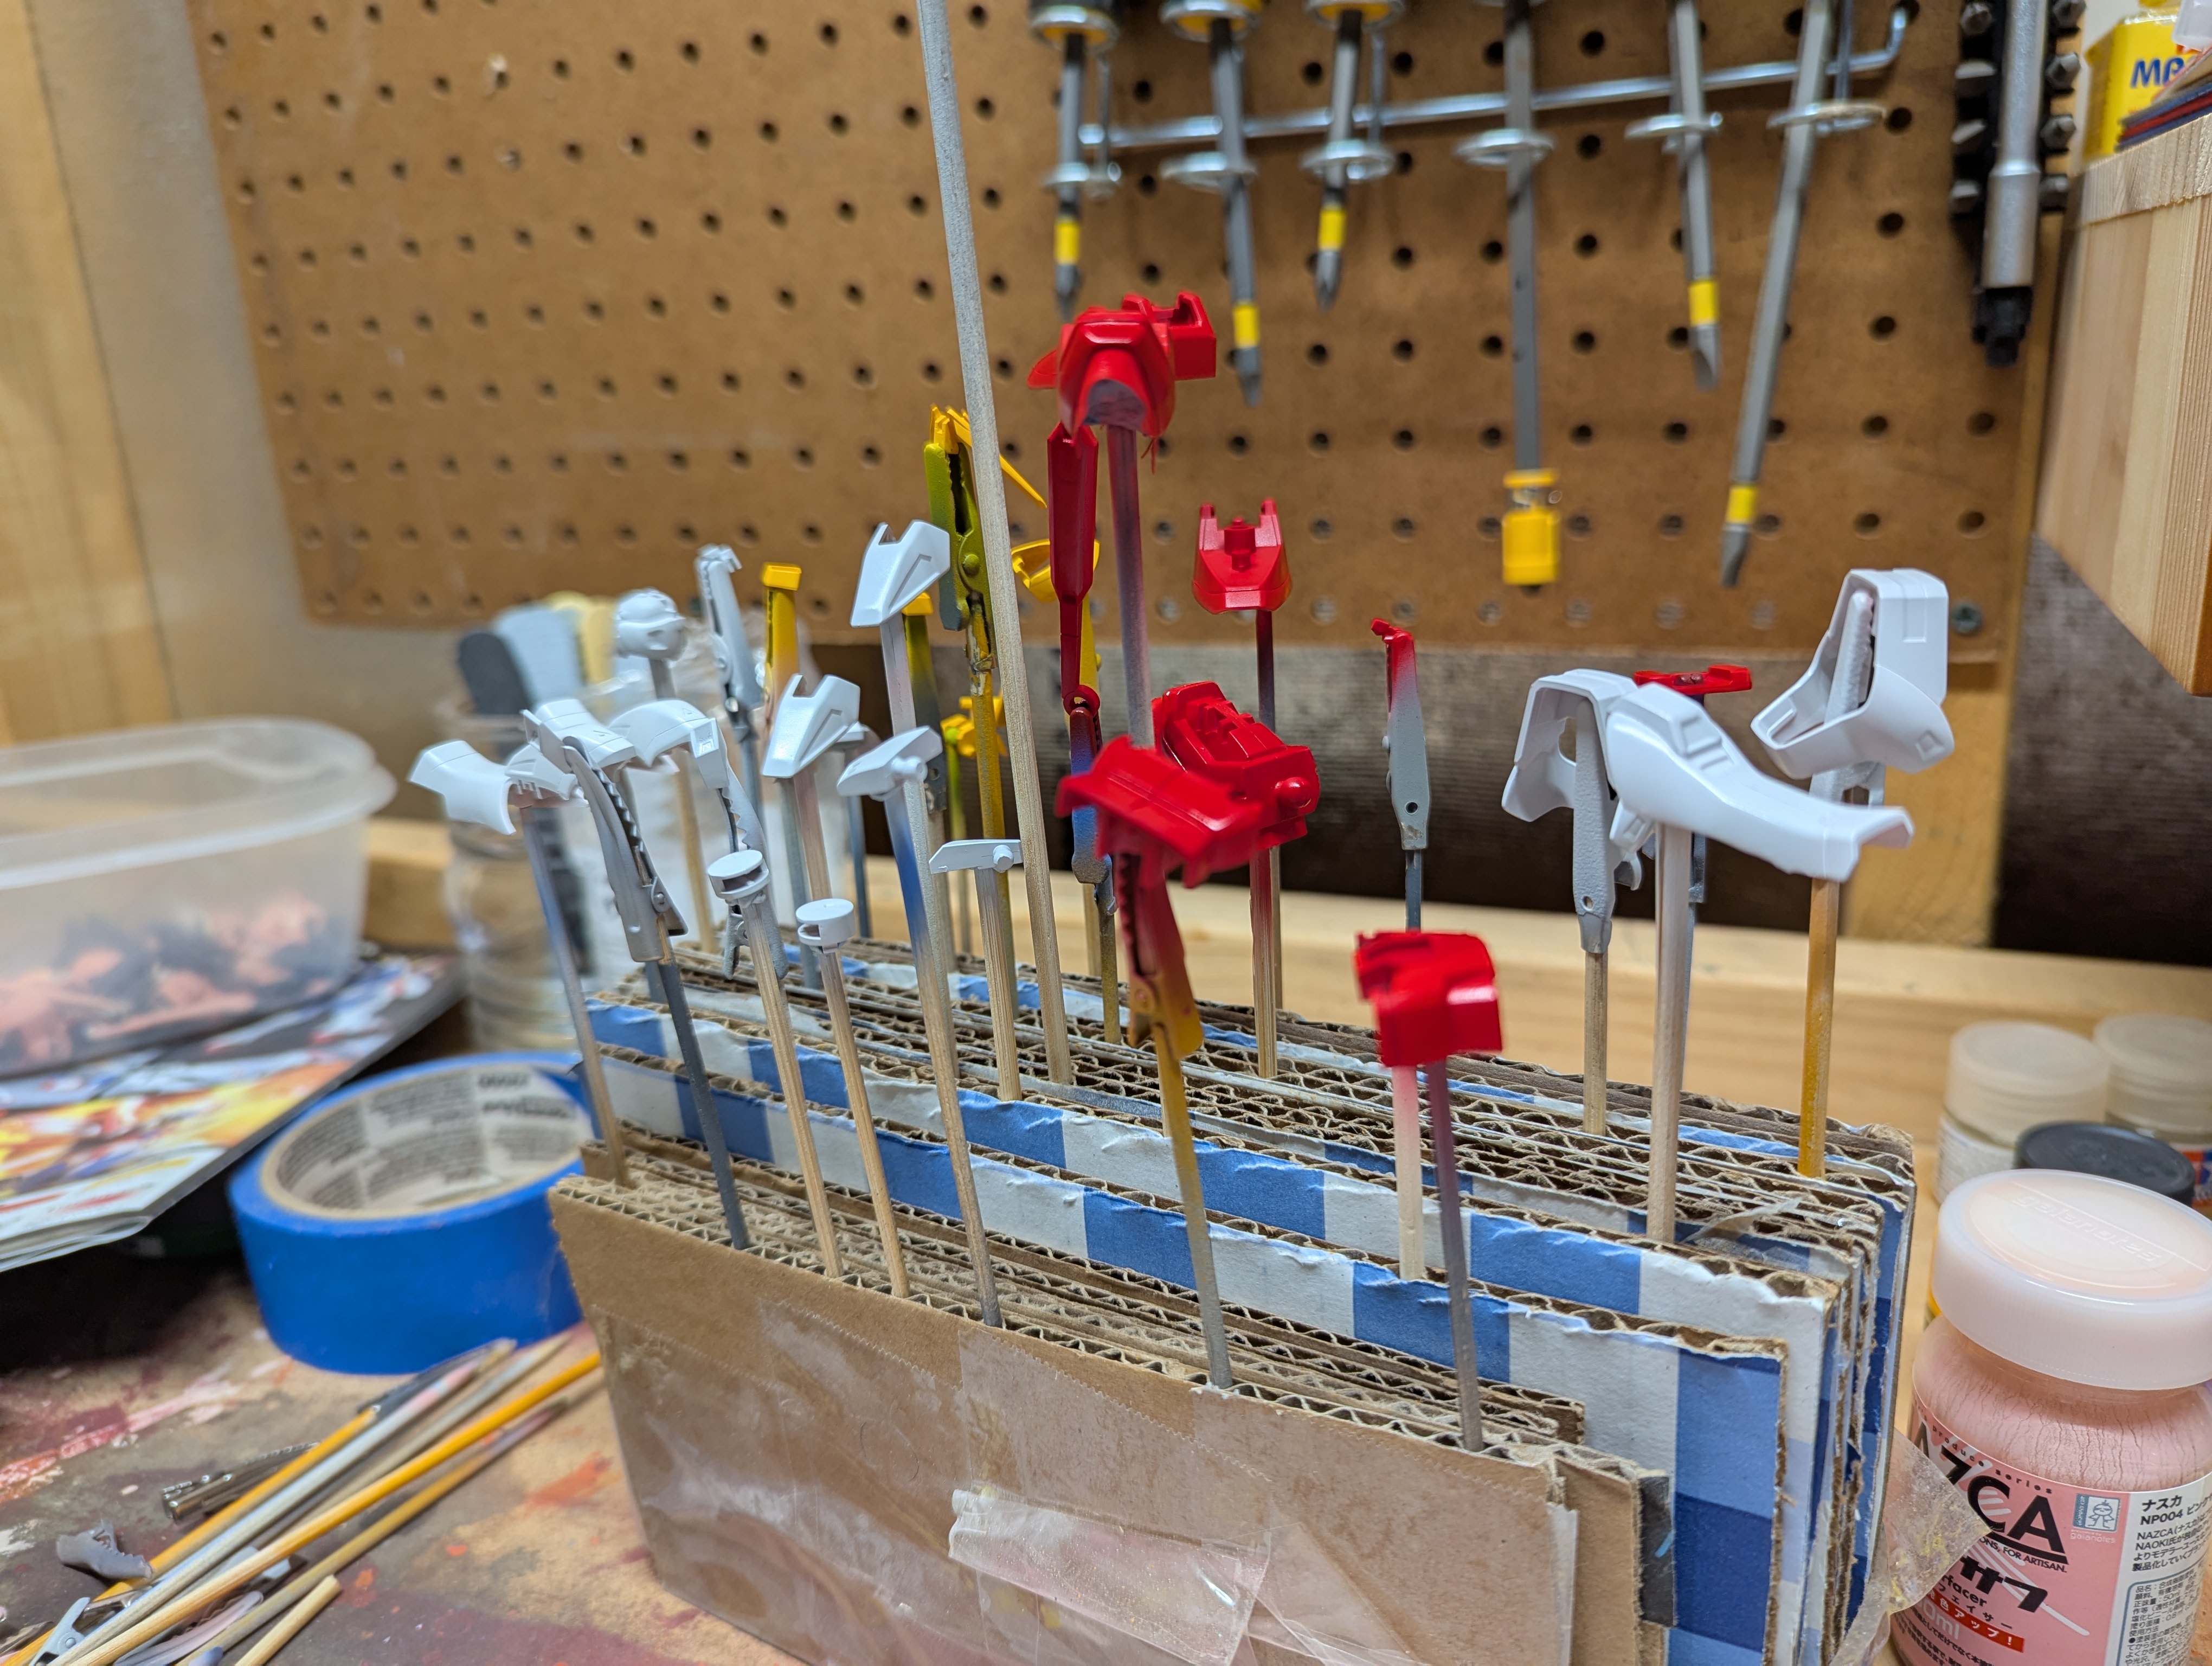
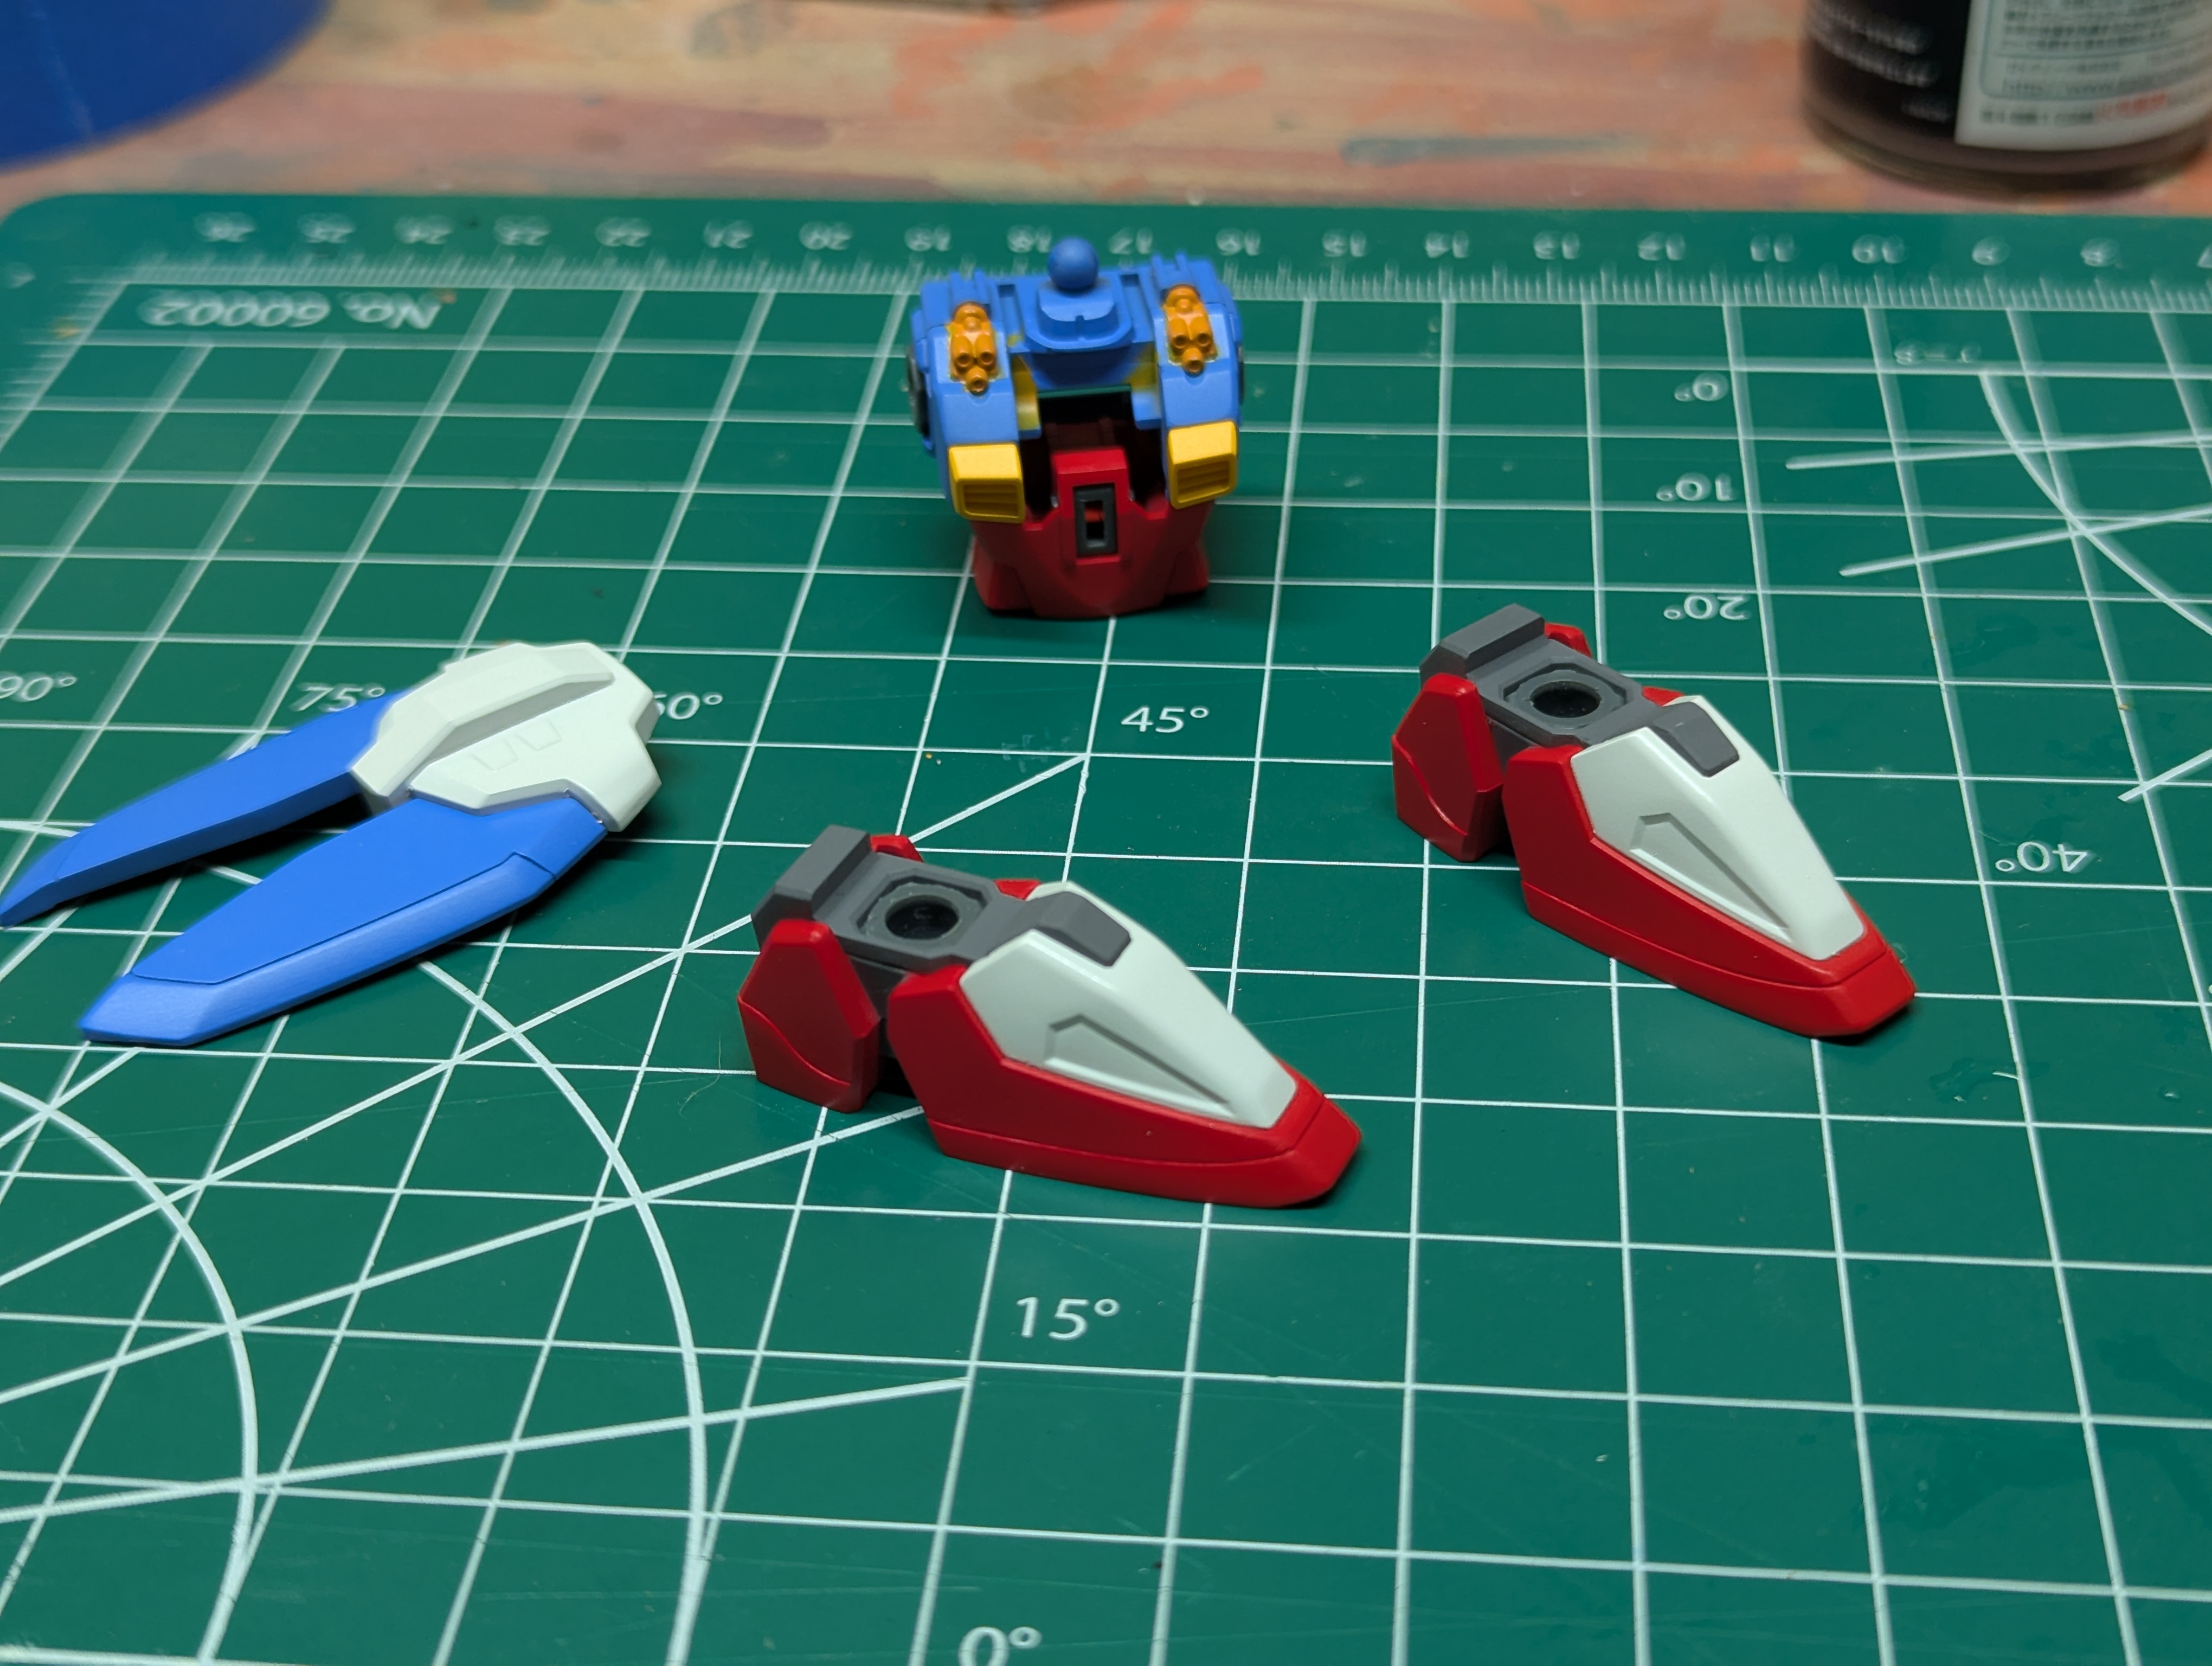
I'll dump some photos, then offer thoughts.
Painting with the airbrush is time-consuming - there's a lot more setup time (mixing paint and thinner) and a lot more breakdown time (cleaning the airbrush). But so far it's been more manageable than I thought it would, as long as I minimize color changes during a session. Doing two colors is fine, but three or four start to get pretty tedious.
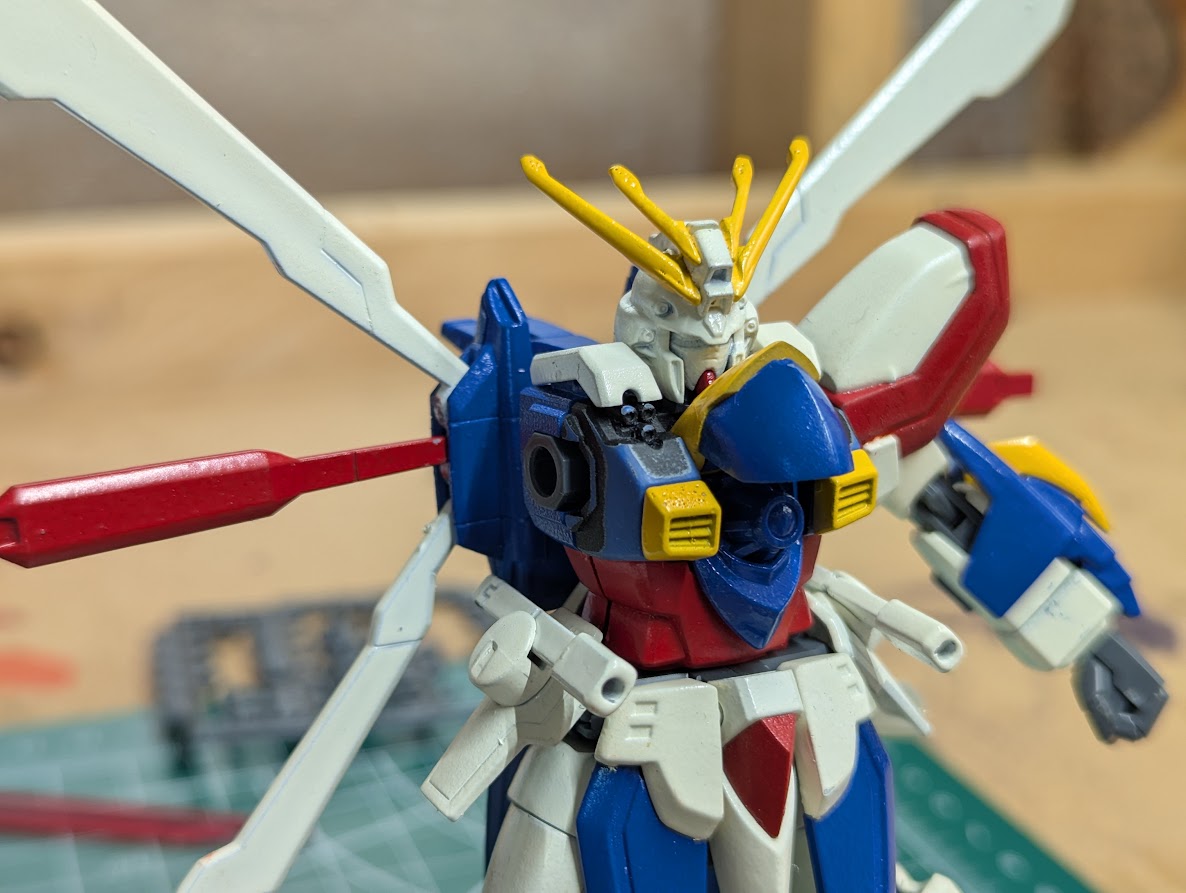
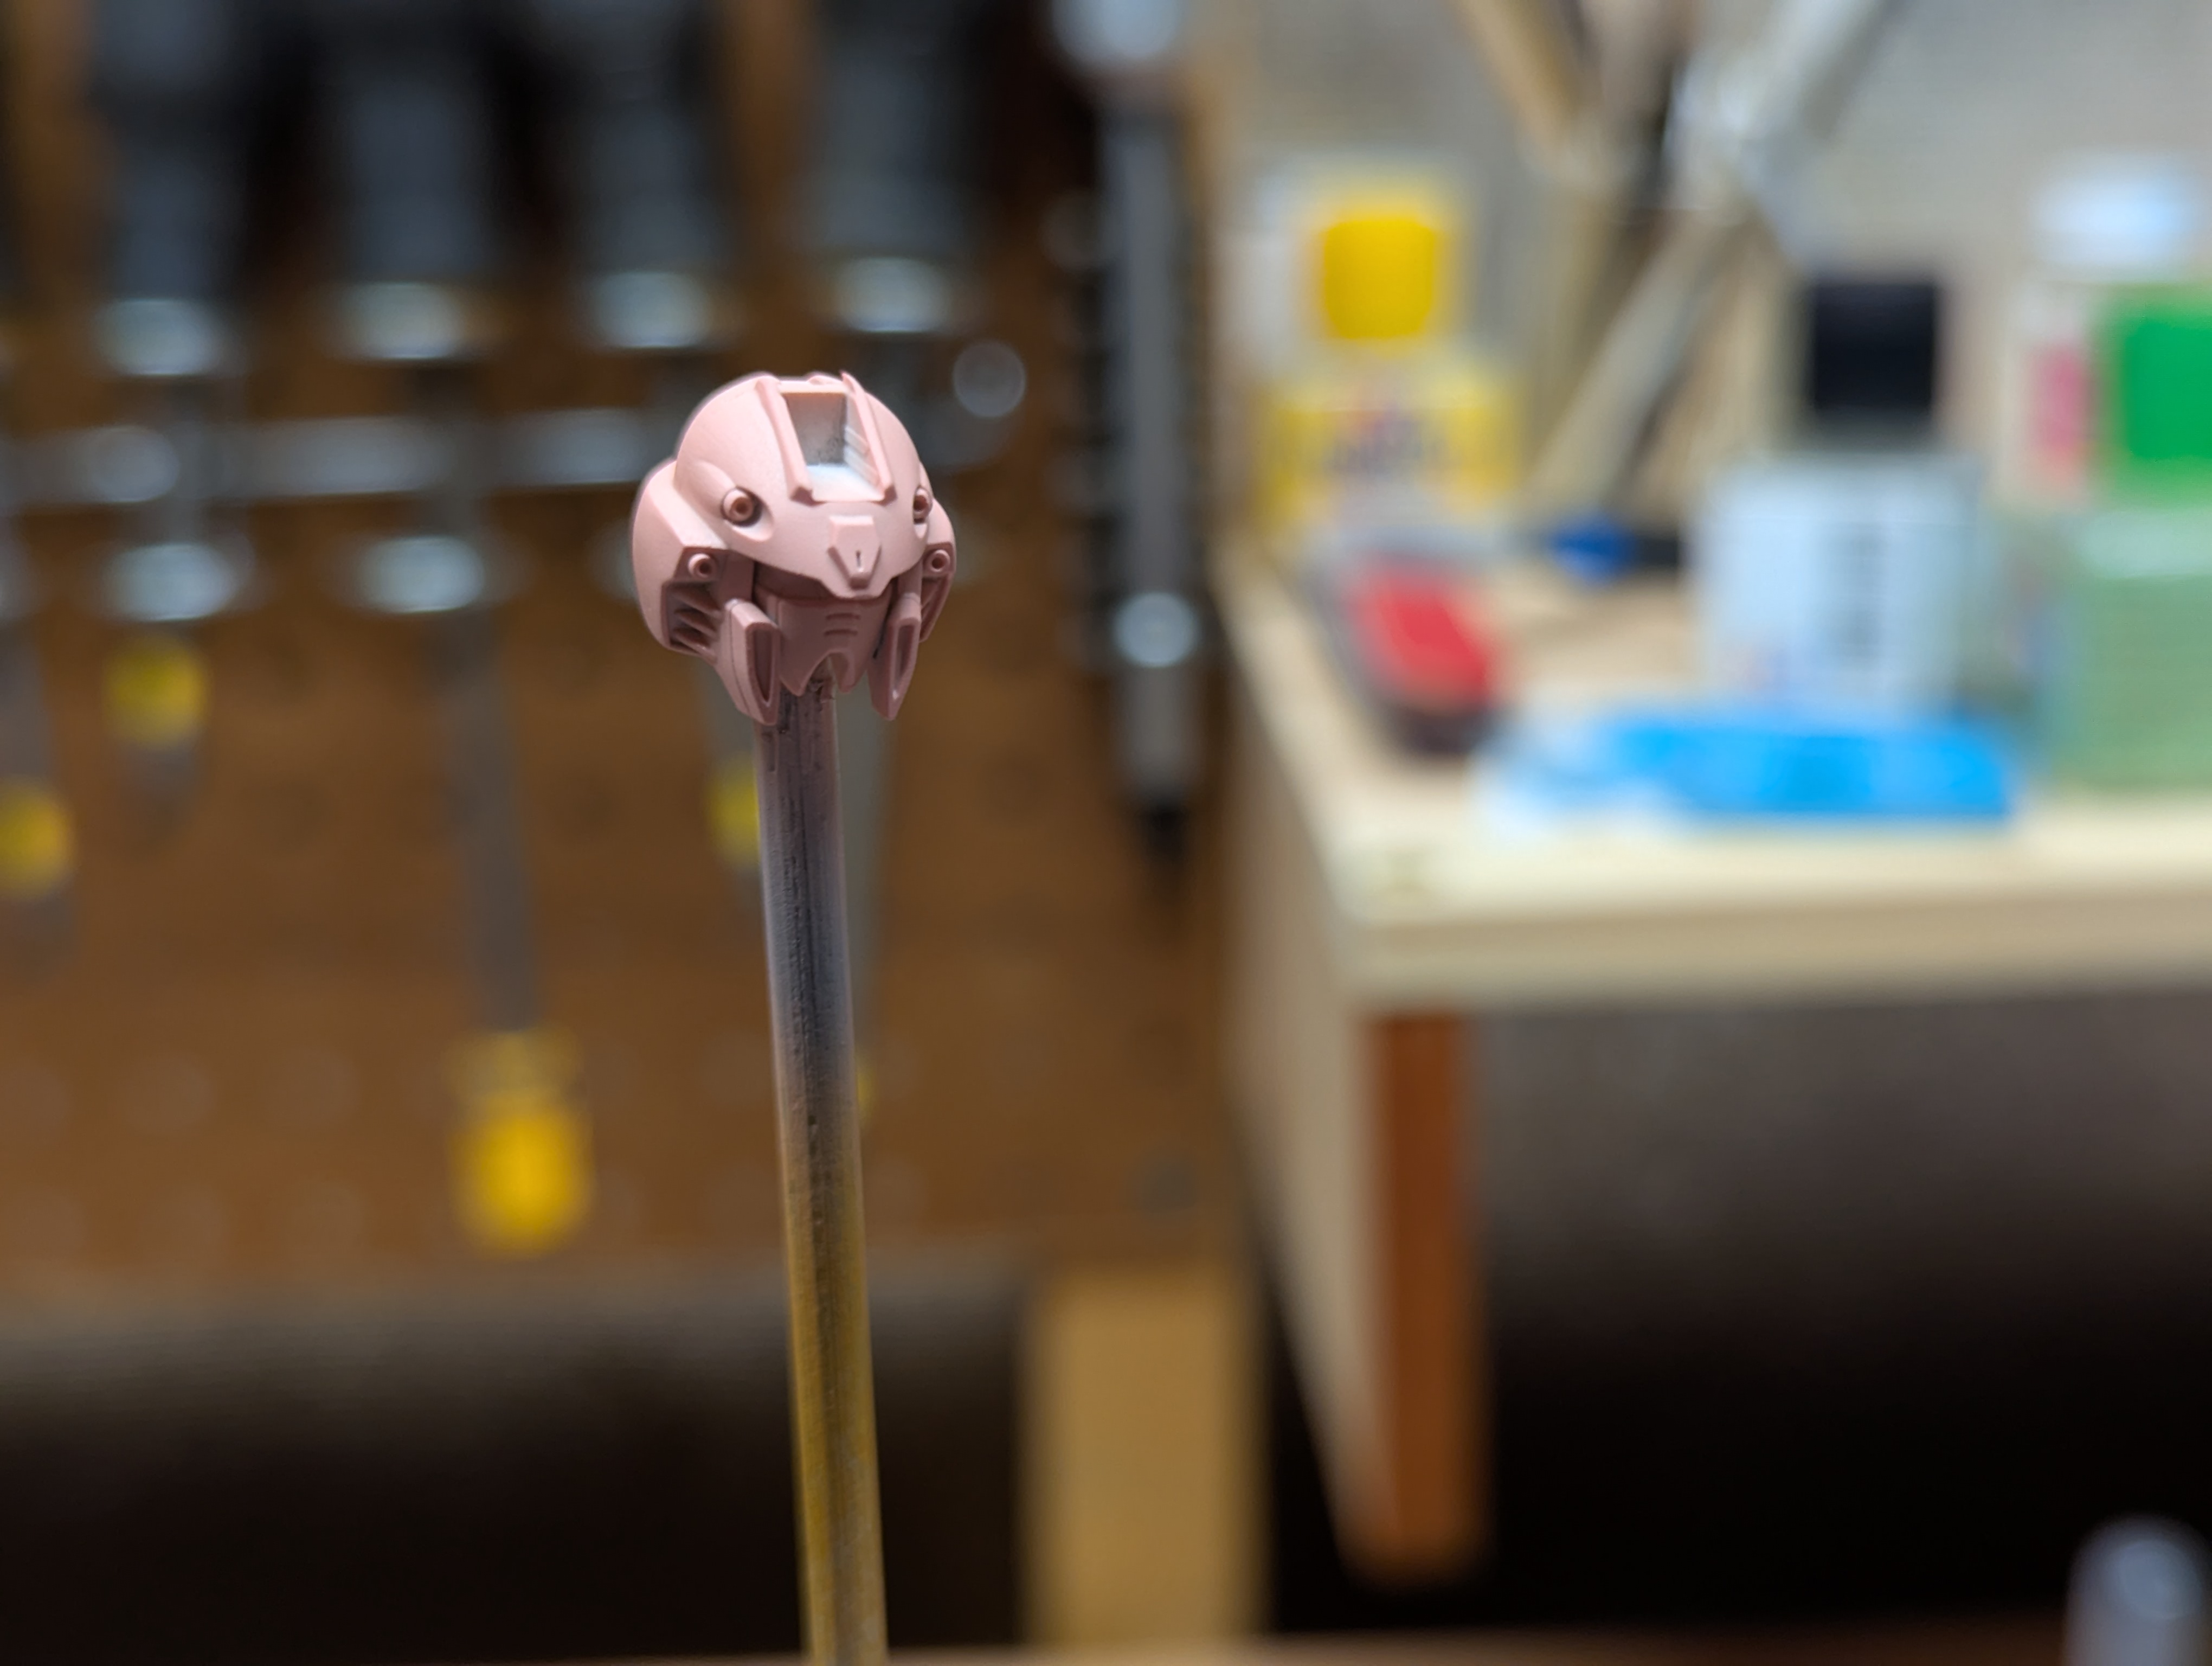
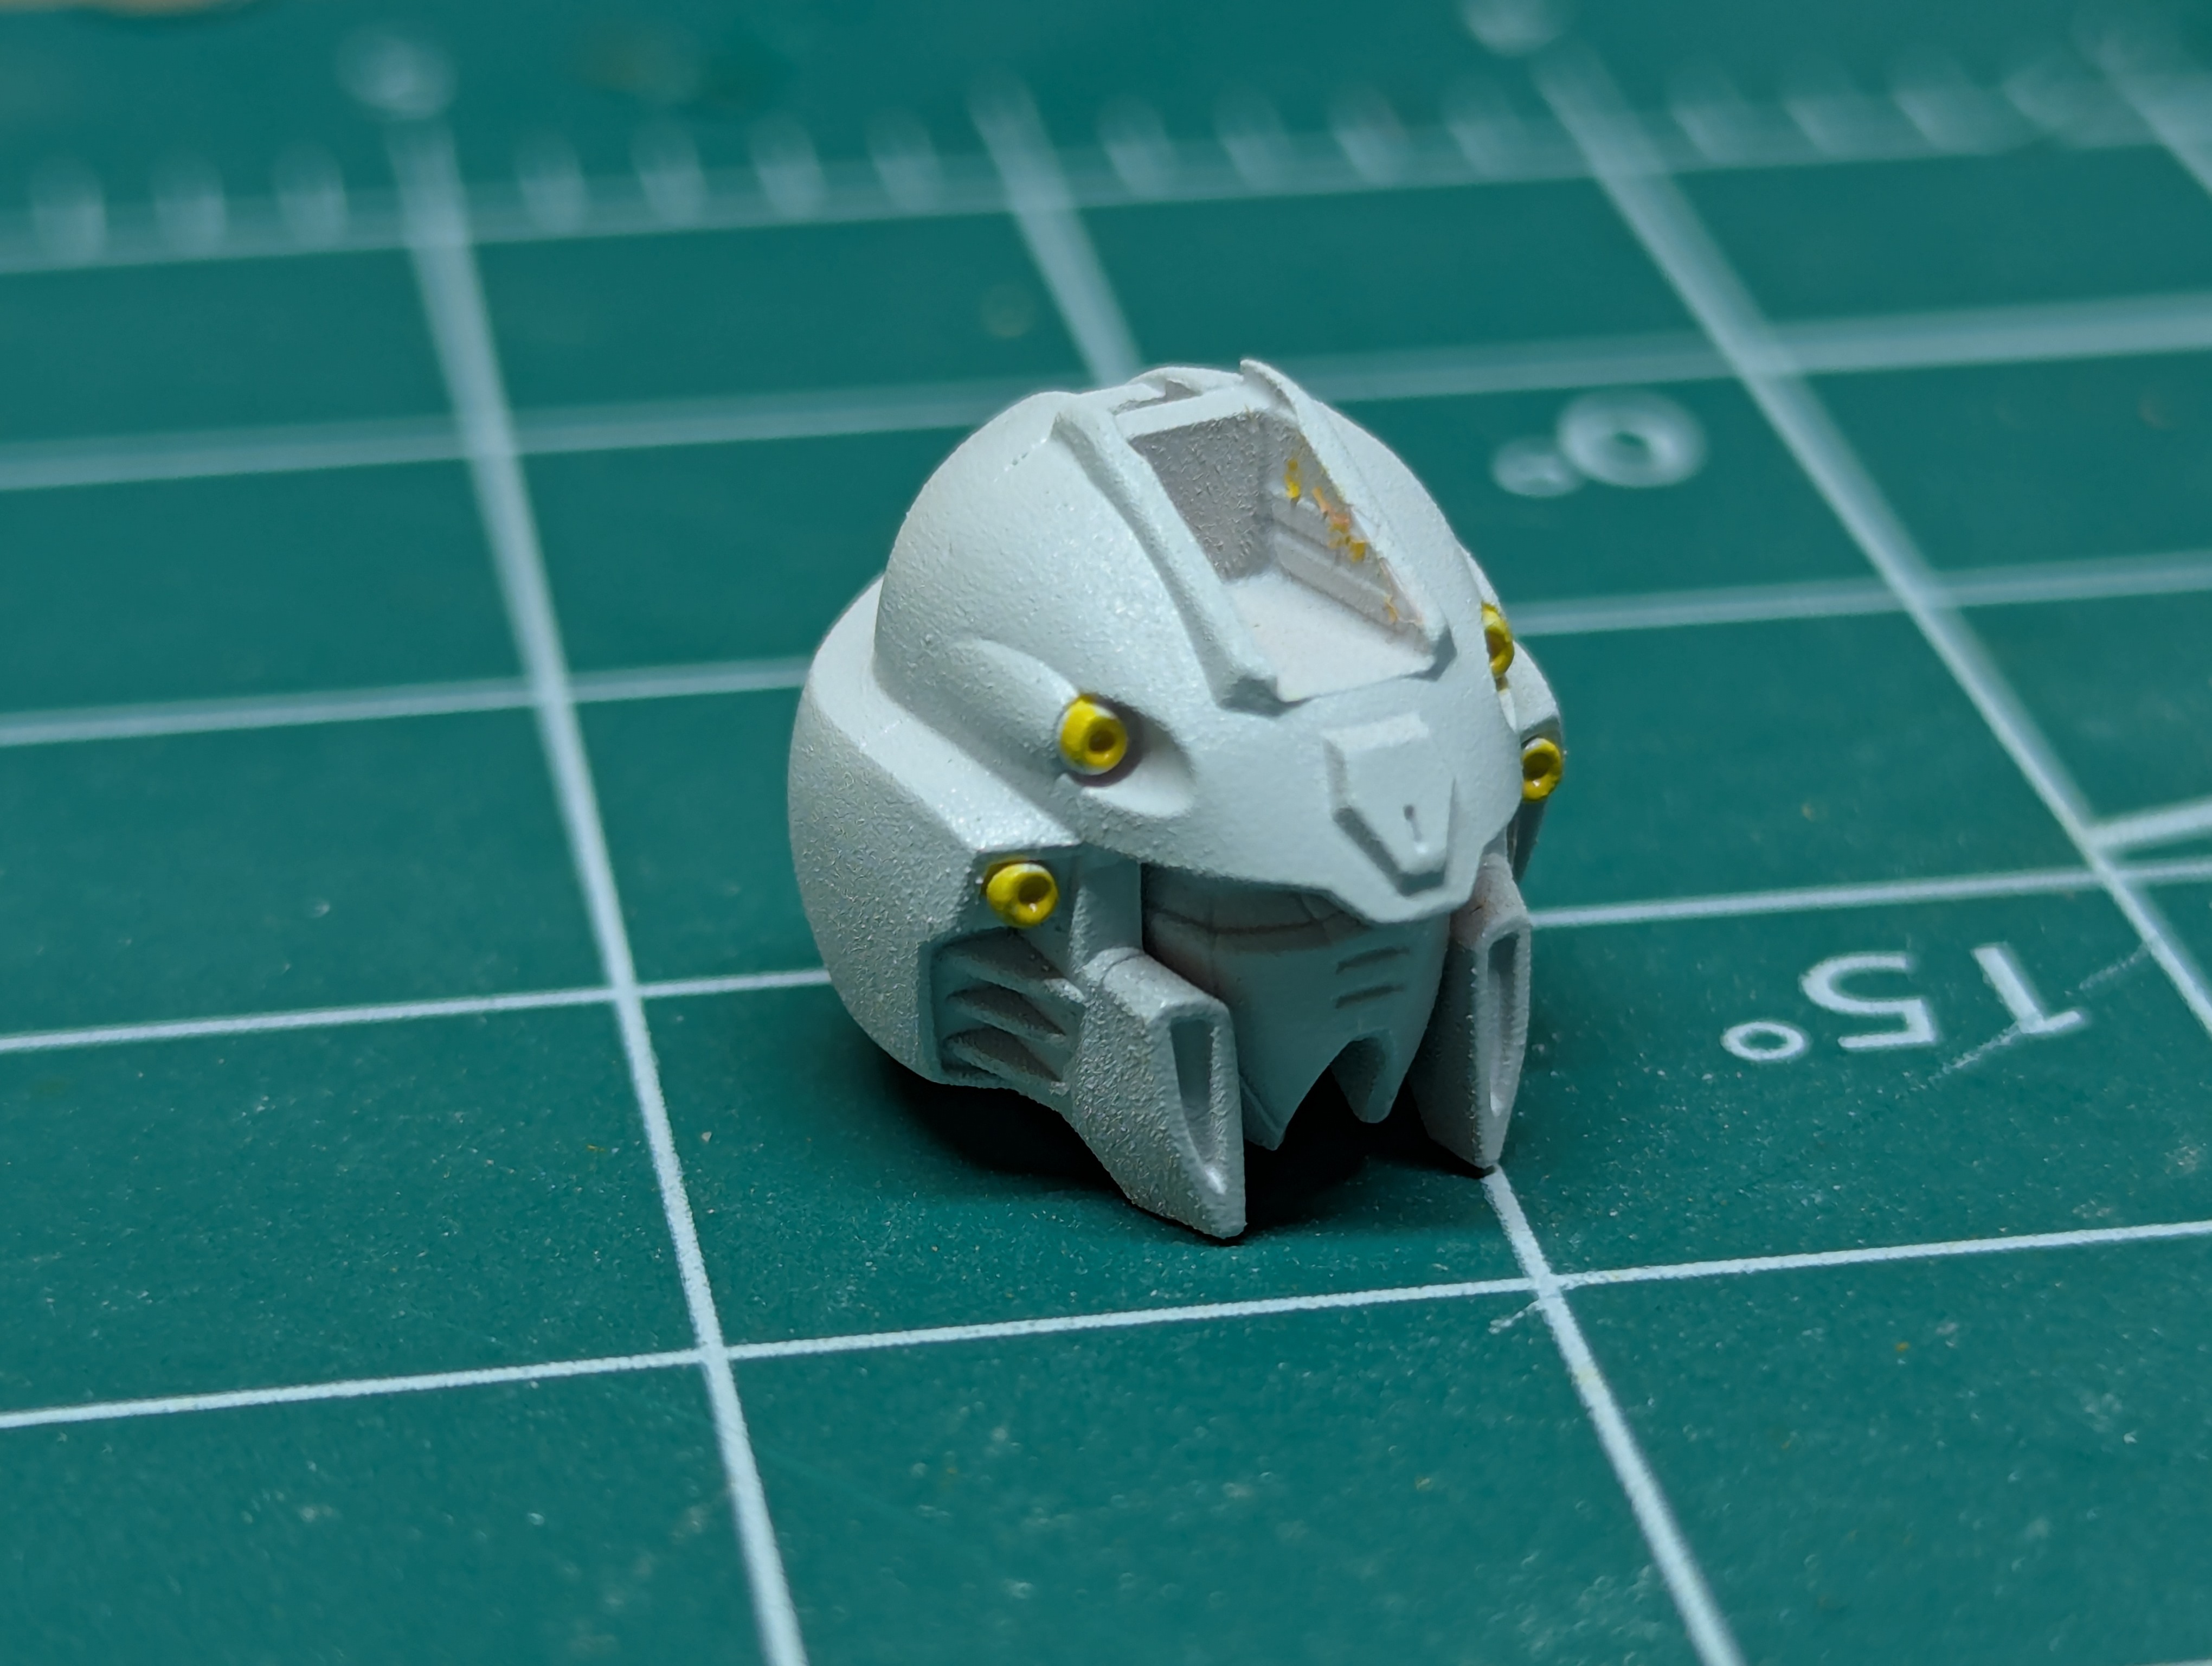
I'm impressed by the Mr. Hobby colors. The NAZCA white seemed to go on a little powdery - but it leveled really well on every part except the head when it was done. This could have been because of tip dry though - I painted that at the end of a very long paint session. I think I can just rub it down with some high grit paper, coat again, and be pretty happy though. Getting an even coat that covered the primer was also more difficult with the white, but I think this is more due to white as a color than anything brand-related.
I can still see some surface imperfections caused by the old paint - but again, this just isn't going to be that perfect. Skill building is the goal of this project.
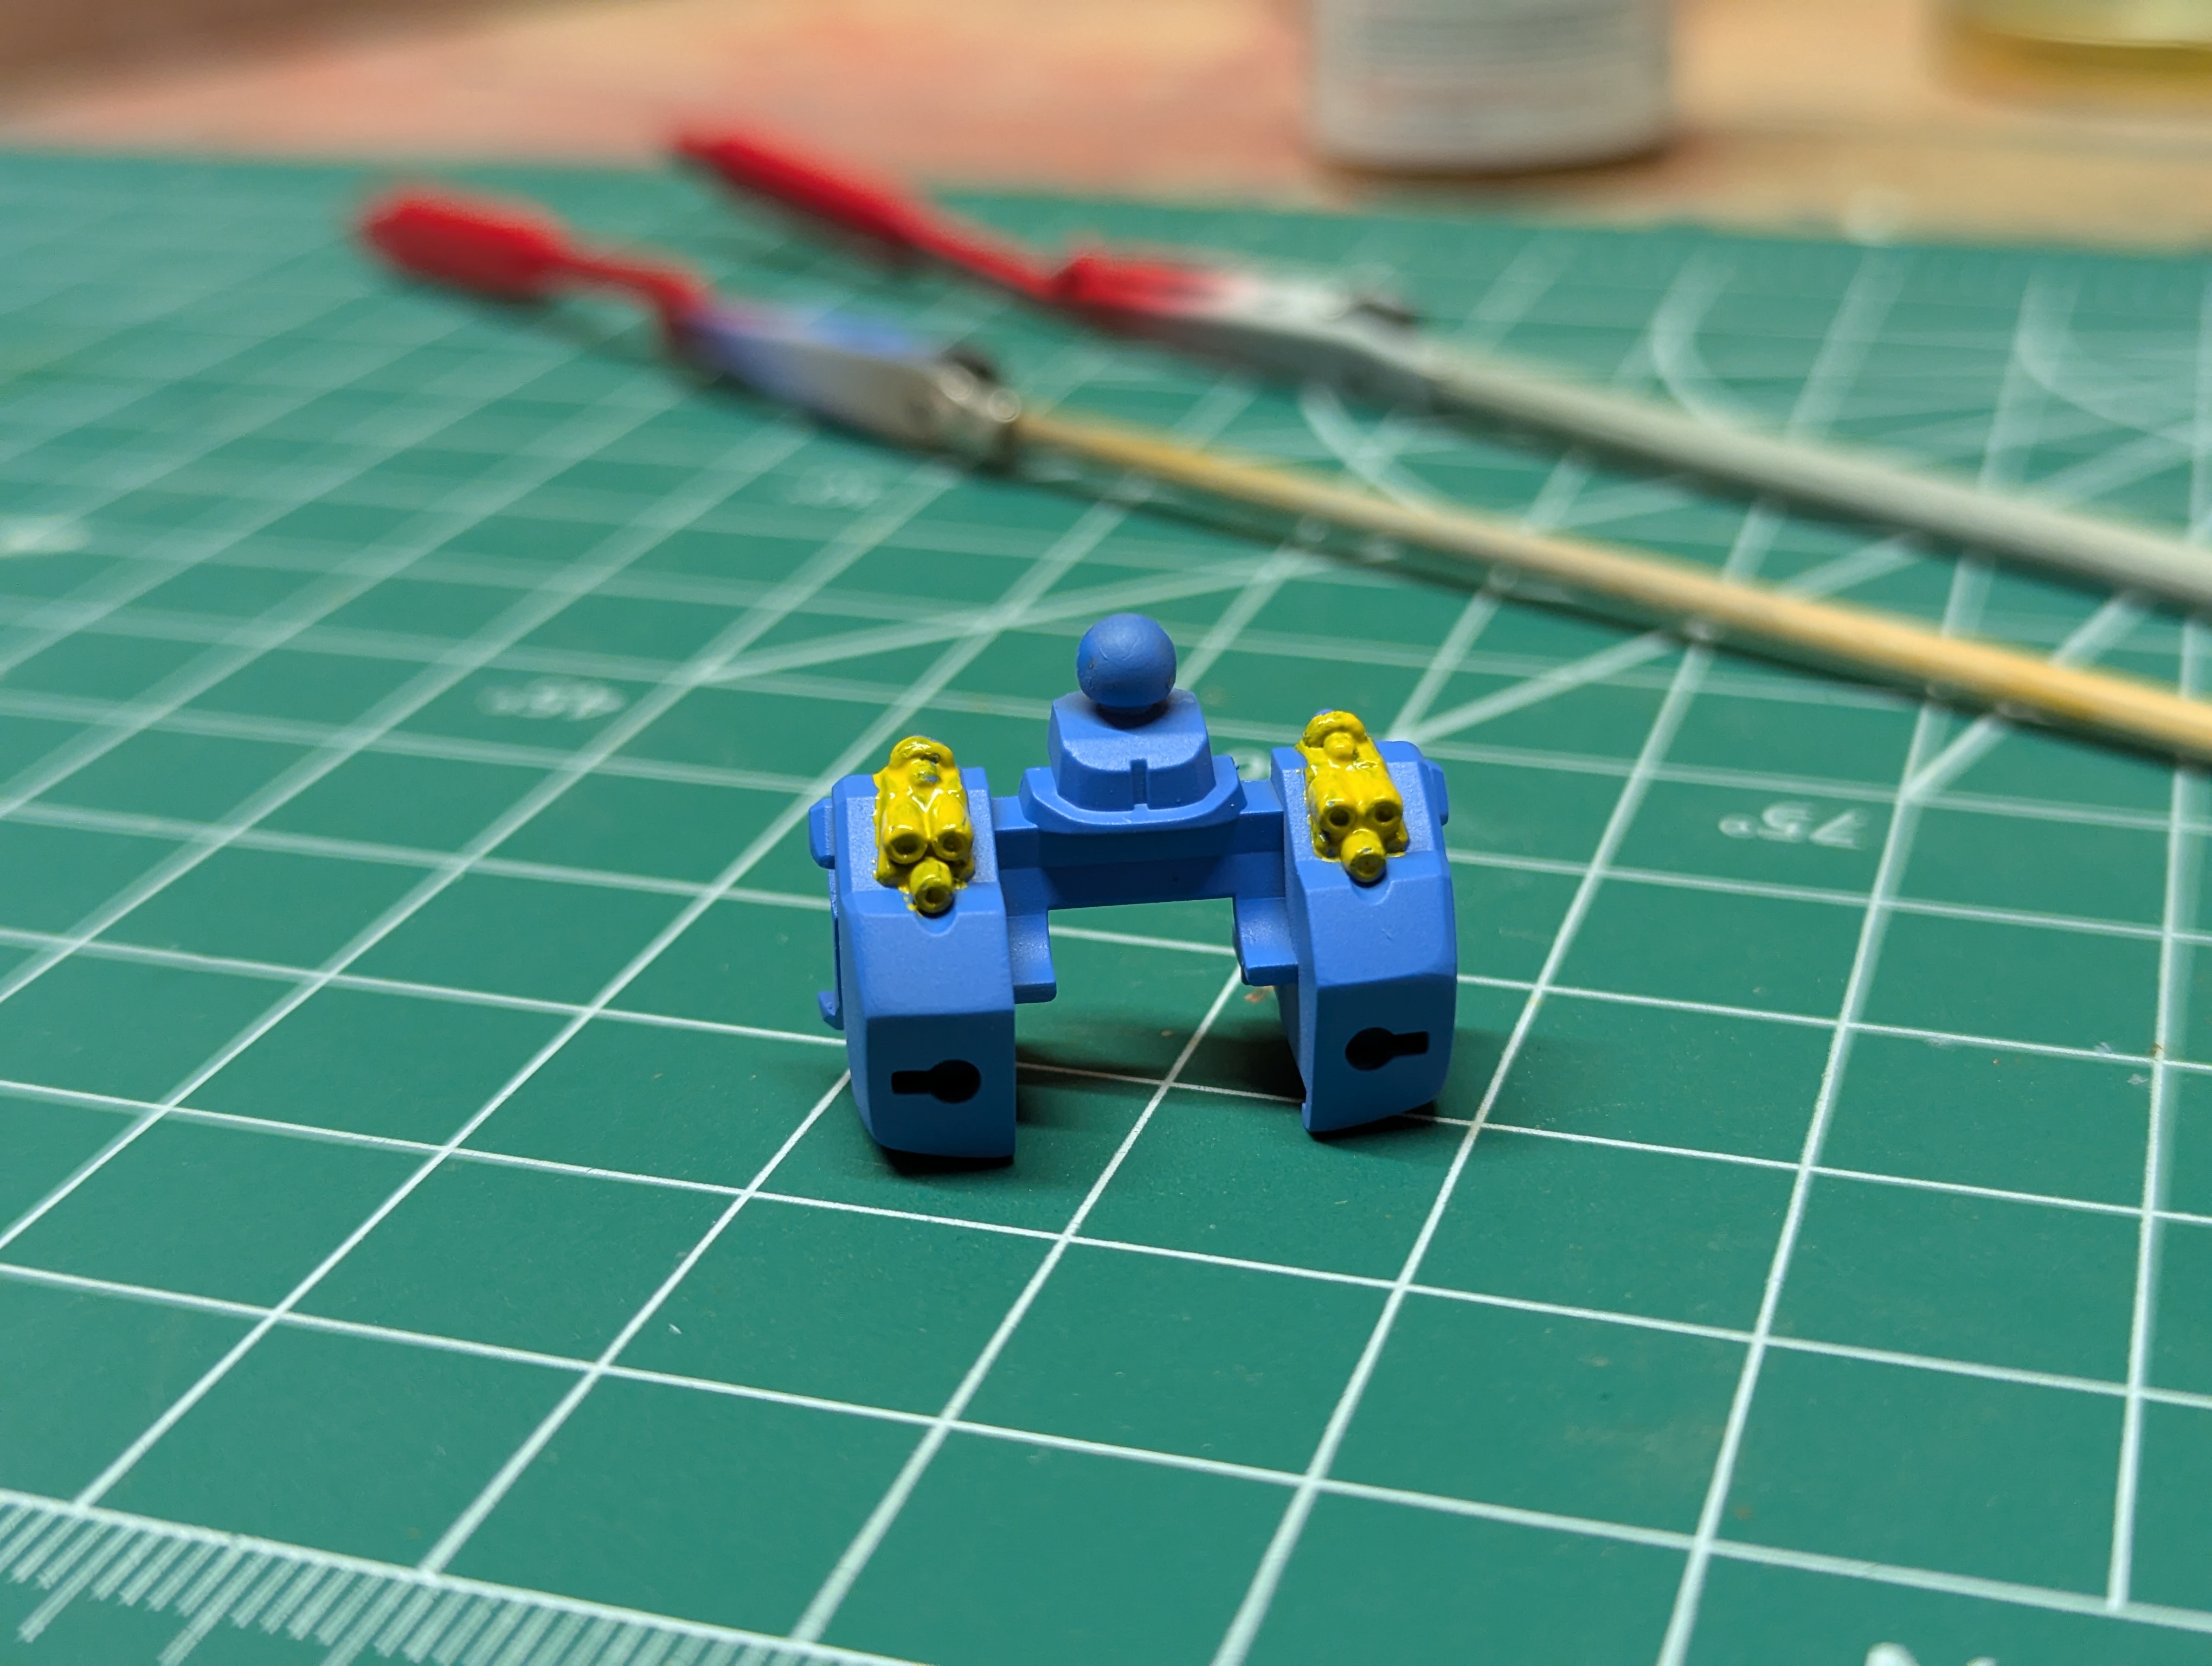
The two other painted kits I did were Master Grades - and even though one was quite old, they both had great part separation. High Grades are a bit lesser here, and God Gundam has many parts I'm going to have to paint more than one color, starting with the se shoulder vulcans. I tried handpainting these without thinning and it was really bad - I should have hit the eject button on this way before "finishing". I'll bit the bullet and mask this for spraying, even though it's quite tedious.
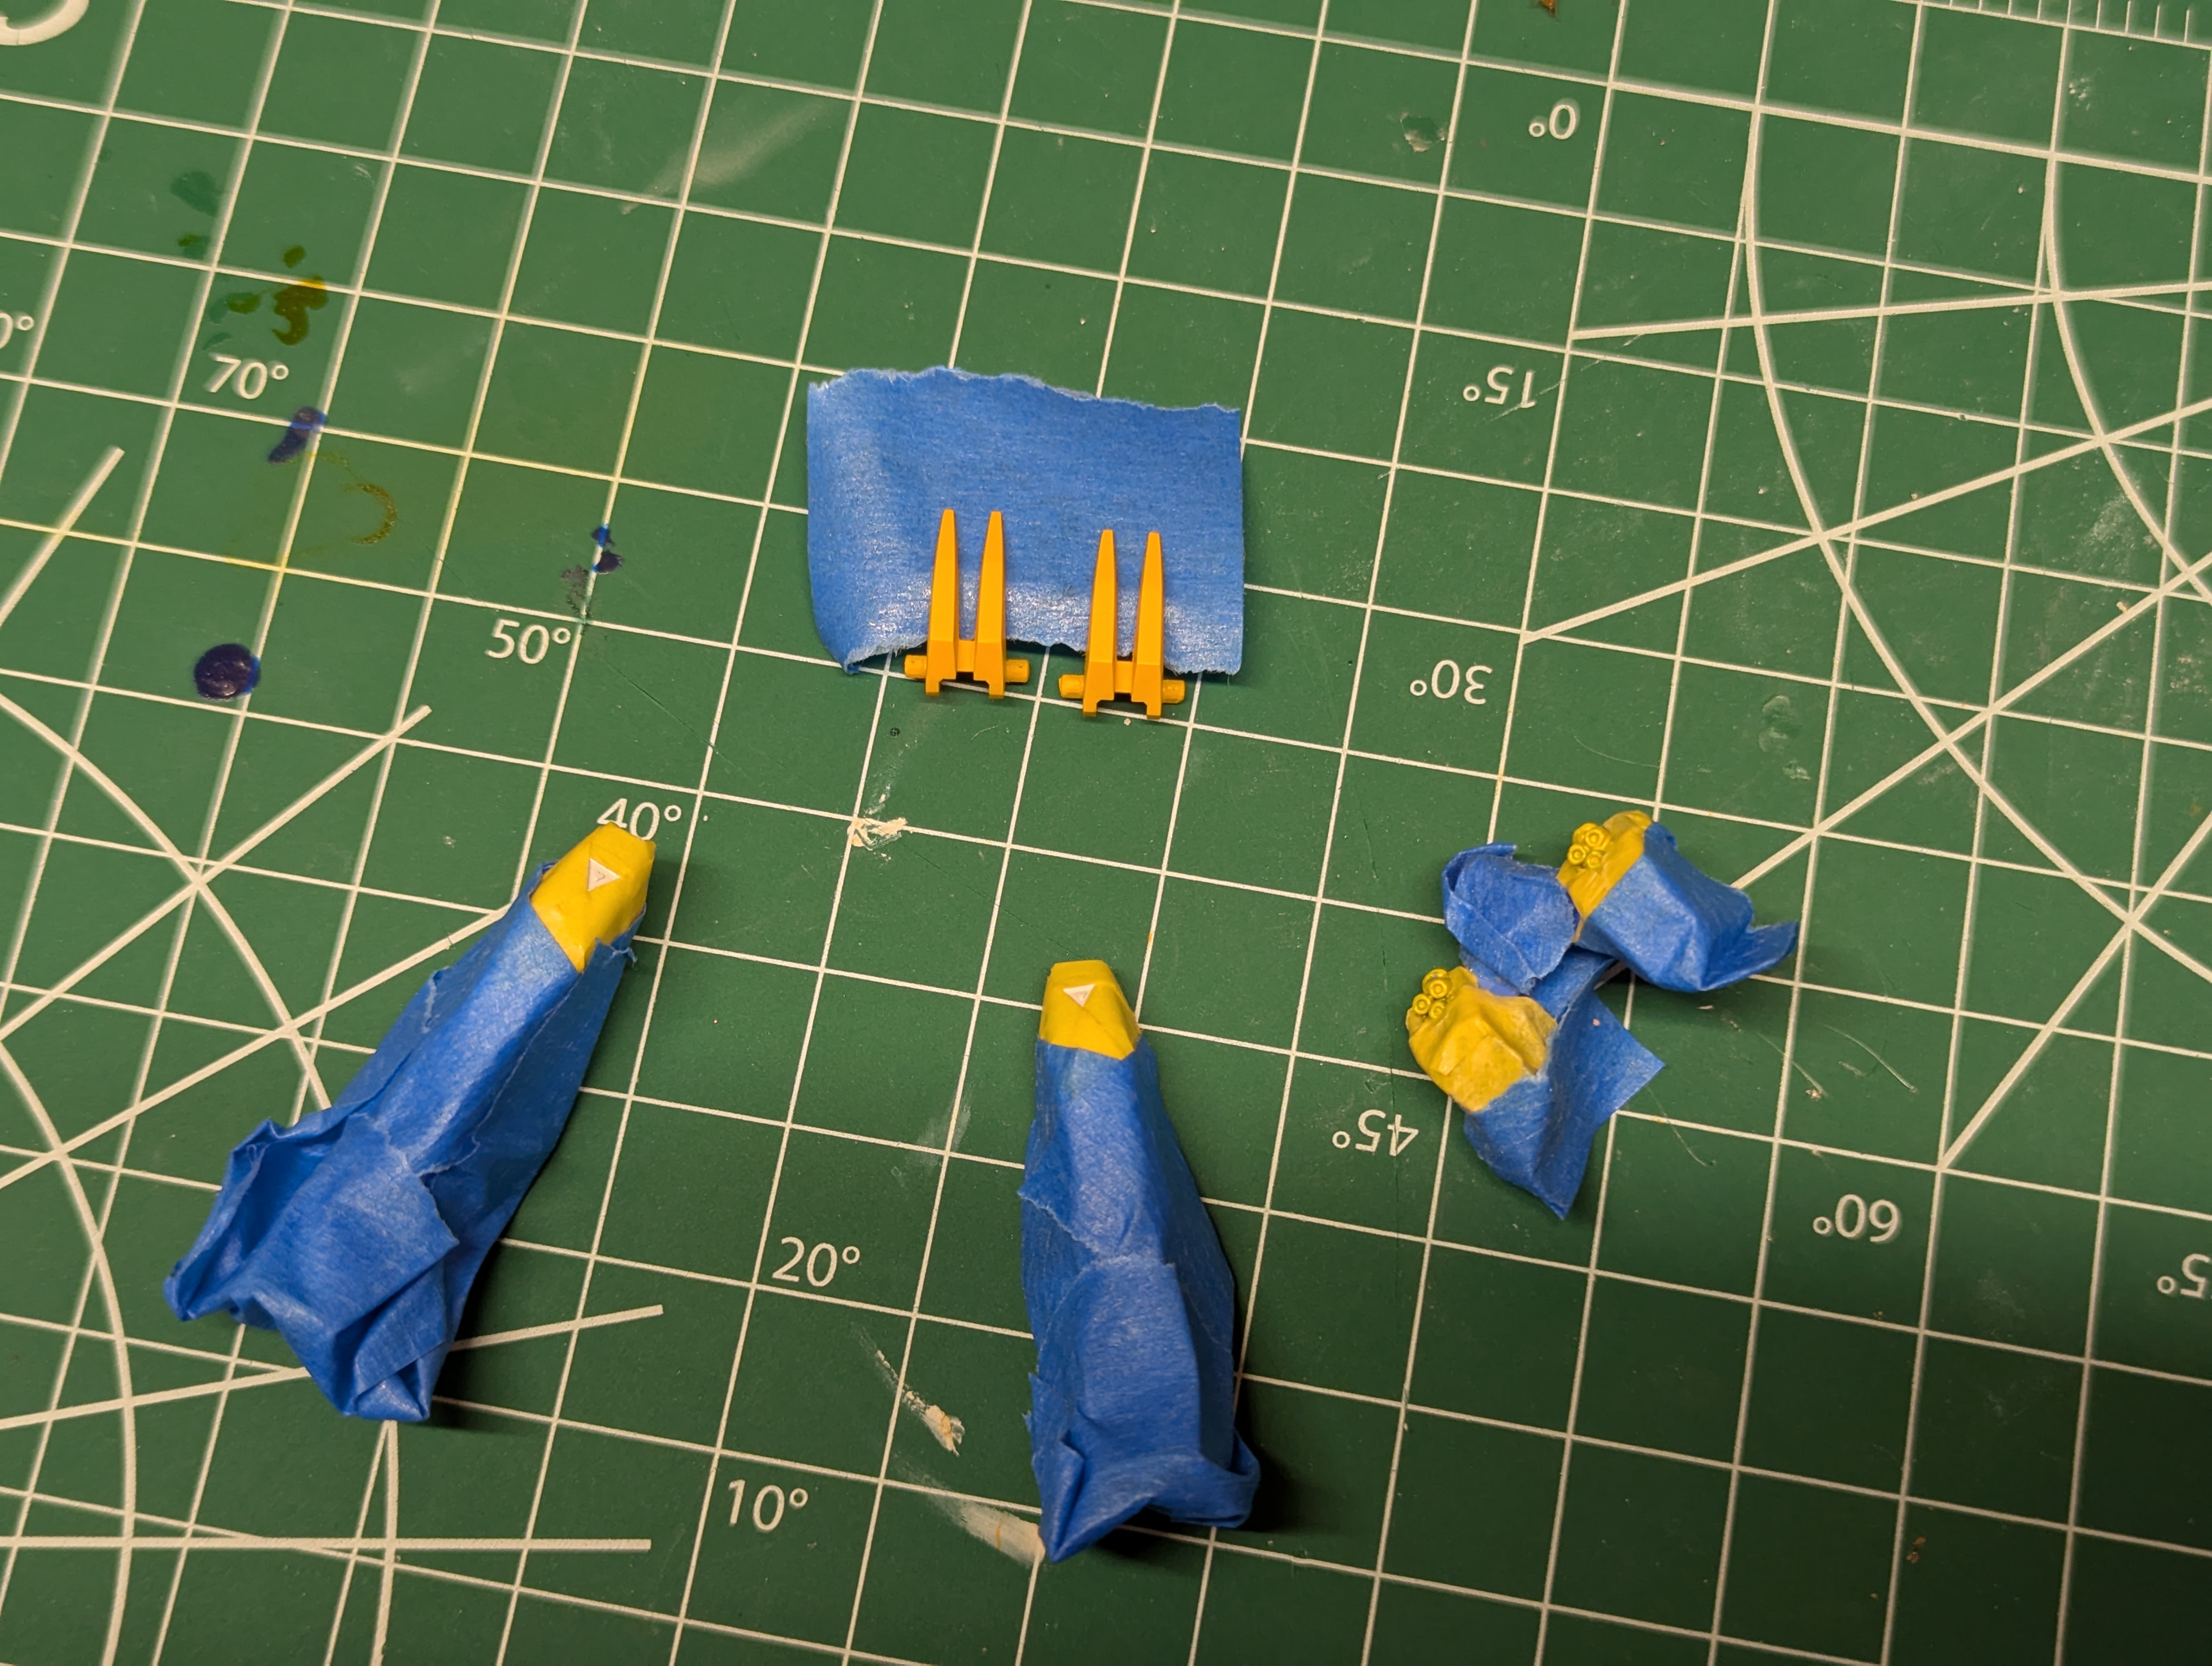
Masking part of the knees with the vulcans, now. I noticed that the yellow was going quite pale over blue/white, so I added just a drop of the red paint - While it's not a perfect match, for these tiny details, I think it will still look right.
As I stated above, I'll have to repaint the head, so I took the opportunity to do a low-risk experiment. Masking these would be hell, so I really wanted to be able to hand paint. This time I thinned - about as much as I would for airbrushing, maybe a bit thicker - and wouldn't you know it, things work when you do them correctly. The crazy thing is literally everything I read said "you need to thin before brushing" but I just thought I was built different, I guess. I'll have to redo this but it was really easy with a small brush so no worries from me. It also gives me confidence for getting into the eyes later.
Date Posted: July 10, 2025
Progress Update 5: The End
A frustrating update to make, but ultimately necessary.
Although I tried to keep my updates pretty positive, internally I've been pretty frustrated with some aspects of this build. I started to take longer and longer breaks to hype myself up for re-entering the workshop, and I could feel myself burning out. So I took some mental inventory and wanted to identify what things were bothering me, from least to most severe.
Build Issues
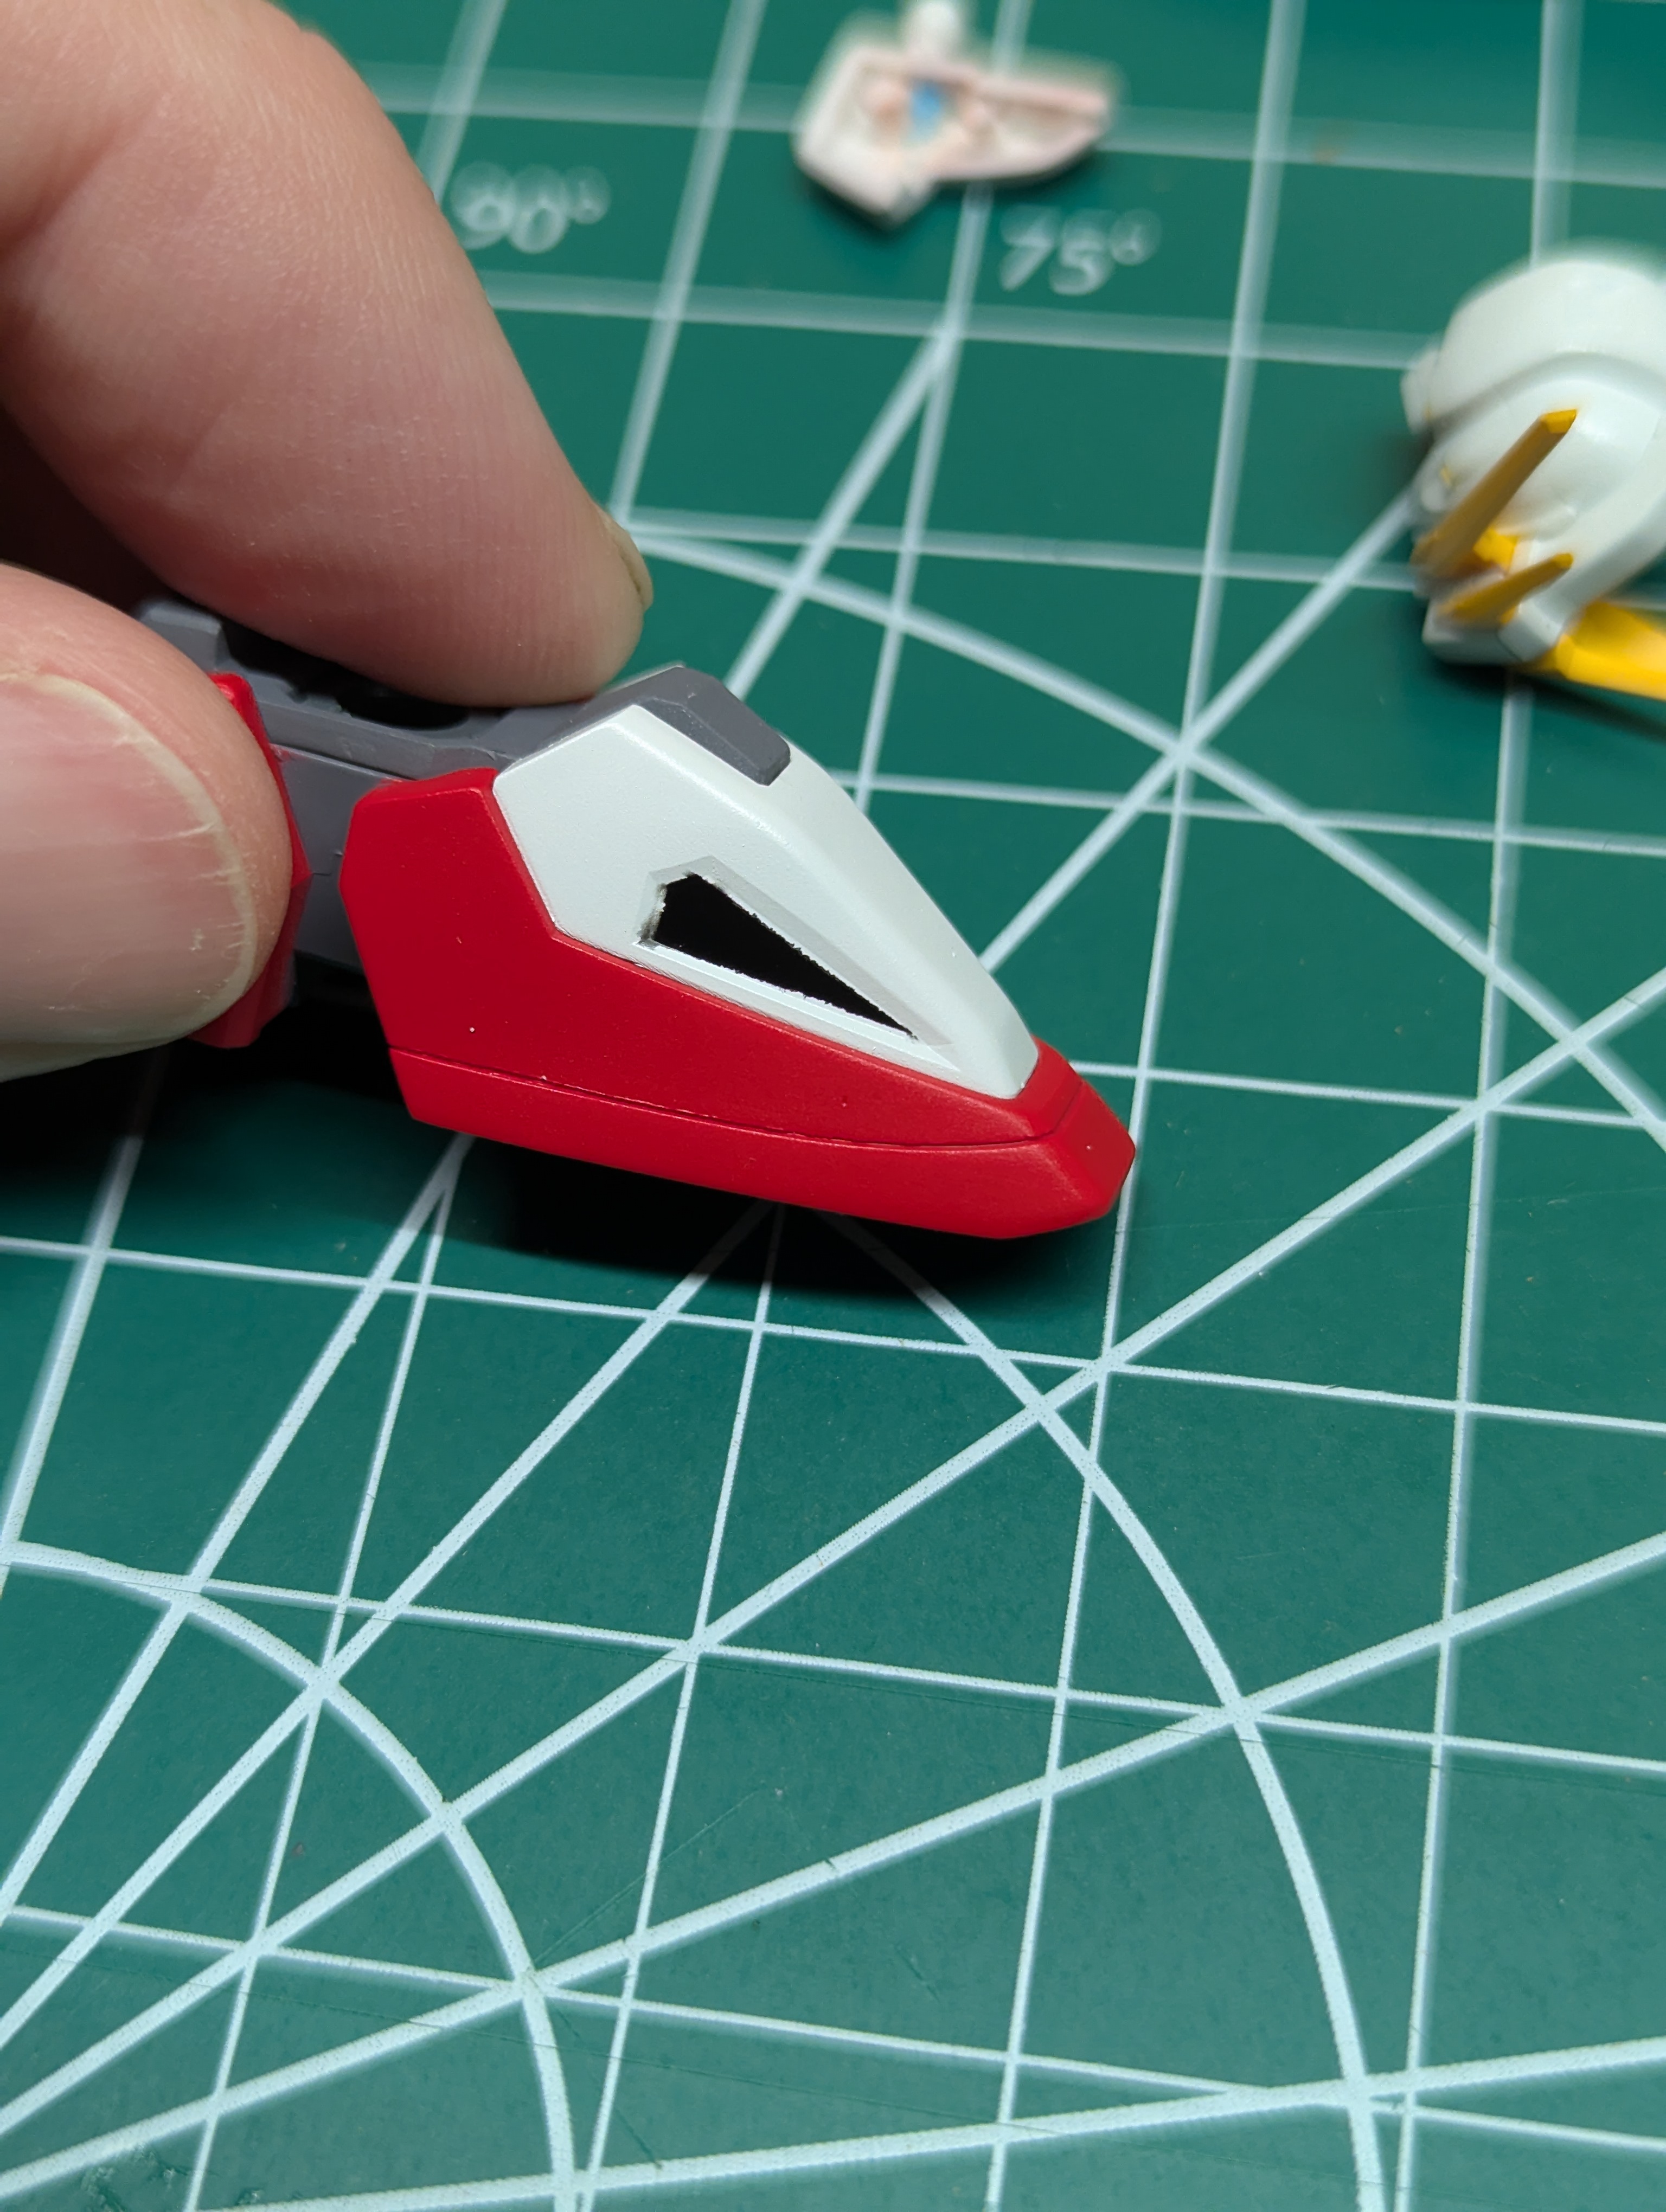
- My paint finish is generally good, but I had issues with white - specifically orange peeling, visible on the photo of the head above. This is common and didn't surprise me - I think white pigments are known for this, and I may need to thin better in the future. If not for the other items, I would have simply pushed past this - it's not fundamentally damning, and would have improved with topcoating.
- The previous paint job, stripping, and refinishing have left a lot of parts very badly surfaced. Some of these I was able to sand out but others are recessed pretty inconveniently. Even with what I think is good technique, good paint, good prep - I'm getting surfaces that just don't look good.
- This kit has some horrible masking required for the black details - and I didn't even attempt the chest yet (which would really require four colors in one evilly molded part). Part of this is definitely technique - I learned some lessons about order which would have alleviated these, but the results I got are really at the "back to base coat" level and I just don't have the heart for fixing it in light of the other issues.
Environment Issues
- It's just fucking hot, man. I can only paint at night, and even then it's so hot that in my box-fan ventilated shed I'll be dripping in sweat and need a shower at the end of every session. This one is a total John, but it stacks up with every other frustration all the same.
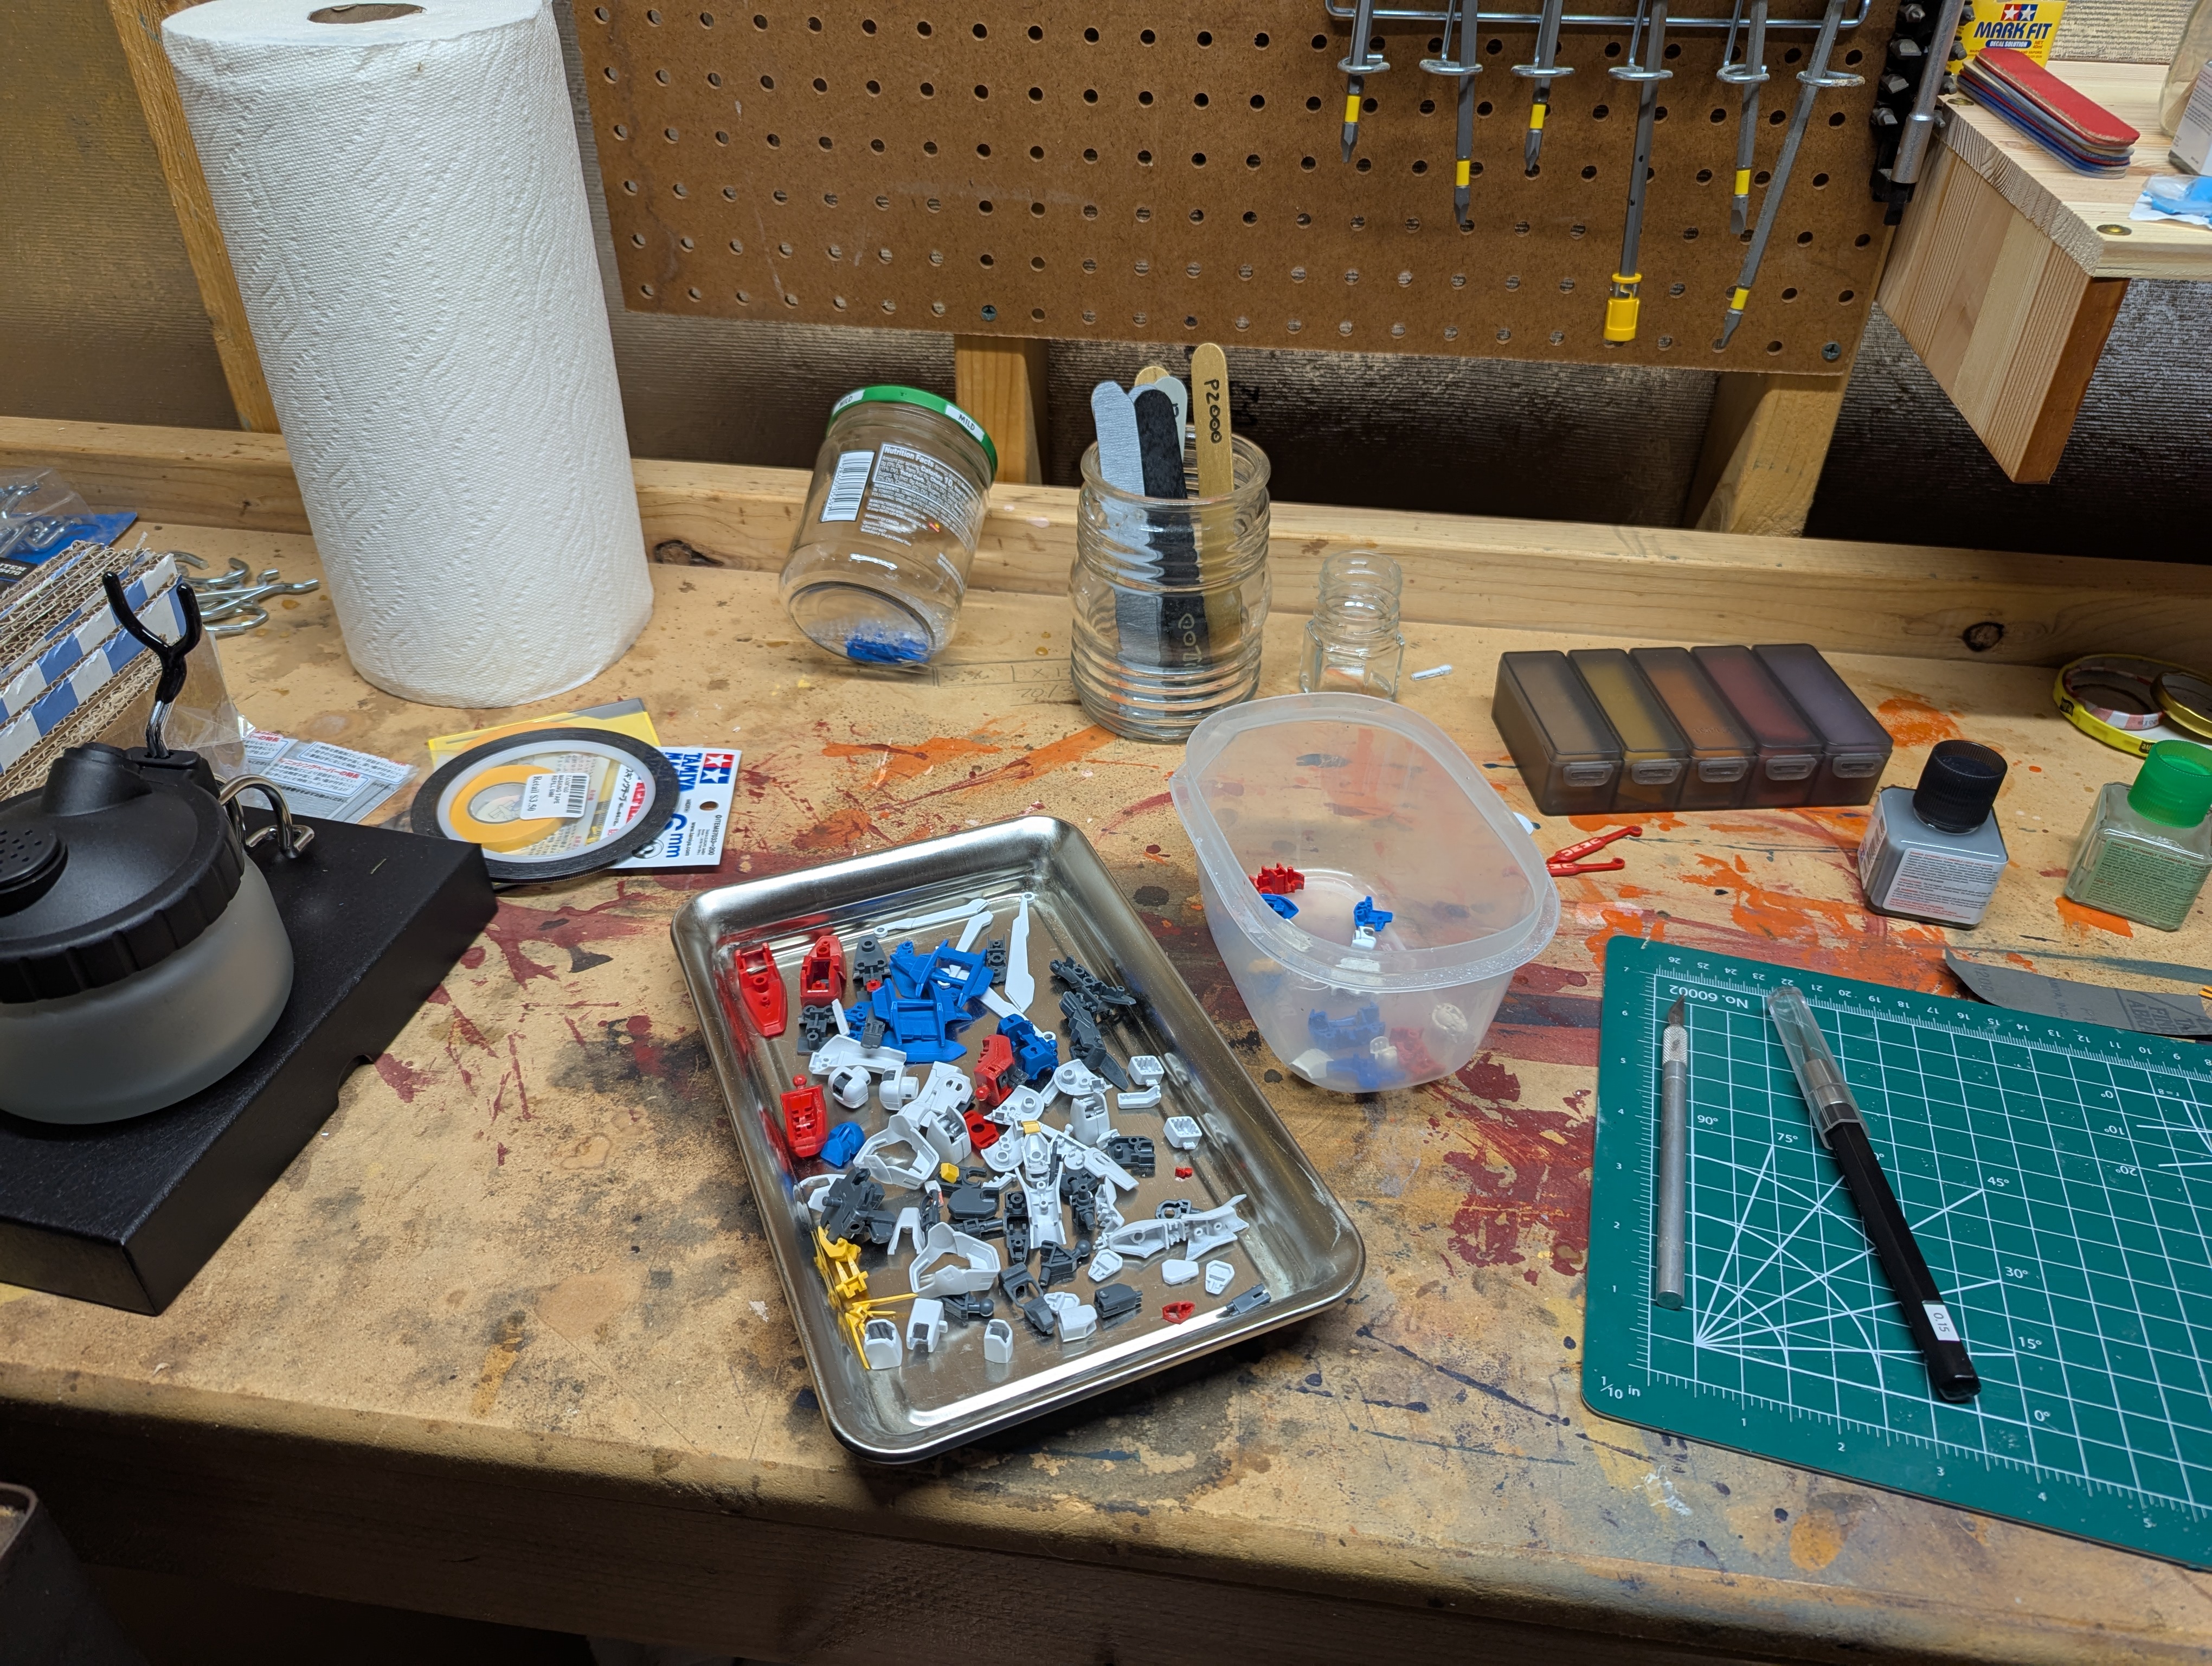
- My workspace is pretty bad - I'm crammed into one side of the workshop since we have so many things in storage here. I really want to tackle an improvement project here.
So I think in summary - it's that the environmental factors are burning me out, but there's the looming understanding that even if I were to push through - the build issues would make this a pretty rough final product, which I wouldn't even really be satisfied with displaying. While I like the idea of this project a lot, it's sort of like learning on hard mode. I gave myself a really difficult starting point, even though I tried to manage my project scope with limited expectations. Giving up feels pretty wrong, but I free up my energy to move on to projects that are going to be a lot more successful by doing so.
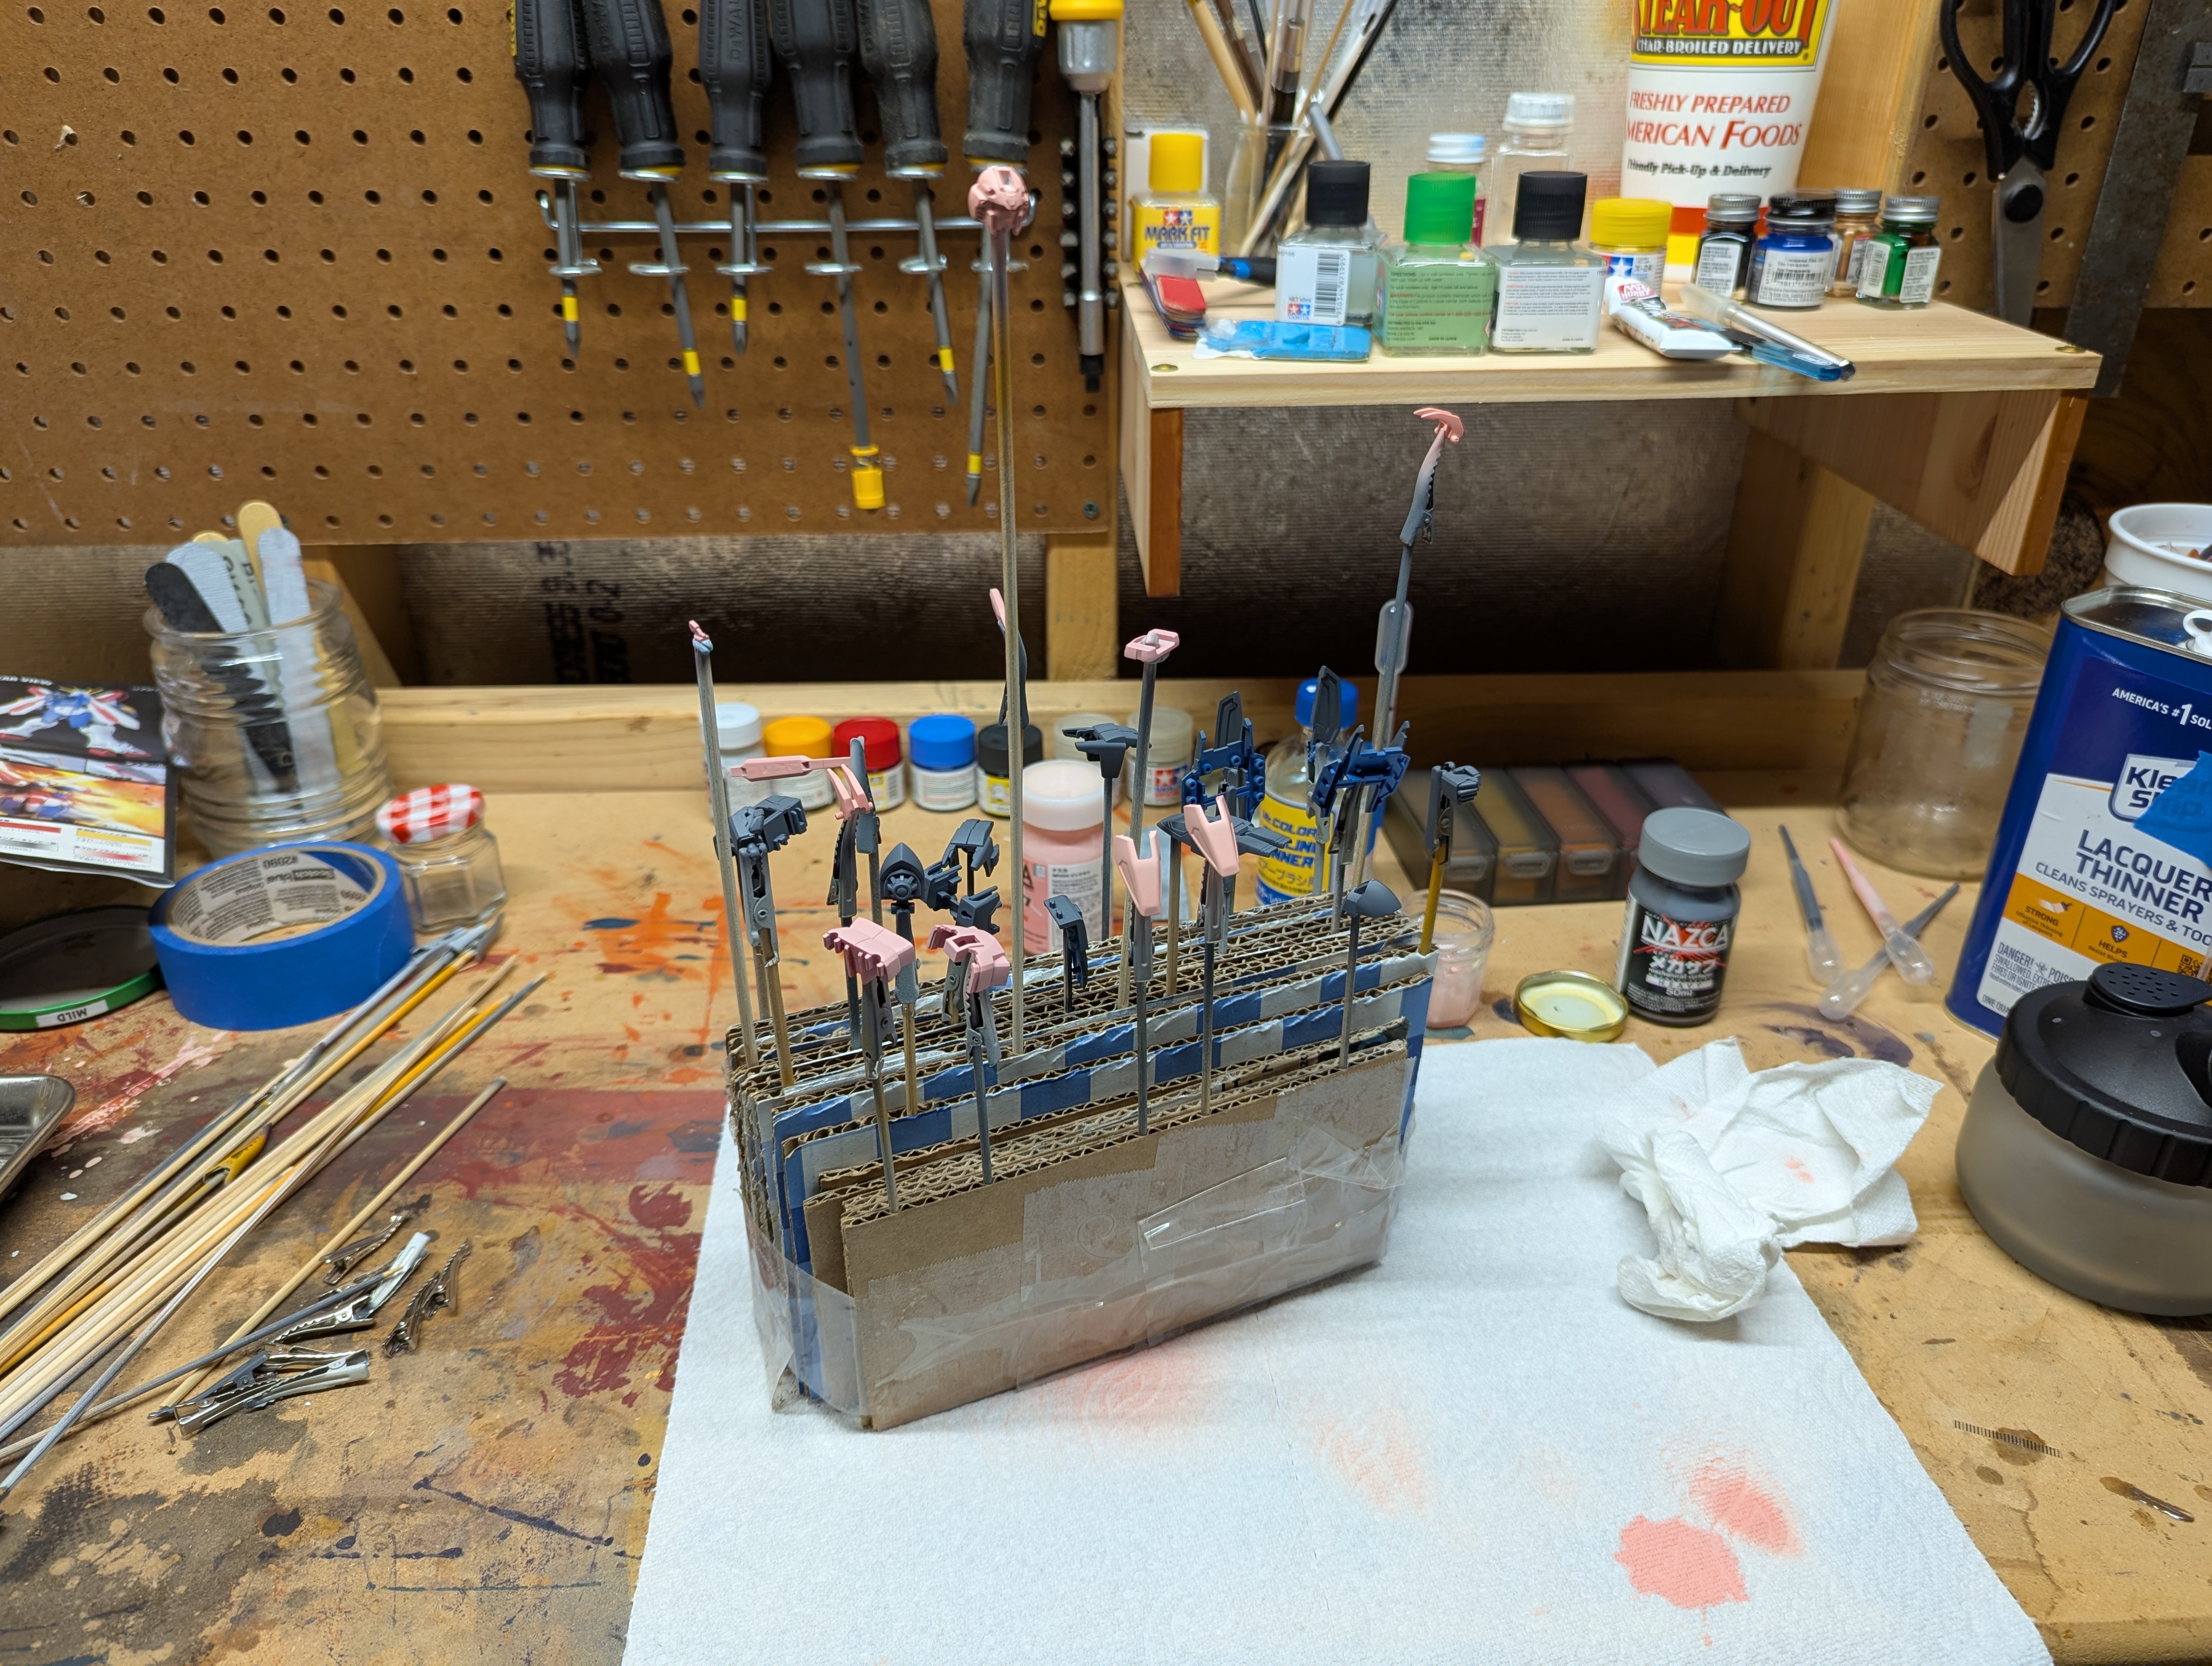
In light of the above, I'll be reworking my space and look for kits to reach a much happier process for me. Enjoy some final photos before the next project begins.
Date Posted: August 5, 2025