![Mitchfork :]](../images/banner.png)
1/1 No Grade Gunpla-Kun DX
Mobile Suit: RX-78-2 (?) Gunpla-Kun
Release Date: April 2023
Series: Gunpla-Kun Shorts
Start Date: August 3, 2025
Finish Date: September 1, 2025
Does this count as a grandpa?
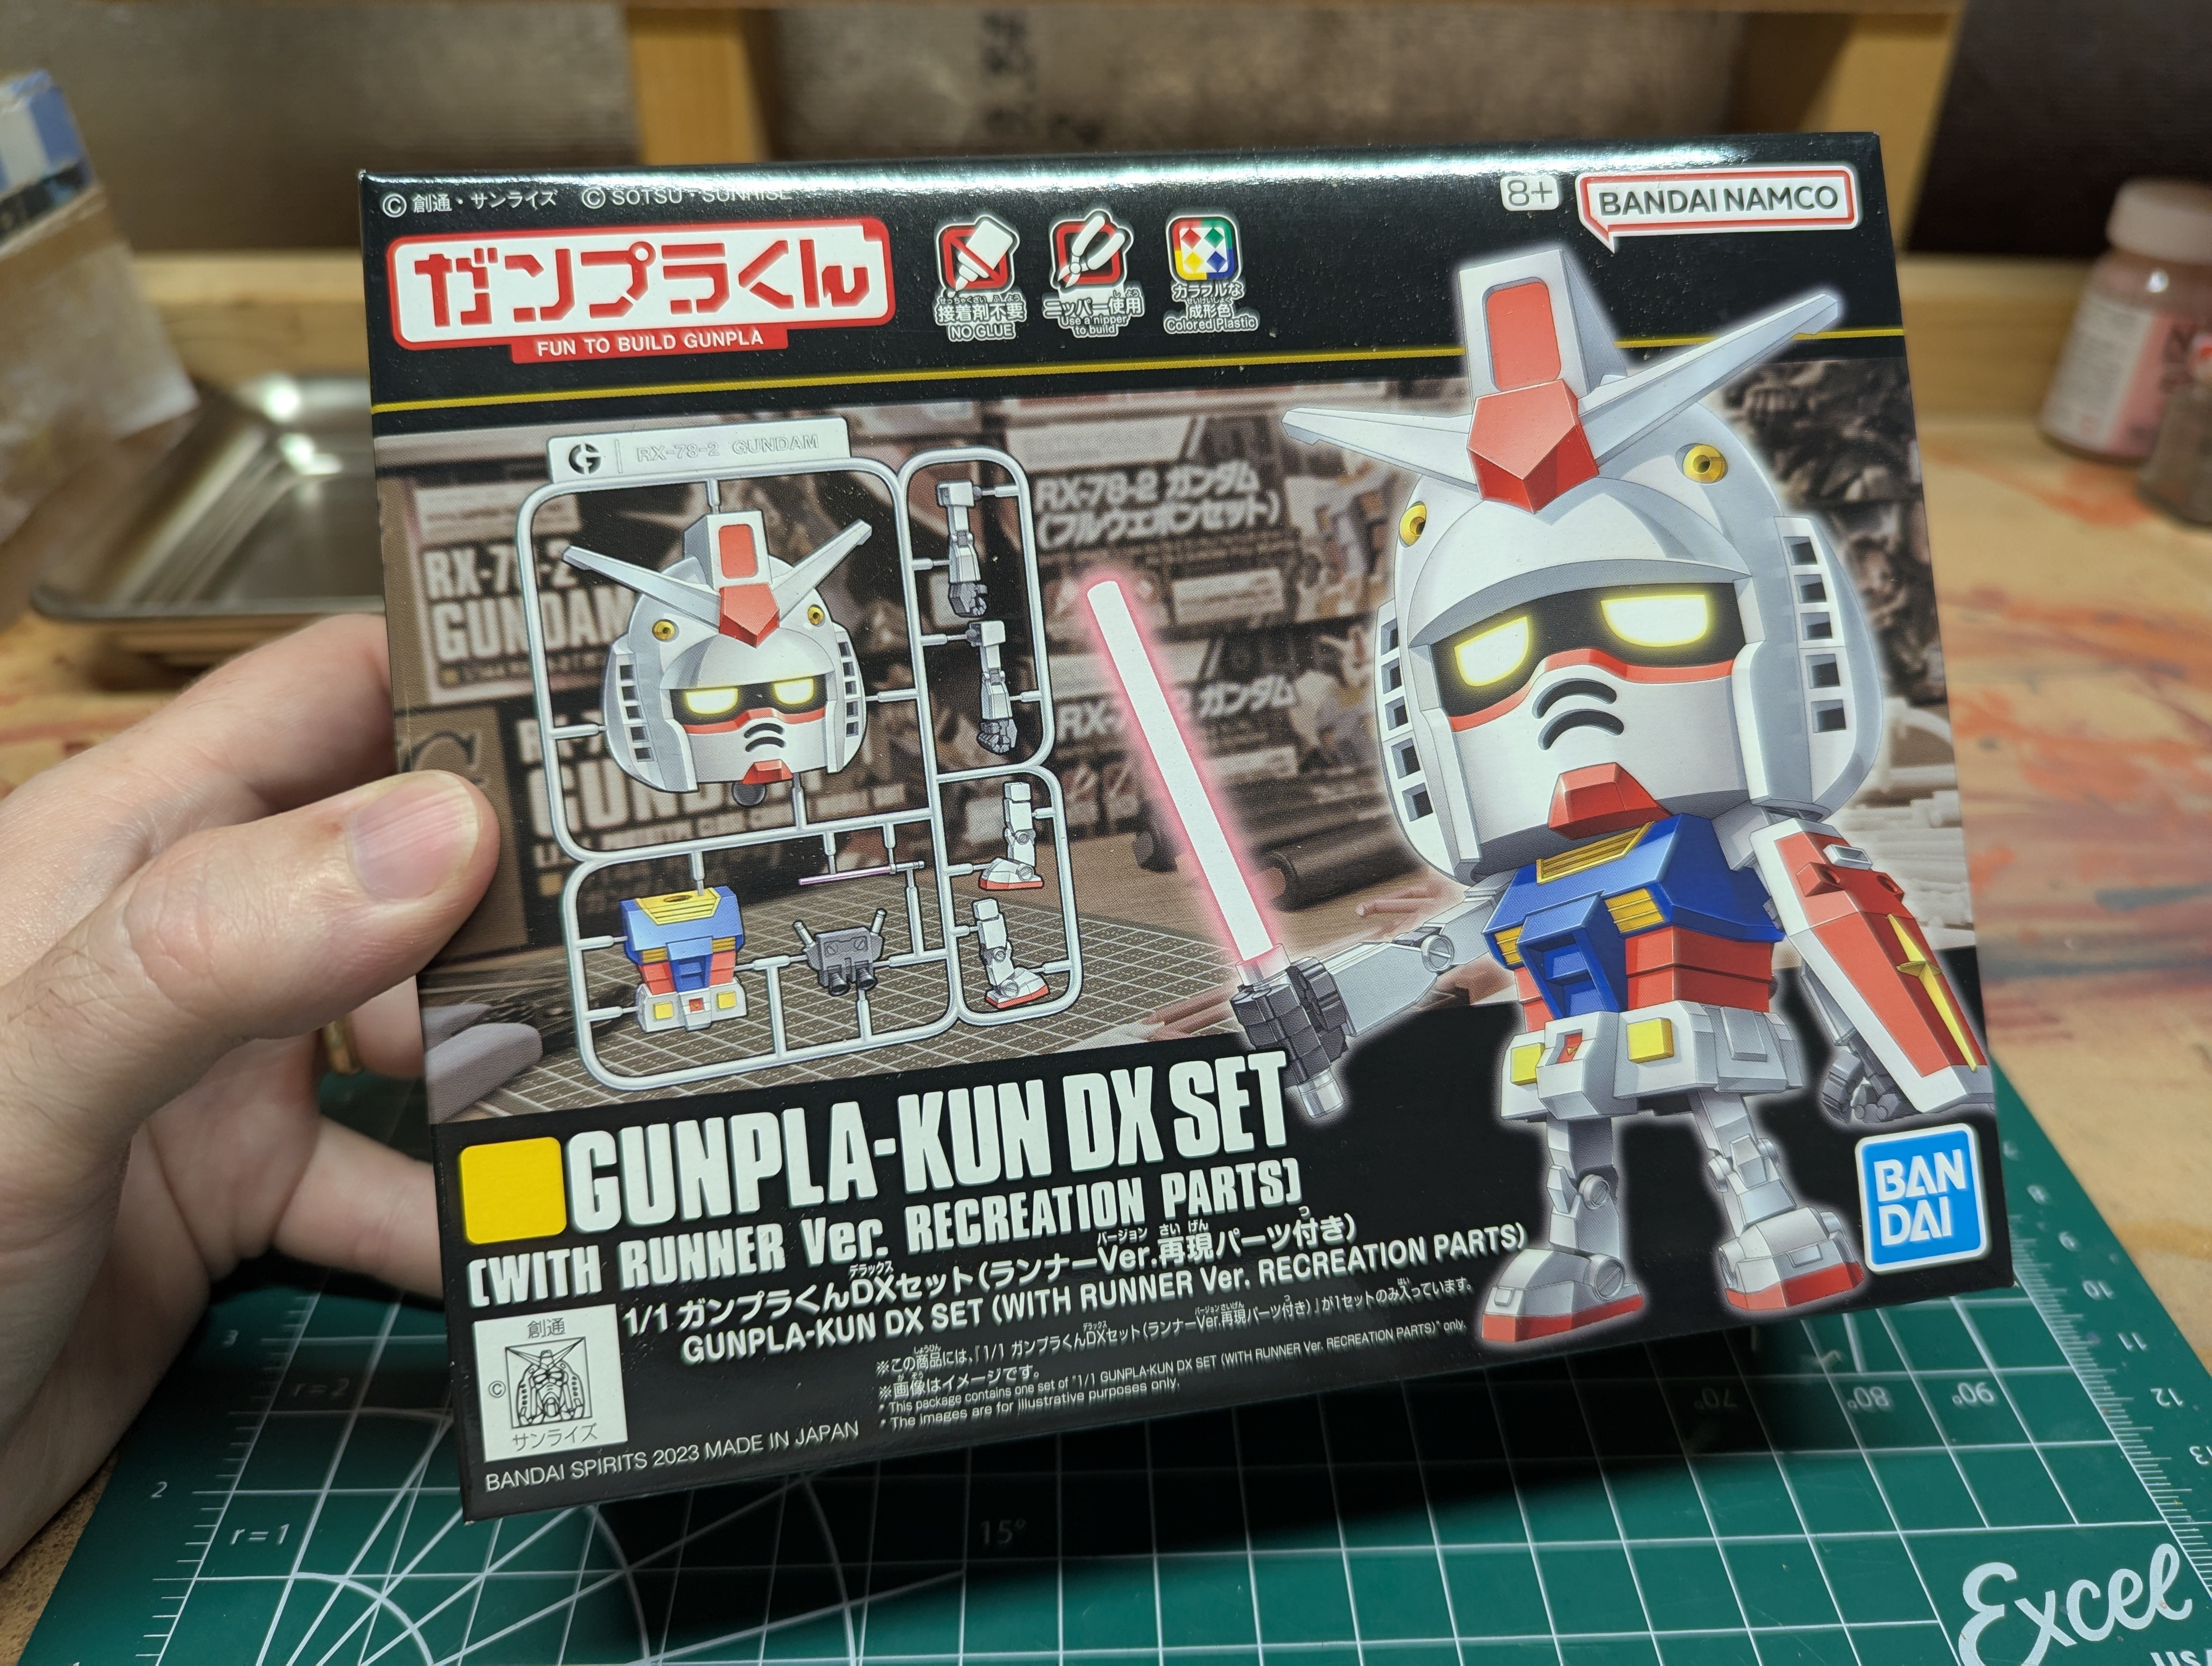
I was scoping out some hobby/Gunpla stores local to me and impulse bought this when I saw it could be displayed on the runner. What a stupid, brilliant idea.
The Gunpla-Kun shorts are decent advertisements. Gunpla-Kun and a steadily expanding roster of other -kun characters explain the basics of Gunpla and try to get children to spend money on plastic. When the characters get too emotional or go to sleep, they revert back to their runners.
I prefer the proportions here to the SD kits, which look a little too "cool" for me. Otherwise, not much else to say here - I figured this would be an easy build just due to the low quantity of parts, but I did underestimate how un-color correct this is.
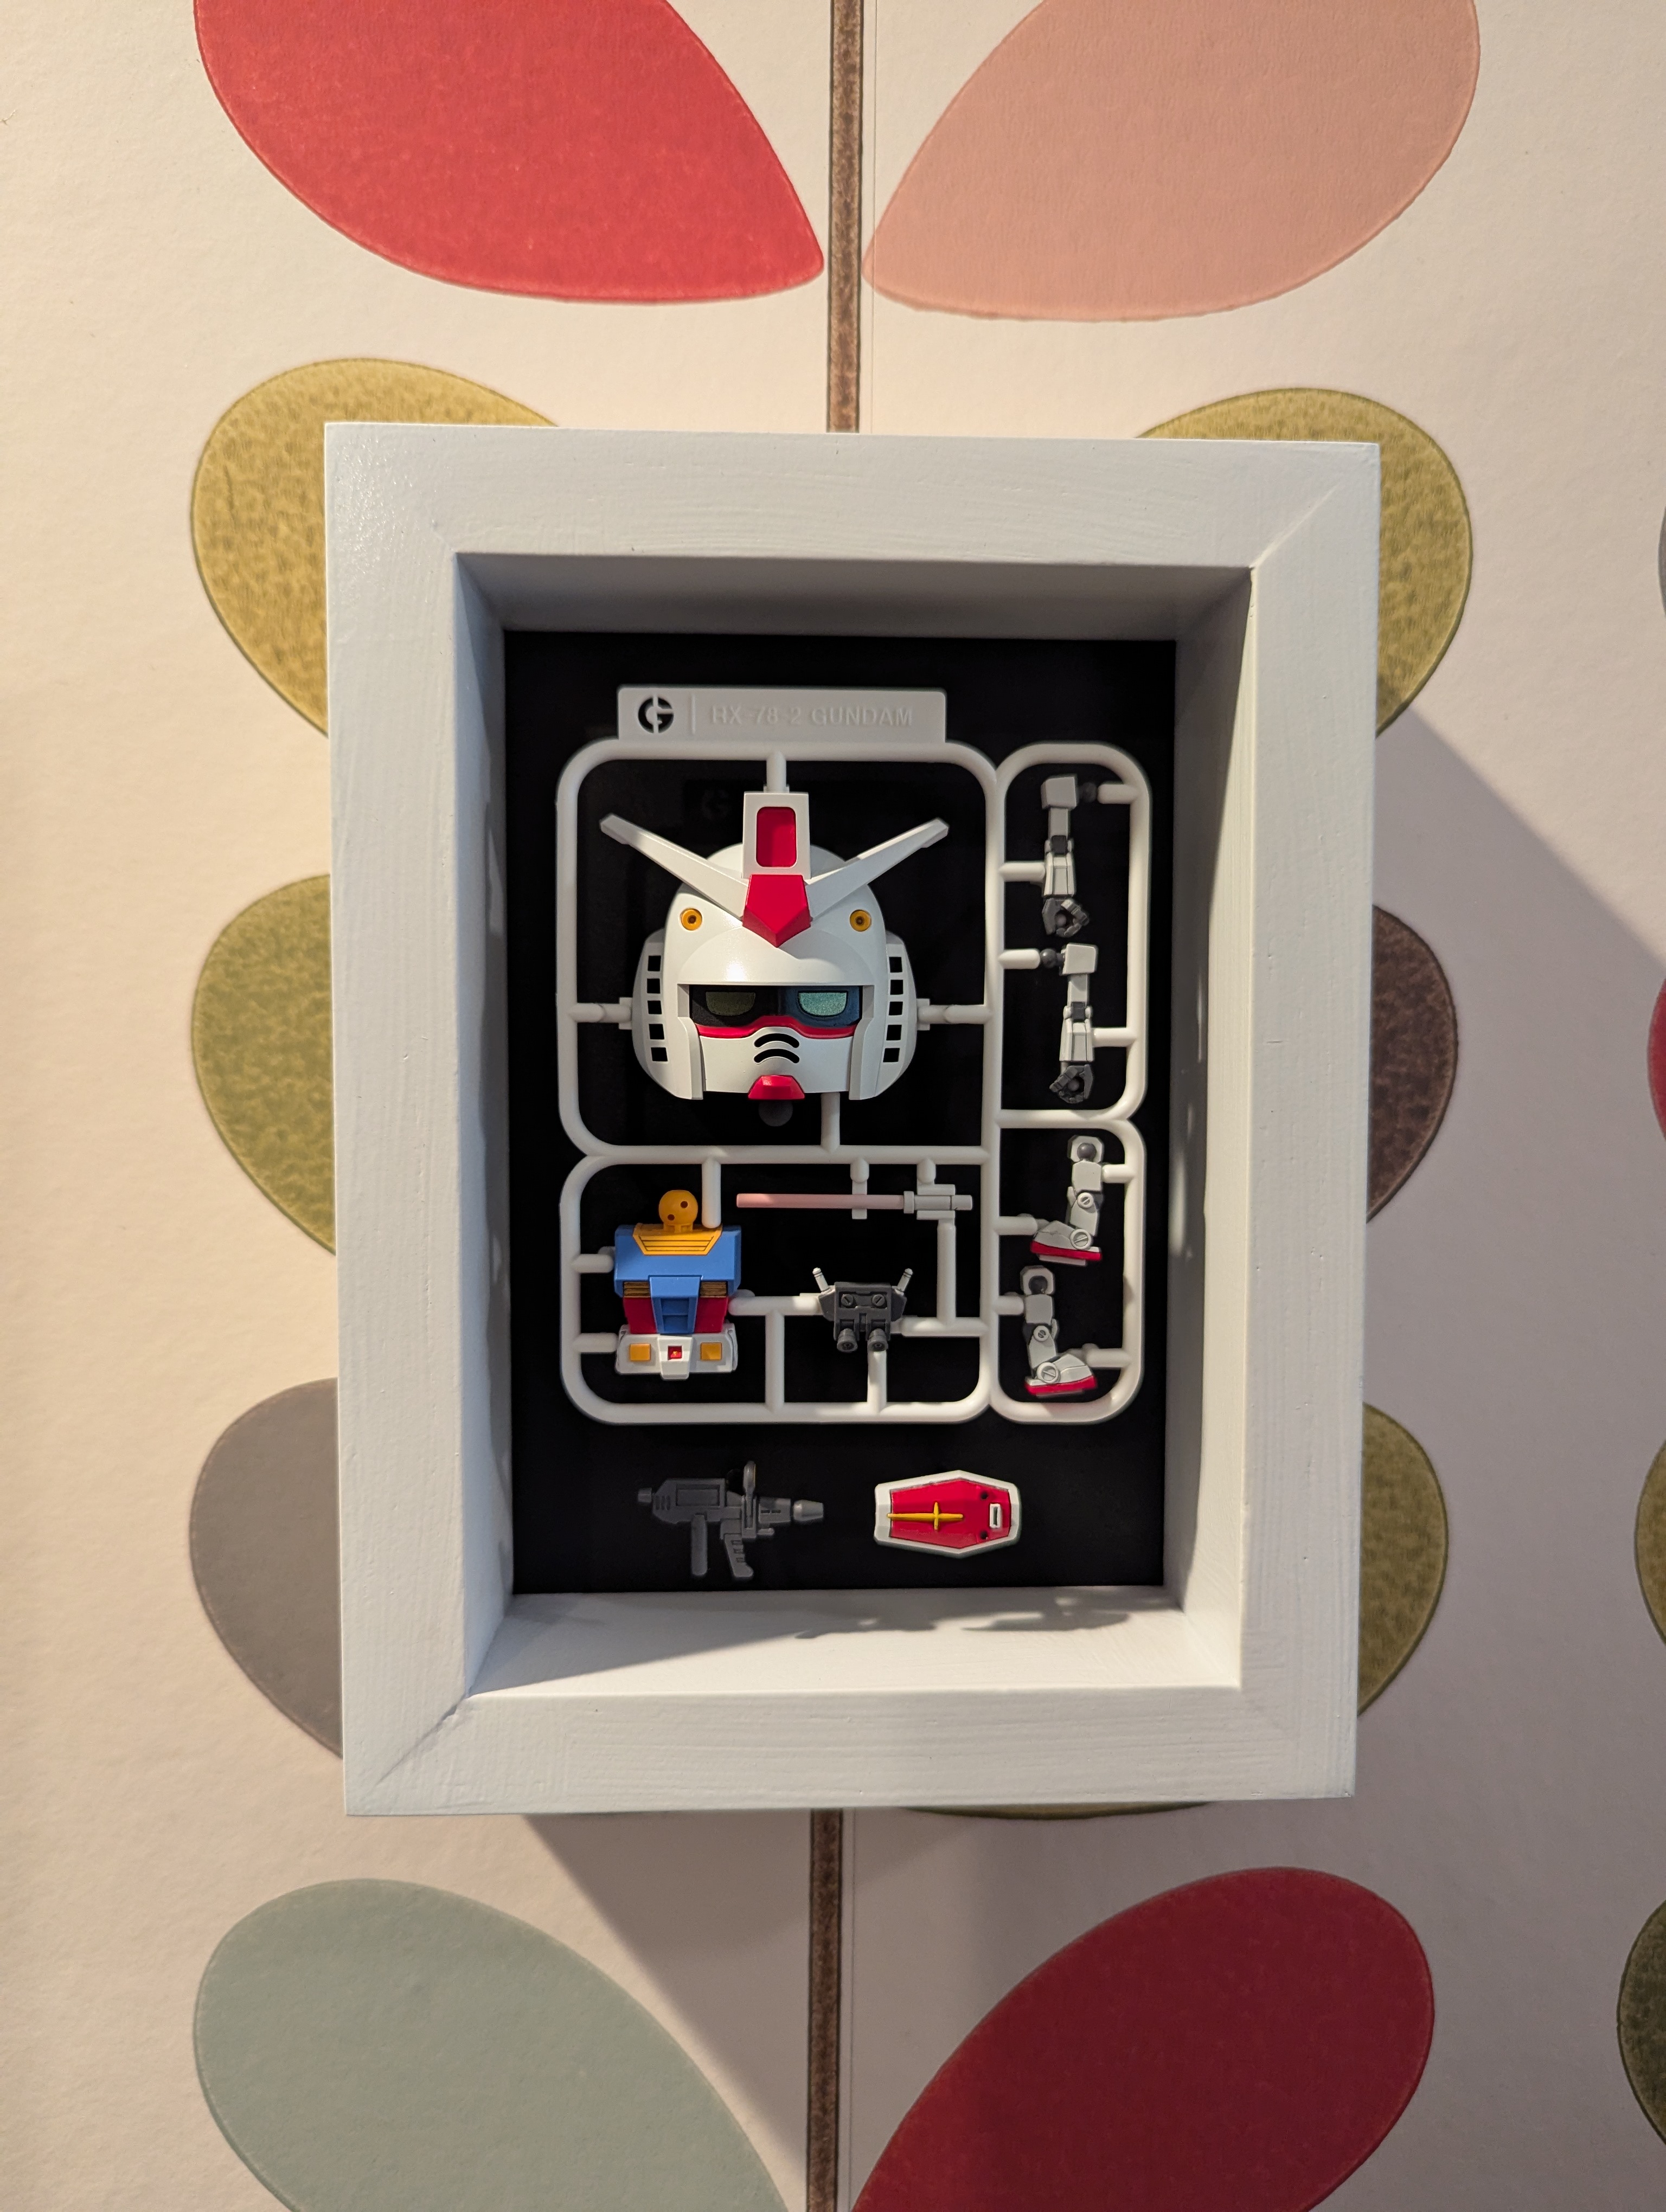
I took about a month to finish this kit, and also built a frame to display it on the wall. I was really pleased with the result, but there's no real gallery to speak of given the kit simplicity - still, here is the finished product if you'd like to skip the blog below. My overall thoughts are at the bottom of the page, though.
Date Posted: September 1, 2025
Progress Update 1: Snap Building
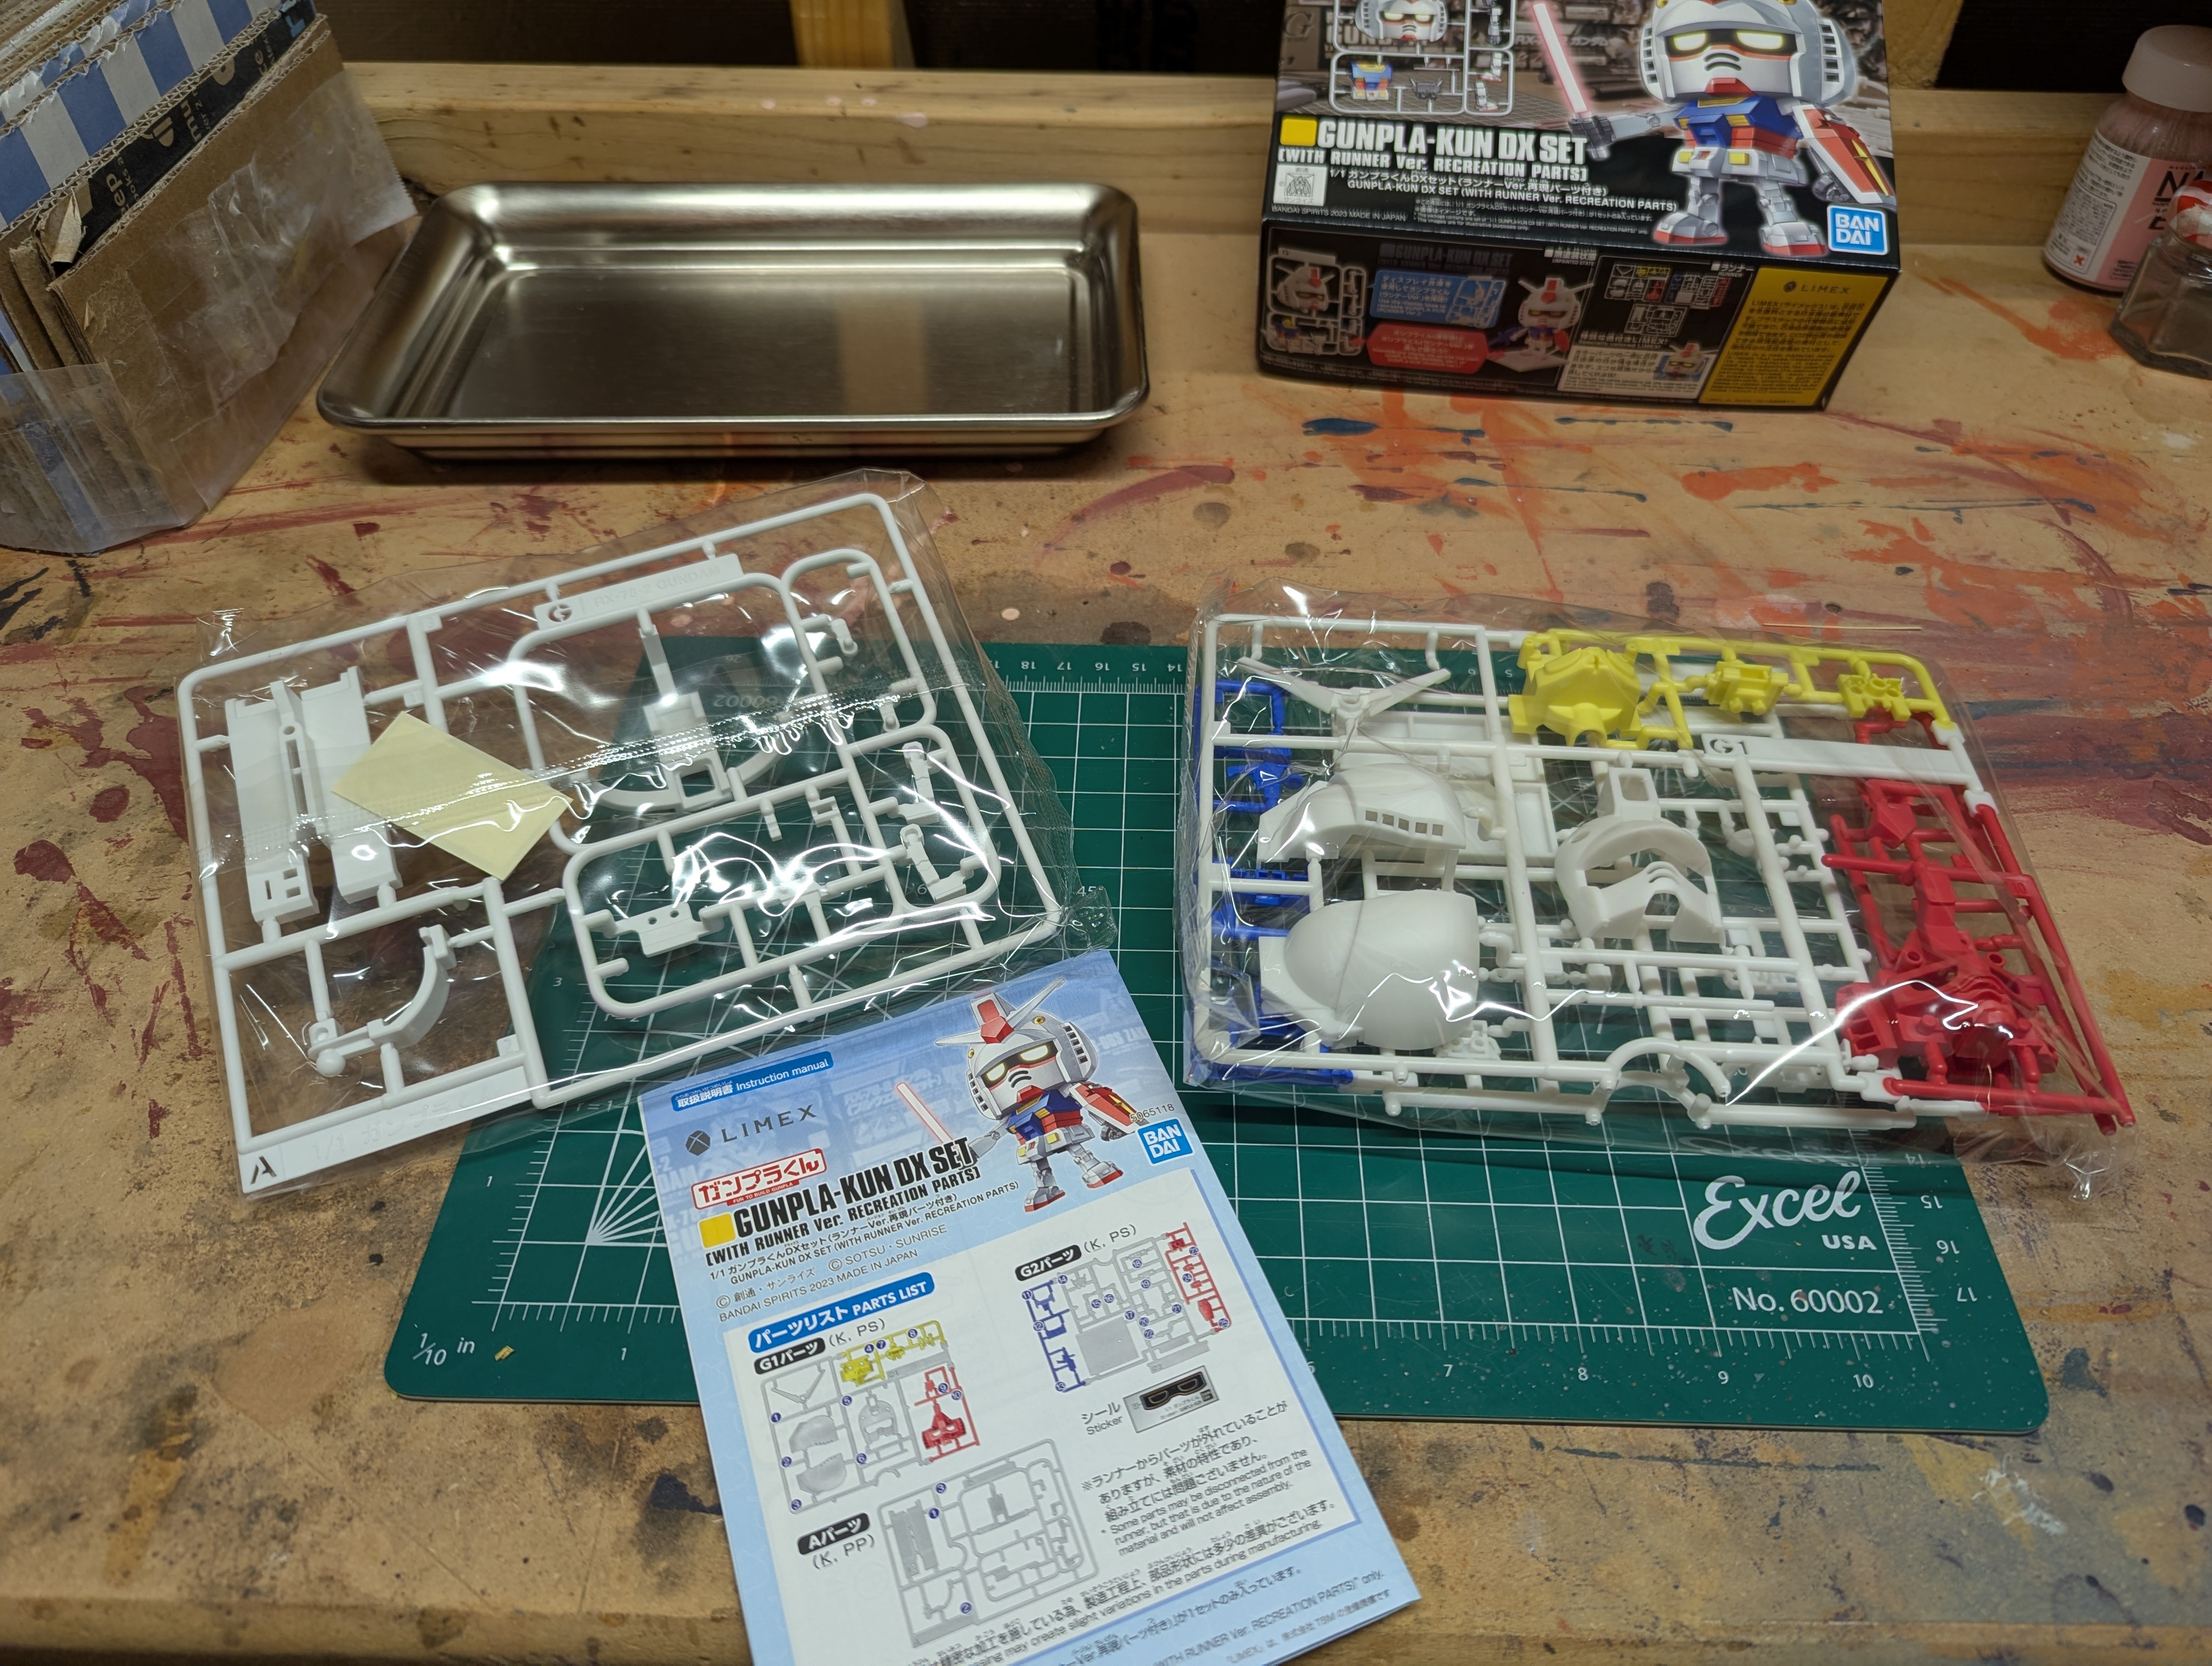
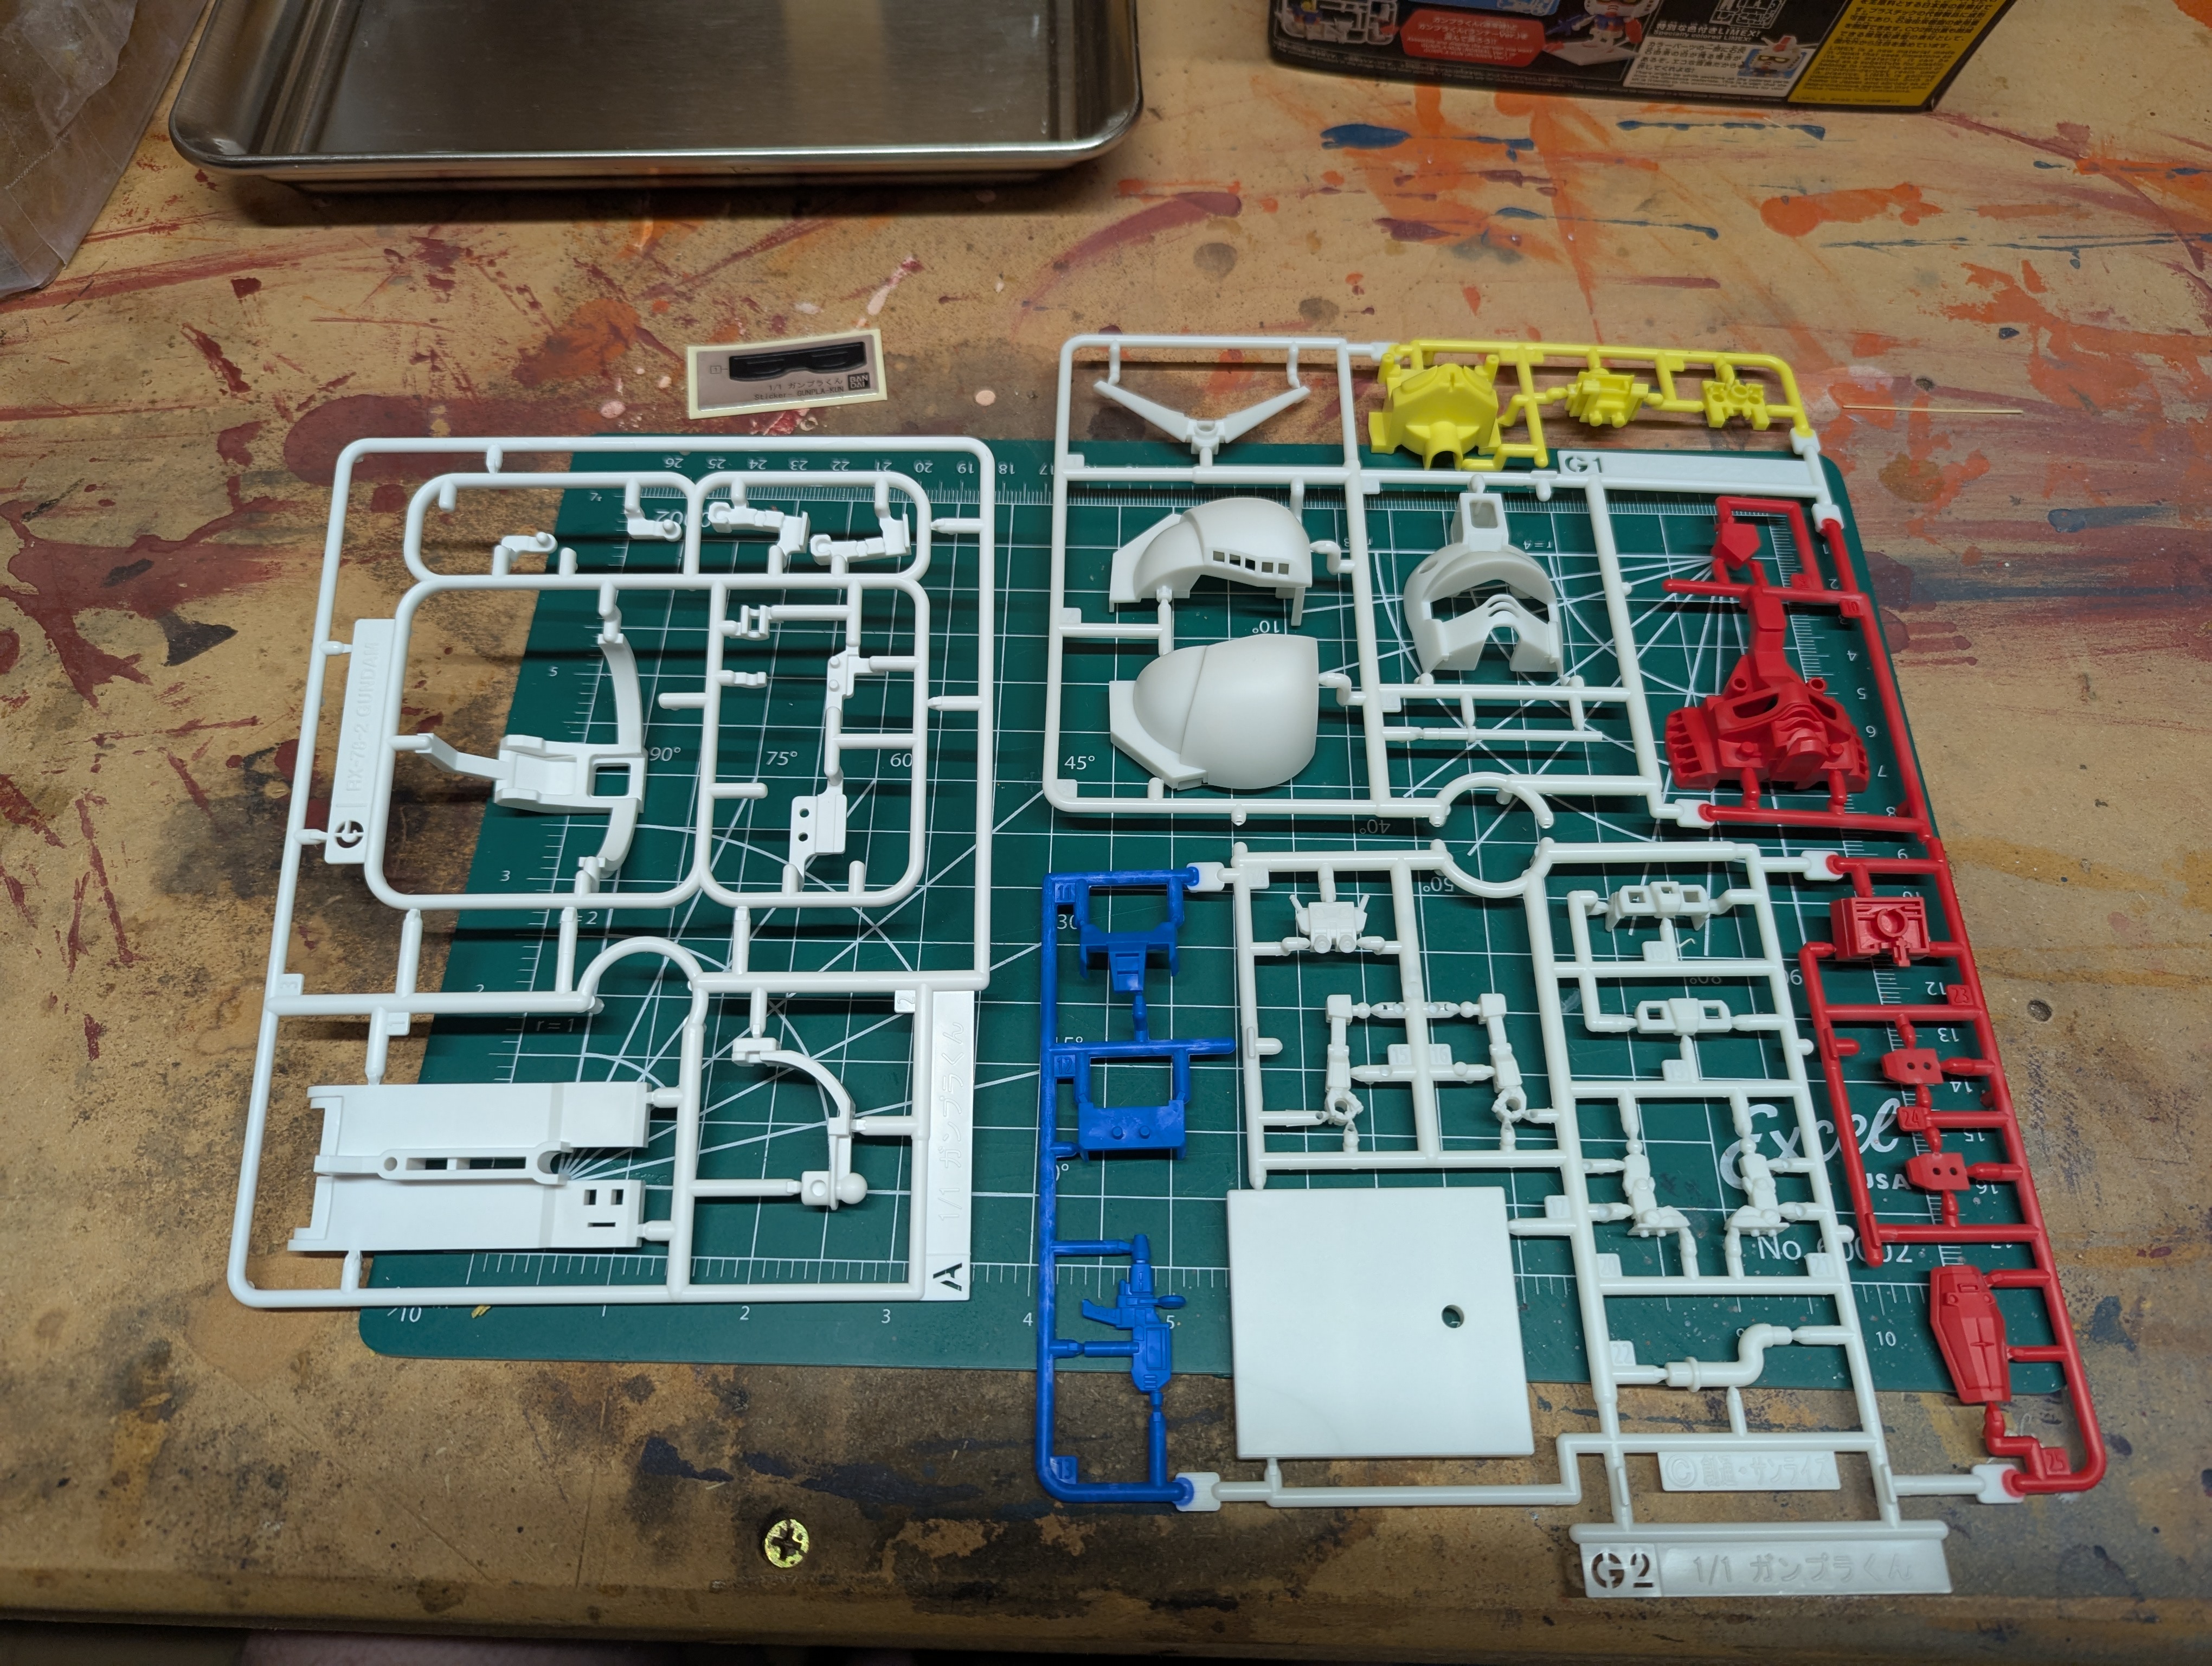
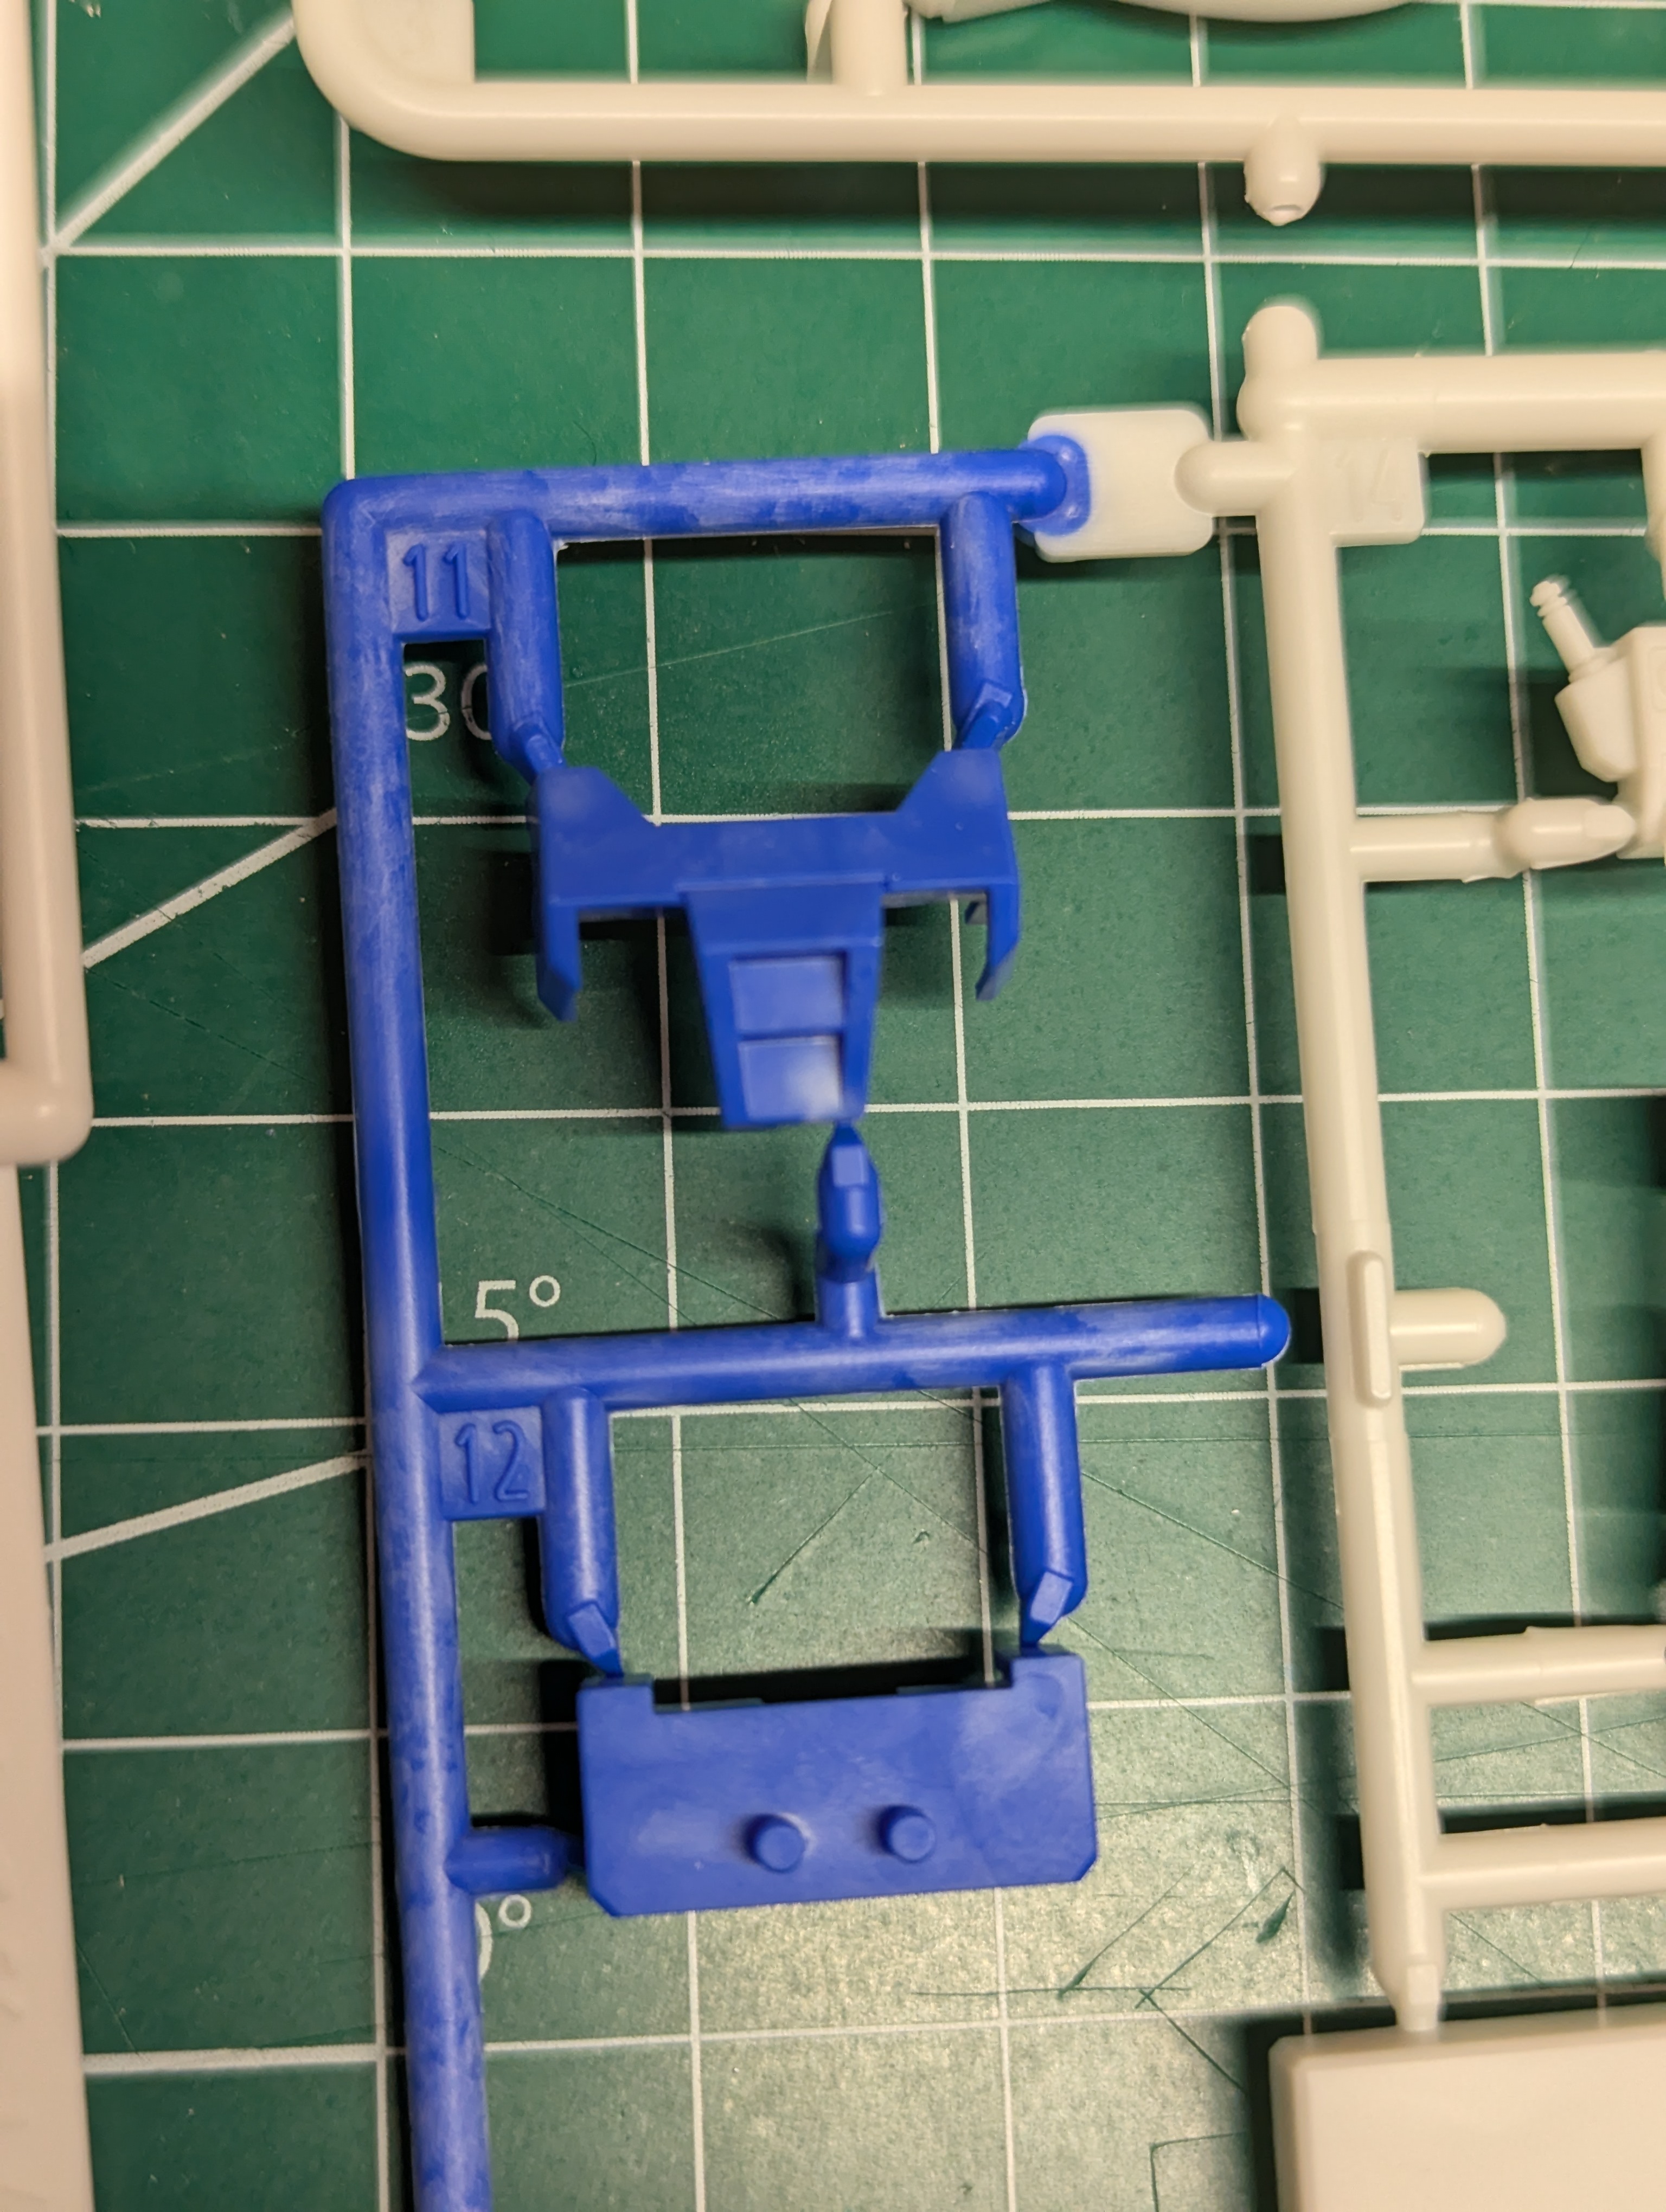
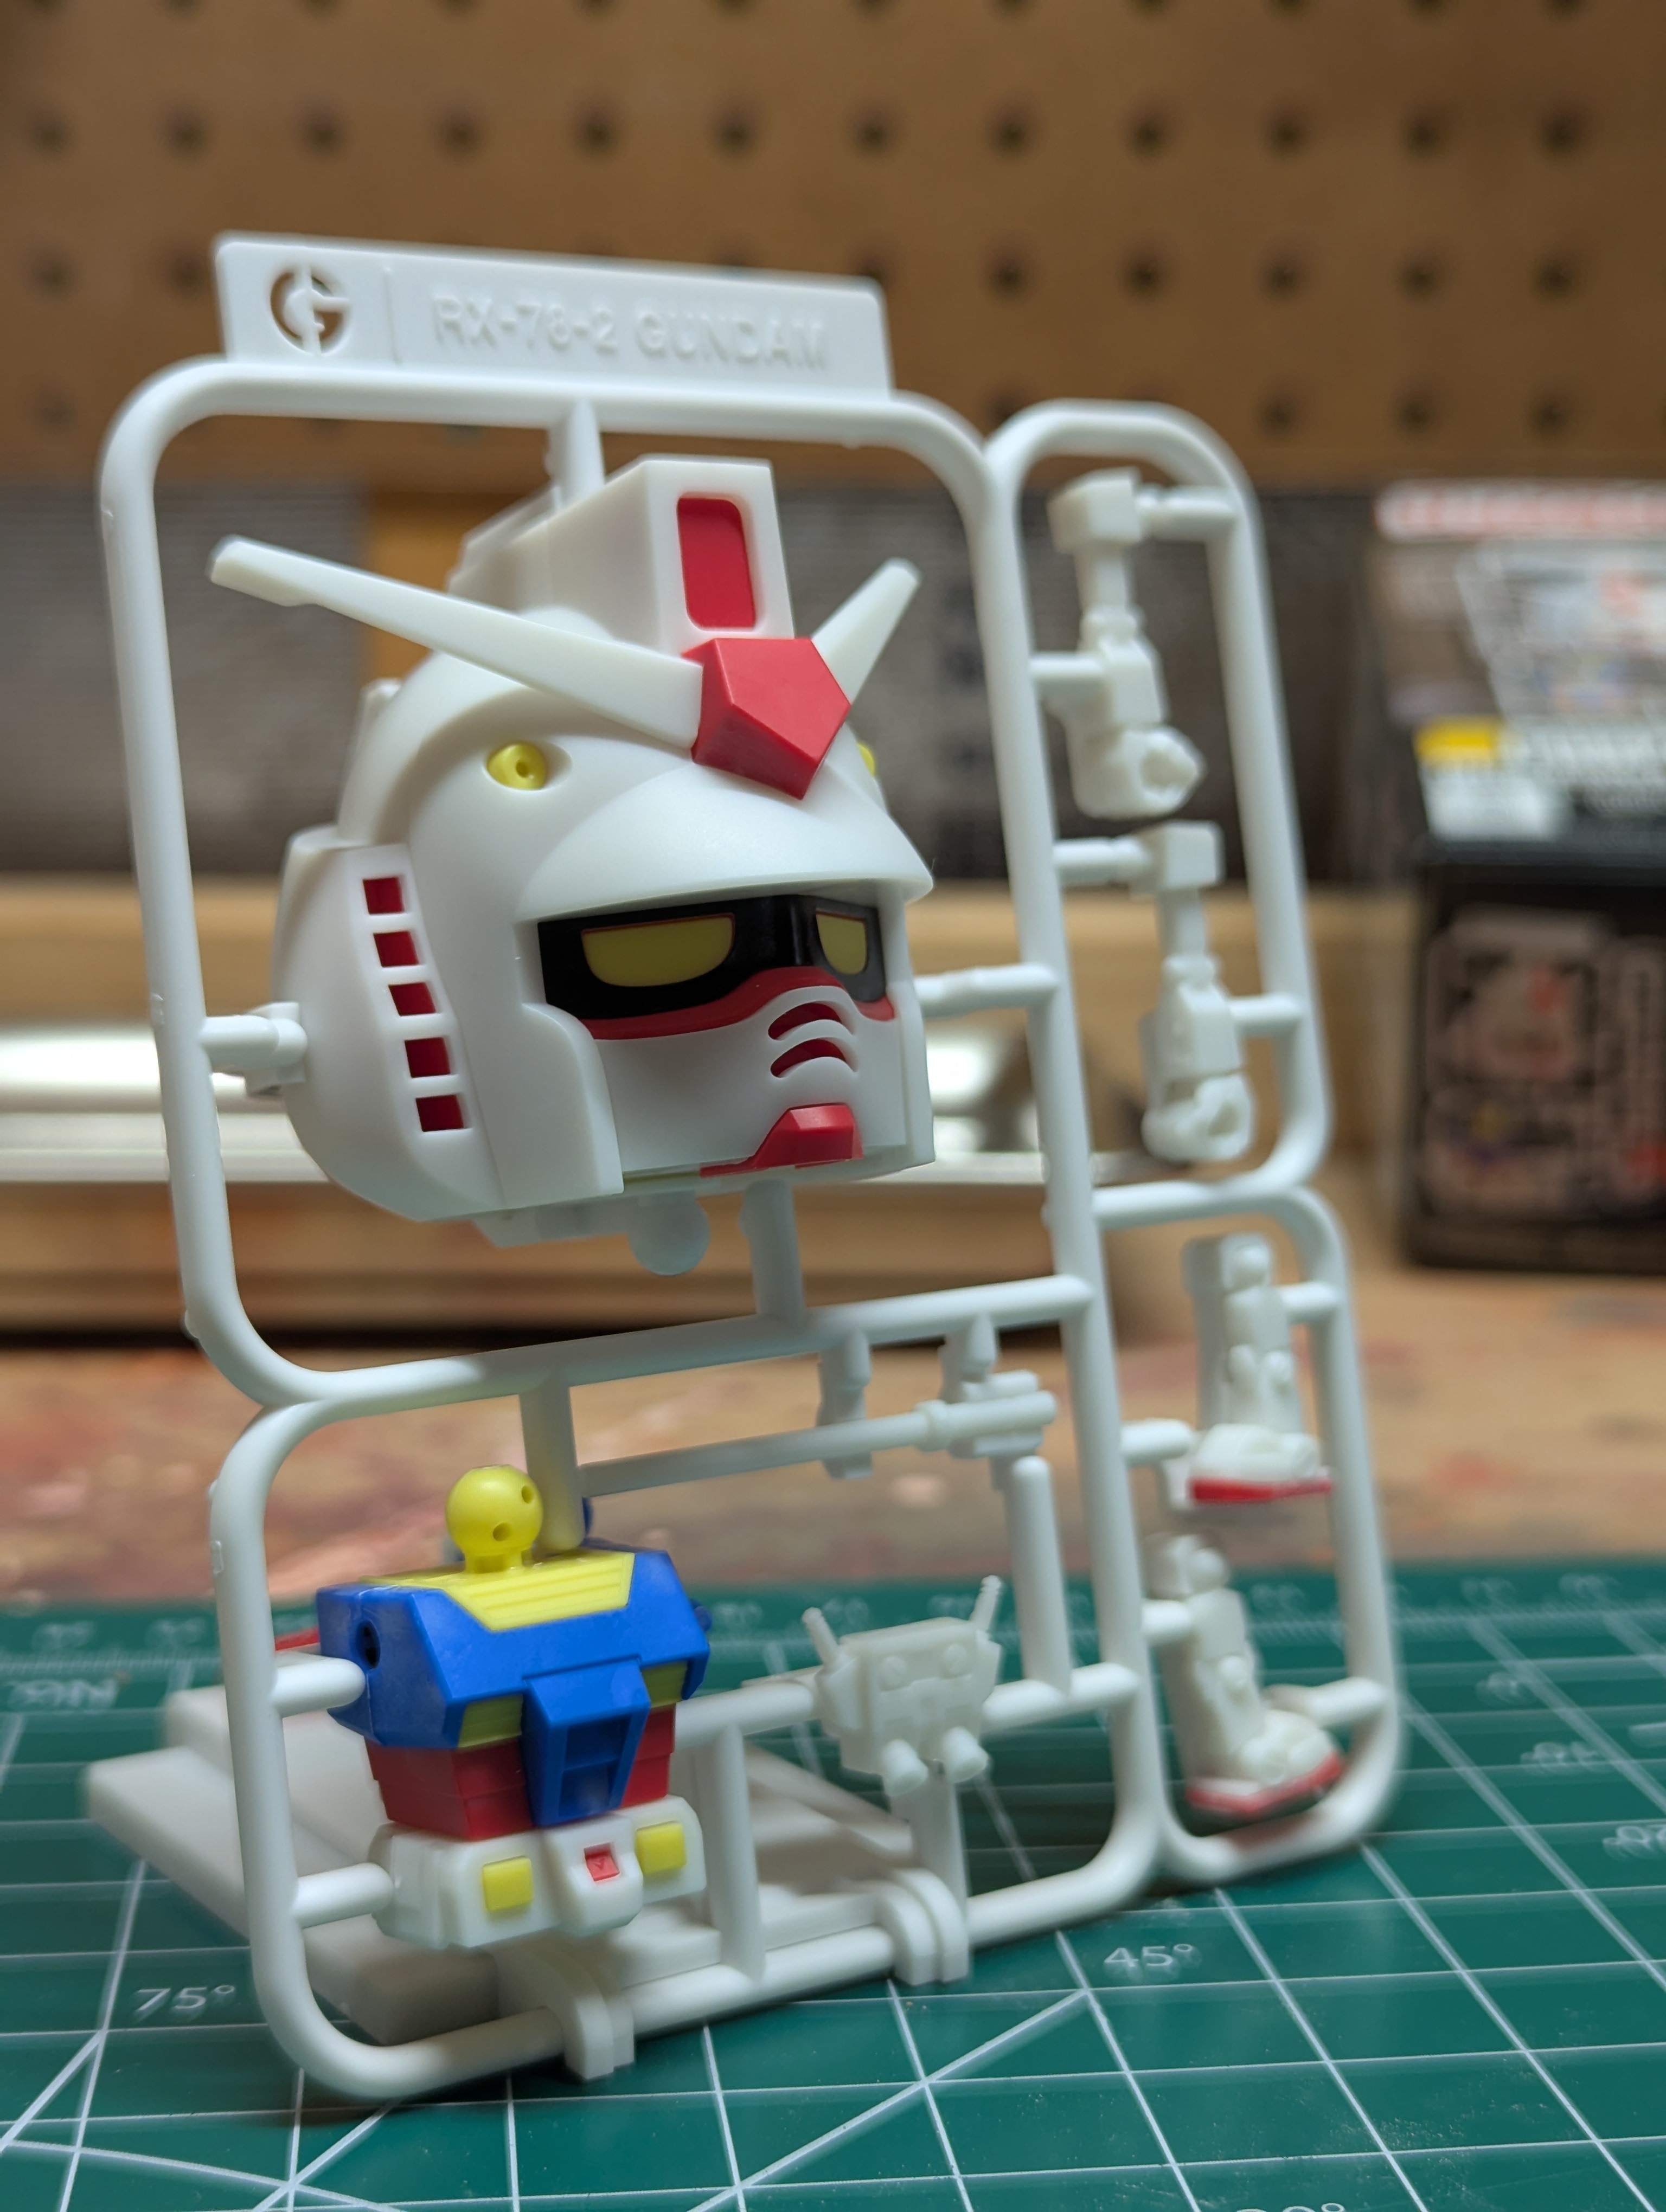
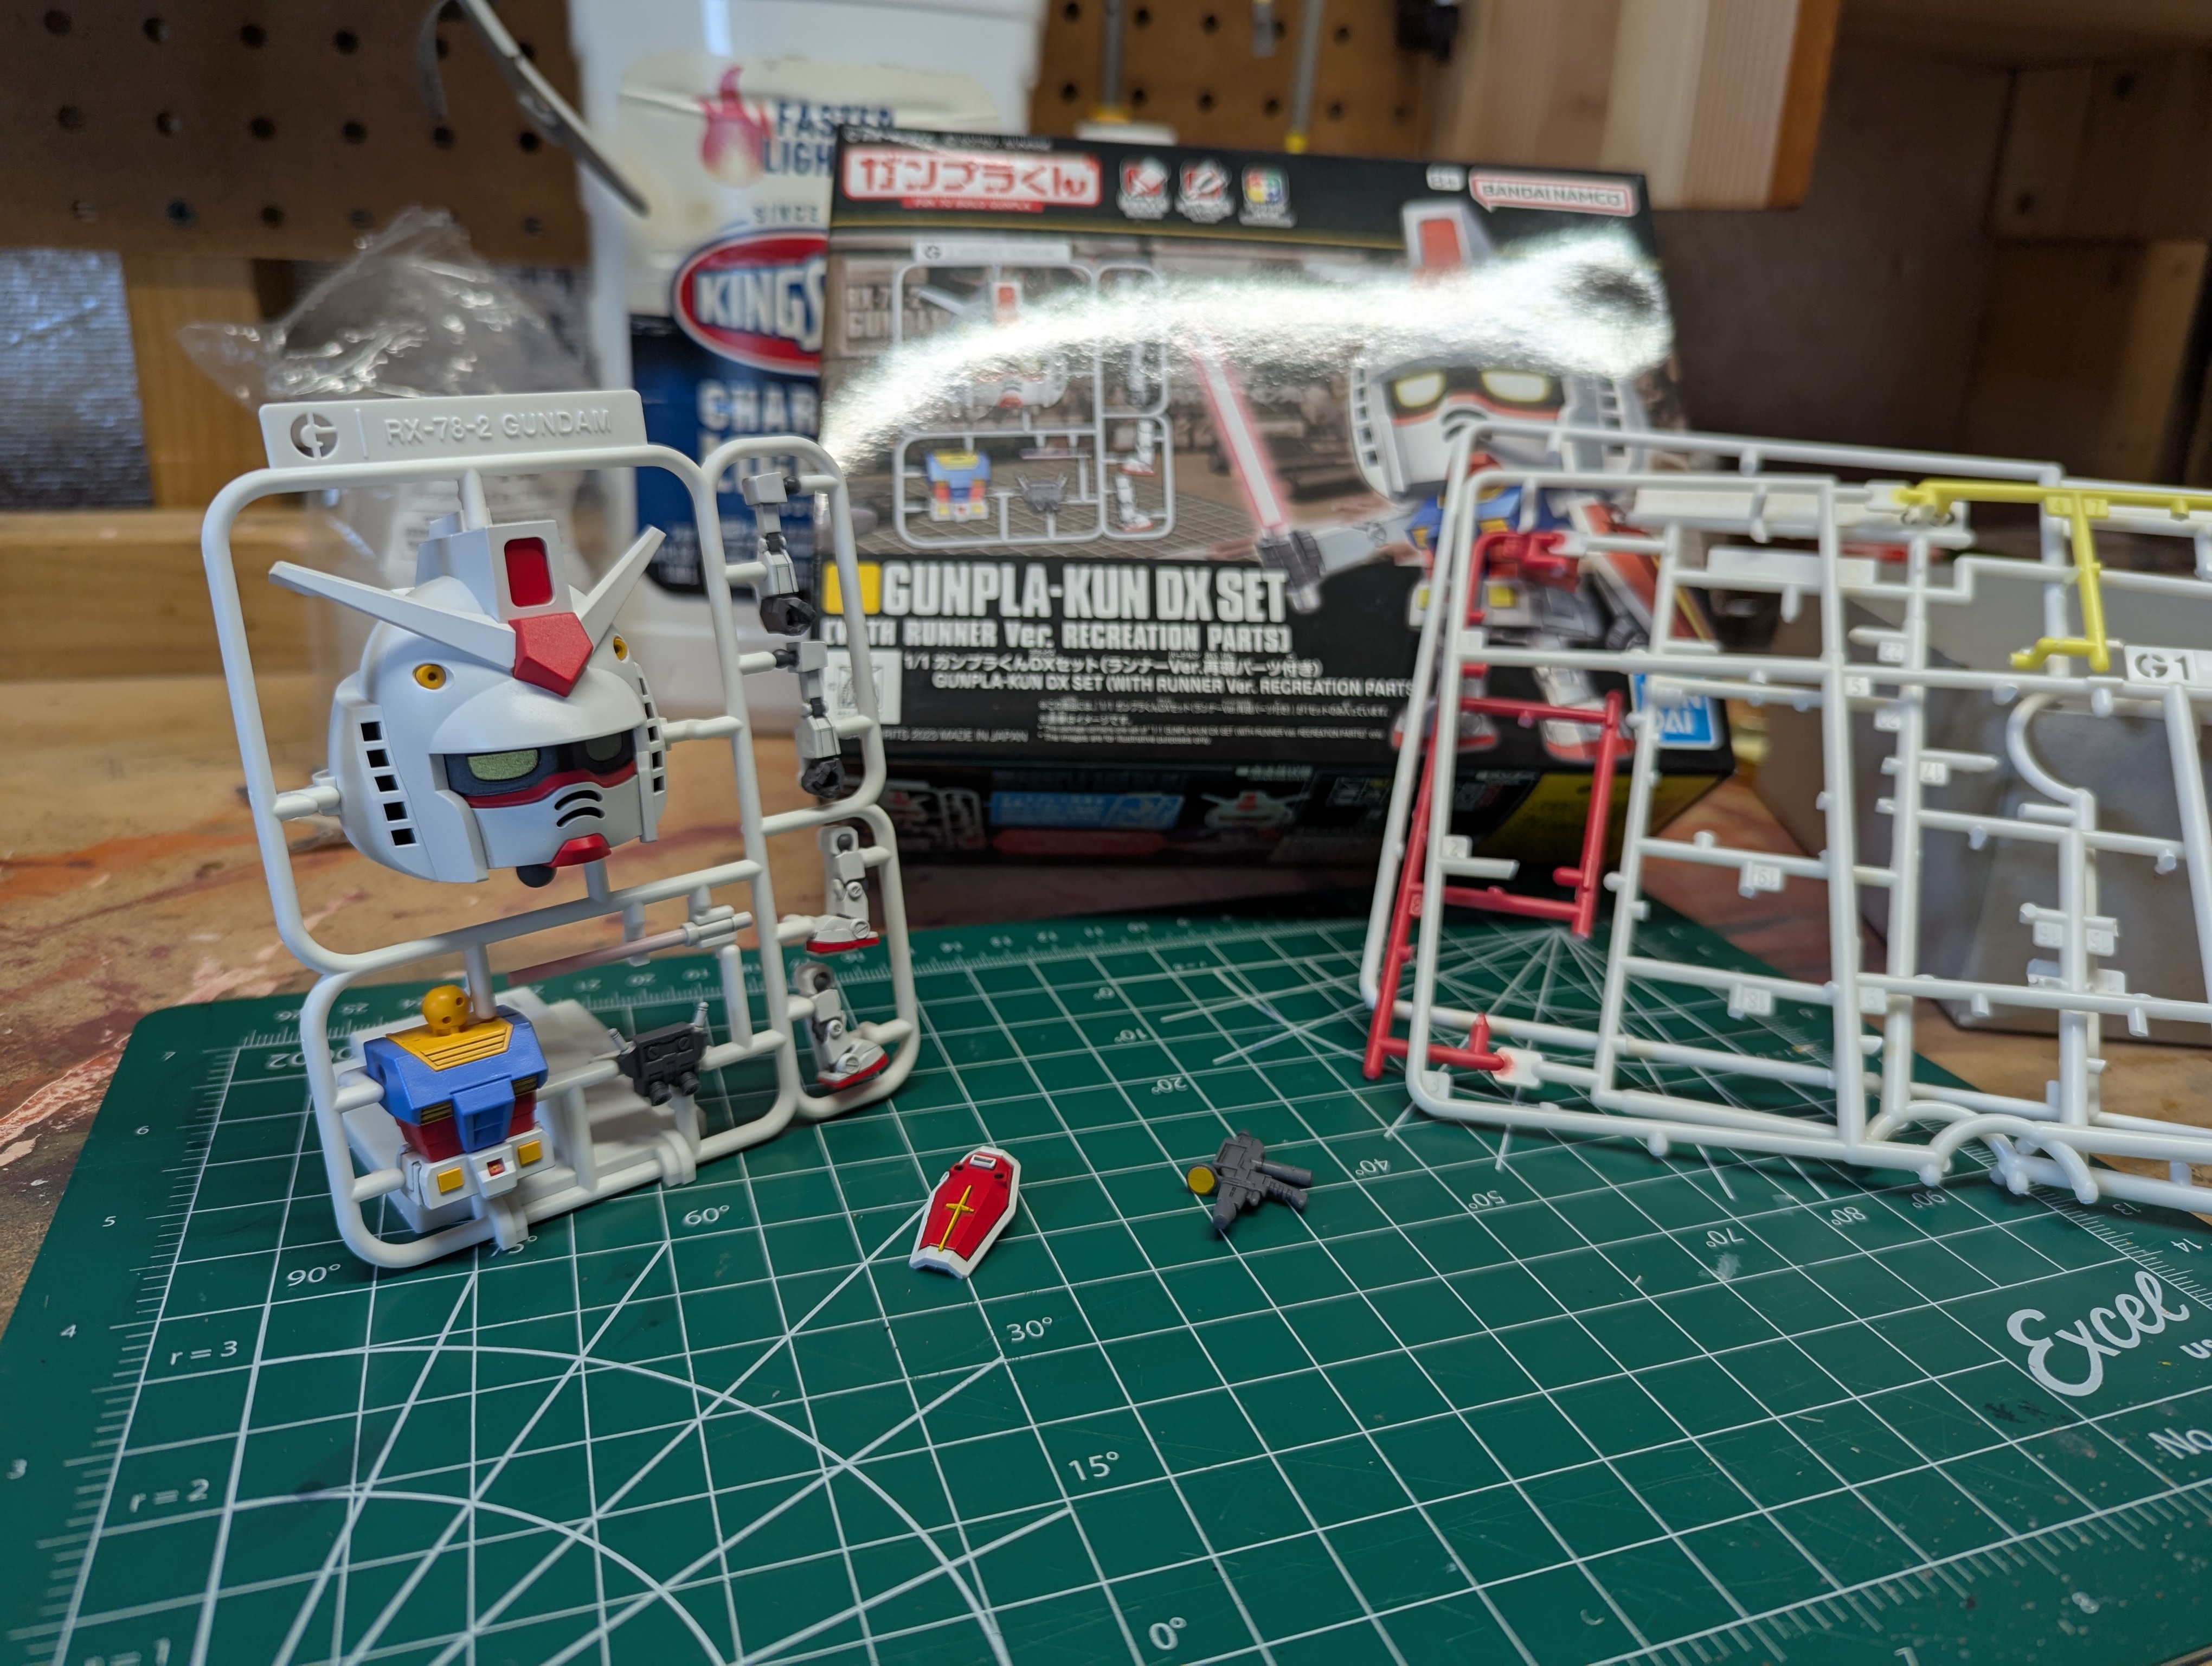
The kit comes with three runners, a small instruction sheet, and a single sticker for correcting the visor color. The display runner still has to be cut off of a "real" runner - I guess they didn't feel that they could optimize that plastic out somehow. Of note, it's only three colors - gray is the big missing one here.
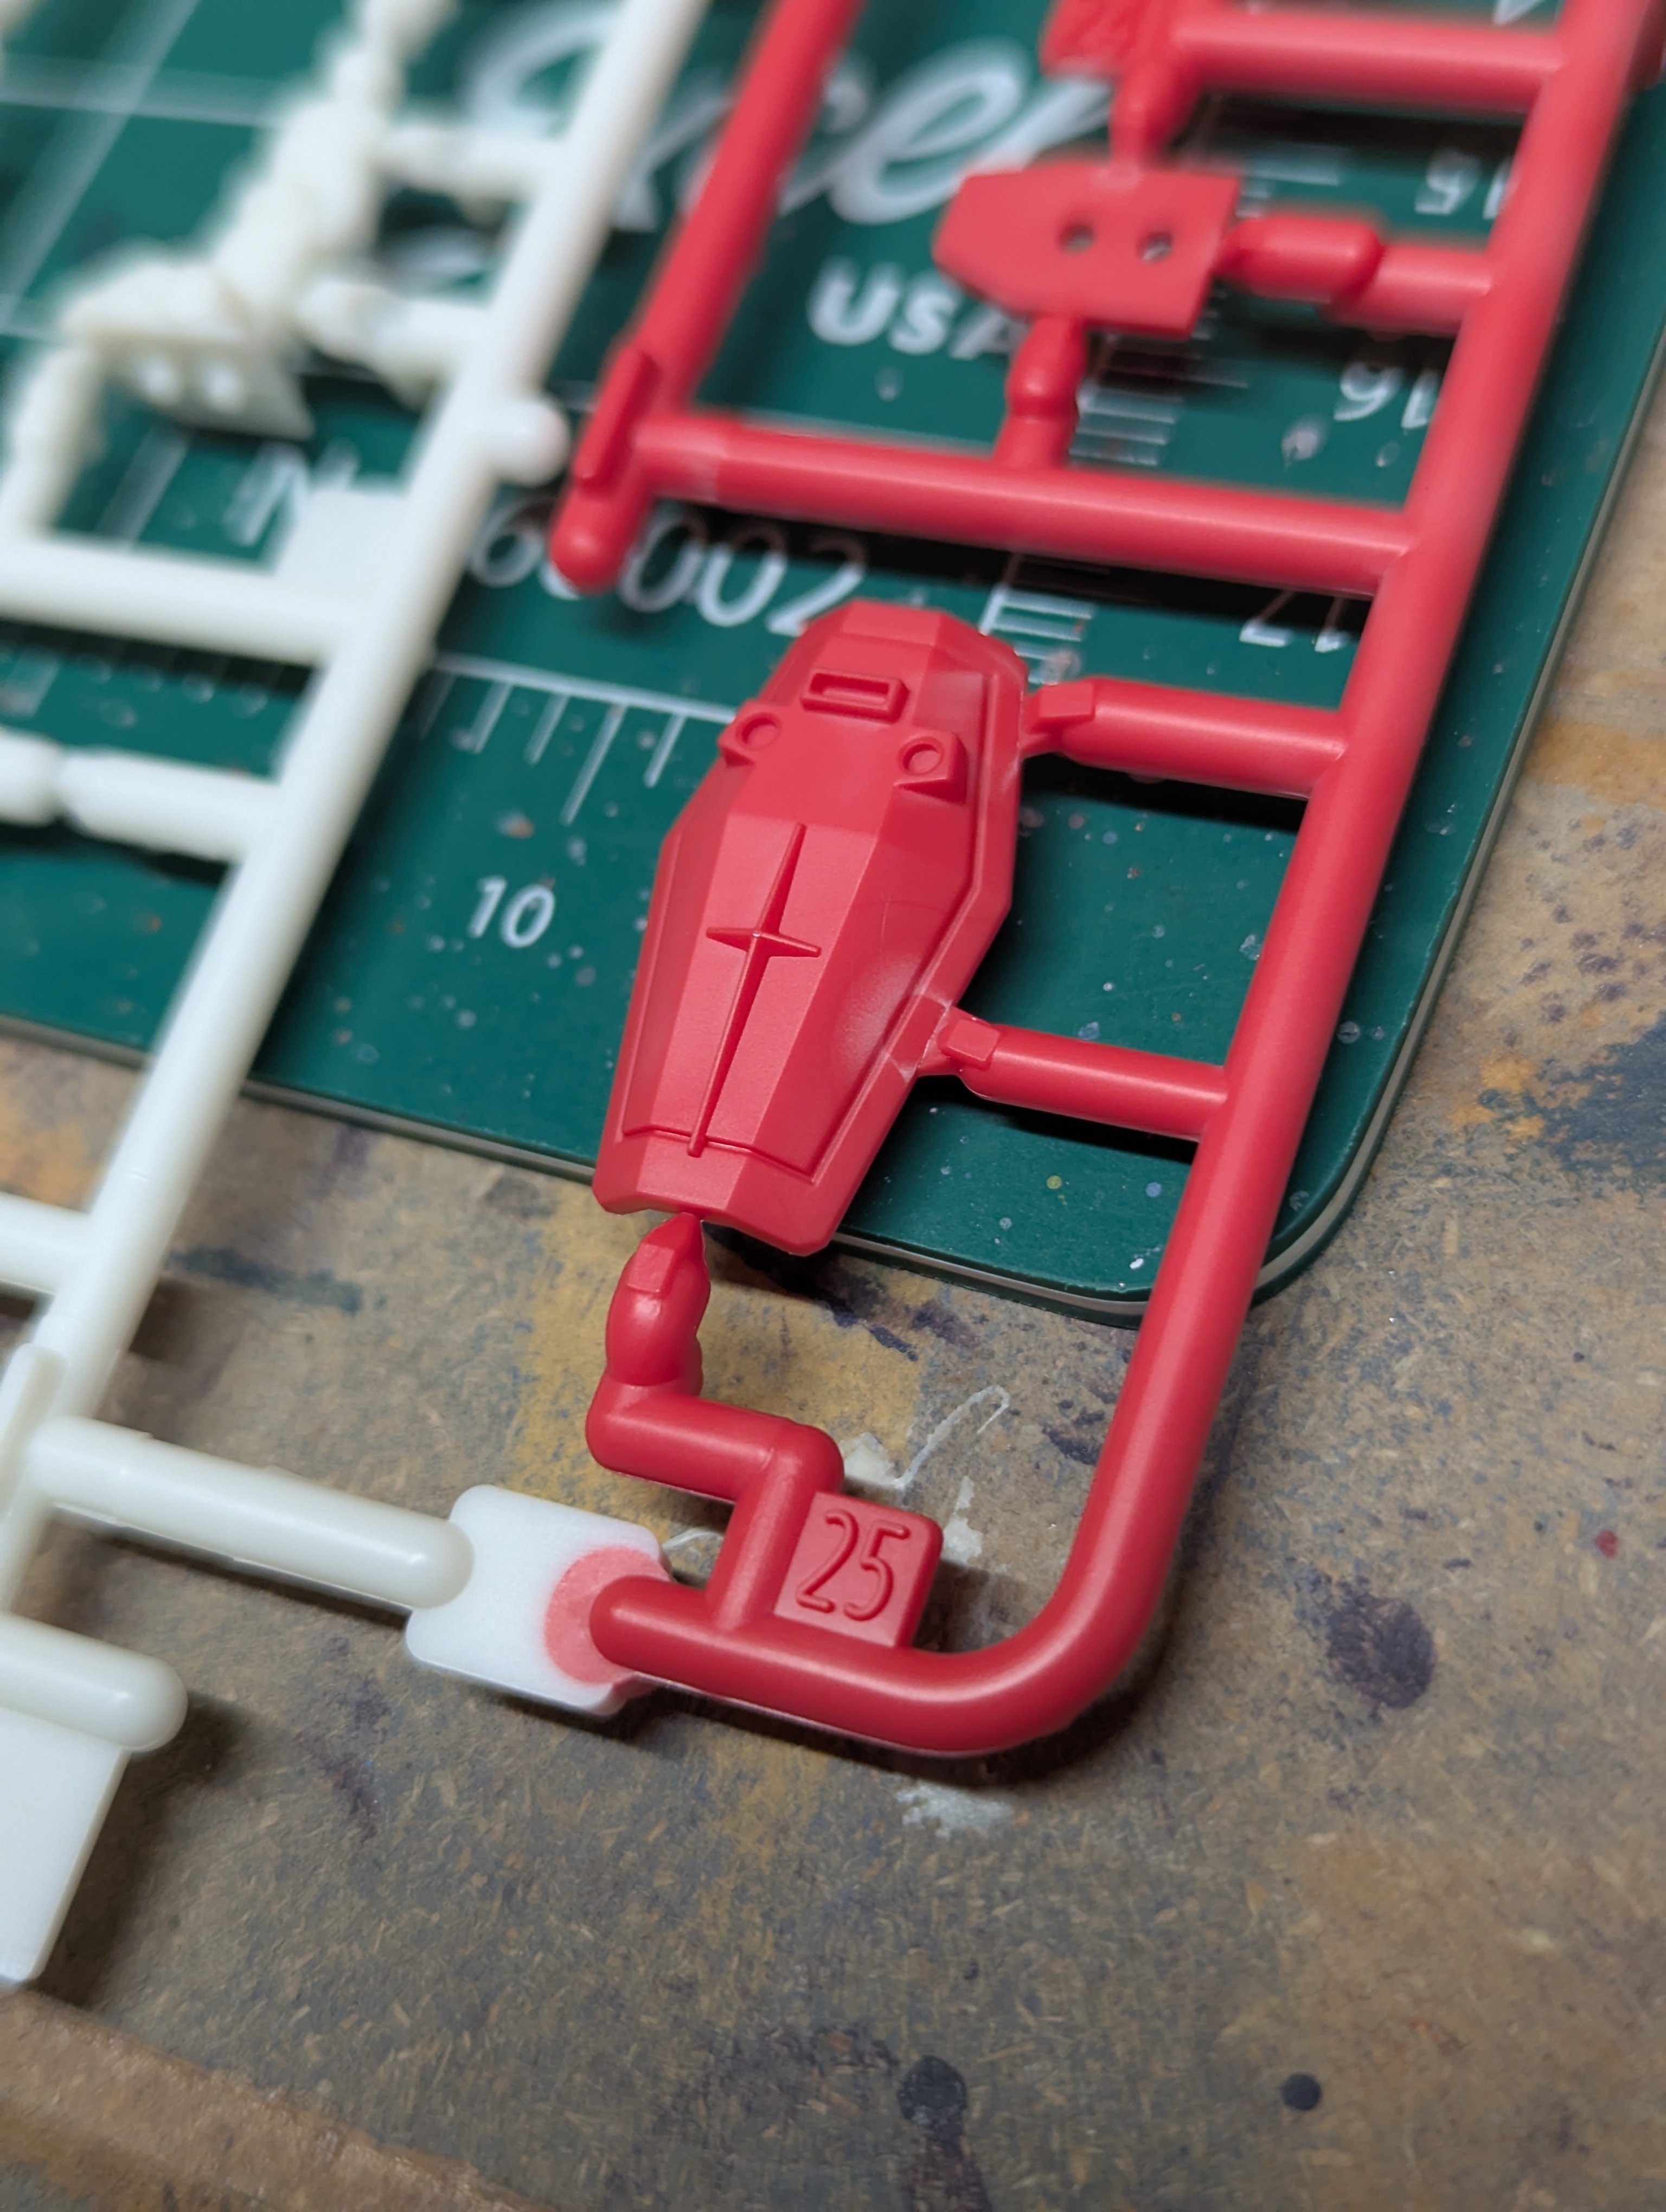
This is kit it made out of an experimental "eco-friendly" plastic that Bandai calls Limex, since it's partially limestone-derived. The box warns that some parts may have this white hazing effect, which I did see on the blue/red parts. The use of Limex will color the rest of this build somewhat, as it has different working characteristics from the usual polystyrene material used on other Bandai kits.
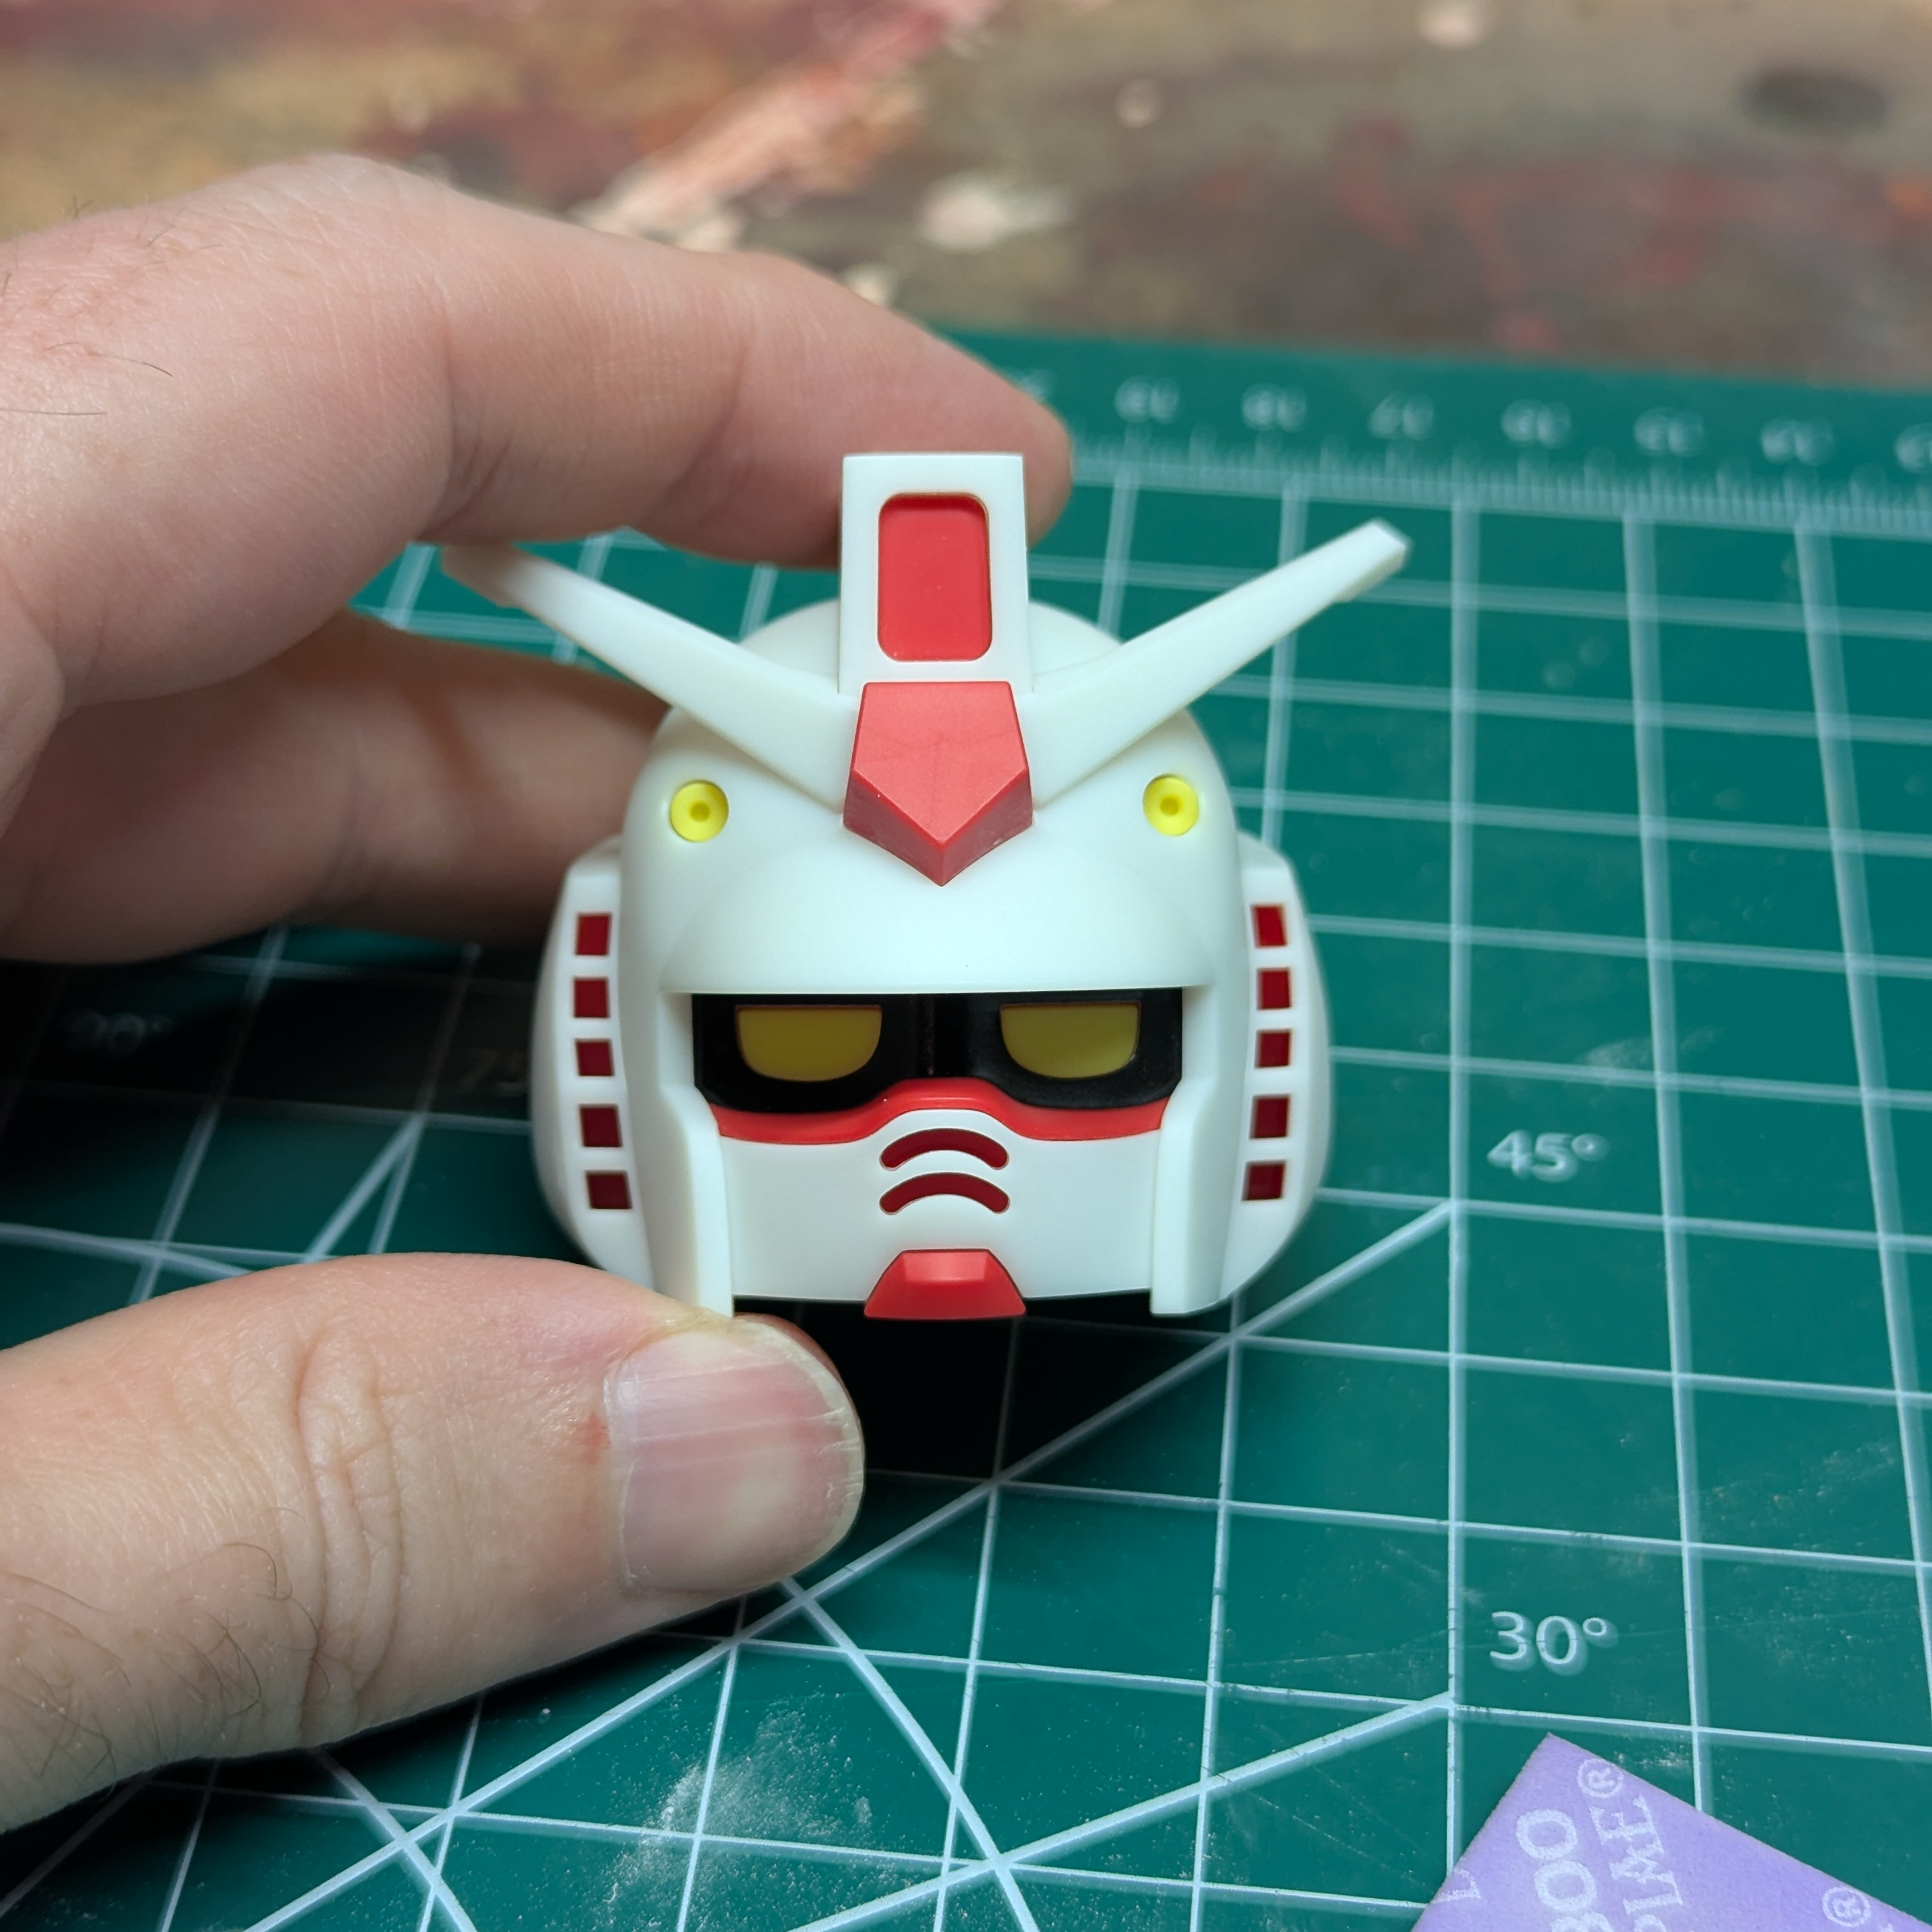
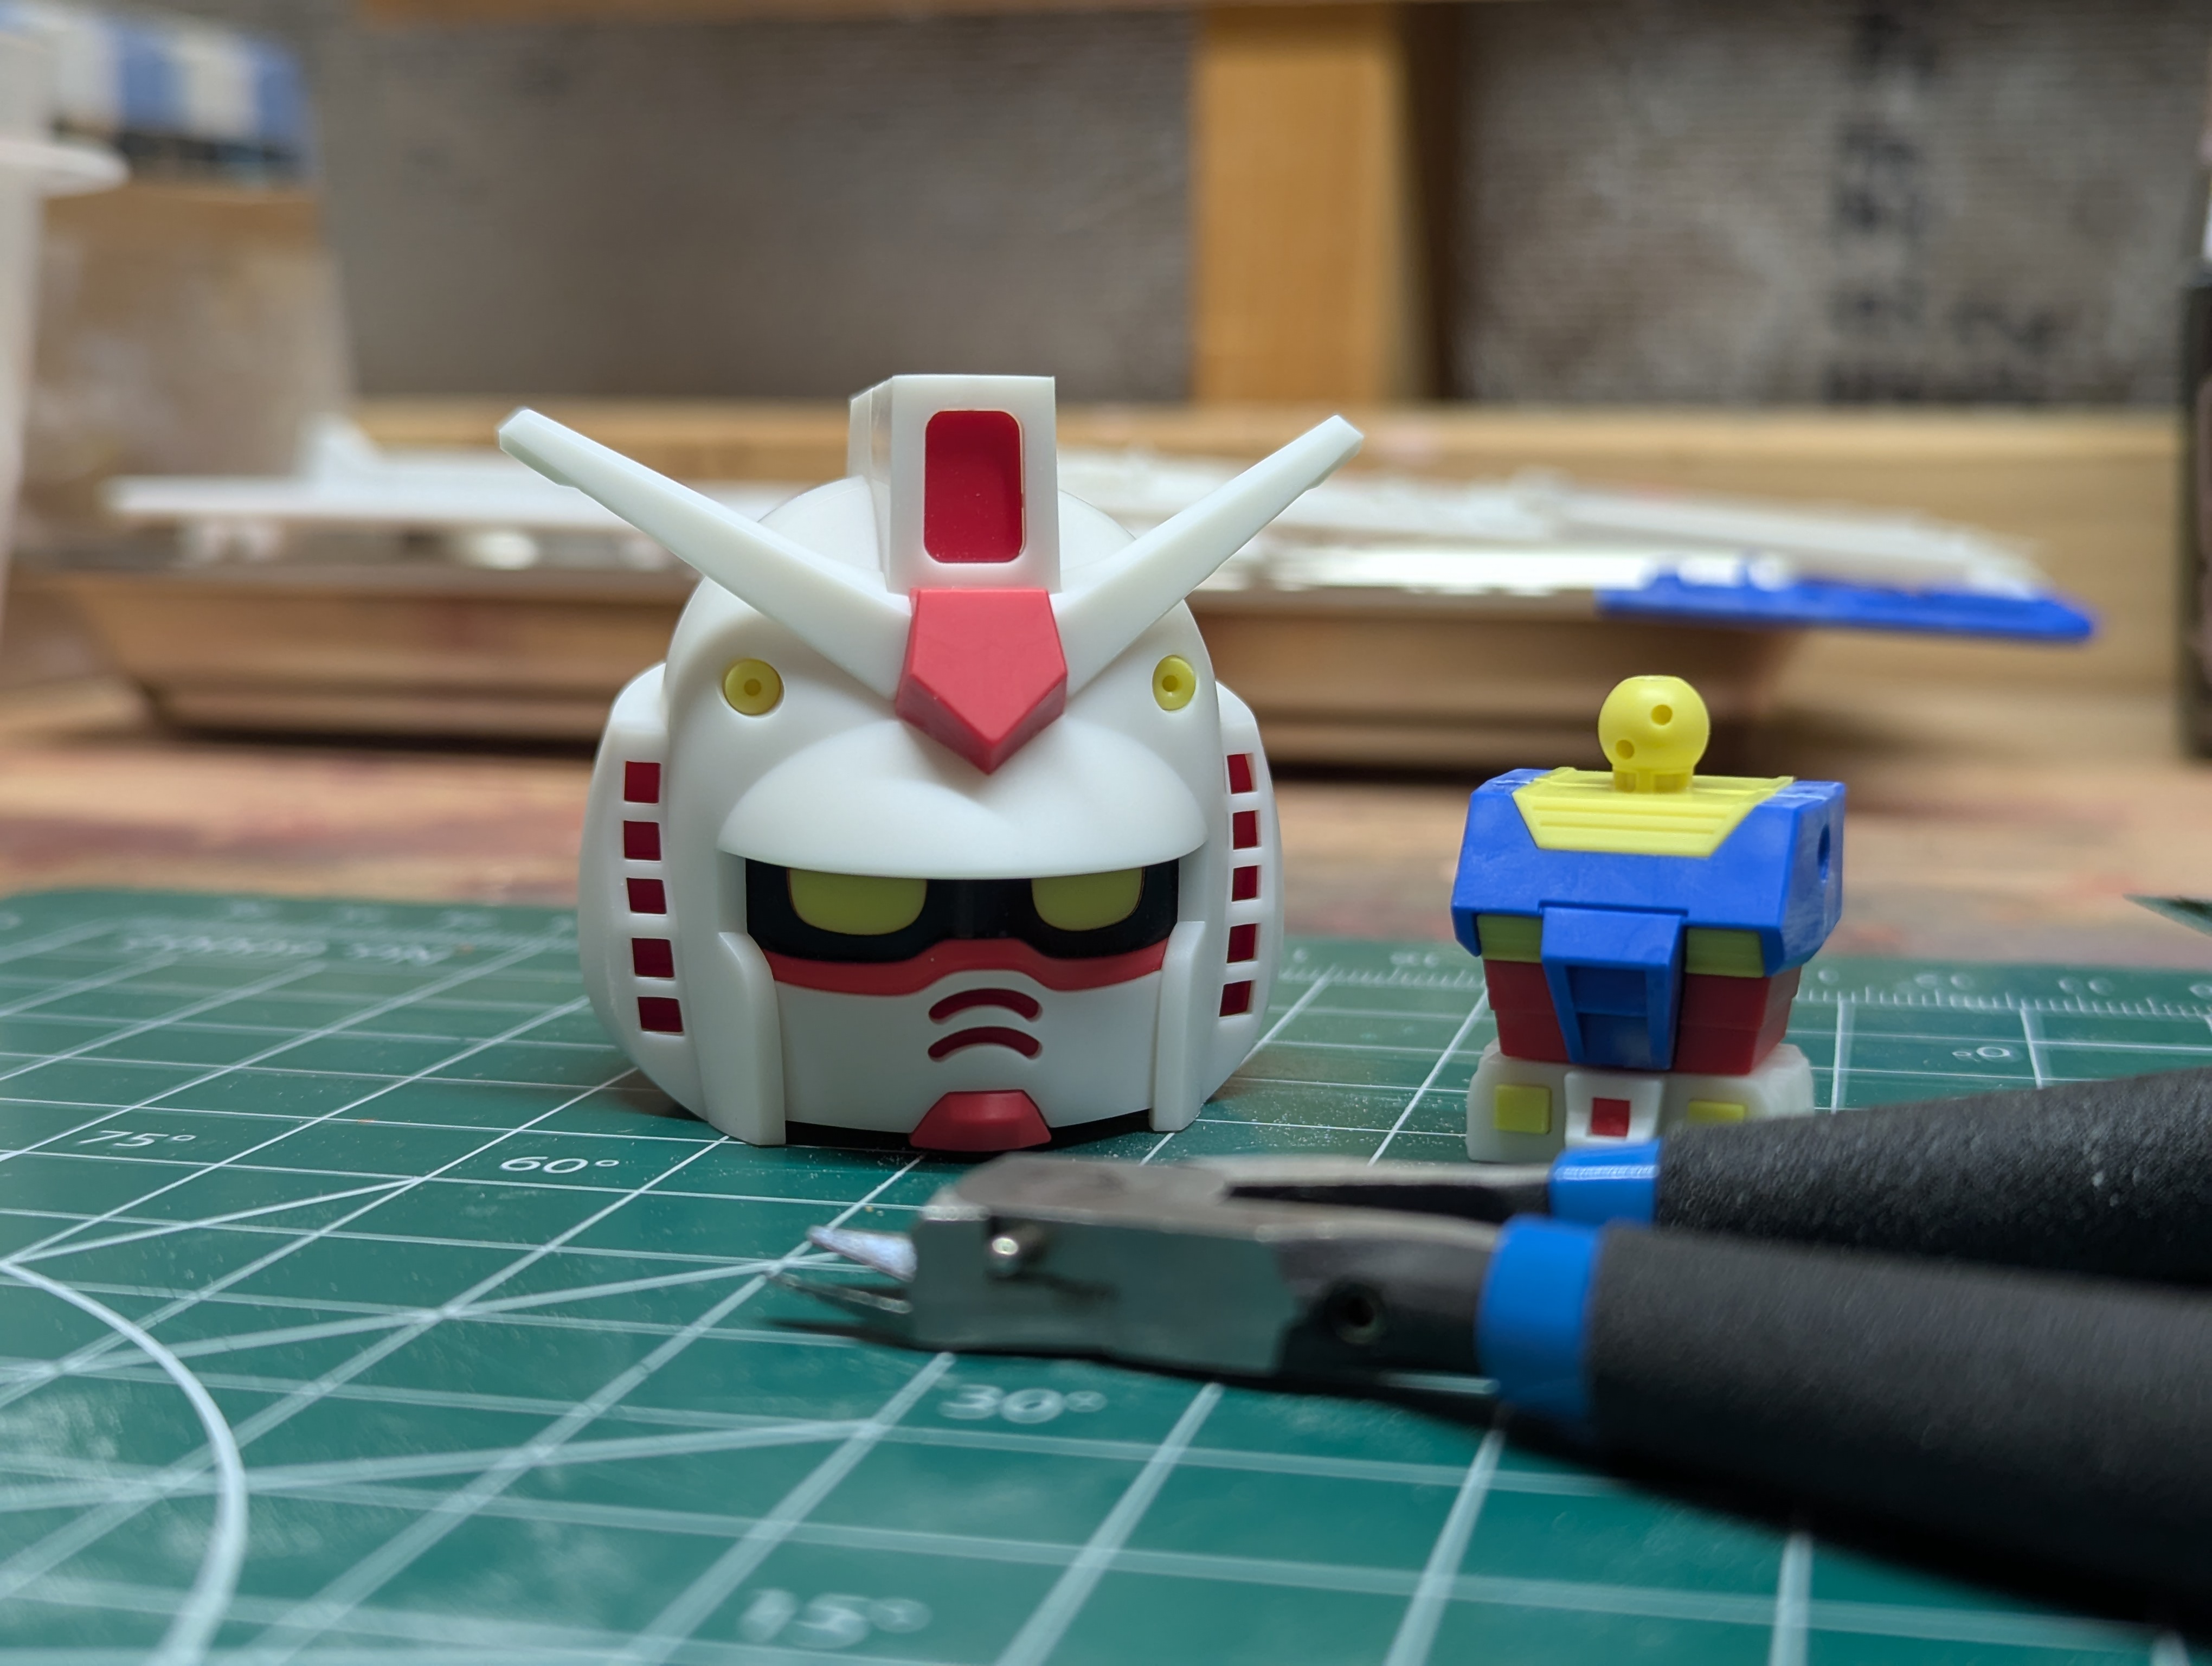
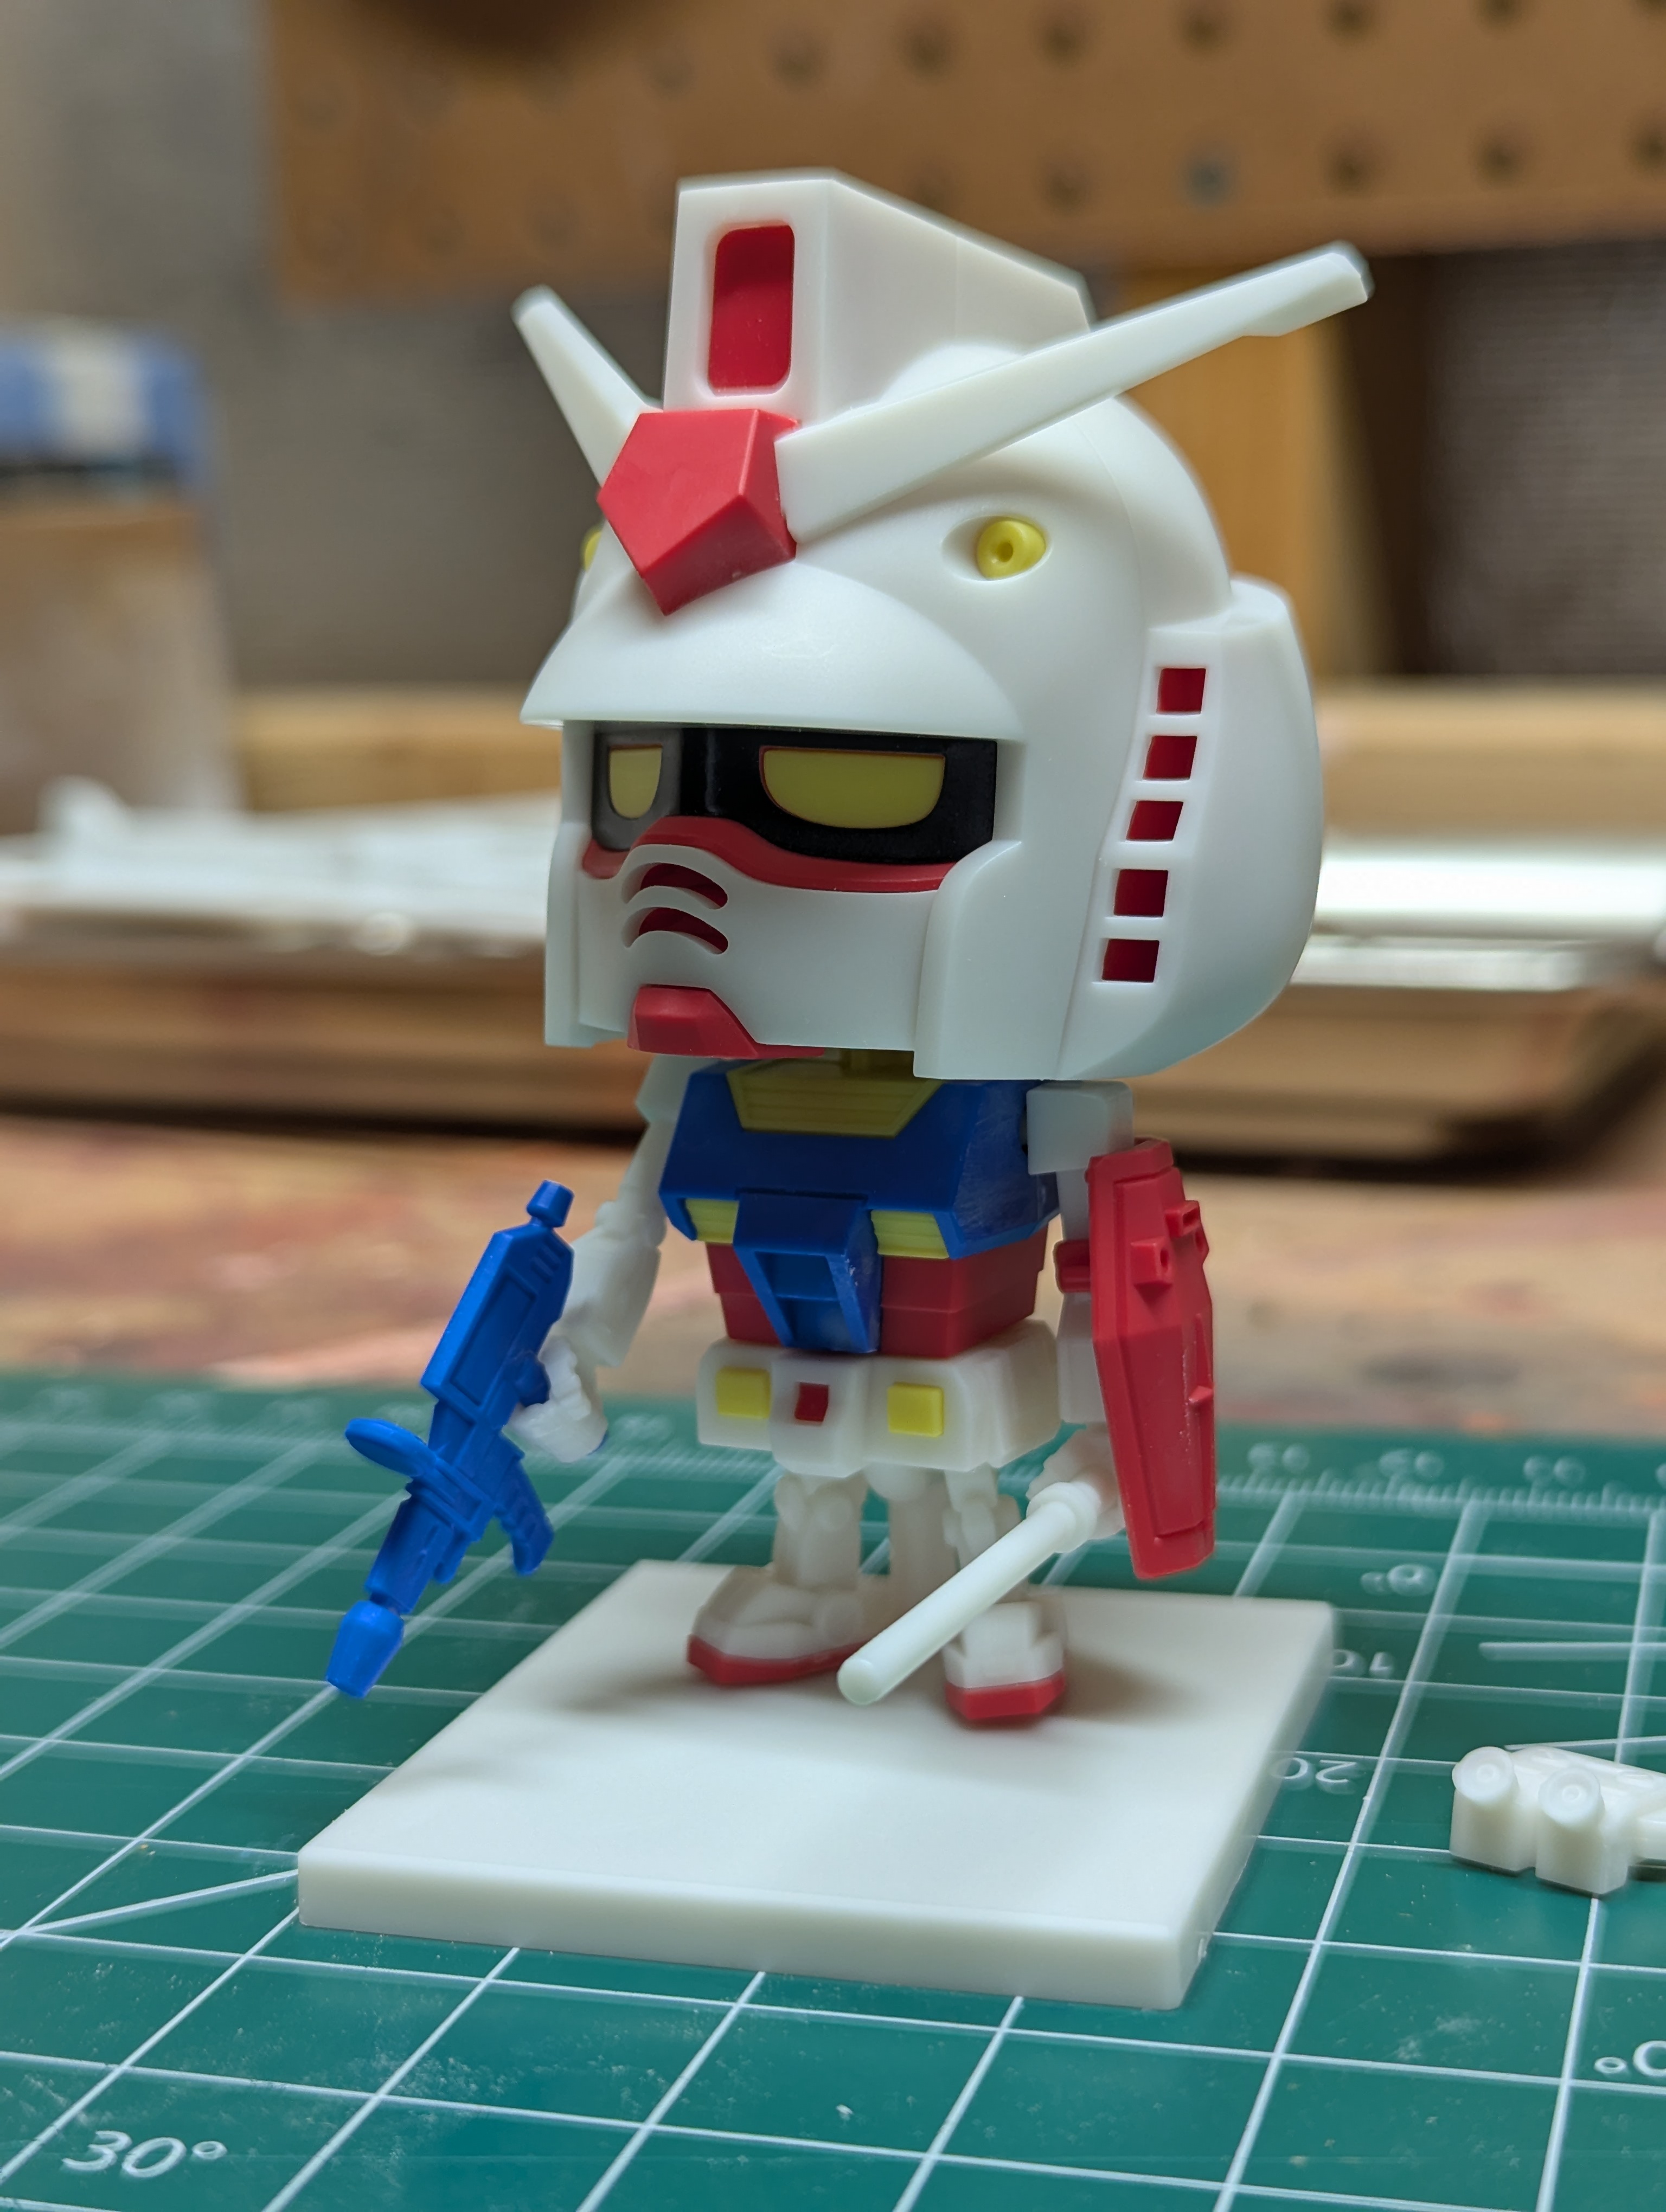
The head is absolutely enormous - about half as tall as some of my 1/144 kits on its own. This does make for a unique building experience where the head - which is usually the high-stress assembly with the smallest pieces - is instead a total breeze with huge panels to work with.
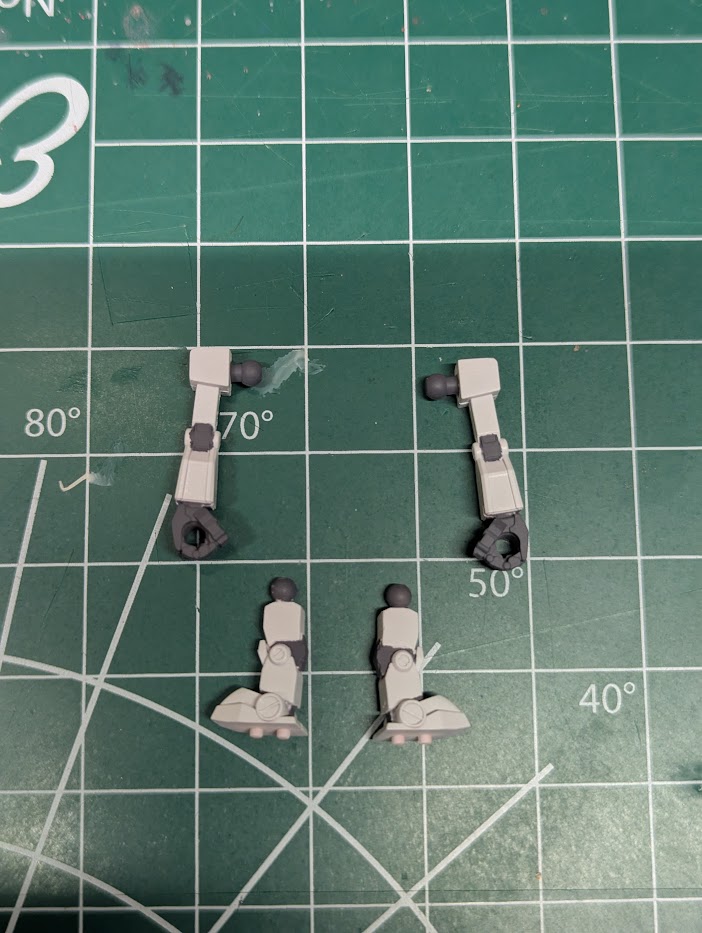
Completing the snap-build was pretty simple. The joints are very simple - just plastic ball joints with friction fits - but they work decently enough. The manual does warn not to overwork the joints, though - the Limex material is pretty brittle. I didn't have too much trouble with it overall, but I do have to say that it sands poorly and I could feel some worrying flexing even though I didn't break anything.
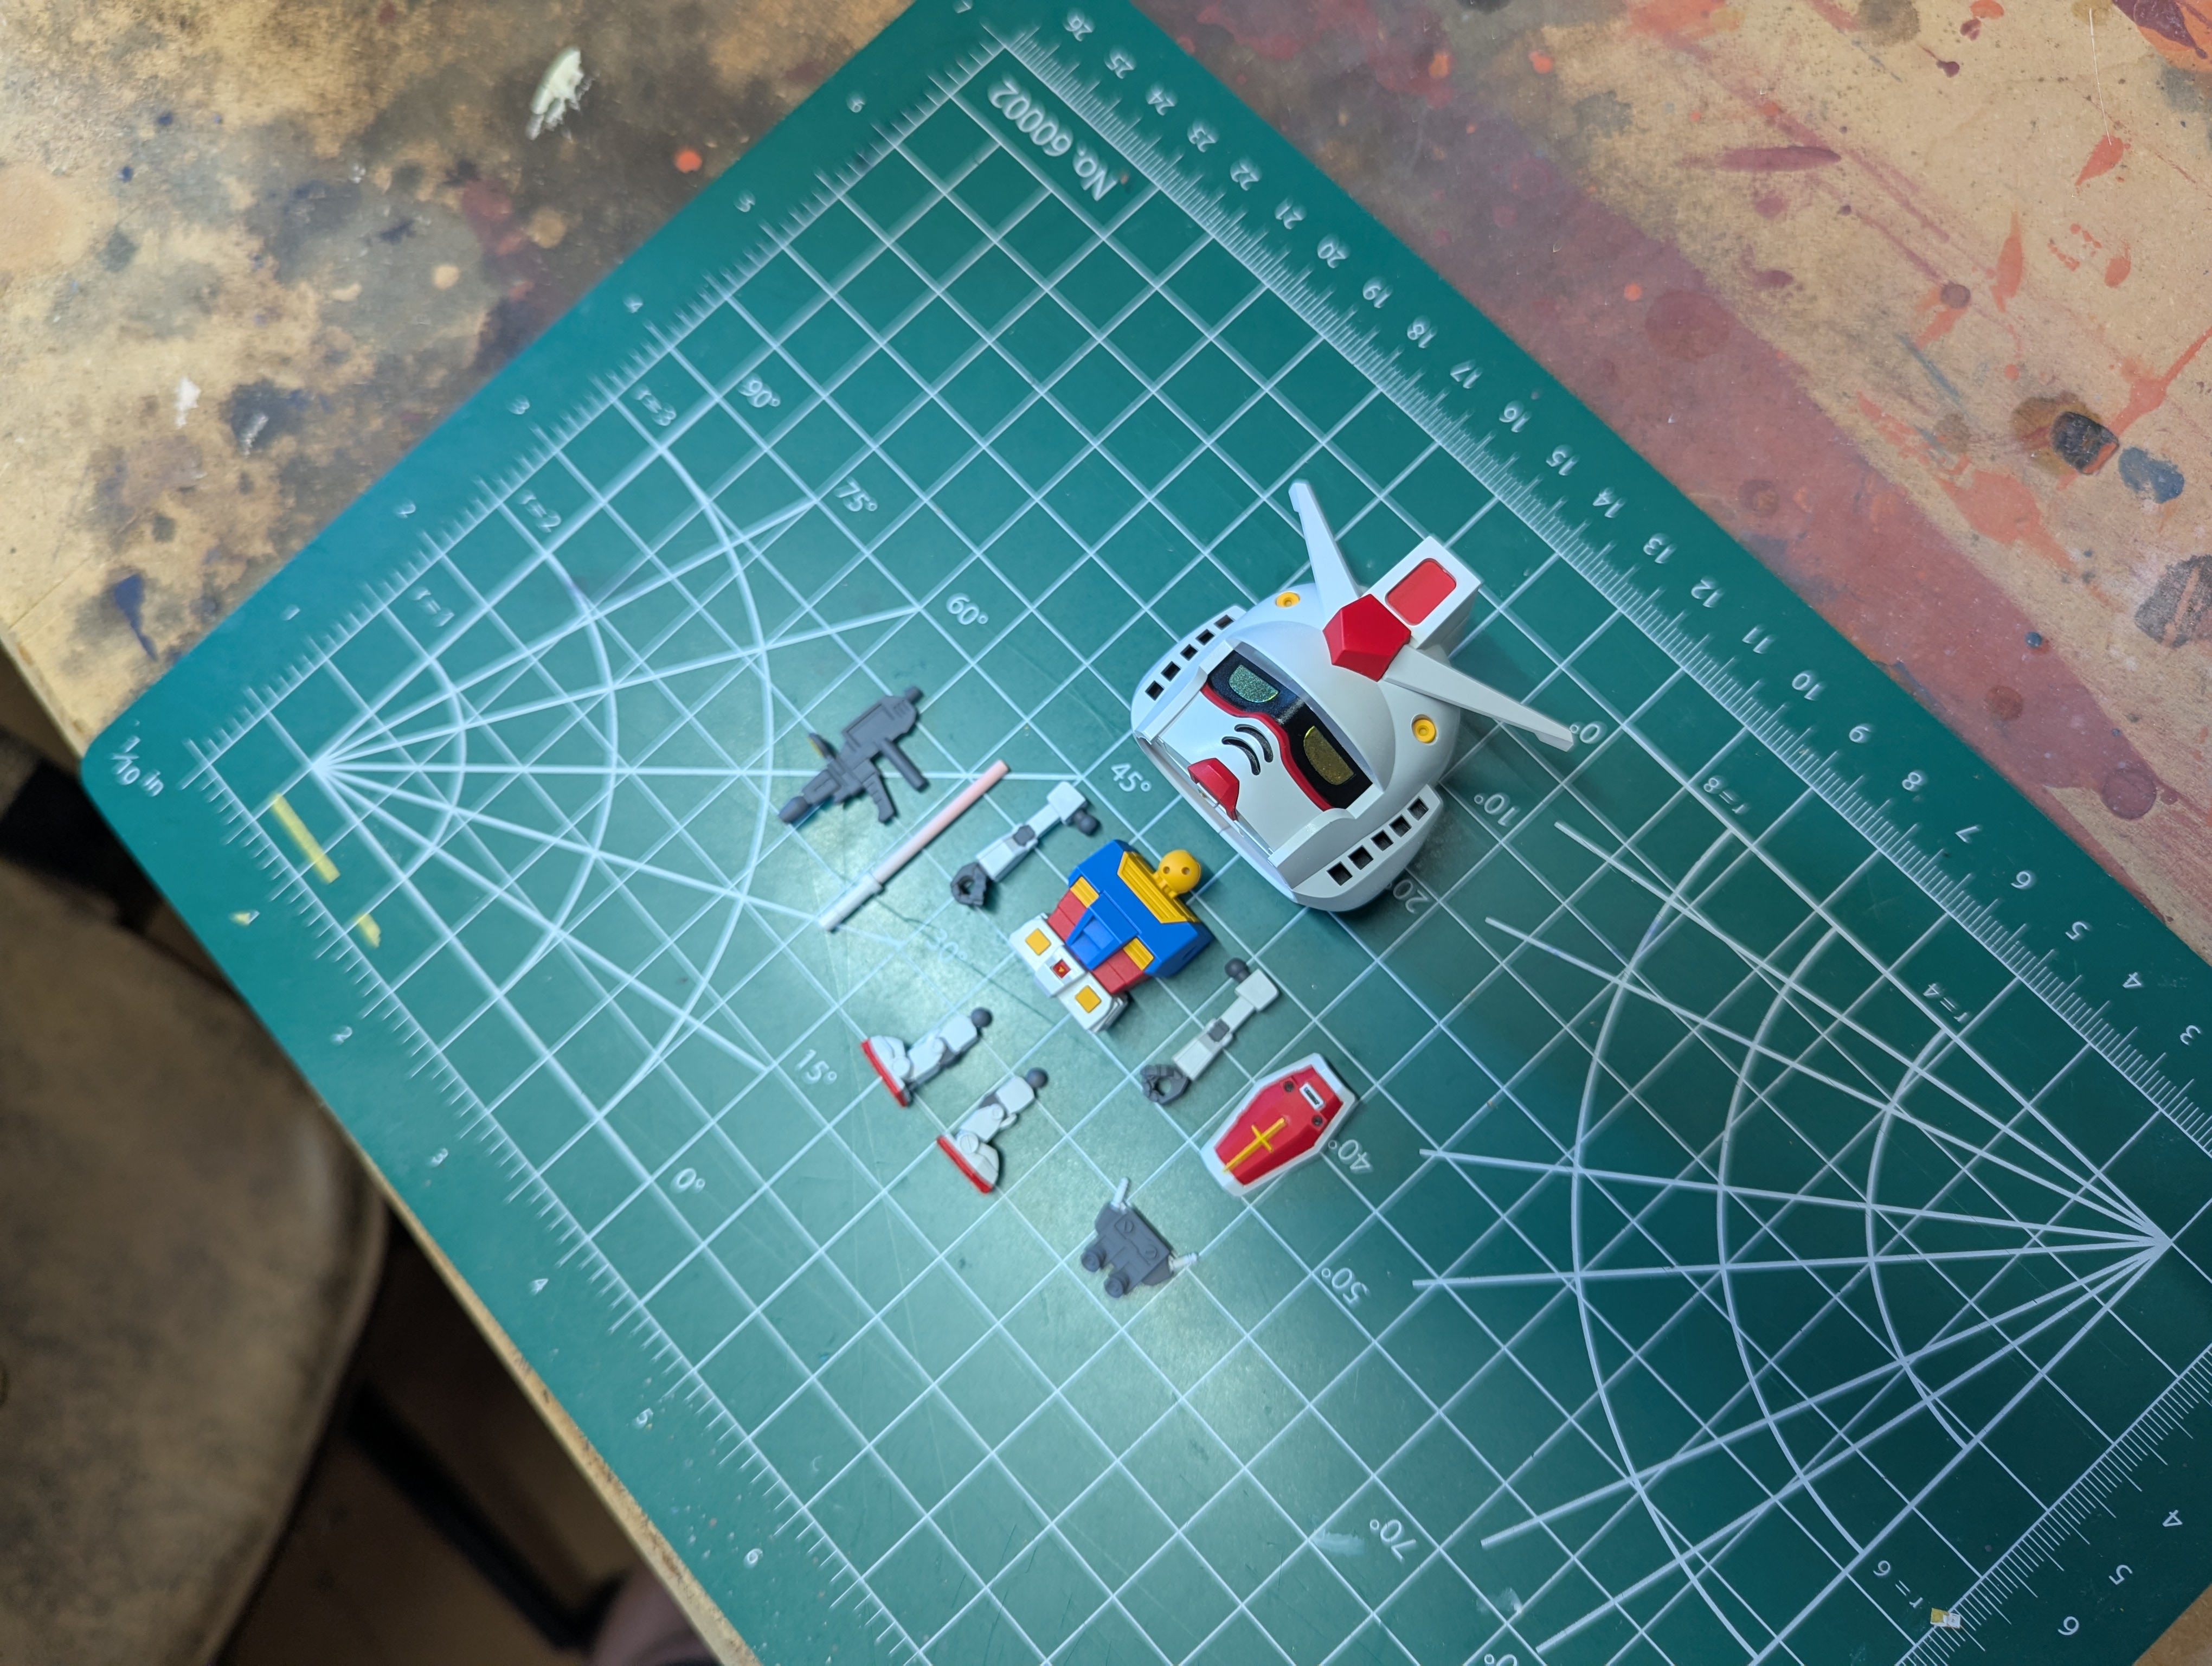
Color separation kind of rears its head on the accessories - the beam saber, shield, and rifle are all single colors. But I found that because they are all different colors themselves, it sort of works holistically - and the design is so unapologetically toyetic that this doesn't look out of place at all if you were to display it as-is. Additionally, while the kit uses red for details that should be black (mouth, sideburn vents) - it smartly recesses these enough that it's visually a lot darker than the other red, so it sort of simulates a fourth color. There's good work within limitations on display here.
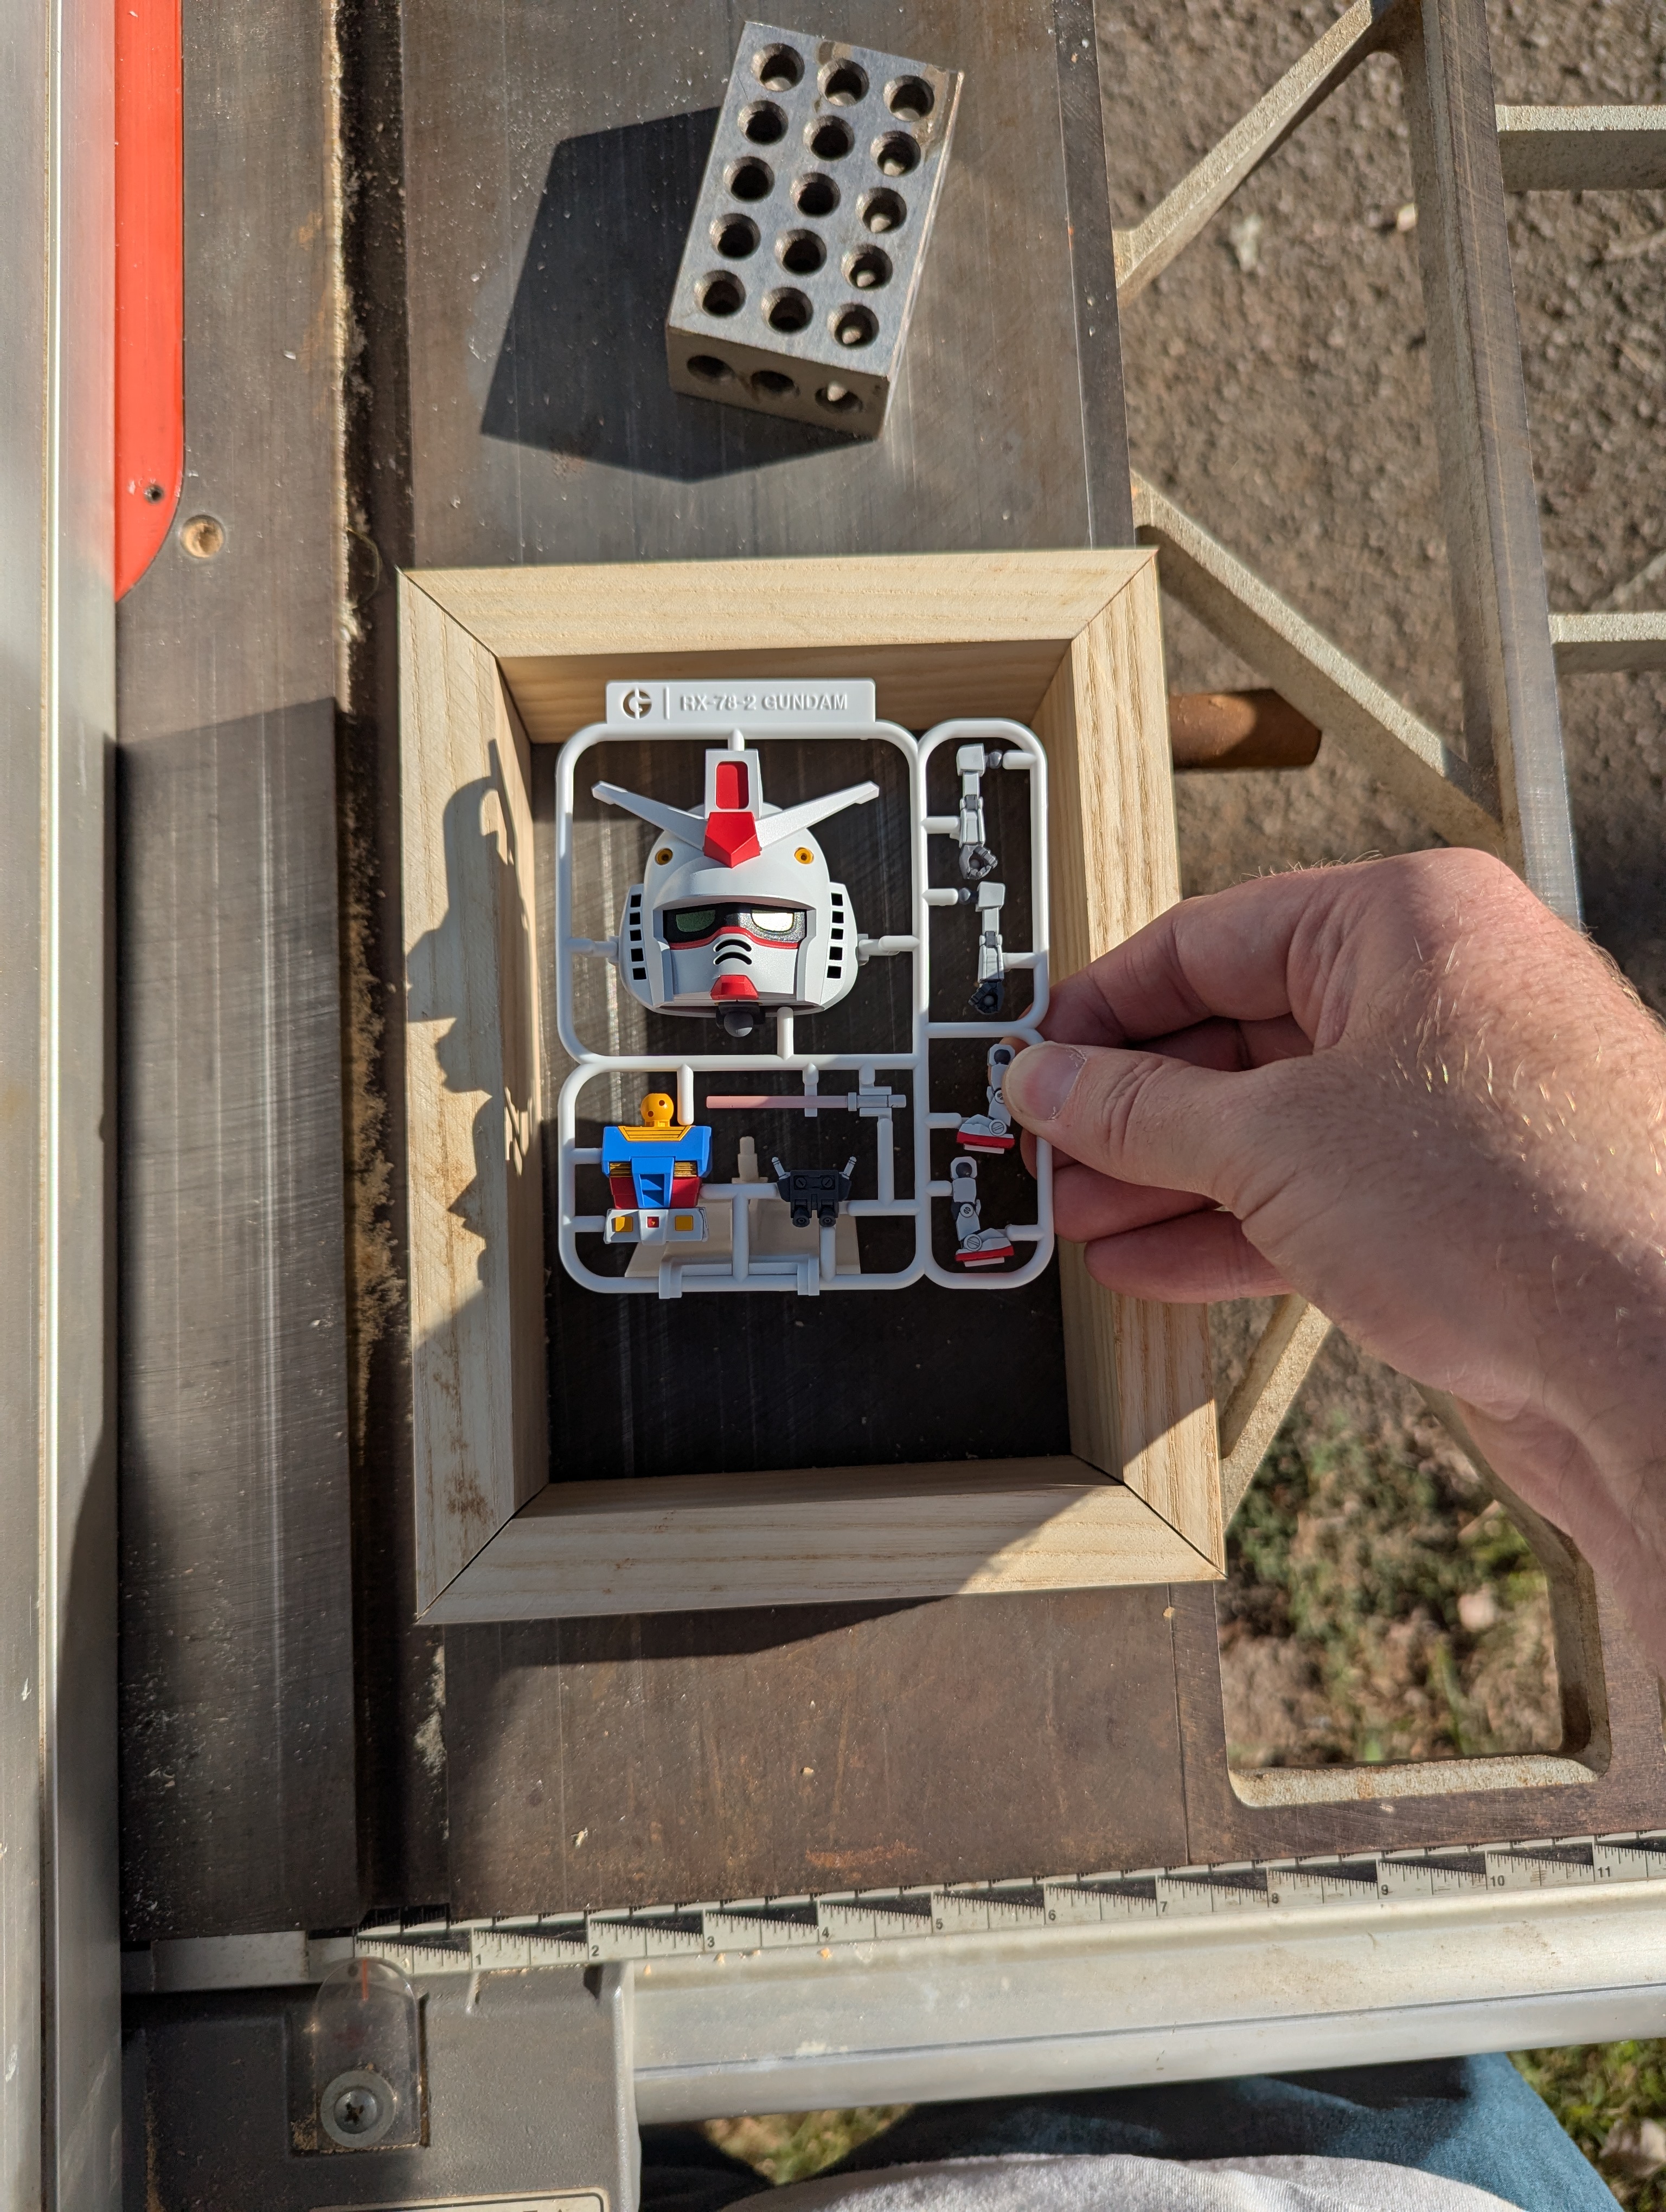
And assembled into the false runner. The rifle and shield are held in the bracket that holds the runner up for display, which is my only real gripe with this - I wish they were just on sprues with the rest of the parts, but I suppose this is an attempt to be accurate to the shorts, where the beam saber was the only accessory present originally.
Last Shooting is very important. You know, there is a Zeongpla-kun in the shorts...
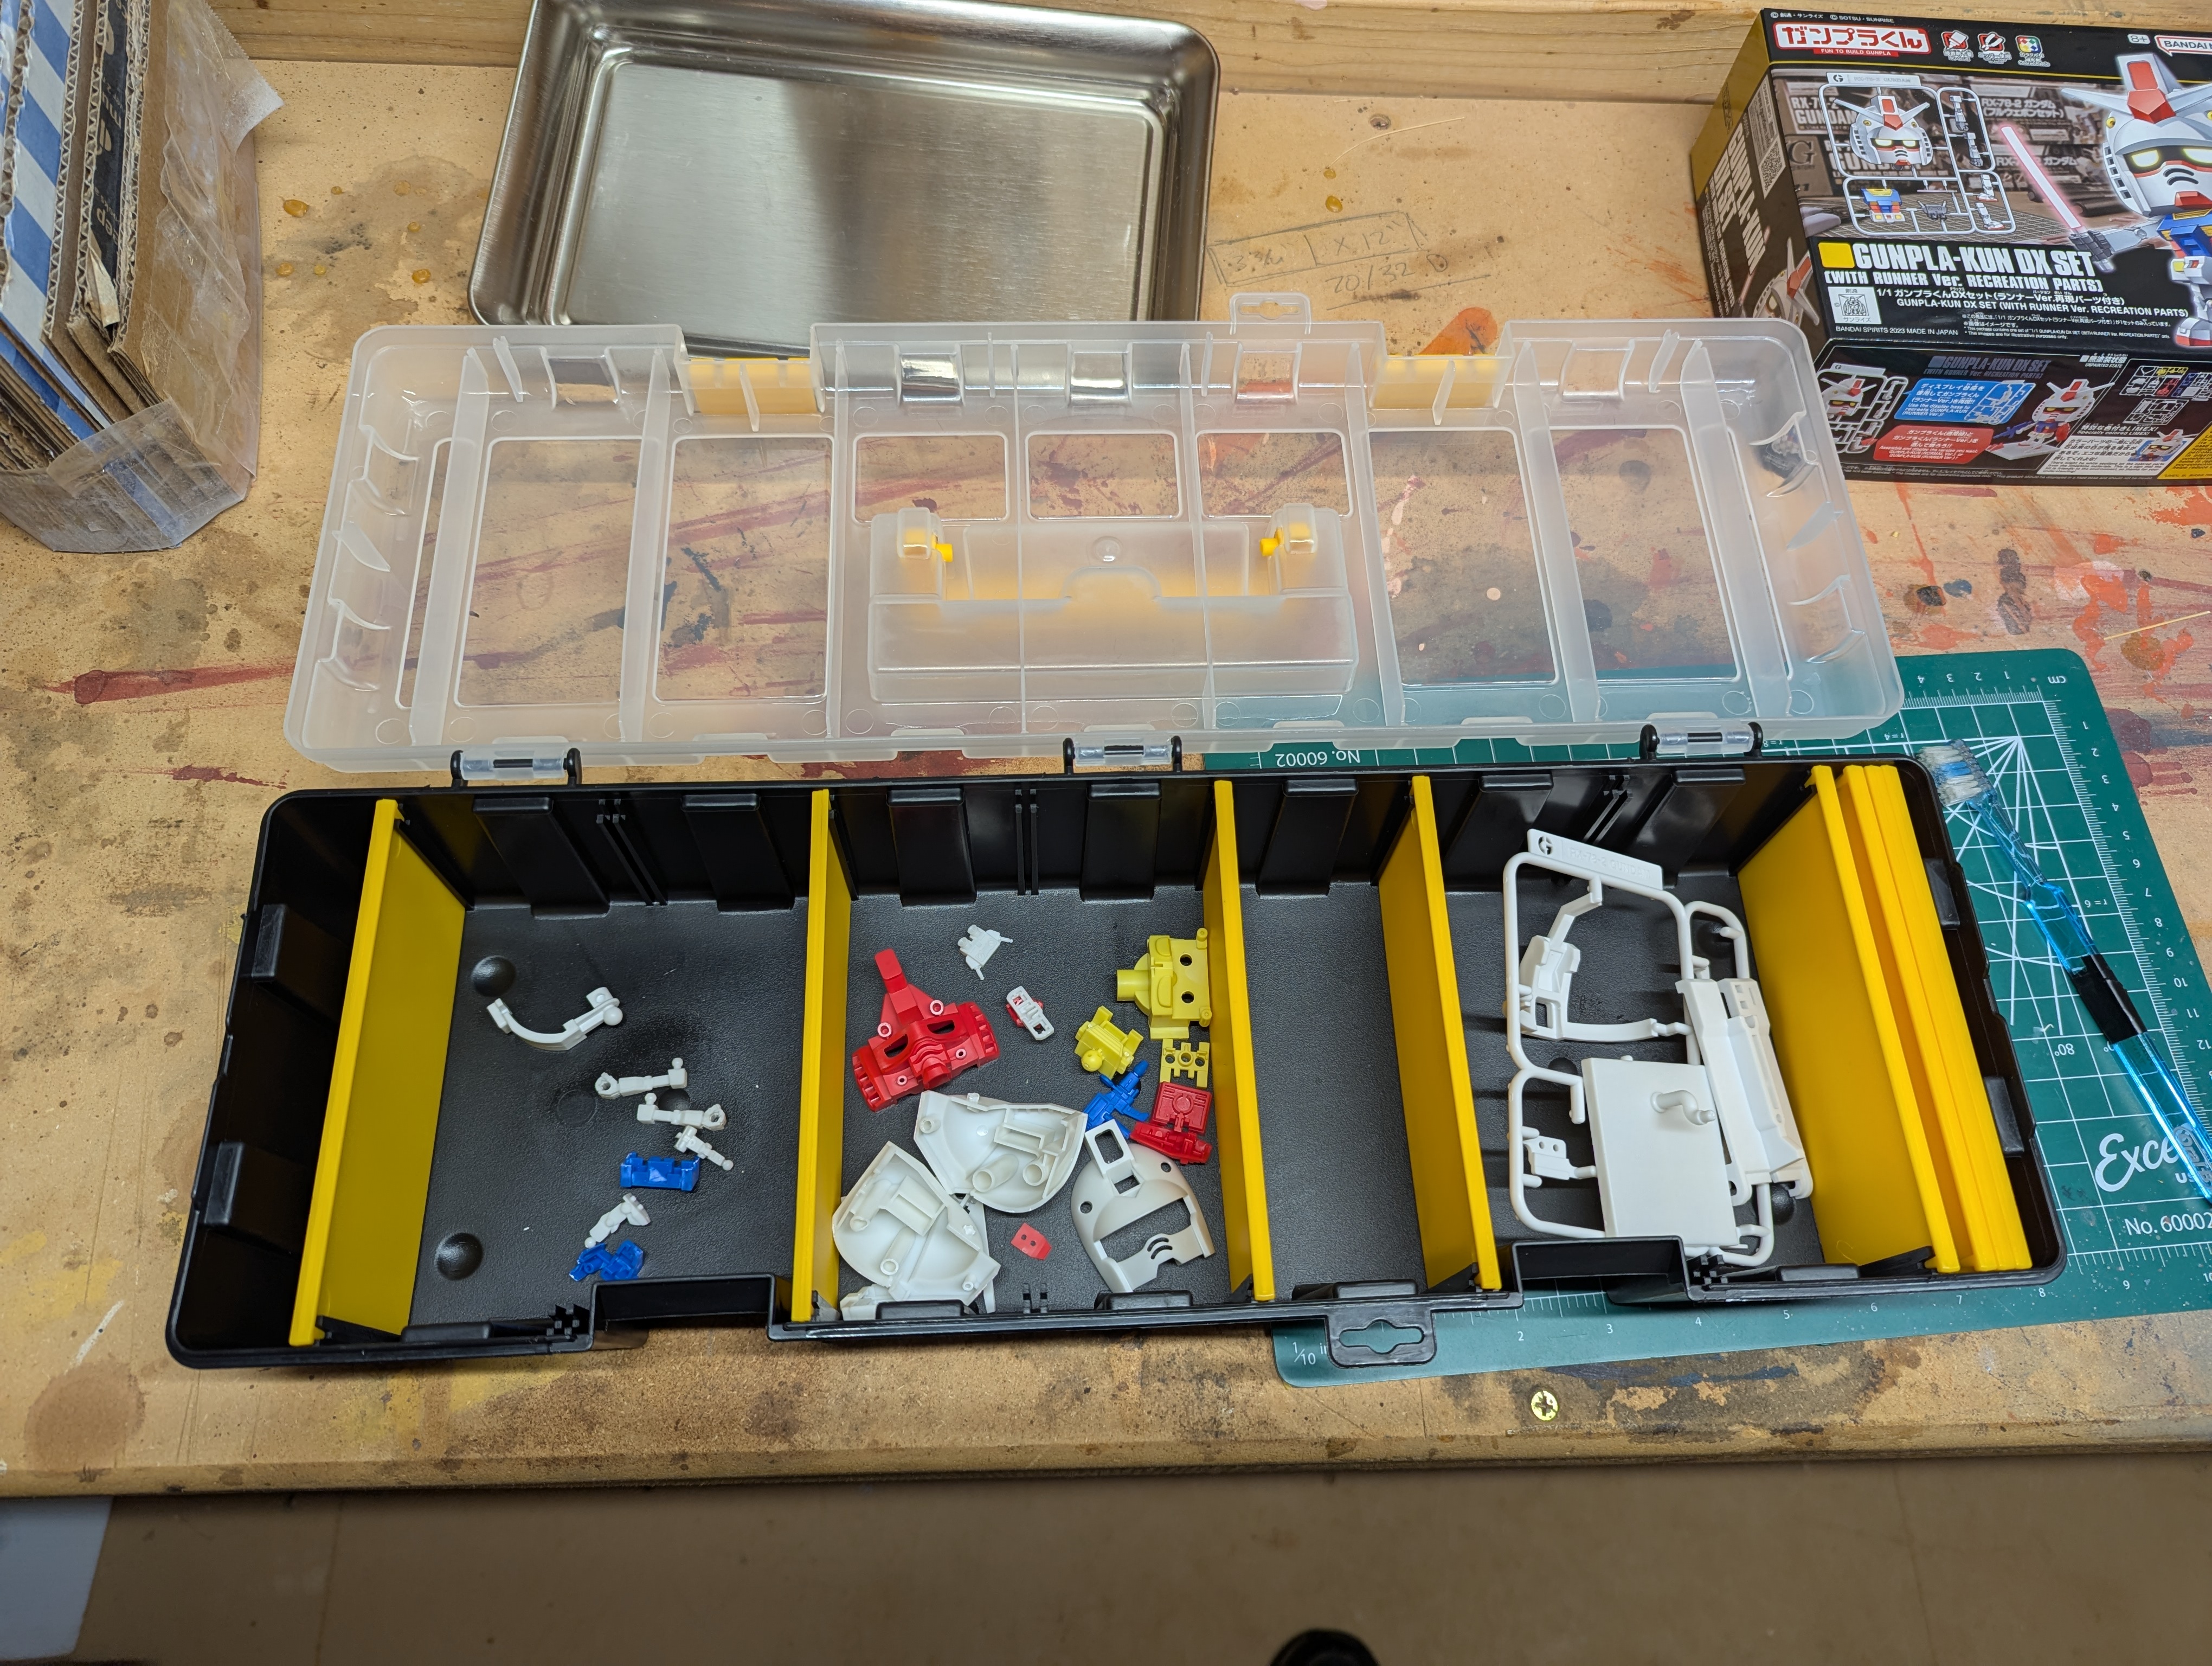
I purchased a cheap little parts organizer as part of my effort to improve my workspace, so used that for the disassembly and grouped by primer color. After sanding, I rinsed off each part in soapy water than let them dry out before painting. I think that I'll leave all the runner and stand pieces unpainted - it seems like way more trouble than its worth to paint these complex, wiry features and huge flat surfaces.
Date Posted: August 6, 2025
Progress Update 2: Painting
Since I had learned a lot of setup/maintenance steps from working on the
HG God Gundam (this build will get referenced a lot in this update - it's still very fresh on my mind), I was a lot more confident starting priming here. The vast majority of pieces need a light primer on this kit - but I primed the arms/legs in all gray since I'll mask off the joints when painting the bulk of them white. This is an important lesson from God Gundam - trying to minimize the pain of masking but getting small areas done first. I primed the entire part evenly so that the eventual pink prime would be even, too.
I also started pre-mixing paint and thinner here - this dramatically improved my workflow, since I could top off the airbrush without slowing down and not have to worry about wasting paint when doing small part batches like this. I'll have to get some of the nozzle bottles before my next bigger project.
I got this black Gundam Marker for trying to do the detail pieces on God Gundam, but it didn't work well for that at all. Still, I got some small use out of it by hitting some details in the shield before priming. I'll mask these will little balls of blue tack.
Speaking of masking...
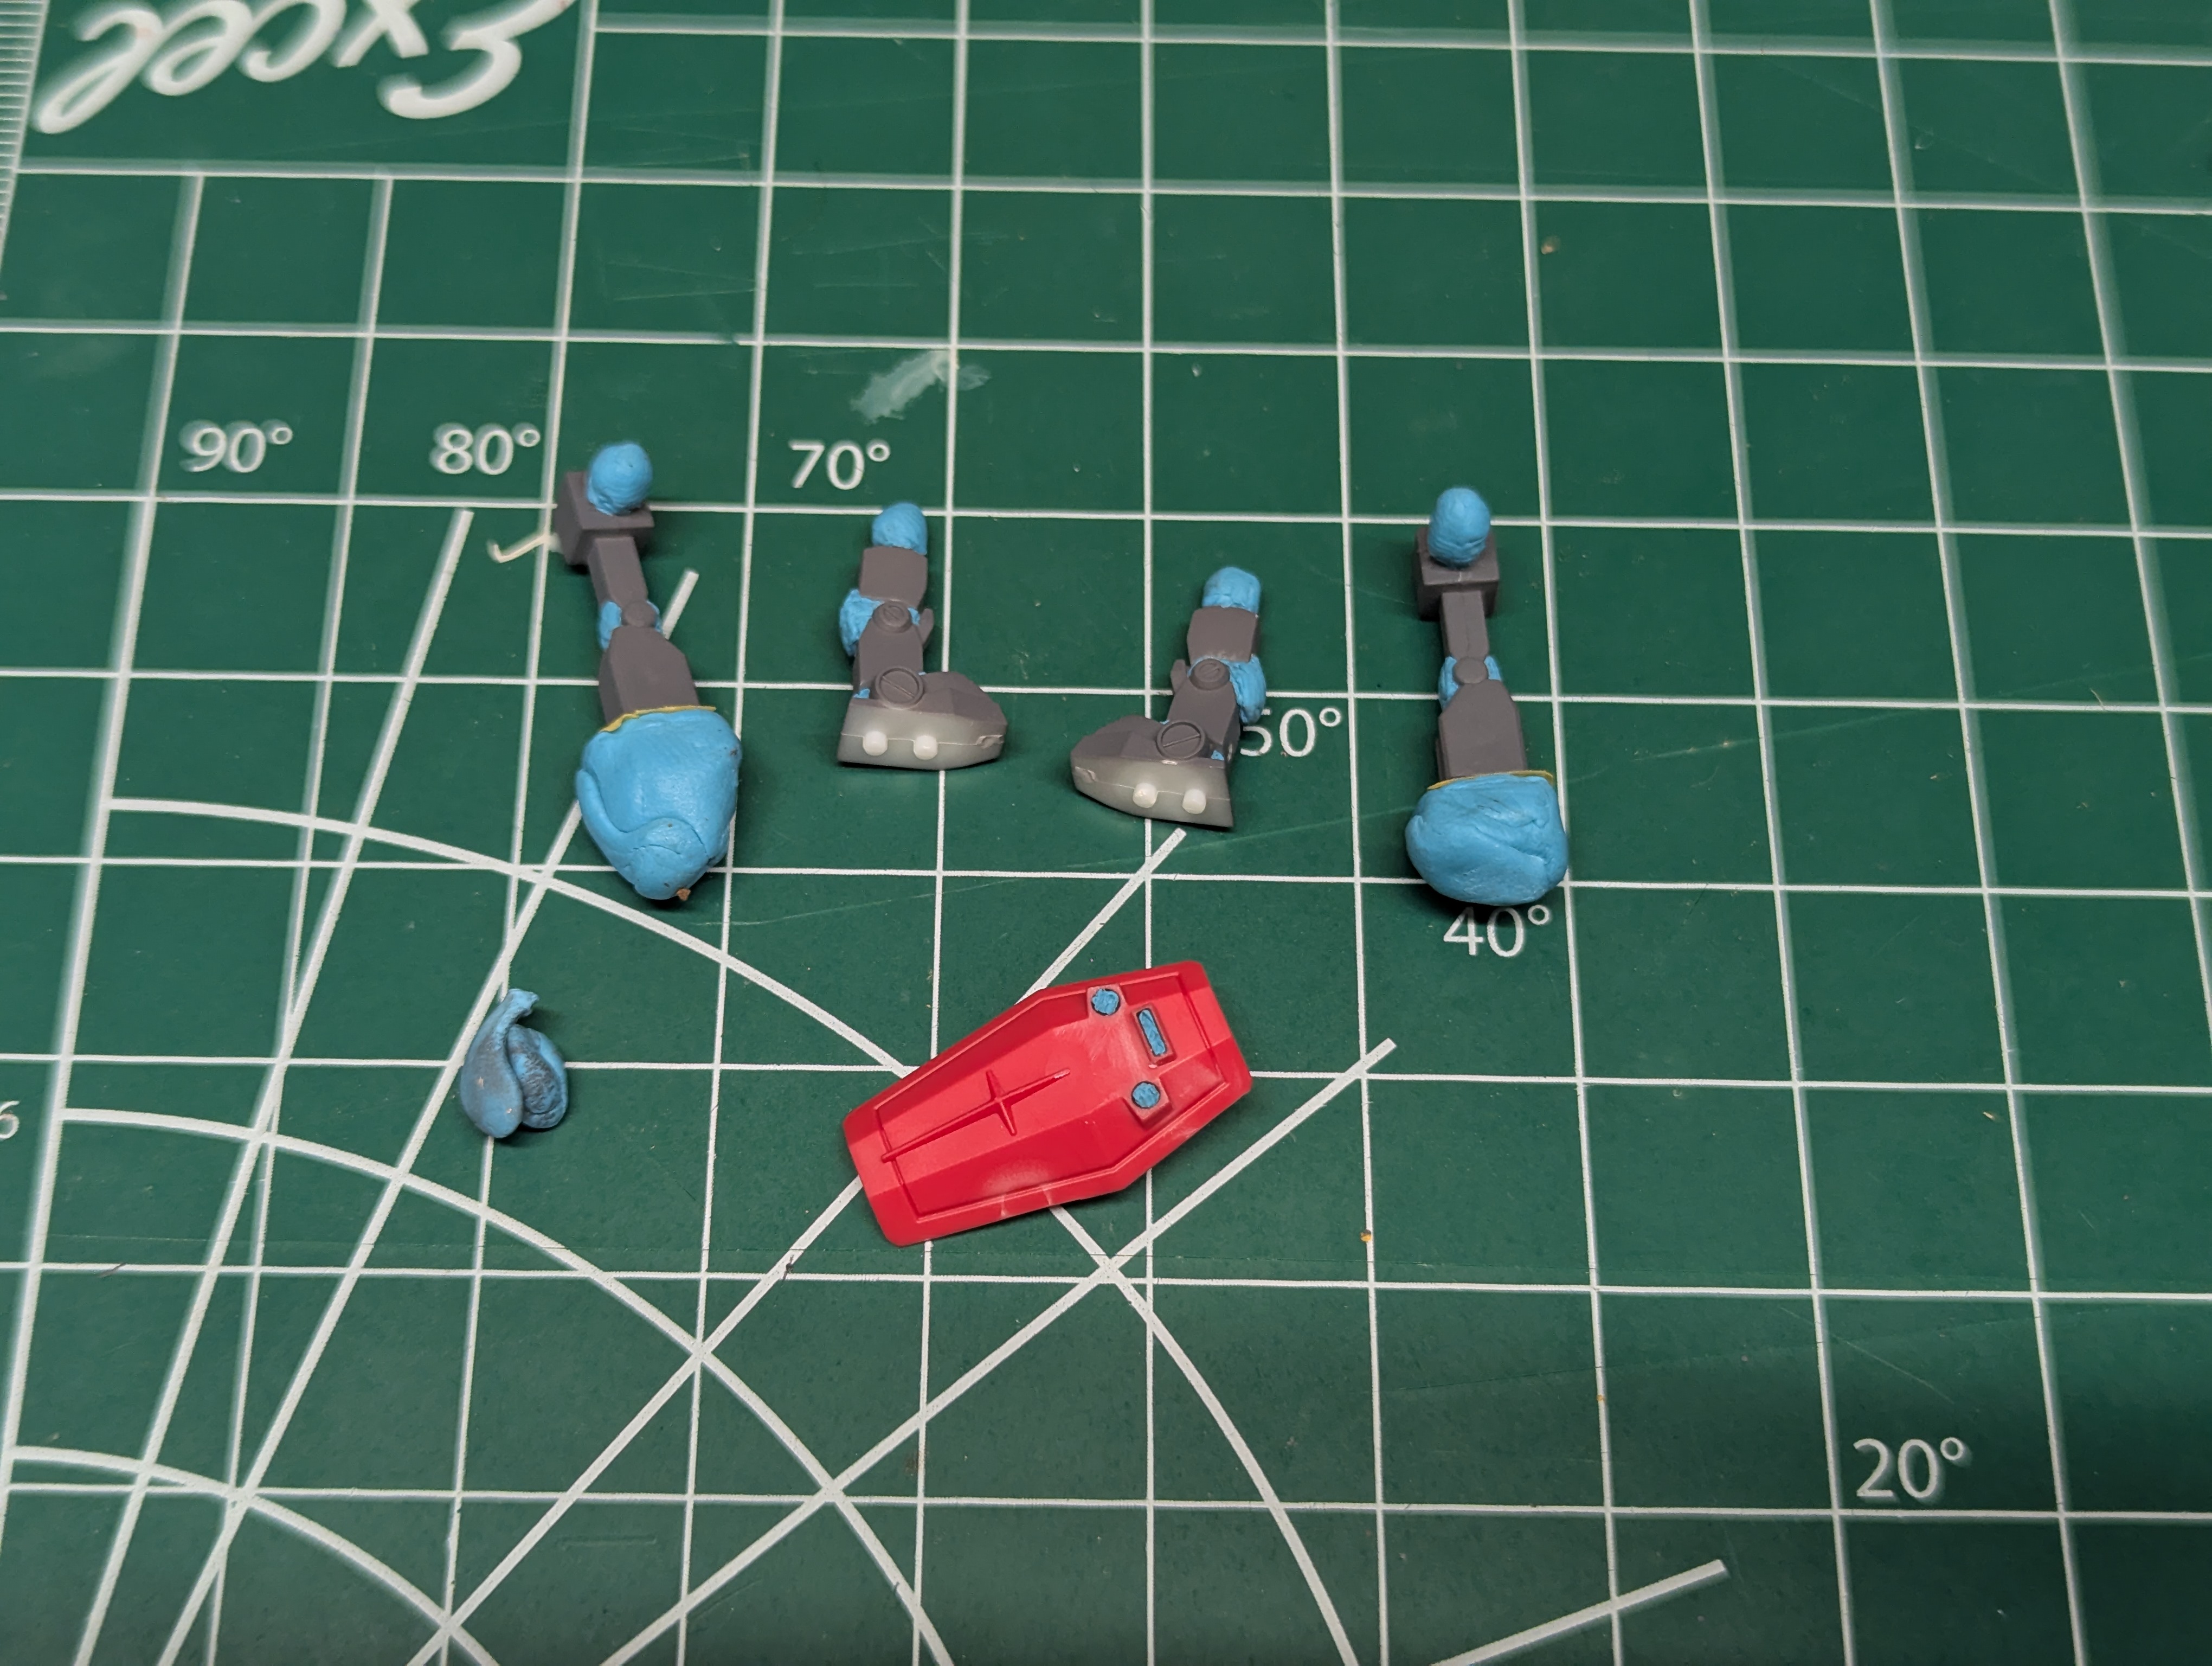
I relied very heavily on blue tack here, using a sharp wooden skewer to manipulate it into small details on the joints. This was tedious, but I think it was the perfect solution to the size of these details. I figure even if this masking is a little off, we can fudge things with panel liner when we reach that step.
Some of these parts were surprisingly non-intutive to get a clip location on. Usually on a larger kit you don't care about the surface on a ball joint, or there's an inner surface that won't be visible to latch onto. Here, the arms are completely visible in the final product - including the ball joints, because of the runner display. I just clipped over the blue tack covering the hands for simplicity.
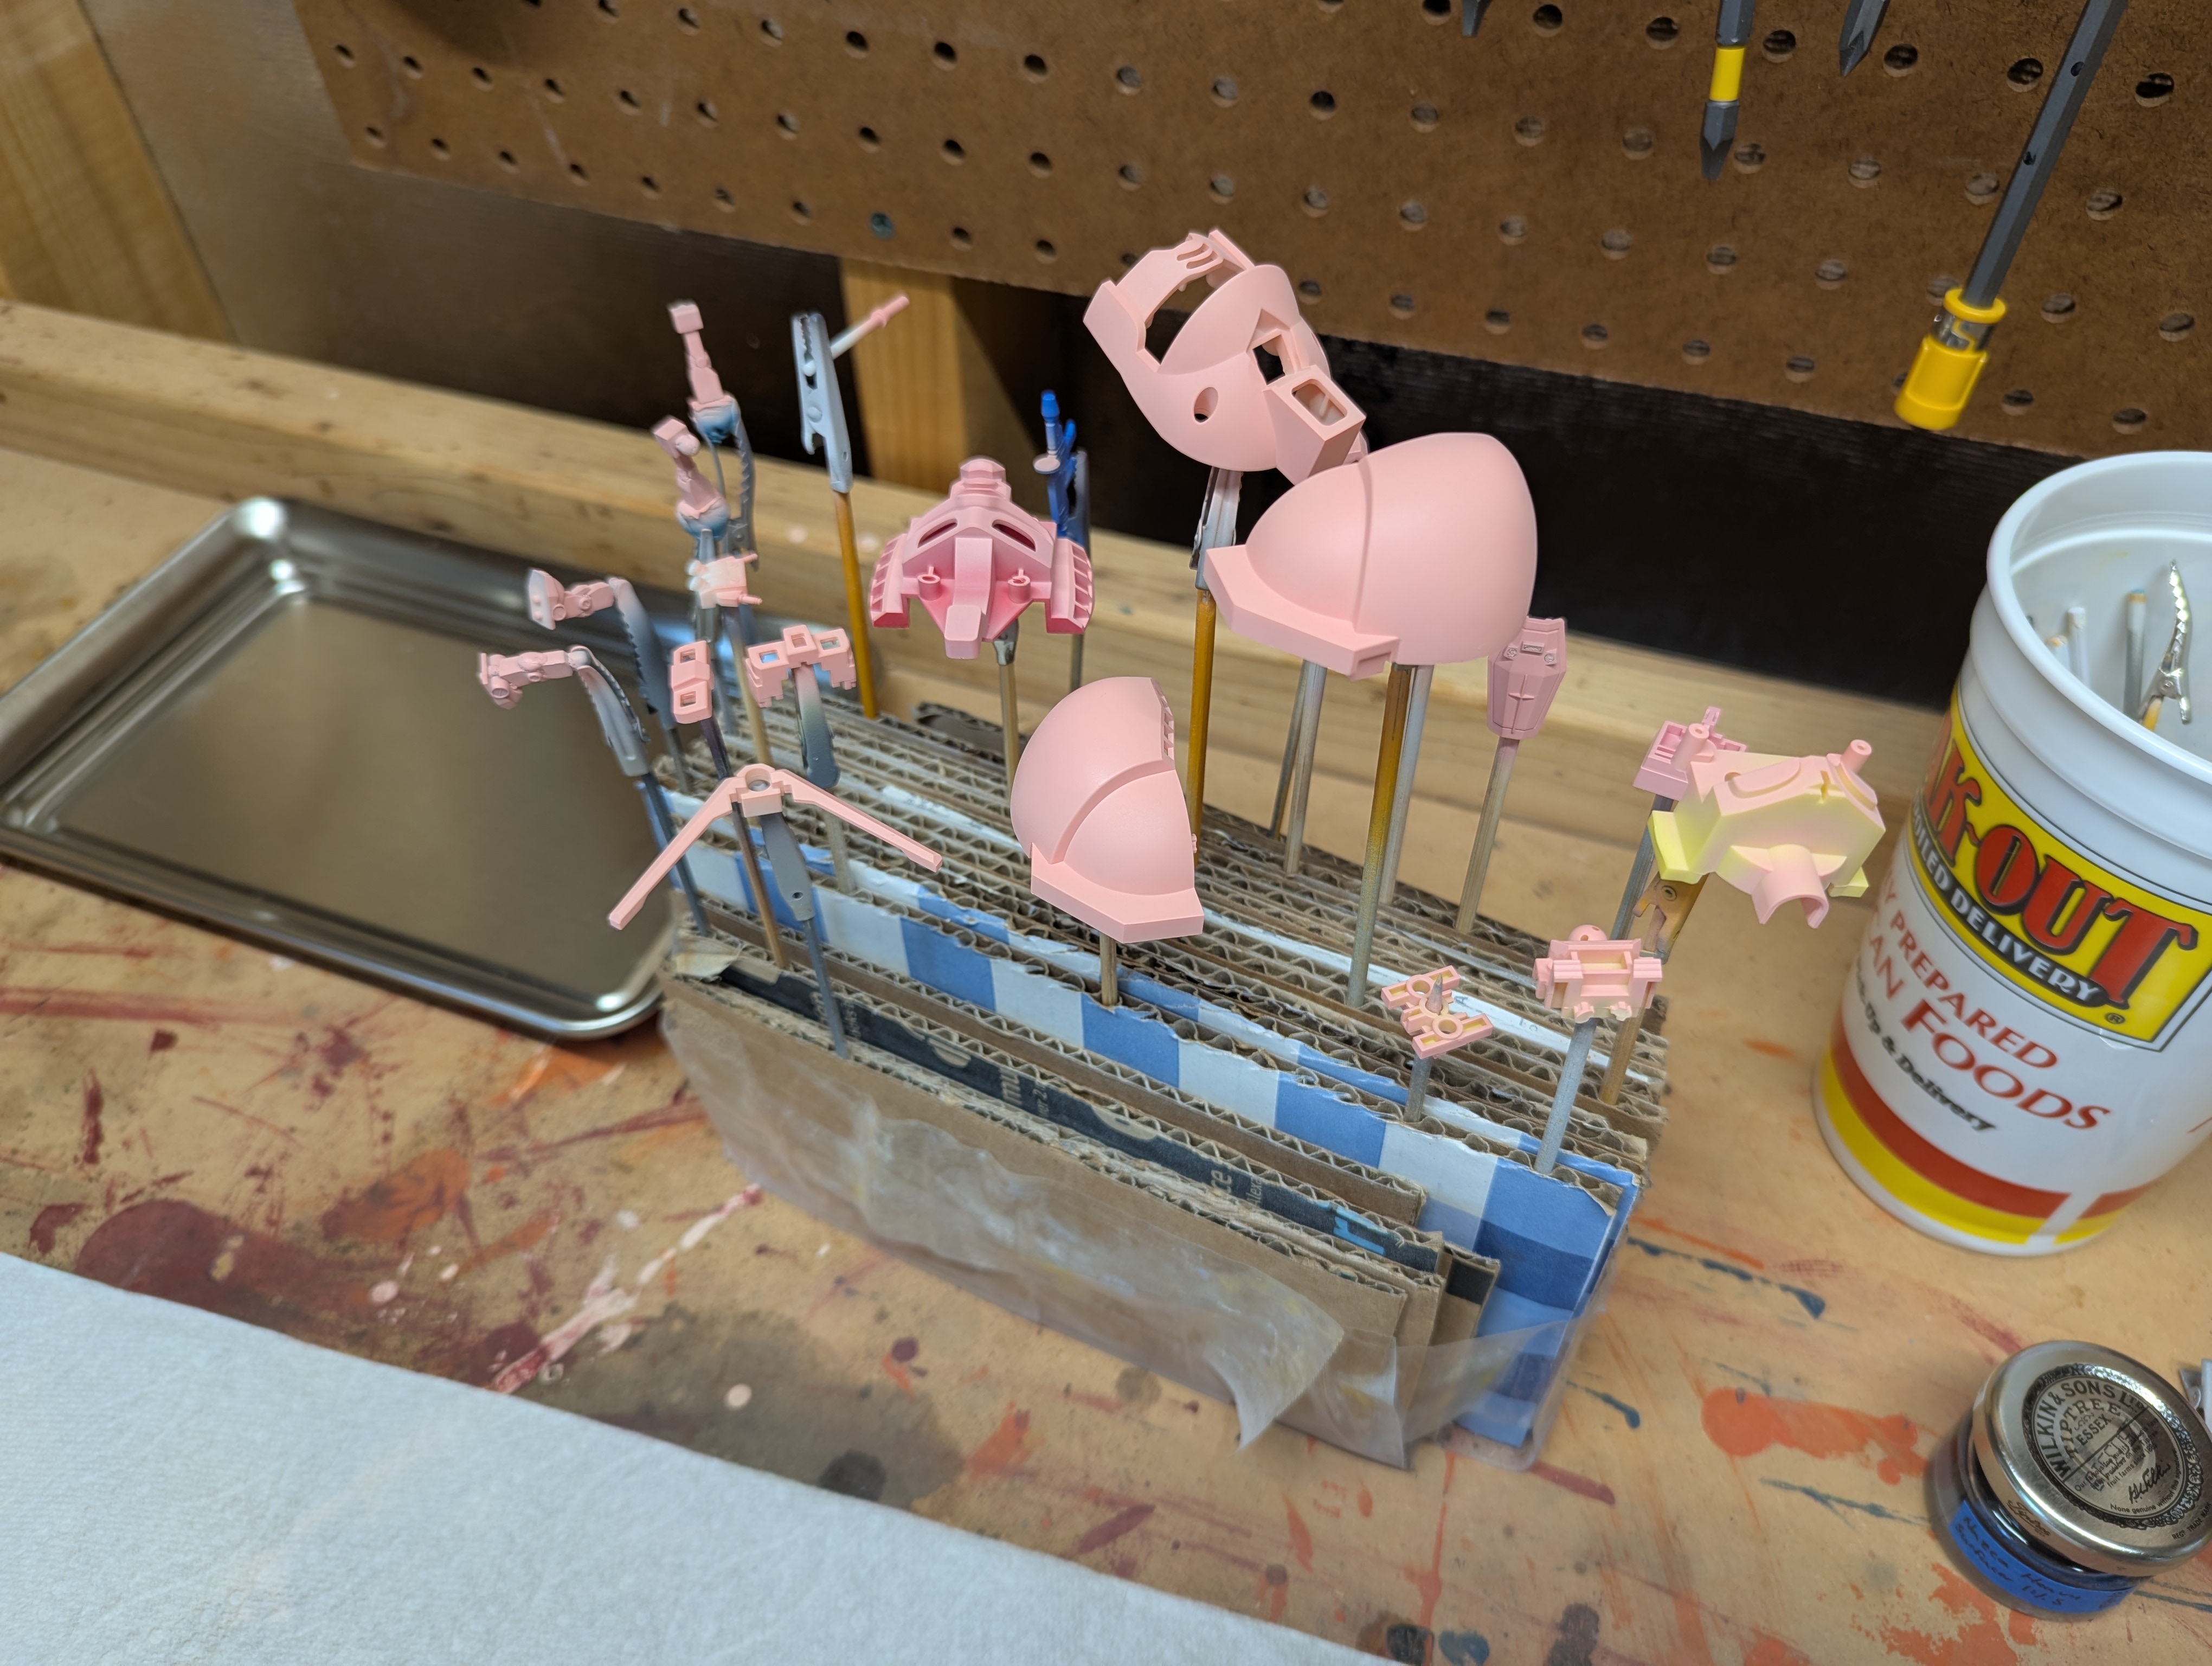
And the pink priming batch was up next. I didn't fully prime all pieces, since they either won't be visible or they'll have to get another gray primer coat after some masking.
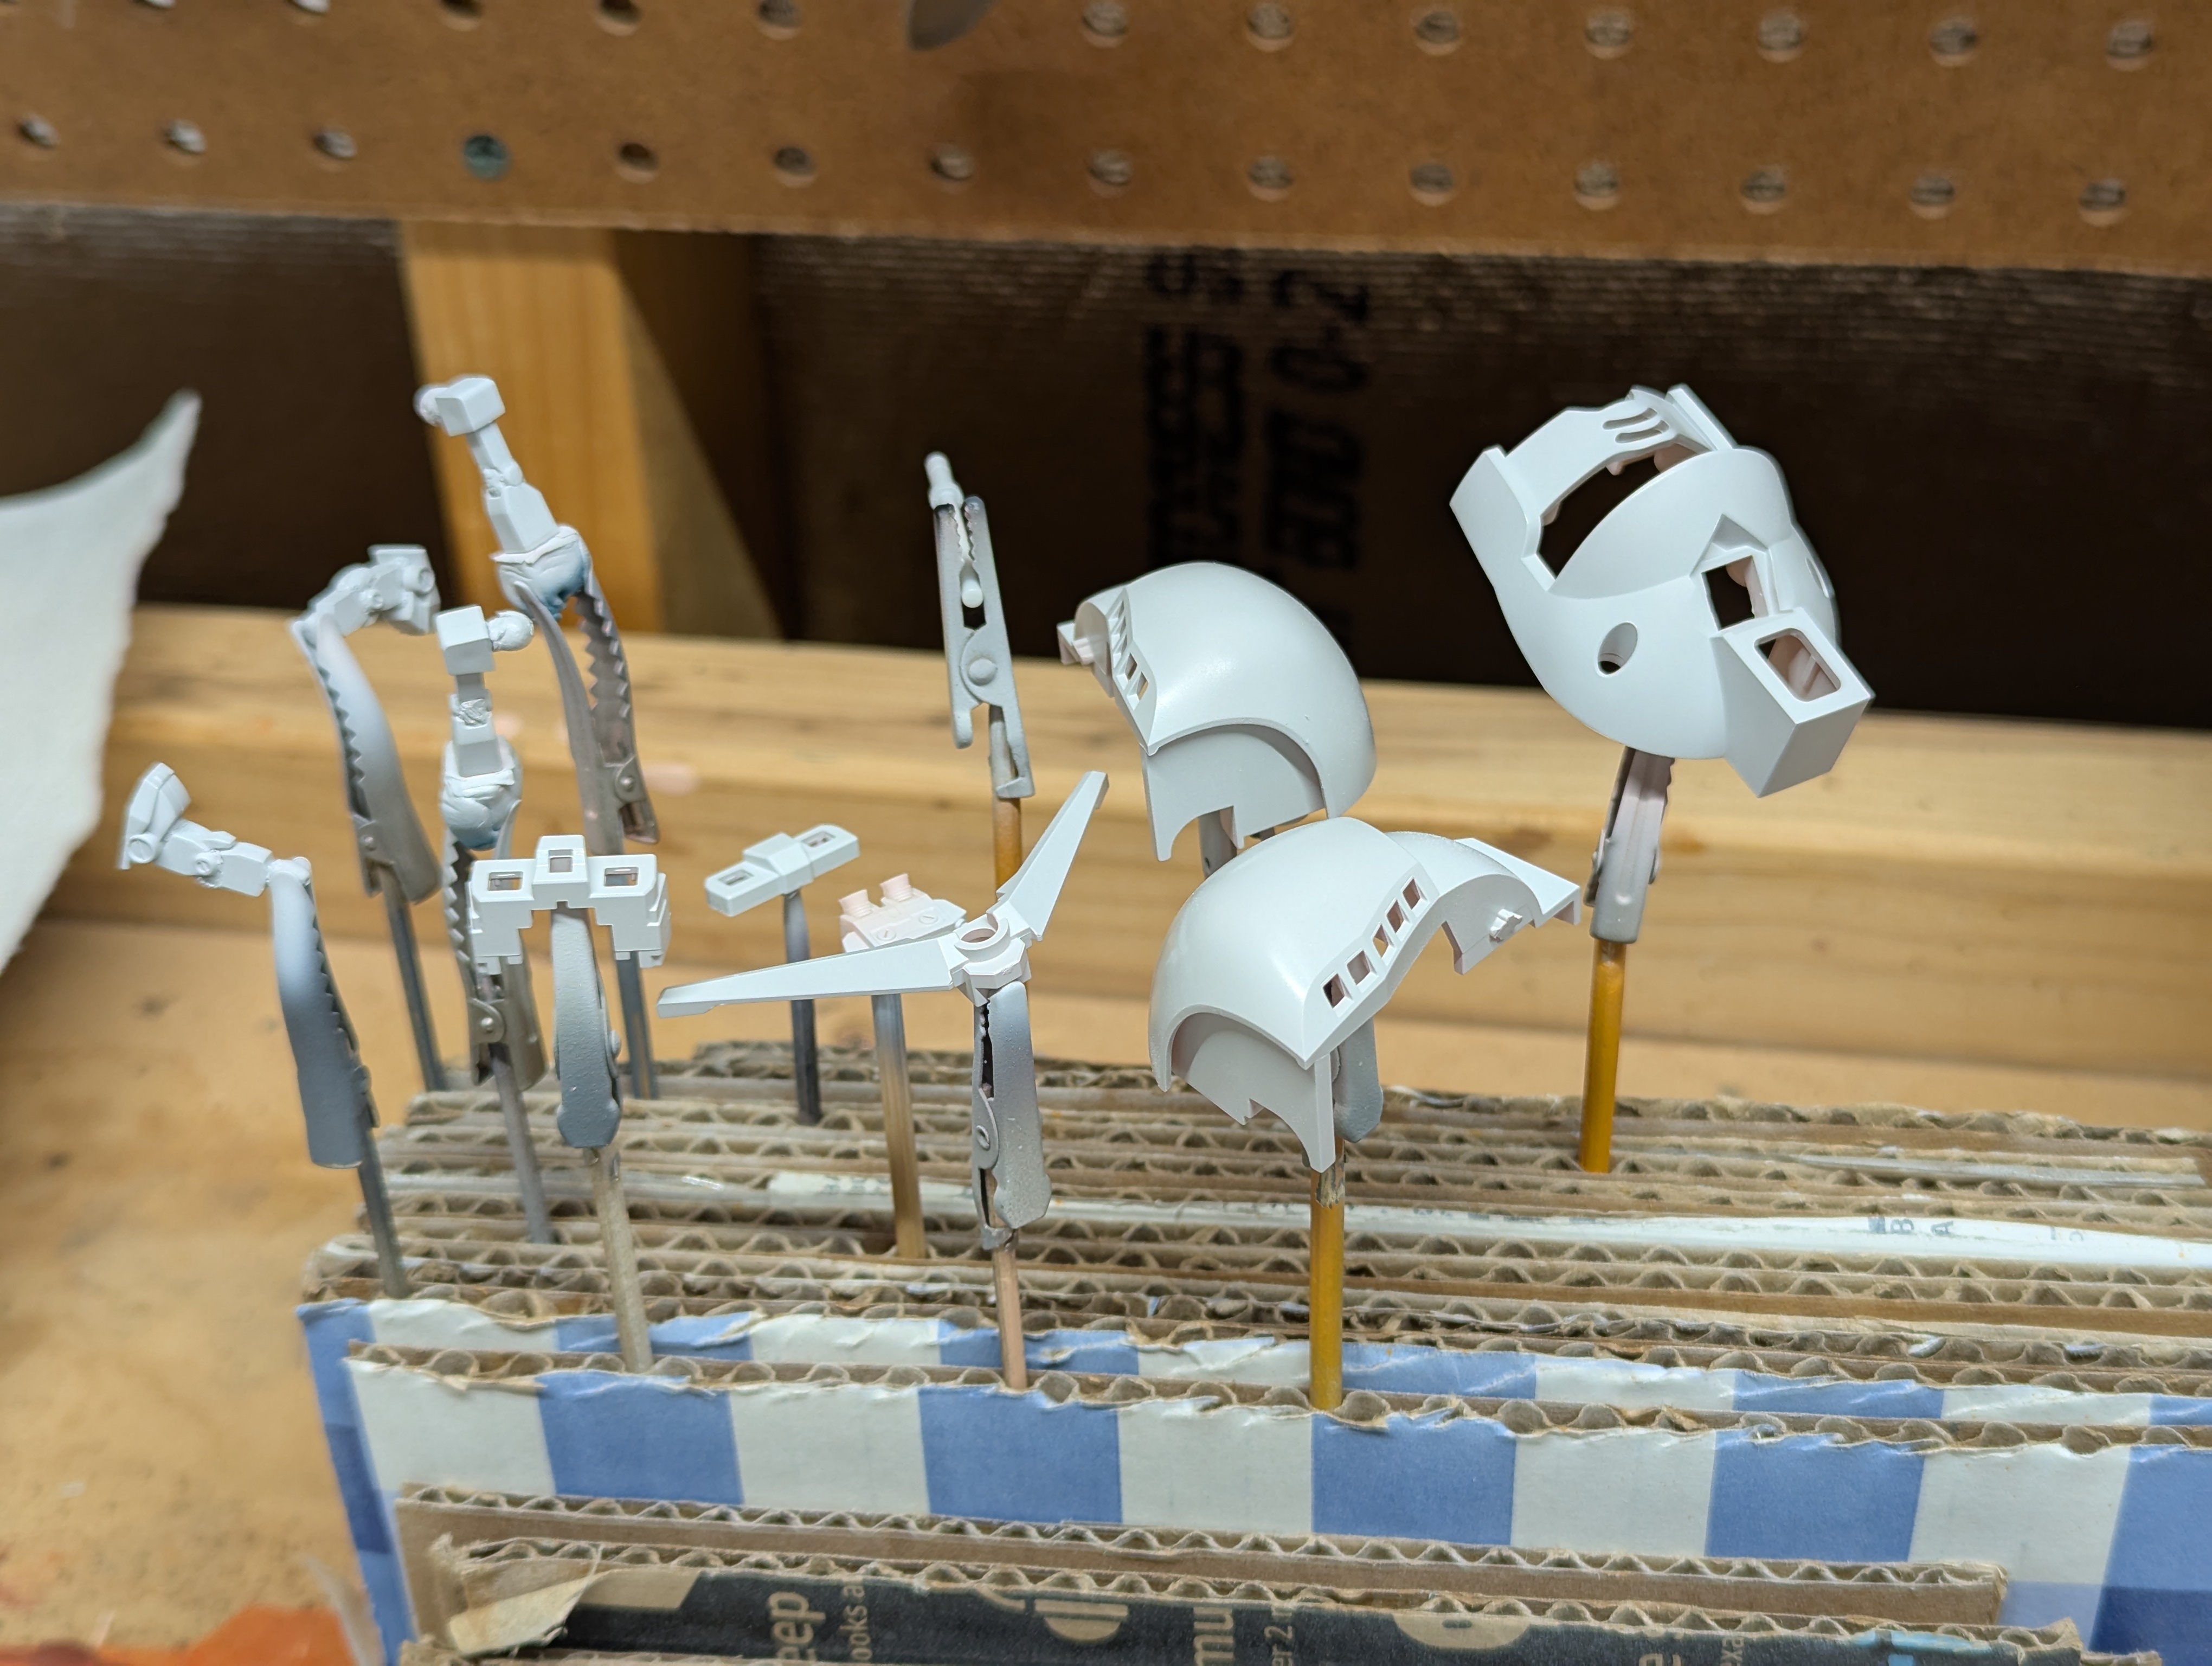
I really slowed down my painting process here since there's such a small number of parts, and I think the finish came out much more even than on God Gundam. Still, the amount of white required has me a bit nervous, since some of these head pieces are quite large and need very even coverage to look right...
...but it wasn't so bad in the end!
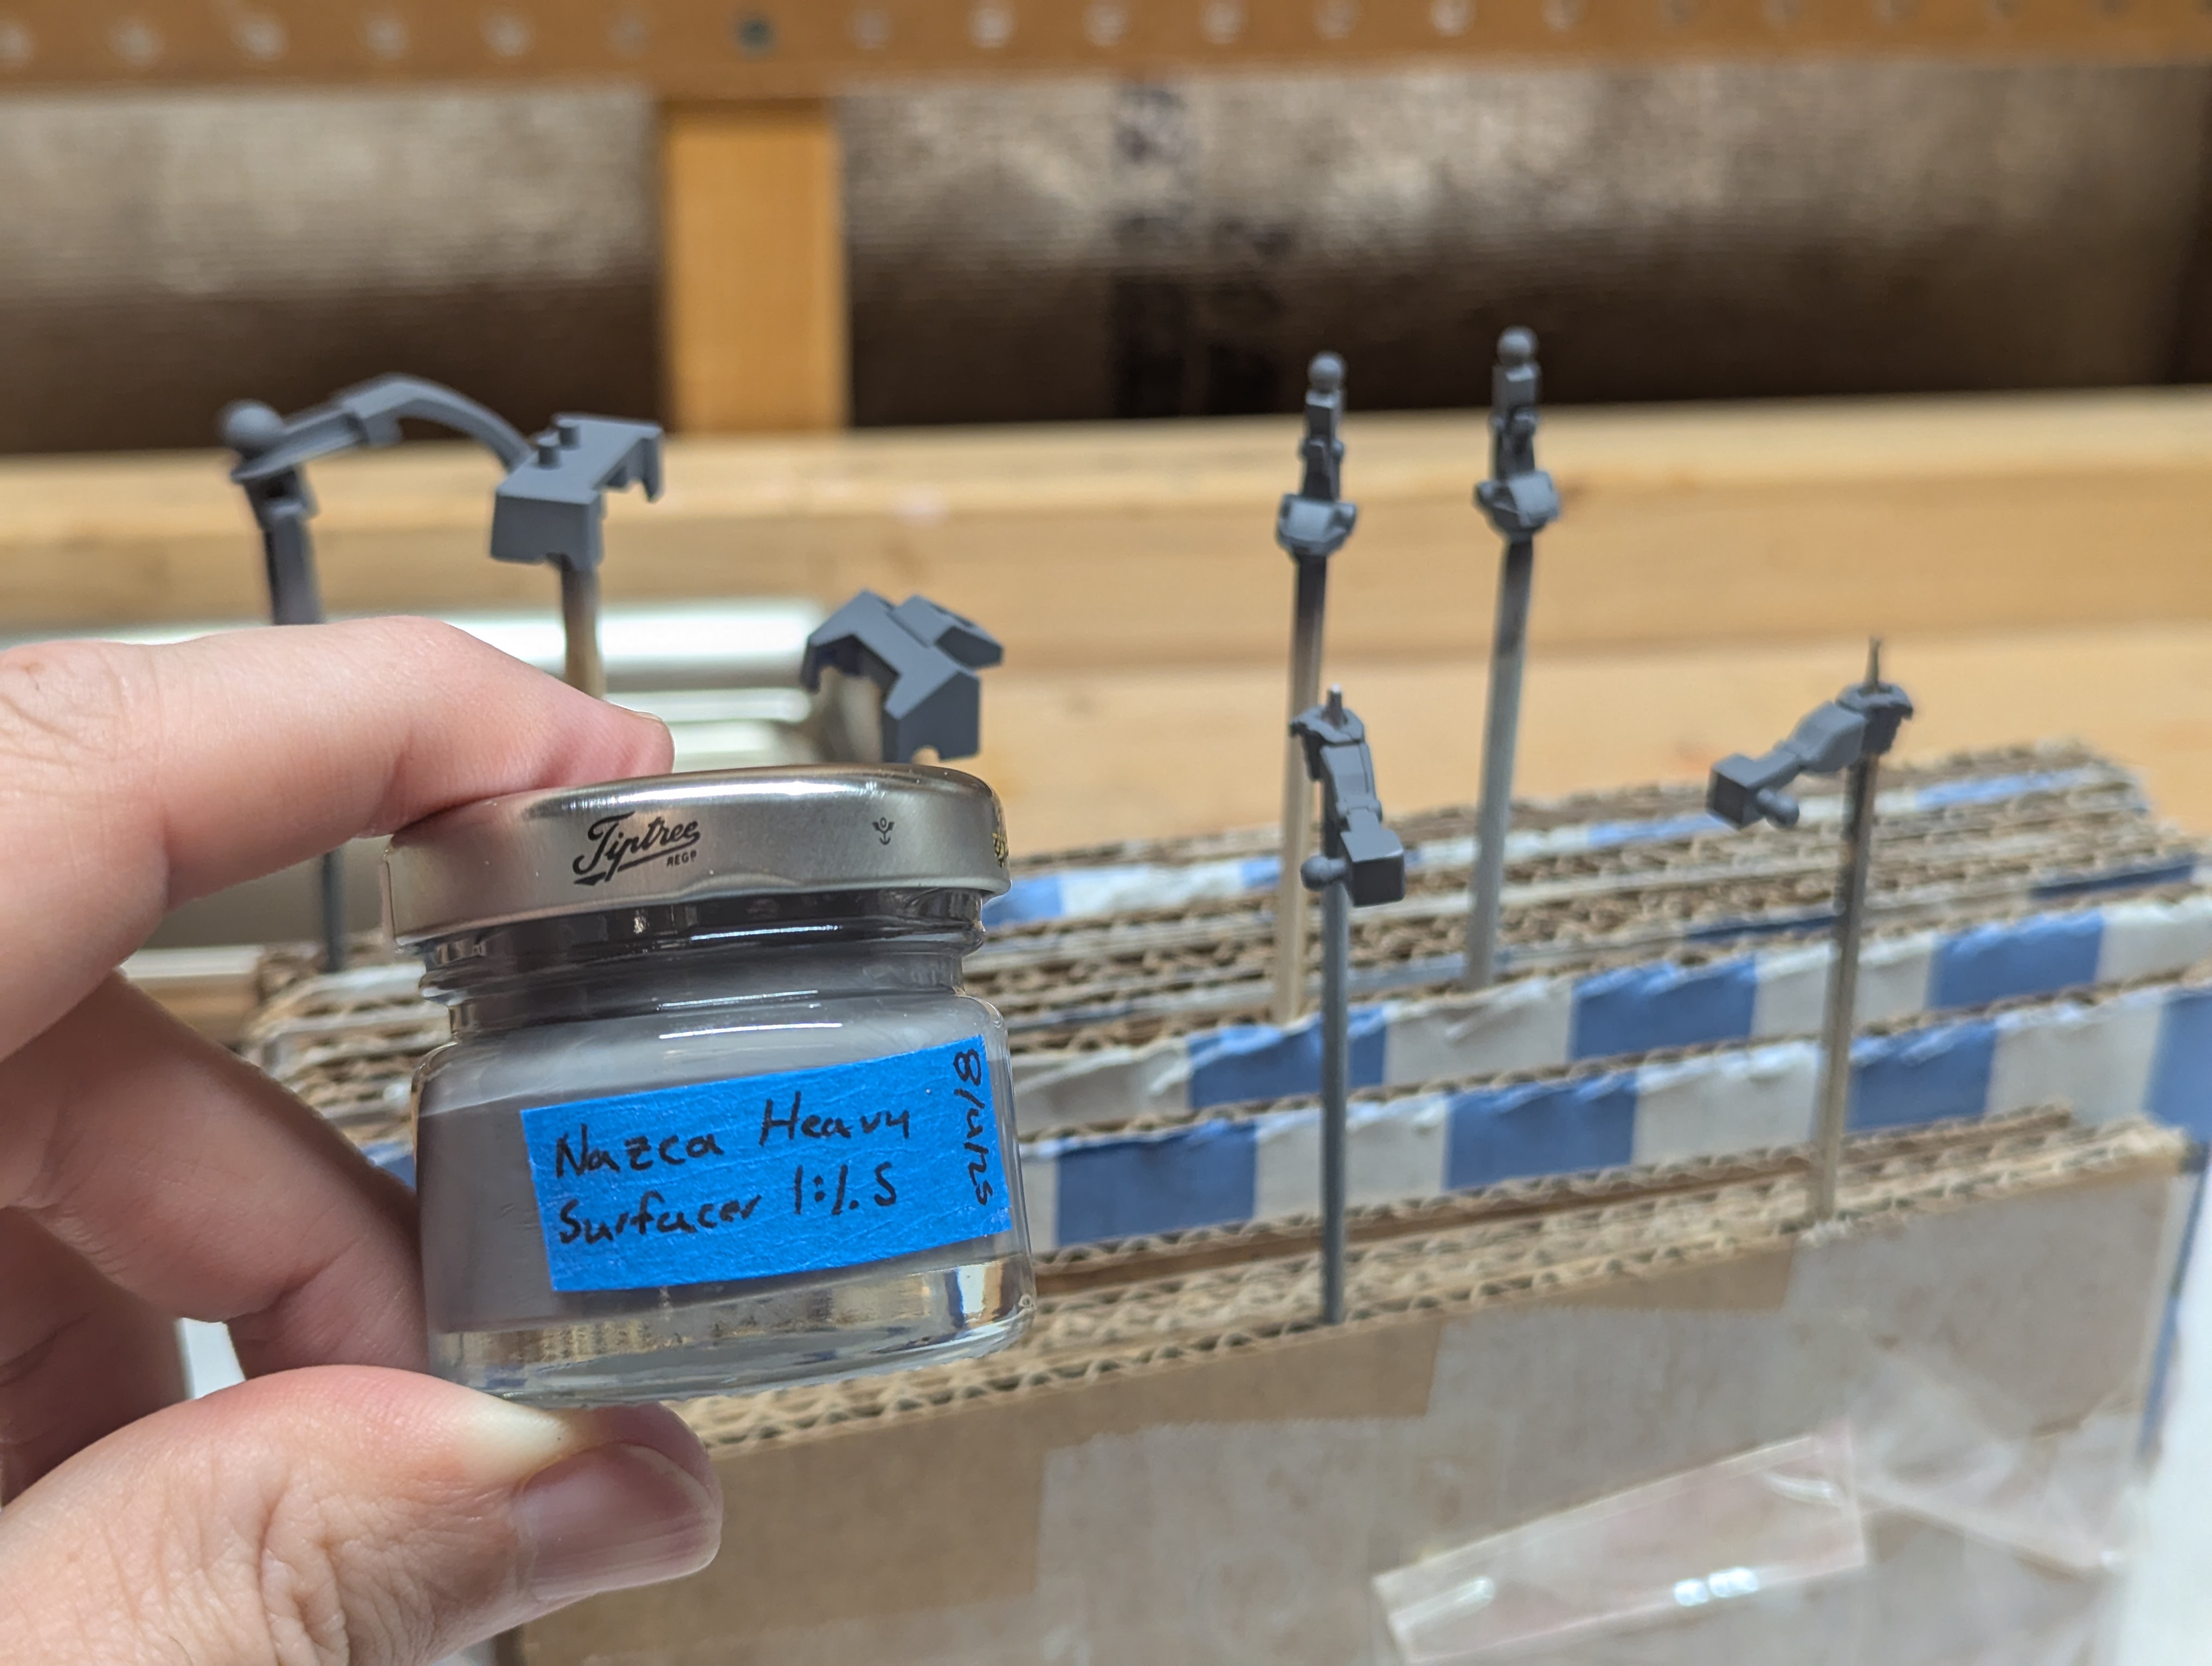
I had orange peeling issues with white on God Gundam, so this time I made some adjustments. I thinned 1:2 instead of 1:1.5 (more dilute paint), increased my air pressure, and made a conscious effort to hold the airbrush further back to avoid pooling. Largely this was very successful. There was a learning curve to the large head panels - I had to put out more paint than on the smaller pieces - but by the end I felt very dialed in and got what appear to be great surfaces.
Masking on the limbs turned out pretty acceptable as well. I wasn't expecting perfection, but I think these will blend great with the panel lining.
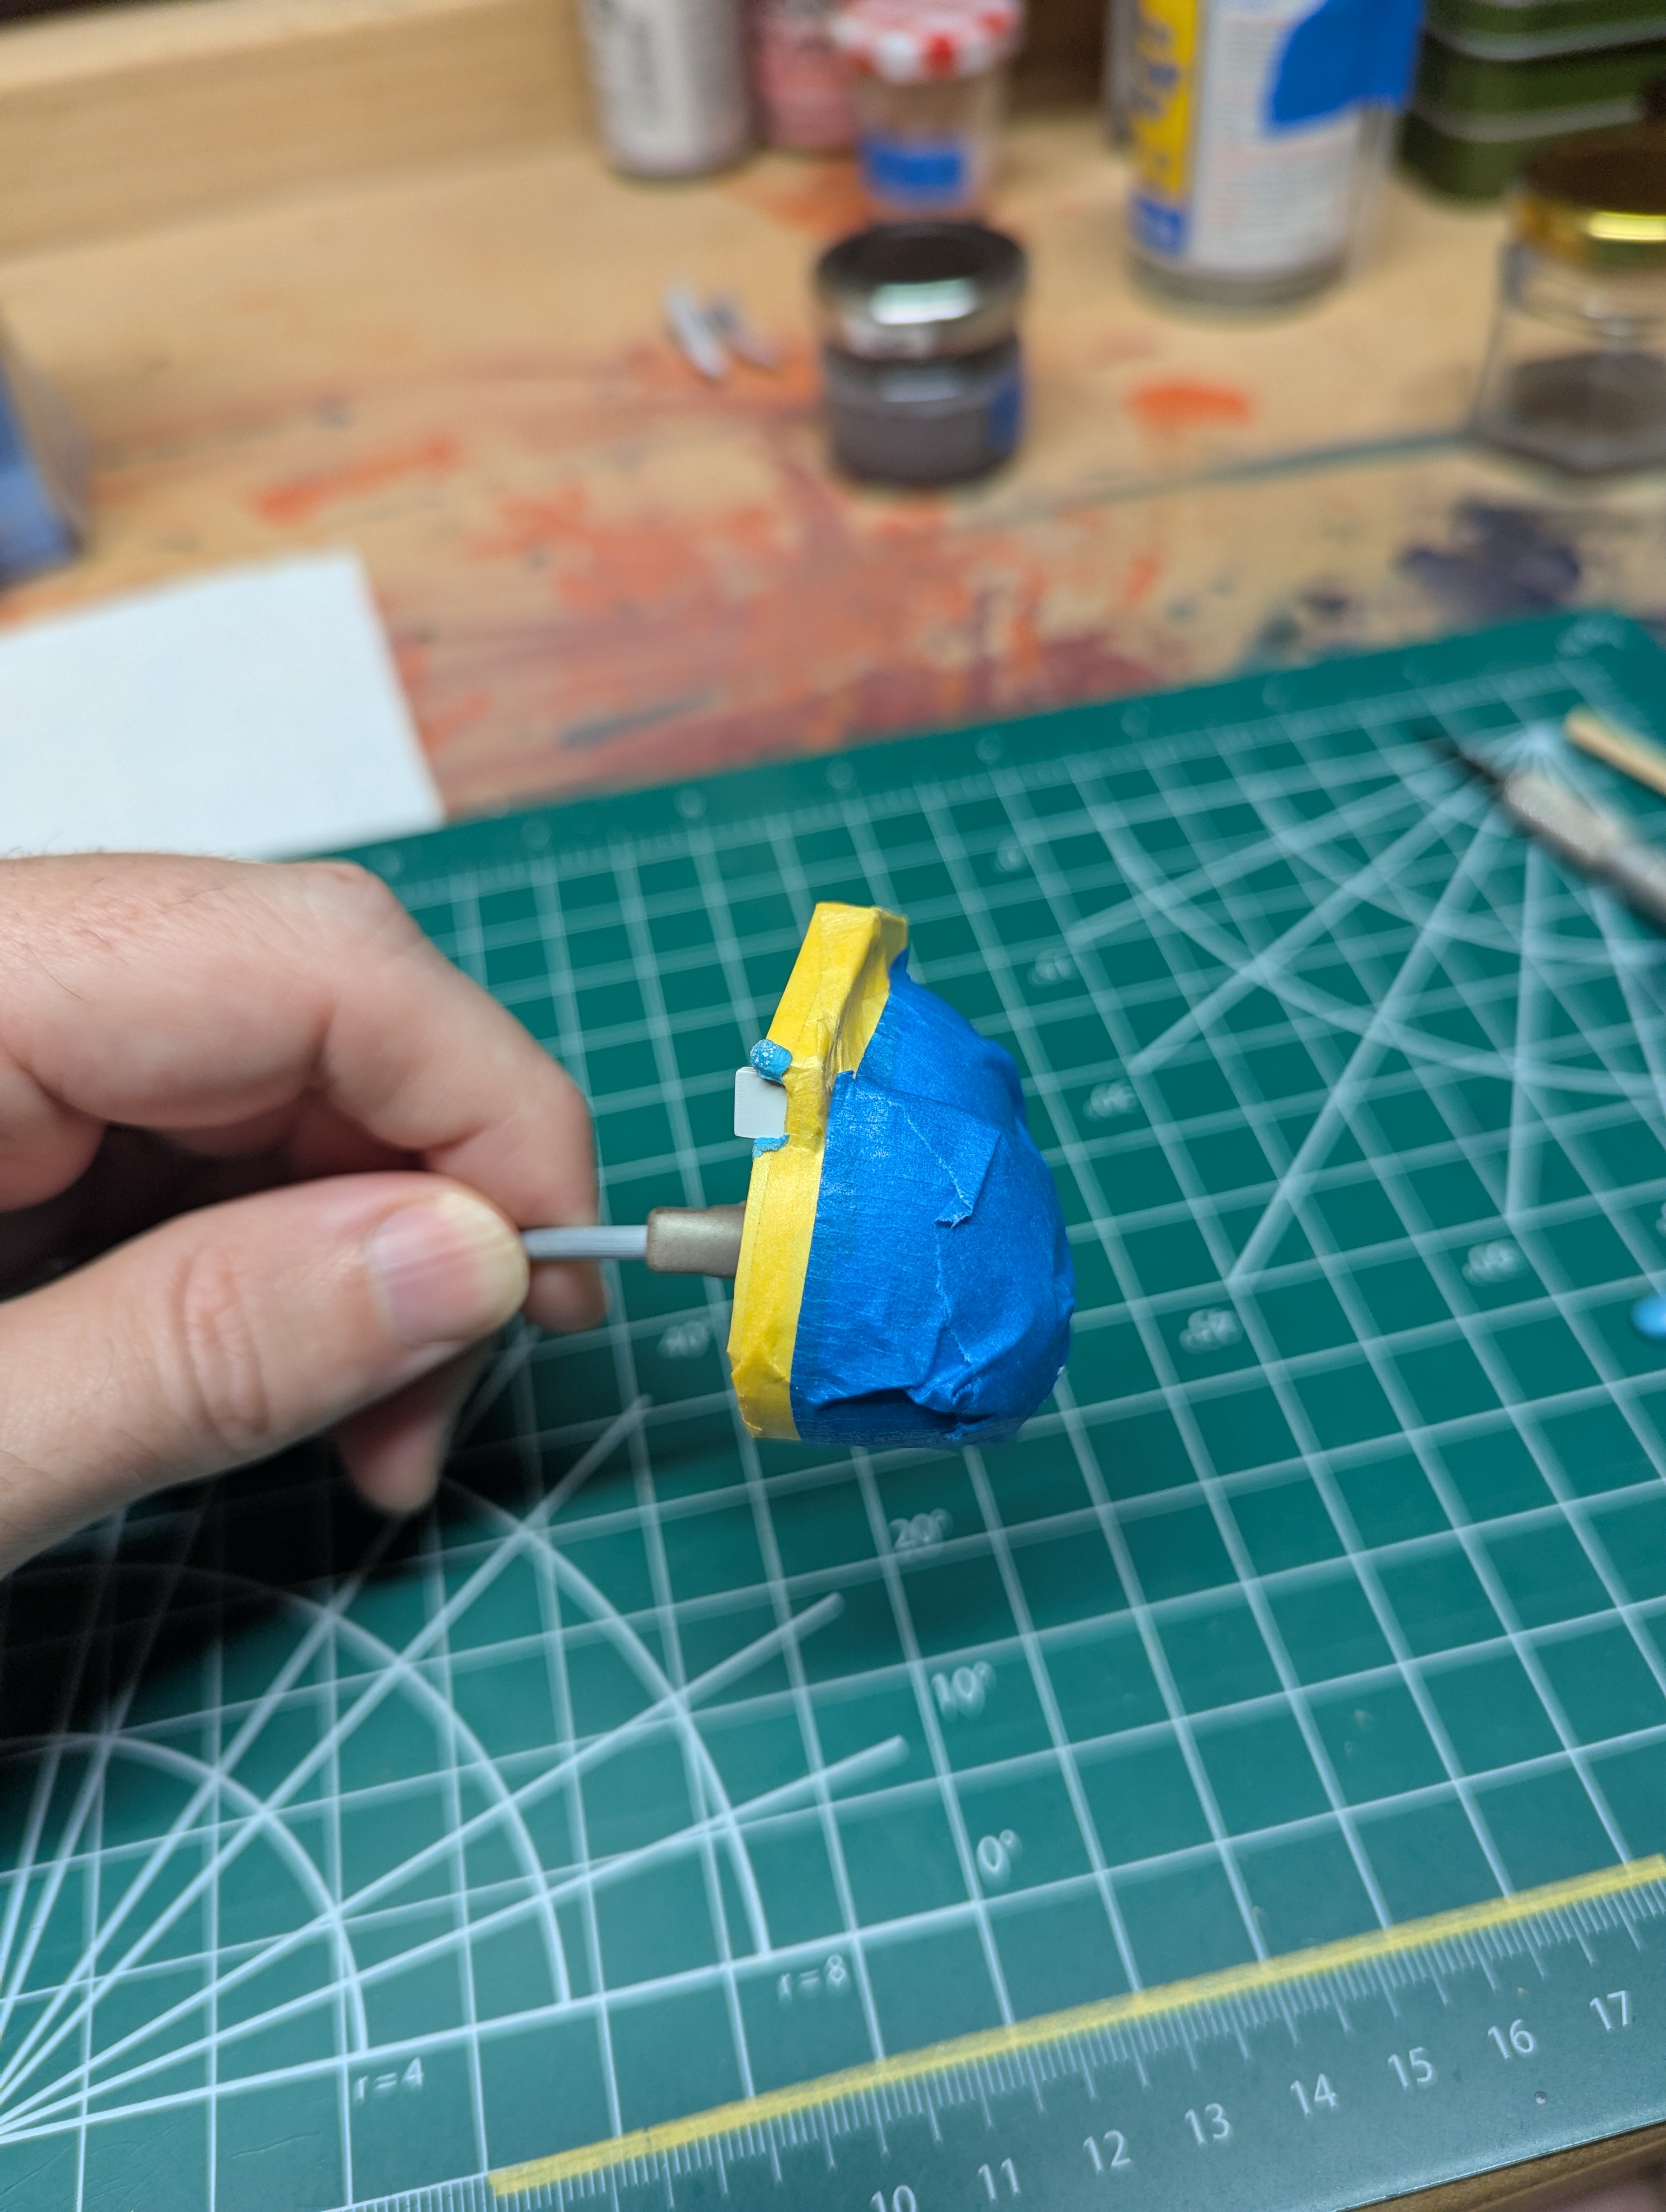
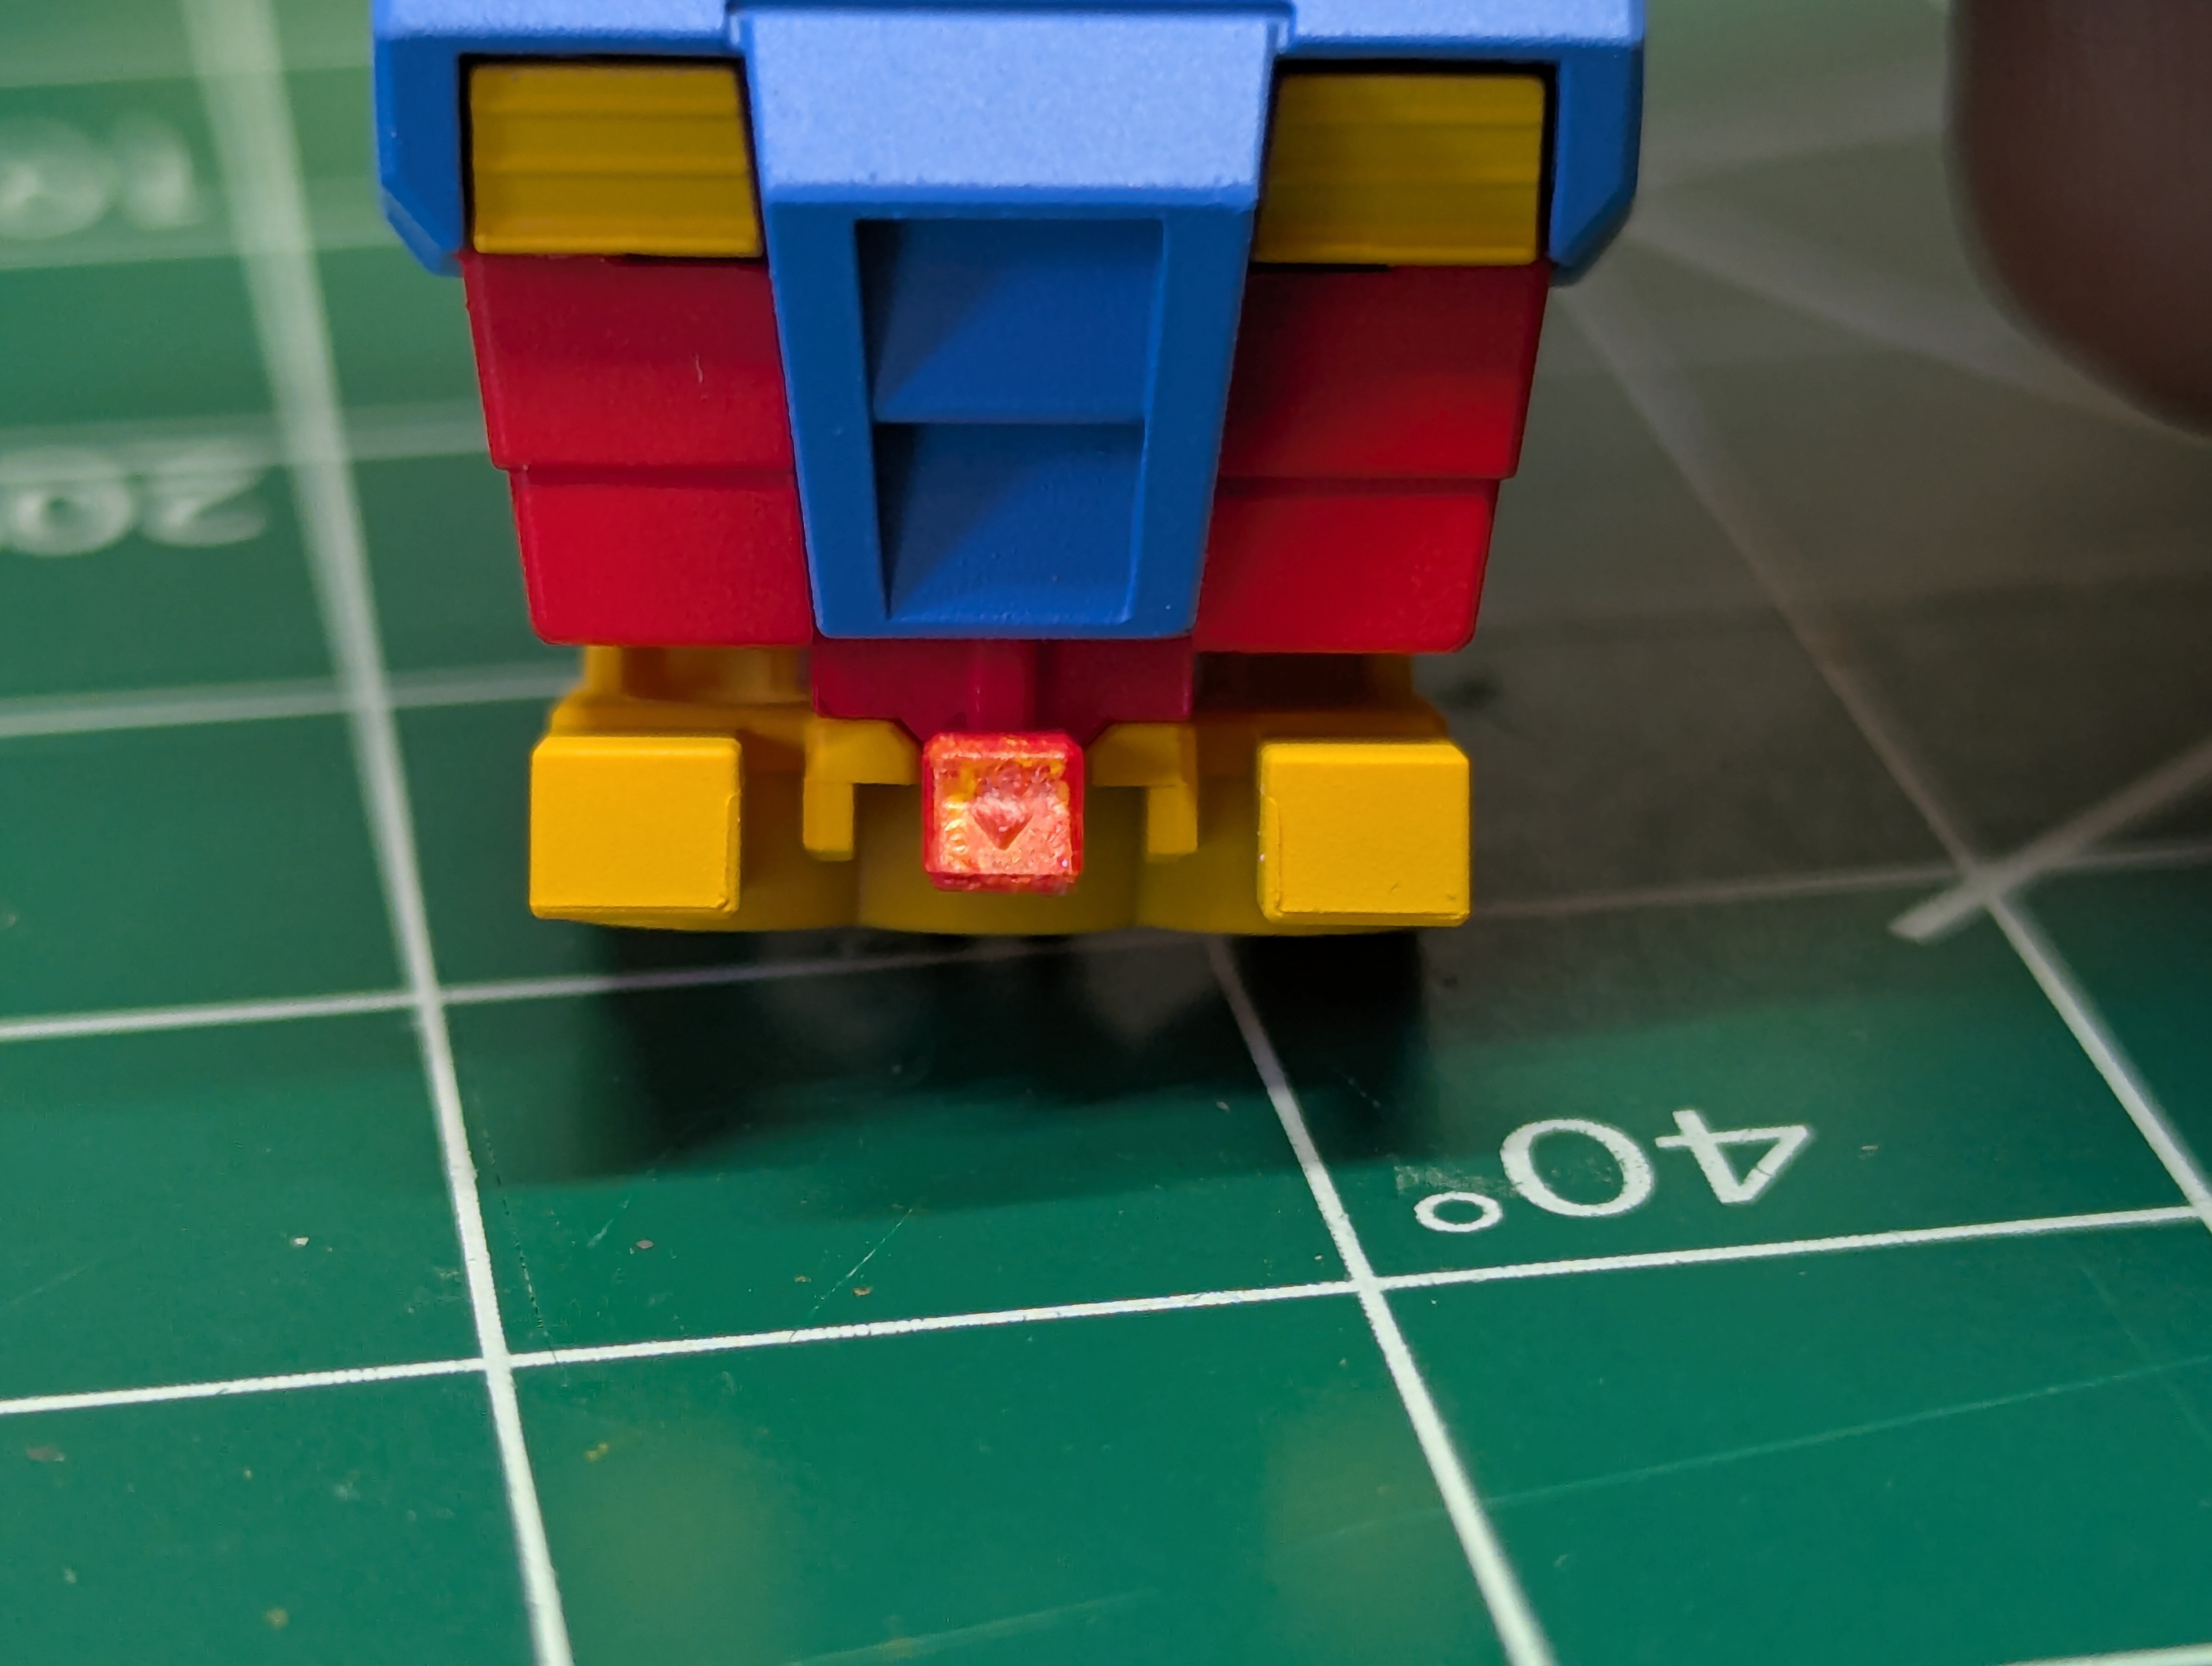
Getting this rear sensor on the helmet was probably my worst masking decision here - it would have been much easier to go the other way. But this was still super managable, just tape-heavy.
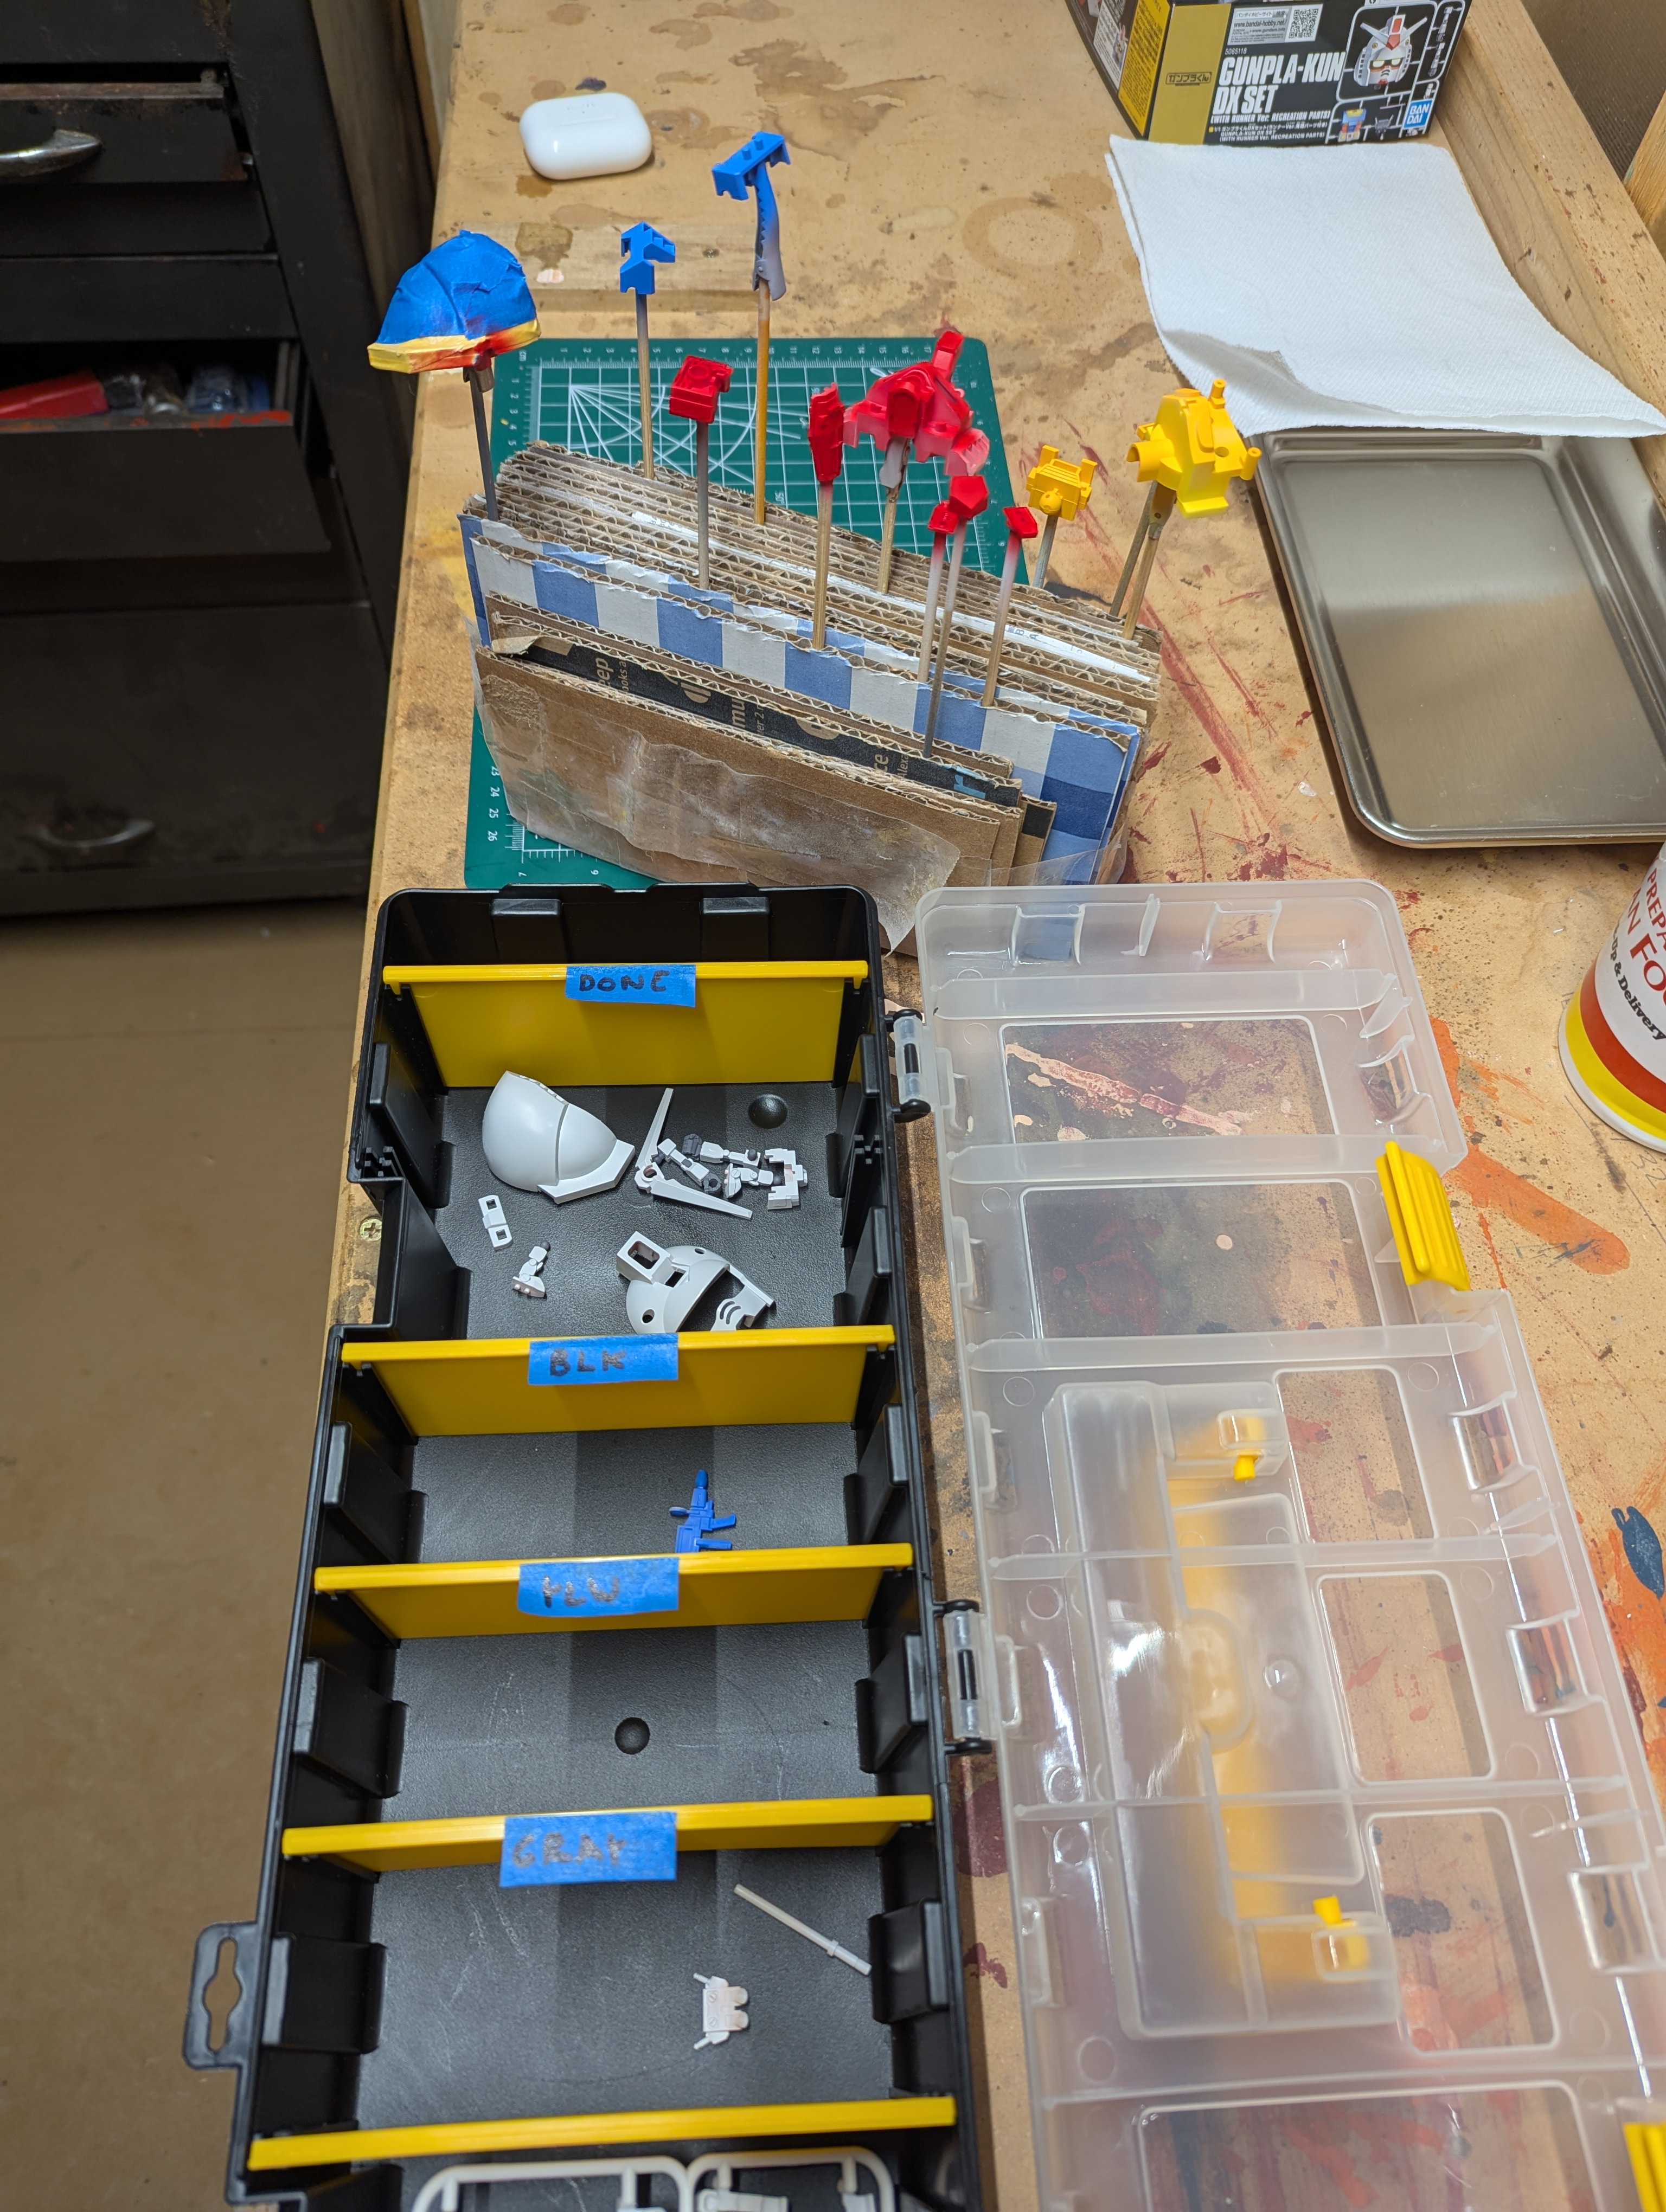
I've started to get pickier about parts organization and have labeled my bins. This kit is simple enough that this is extreme overkill, but I feel myself dialing in a process here that can carry me into more complex builds, so its worth building up the muscle memory. Also, I did the bulk of the tri-color spread in one night, but will need to go back for yellow and white on the shield eventually.
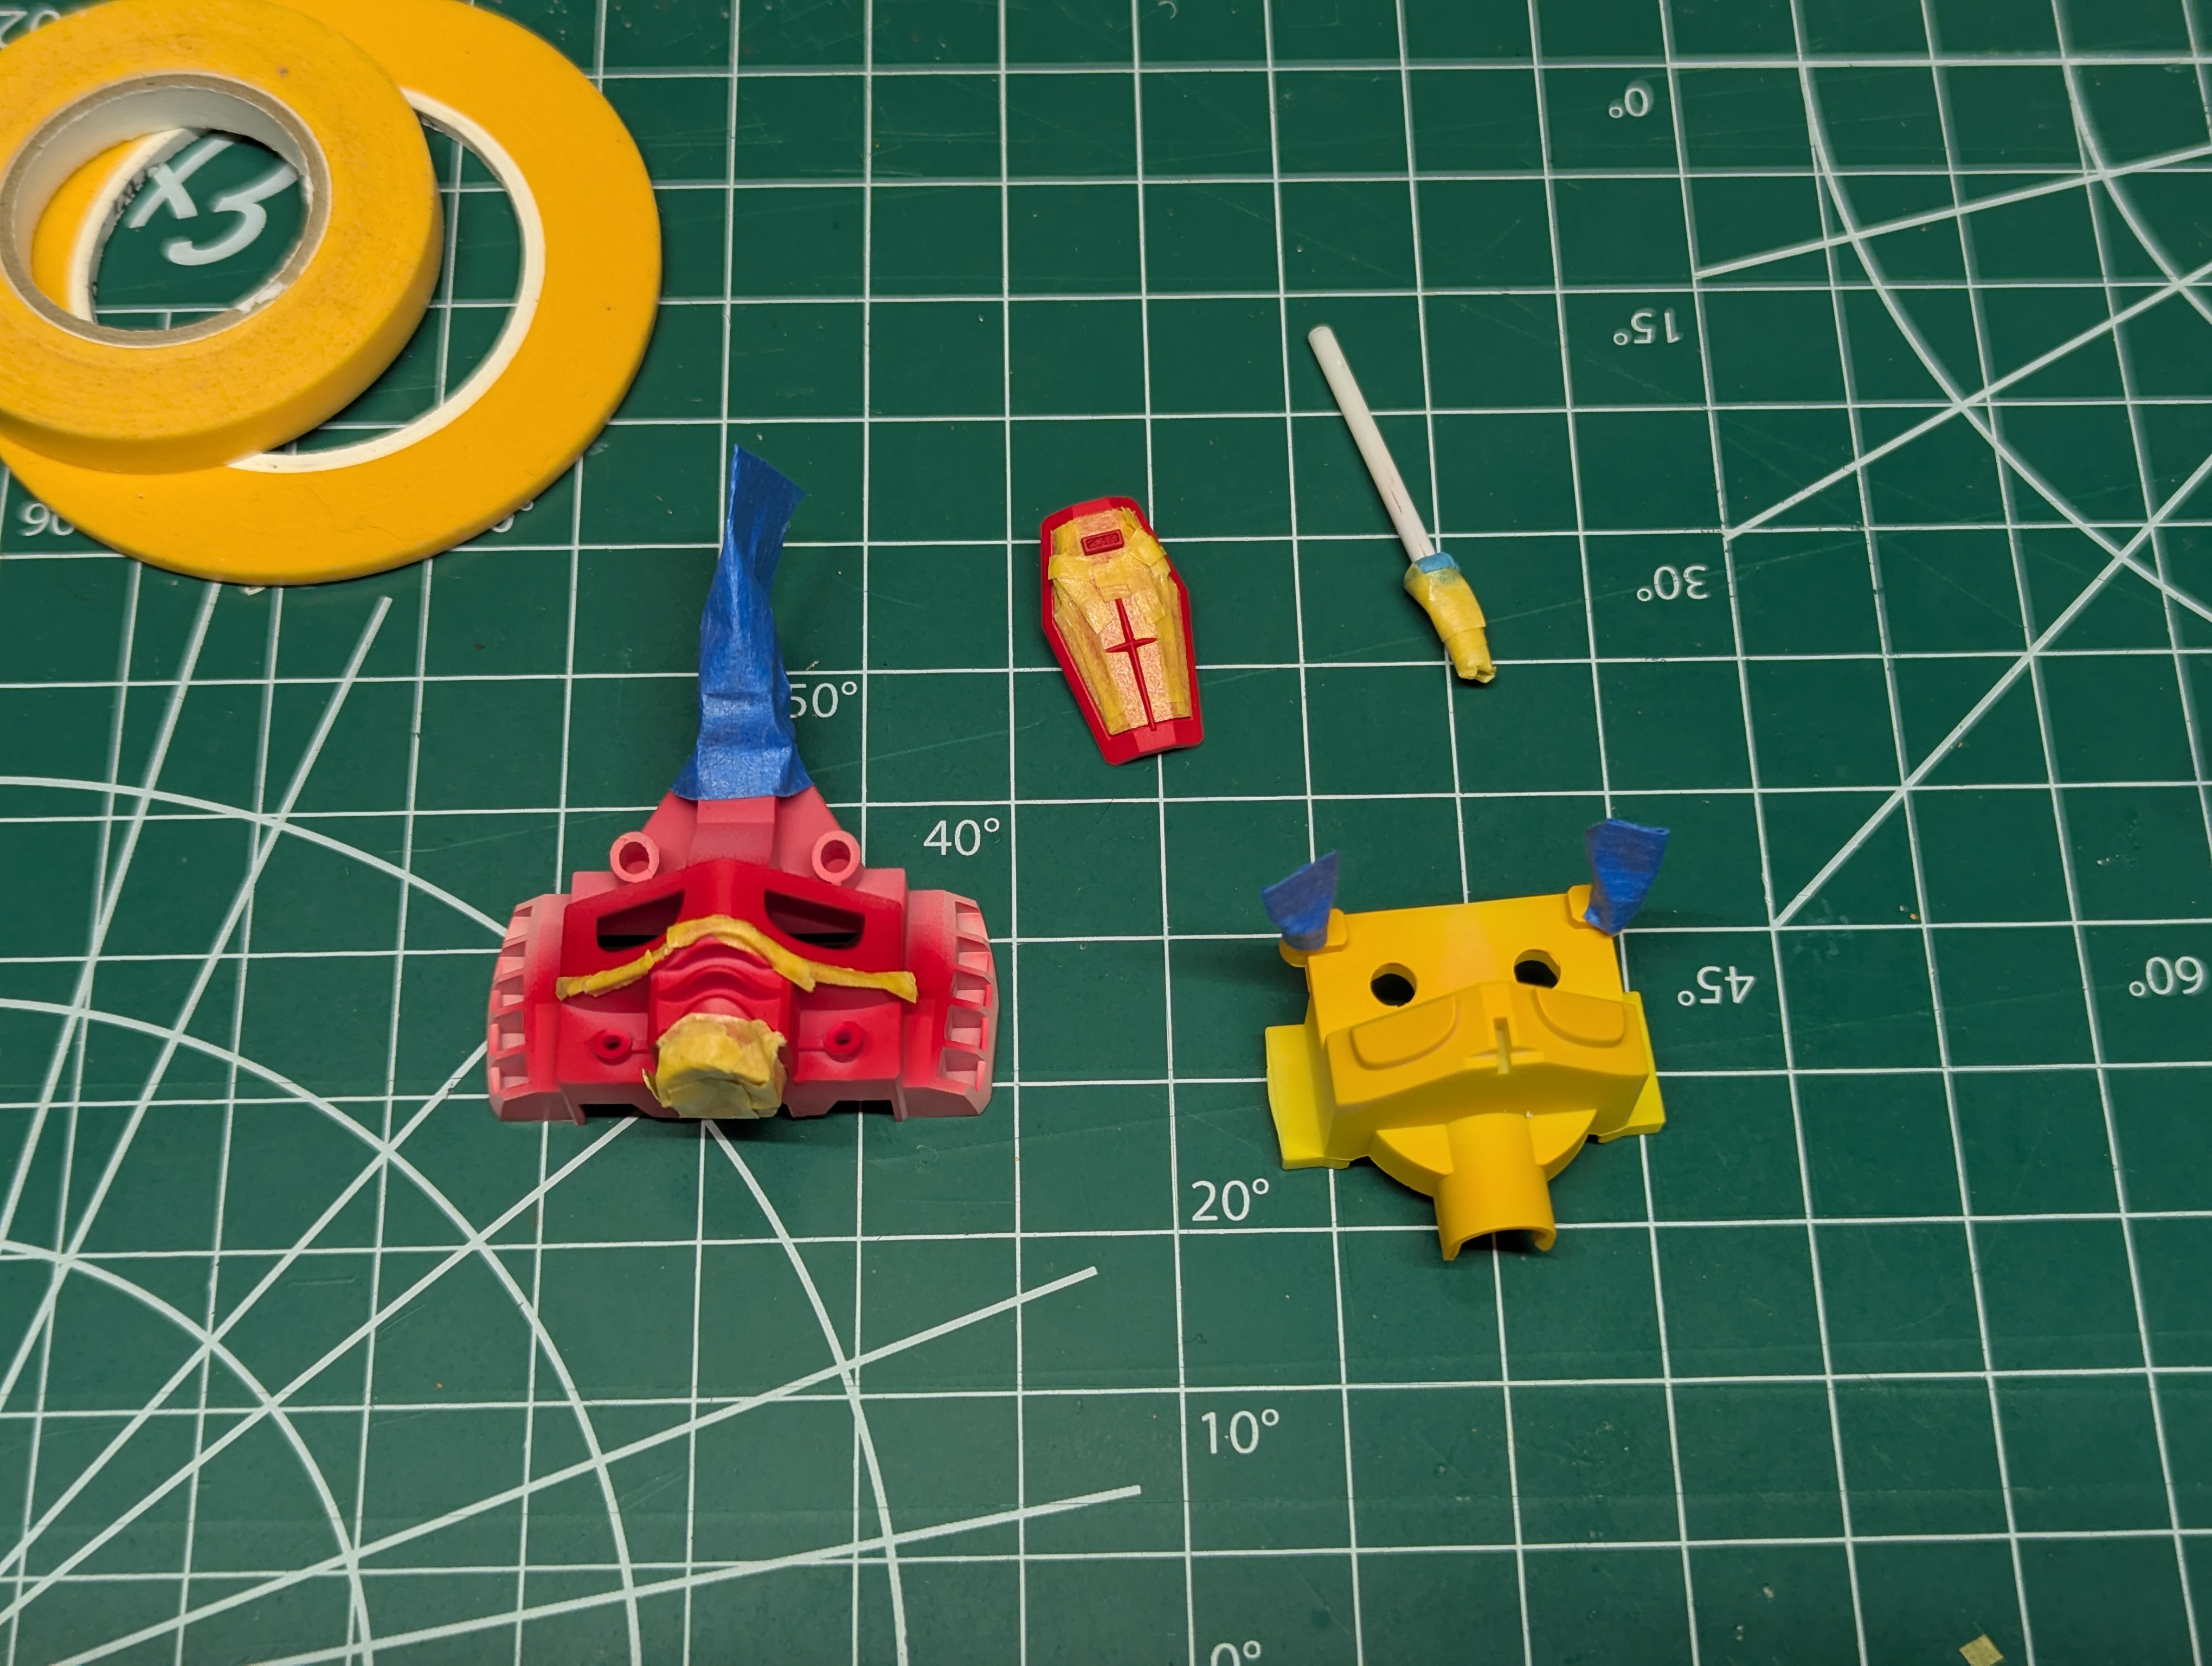
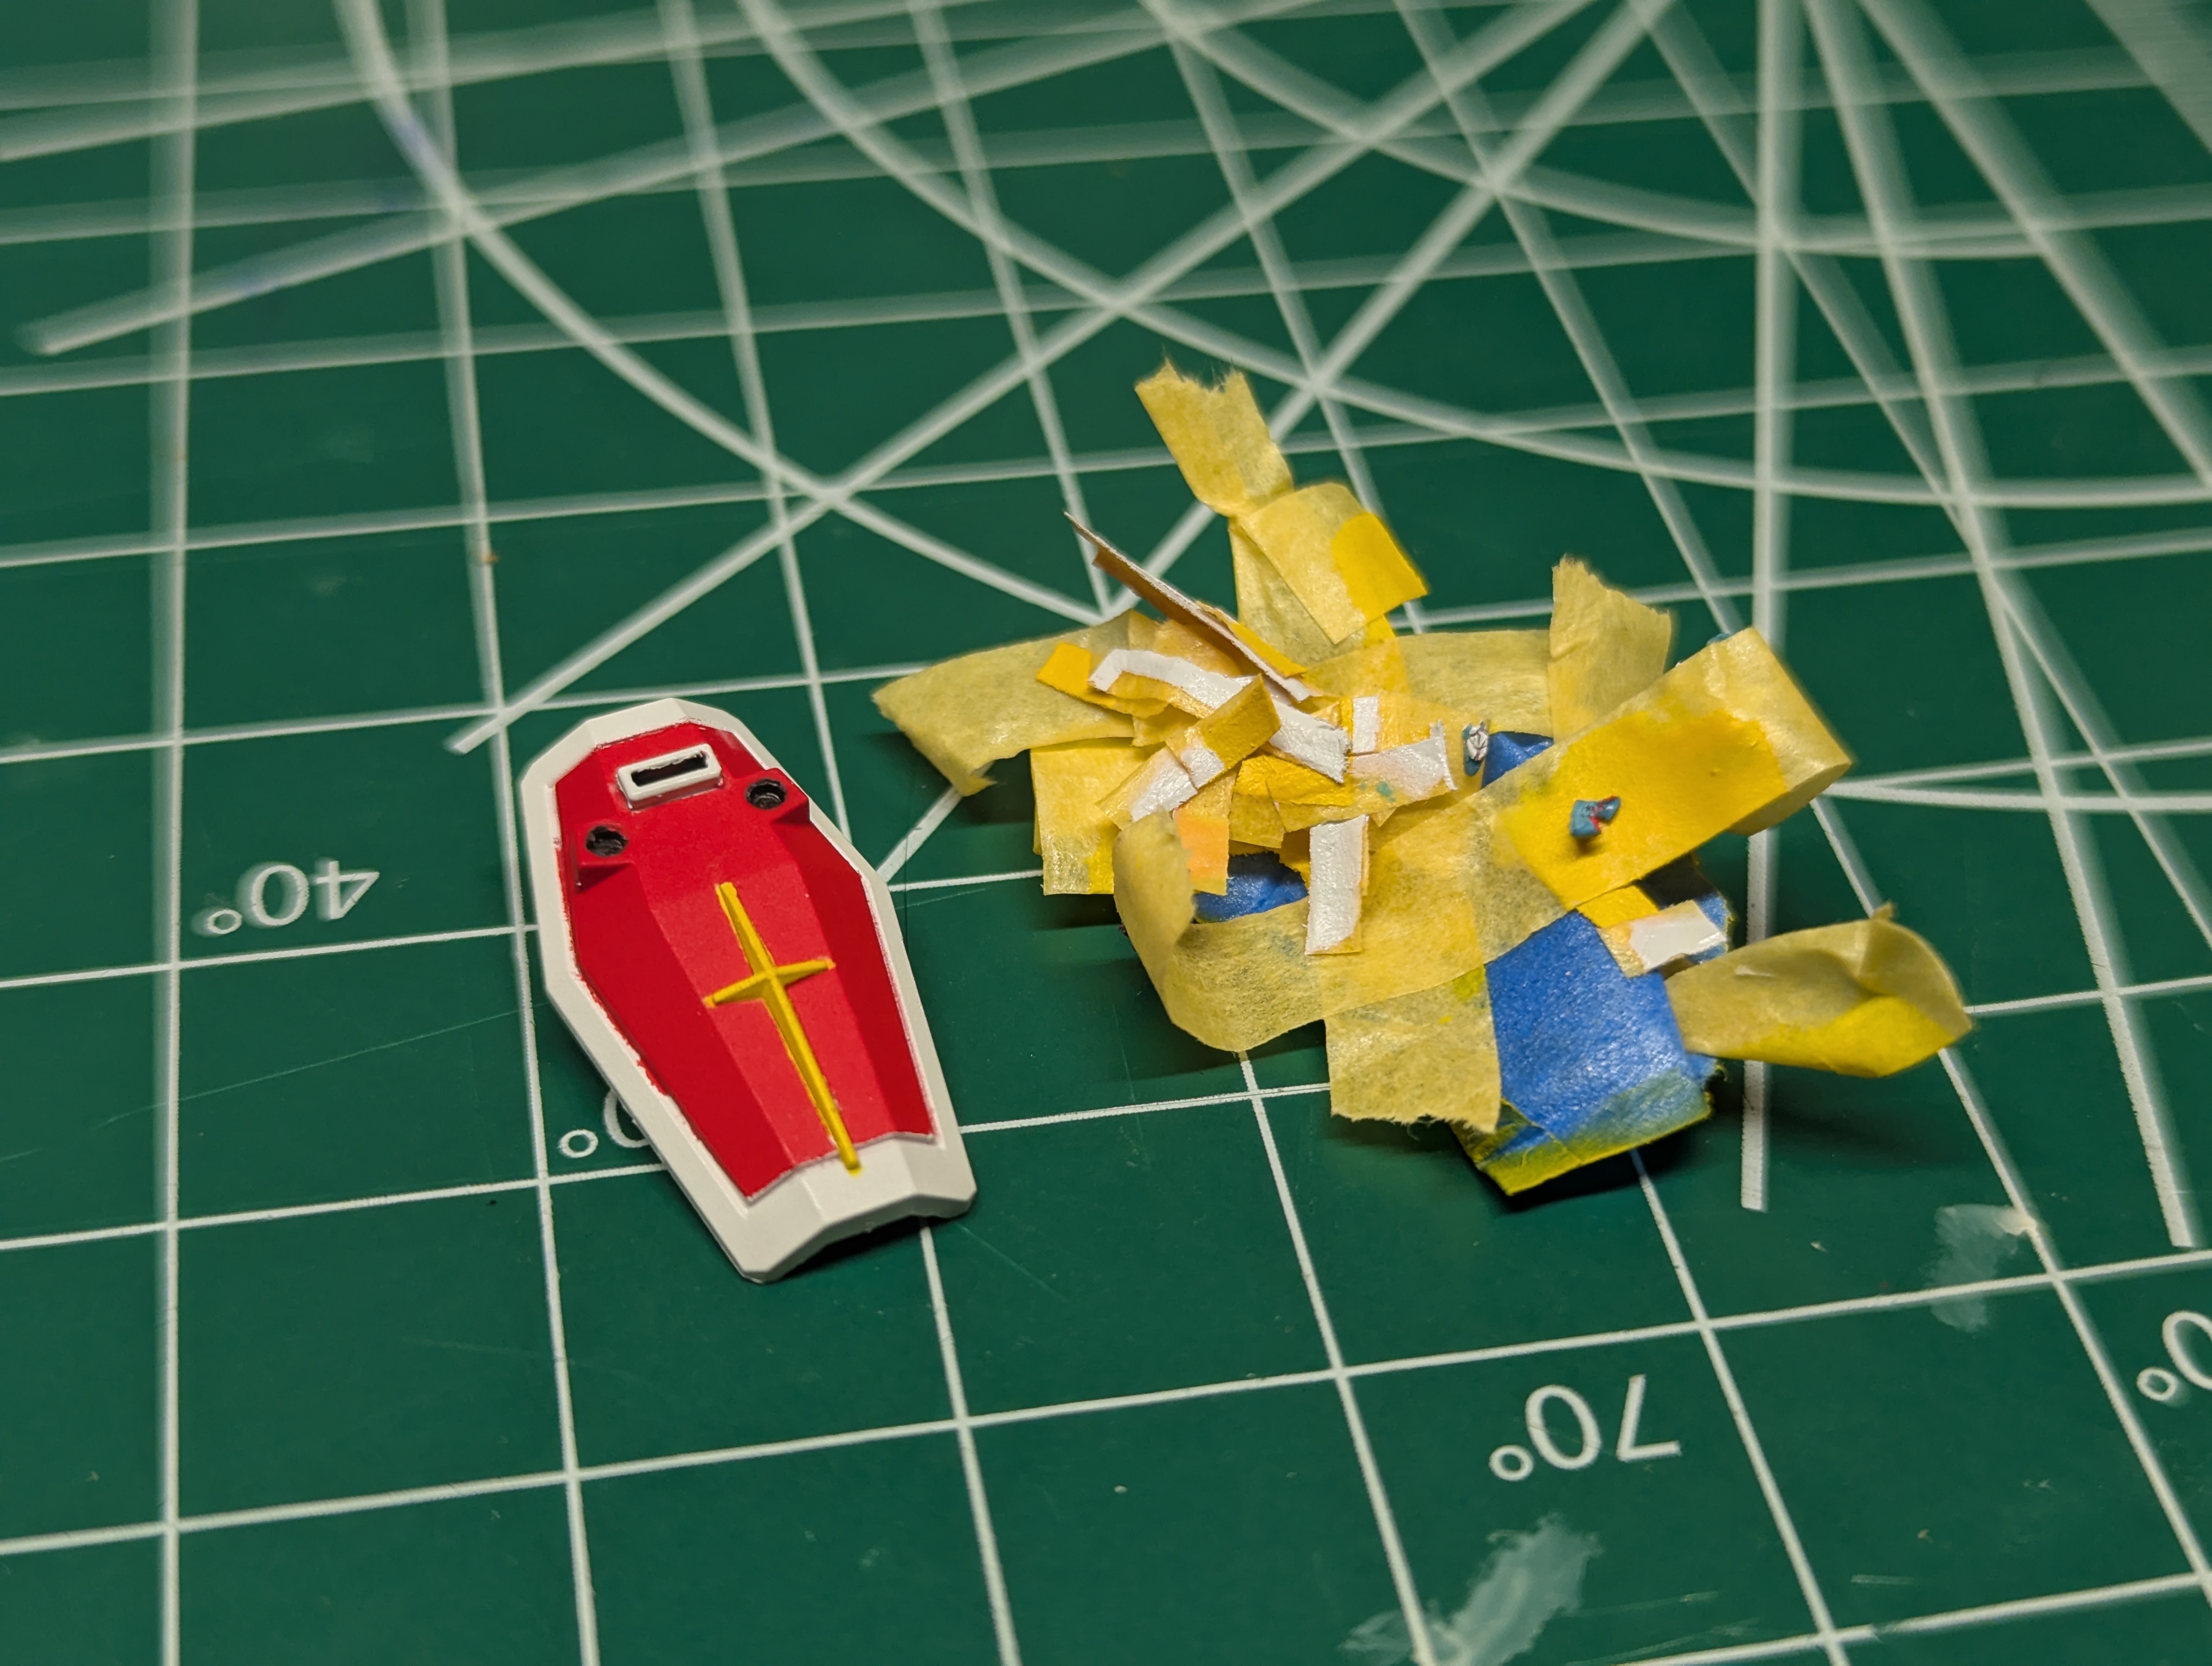
More masking process photos. The shield was by far the most complex item, since it has four colors unseparated on one part - and the whites/blacks are even discontinuous. There are definitely mistakes in the masking if you zoom in here, but the part is so fundamentally small it's impossible to tell at a distance, and panel lining will help smooth some of these lines out - particularly between the white shield edge and main red body.
I did have a small problem with this yellow v-bit on the skirt. I had planned to just dob a small amount of yellow paint into this and call it a day, since it was so small - but I totally flubbed with the brush and got too much yellow paint on. I tried to wipe it off, but since this was lacquer on lacquer, the yellow paint started to fuse with the red base - kind of ruining the part. I was able to repaint this with a yellow base coat this time, and used an incredibly tiny amount of blue tack to mask it off for red.
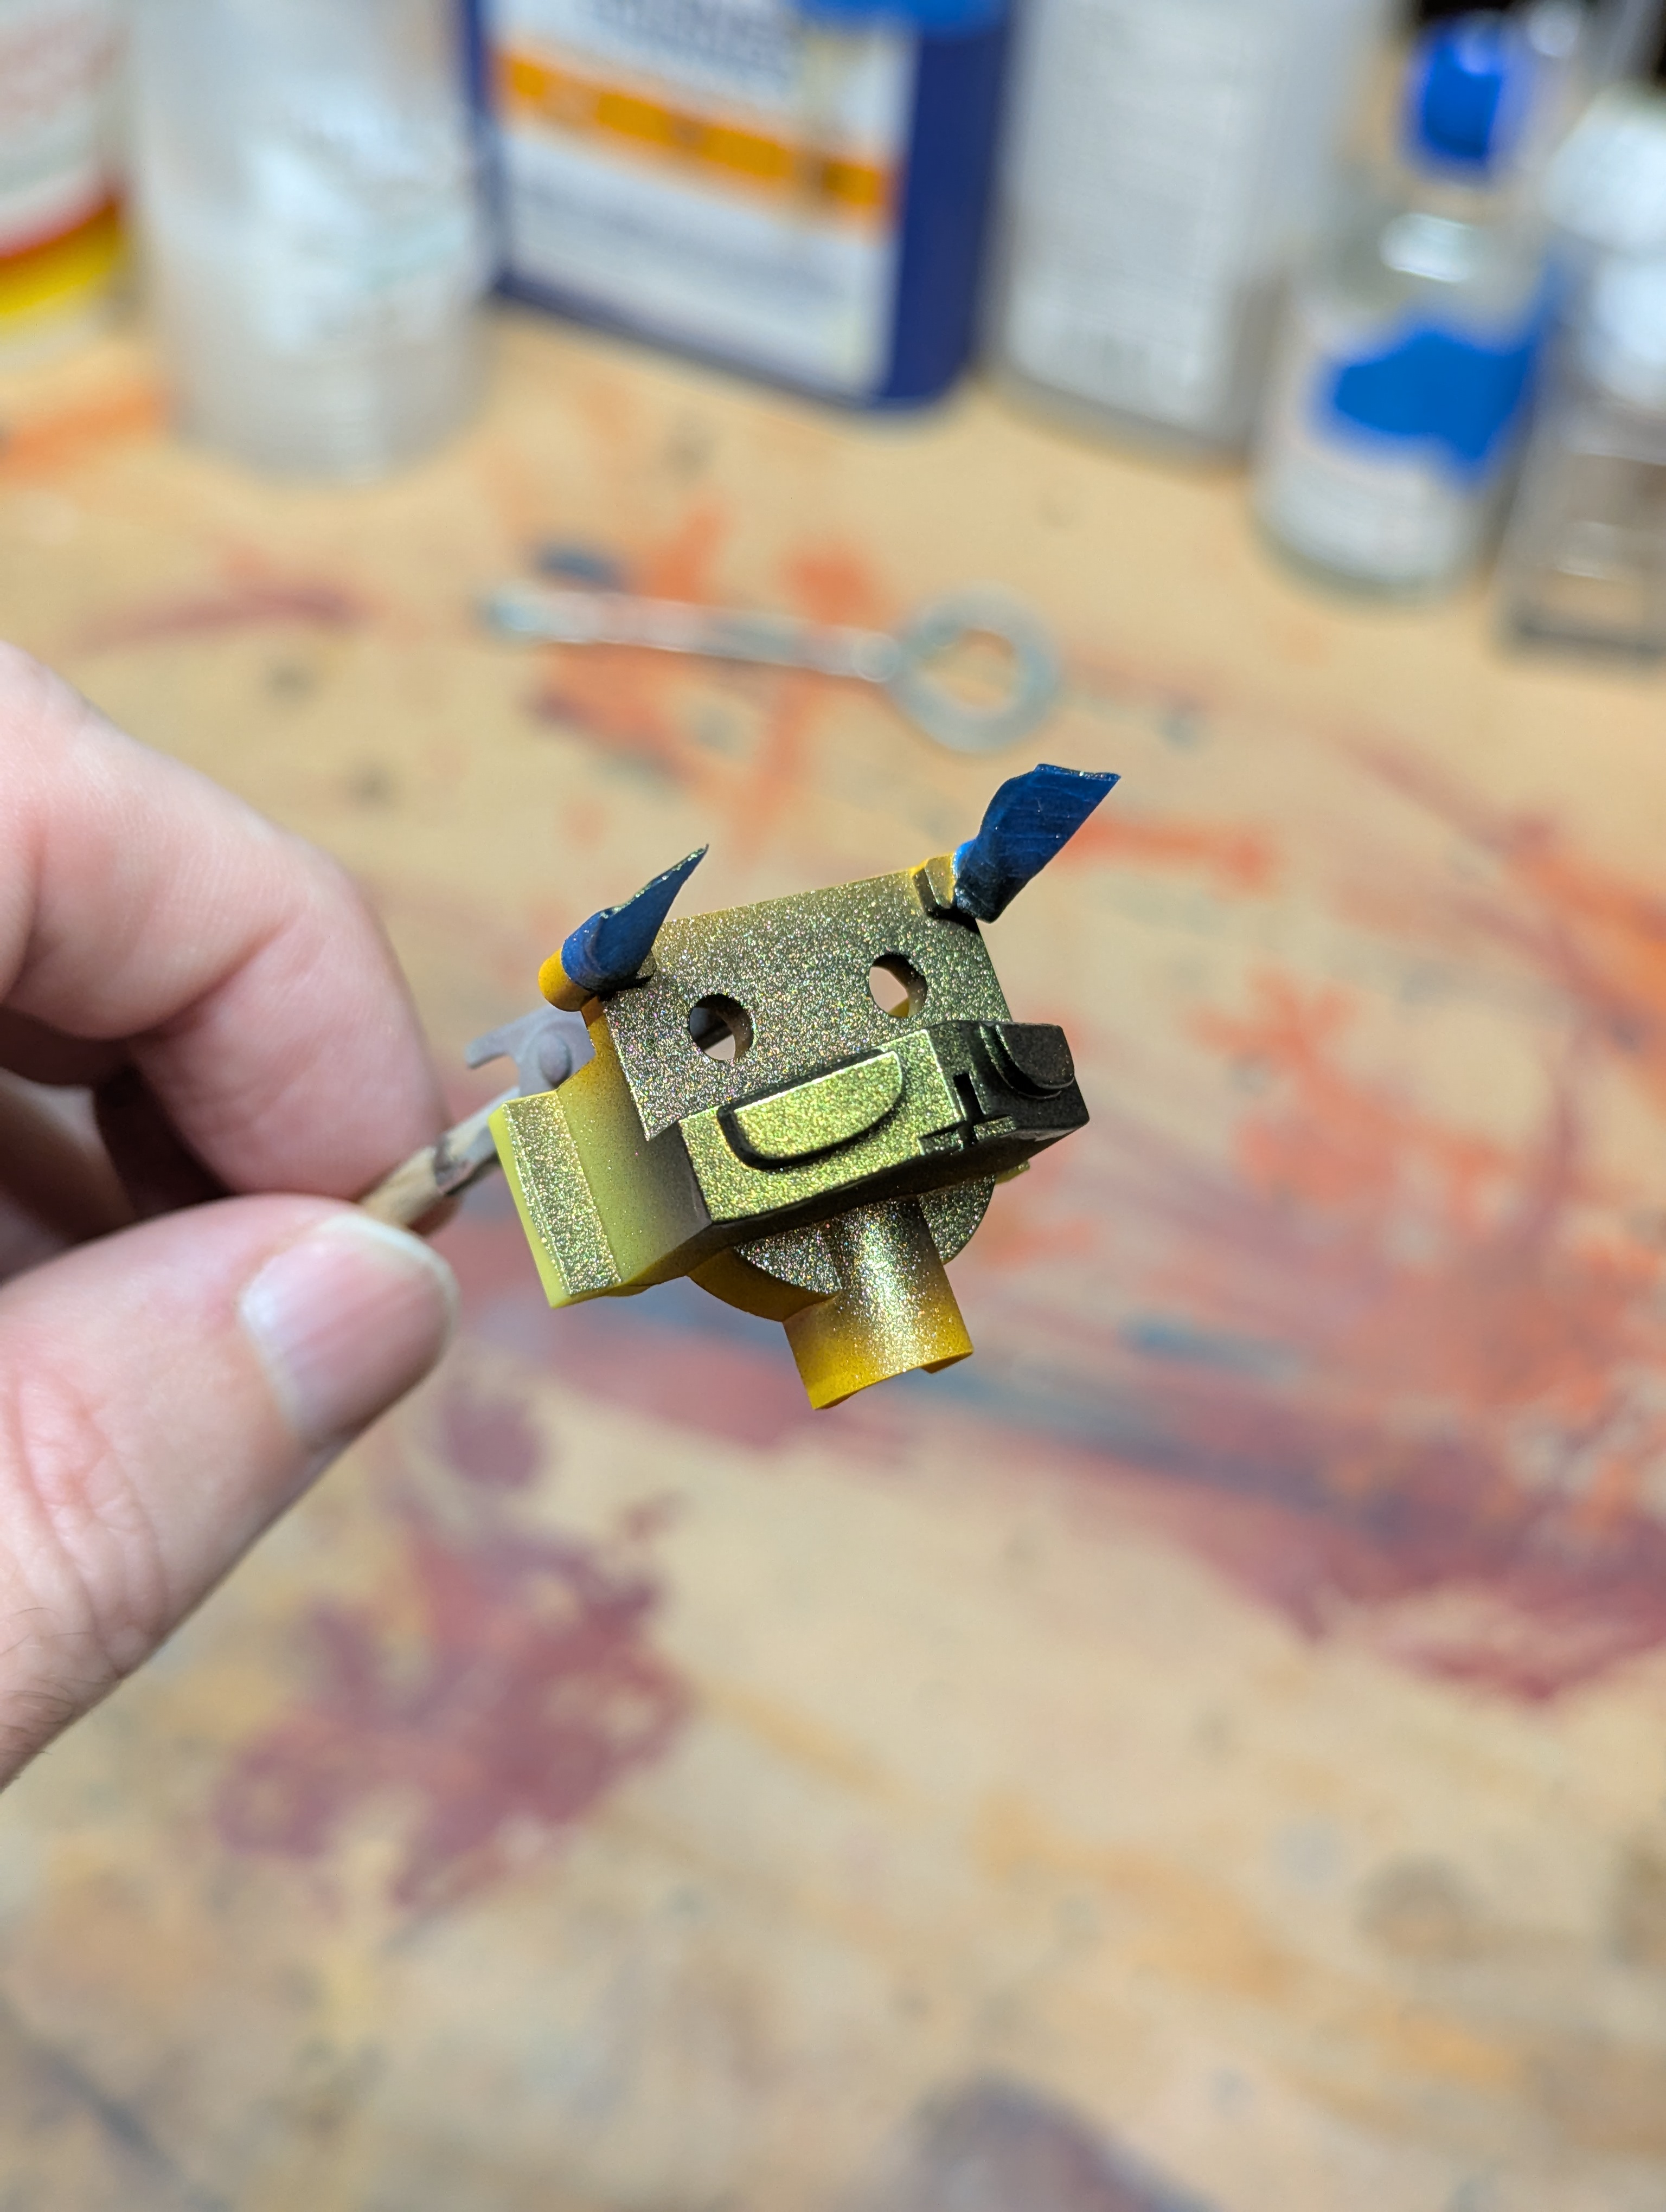
I experimented a bit with the eye cameras - I got some Turbo Dork Radium color shift paint which I intended to use for God Gundam's cameras. This was hell to airbrush - it required a very specific acrylic thinner which I didn't have for anything else, and the metallic particles were super cloggy in my airbrush. It probably took me 30 minutes to clean after this tiny amount of spray. Probably not something I'll return to any time soon - at least, not with this airbrush.
The color shift is a little more subtle than I expected - I thought this would show more green, but it's really gold-forward with only slight green visible at certain angles. Still, I'm not unhappy, it just wasn't worth the trouble I think.
And the color step is done! Overall, a much better attempt than my last, and I'm very pleased with the masking that I was able to pull off. Even though there were some really tedious parts - the fact that there were only around 20 total helped me keep focus and deliver a good result. Still, I'm excited to get out of the Mask Zone and back to something with good parts separation.
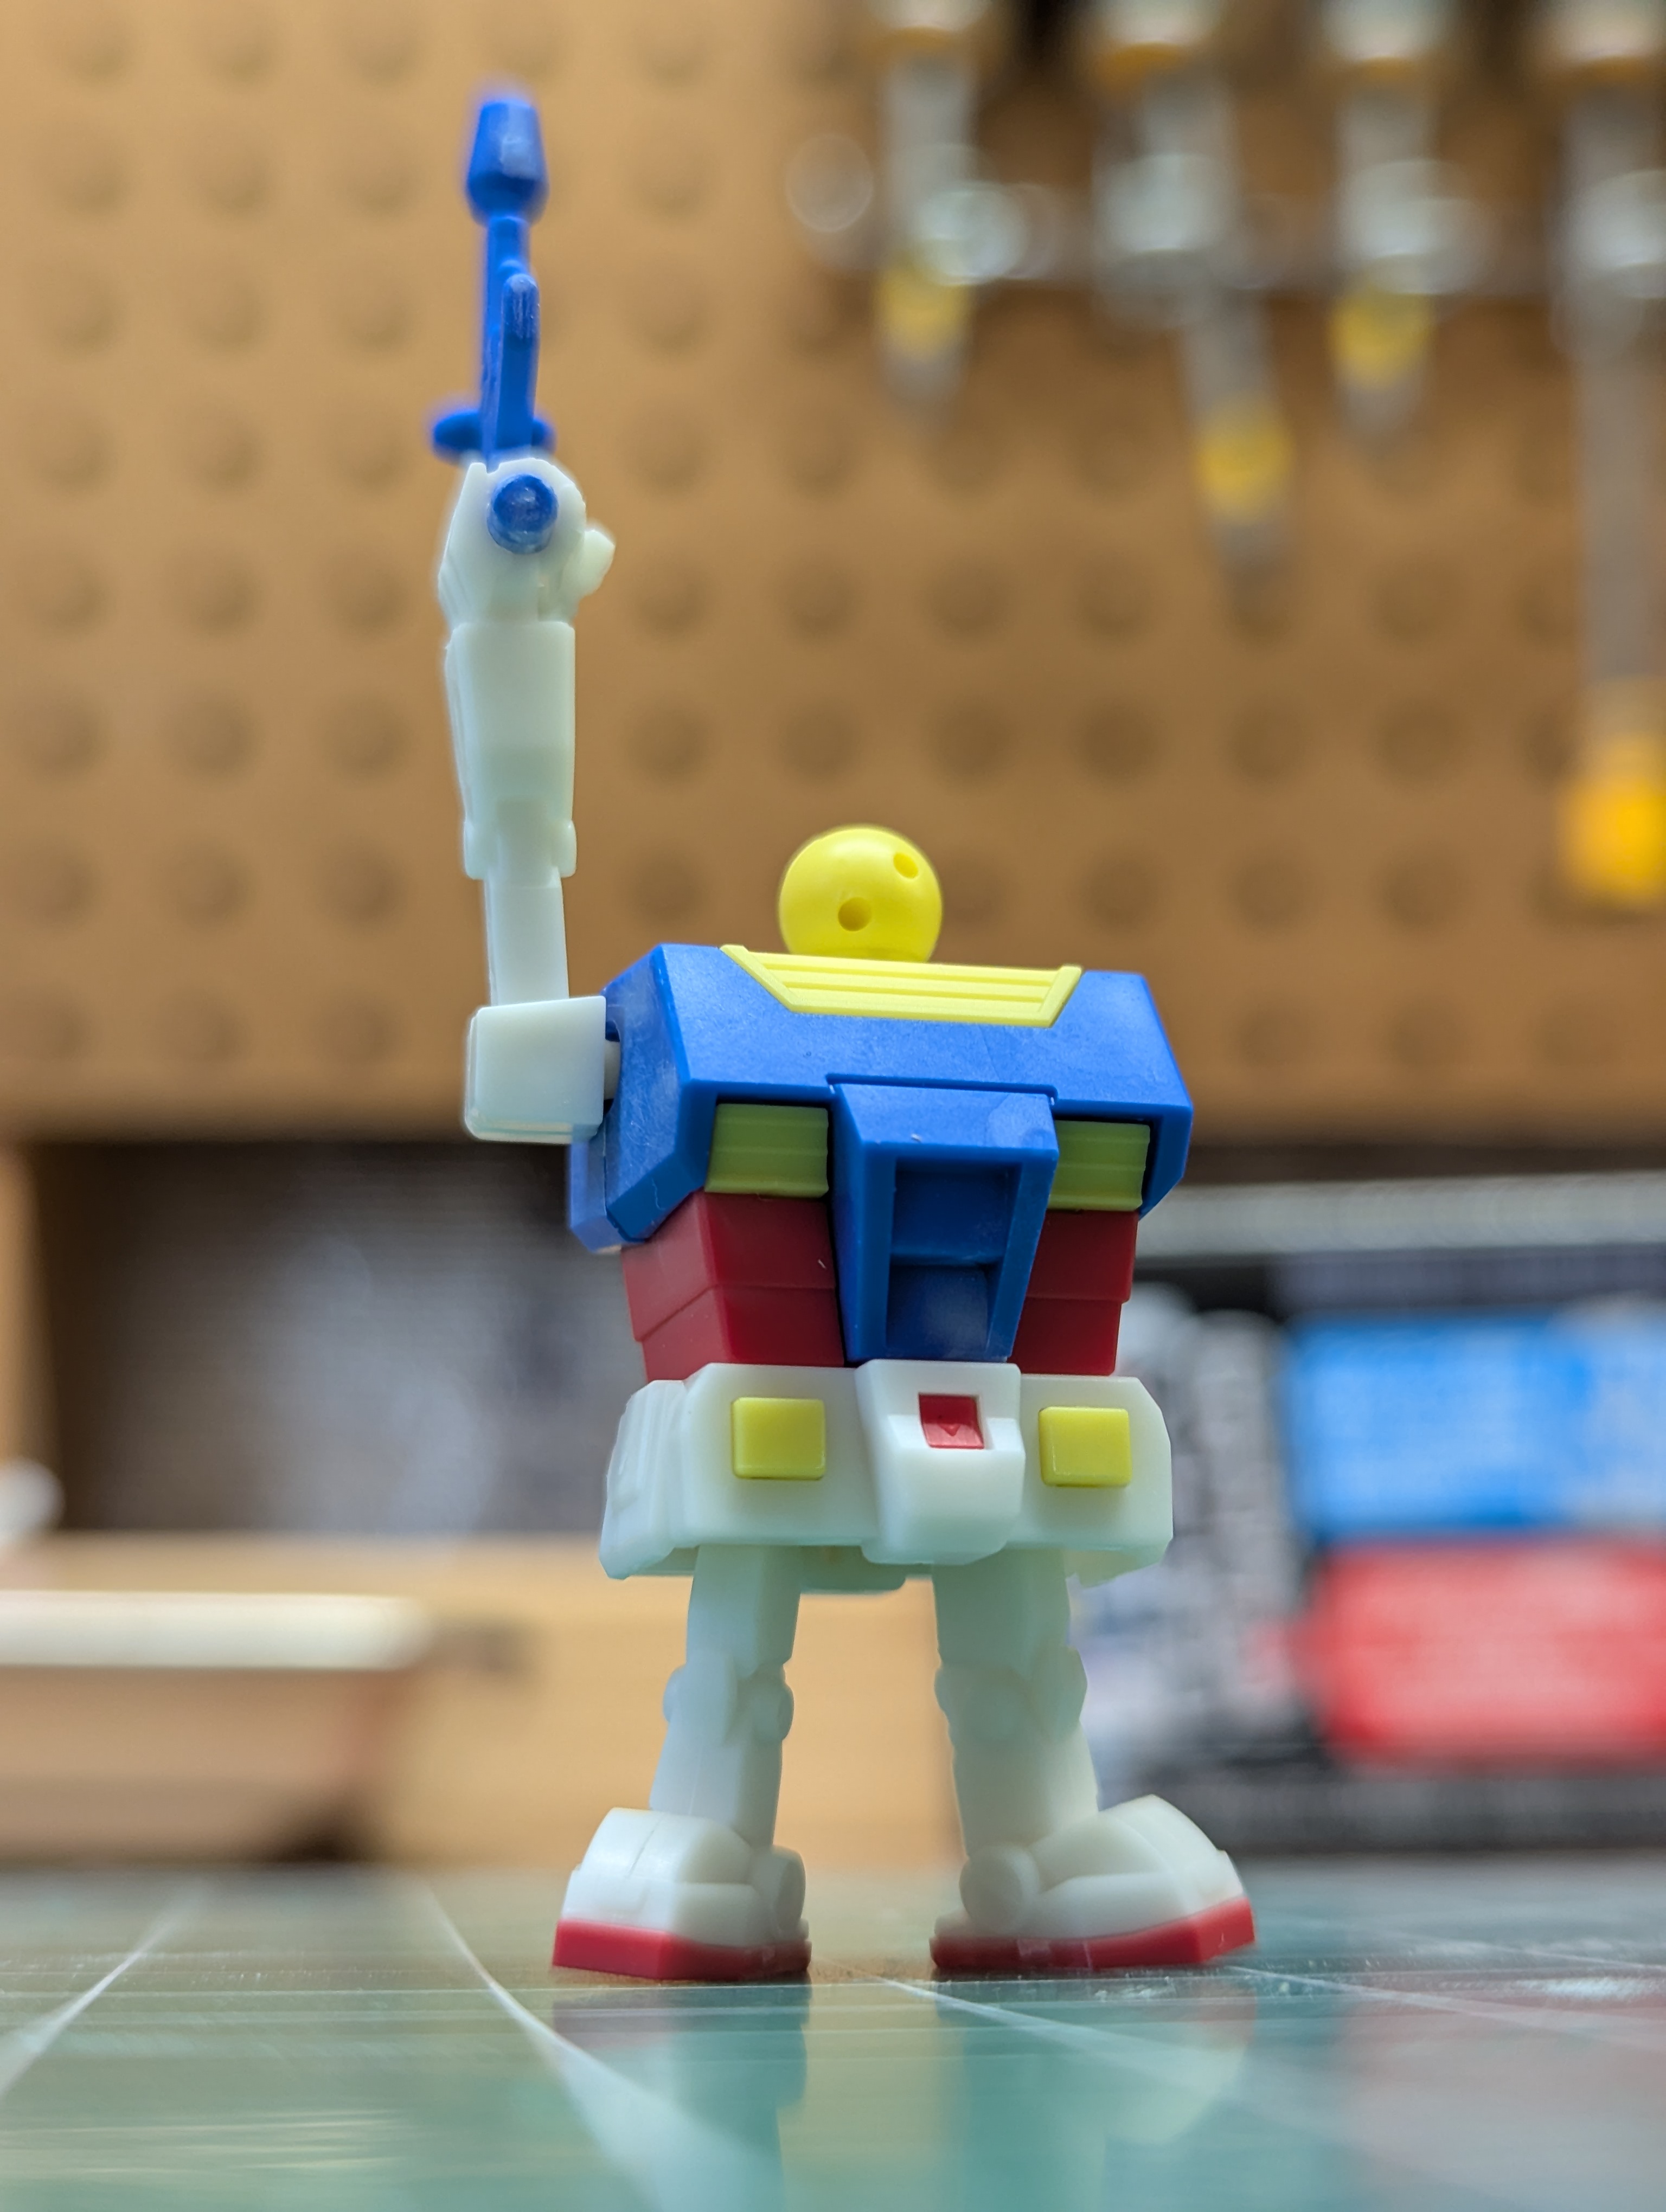
I didn't really talk about the beam saber - I didn't really have a firm plan here, but I was able to get a good result by painting the beam white and then post-shading with my pink primer. This gave a gradient effect that sort of aligns with how beam sabers are rendered in the anime - the base is usually thicker/brigher, and the tips show the color off more. This one is just a straight cylinder but I think it came out reasonably well.
One thing I probably won't do is reassemble. I intend to display this on runner, so all of the ball joints will be visible - if I snap it together, I'm worried I'll rub paint and create more cleanup for myself.
Weird and boring aside - I had a small moment of panic about the head vulcans, of all things. I painted these yellow since the vulcans obviously are supposed to be yellow, right? But I was scrolling through other RX-78-2 kits (there are literally over a dozen different iterations of this across all grades) and I noticed the vulcans... weren't yellow. Turns out this is surprisingly inconsistent from design to design! The original anime art and Gunpla-Kun use yellow, but various other kits use gray or even white for these - even the otherwise extremely anime-accurate Master Grade 2.0 changes this. Really strange, but I did use the correct color after all.
Next up - panel lining and topcoat!
Date Posted: August 20, 2025
Progress Update 3: Wrapping Up
Panel lining was quite easy since the kit was so small. I topcoated with gloss, panel lined with enamel, then mixed 75% flat with 25% gloss to get a semi-gloss finish coat. It's hard to see in static photos, but I really like the finish and will probably use this over straight flat going forward.
The photo on the right is one way to display it, using the built-in stand. I kept it like this for a few days while I worked on a frame.
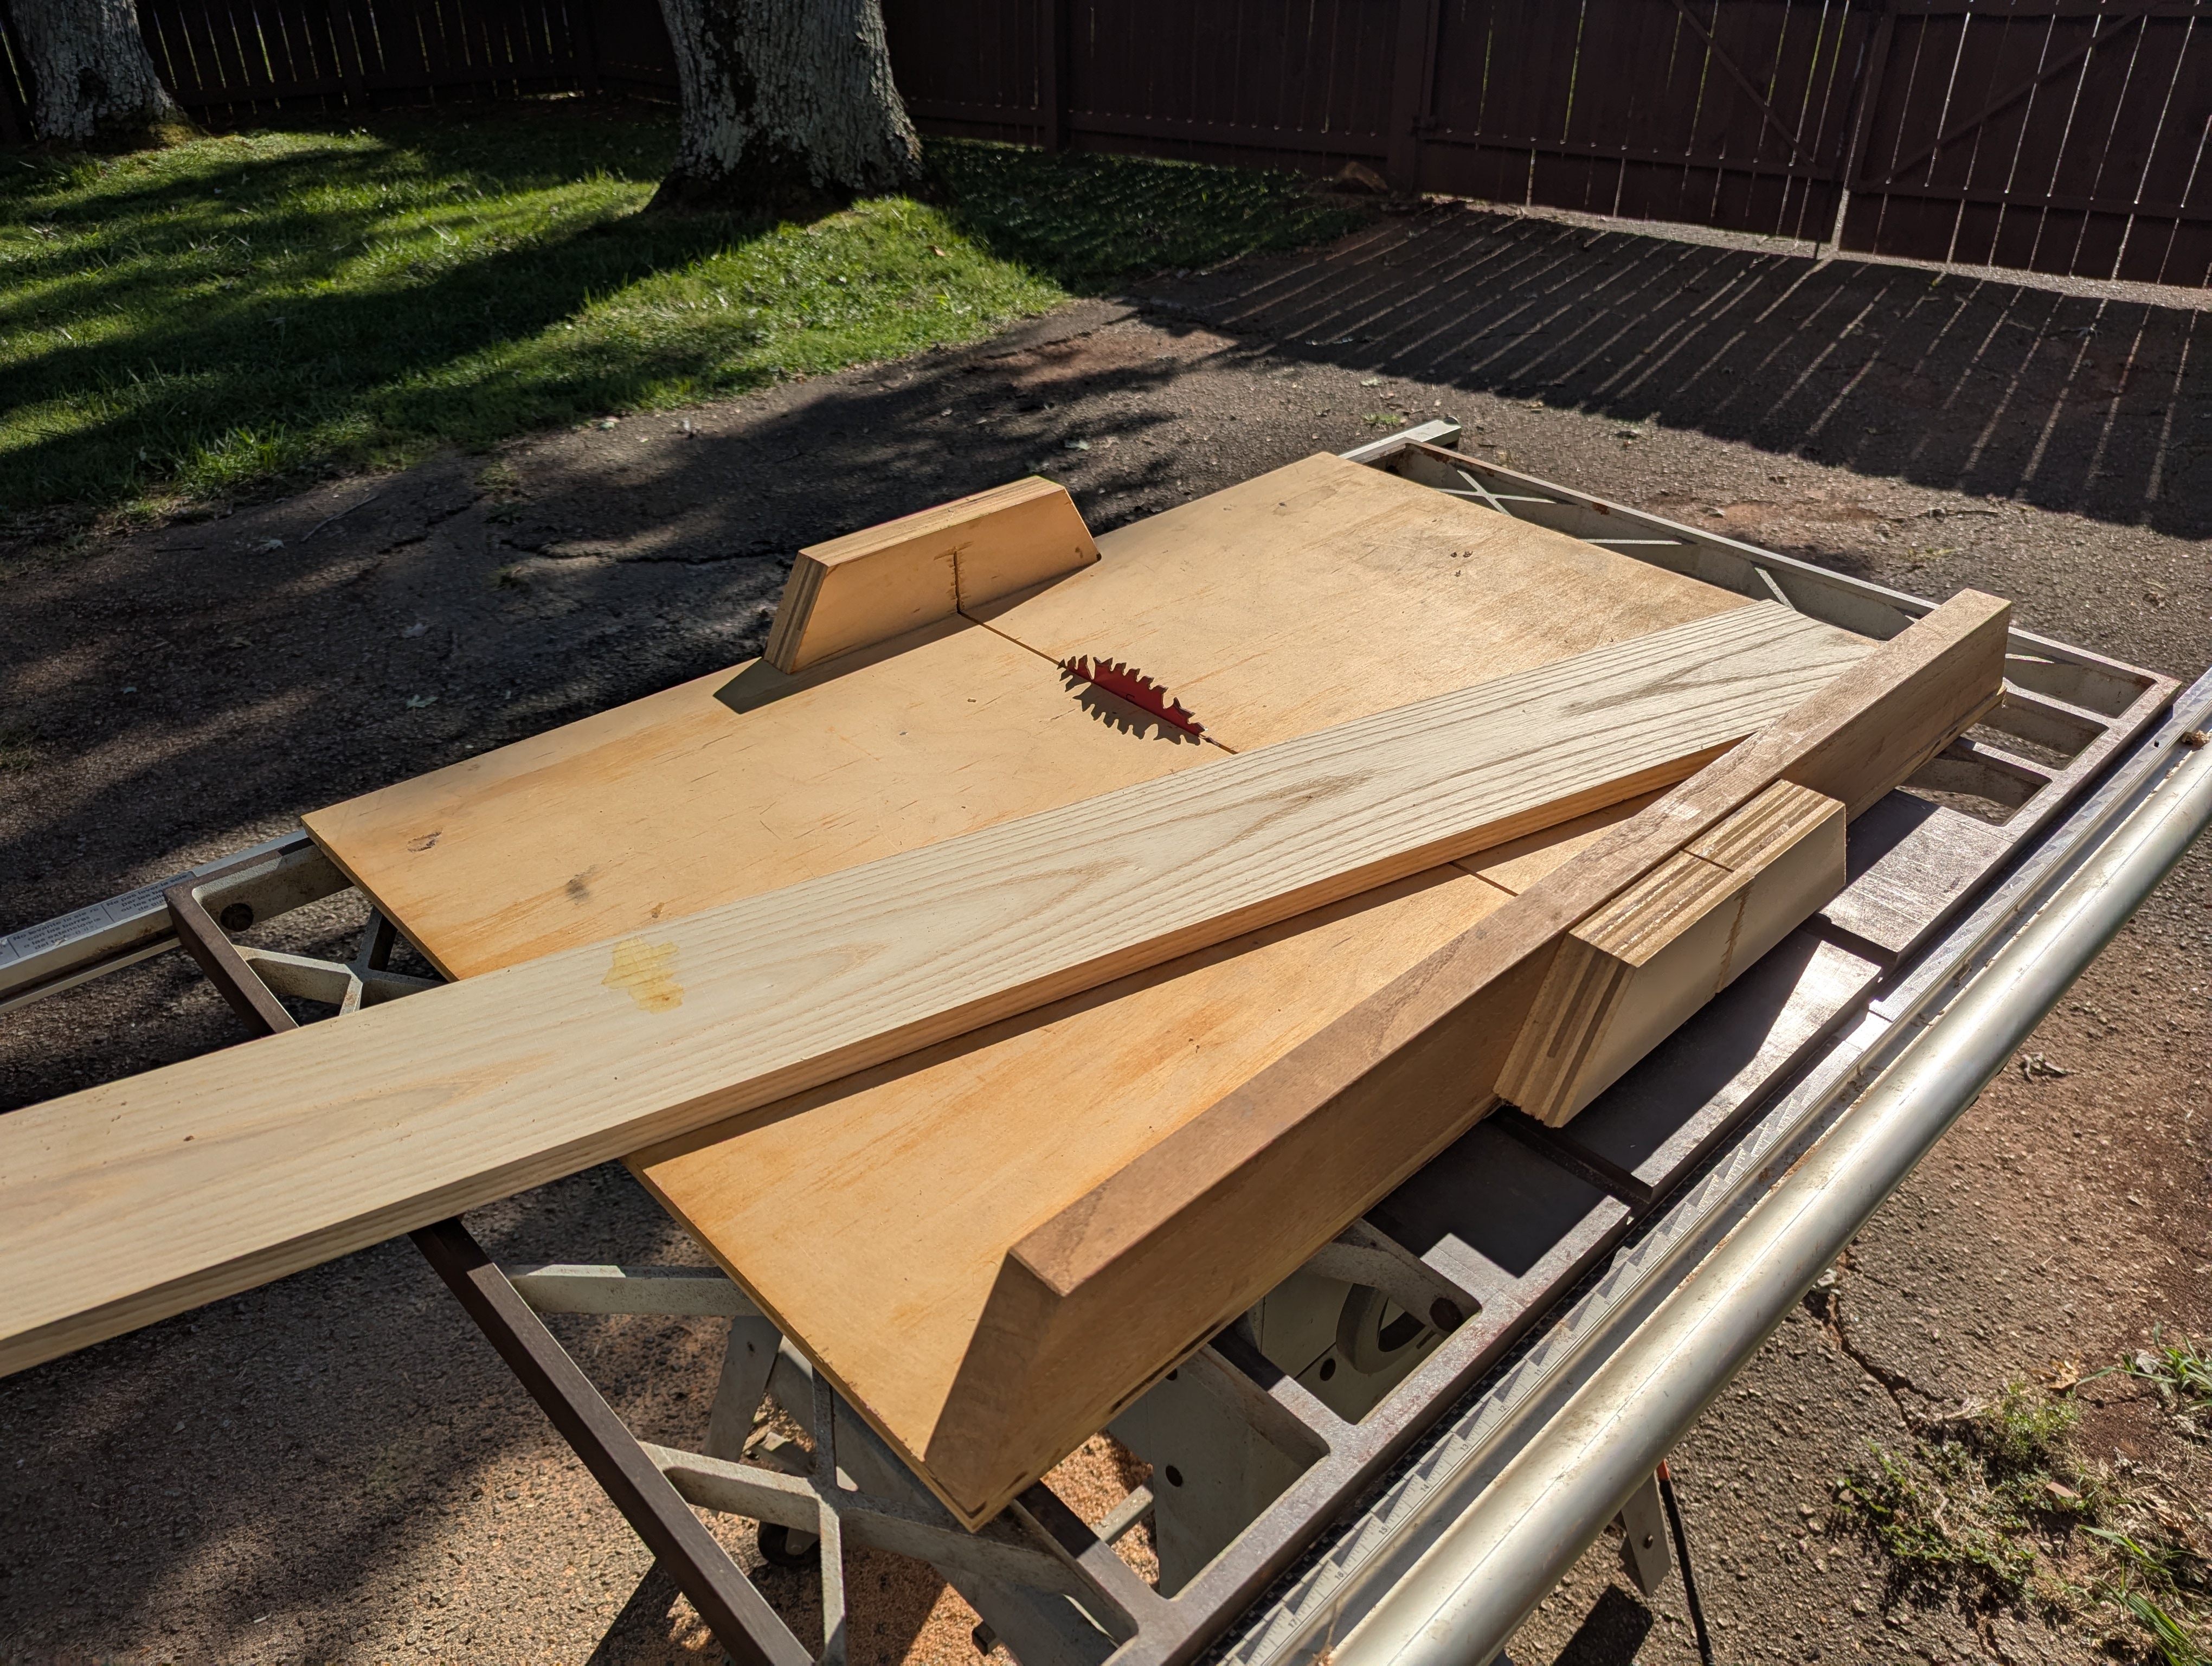
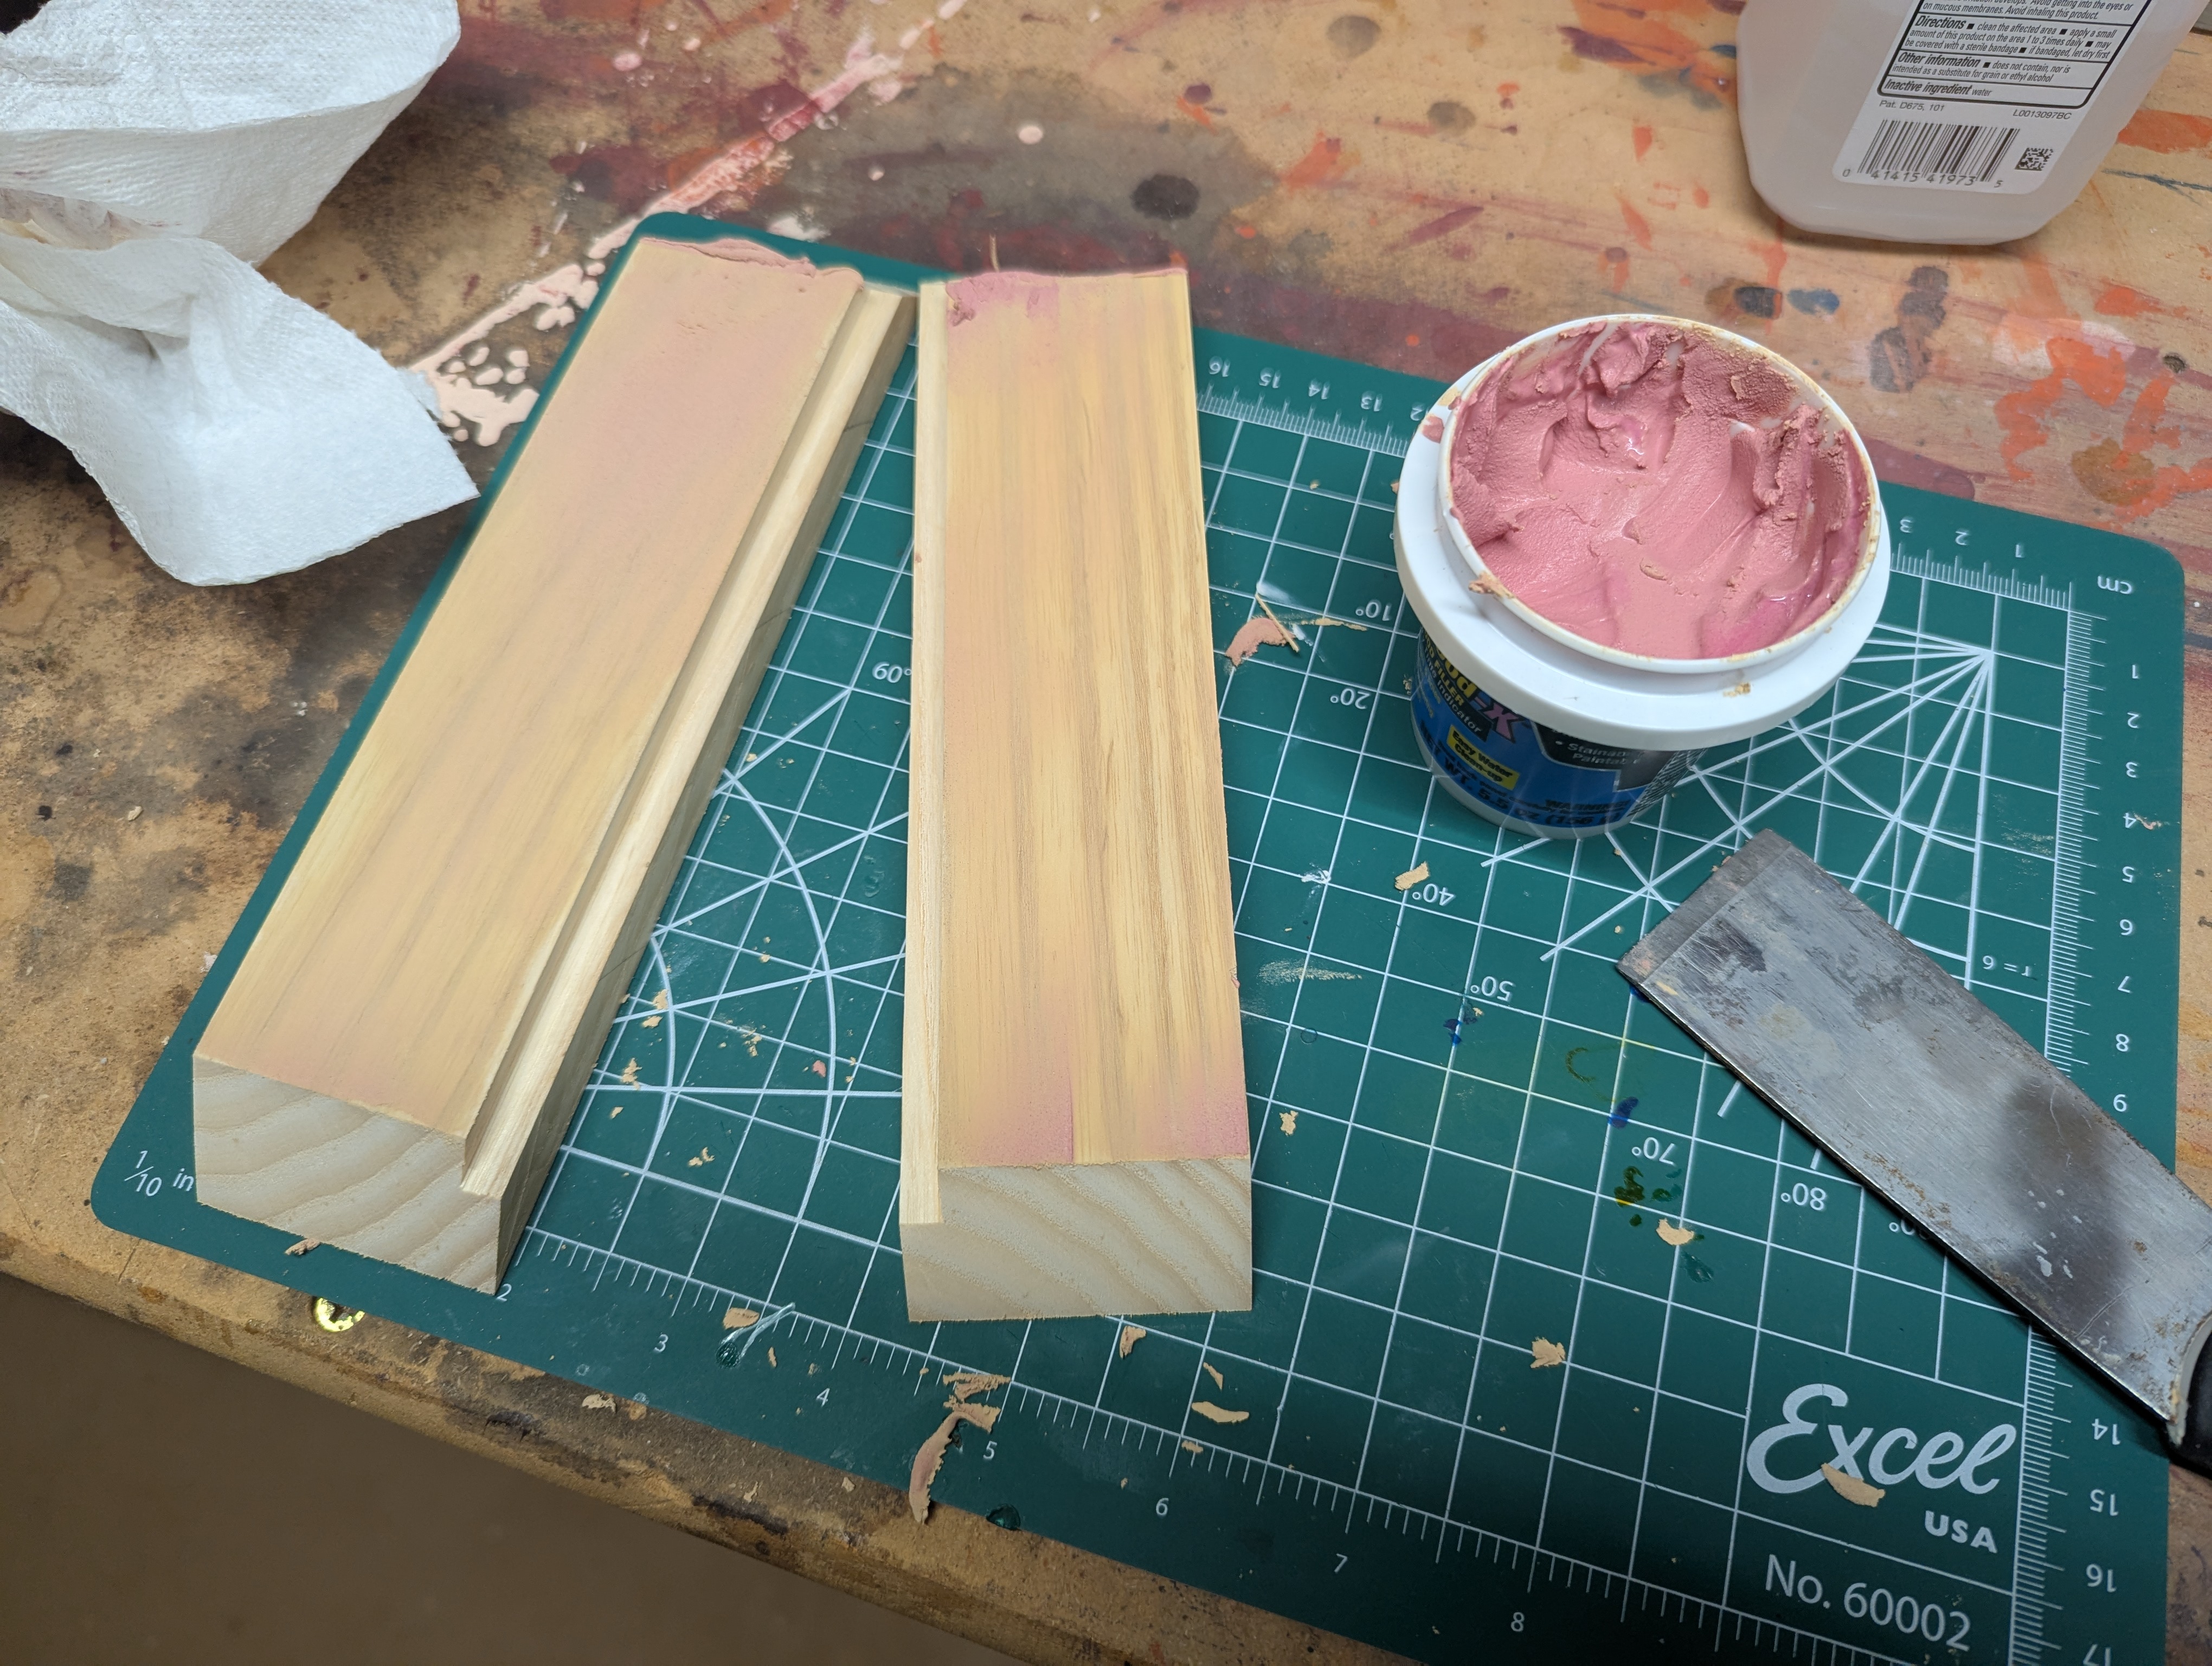
I started off with some leftover ash wood from another project.
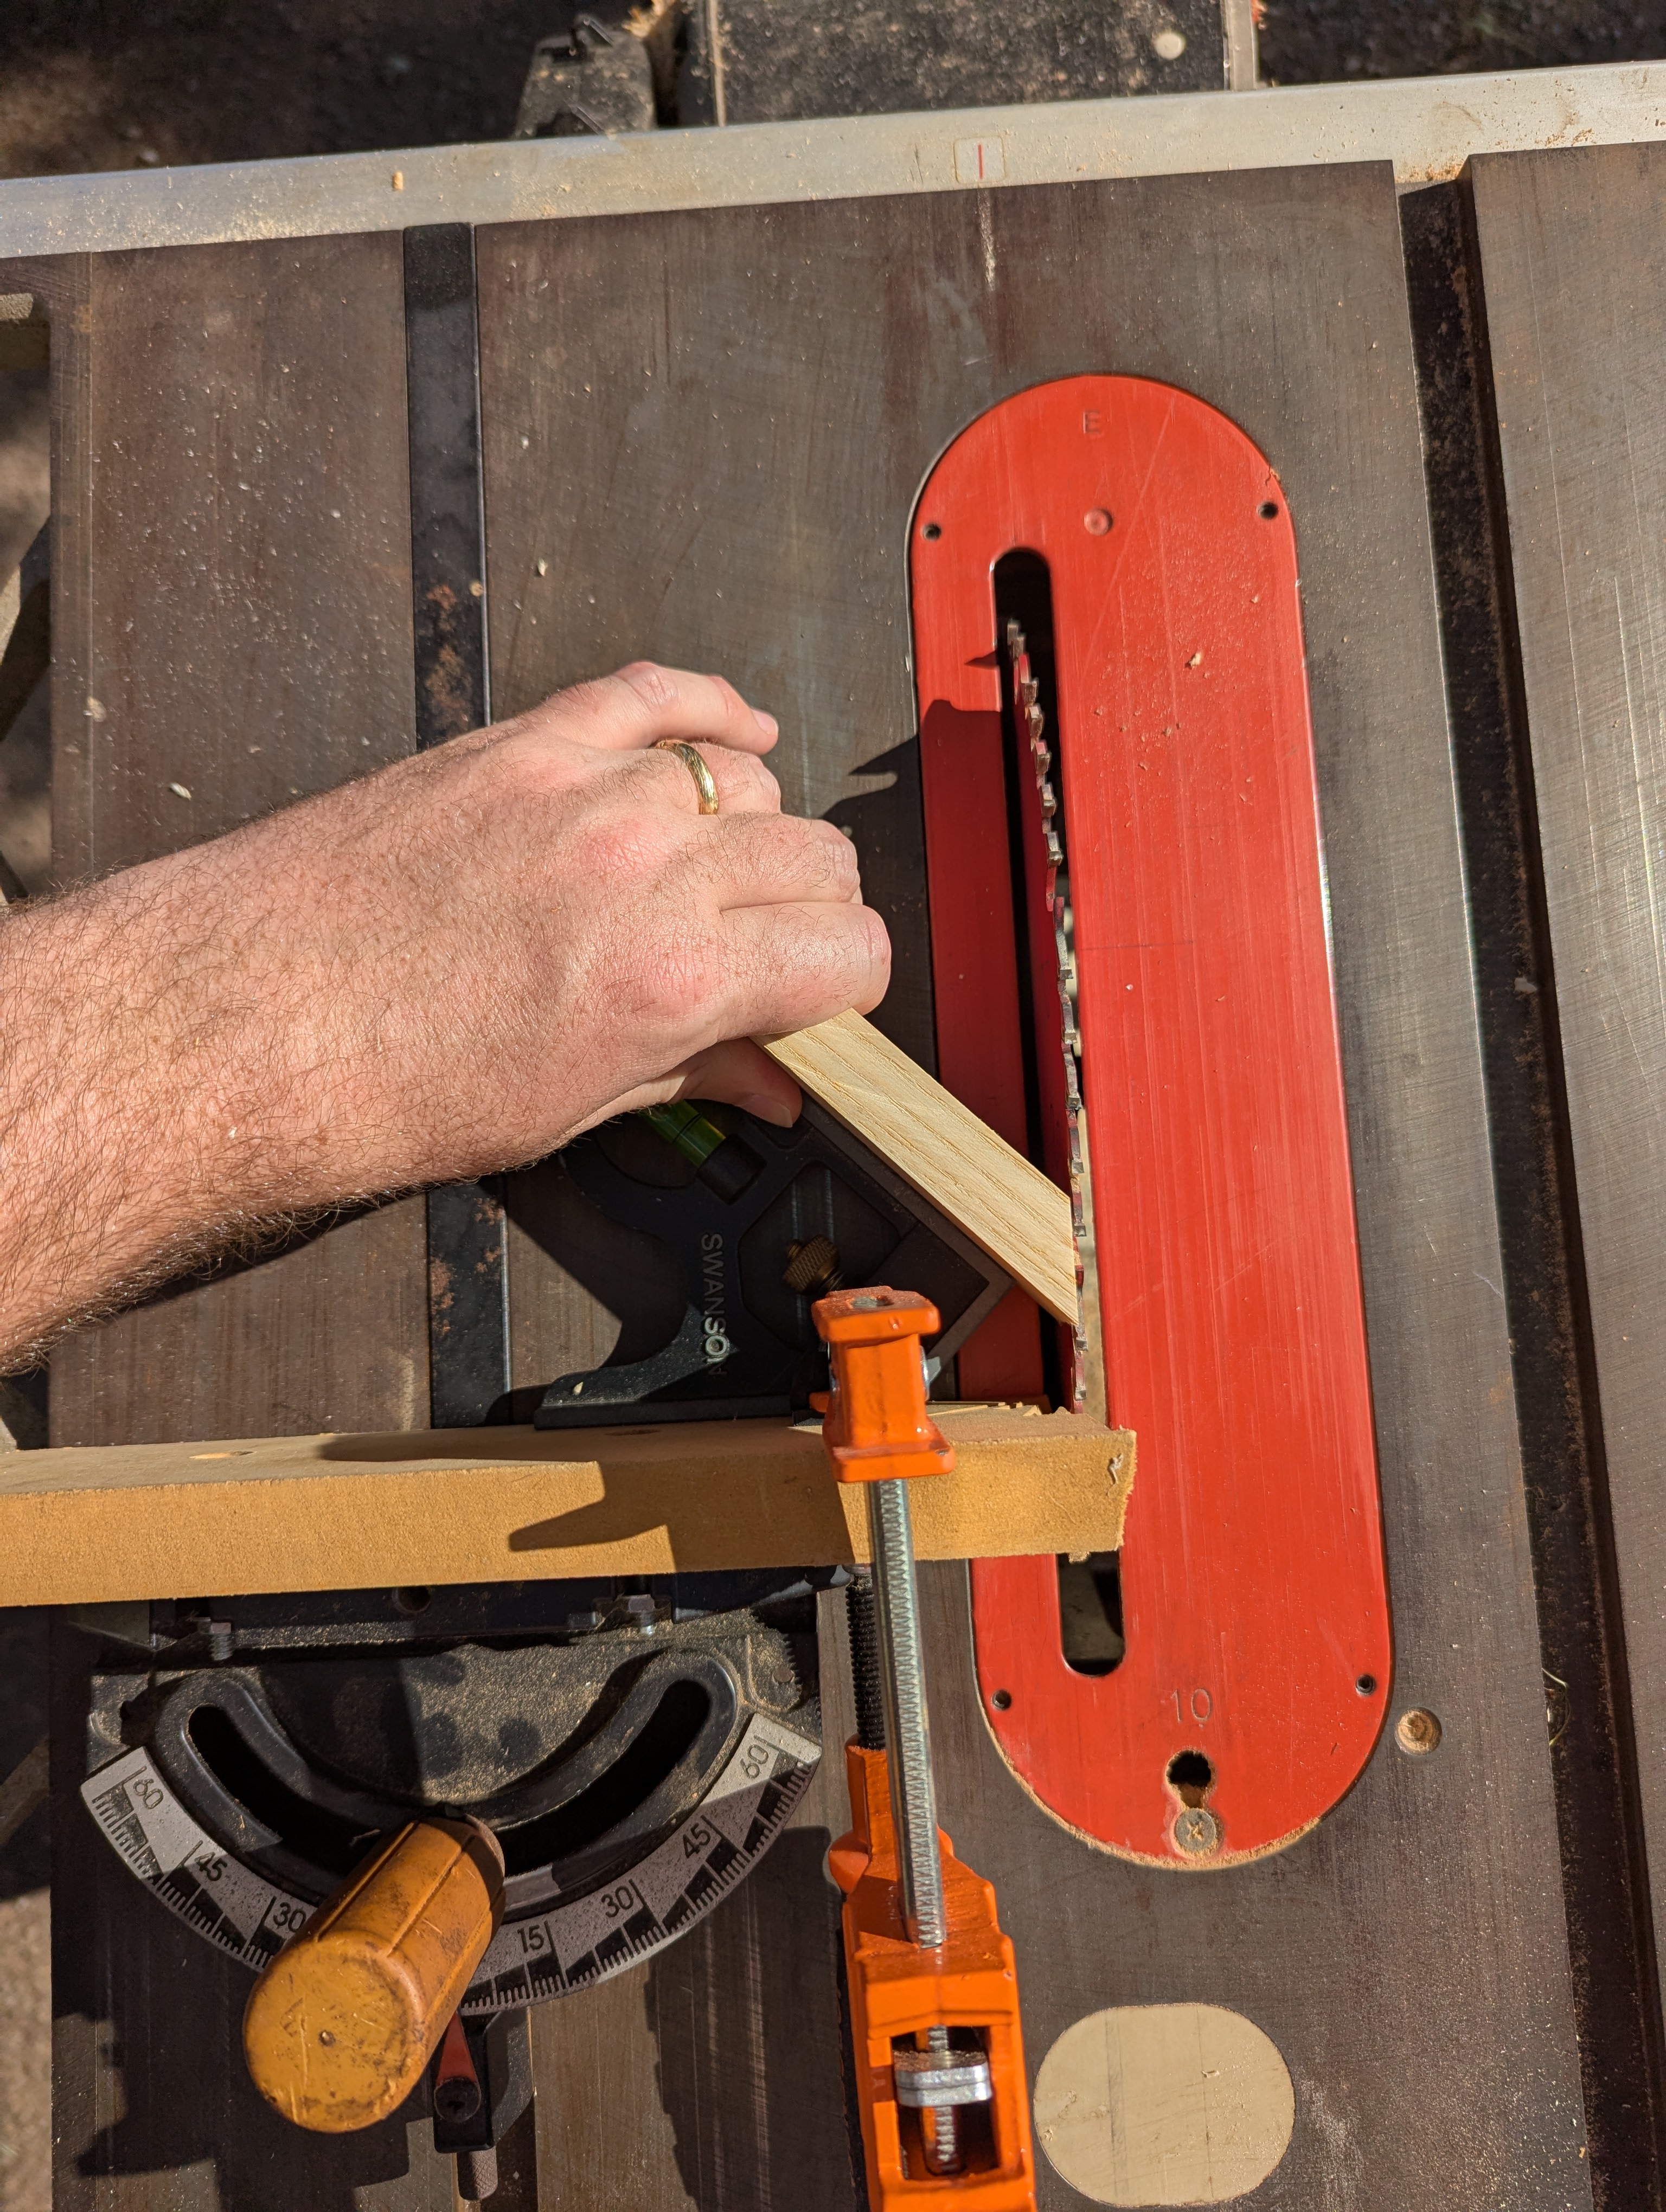
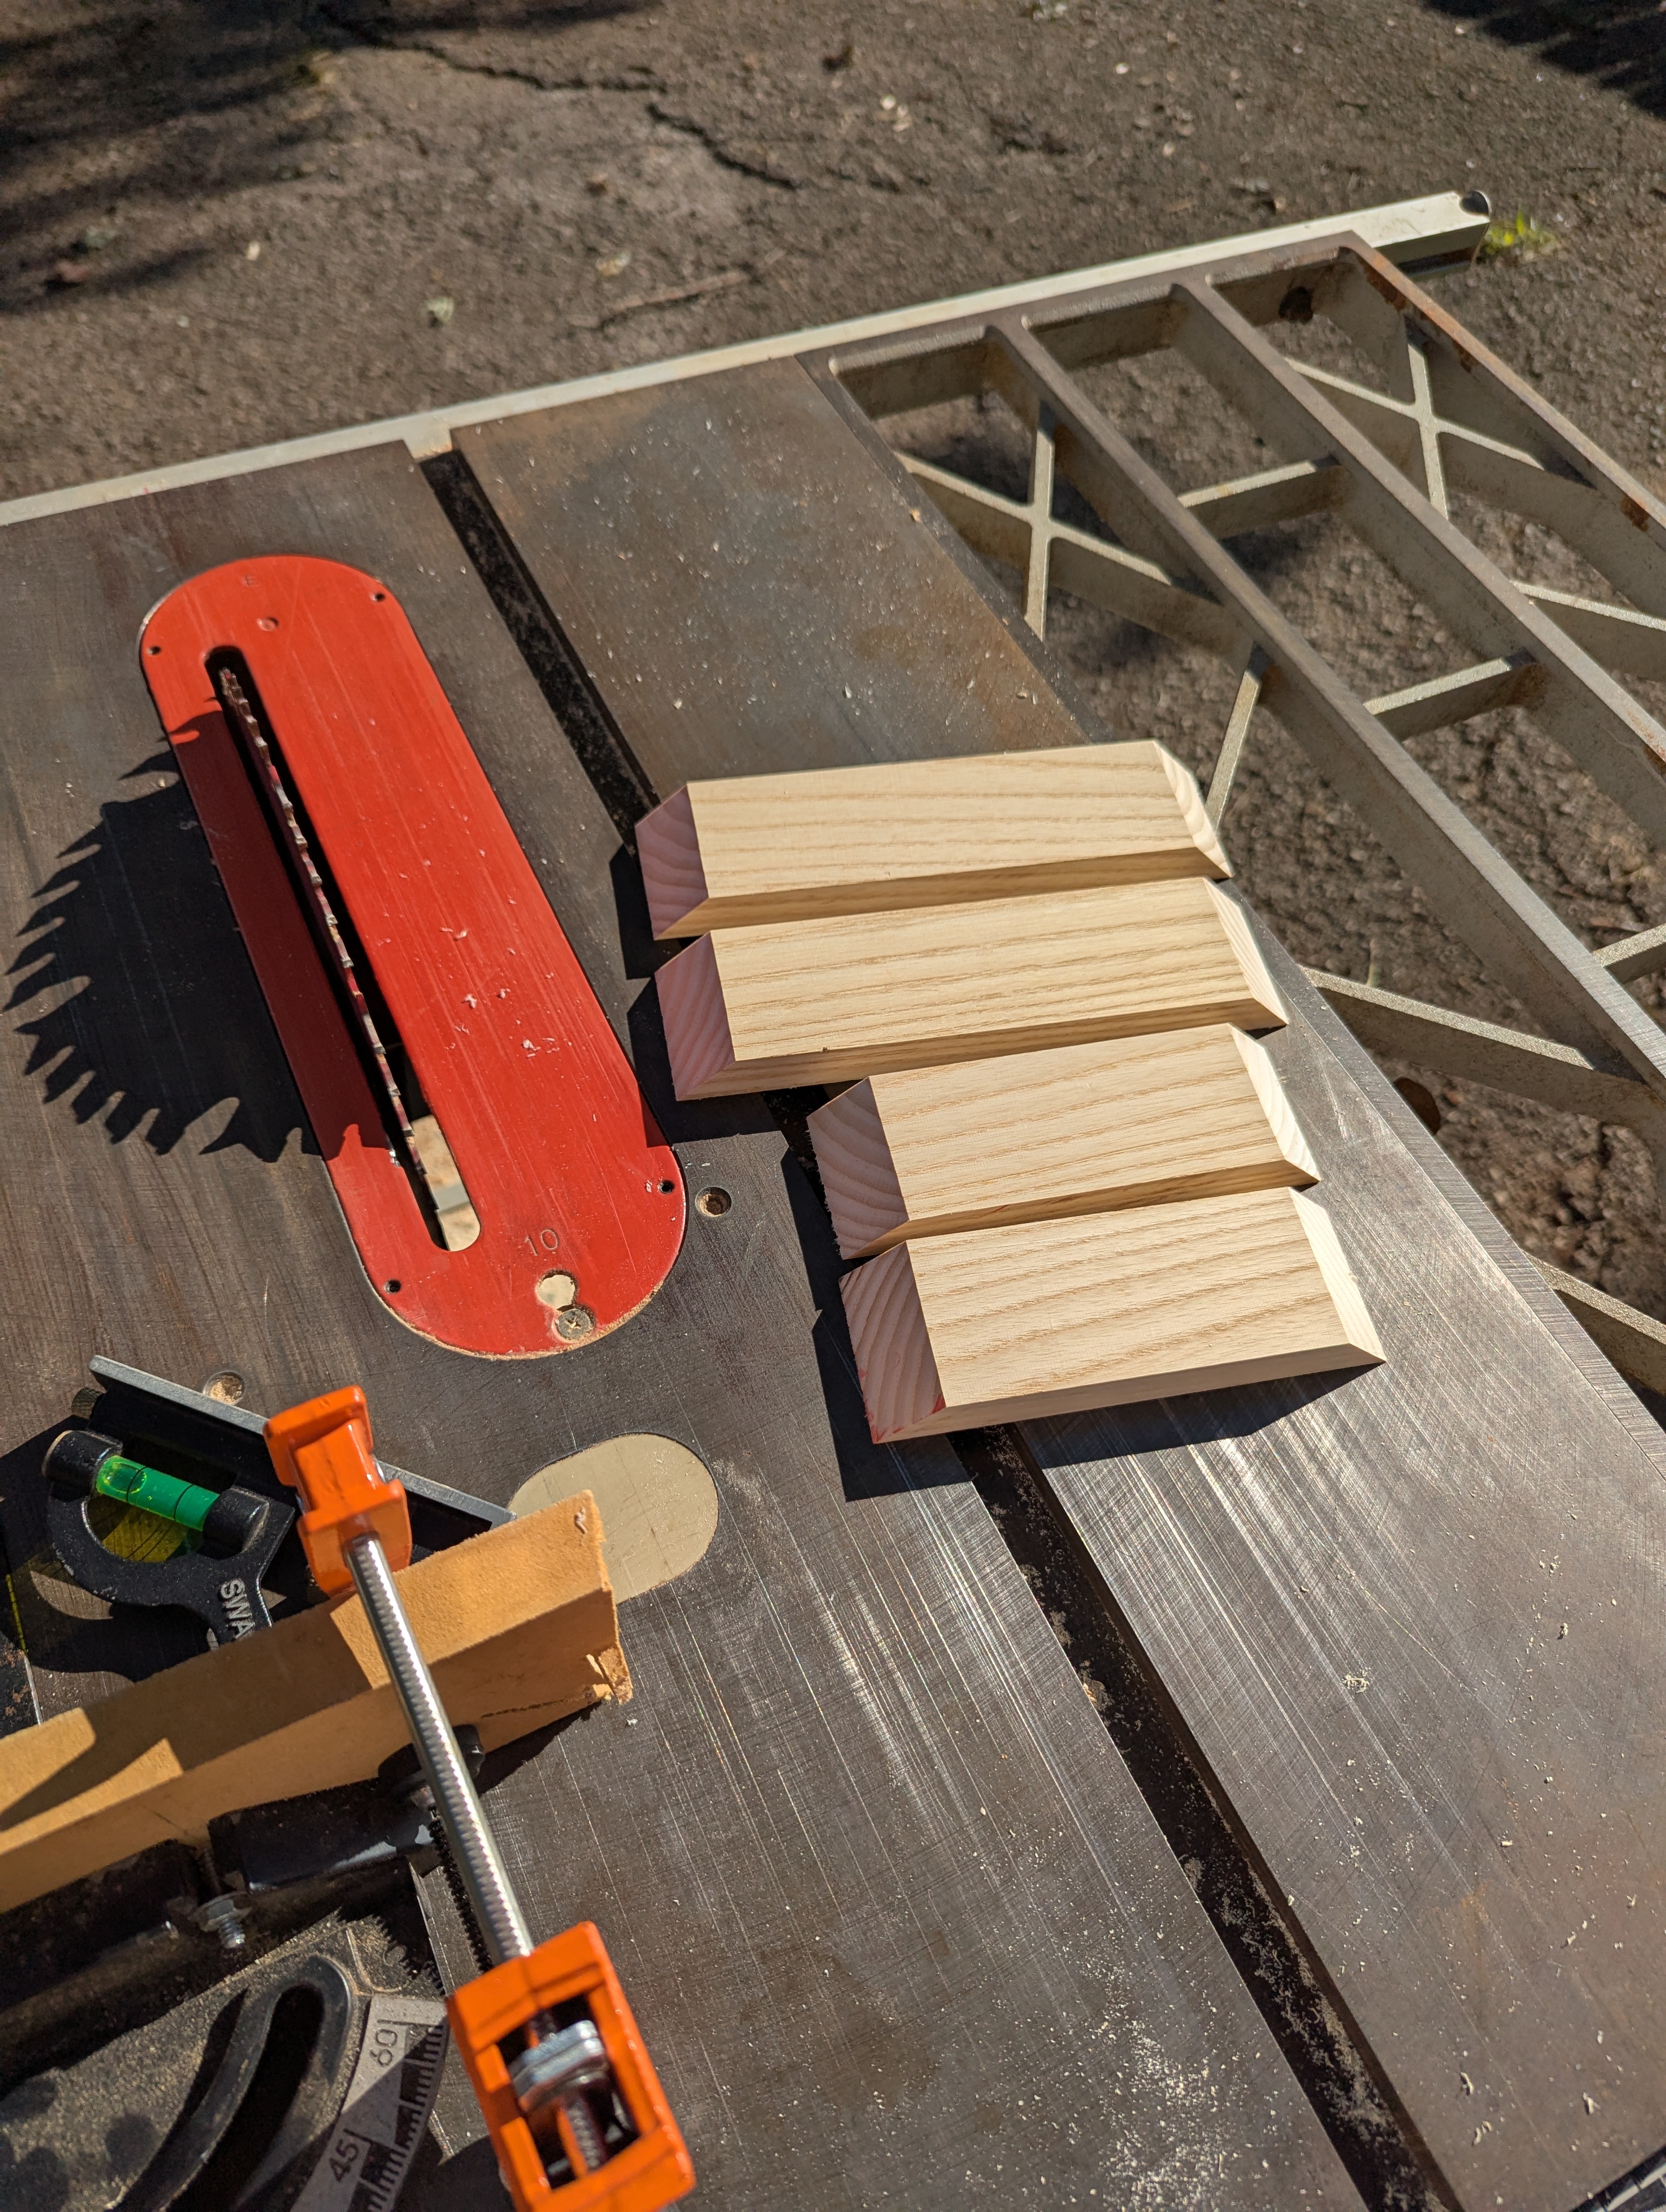
Cutting frames isn't too bad as long as you have a good way to cut repeatable 45 degree angles. I like to clamp part of a combination square to my miter fence, since I never really like to adjust the fence itself.
Testing out the fit. I made this frame to rougly 5"x7", which is a comfy fit for the runner with enough space at the bottom for the accessories.
Ash is similar to oak - the wood has big, open pores. I decided I wanted to paint this, so filled the wood with some filler before sanding to get a smoother surface.
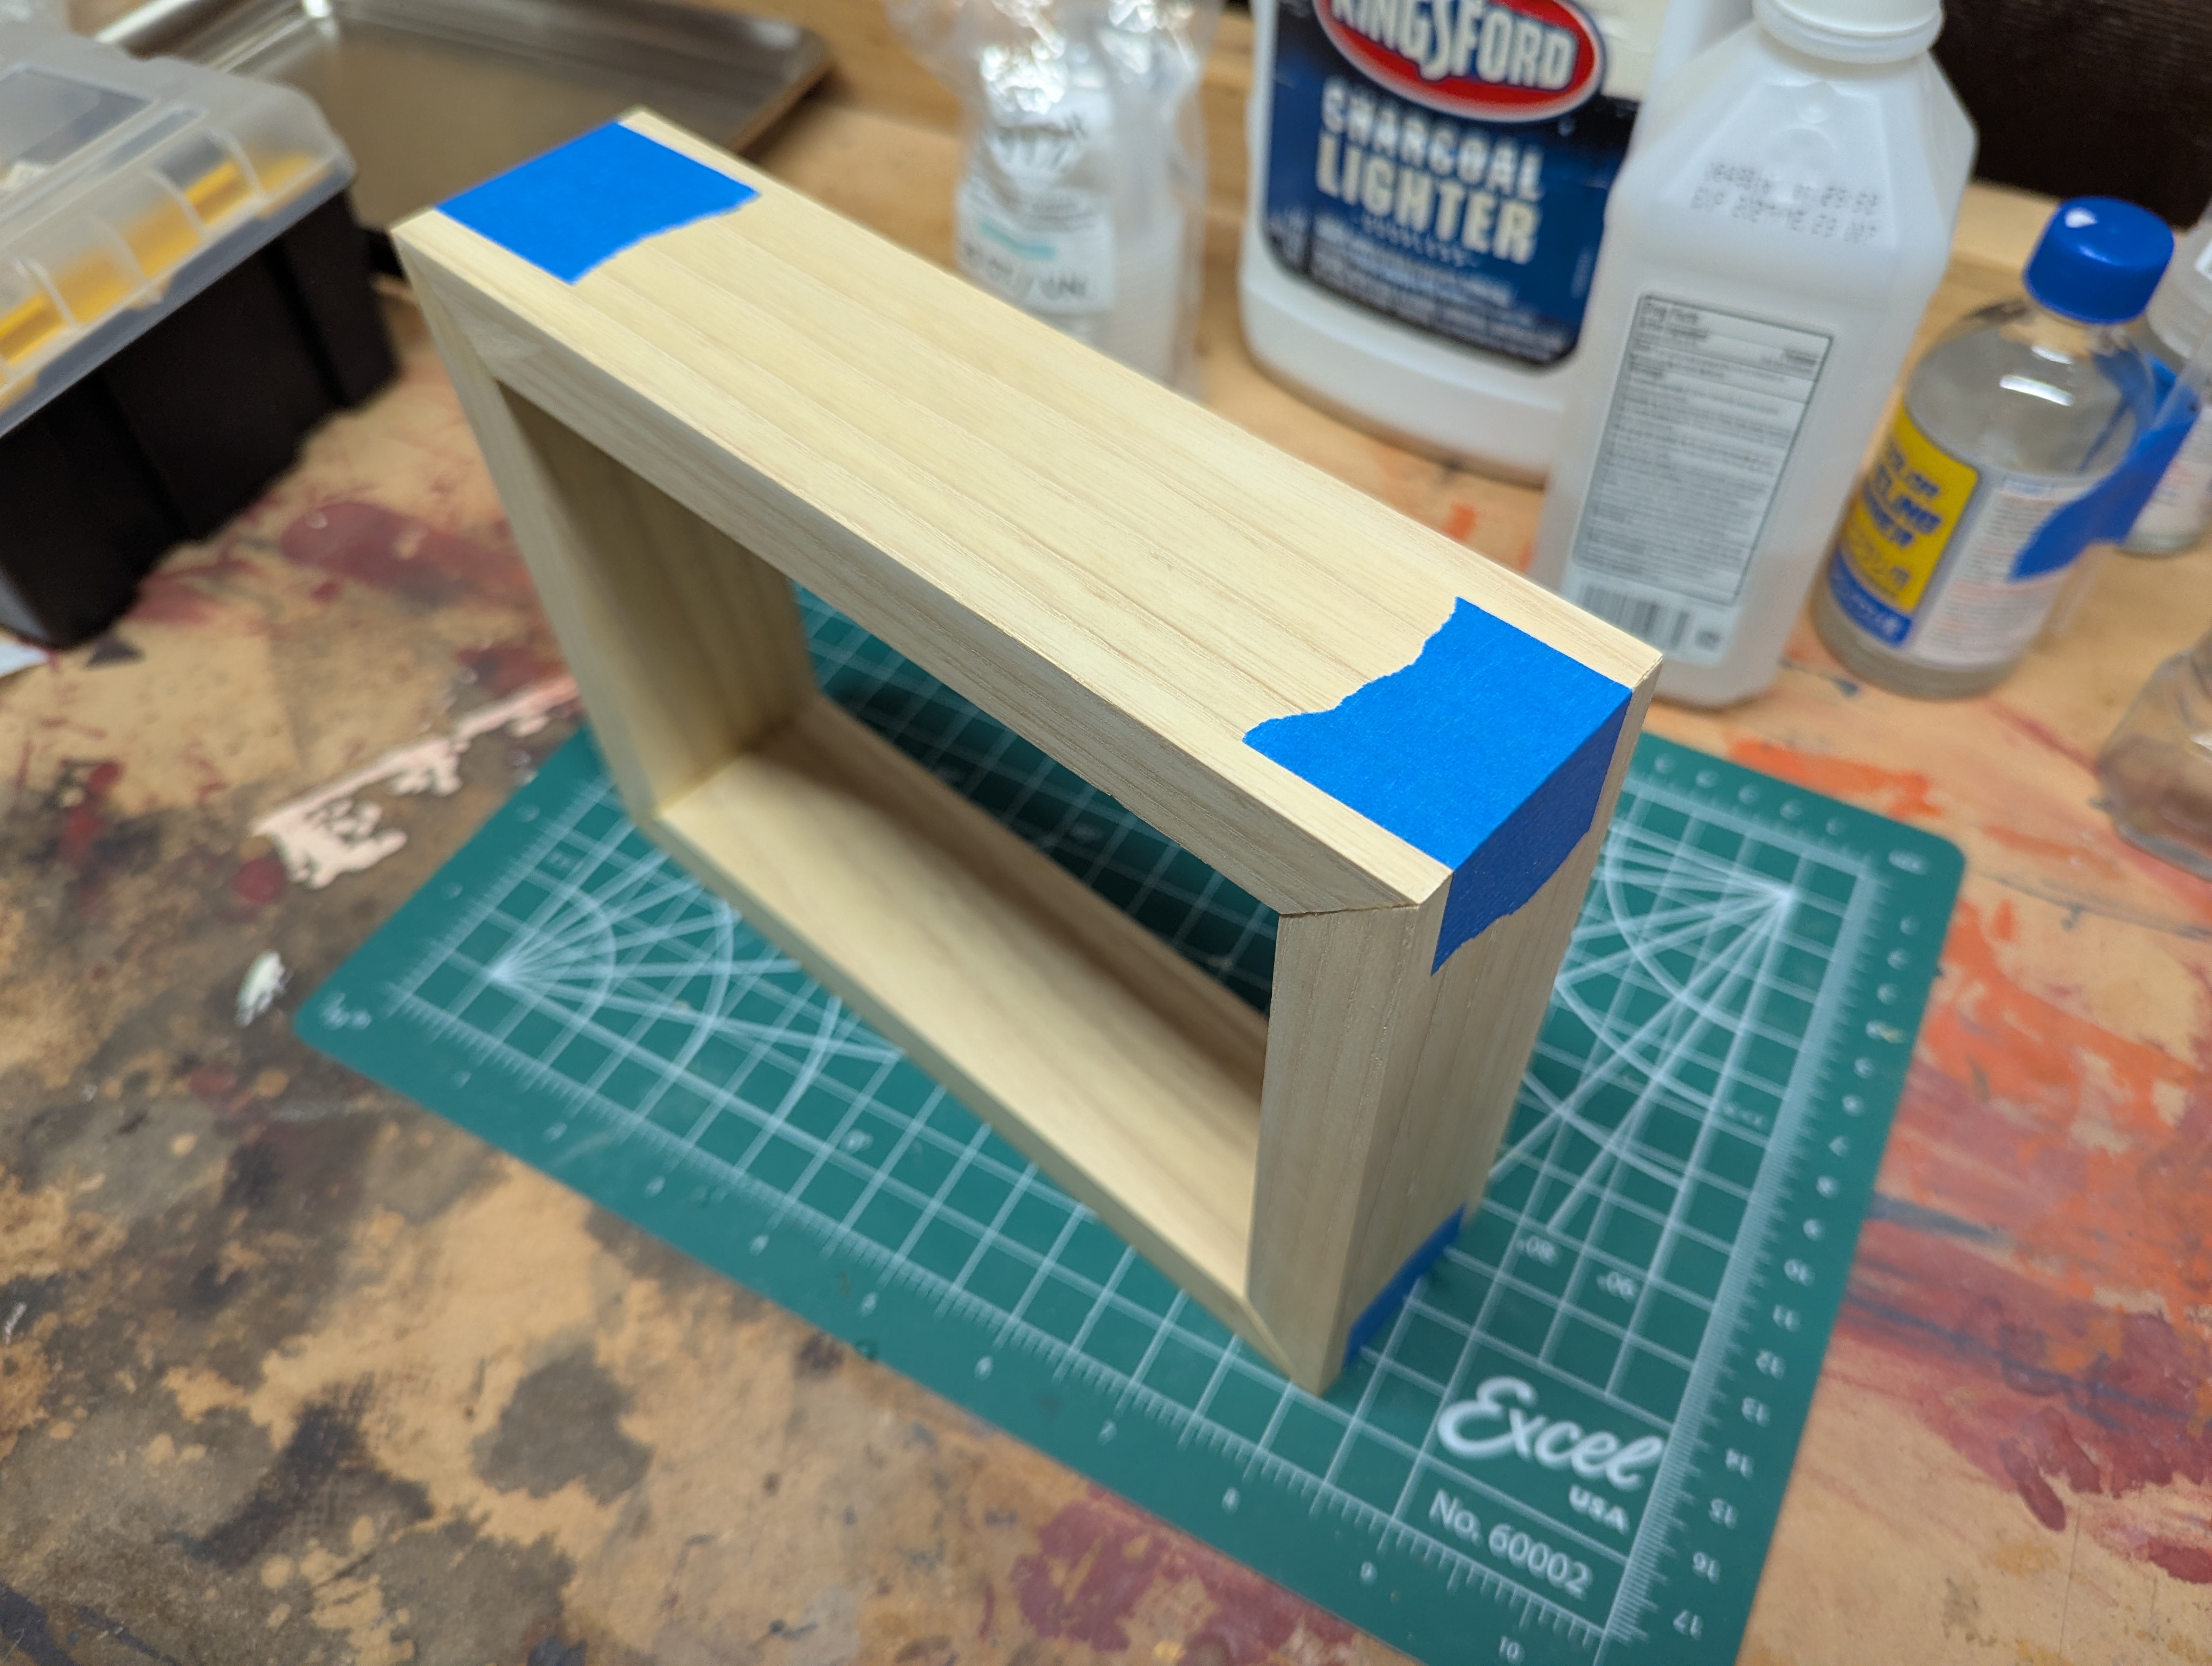
Gluing frames is also easy - I just use painter's tape to bring all the corners together. Wood glue is freakishly strong and doesn't need a huge amount of force to get a good bond.
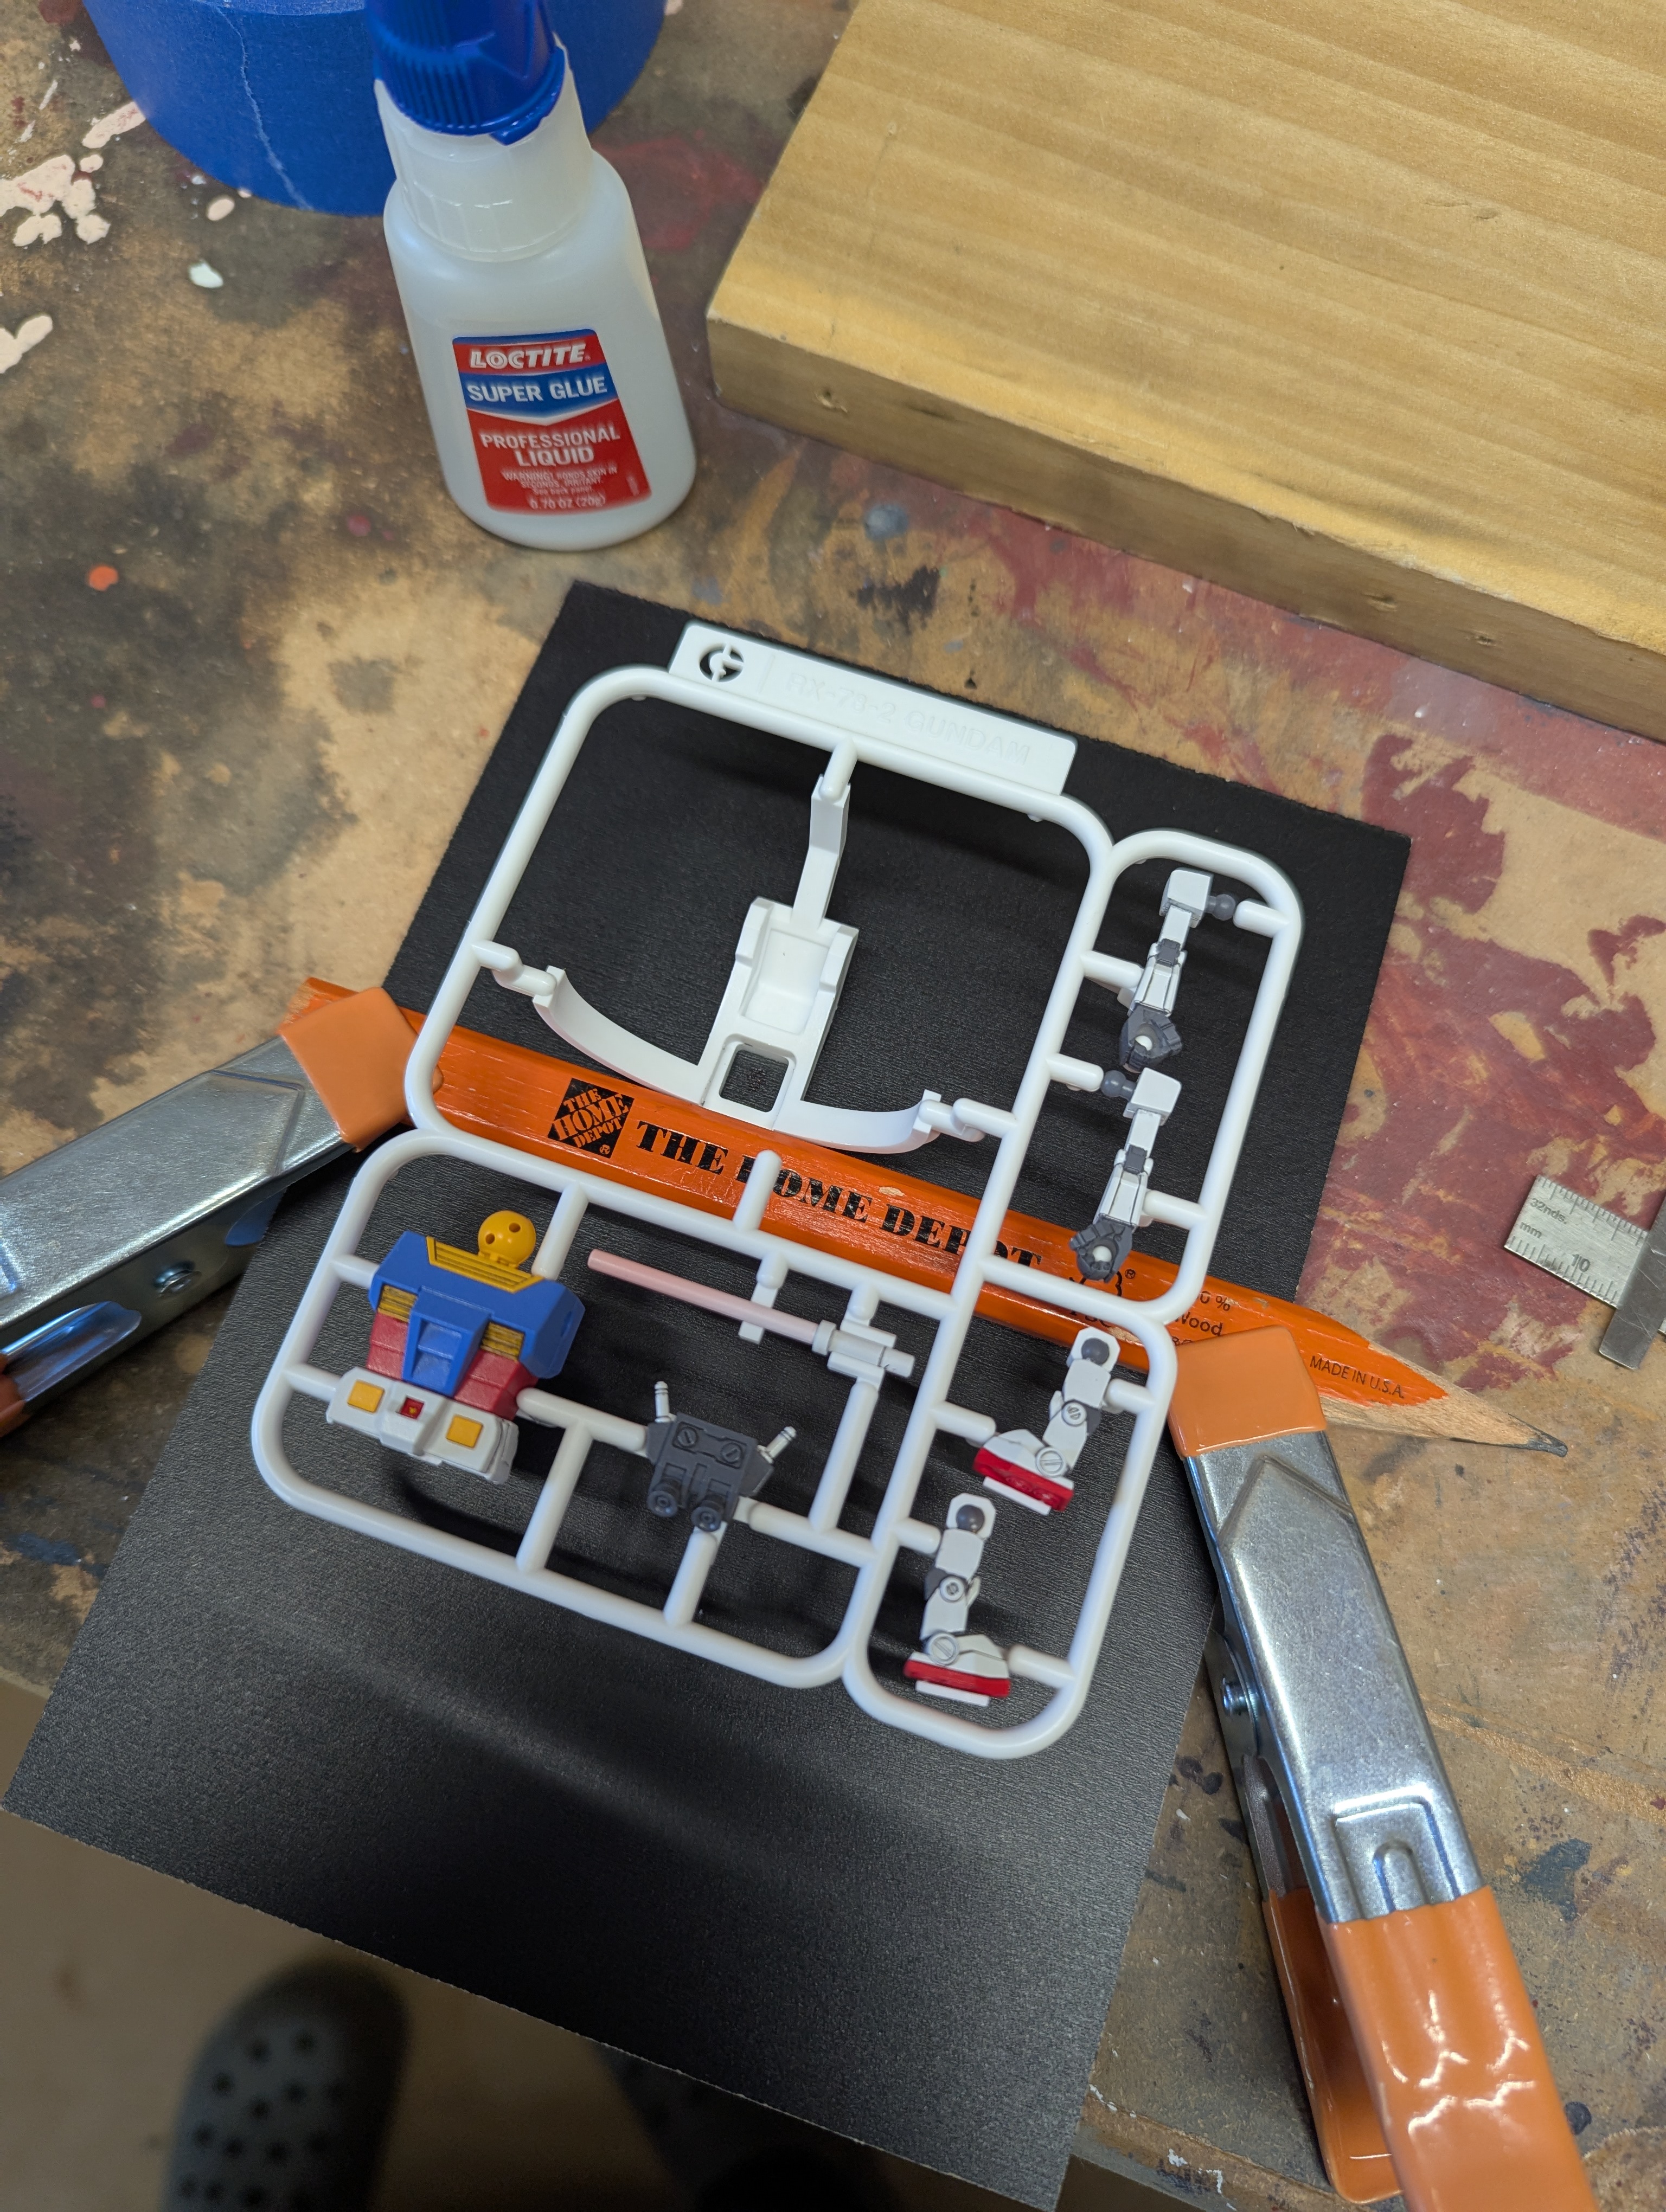
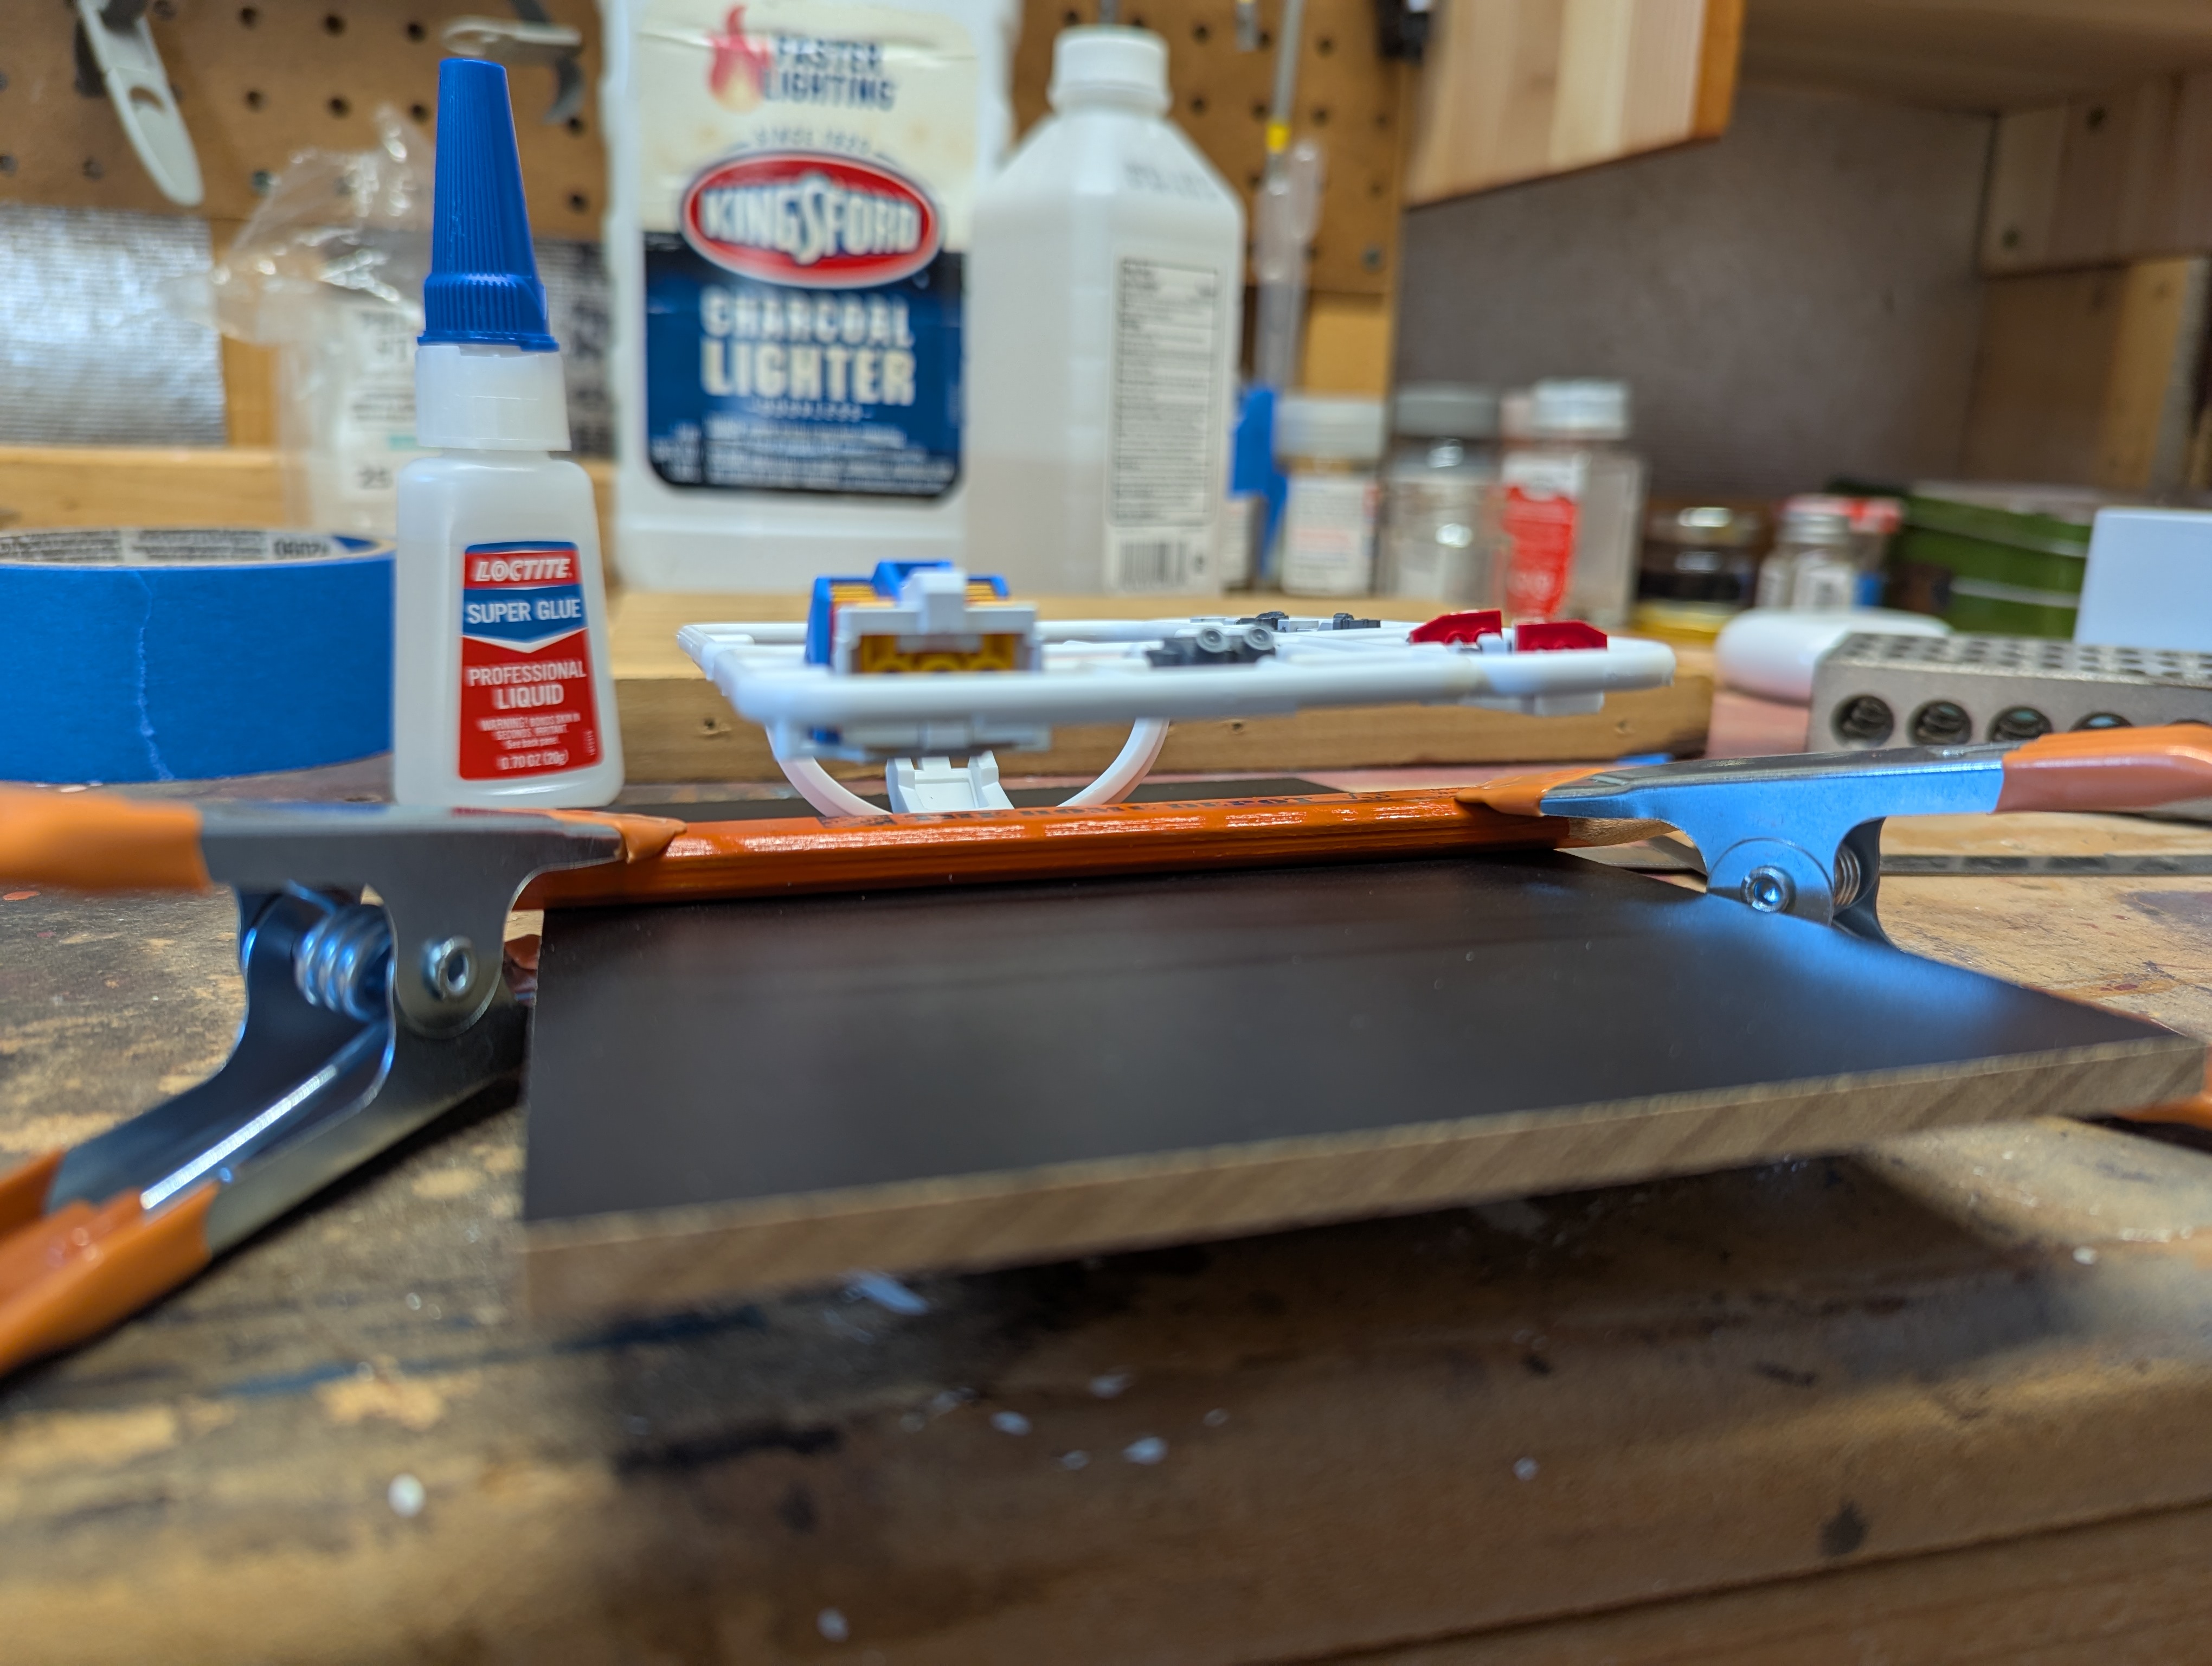
Starting work on the backing here. I used a carpenter's pencil for a fence, and used regular superglue to attach the back of the runner where the helmet is stored. This is planar with the runner itself, so it's a nice attachment point.
For the weapons, I cut two sprues off of another project runner, drilled holes in the backing, and fixed with super glue.
And done! Not much of a photoshoot to speak of, but I'm very happy with how this turned out.
I was really discouraged with my first airbrushing attempts on God Gundam, and this kit was honestly a perfect palette cleanser. It wasn't a freebie - the masking on the lins and shield was still challenging - but it was at a nicely manageable scale which let me focus on the quality and approach, without burning out on masking the 20th part of the evening. And I just think it's dang cute, too.
The Limex material is not my favorite, but I didn't find it offensivly bad, either. I think it's still unsuitable for a "normal" kit but I think for something like this, where posability and handling is not really a factor, it's an appropriate use of the material and neat experiment into something different. I understand that the recently released Zakupla-kun was molded in normal polystyrene, so I think they've backed off of Limex for the time being. Speaking of, I'm really tempted to order that kit now to have a companion - but I'm setting my sights on something a little more traditional next. Always feels good to take something off the bench, though.
Date Posted: September 1, 2025