![Mitchfork :]](../images/banner.png)
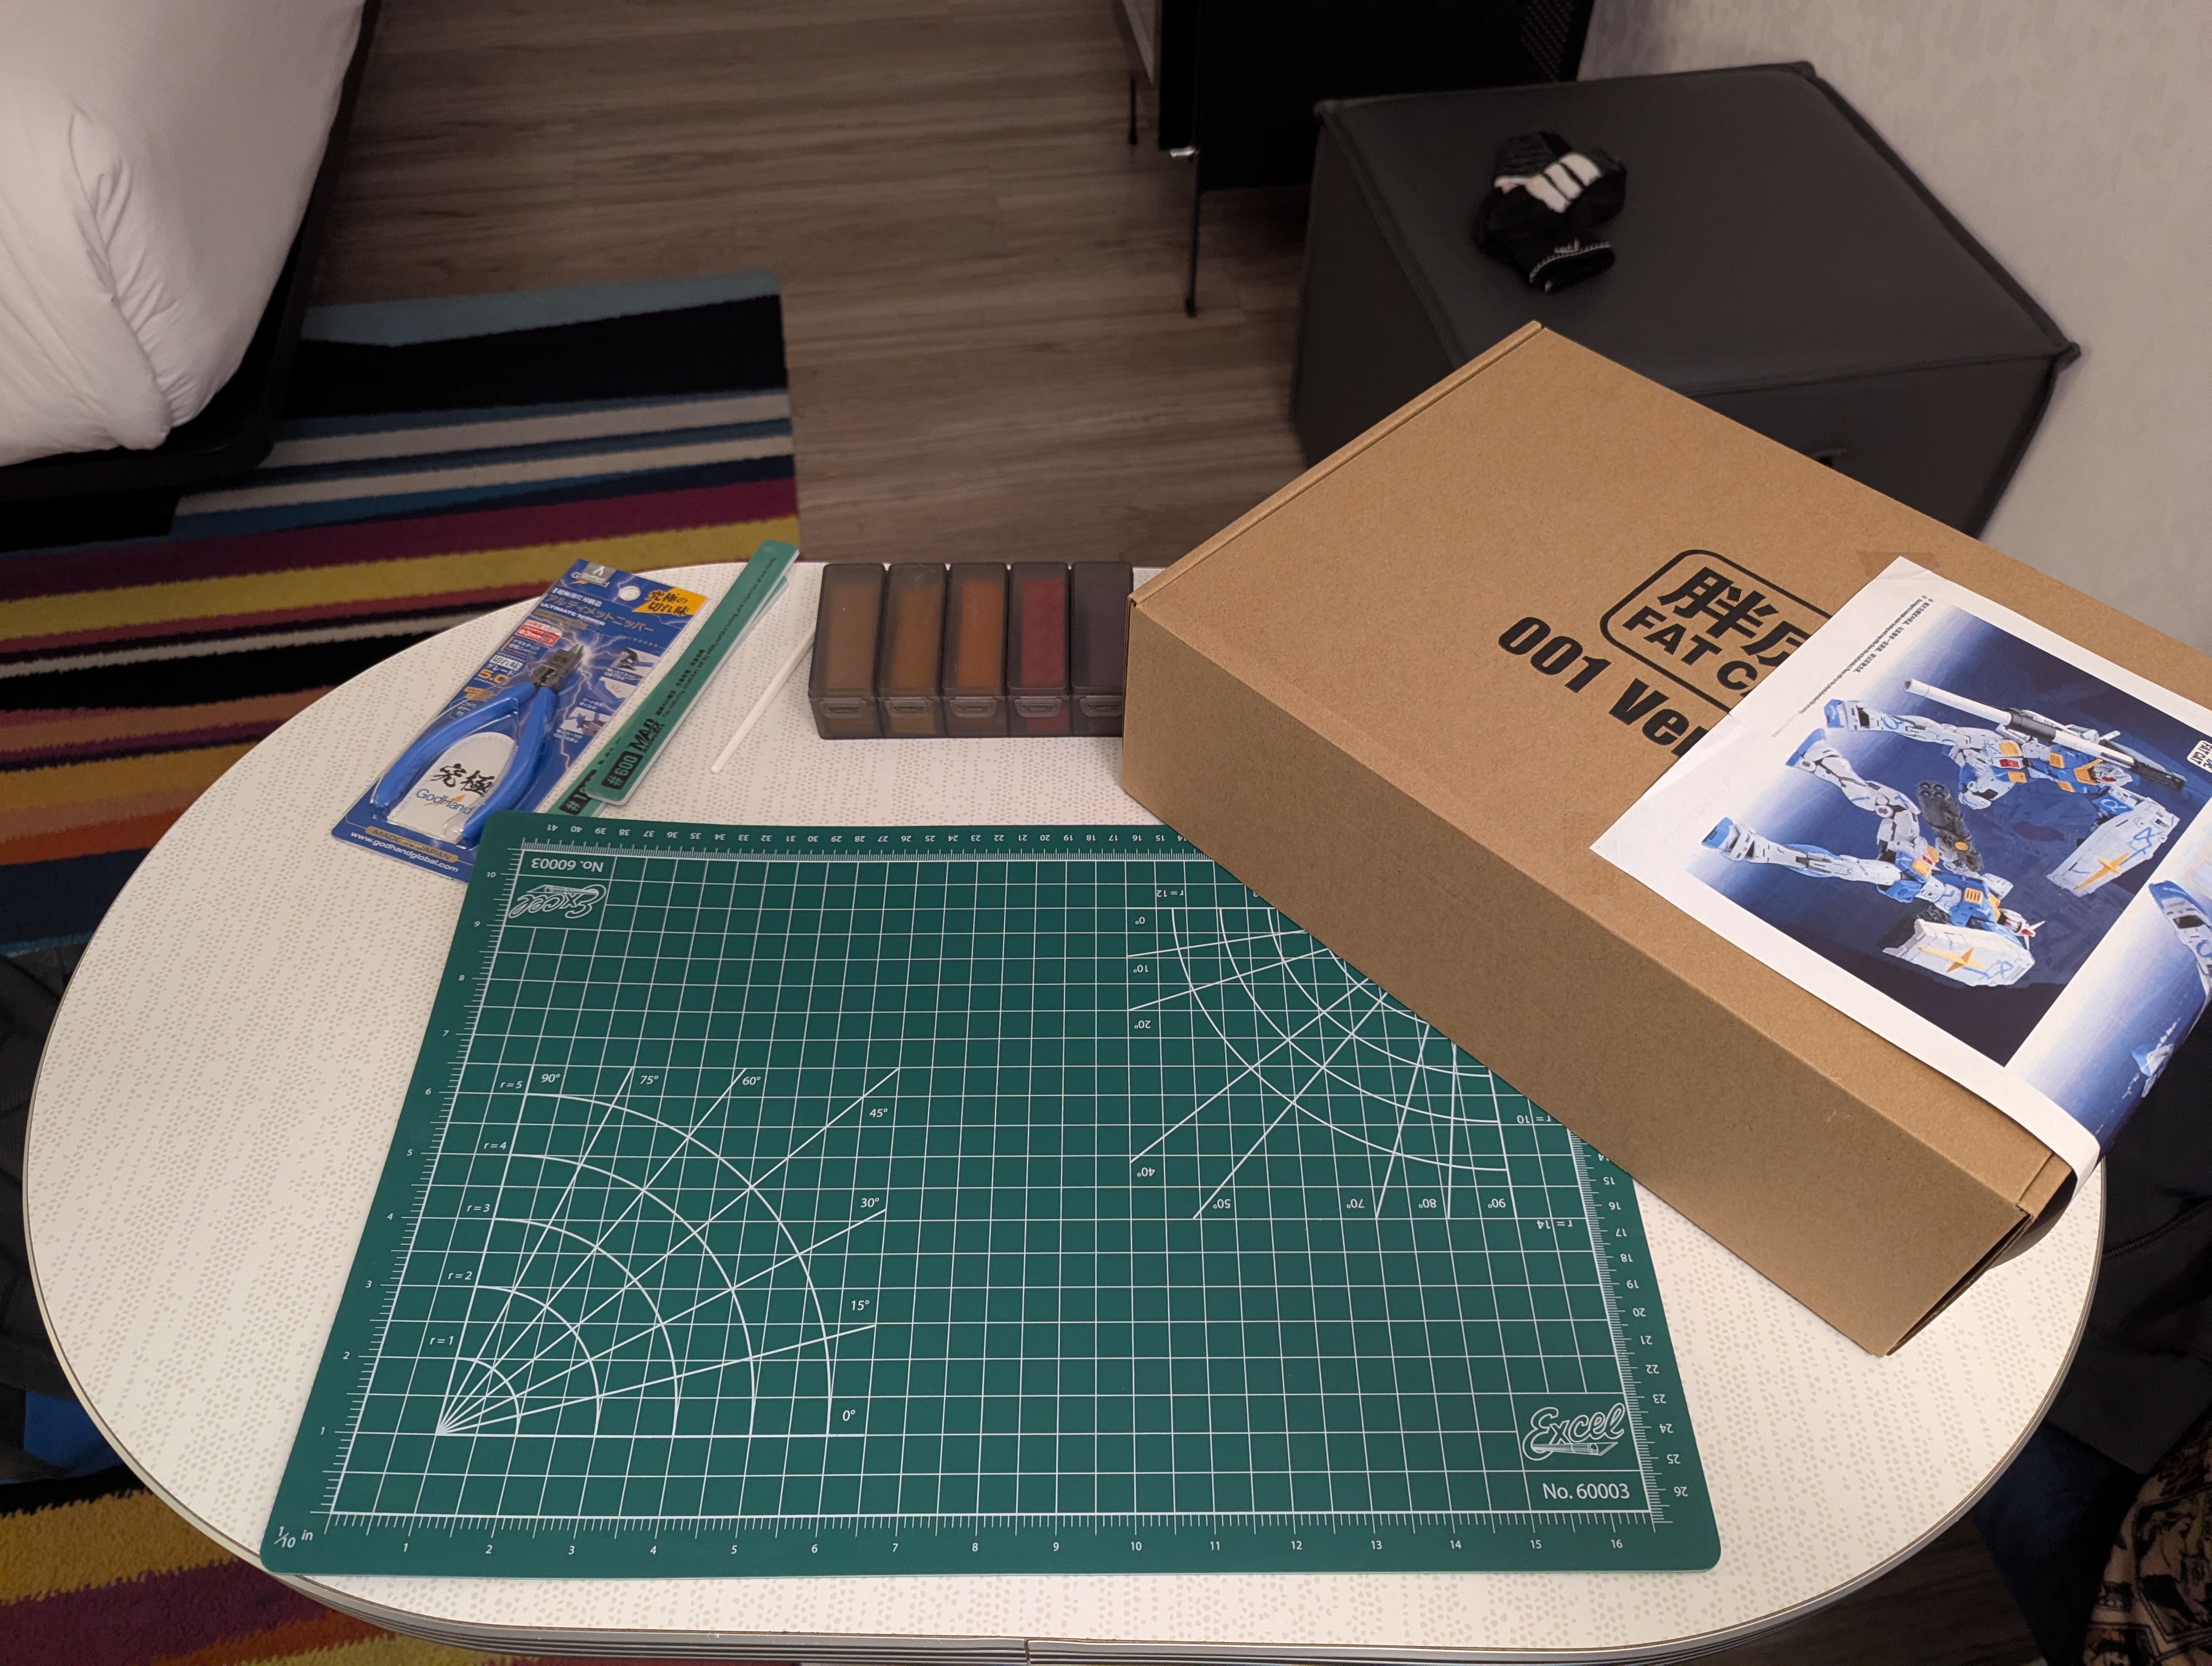
1/100 Fat Cat 001
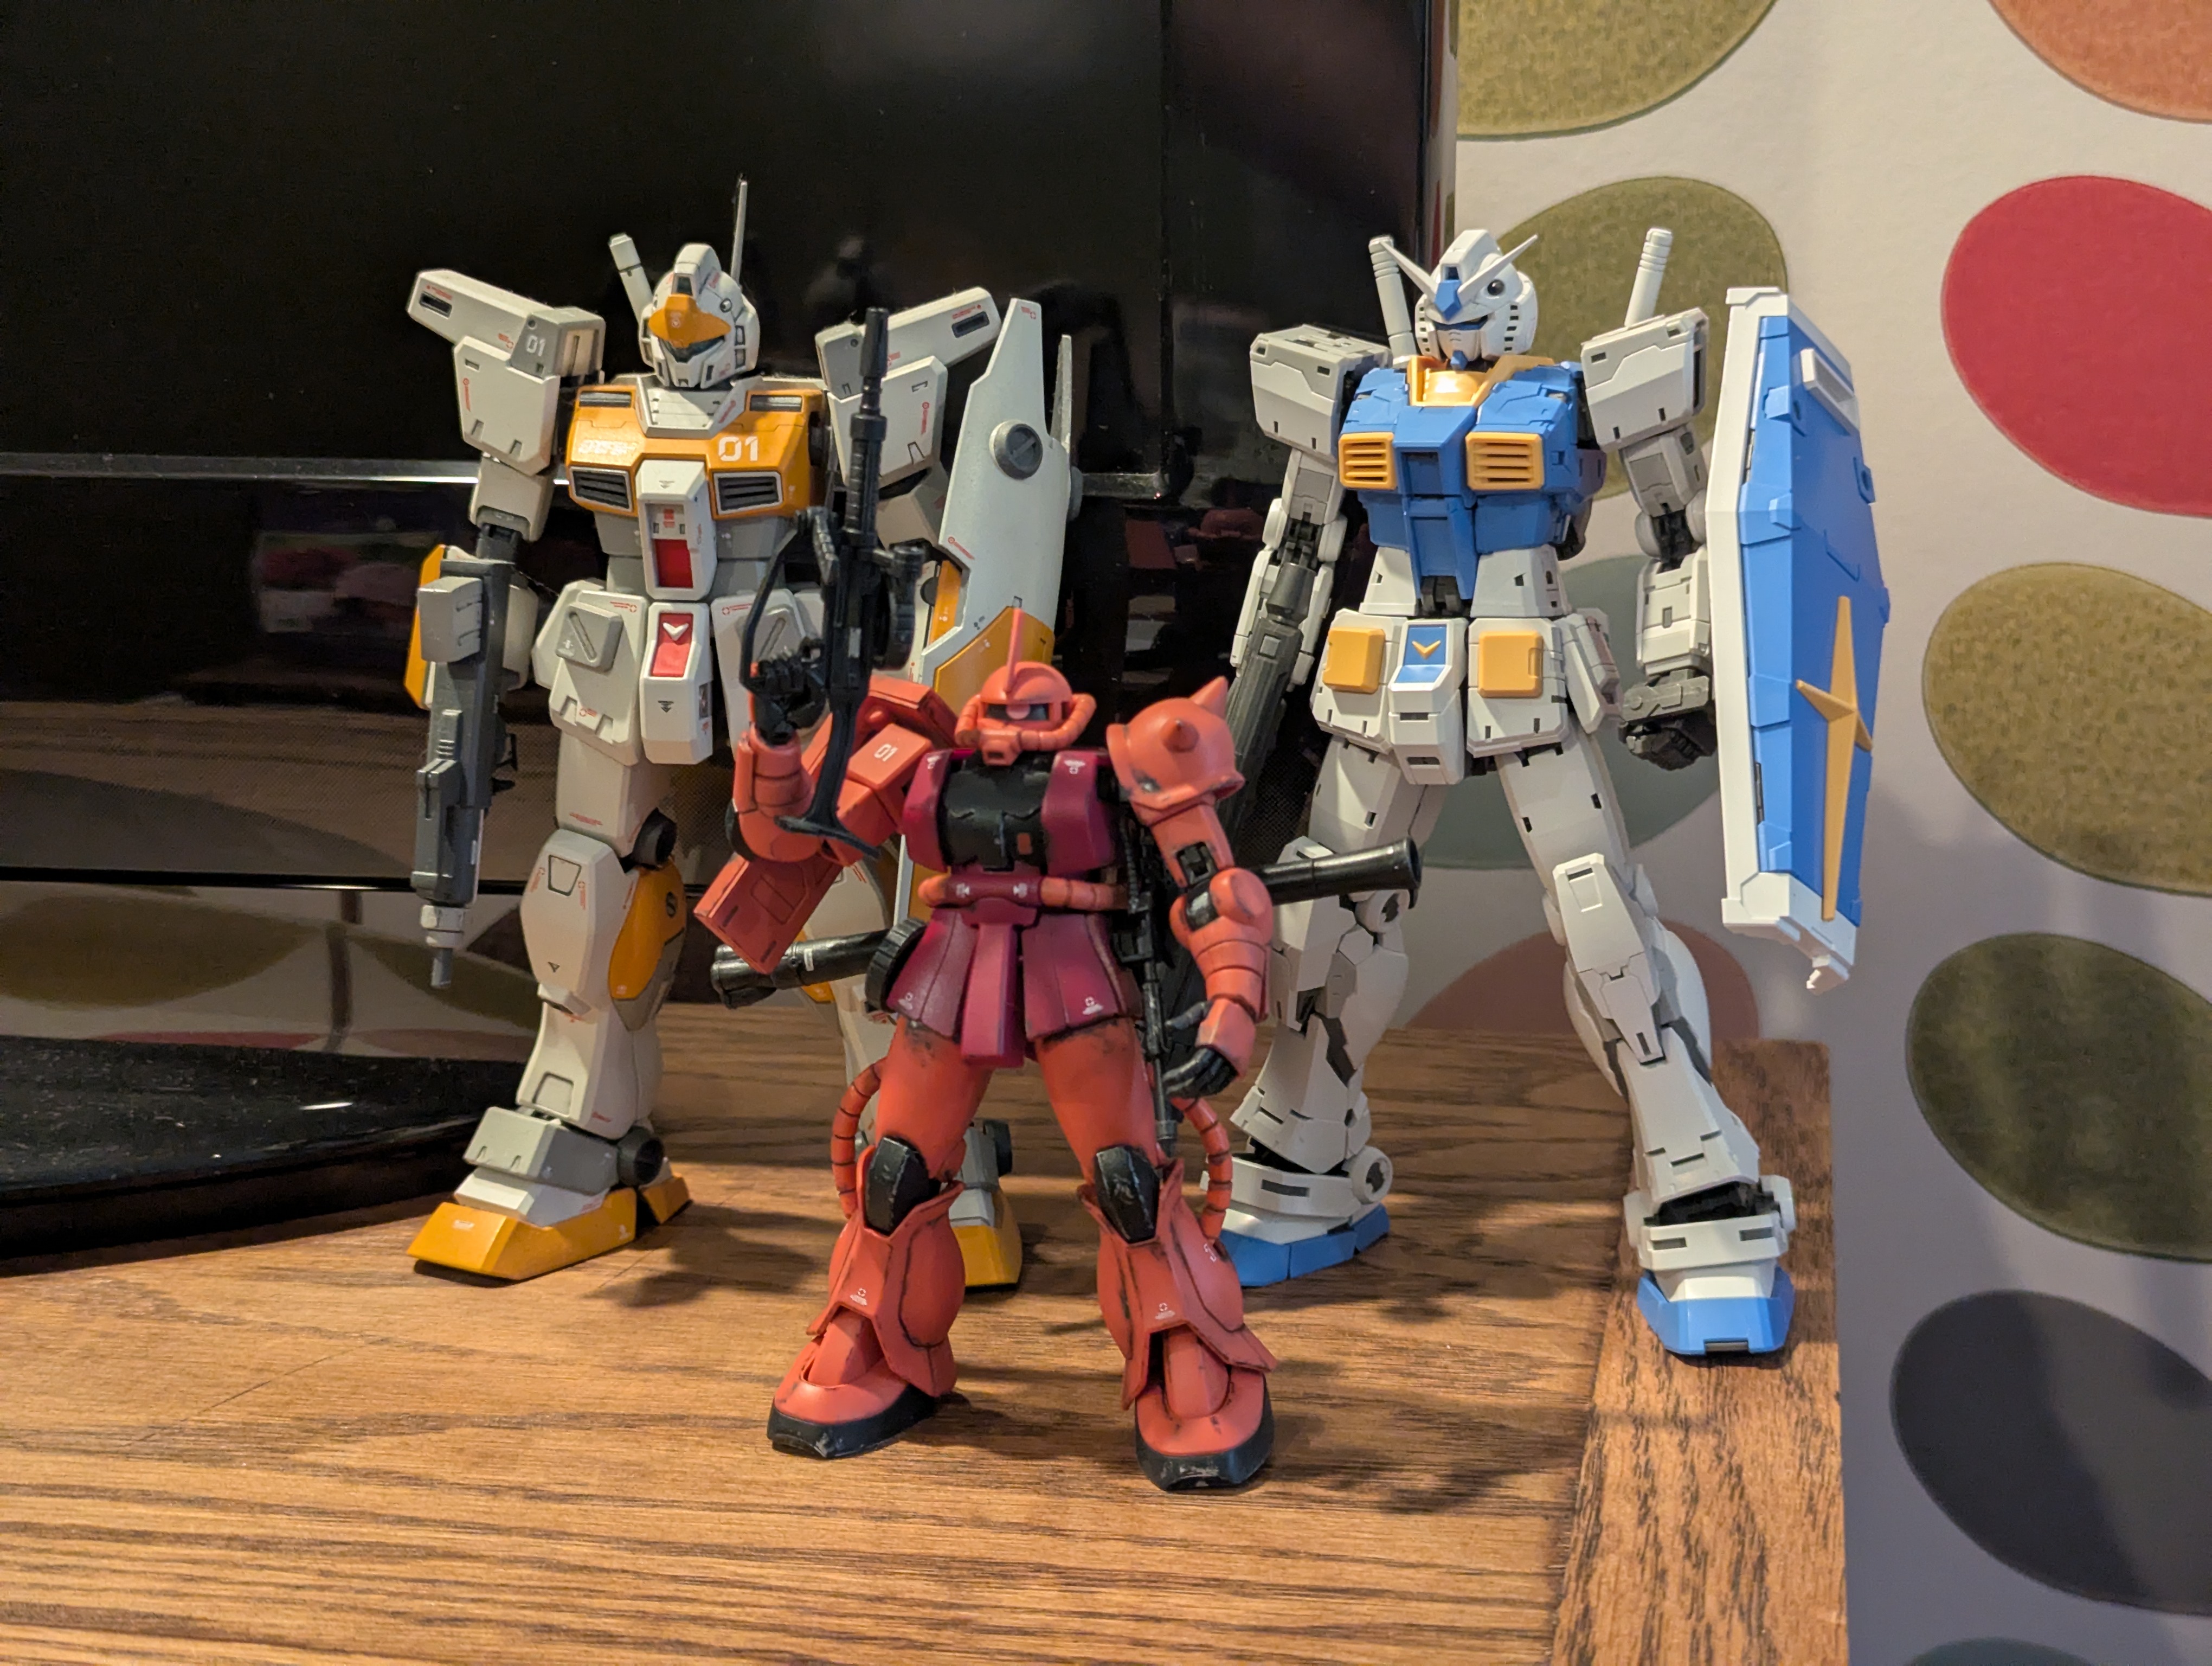
Mobile Suit: RX-78-3 G-3 Gundam
Release Date: June 2025
Series: Mobile Suit Gundam
Start Date: March 9, 2026
Finish Date: May 20, 2026
A bootleg grandpa!
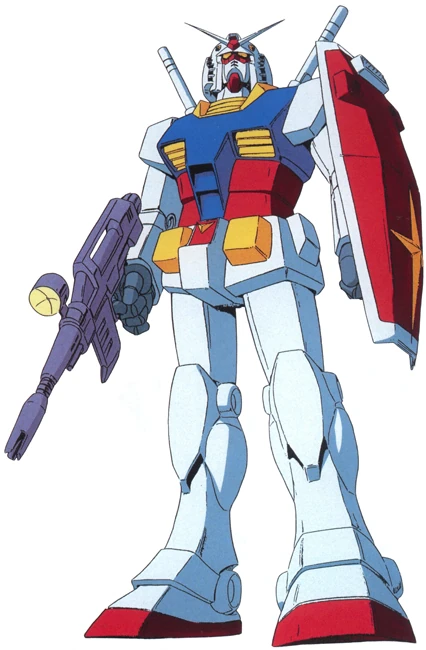
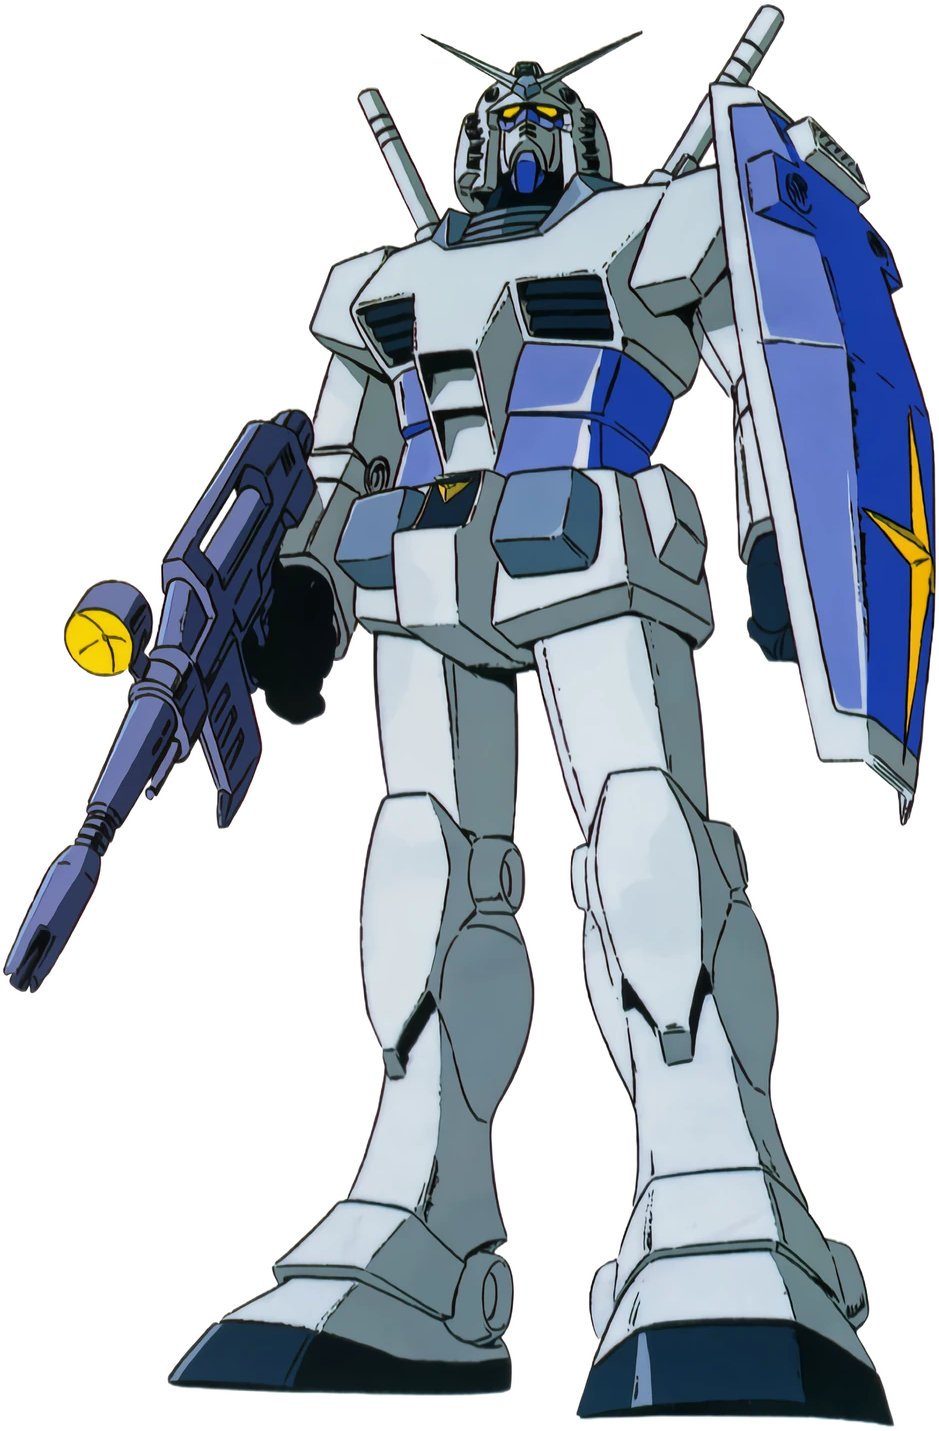
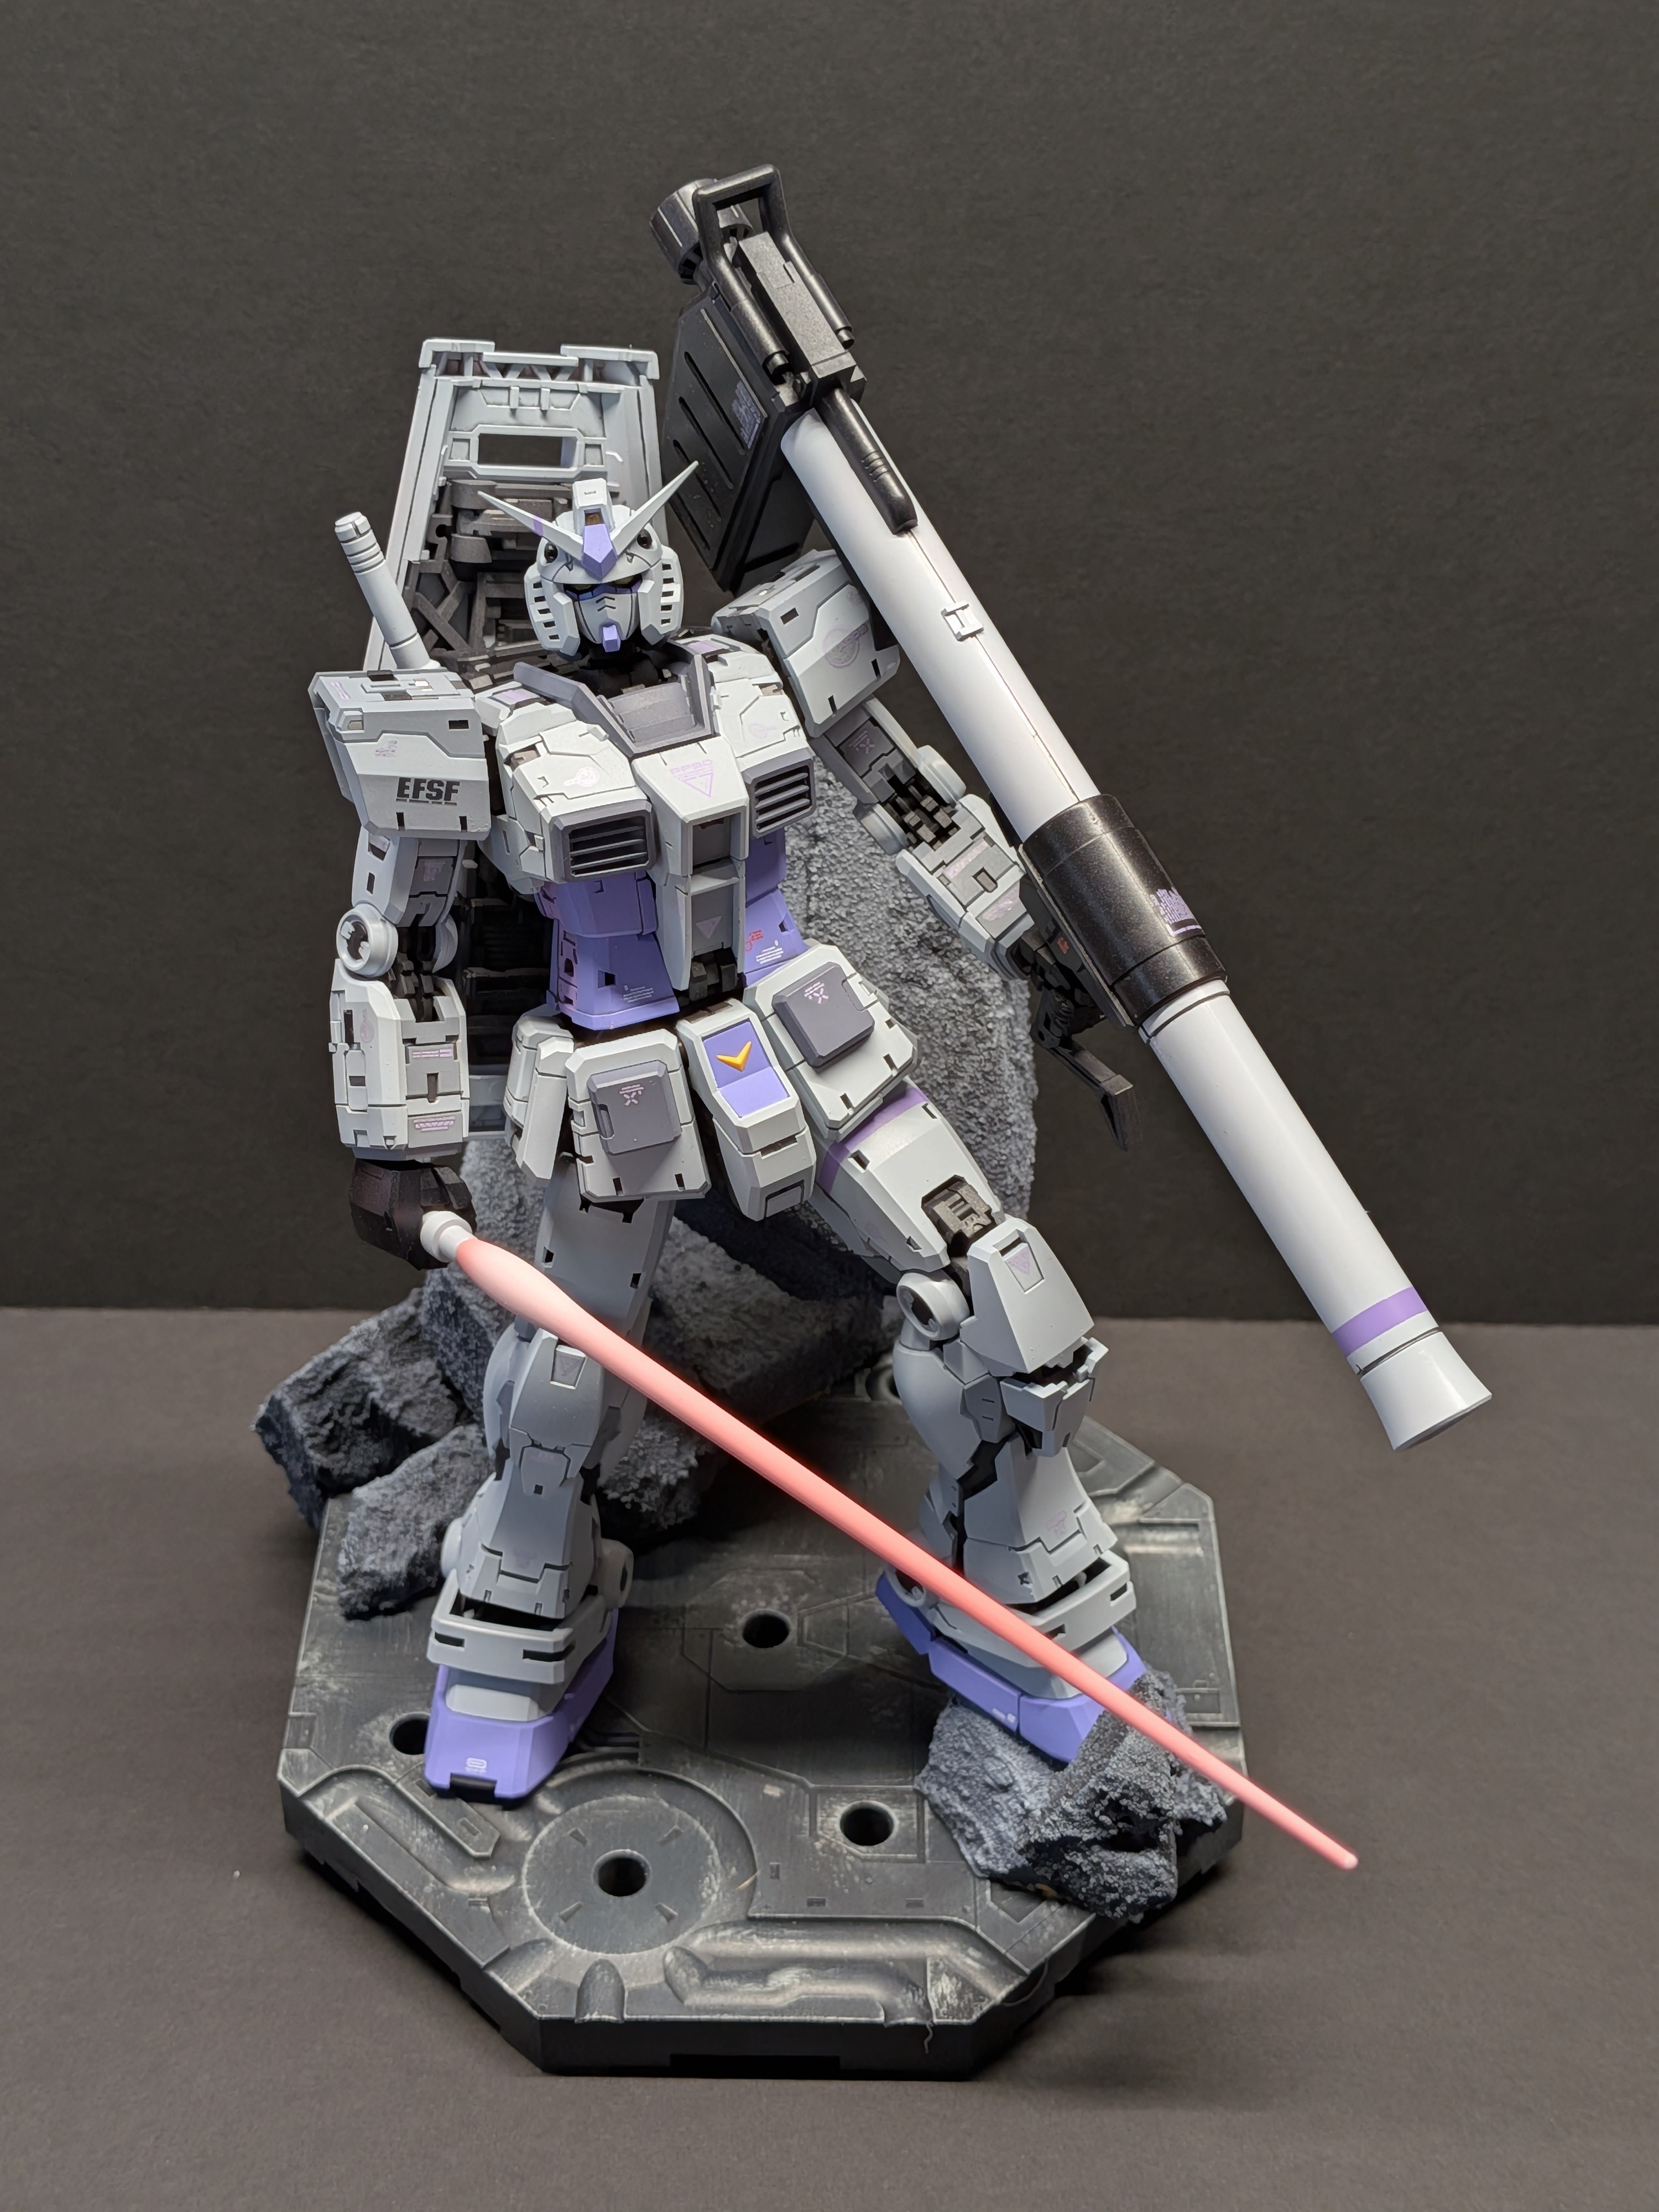
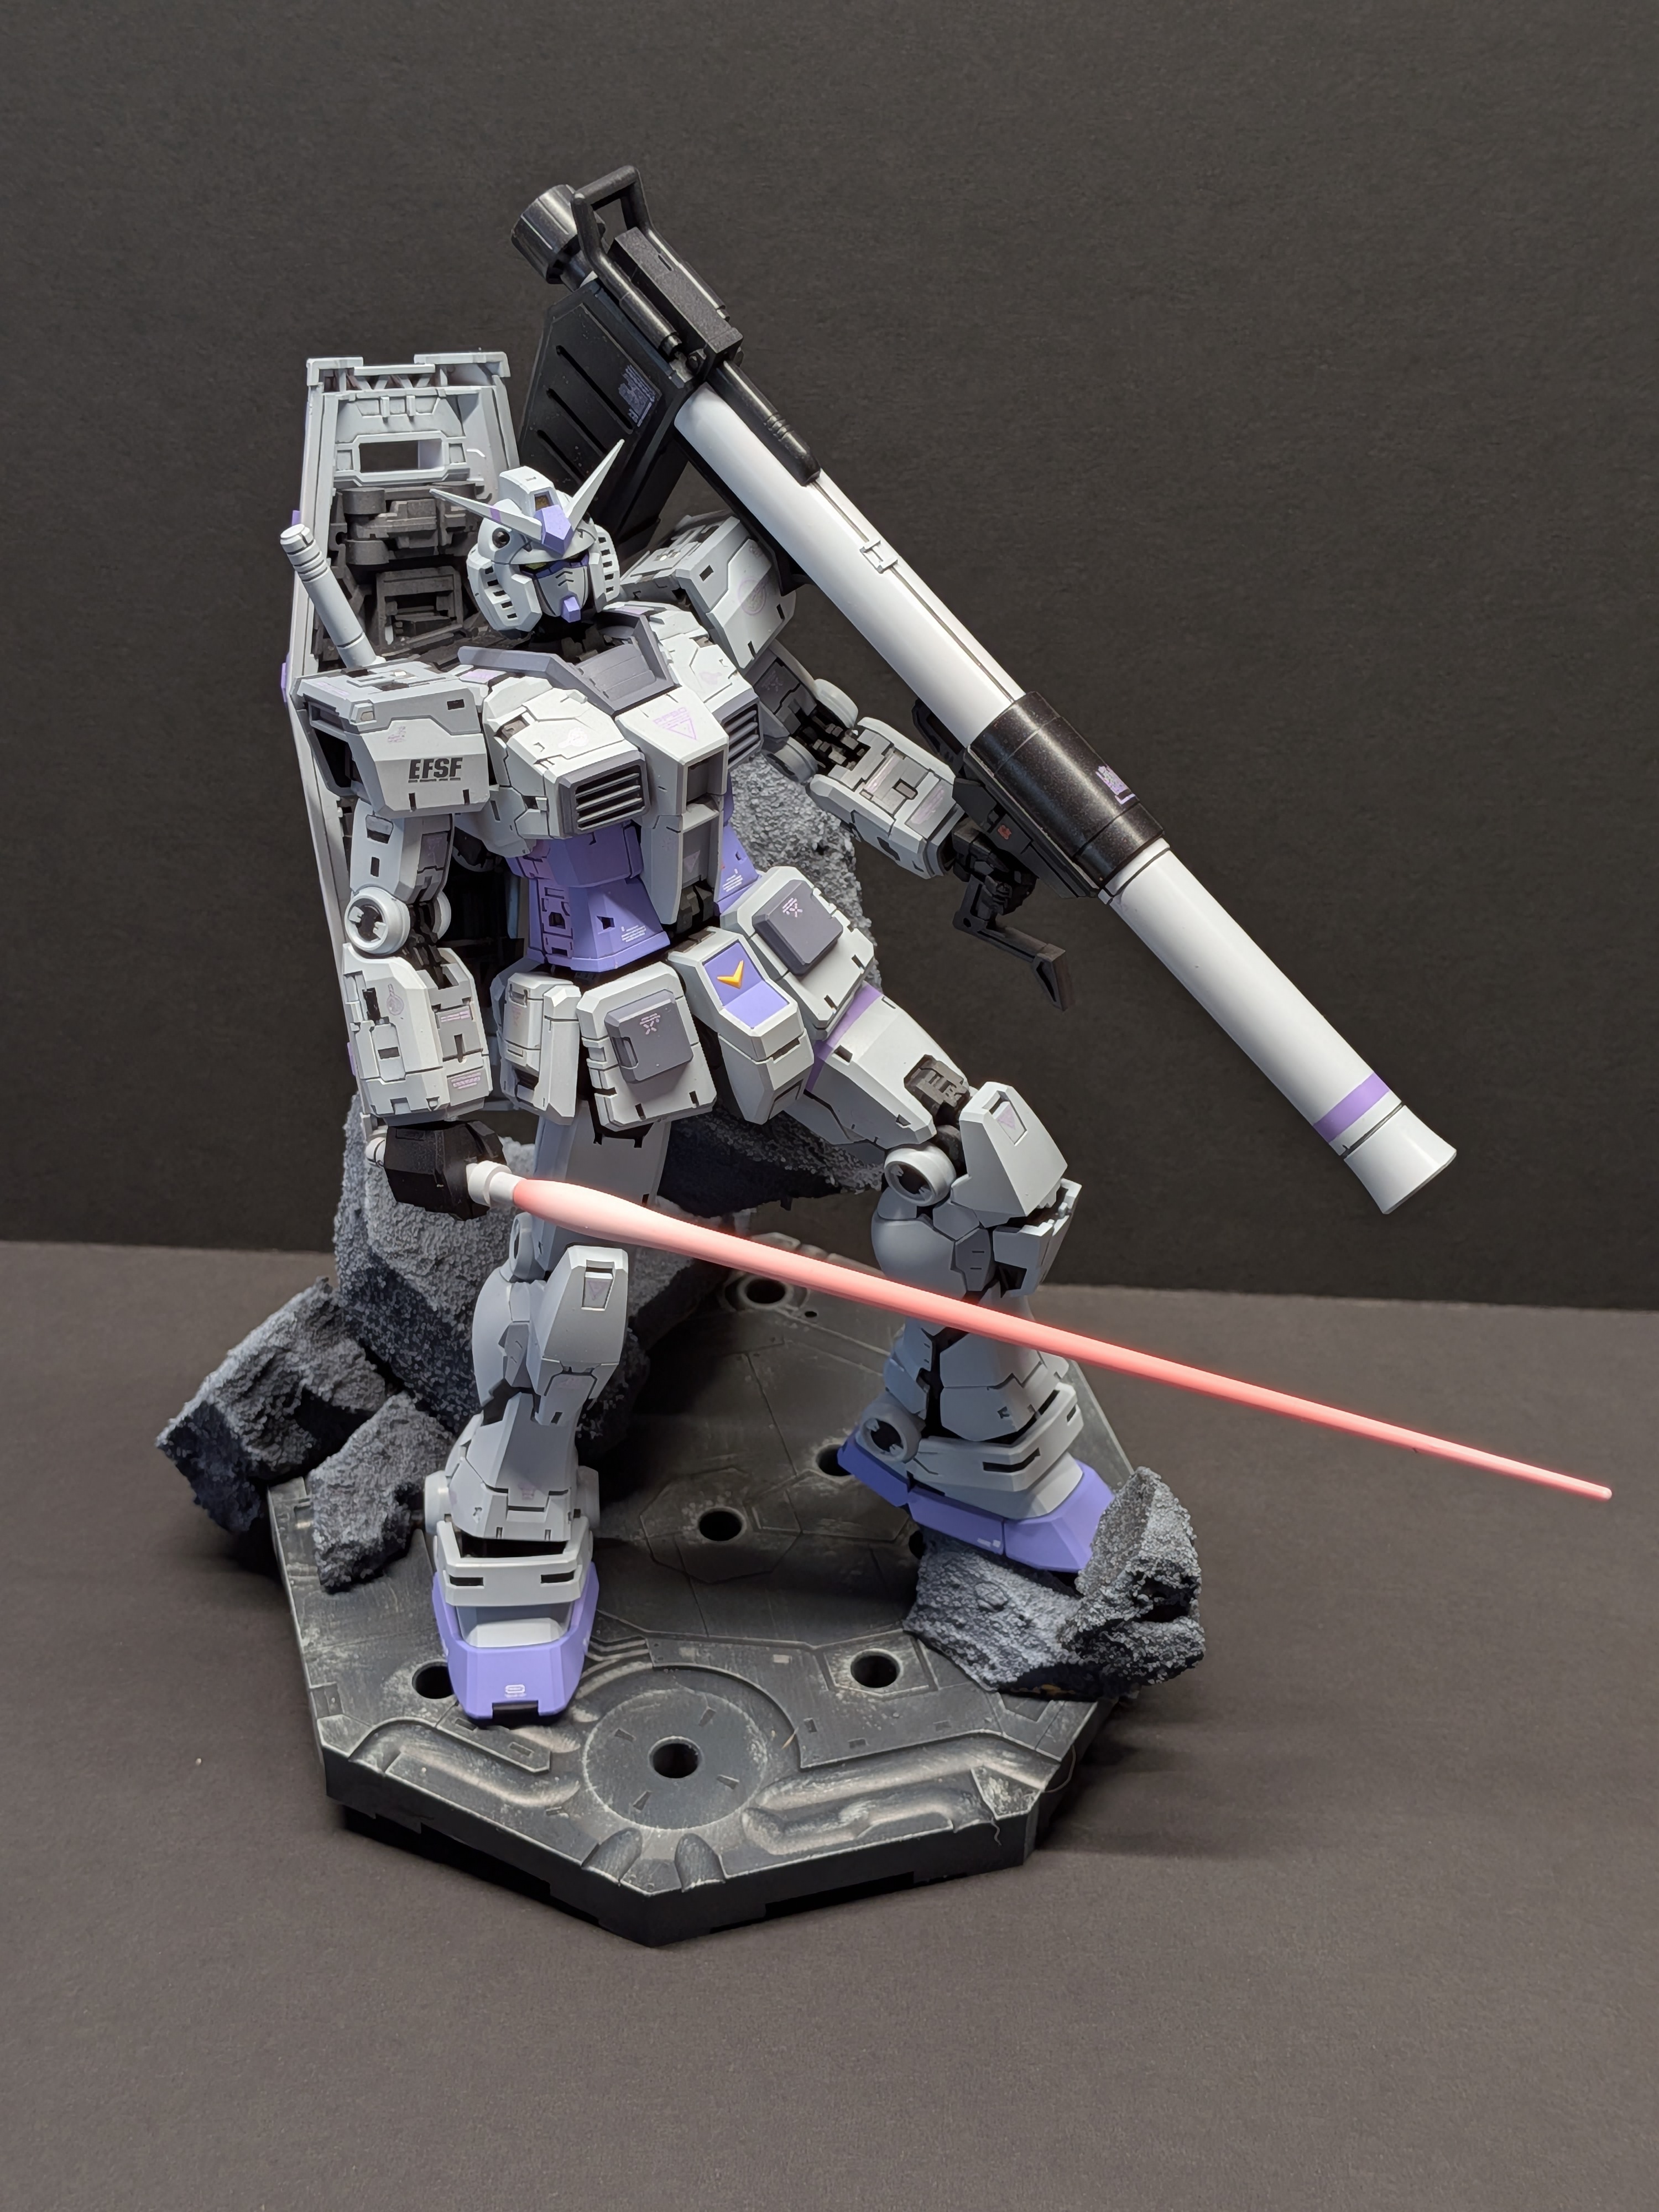
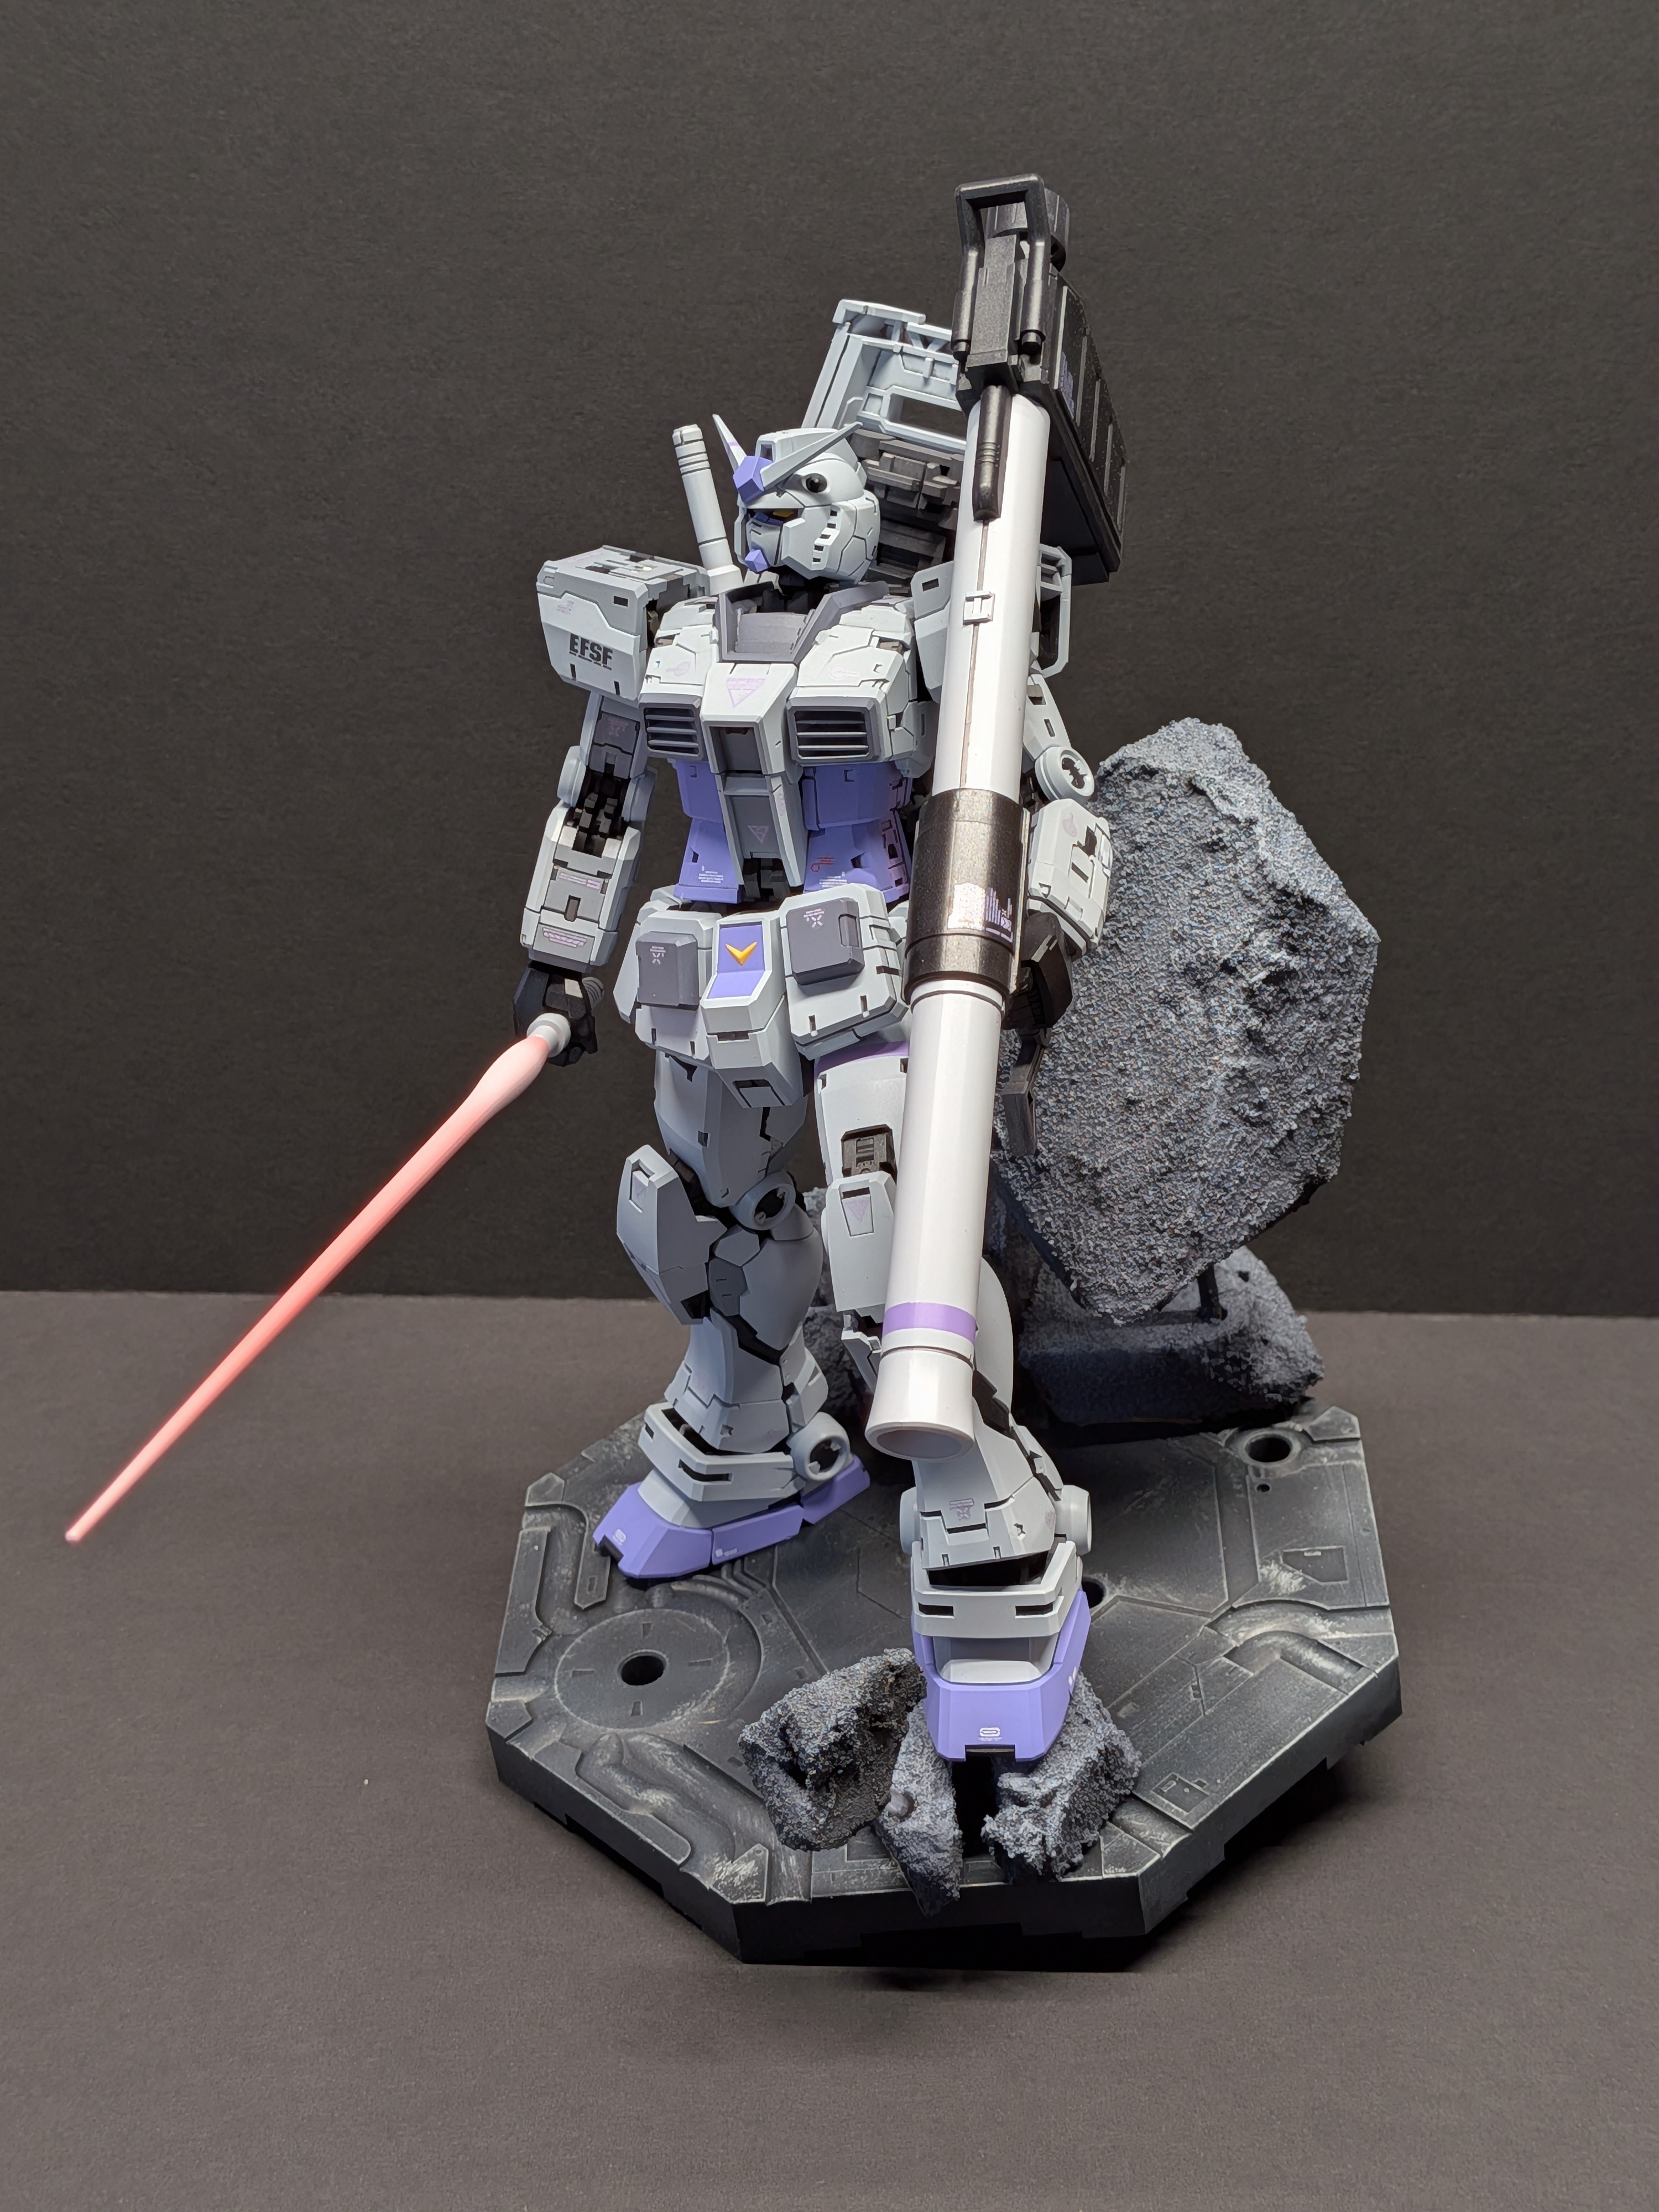
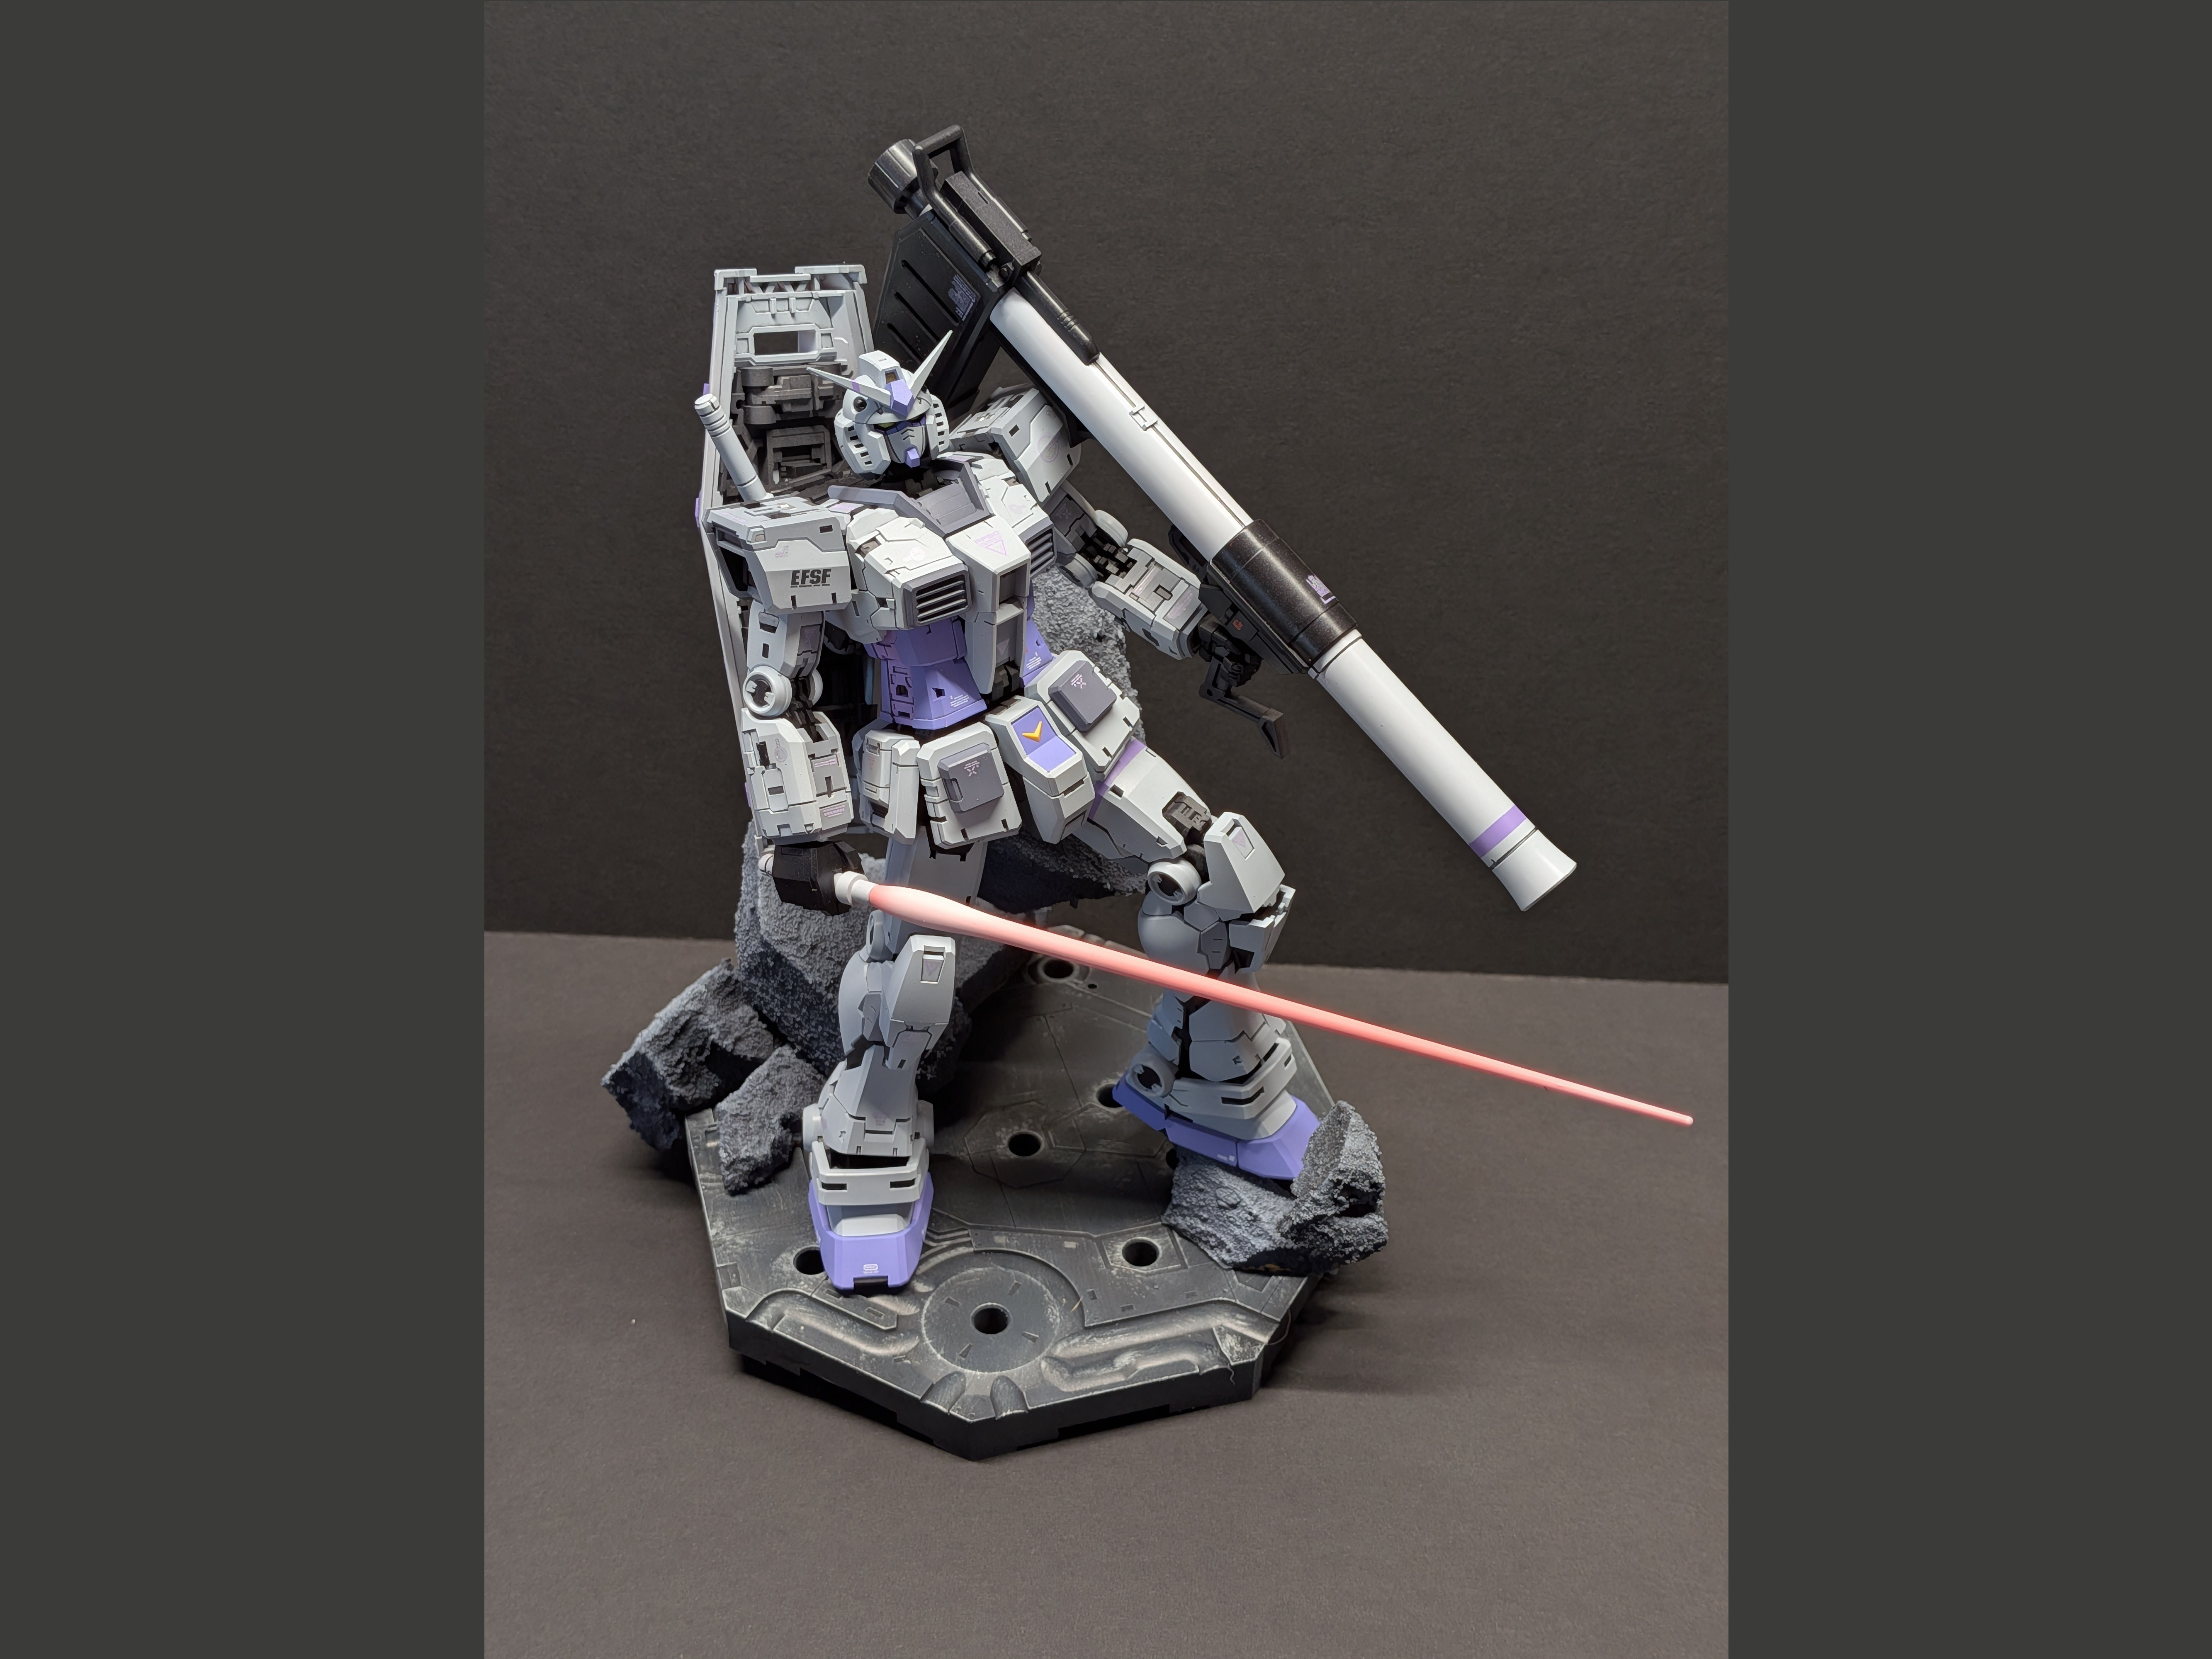
The RX-78-2 is the original Gundam, and in the original series, the only mobile suit with this name. It remains active throughout the entire series, only receiving upgraded joints midway through the anime - which don't change the visual design. However, in the novelization written by Tomino, these events are reworked and the original RX-78-2 is destroyed during Amuro's duel with Lalah and Char - and it's replaced by the RX-78-3 G-3 Gundam. This doesn't change its shape, but does give it a new gray/purple color scheme - shown here on the right:
I really like this scheme and it's what I'll be basing my colors on for this build.
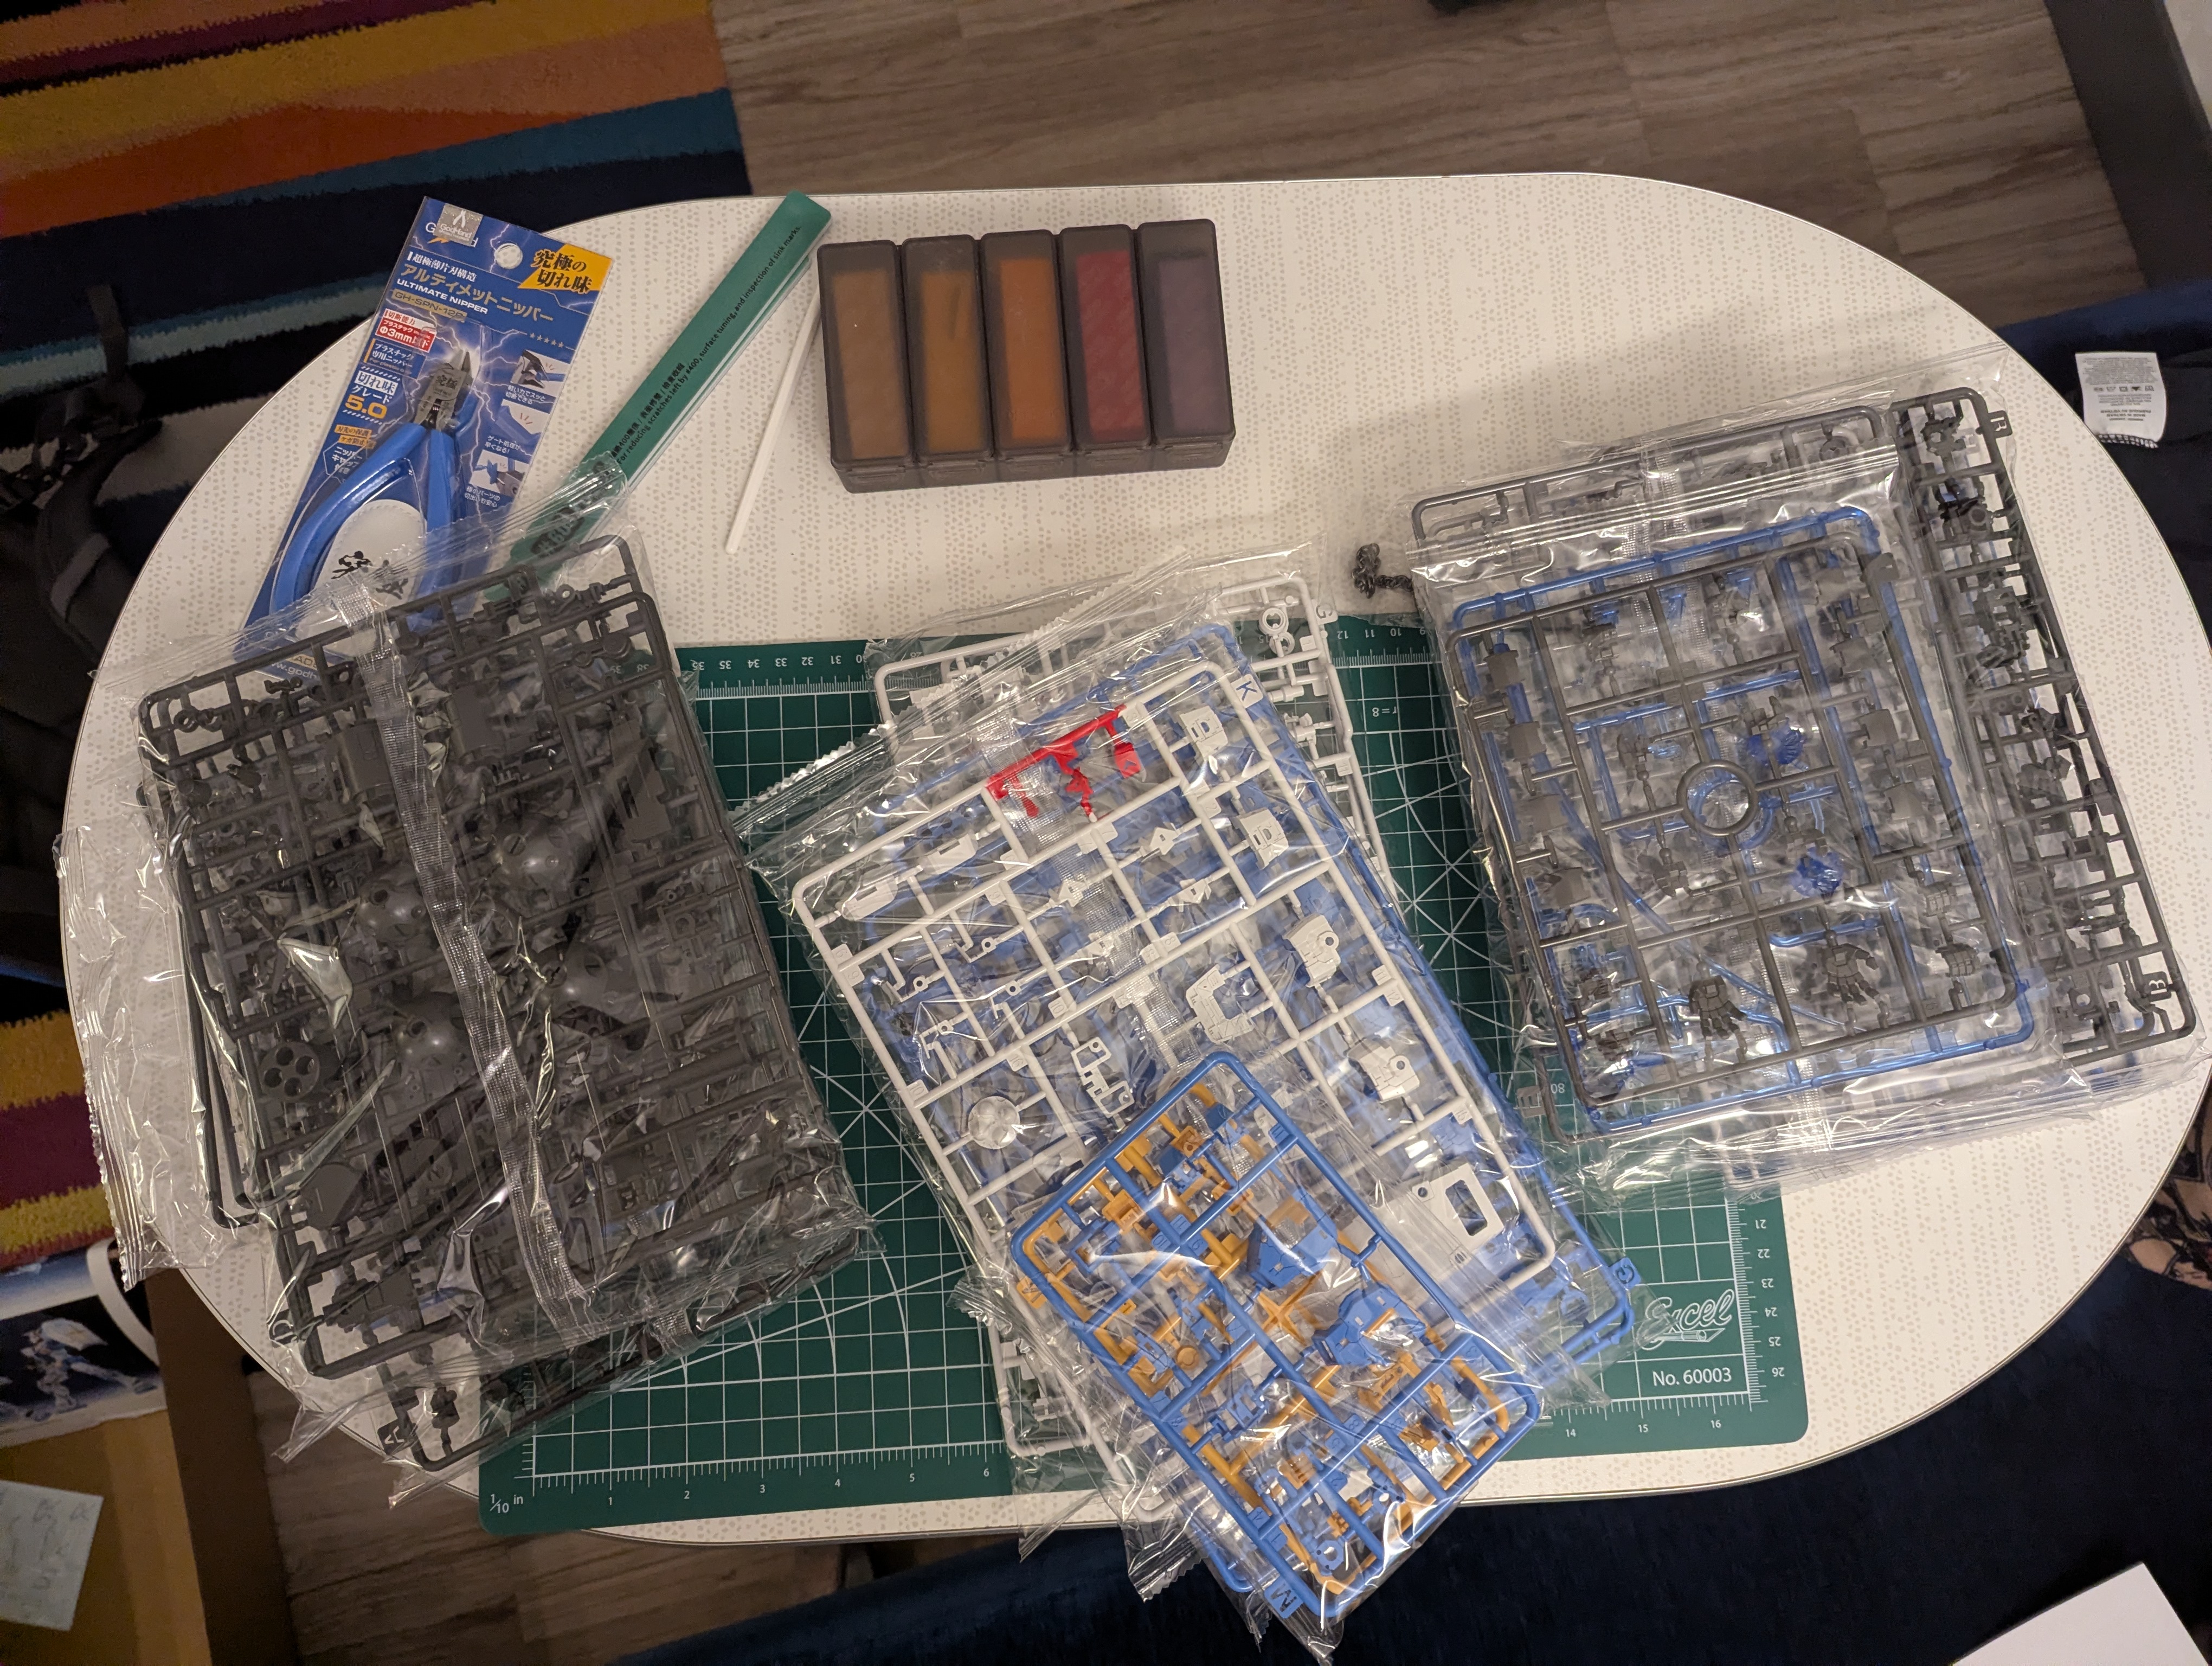
I've been wanting to do a 1/100 RX-78-2 for a long time - and while there are a lot of options within Bandai's official Master Grade line, they all came with little asterisks for me in either the design or the build or both. The Fat Cat 001 is a third party upscale of the official Bandai-produced Real Grade 1/144 RX-78-2 2.0. It brings it up to 1/100 scale without altering the proportions or build, except that runners are reorganized and part gating is different. The level of detail in the RG line makes this pretty similar to a modern MG in complexity and build experience.
This design itself is a little contentious in the Gunpla scene. The head shape is pretty radically different than how the RX-78-2 is usually depicted, the chest vents veer away from anime accuracy, and it has a lot of frame showing through various holes in the armor panels. However, I've always liked this take on the Gundam, and I really like it being available in 1/100 scale. Bootlegs have a reputation for poor fitment and plastic quality, but this kit was super well-received, so I'm excited to take a stab at it from that direction as well.
This kit is the "ver. 9" or "Kowloon" colorway. This is based on a one-off model customization done by Kenichi Kuryu for a Nu Gundam model kit featured in Model Grafix magazine around the year 2000, featuring an asymmetrical blue/white scheme and very unique decals. I've read that the name "Kowloon" comes from how the characters for his name are read in Chinese - don't know how accurate that is, but makes sense to me. I got this kit in-store at a Gunpla shop in San Francisco. I regularly travel here for work, and just like with the MG Ball ver. Ka, I purchased this kit to build up while stuck in a hotel room. It's pretty cool to see these bootlegs out in the real world - the store had a number of other non-Bandai kits, like the Golden Warrior (Hyaku Shiki) and the Axis Solomon (GP02). This is really the only reason why I got the colorway - if available, I'd have just gotten the default RX-78-2 scheme.
Post-Build Thoughts: This was primarily a custom paint job, with very minimal masking - a lot less than my previous
Ball Ver. Ka build, so in a way - this was the easier project. However, I pushed myself a lot more on custom paint mixtures here, which I felt turned out quite well - I really like how this ended up. I'm also very pleased with the diorama experiment - this is definitely something I'll be keeping in my toolkit for future builds and displays. Using metallic inner frame colors looks great, but I feel that the Aldlad paints are not worth the cost - I had to buy a lot just to get through this build, so I'll have to hunt down something a little more cost-efficient for my next build.
Color Guide:
- Light Gray: 75% Tamiya LP-2 White, 25% Tamiya LP-36 Dark Ghost Gray
- Medium Gray: 66% Tamiya LP-2 White, 33% Tamiya LP-15 IJN Gray (Yokosuba Arsenal)
- Dark Gray: Rough Mix of Tamiya LP-2 White, Tamiya LP-27 German Gray, and Mr. Color UG08 MS Purple
- Light Purple: Mr. Color UG08 MS Purple
- Dark Purple: 75% Mr. Color UG08 MS Purple, 25% Mr. Color UG14 MS Light Blue
- Light Frame: Alclad II ALC-115 Stainless Steel
- Medium Frame: 50% Alclad II ALC-115 Stainless Steel, 50% Alclad II ALC-120 Gunmetal
- Dark Frame: Alclad II ALC-120 Gunmetal
- Thruster Accents: Rough Mix of Testor's Enamel Copper and Gloss Red
Date Posted: May 22, 2026
Gallery
×
1 / 10

2 / 10
3 / 10

4 / 10

5 / 10

6 / 10

7 / 10

8 / 10

9 / 10
10 / 10
❮
❯
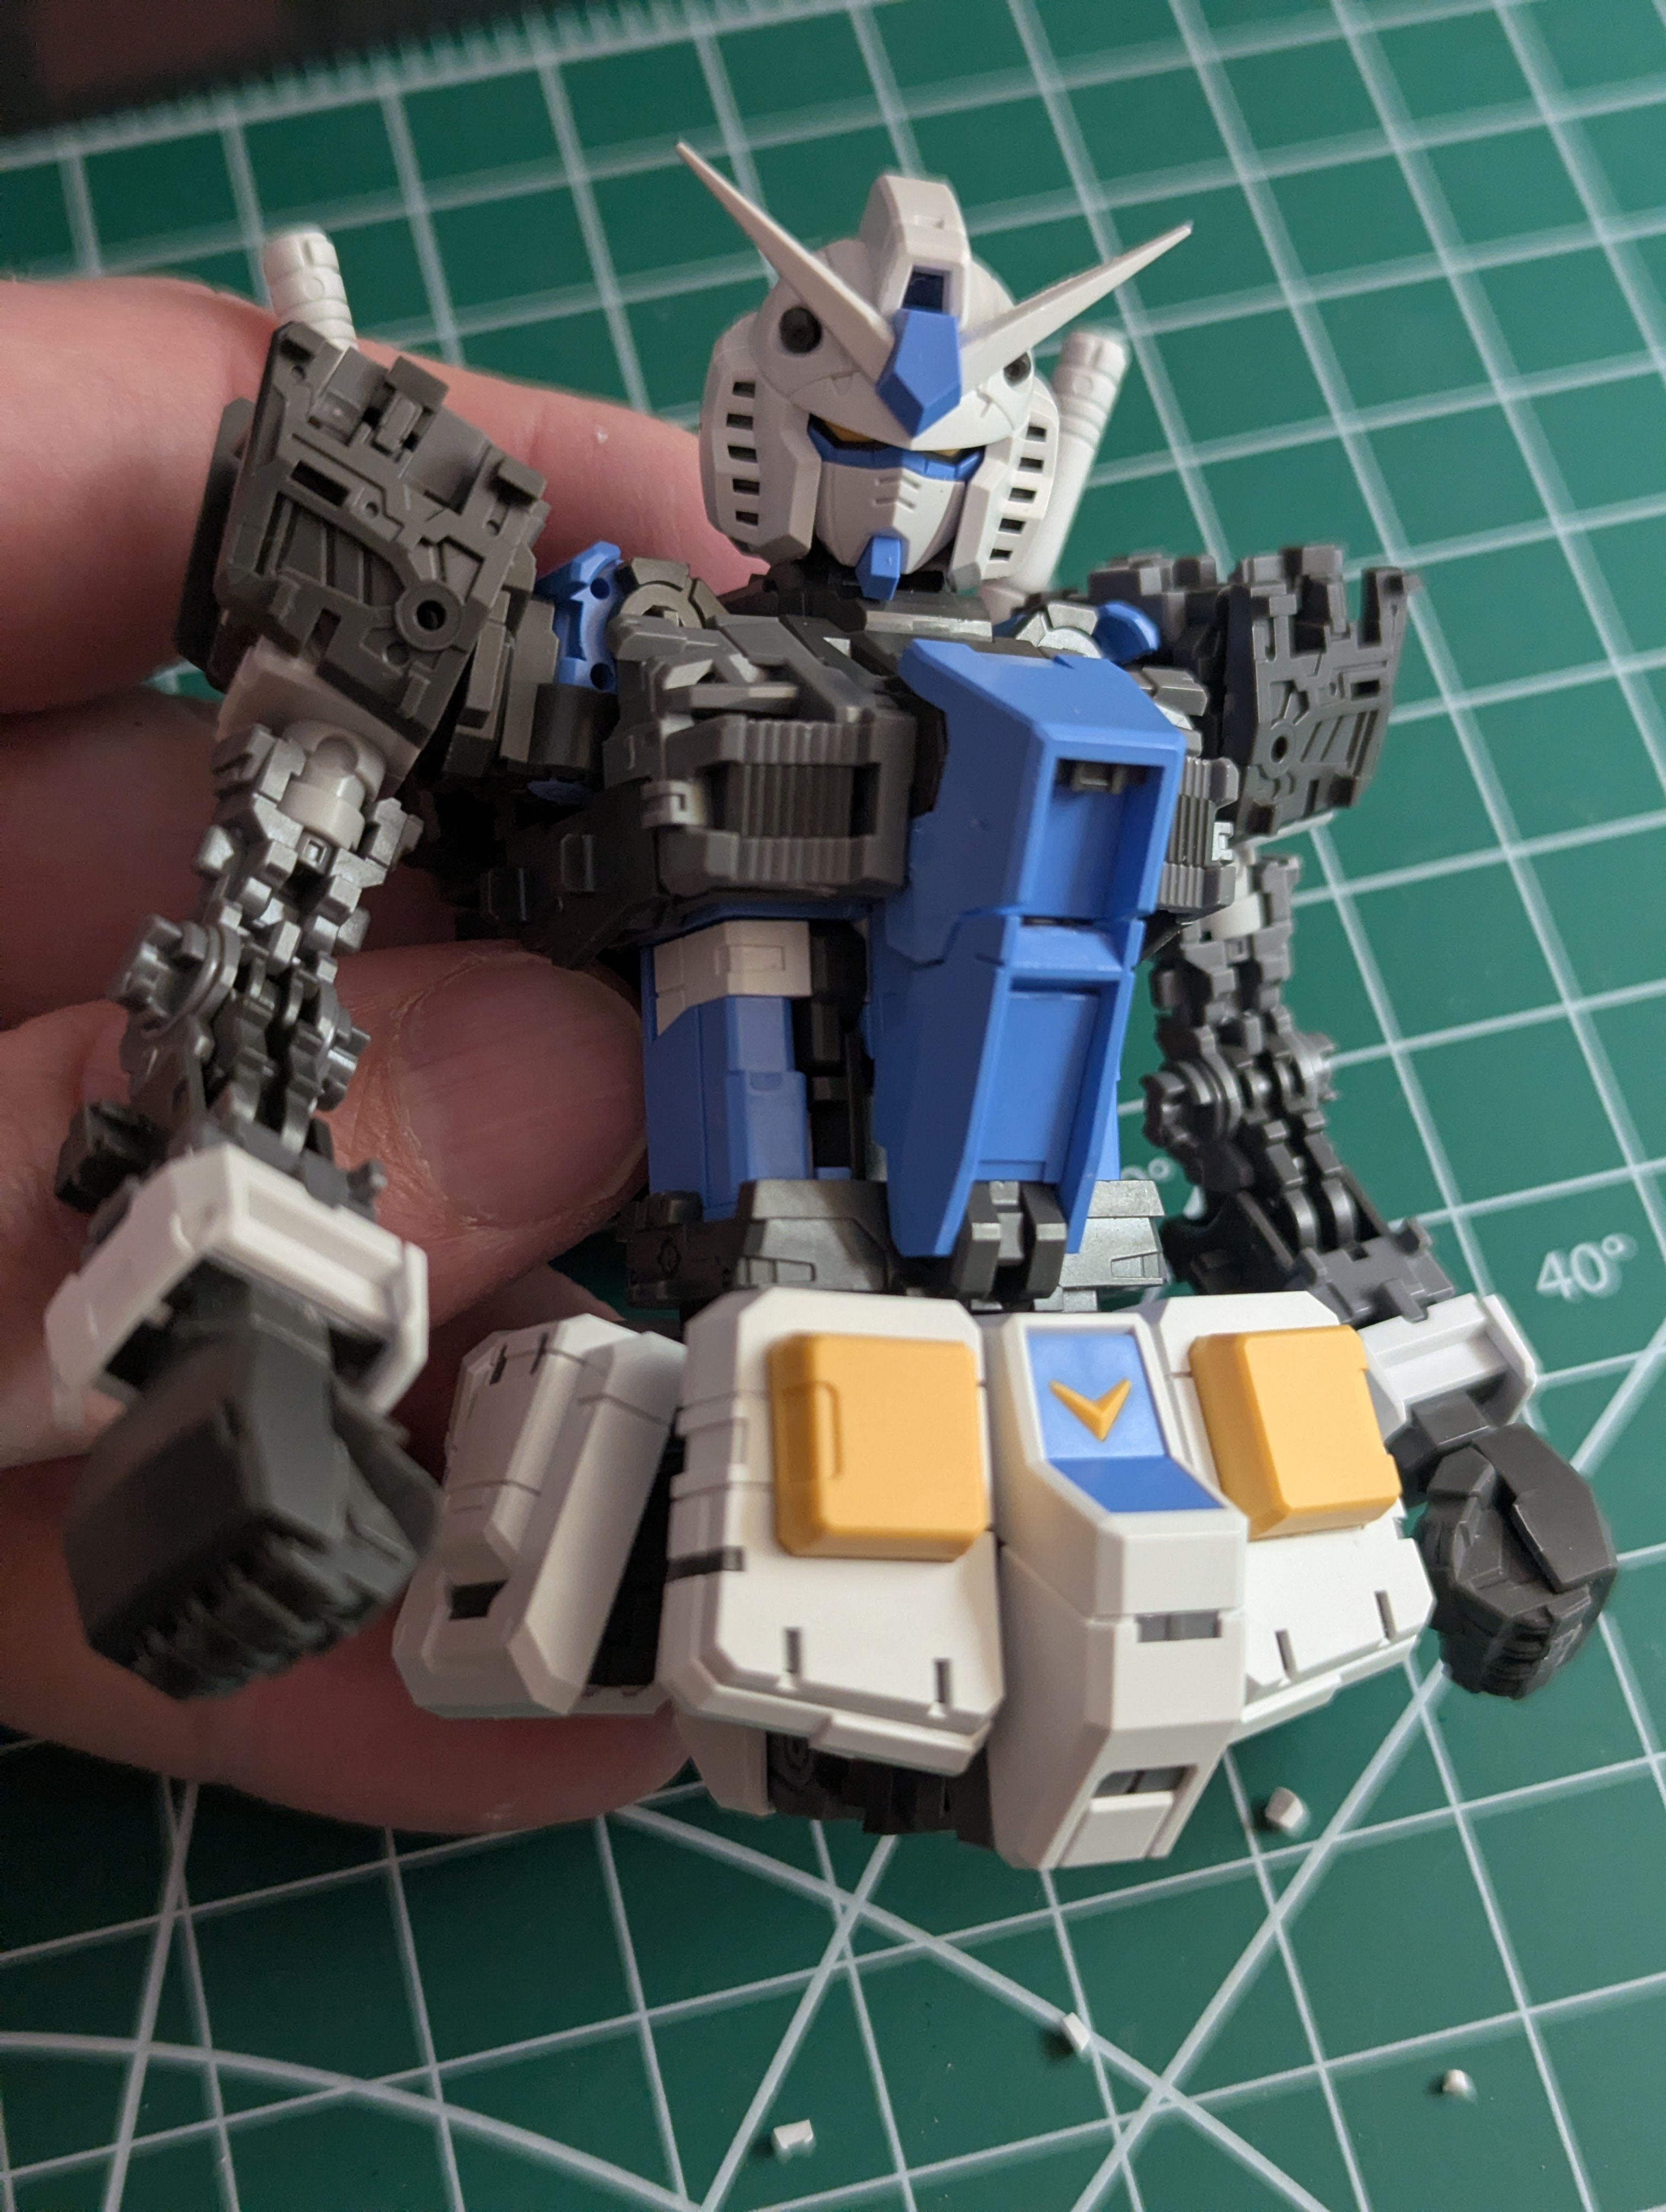
Progress Update 1: Snap Building
There are a surprising number of runners in the kit - 21! The RG that this is based on only has 9 plus a stock beam saber effect part runner. It seems like Fat Cat either can't or opted not to do multi-color injection runners, which ballooned the count a bit. The other thing bumping this up is the colorway - since this features some assymetrically colored features, there are about 3 totally redundant runners to offer blue versions of normally white pieces.
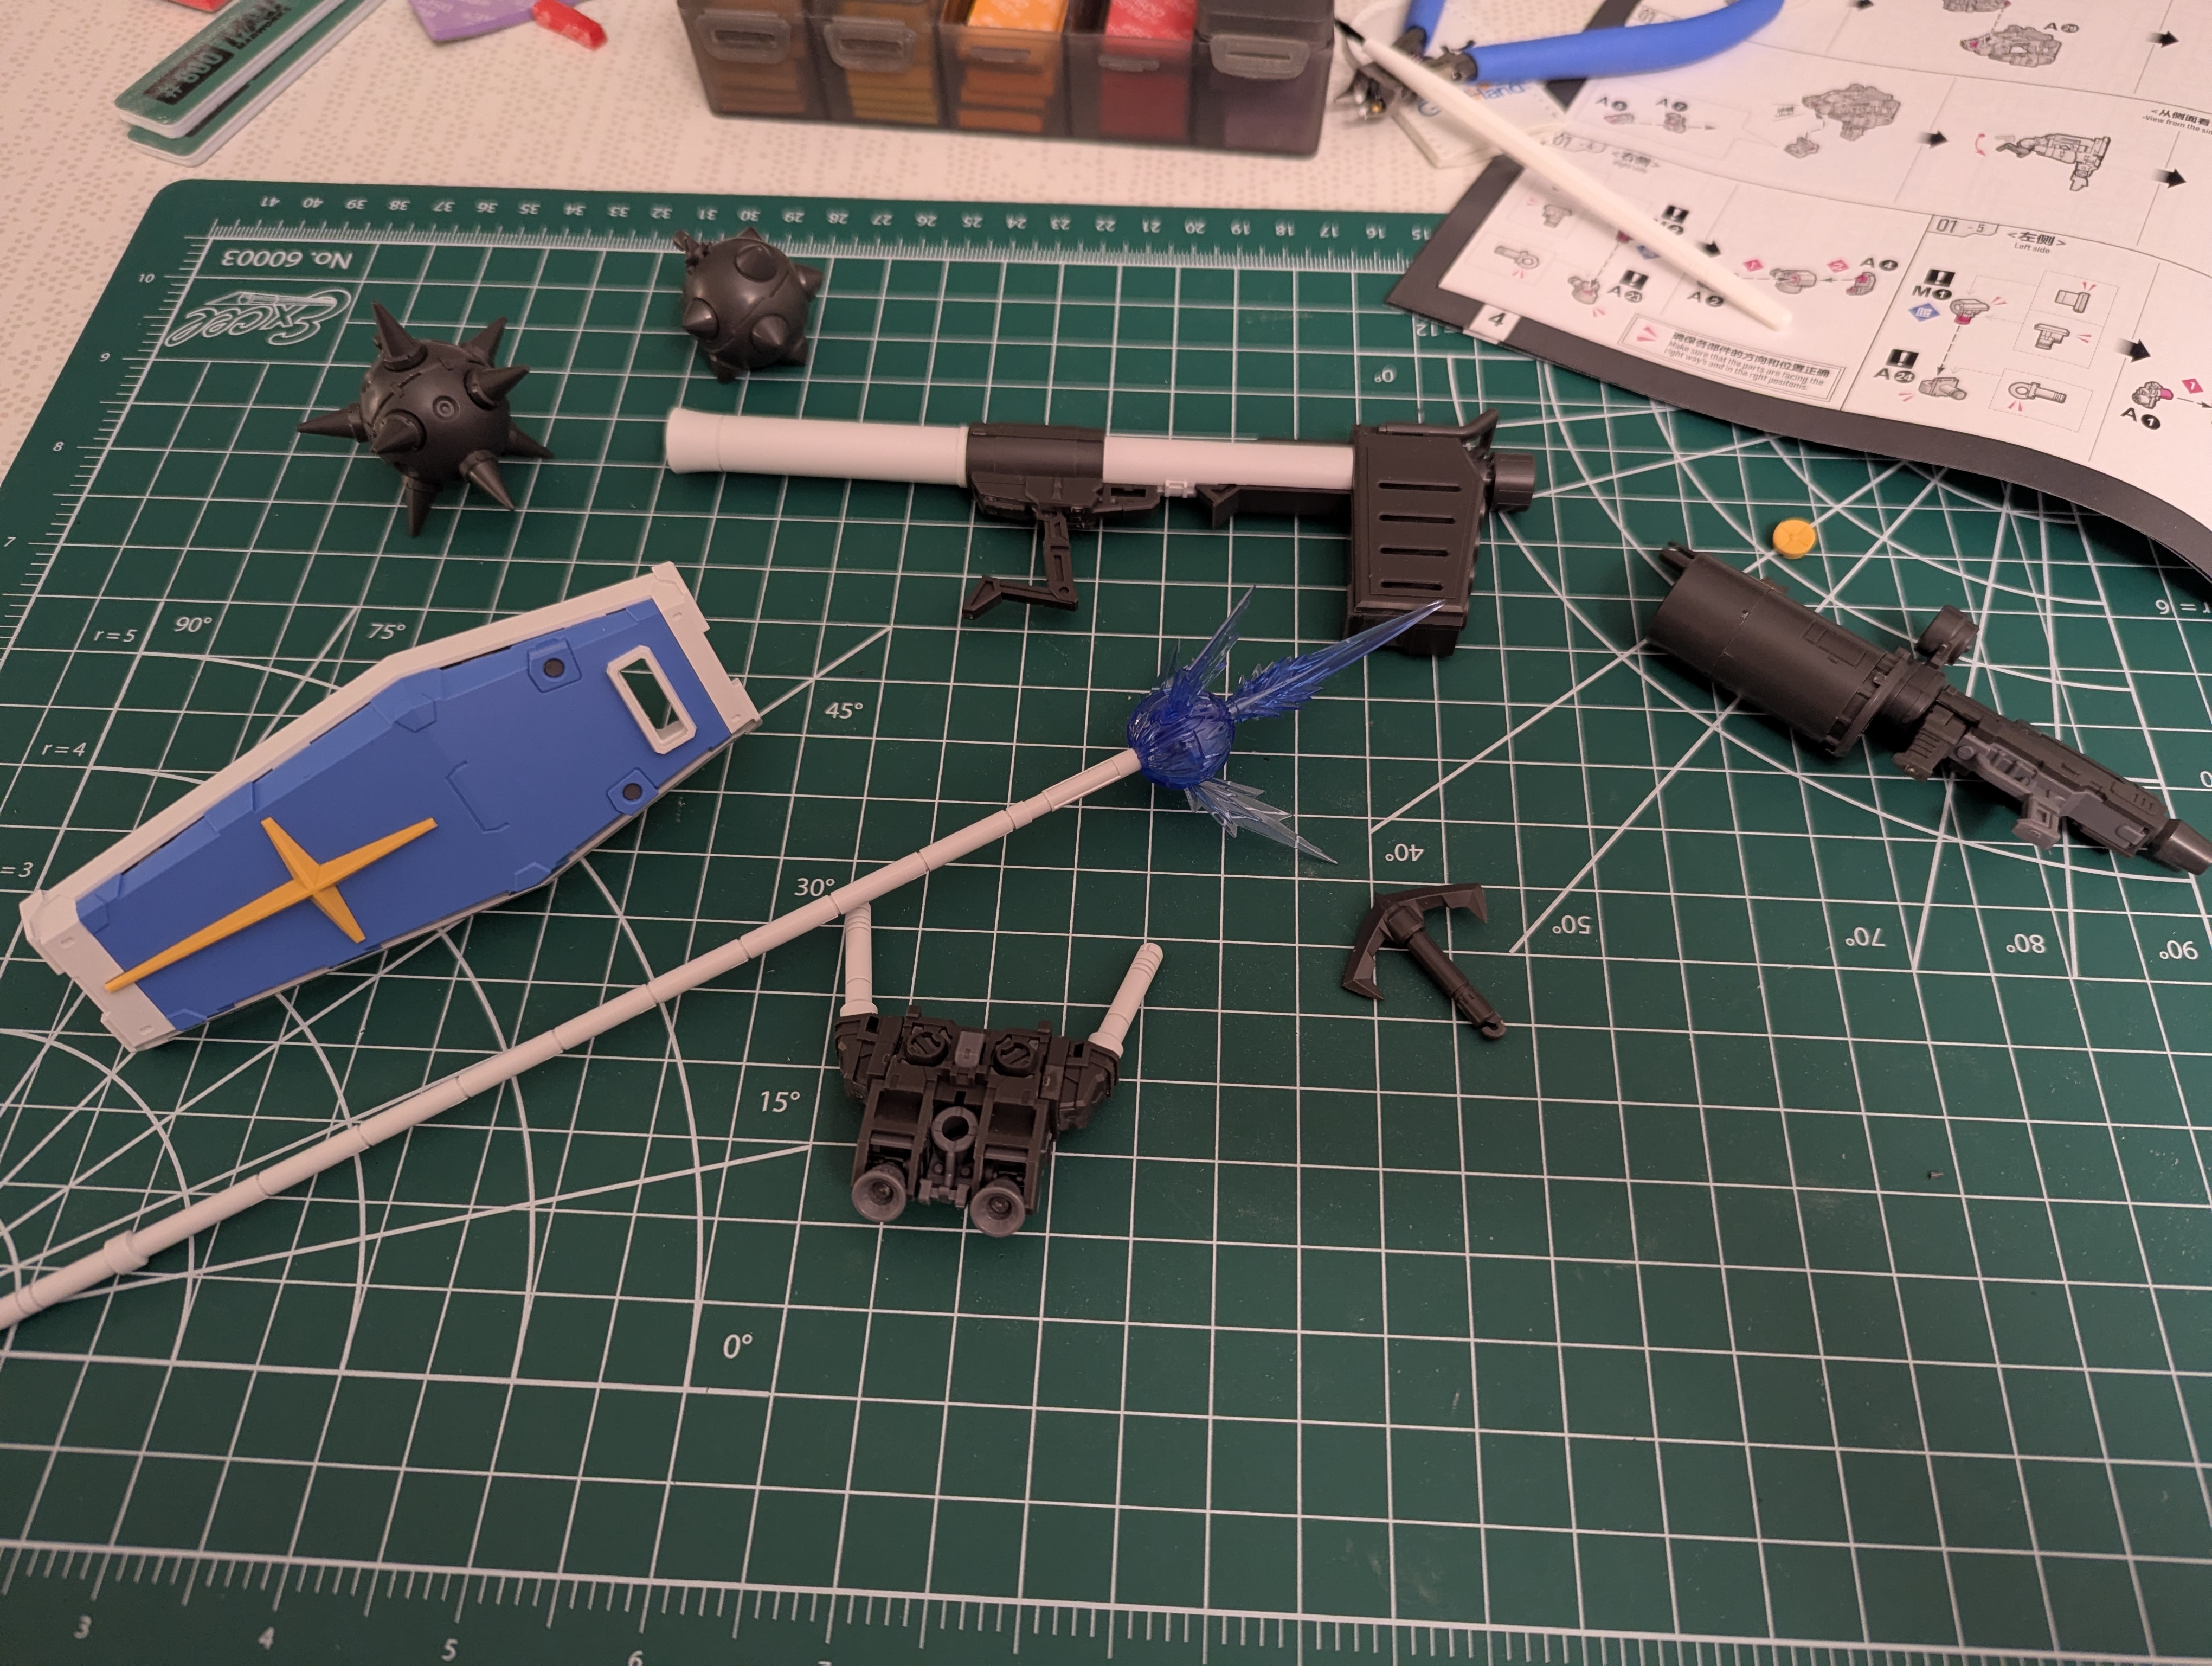
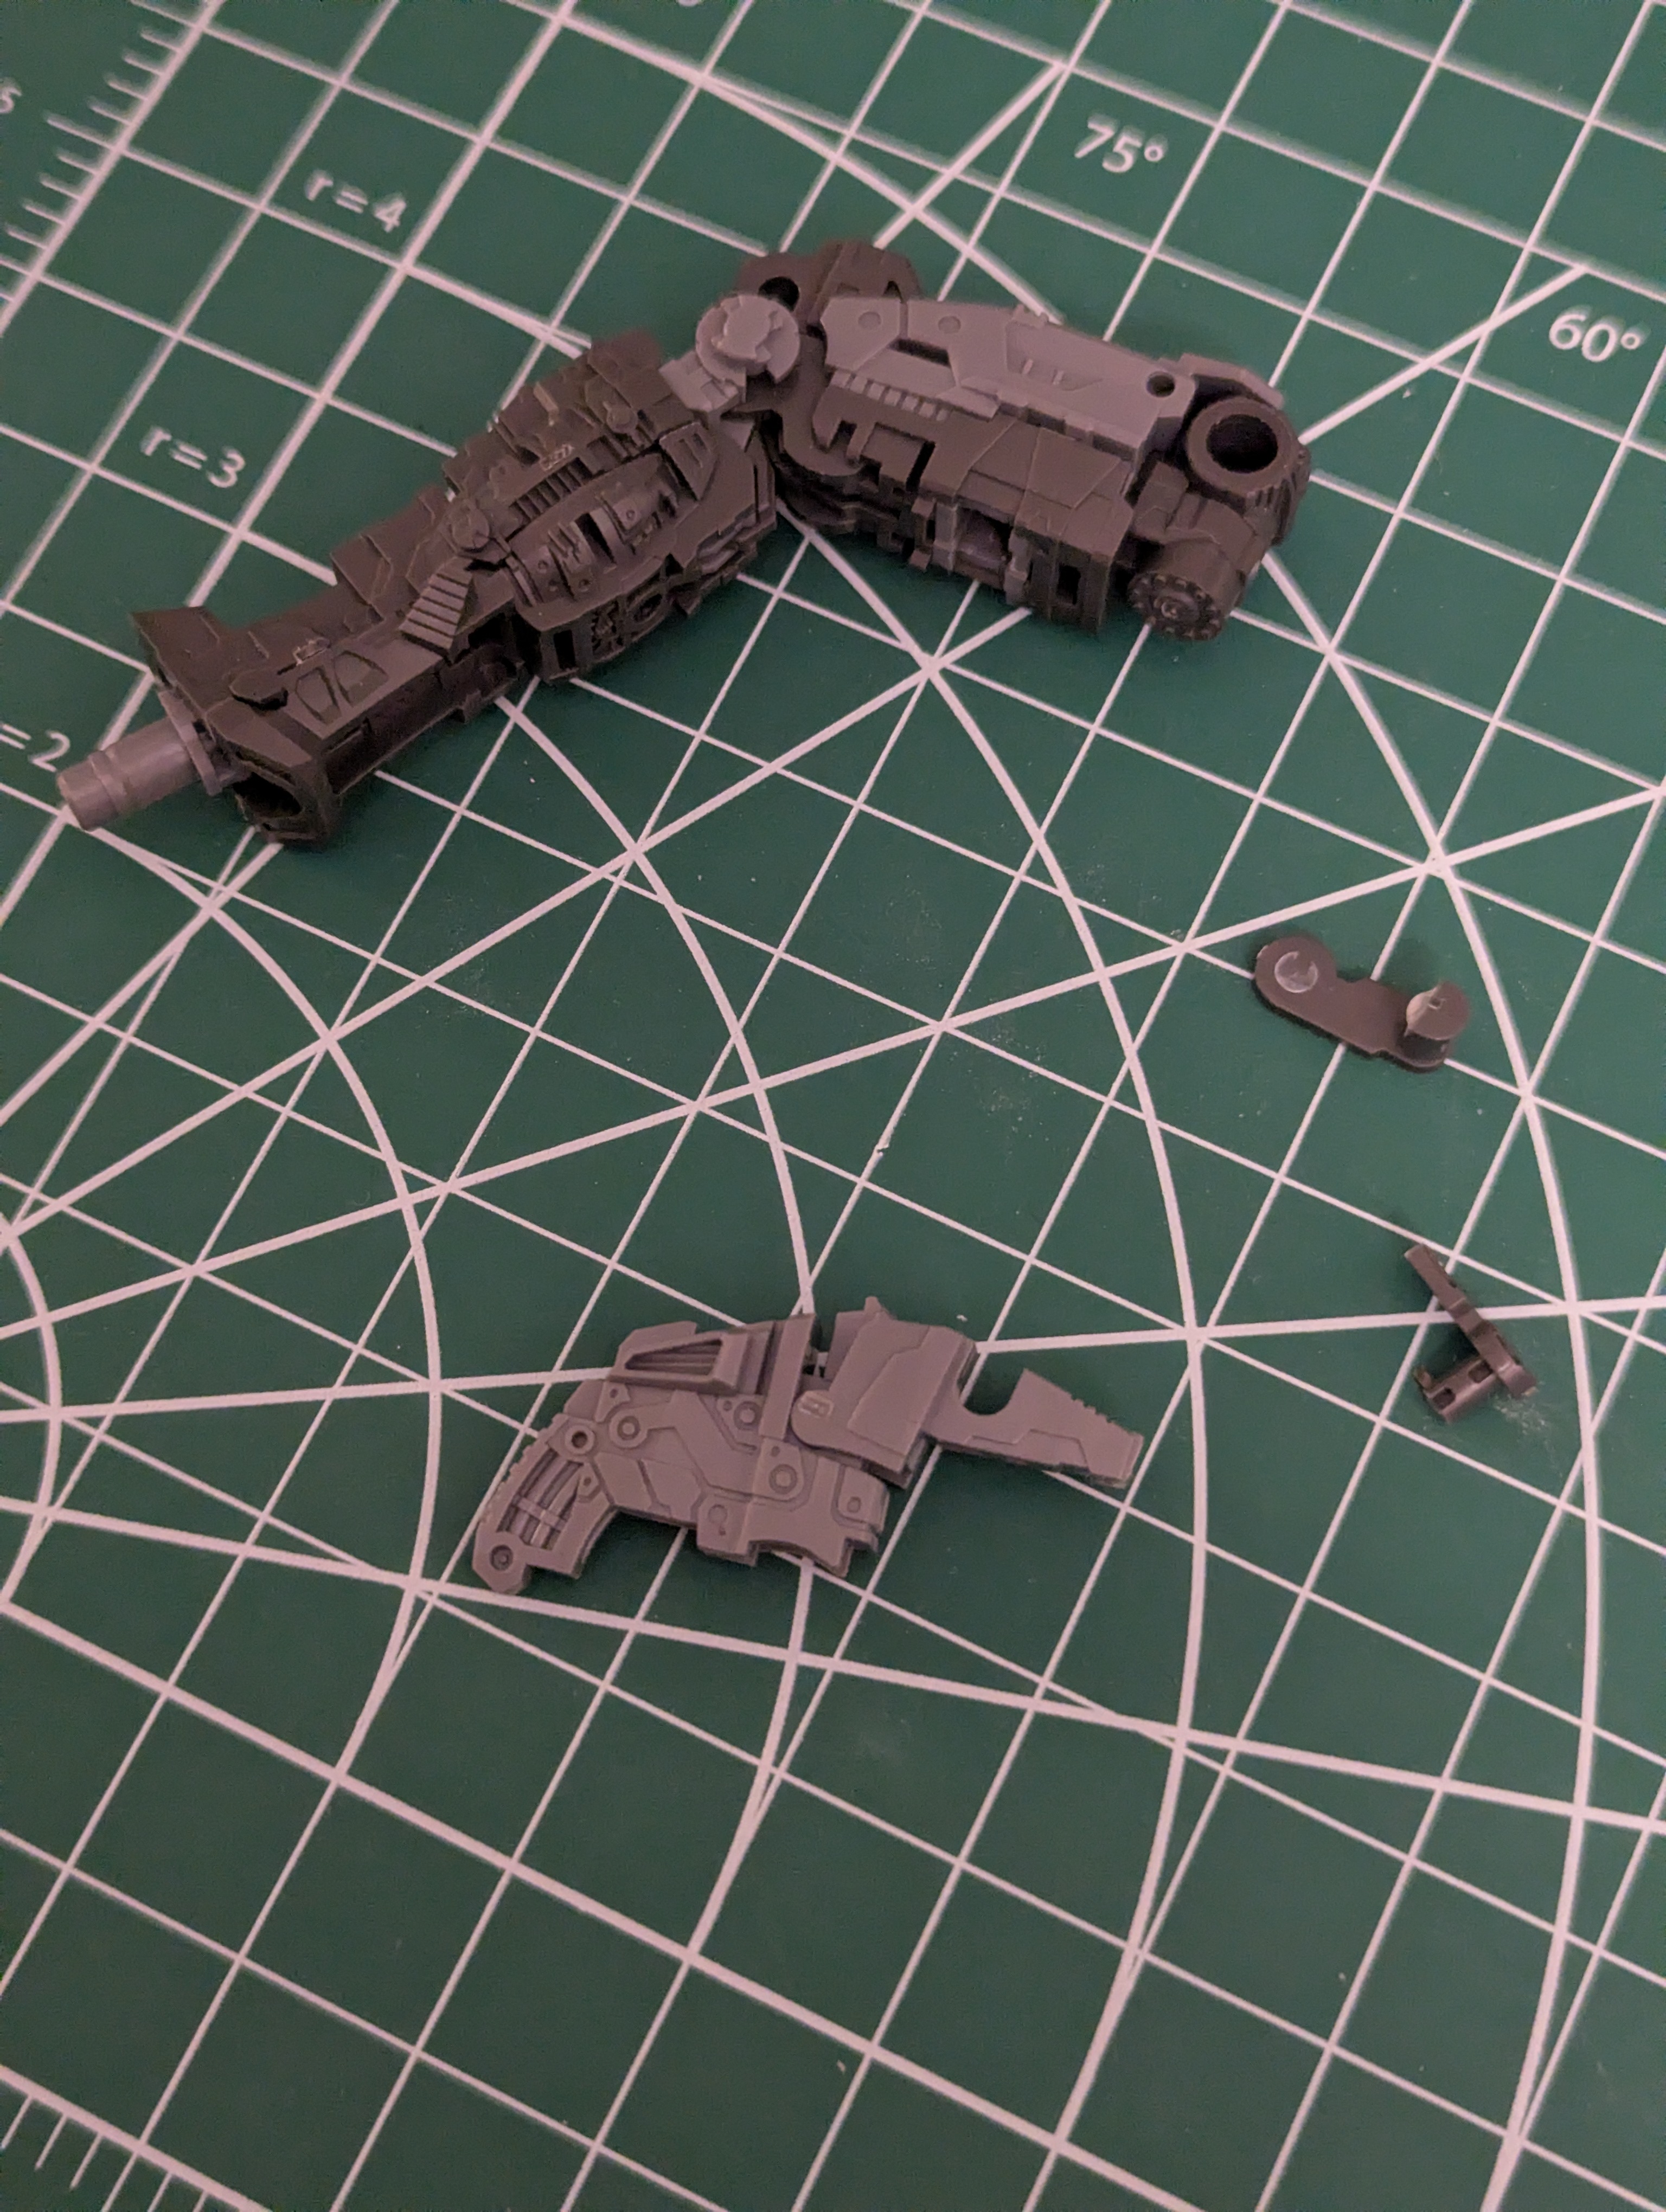
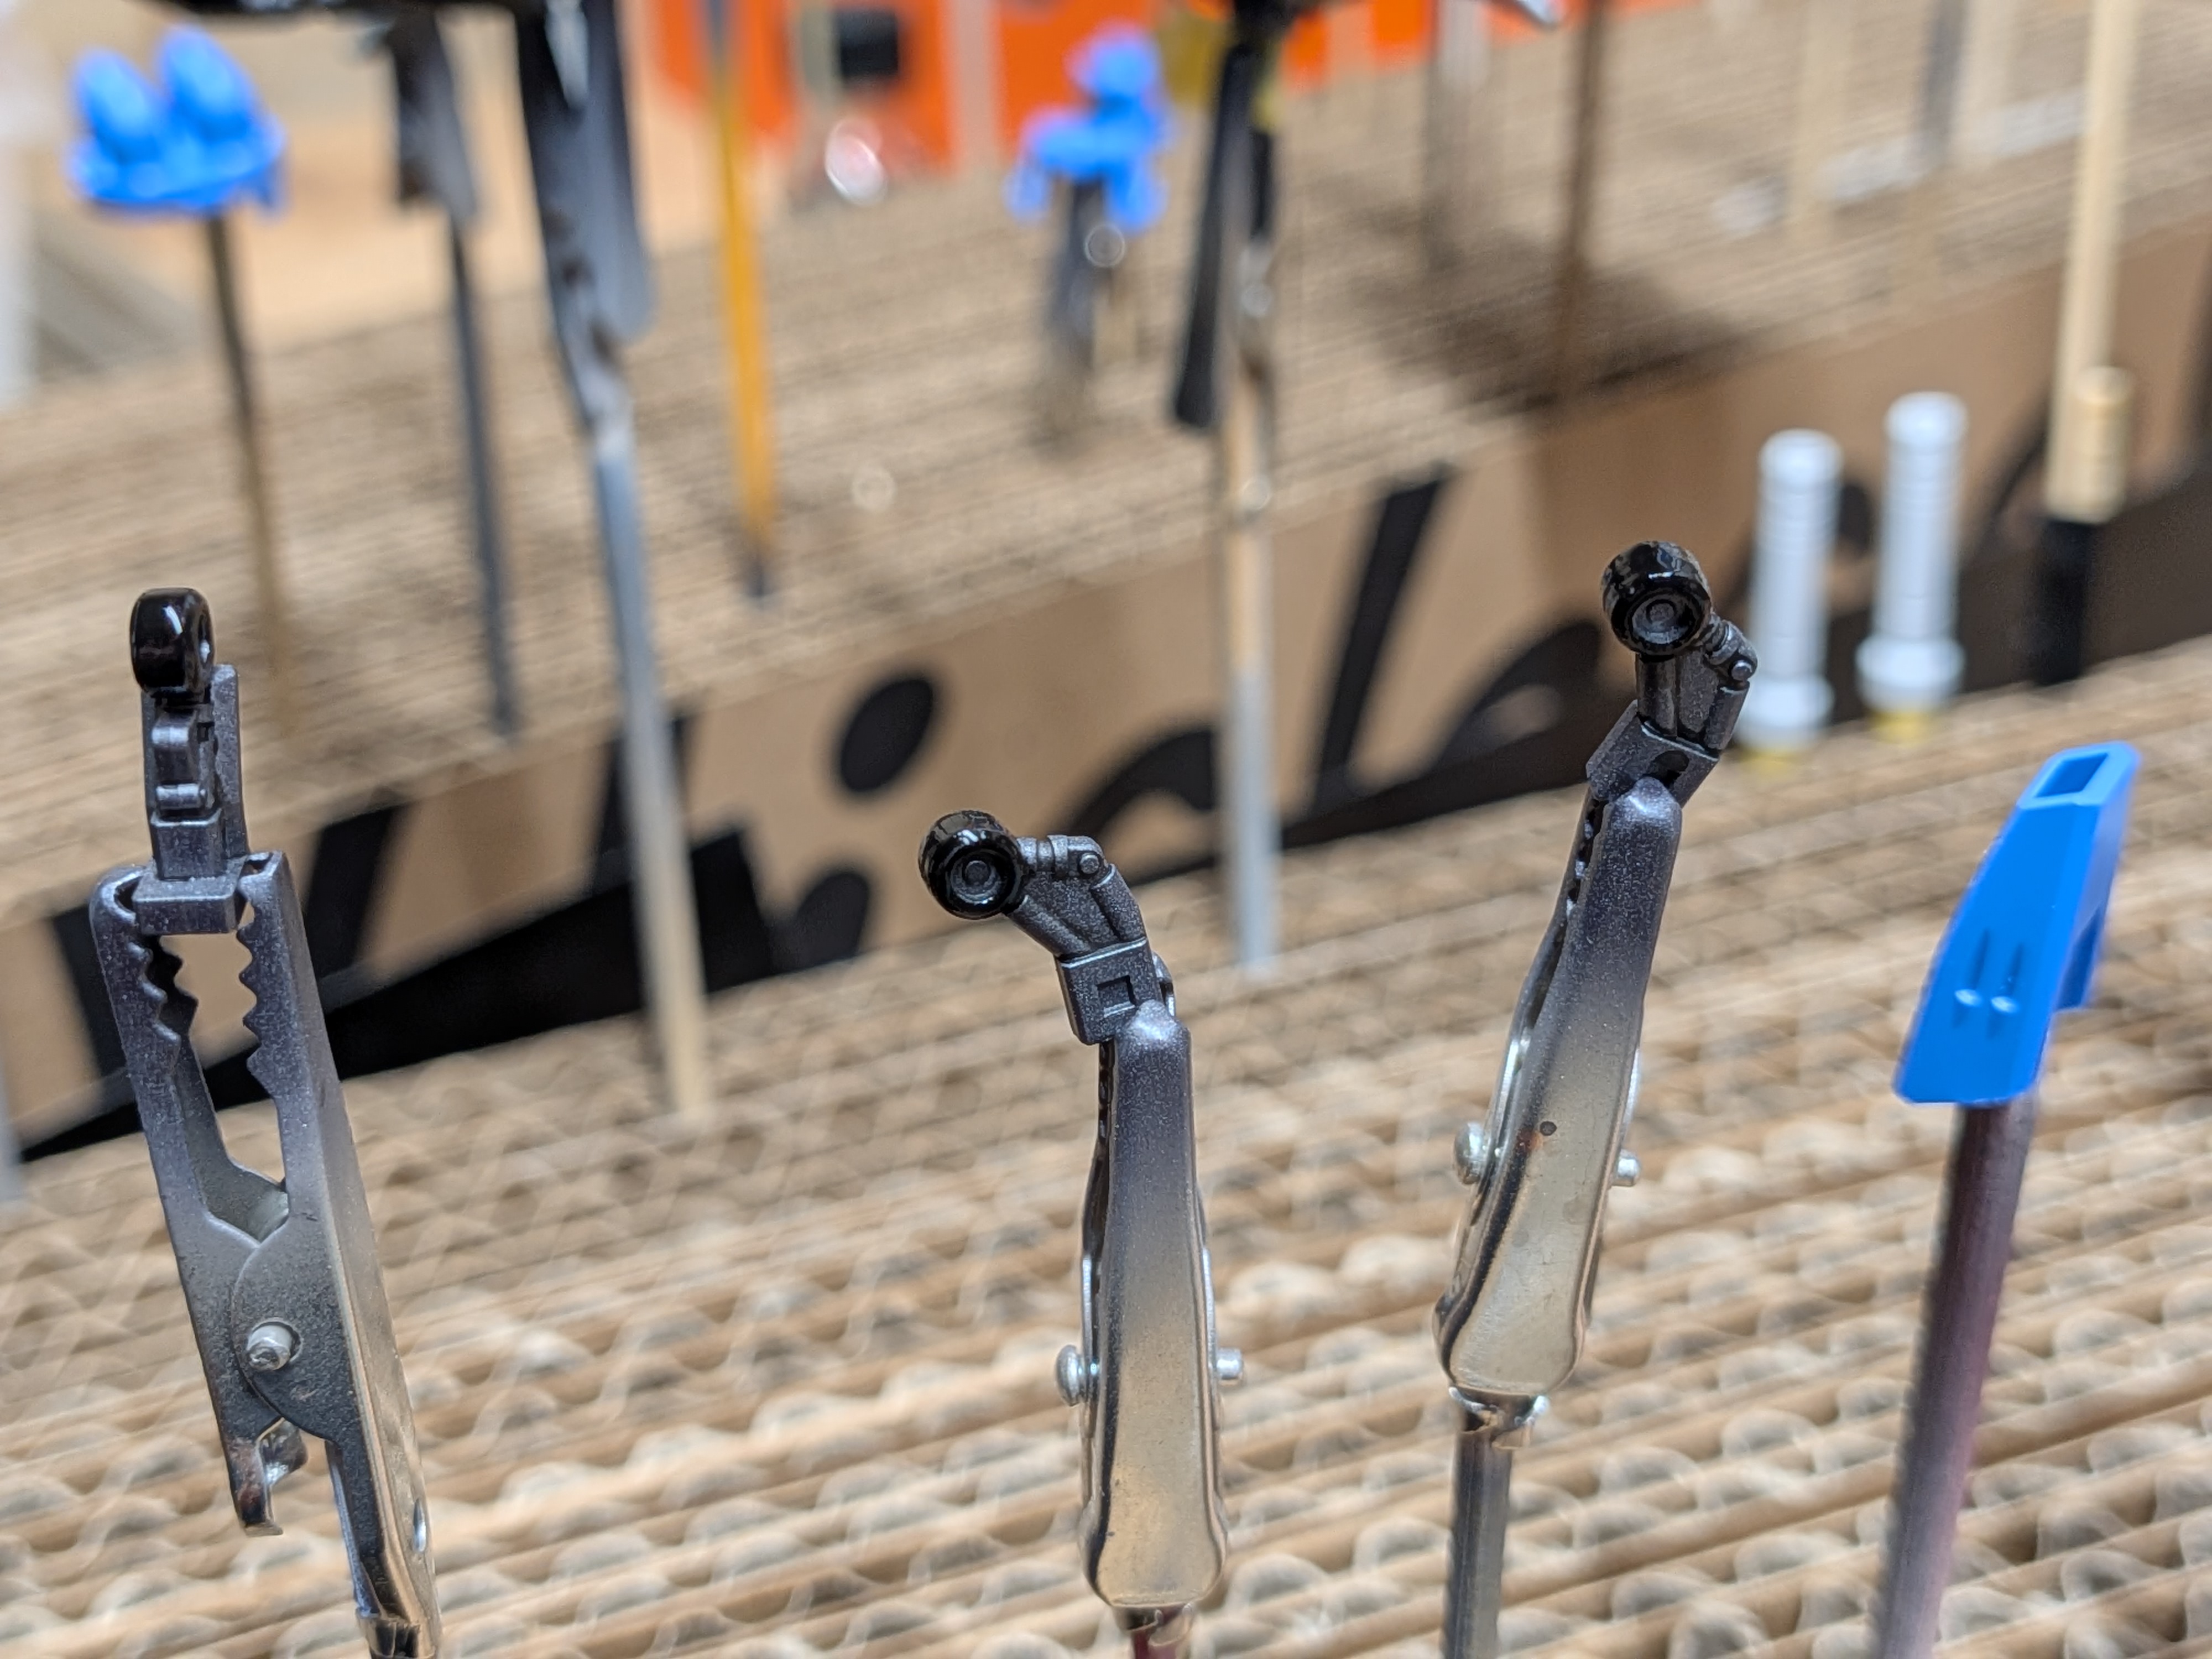
I started with the weapons and accessories first for this build. Sometimes it helps with motivation and follow through to get these smaller things out of the way first.
I broke my first piece while assembling the core fighter. One thing that will continue to be a factor in this build is that they really, really didn't want parts coming loose during posing and transformation - so there are some difficult to undo steps. I realized one of these was occuring as I snapped the middle part of the core fighter together, and while reversing, just snapped the frame through the nose. Not a big deal though - there's a second set of core fighter pieces which let me keep building for now.
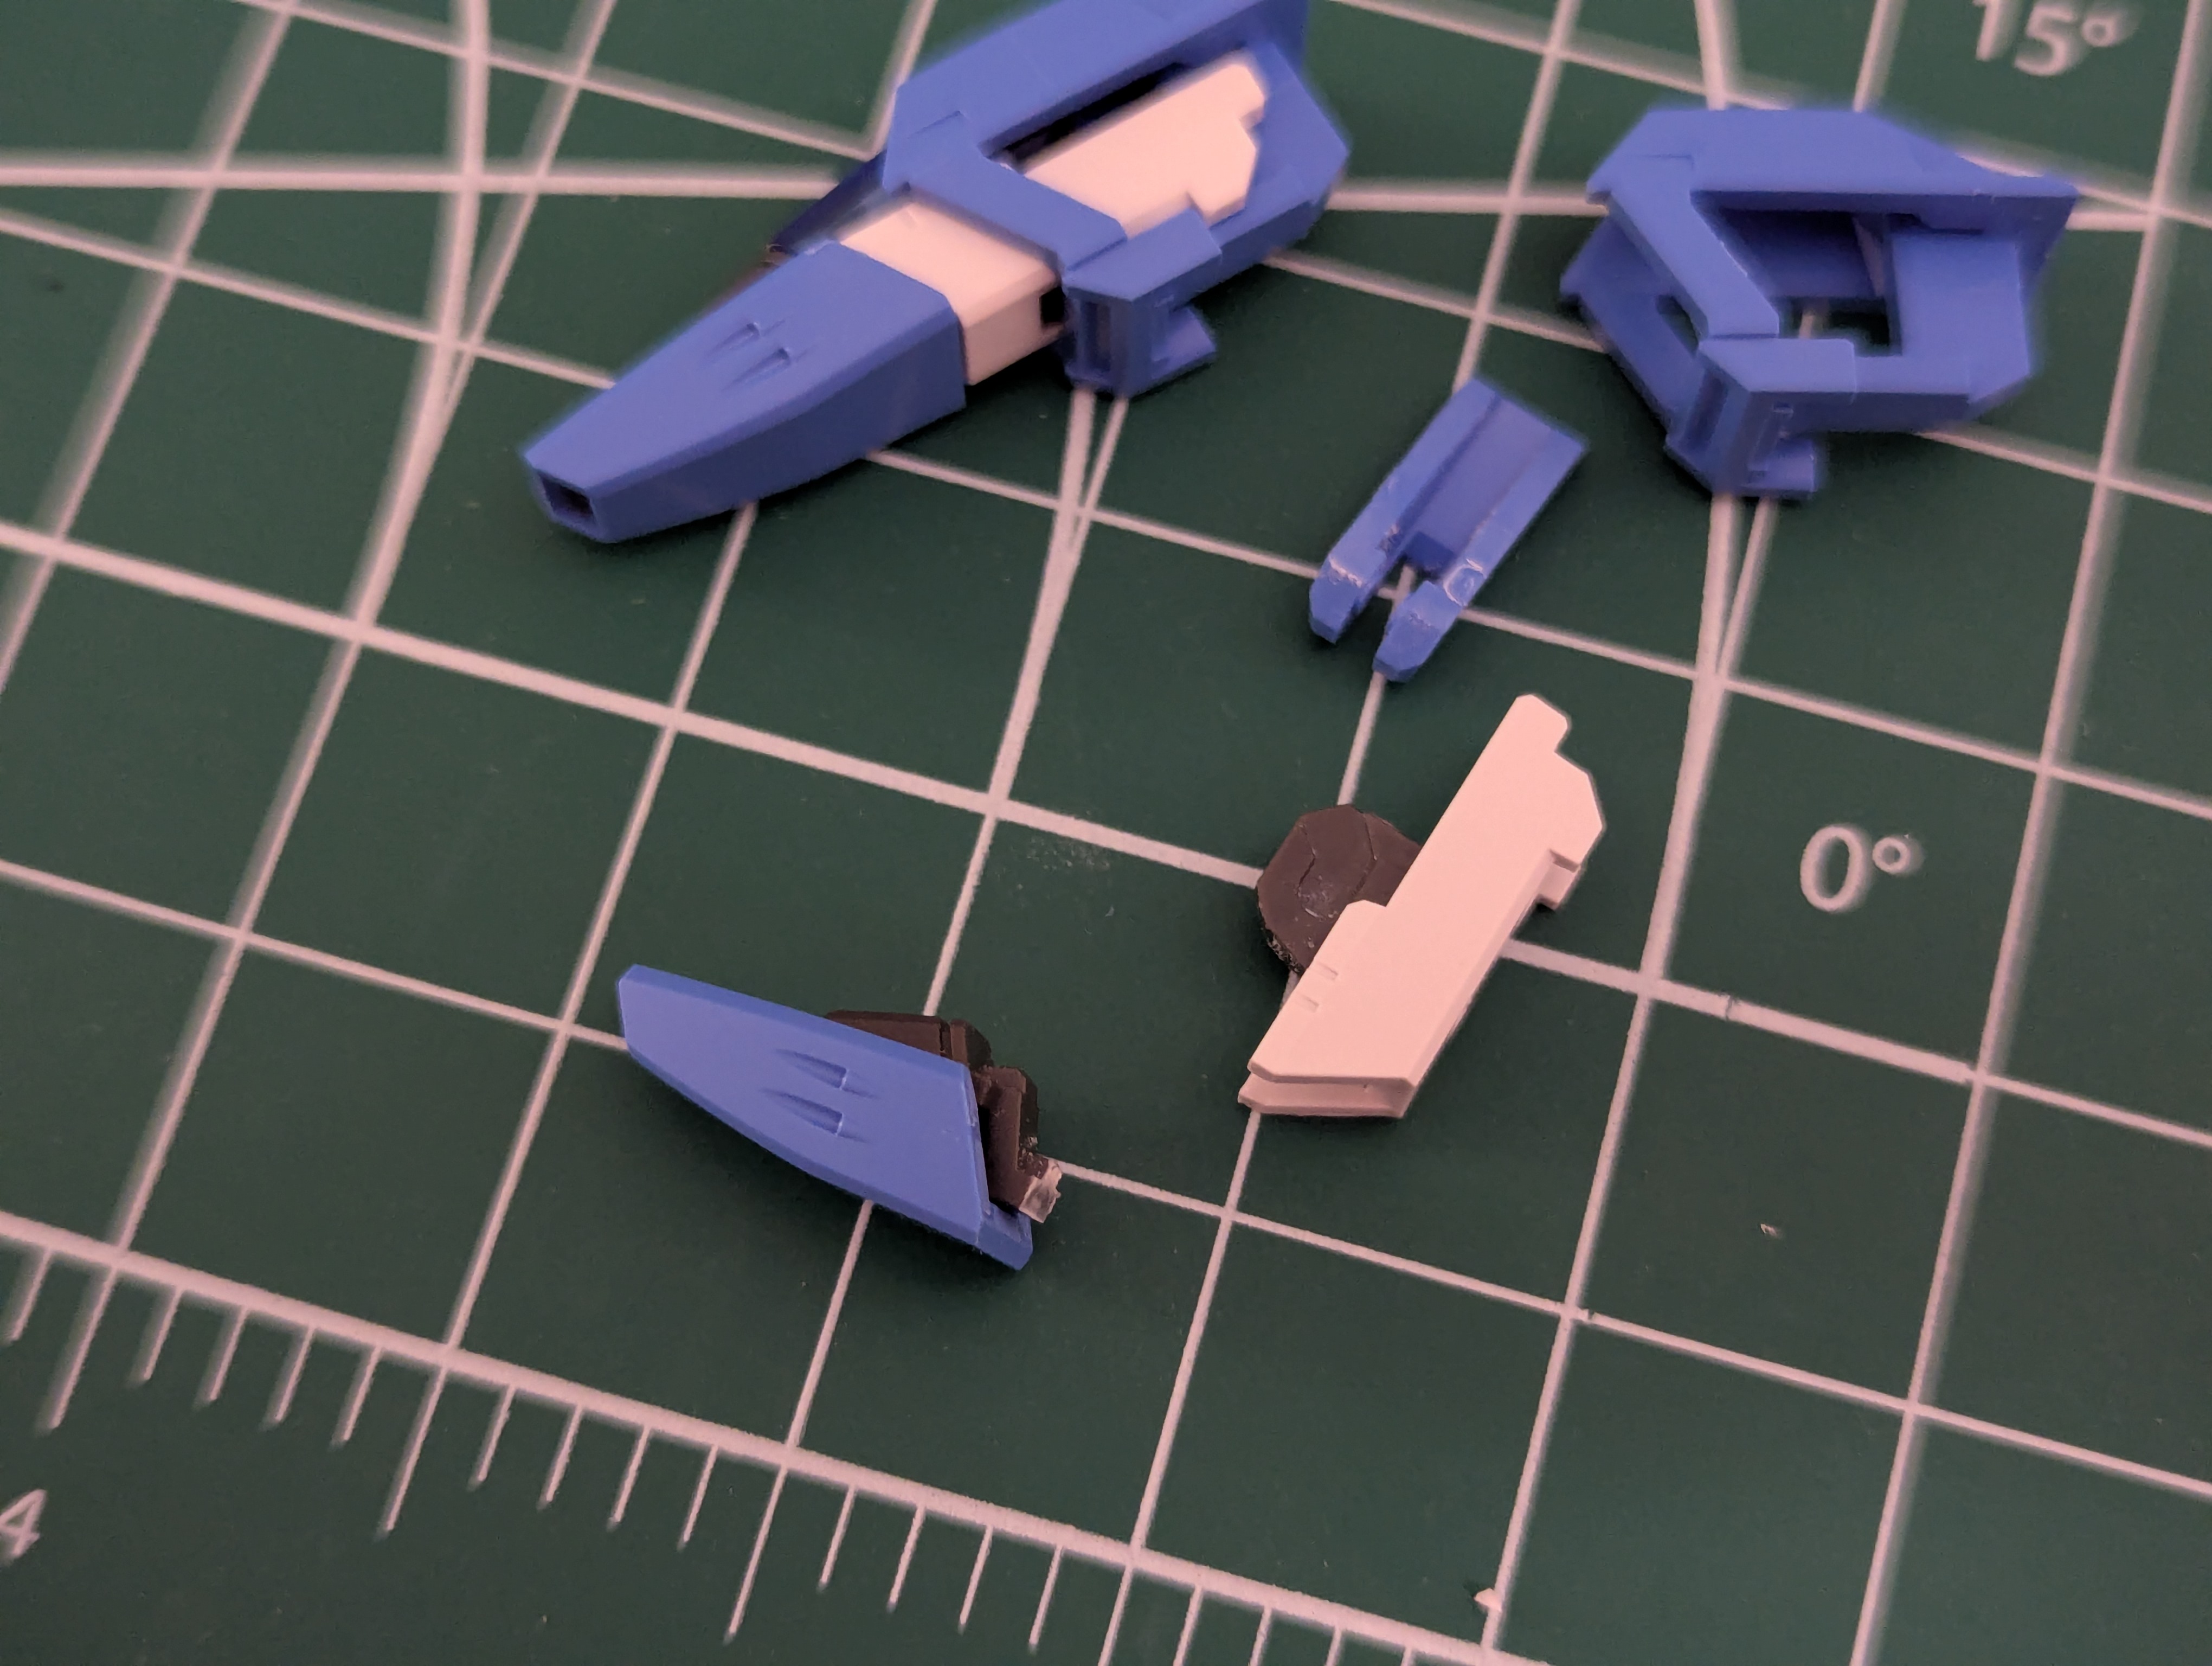
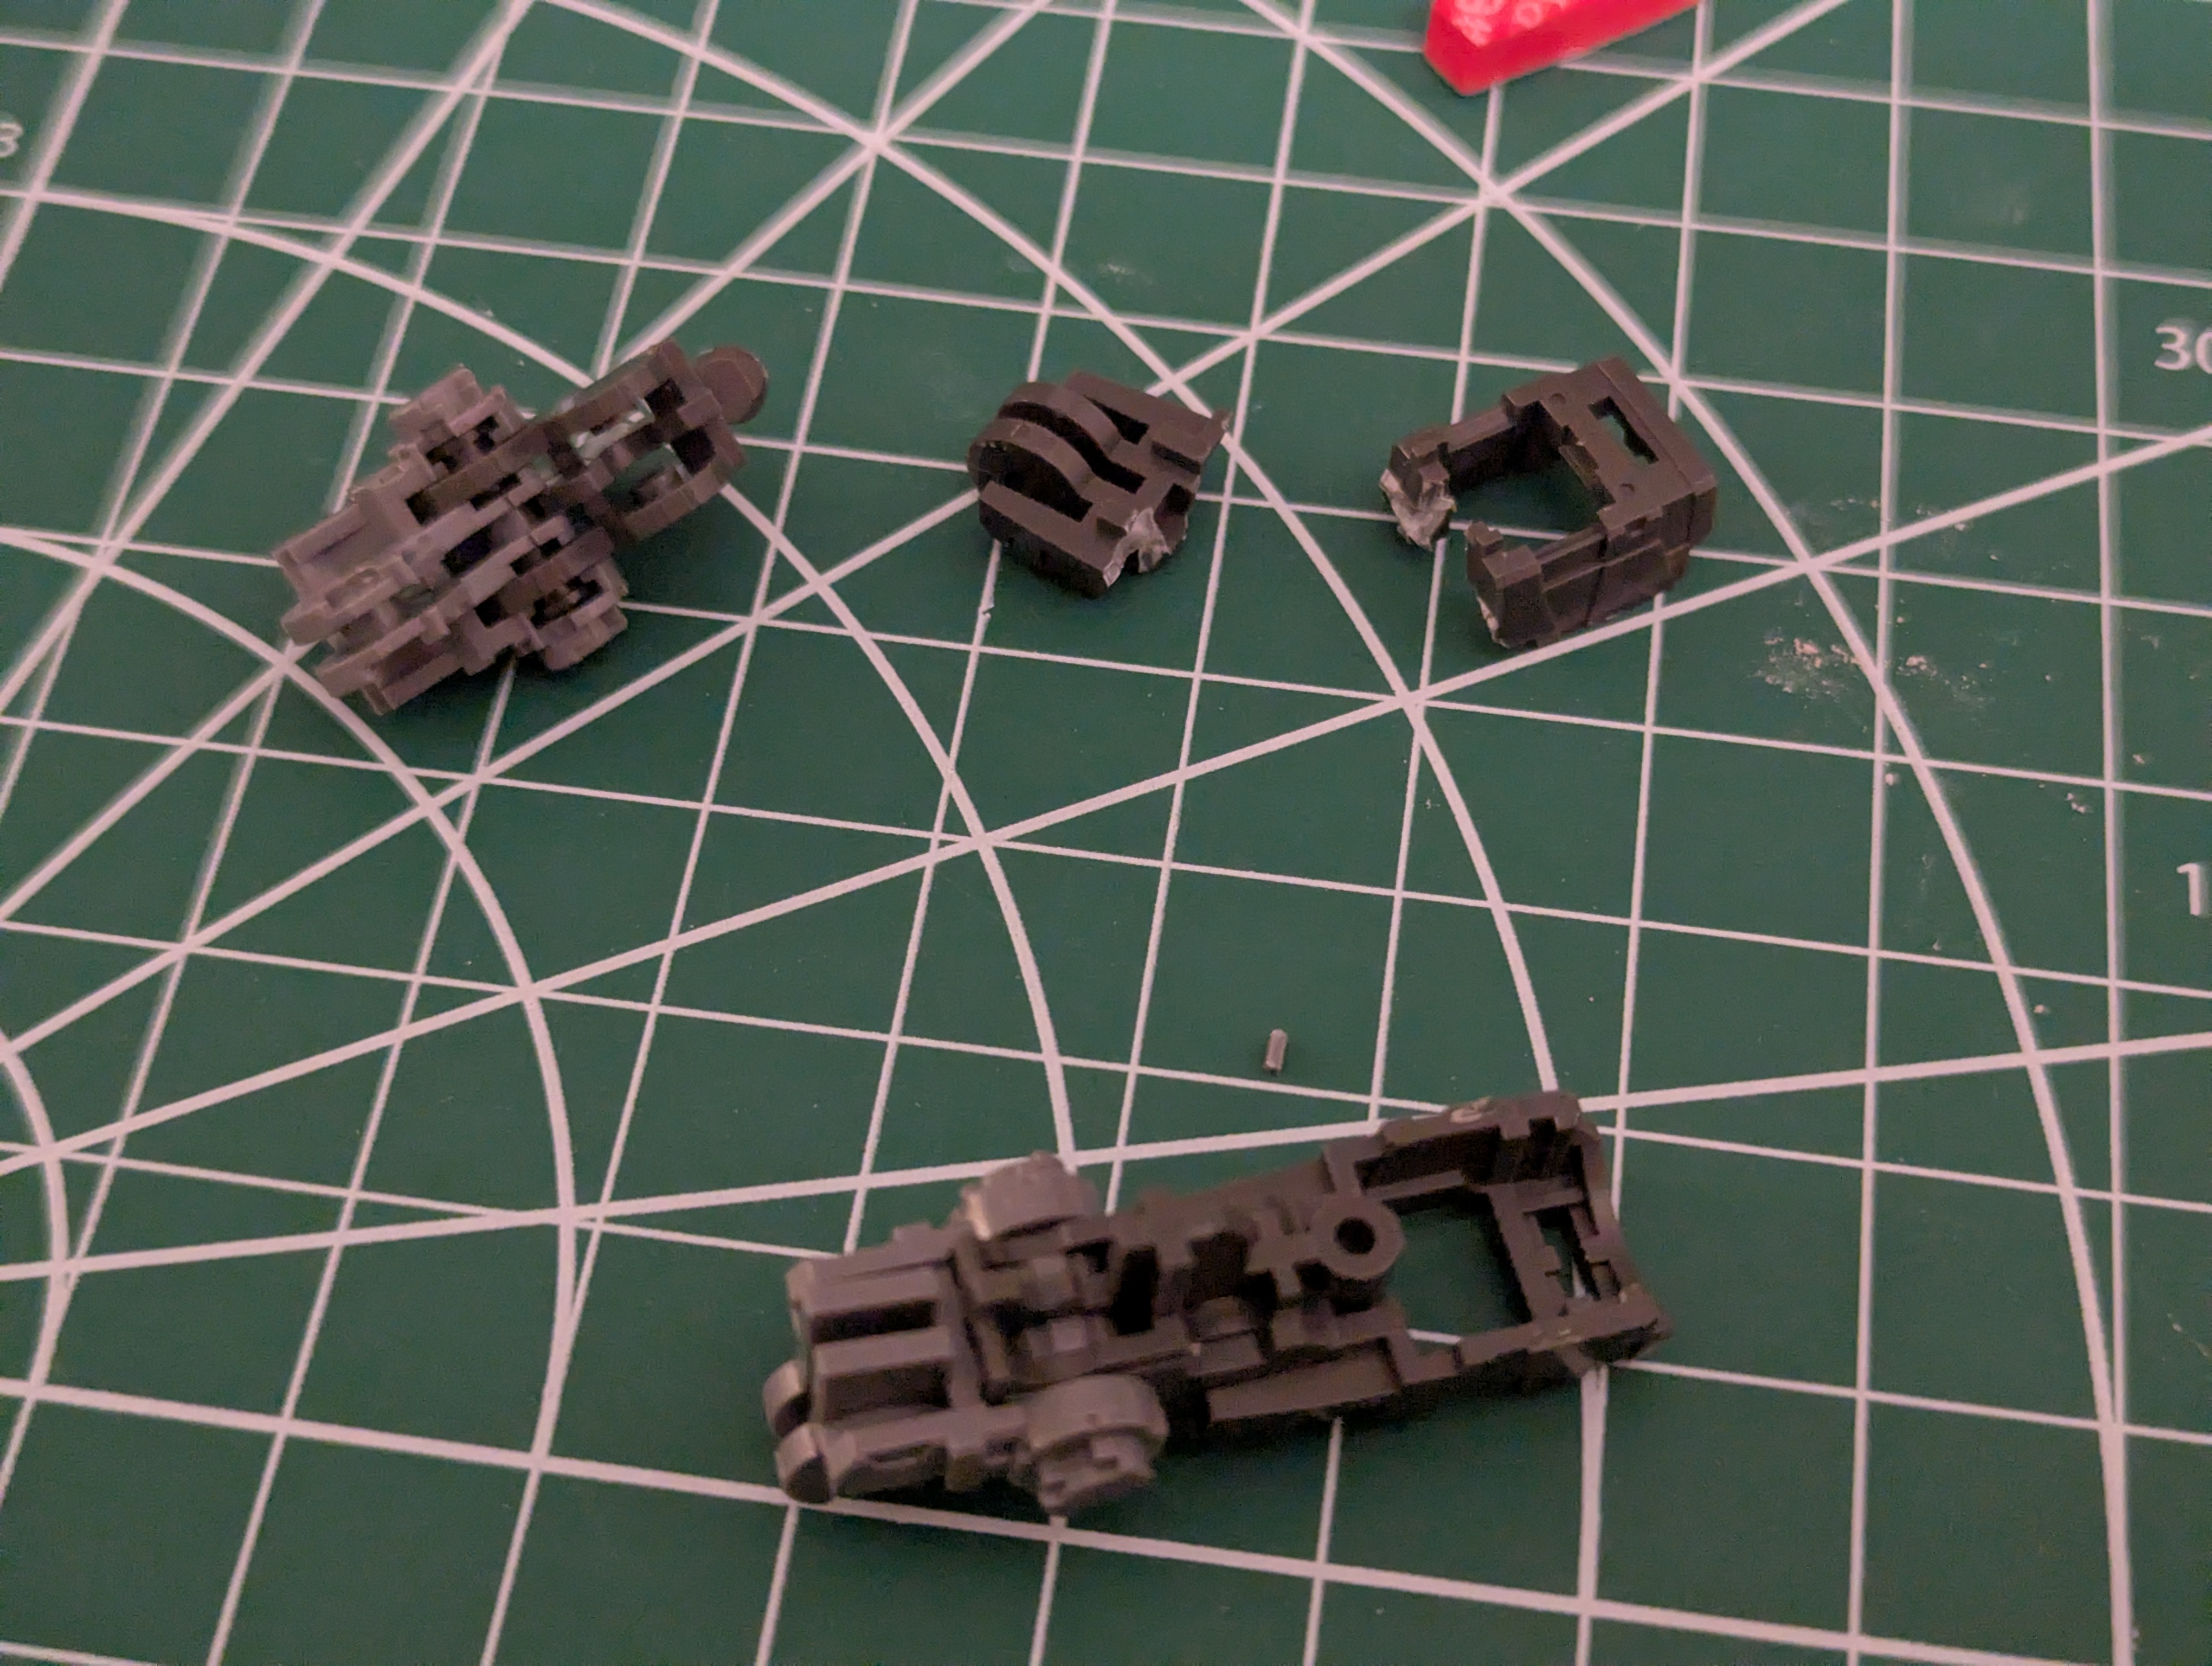
Unfortunately, this wasn't the last break in the build. I snapped two more pieces - both in the leg. These parts are really tight and the assembly requires you to lock and rotate pieces into a really sturdy joint - and I just put too much force on both of these steps. Compounding this is that the kit appears to be completely ABS plastic, and is a bit soft.
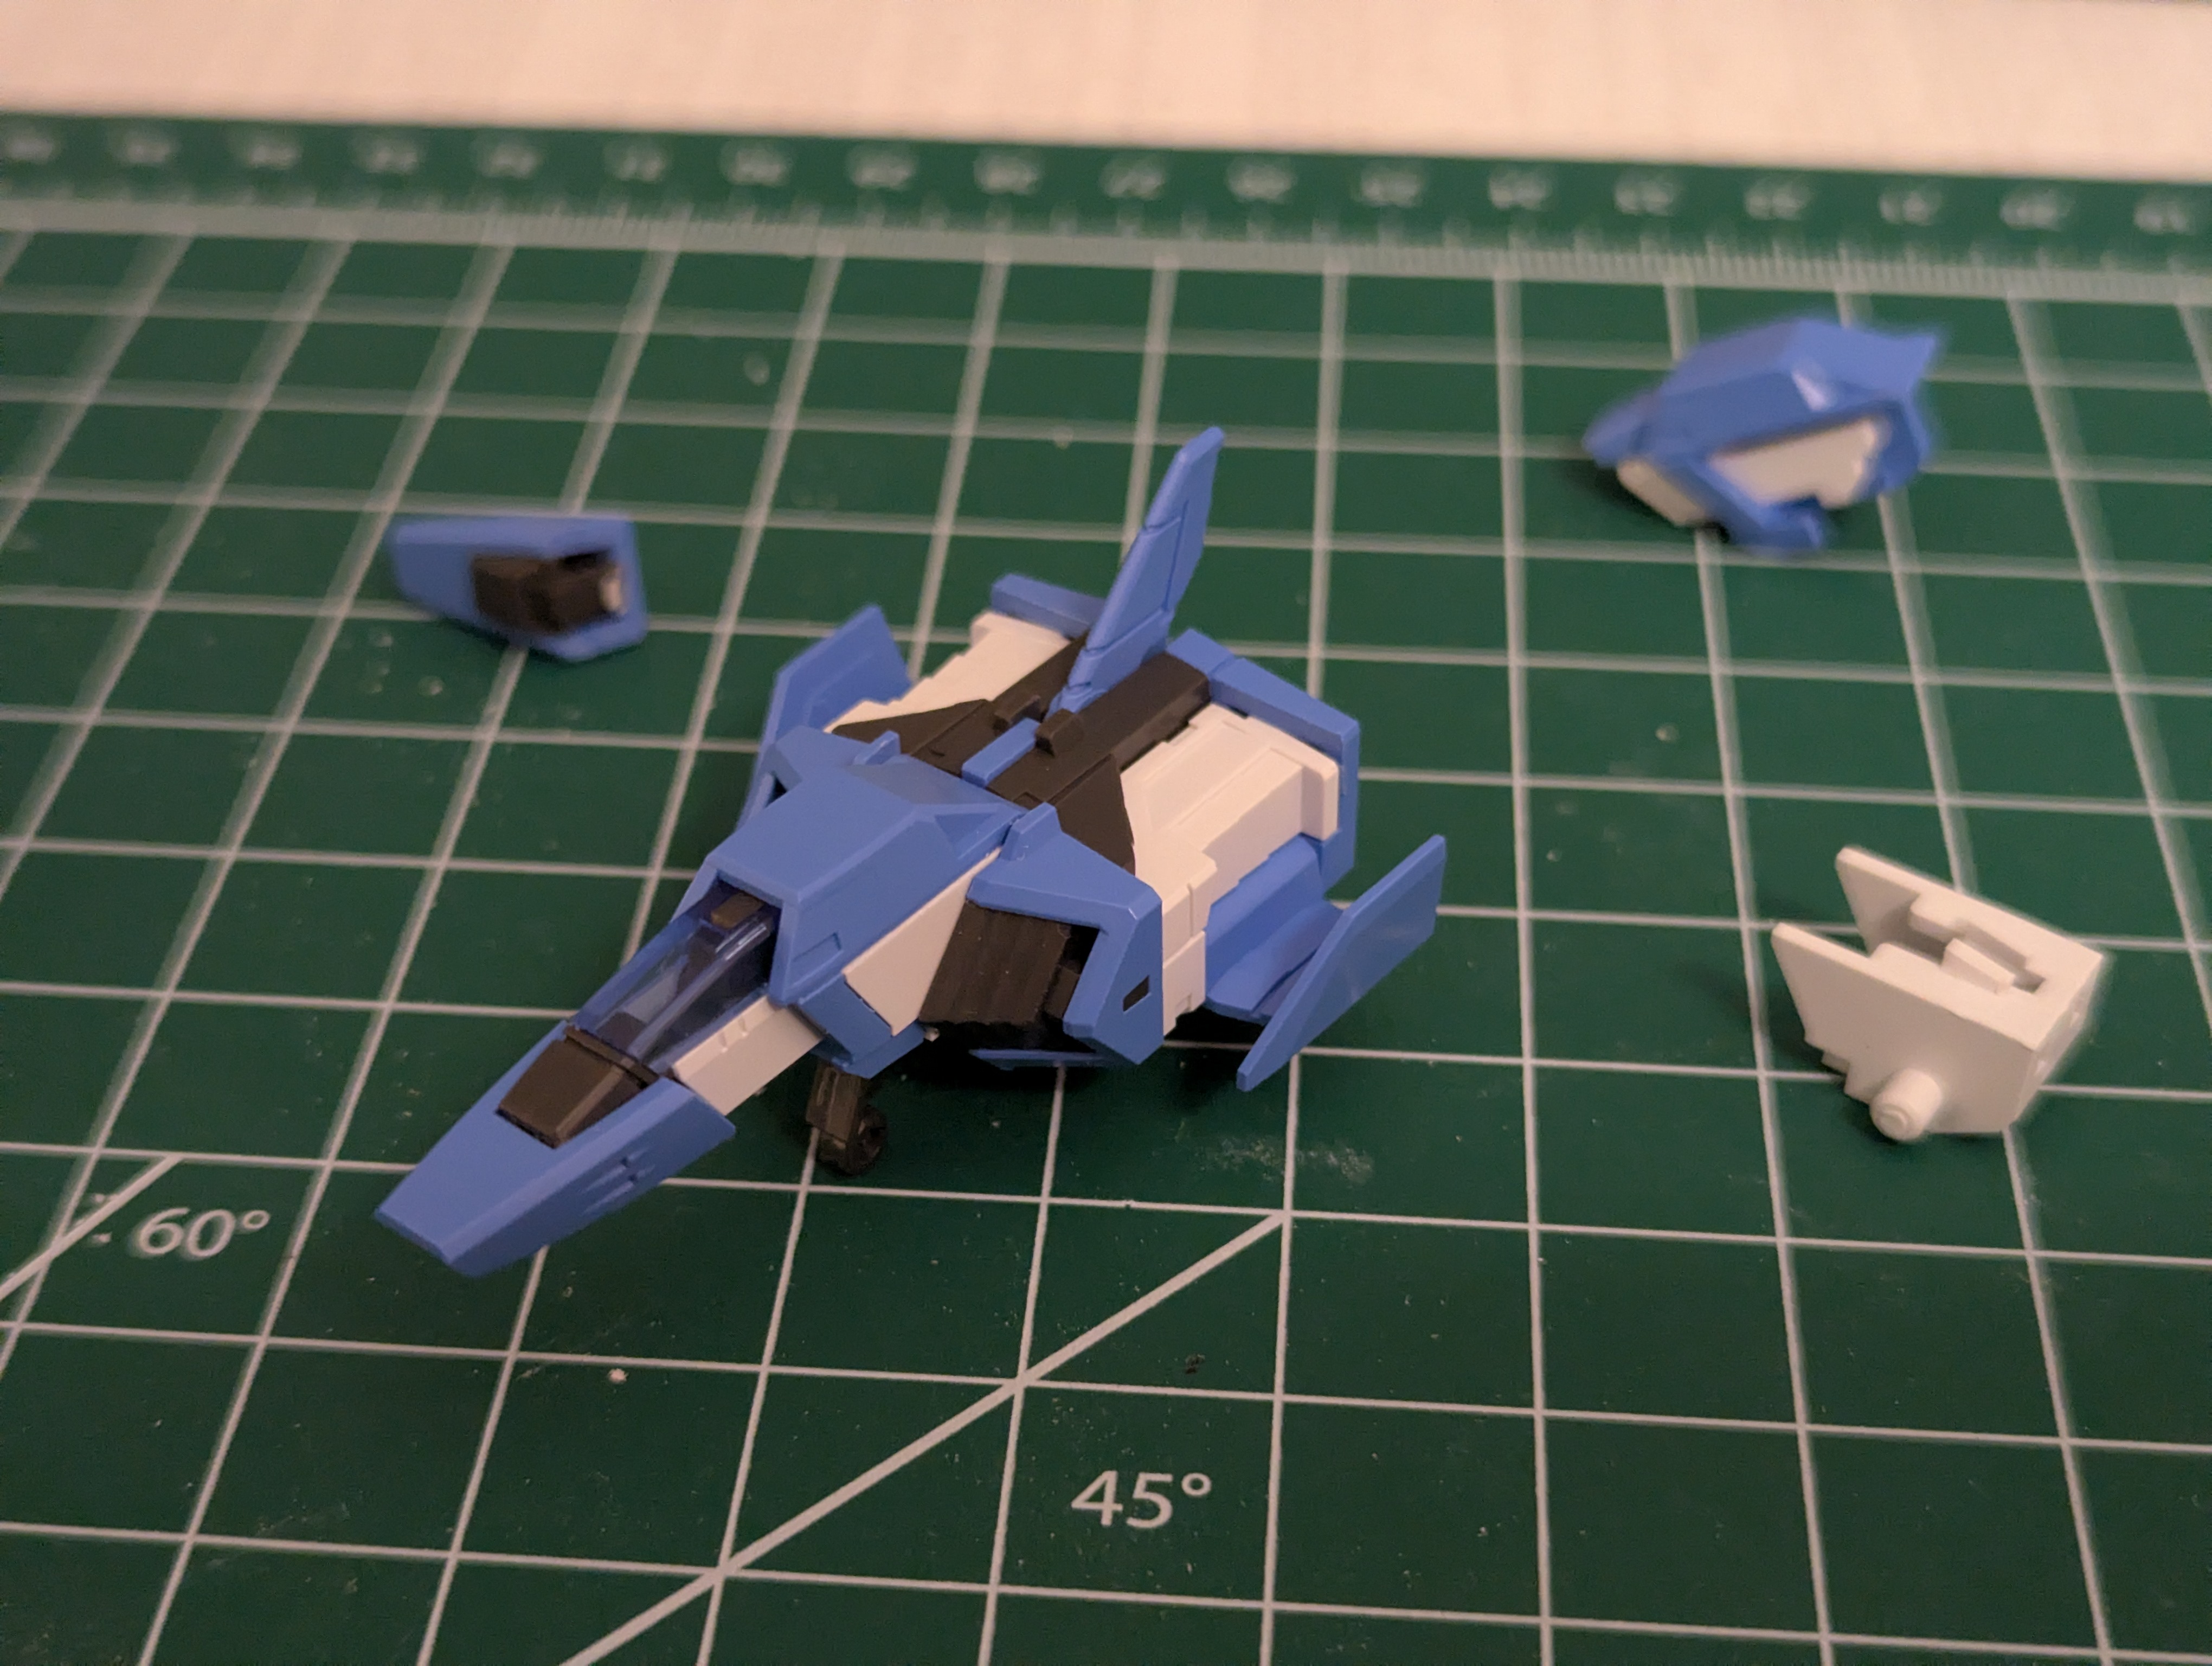
Assembling sans left leg for now. The core figheter transforms into the middle torso block, but once the armor panels are on will be completely invisible - so the part break on the nose is totally inconsequential.
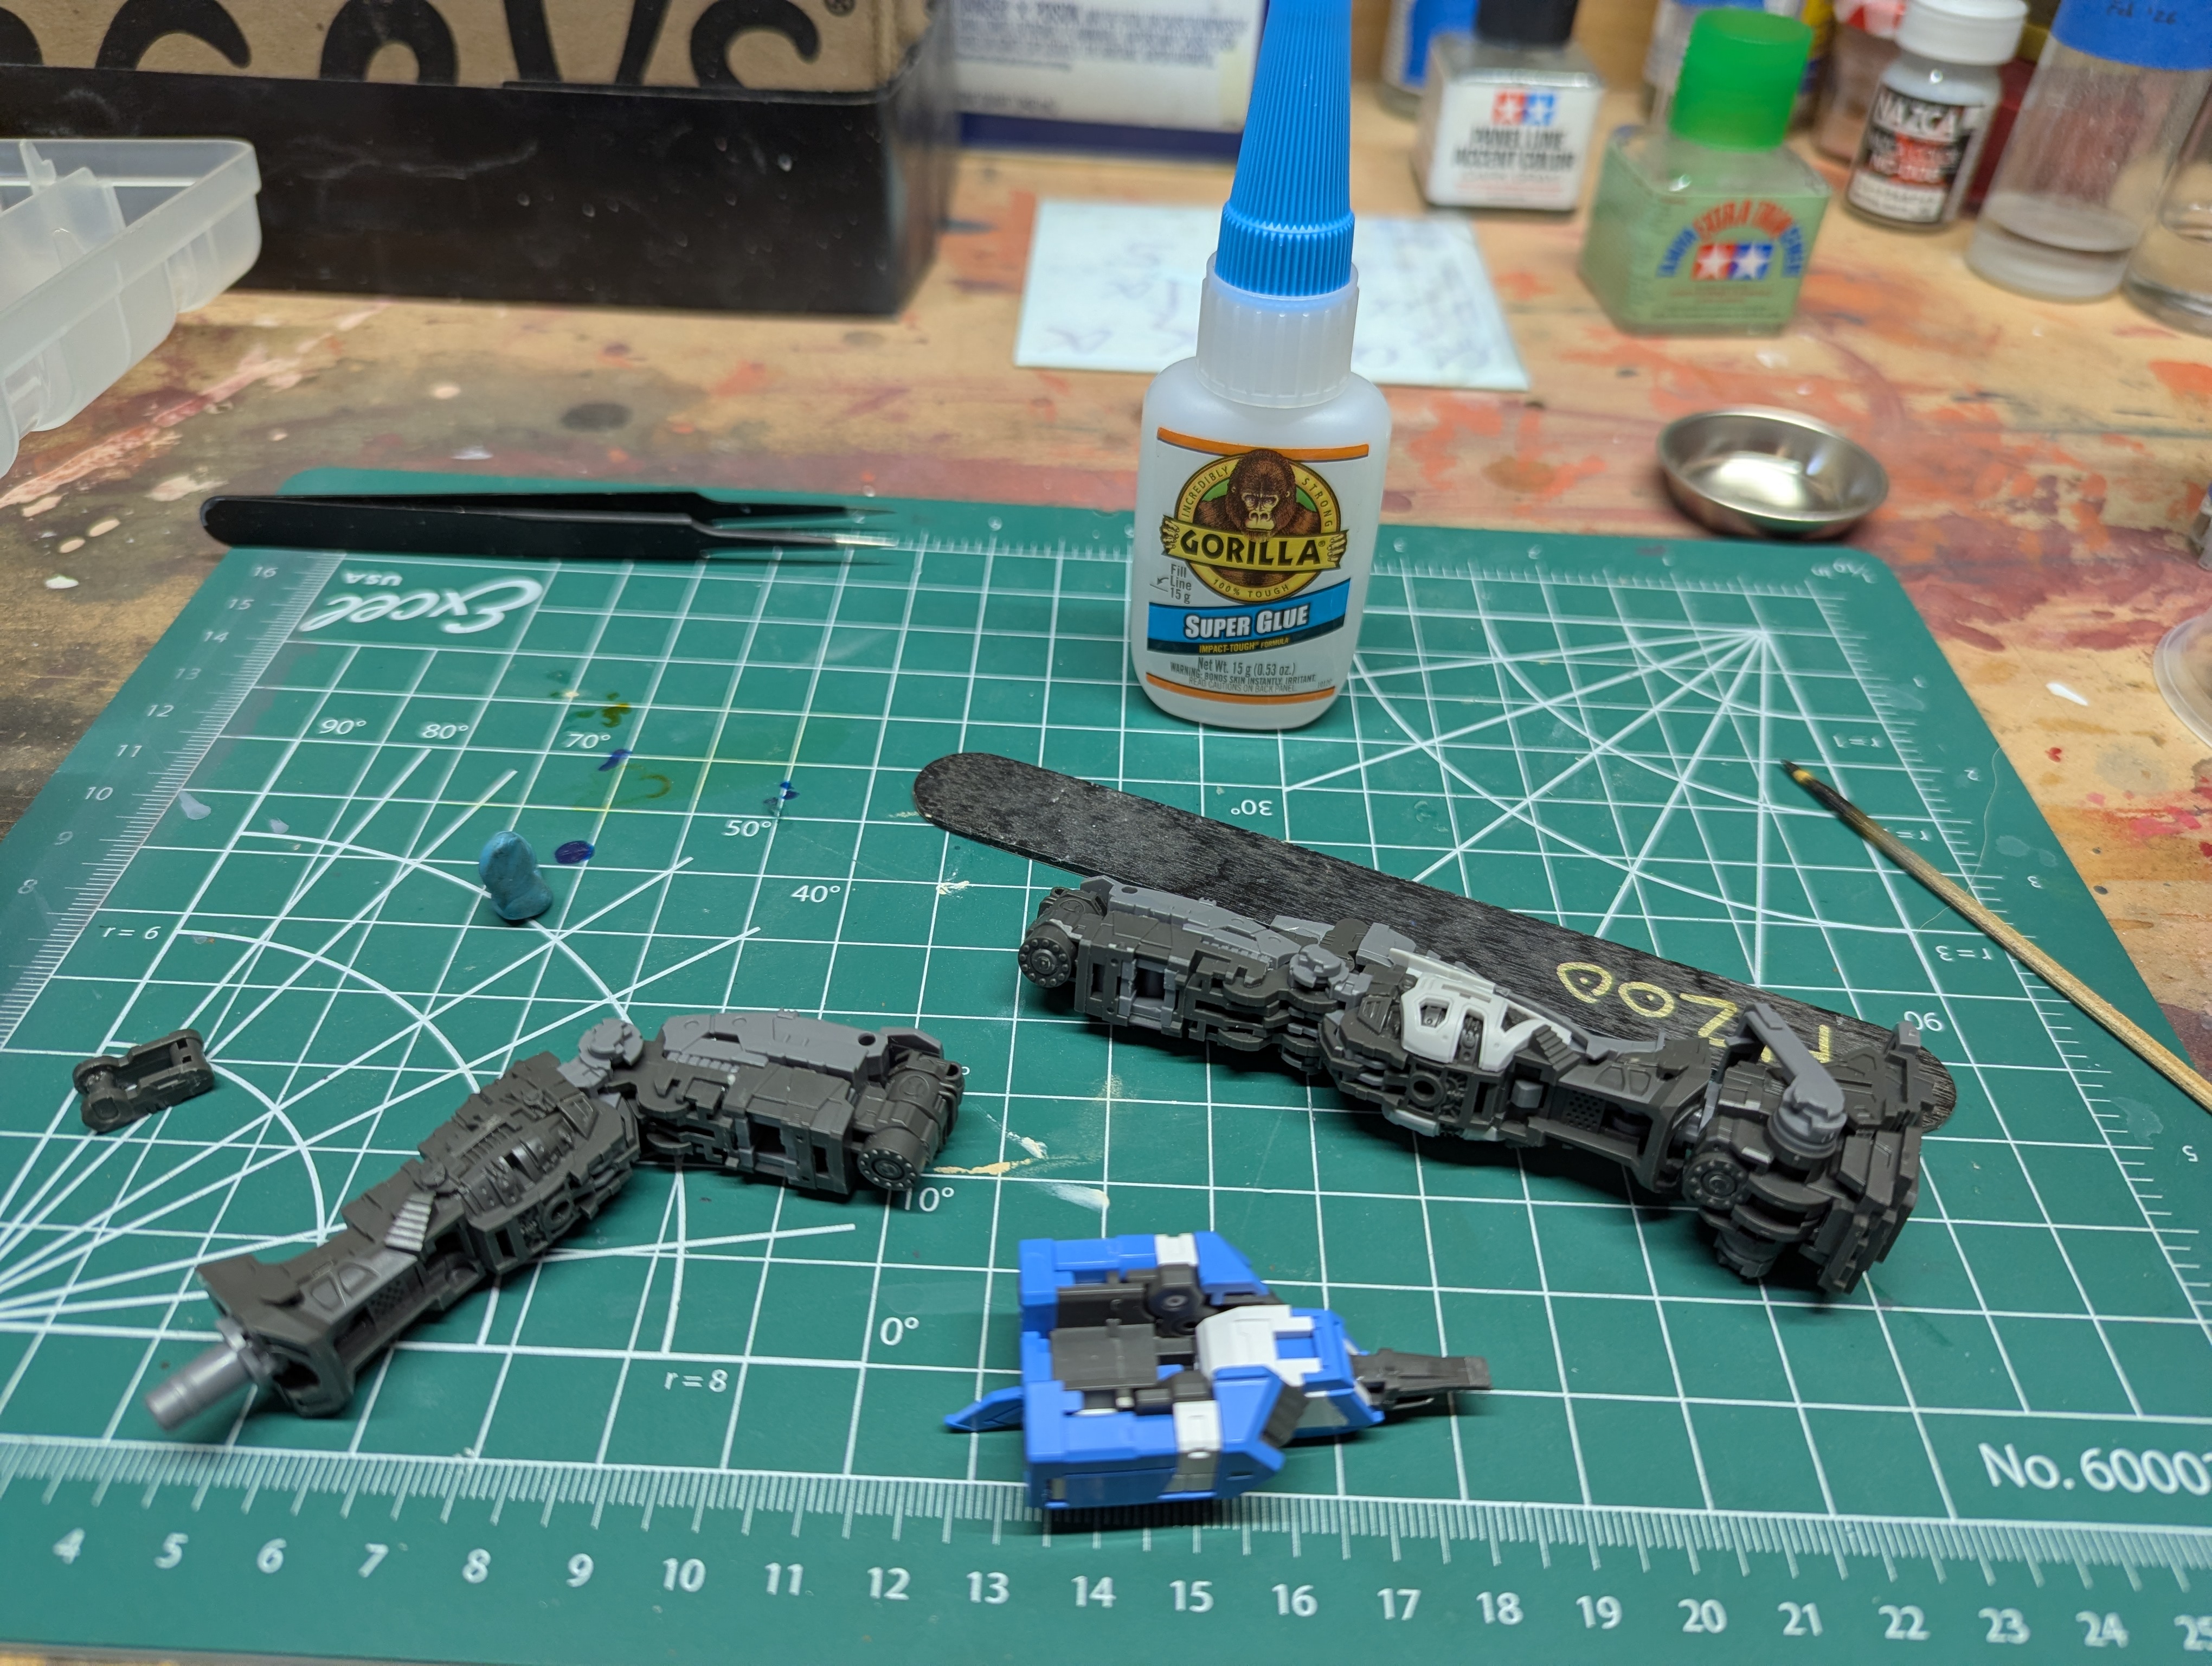
I tried multiple plastic cements I had on hand - Tamiya extra thin and Testor's - but neither worked well on this ABS. Eventually I resorted to super glue which worked really well - but might have made a few of these pieces un-disassemblable. This will impact my paint choices slightly, but we'll get to that next update.
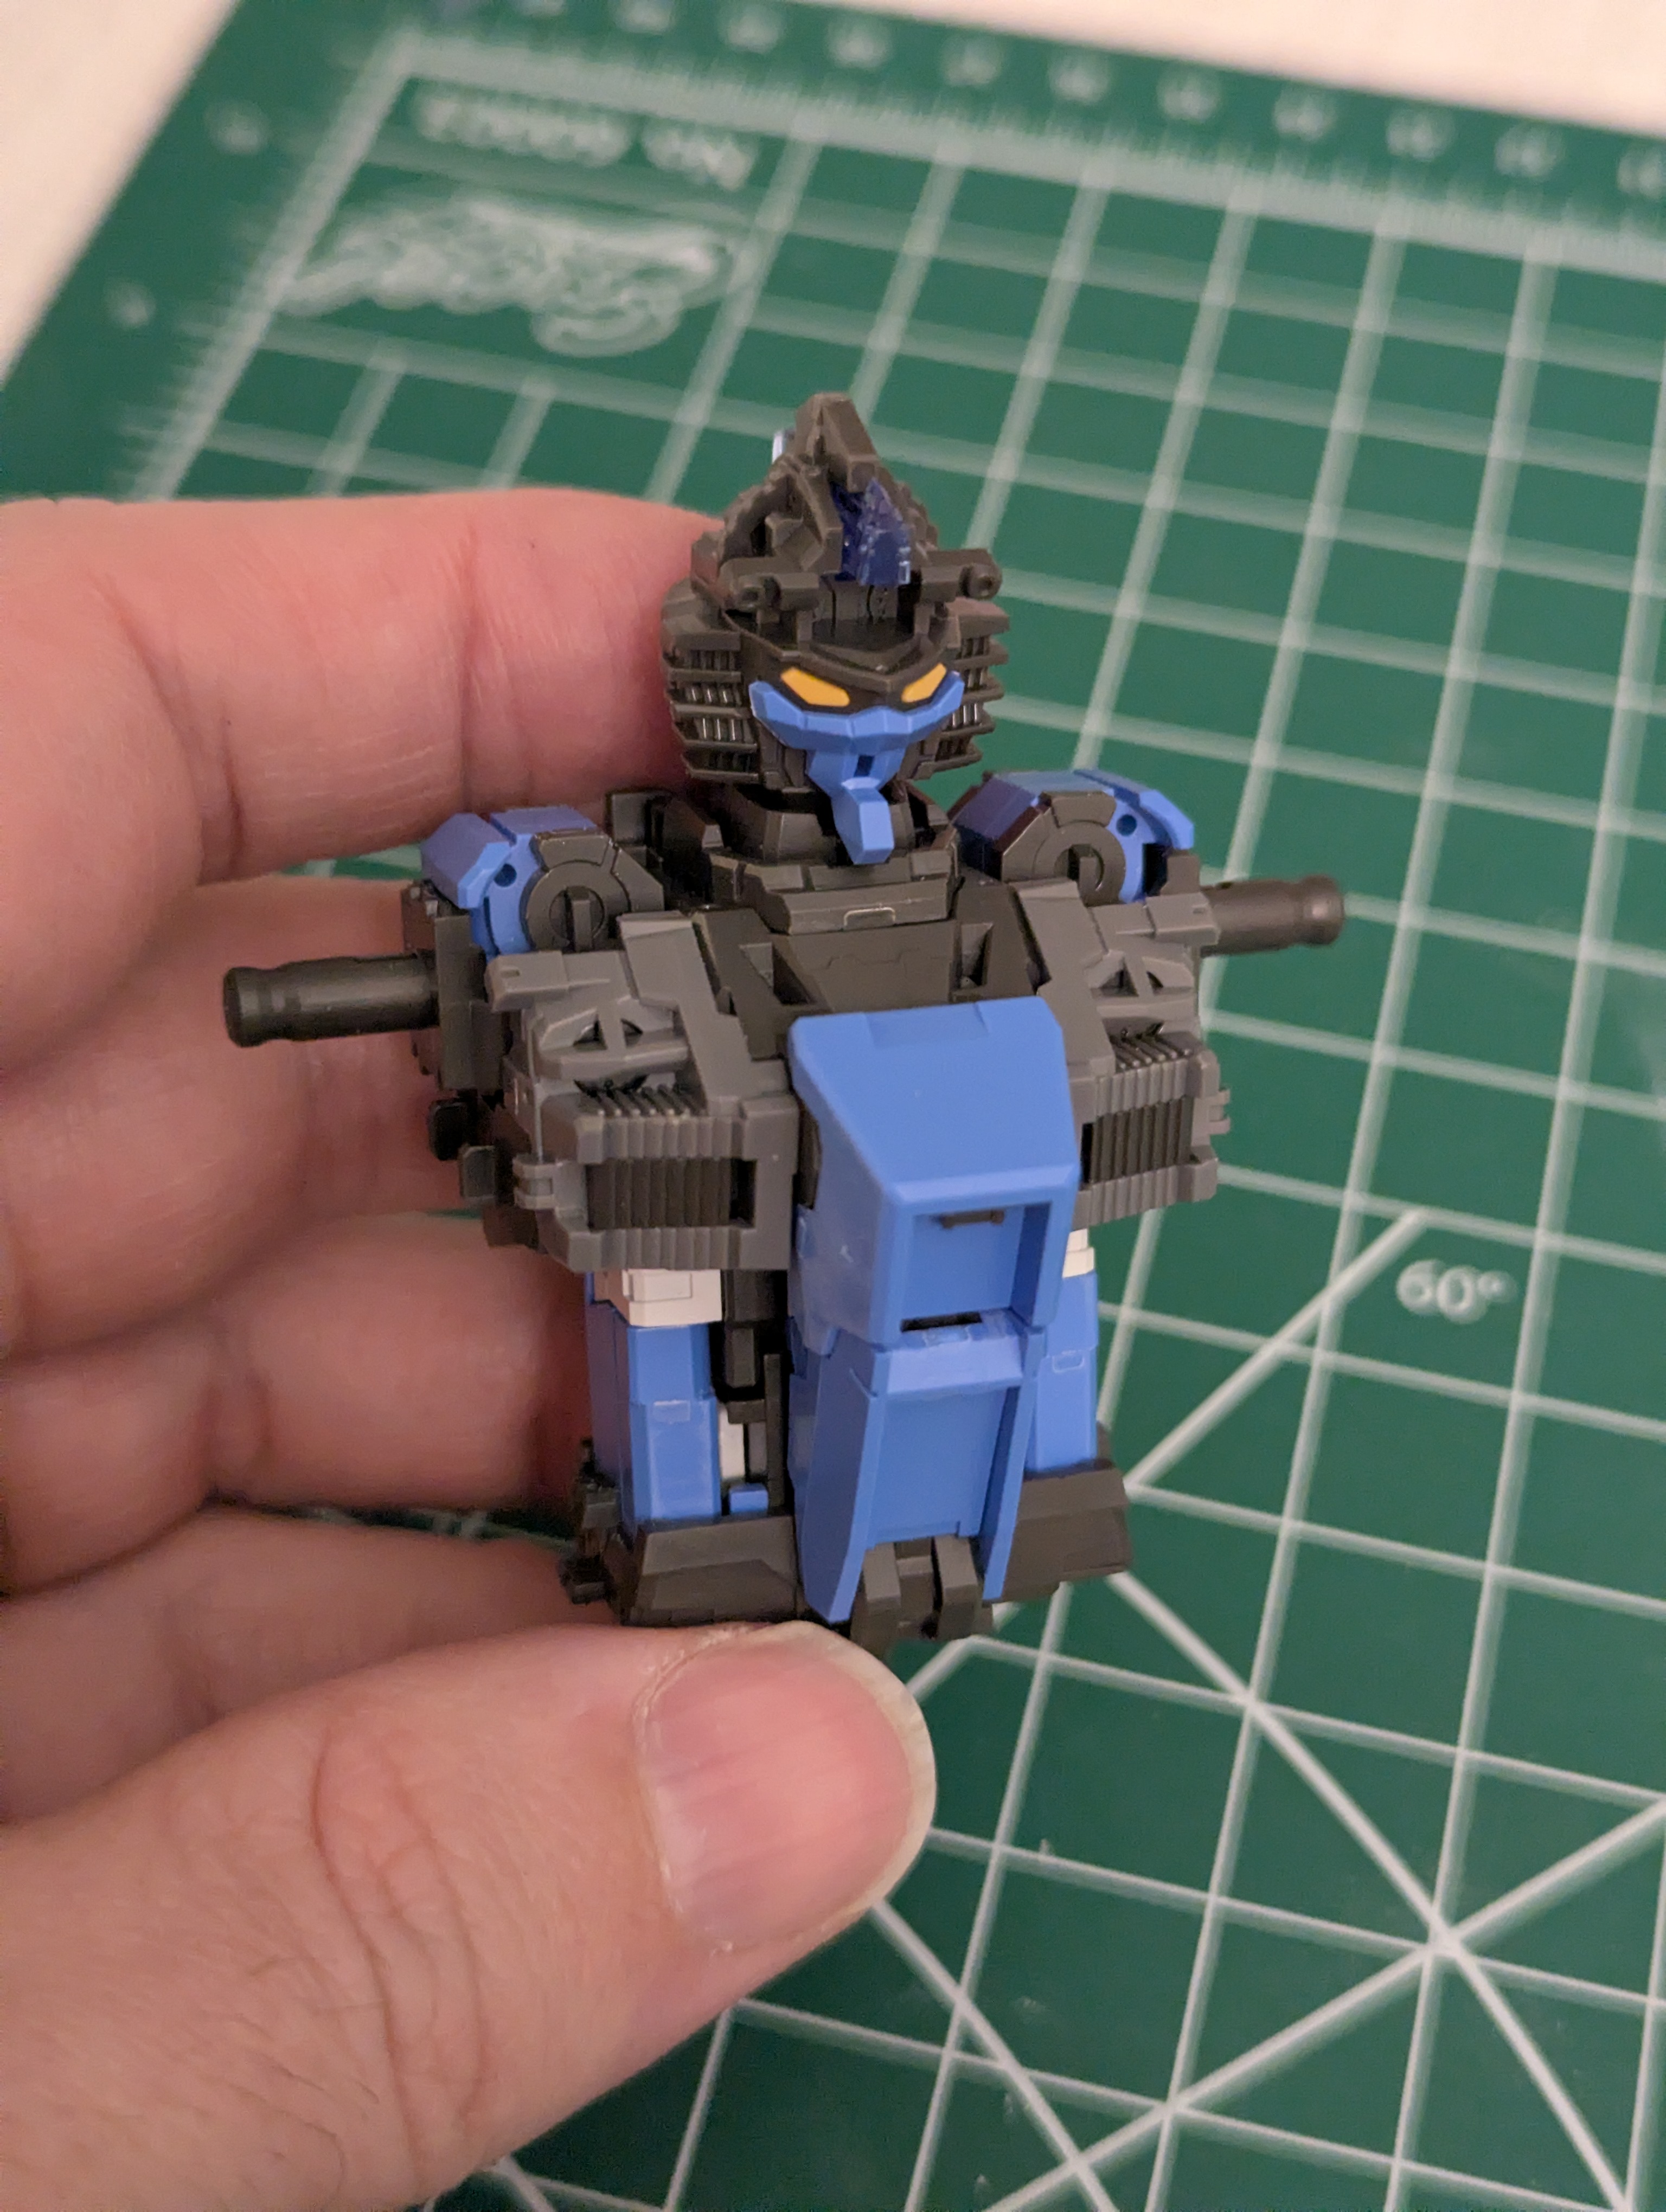
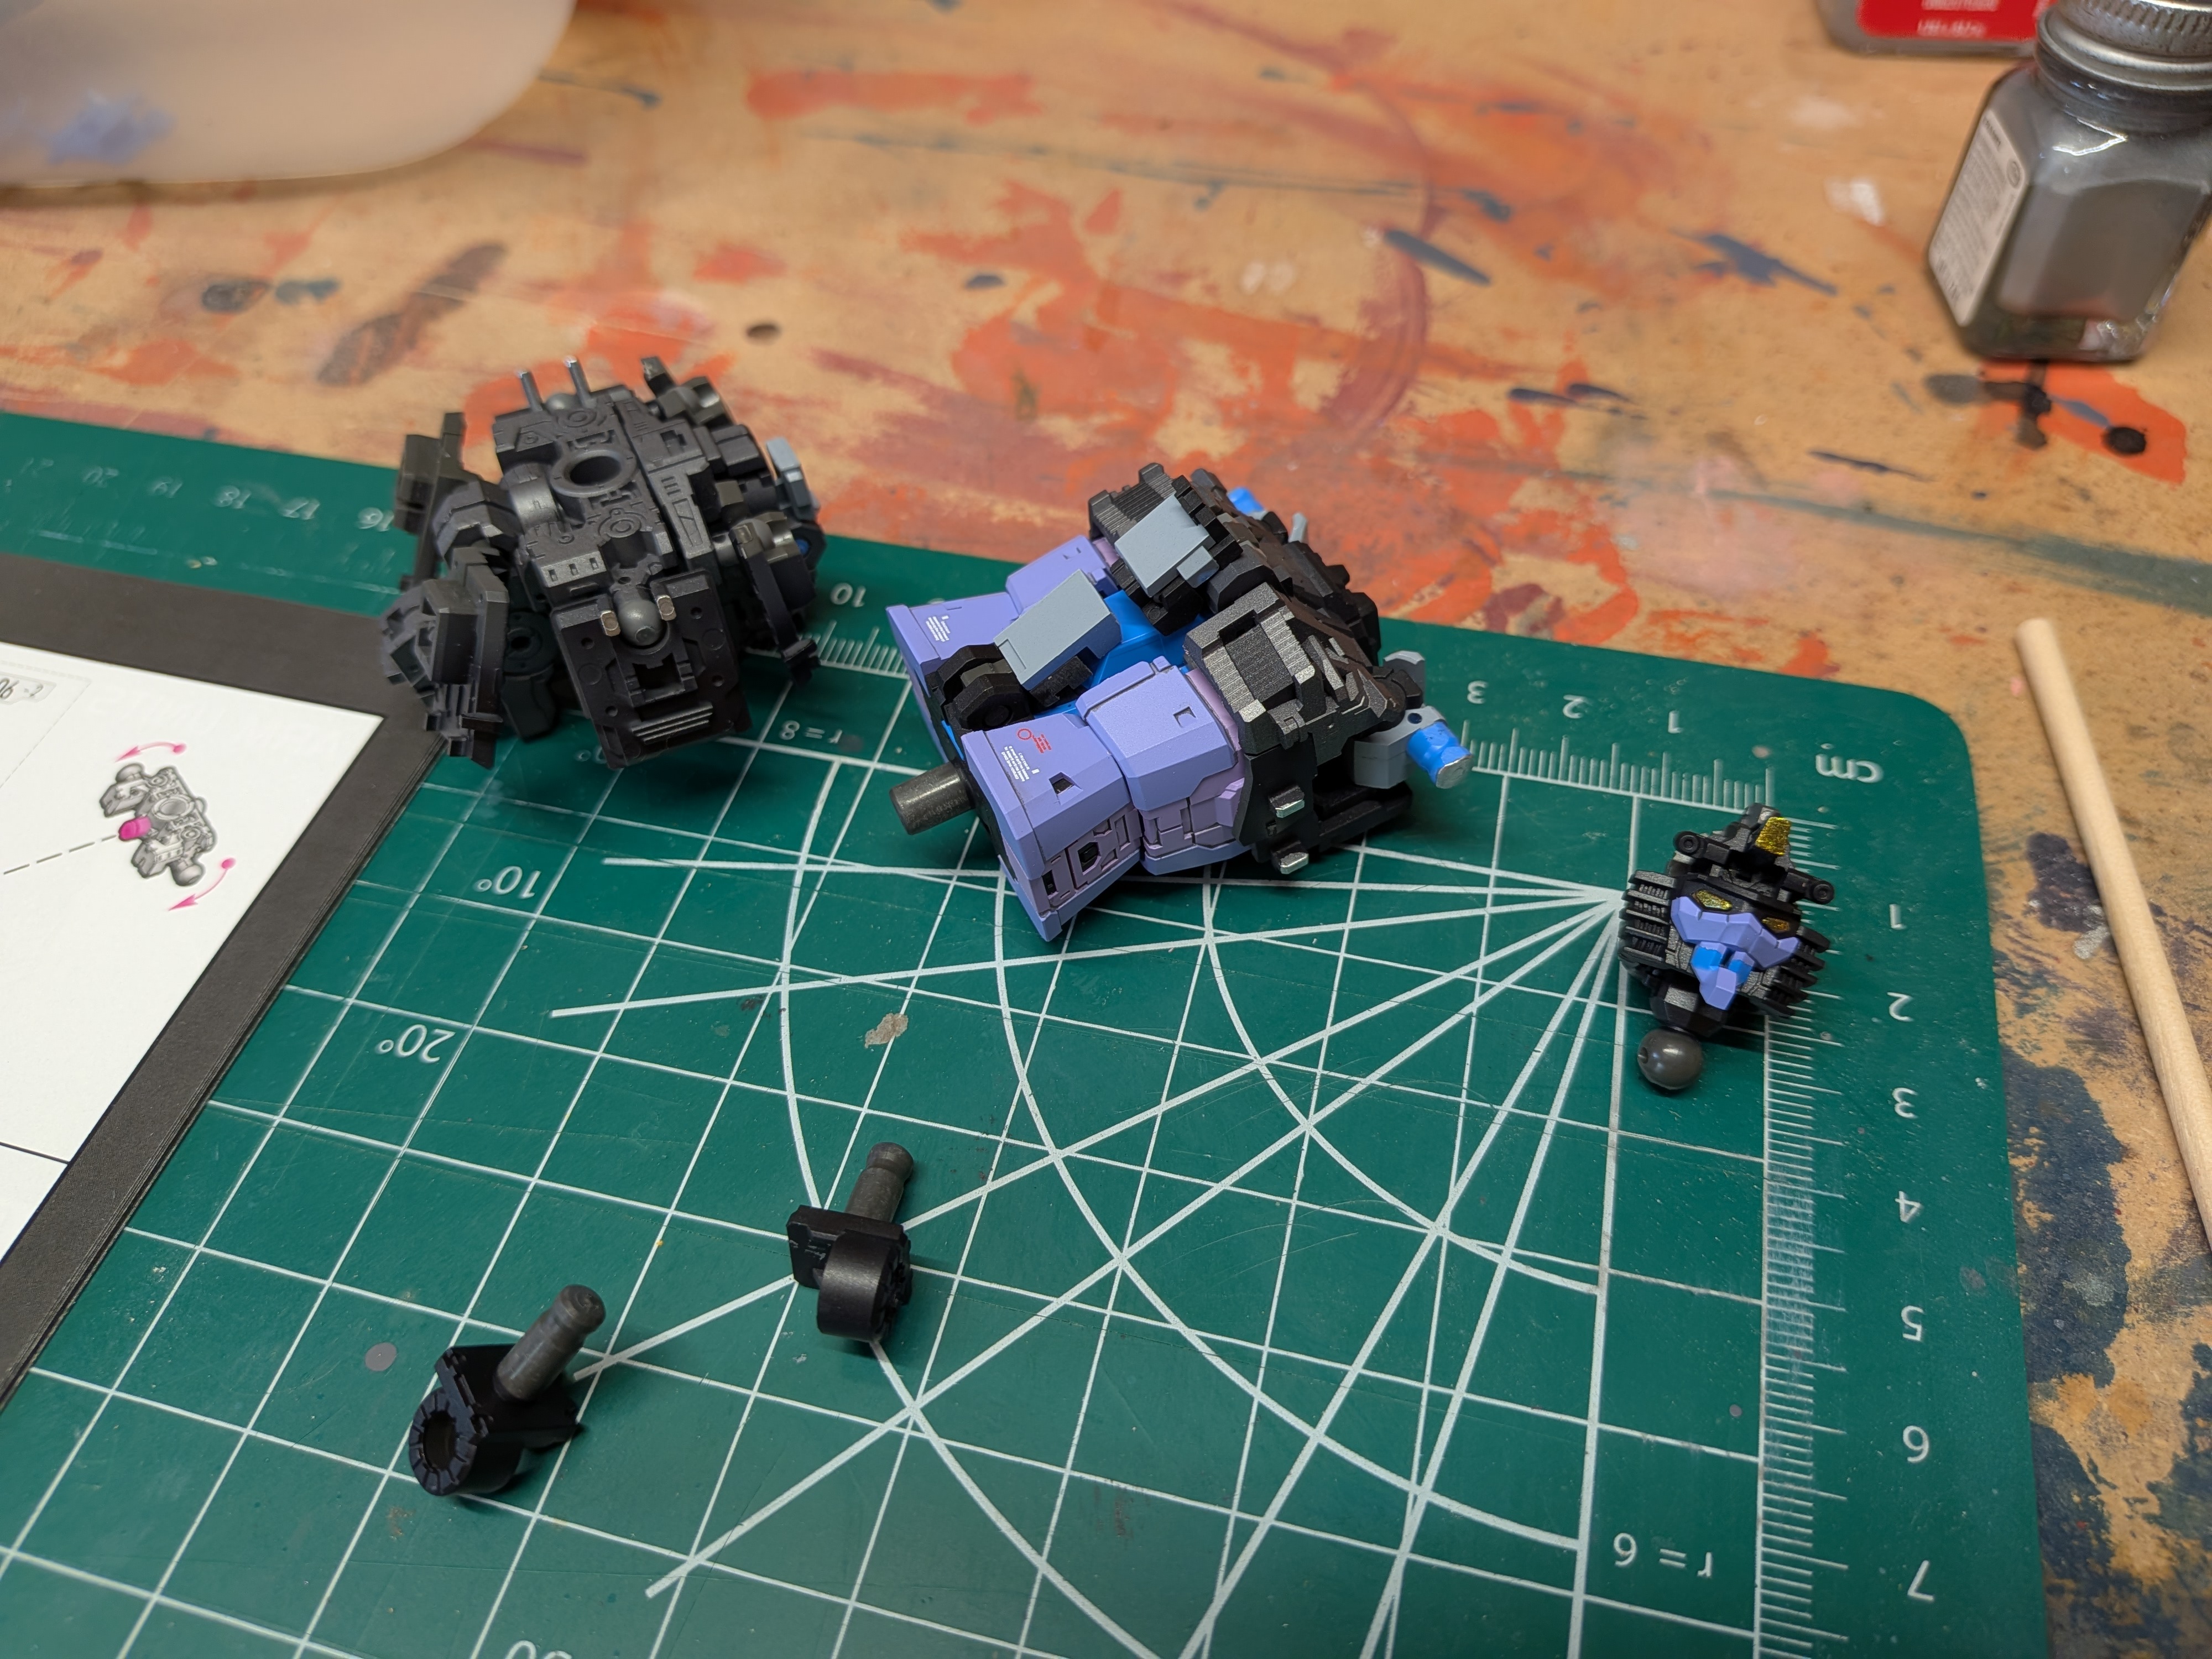
I assembled more of the frame once the super glue was cured. This inner frame has me a bit conflicted - obviously the detail level is crazy (and even crazier when you imagine it at 1/144 scale) but at the same time the details don't really read as anything realistic to me. Comparing it to something like an older MG frame, those typically have molded details that are simulating something like a pipe or piston or support structure - these are just greebles. But this kit has no real open hatch gimmicks, so it's not going to be visible except for the specific and limited armor gaps.
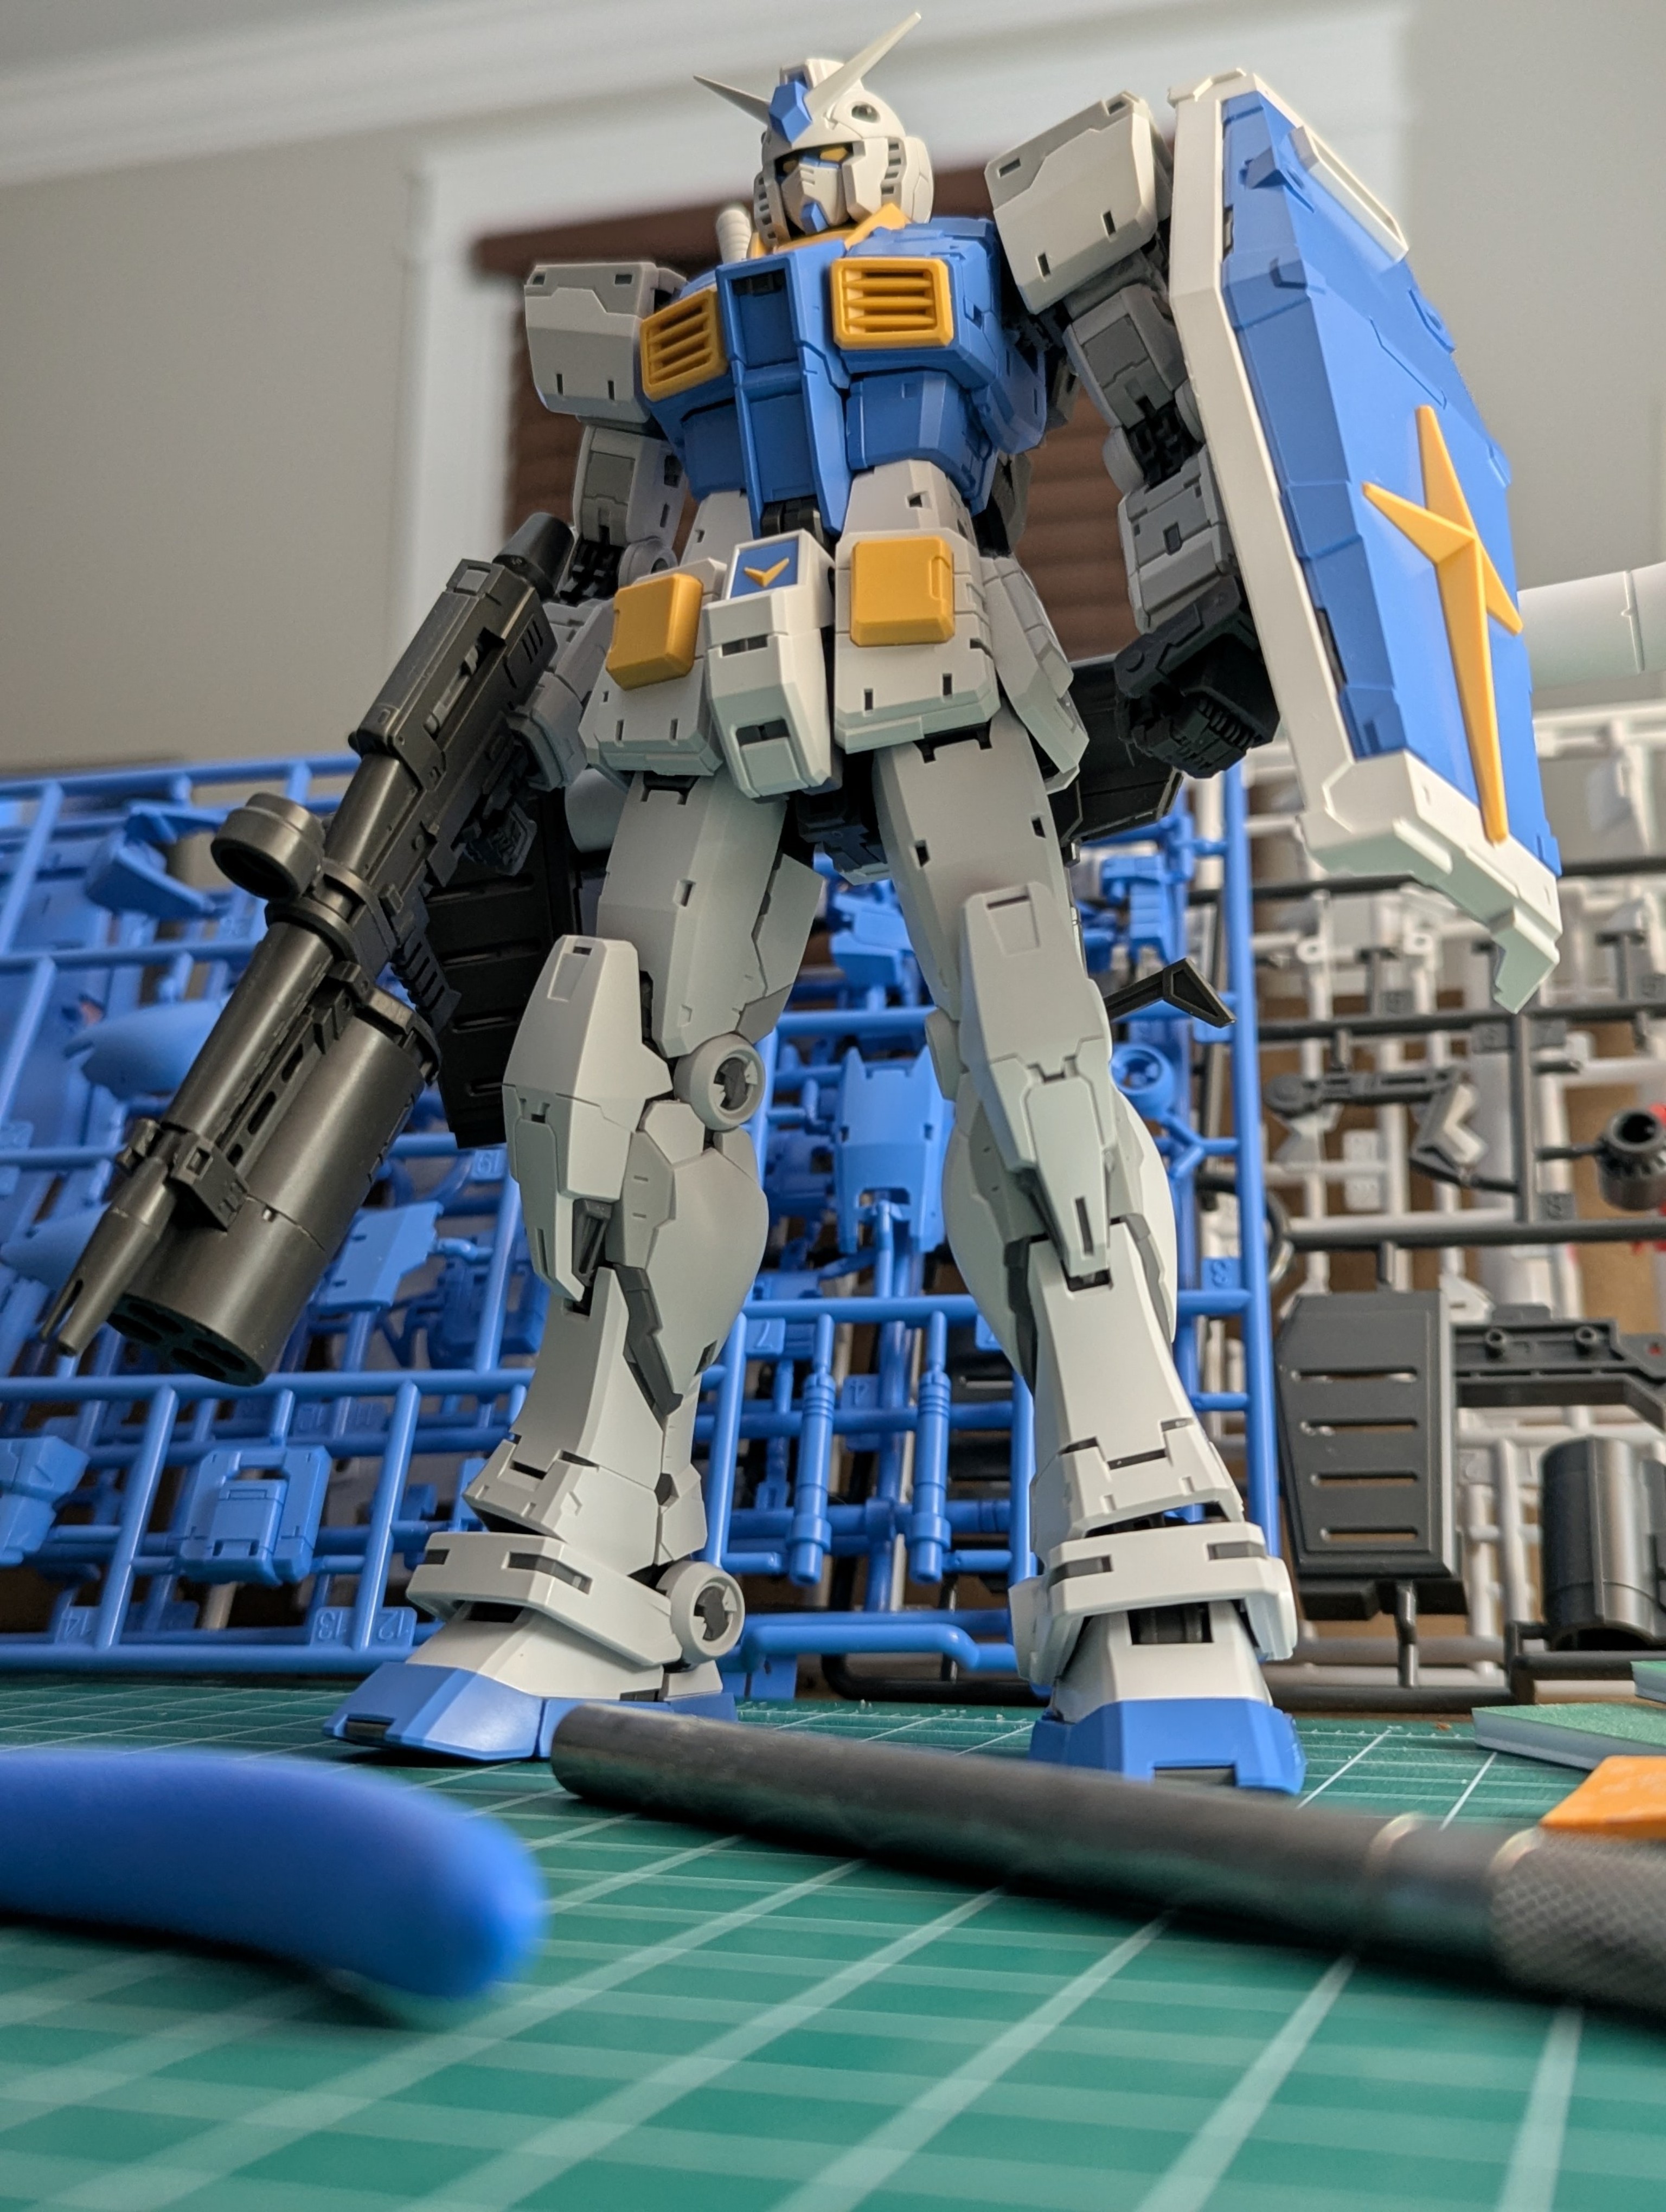
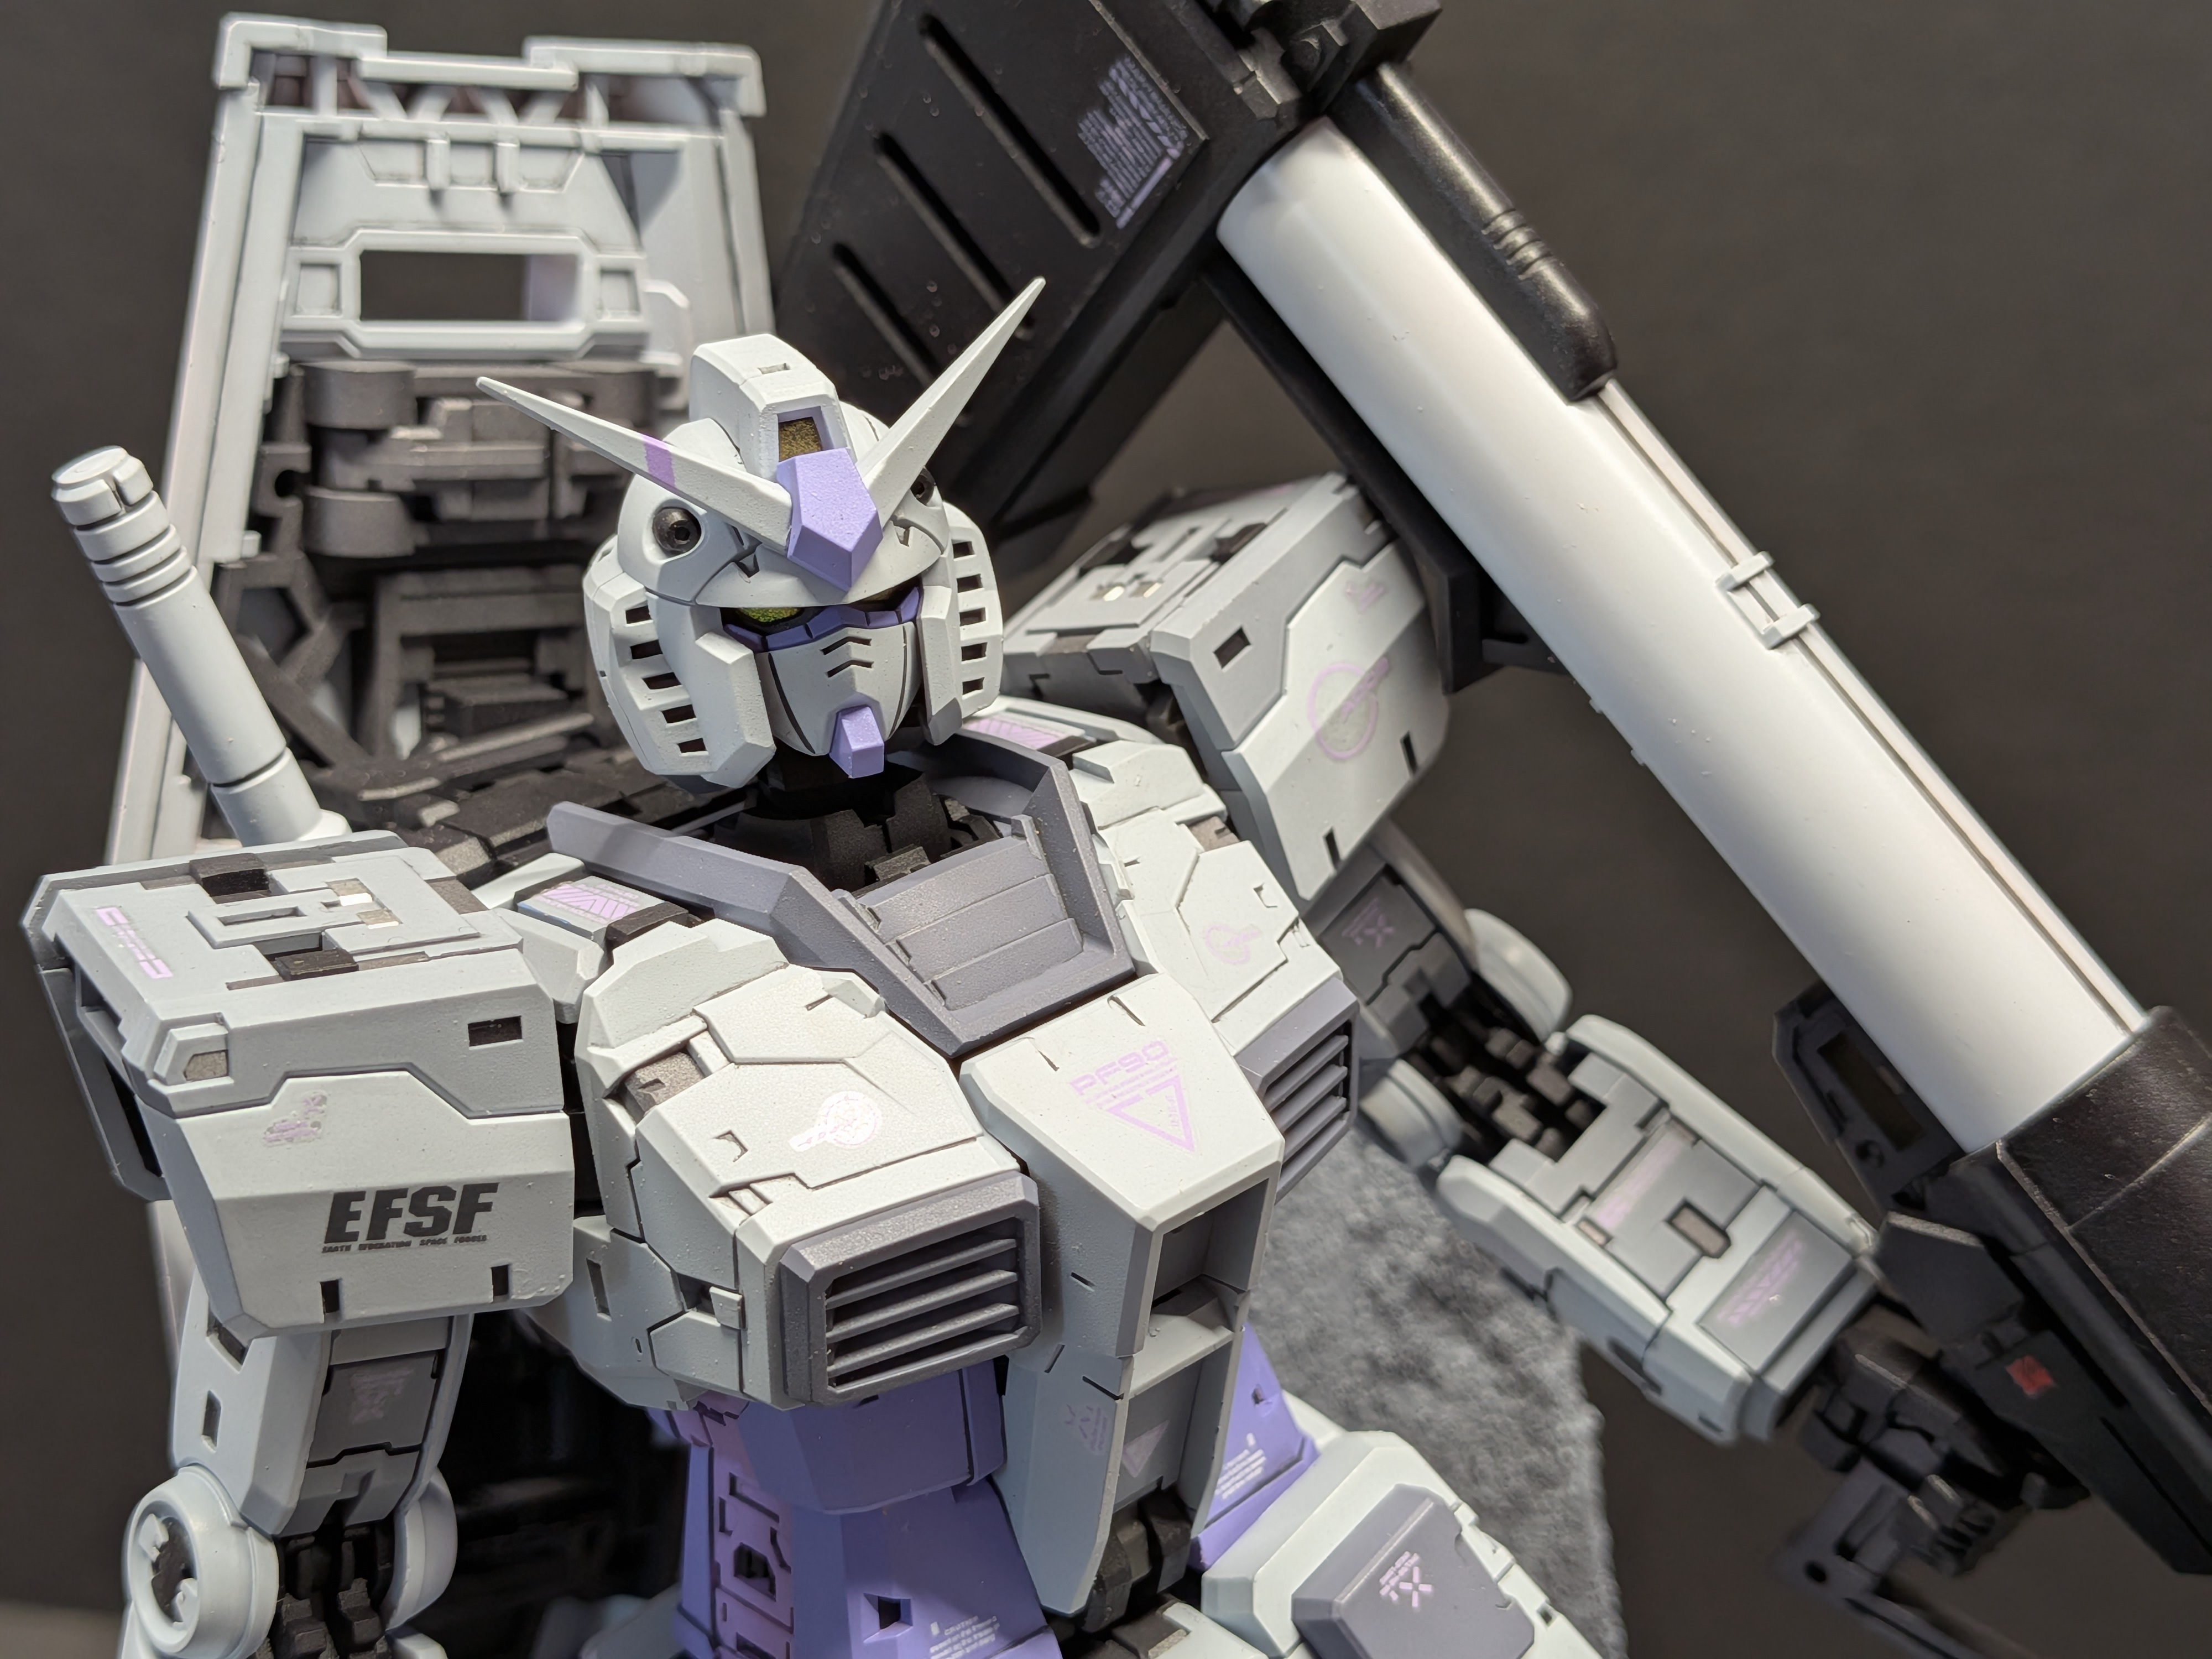
Armor panels came next and went pretty smoothly. The only area I struggled on here was the forearms, which have a strange assembly process which locks the frame under the wrist. But all good in the end - and I really love the kit aesthetics. One thing I was surprised about was how much I actually like the head scult - I mentioned above that it's a pretty big departure in overall shape, and I didn't love it when looking at photos of the RG. But after assembling I think it works really well with the rest of the kit and the angles give it a really strong downward glare.
Onto painting?
Date Posted: March 24, 2026
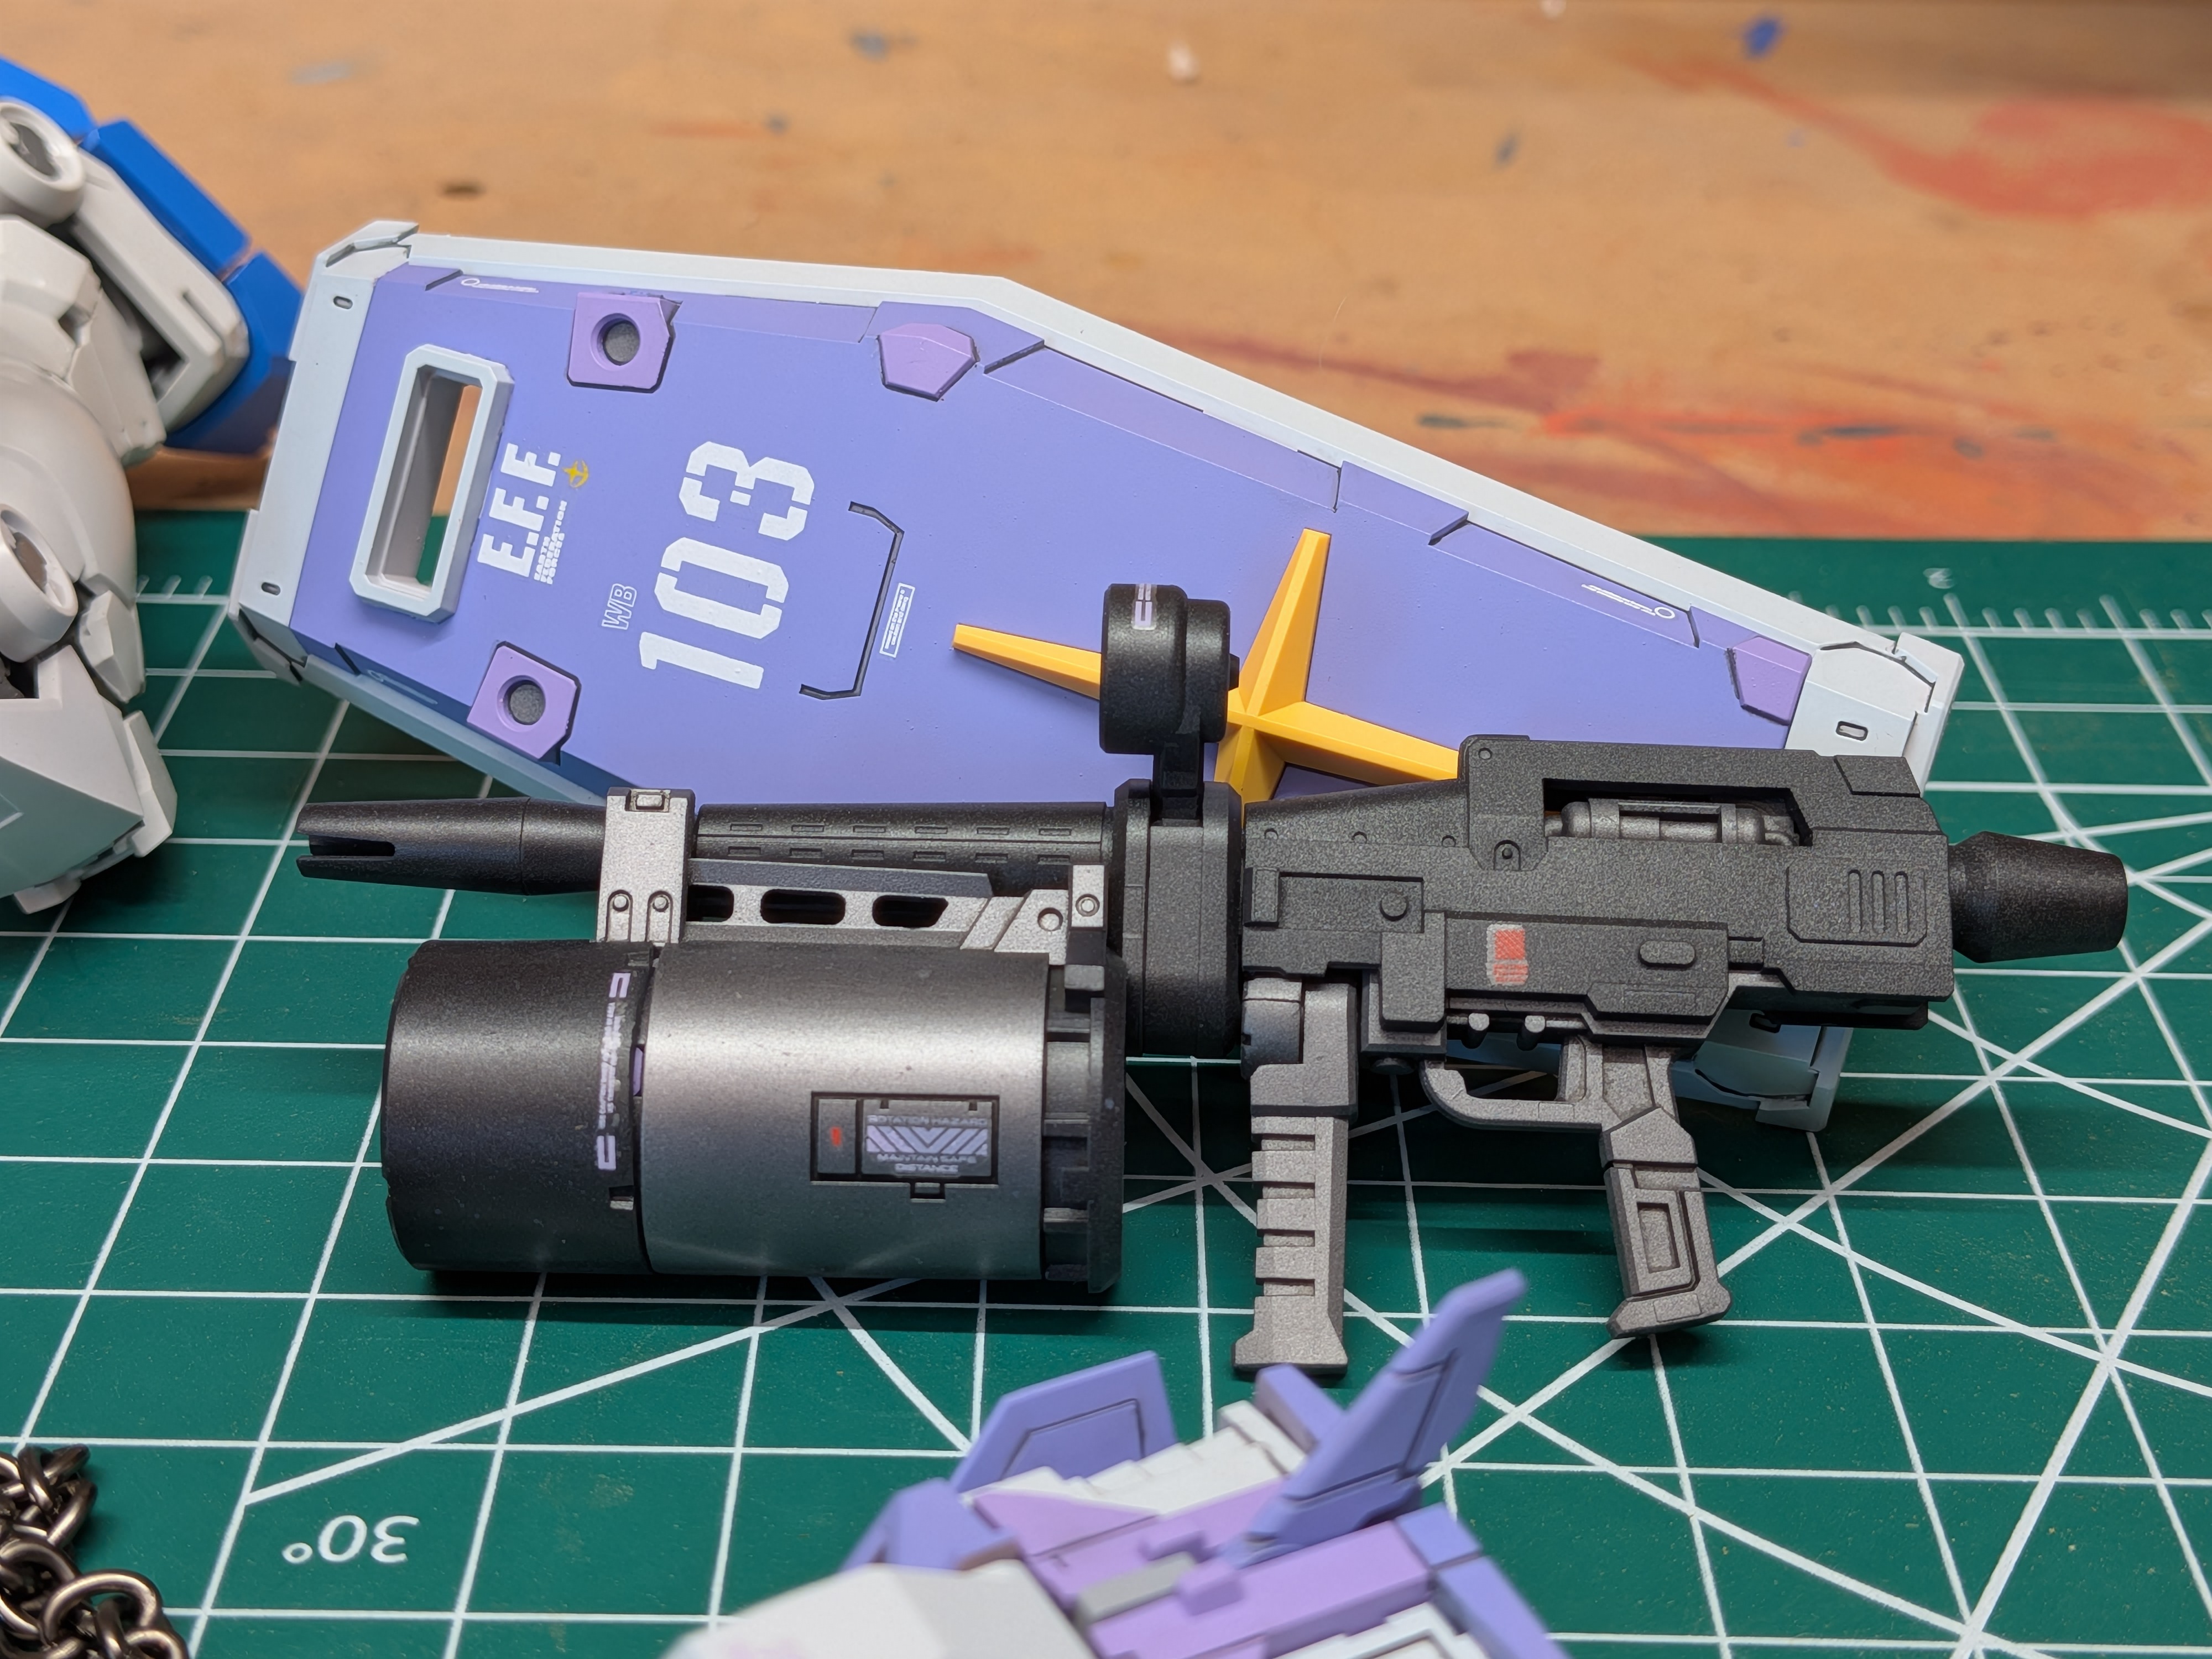
Progress Update 2: Weapons and Equipment
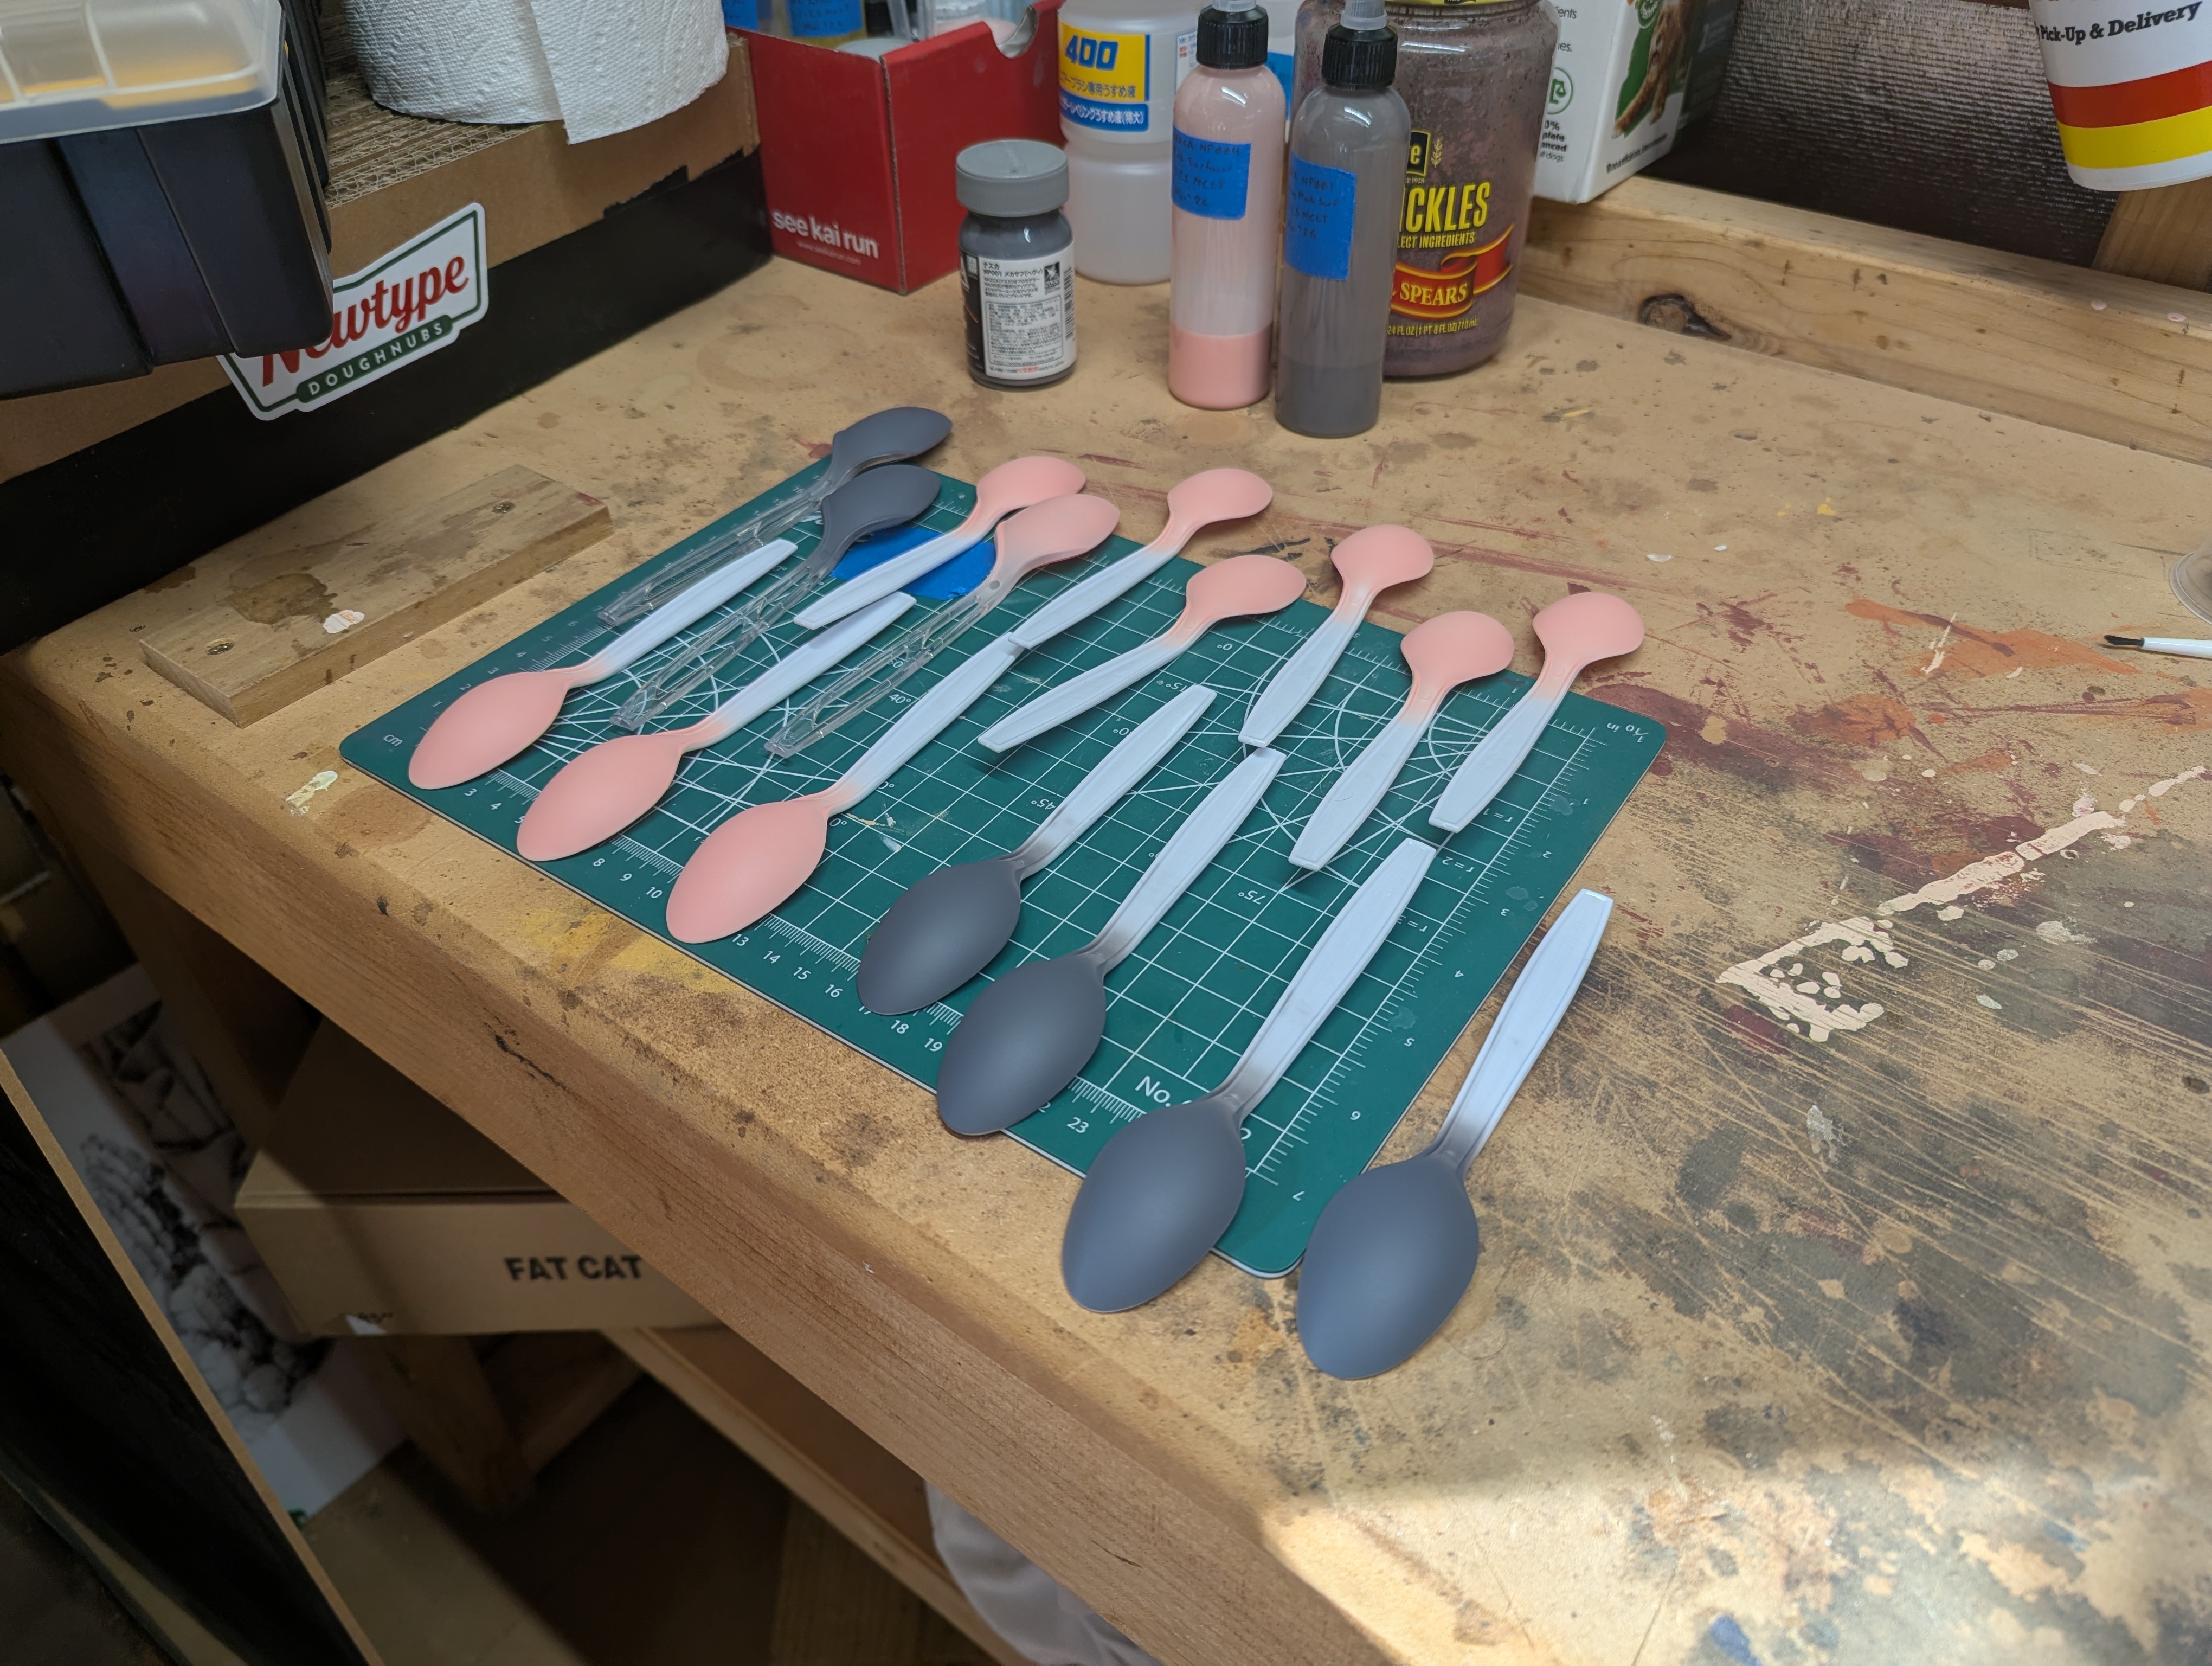
I didn't really use spoons for my last job, the
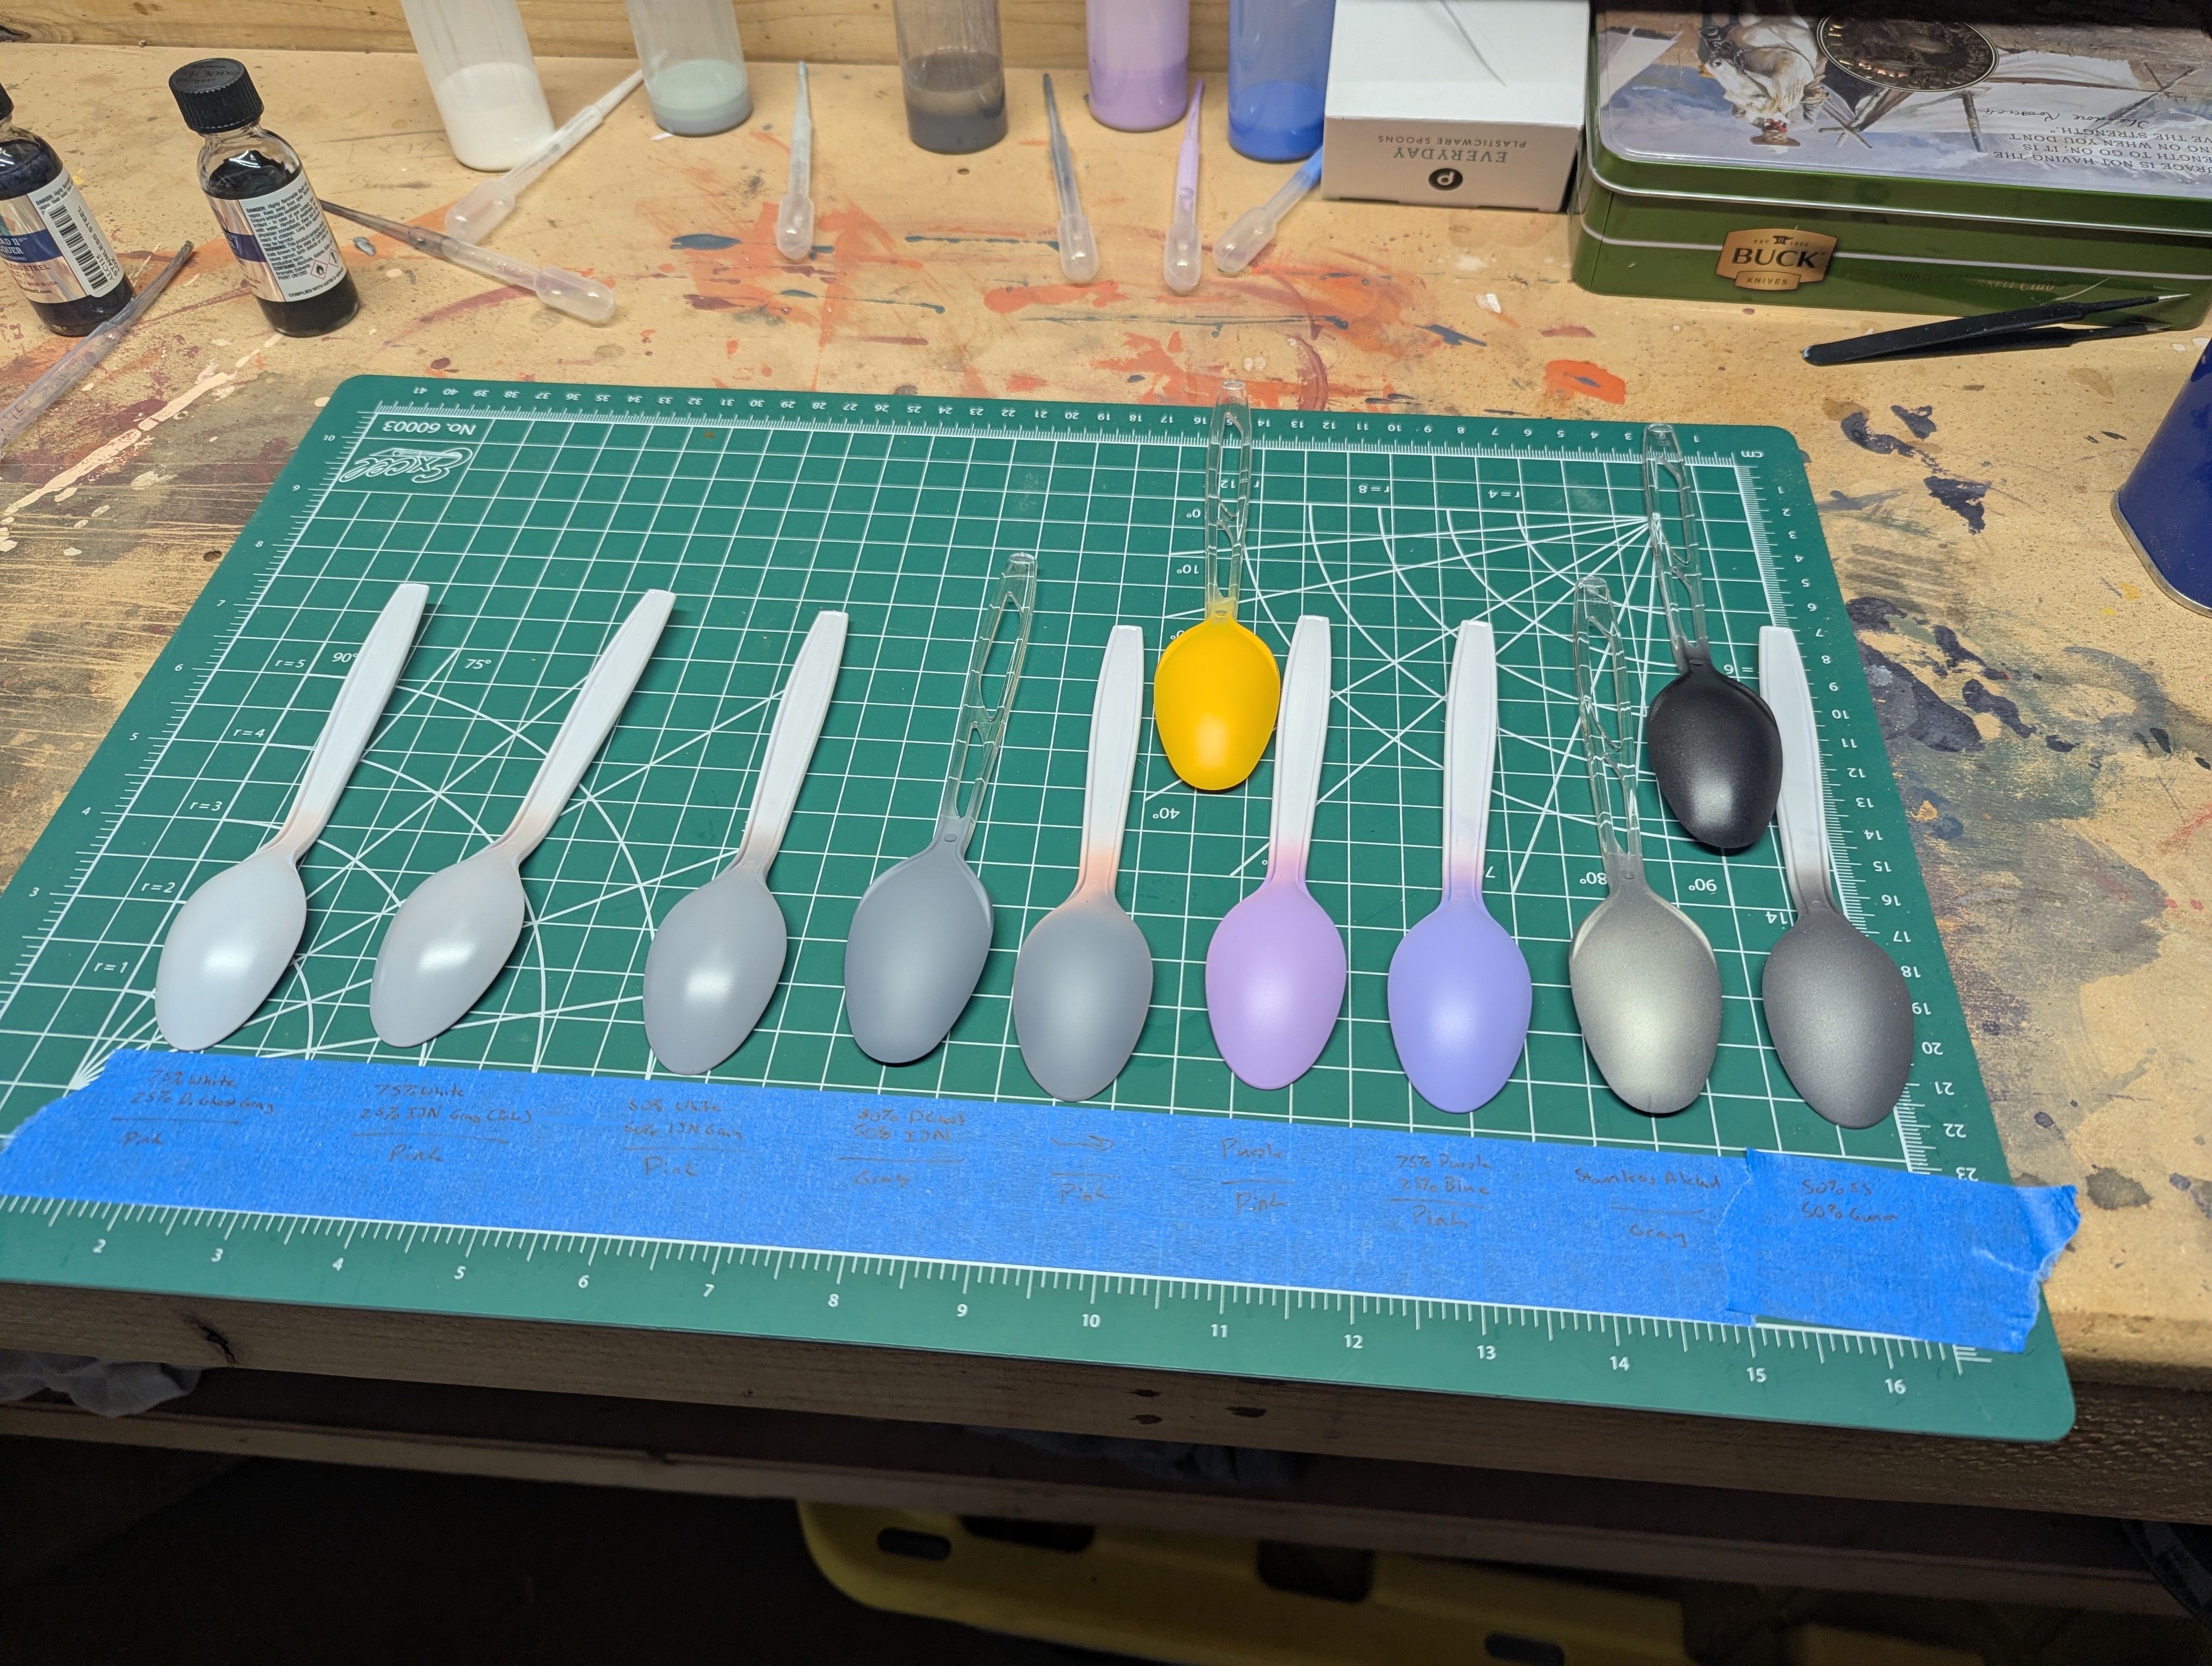
MG Ball, and mostly just relied on doing the mixes live. For this one I wanted to be a bit more deliberate - and since there were several grays involved, there was a lot more mixing to be done as well. I'll probably go into more detail on the exact mixes as they come up in the painting process - but here I'm relying on Tamiya lacquers for the grays, mixing White, IJN Gray (Yokosuba), and Dark Ghost Gray to get different shades. Mr. Color MS Light Blue and Light Purple are being used for those colors, and I'm using Alclad lacquers for the metallics.
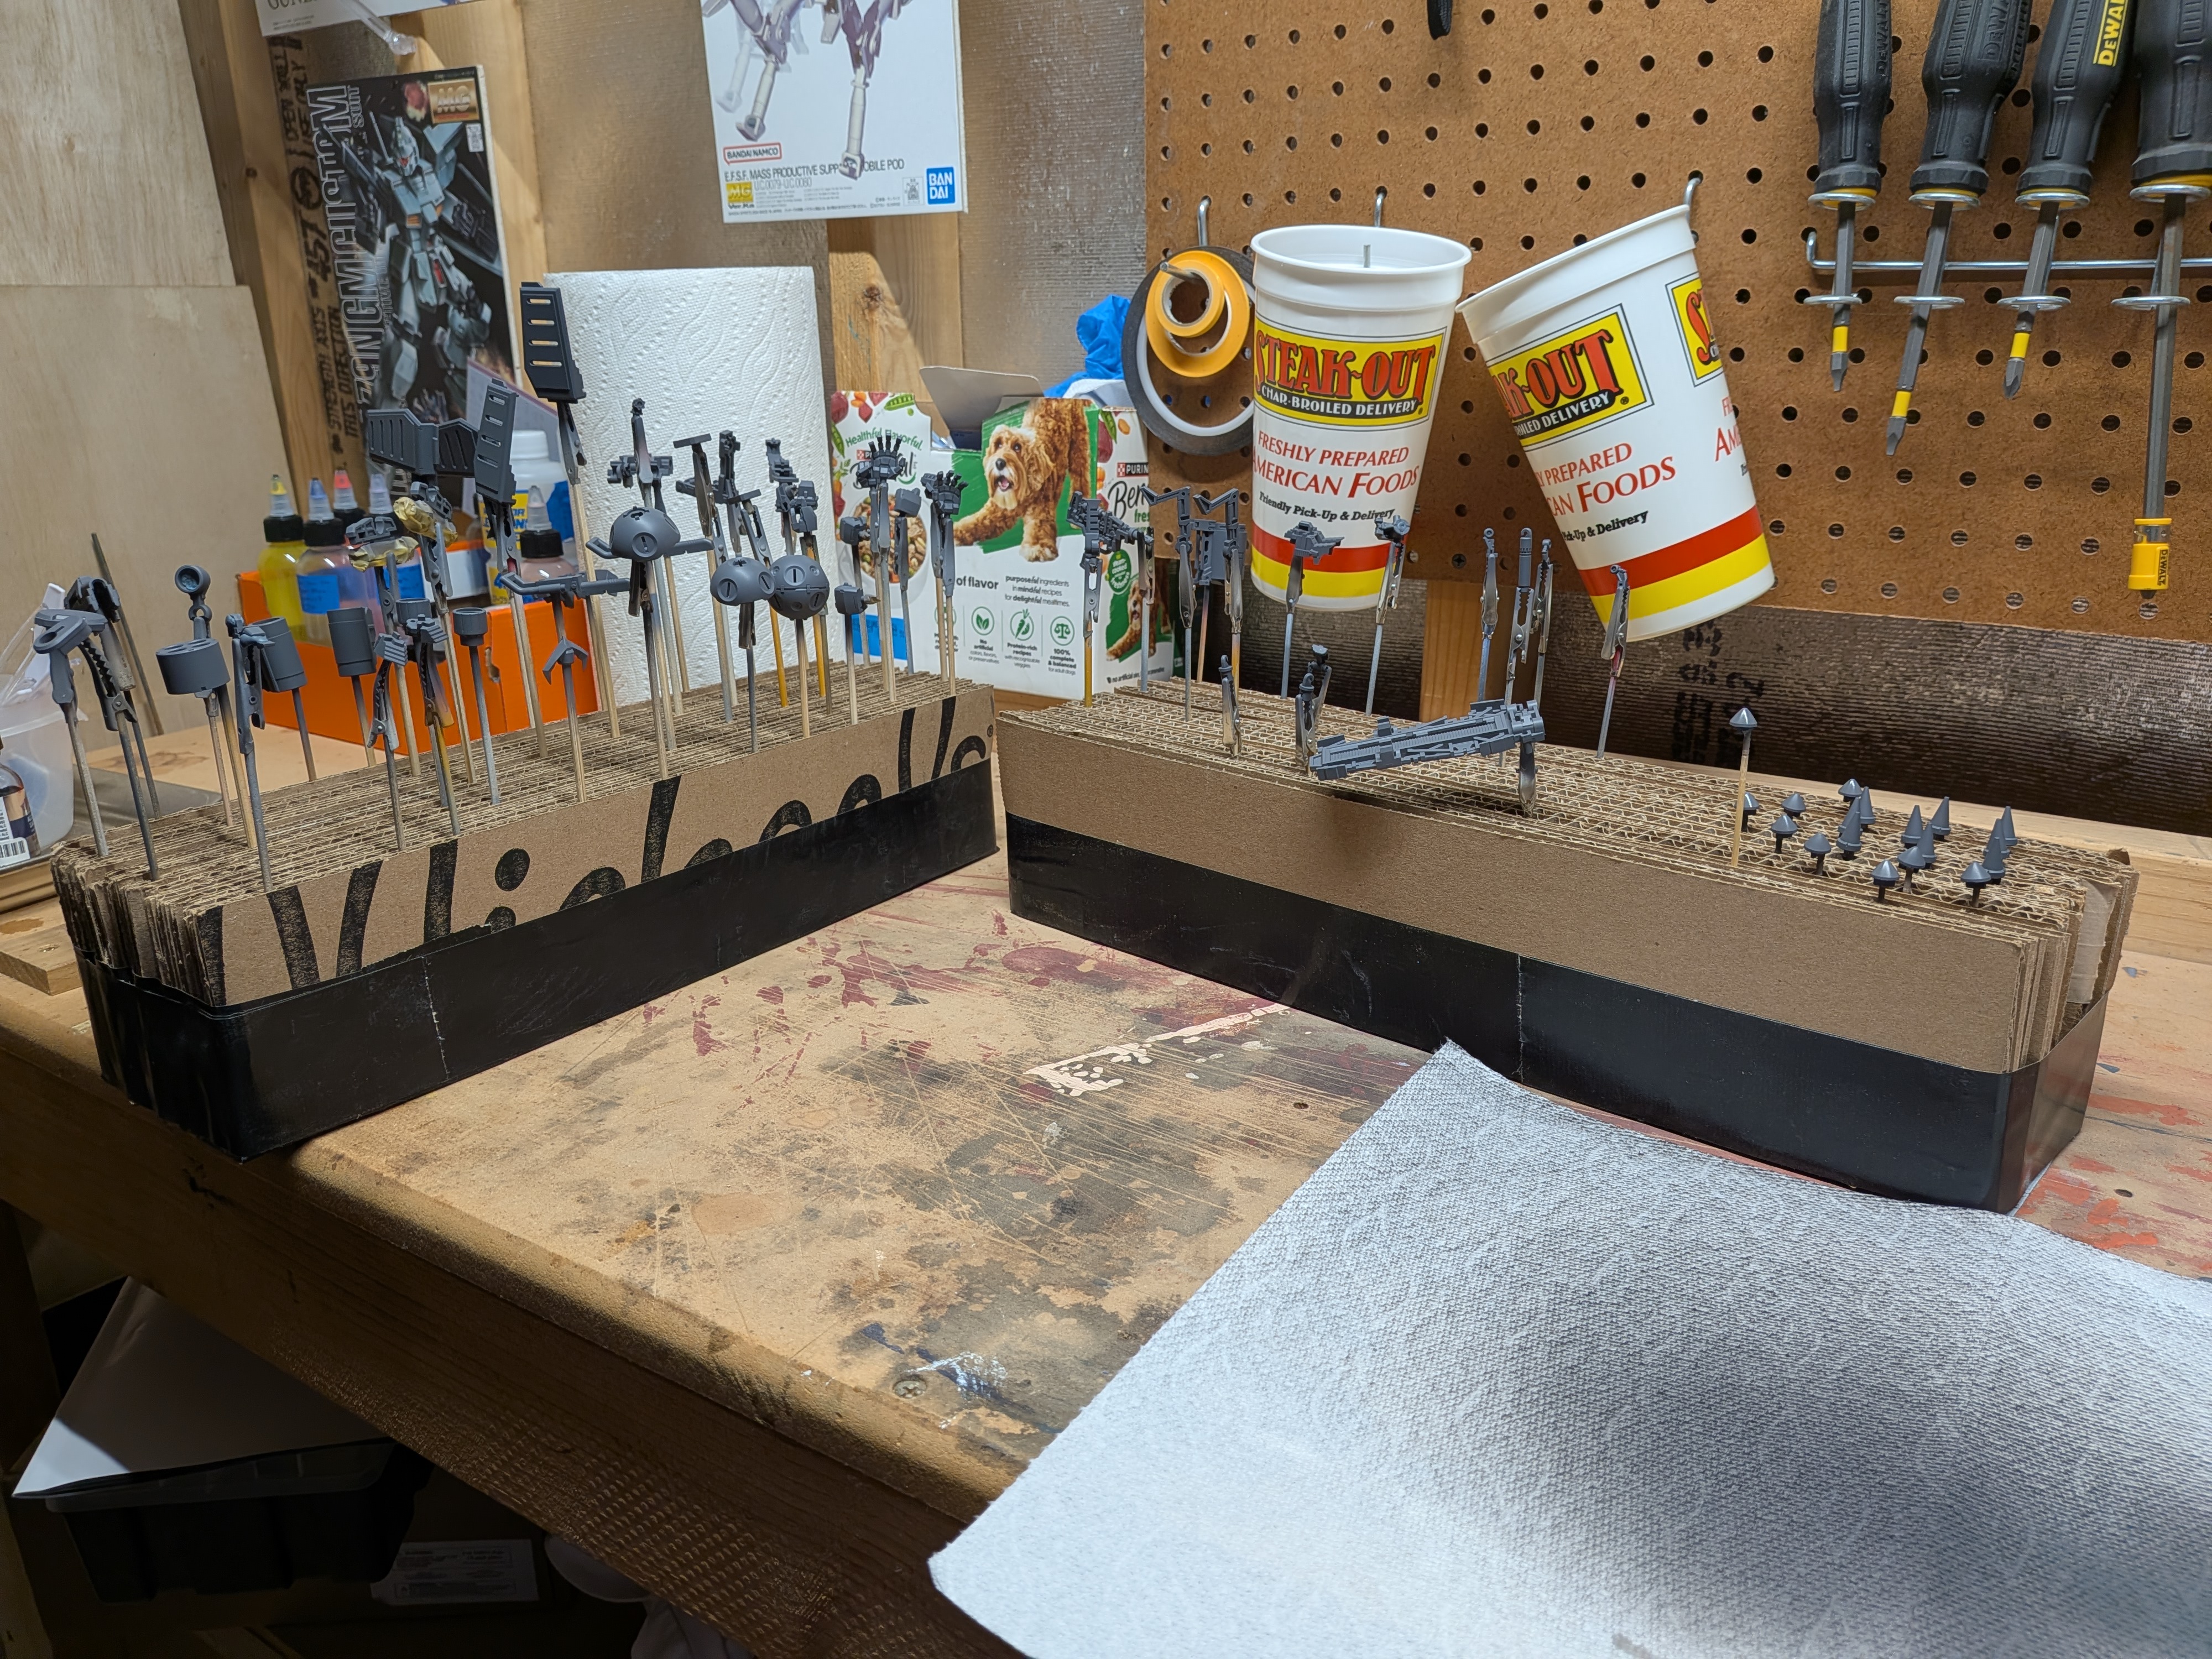
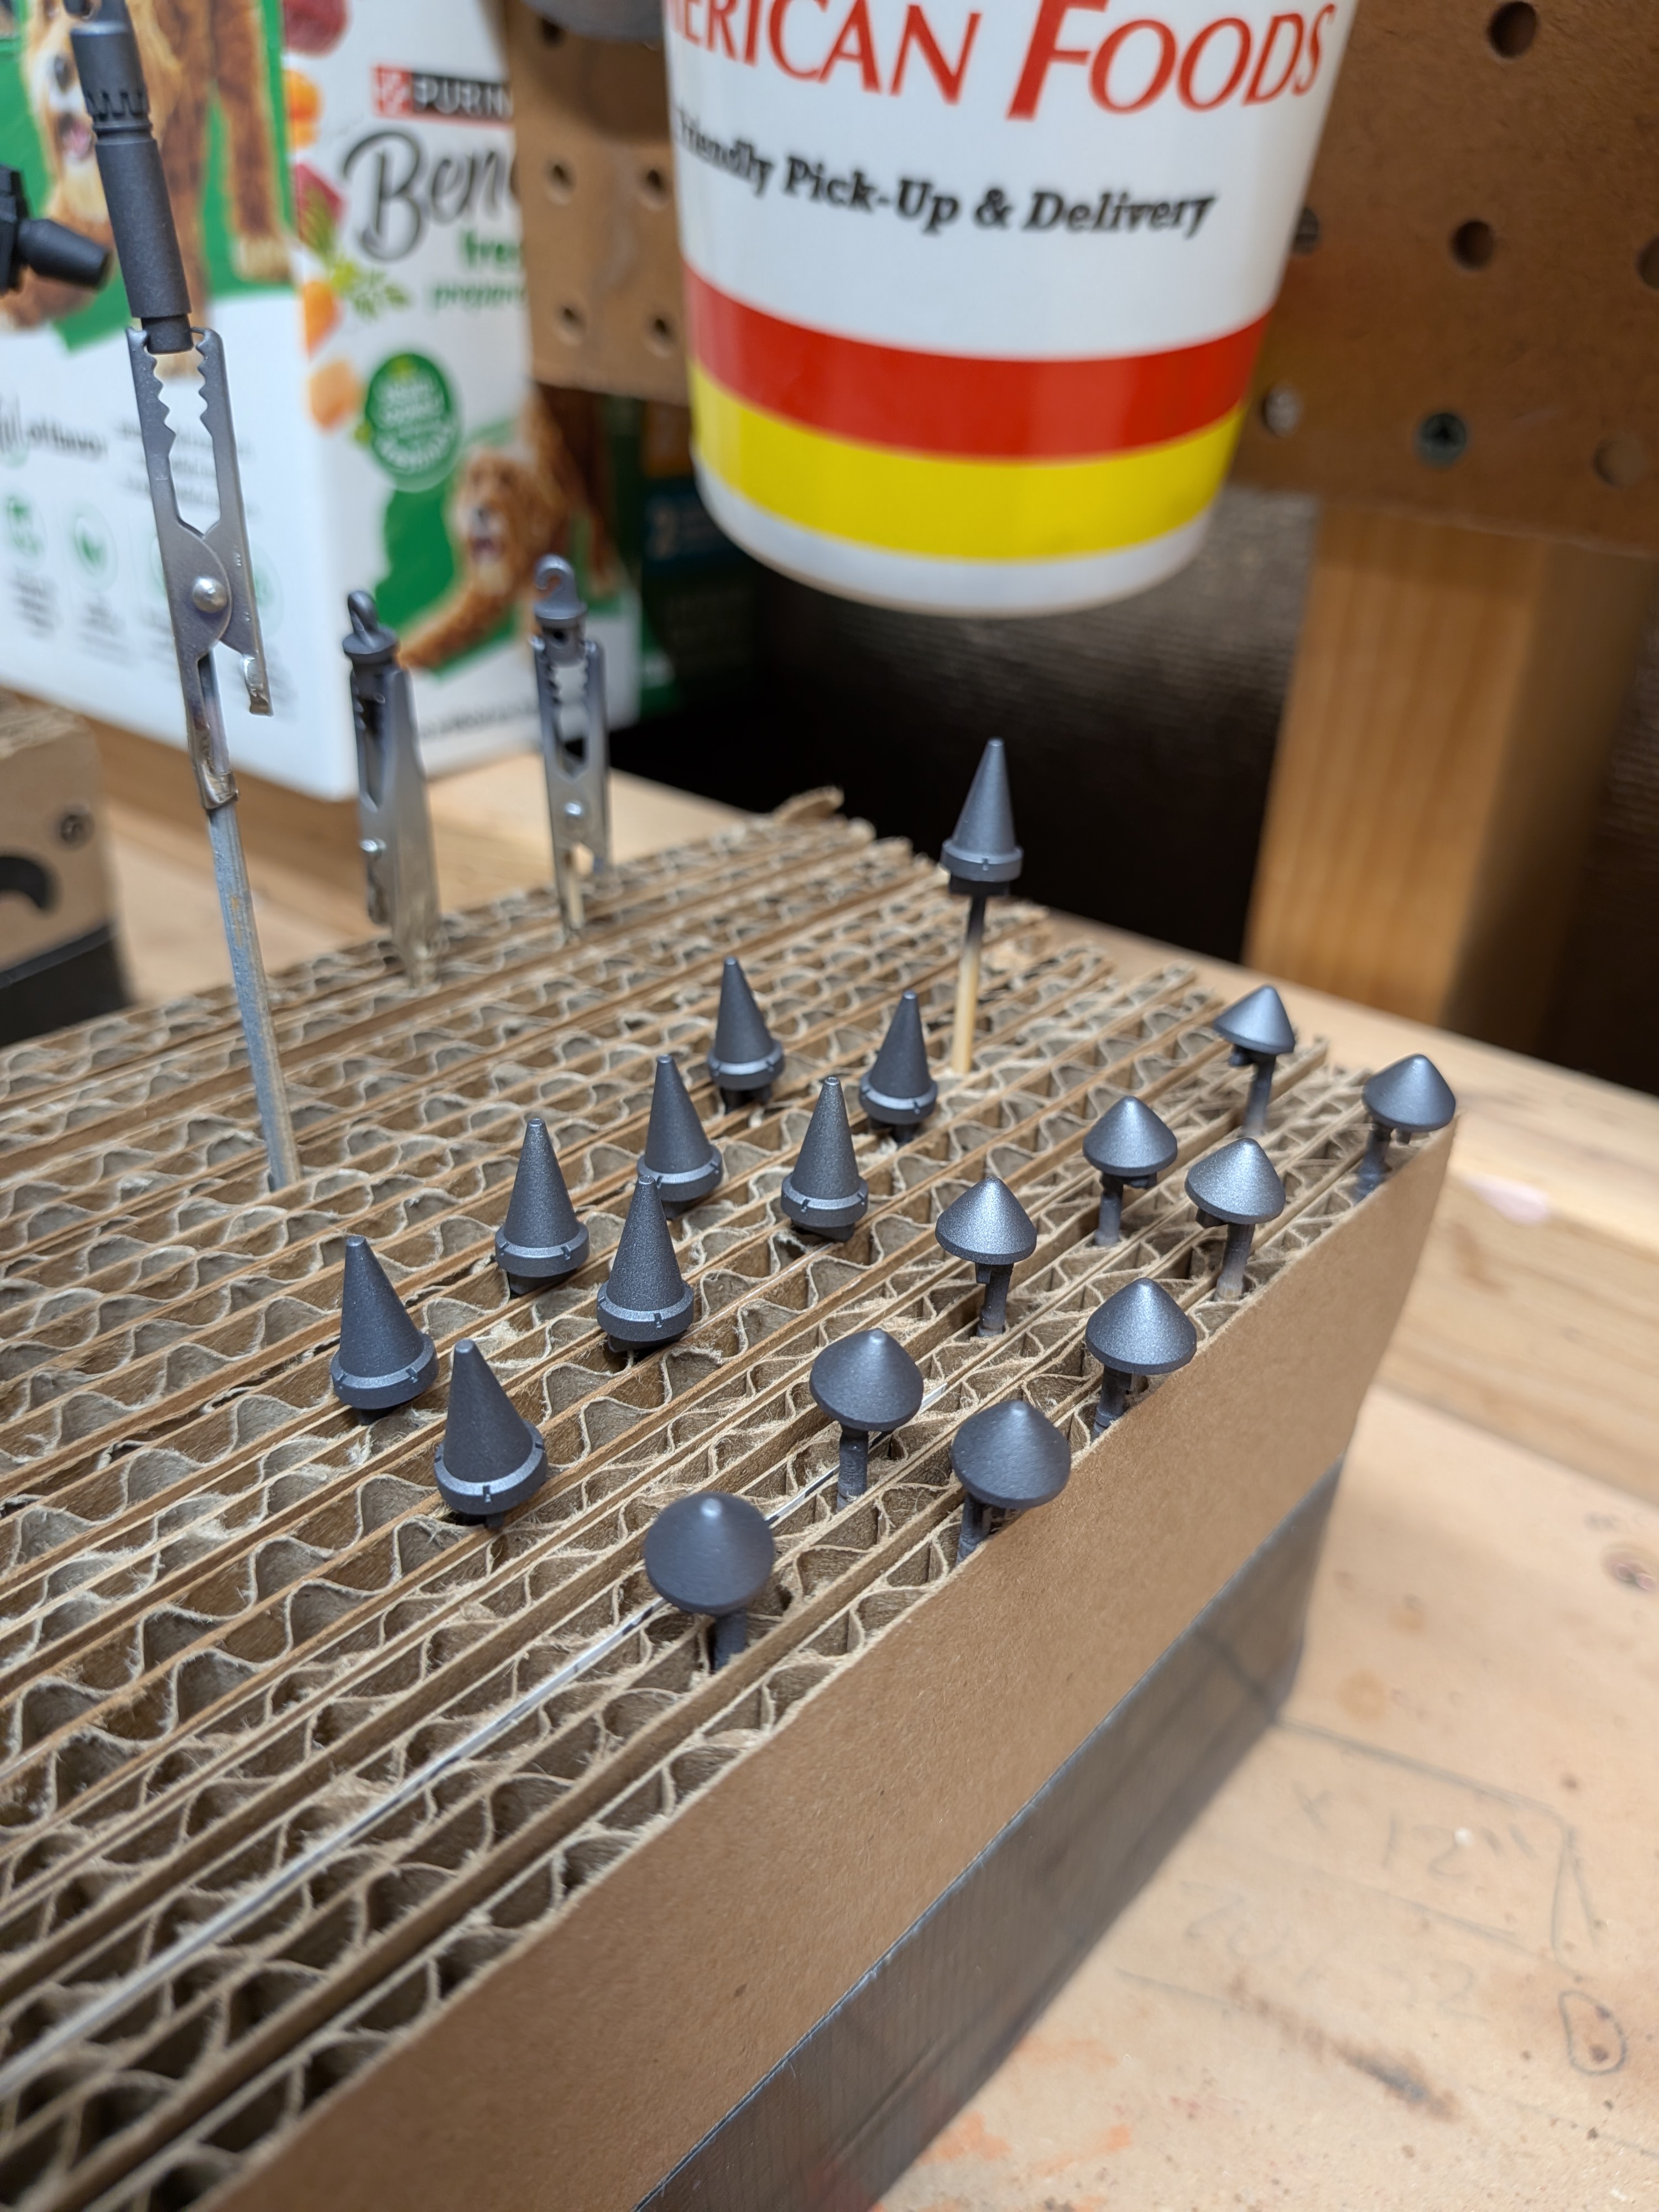
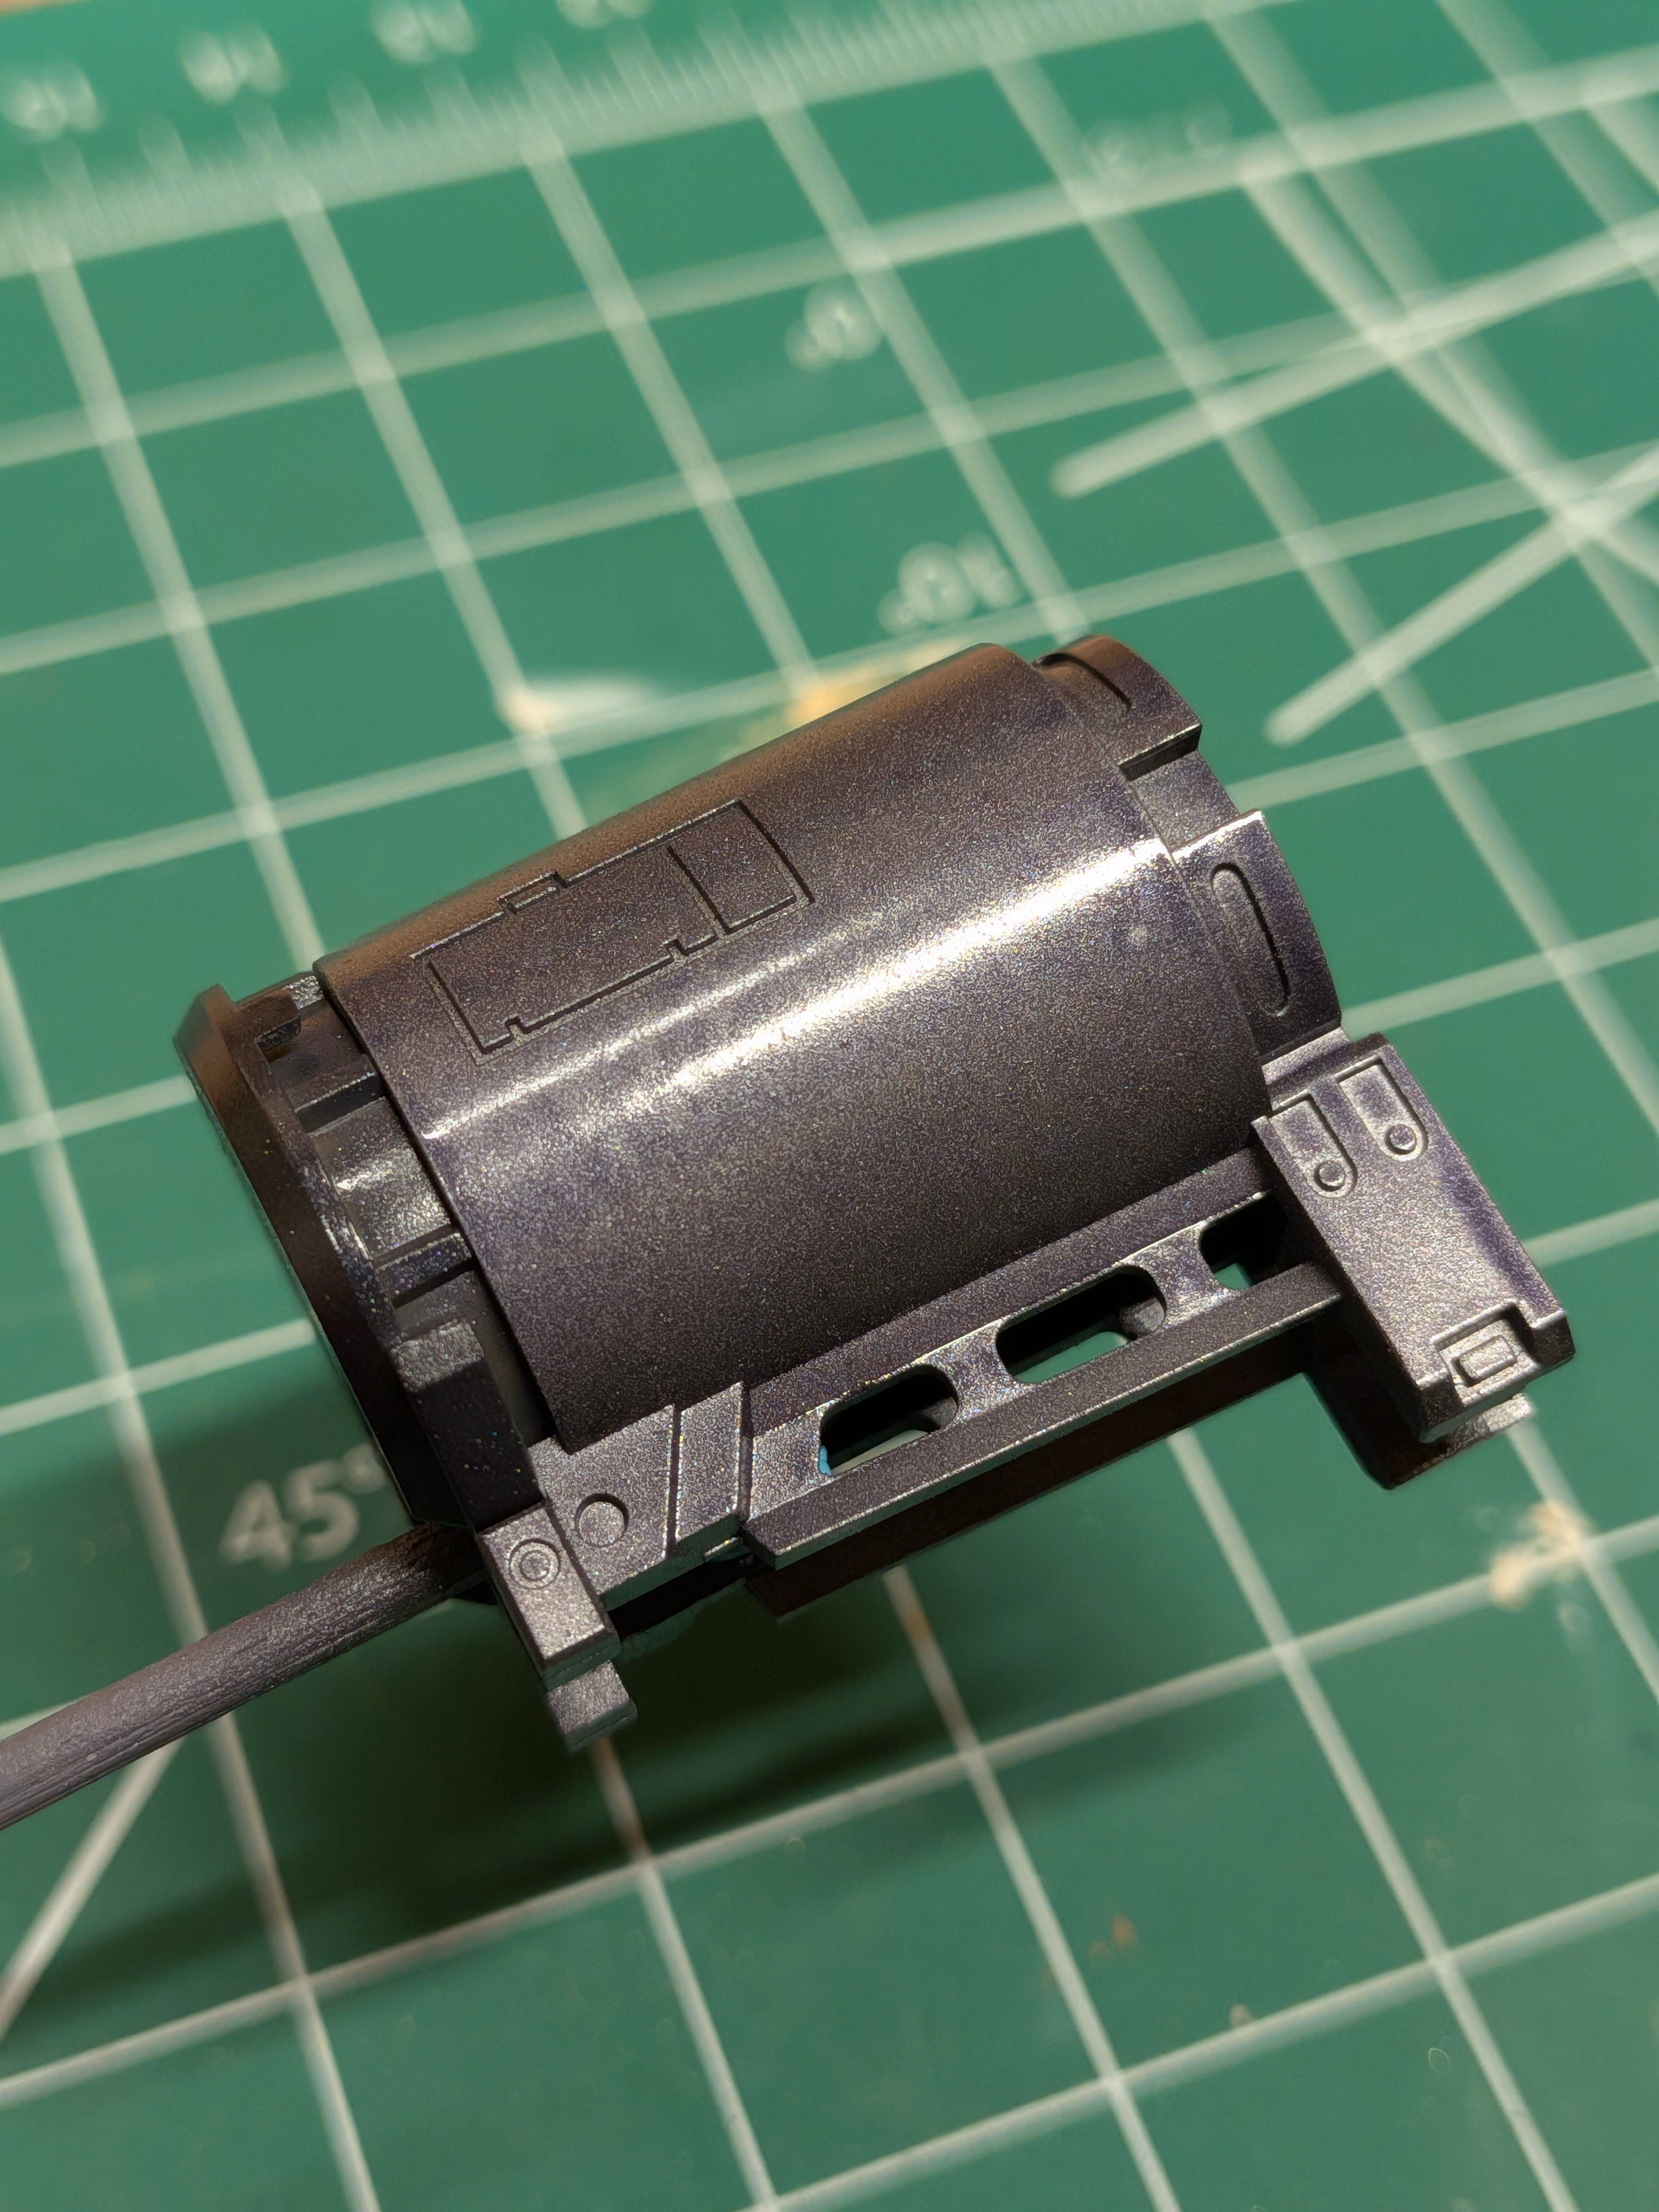
Priming went as normal. I started with the weapons since those seemed easier to do the disassembly for. It also helps me mentally process the build if I can get a lot of little pieces done first, instead of leaving them in the air. One thing I thought I wanted to do in this build was go for contrasting finishes - I planned to do the dark parts in metallics and finish them in gloss, but keep a semi-gloss for the grays, purples, and yellow. More on that later. I was rewlly happy with the medium gray I got from the Alclad paints - it's a 50/50 mix of Gunmetal and Stainless Steel, and the metal flakes look really nice and subtle.
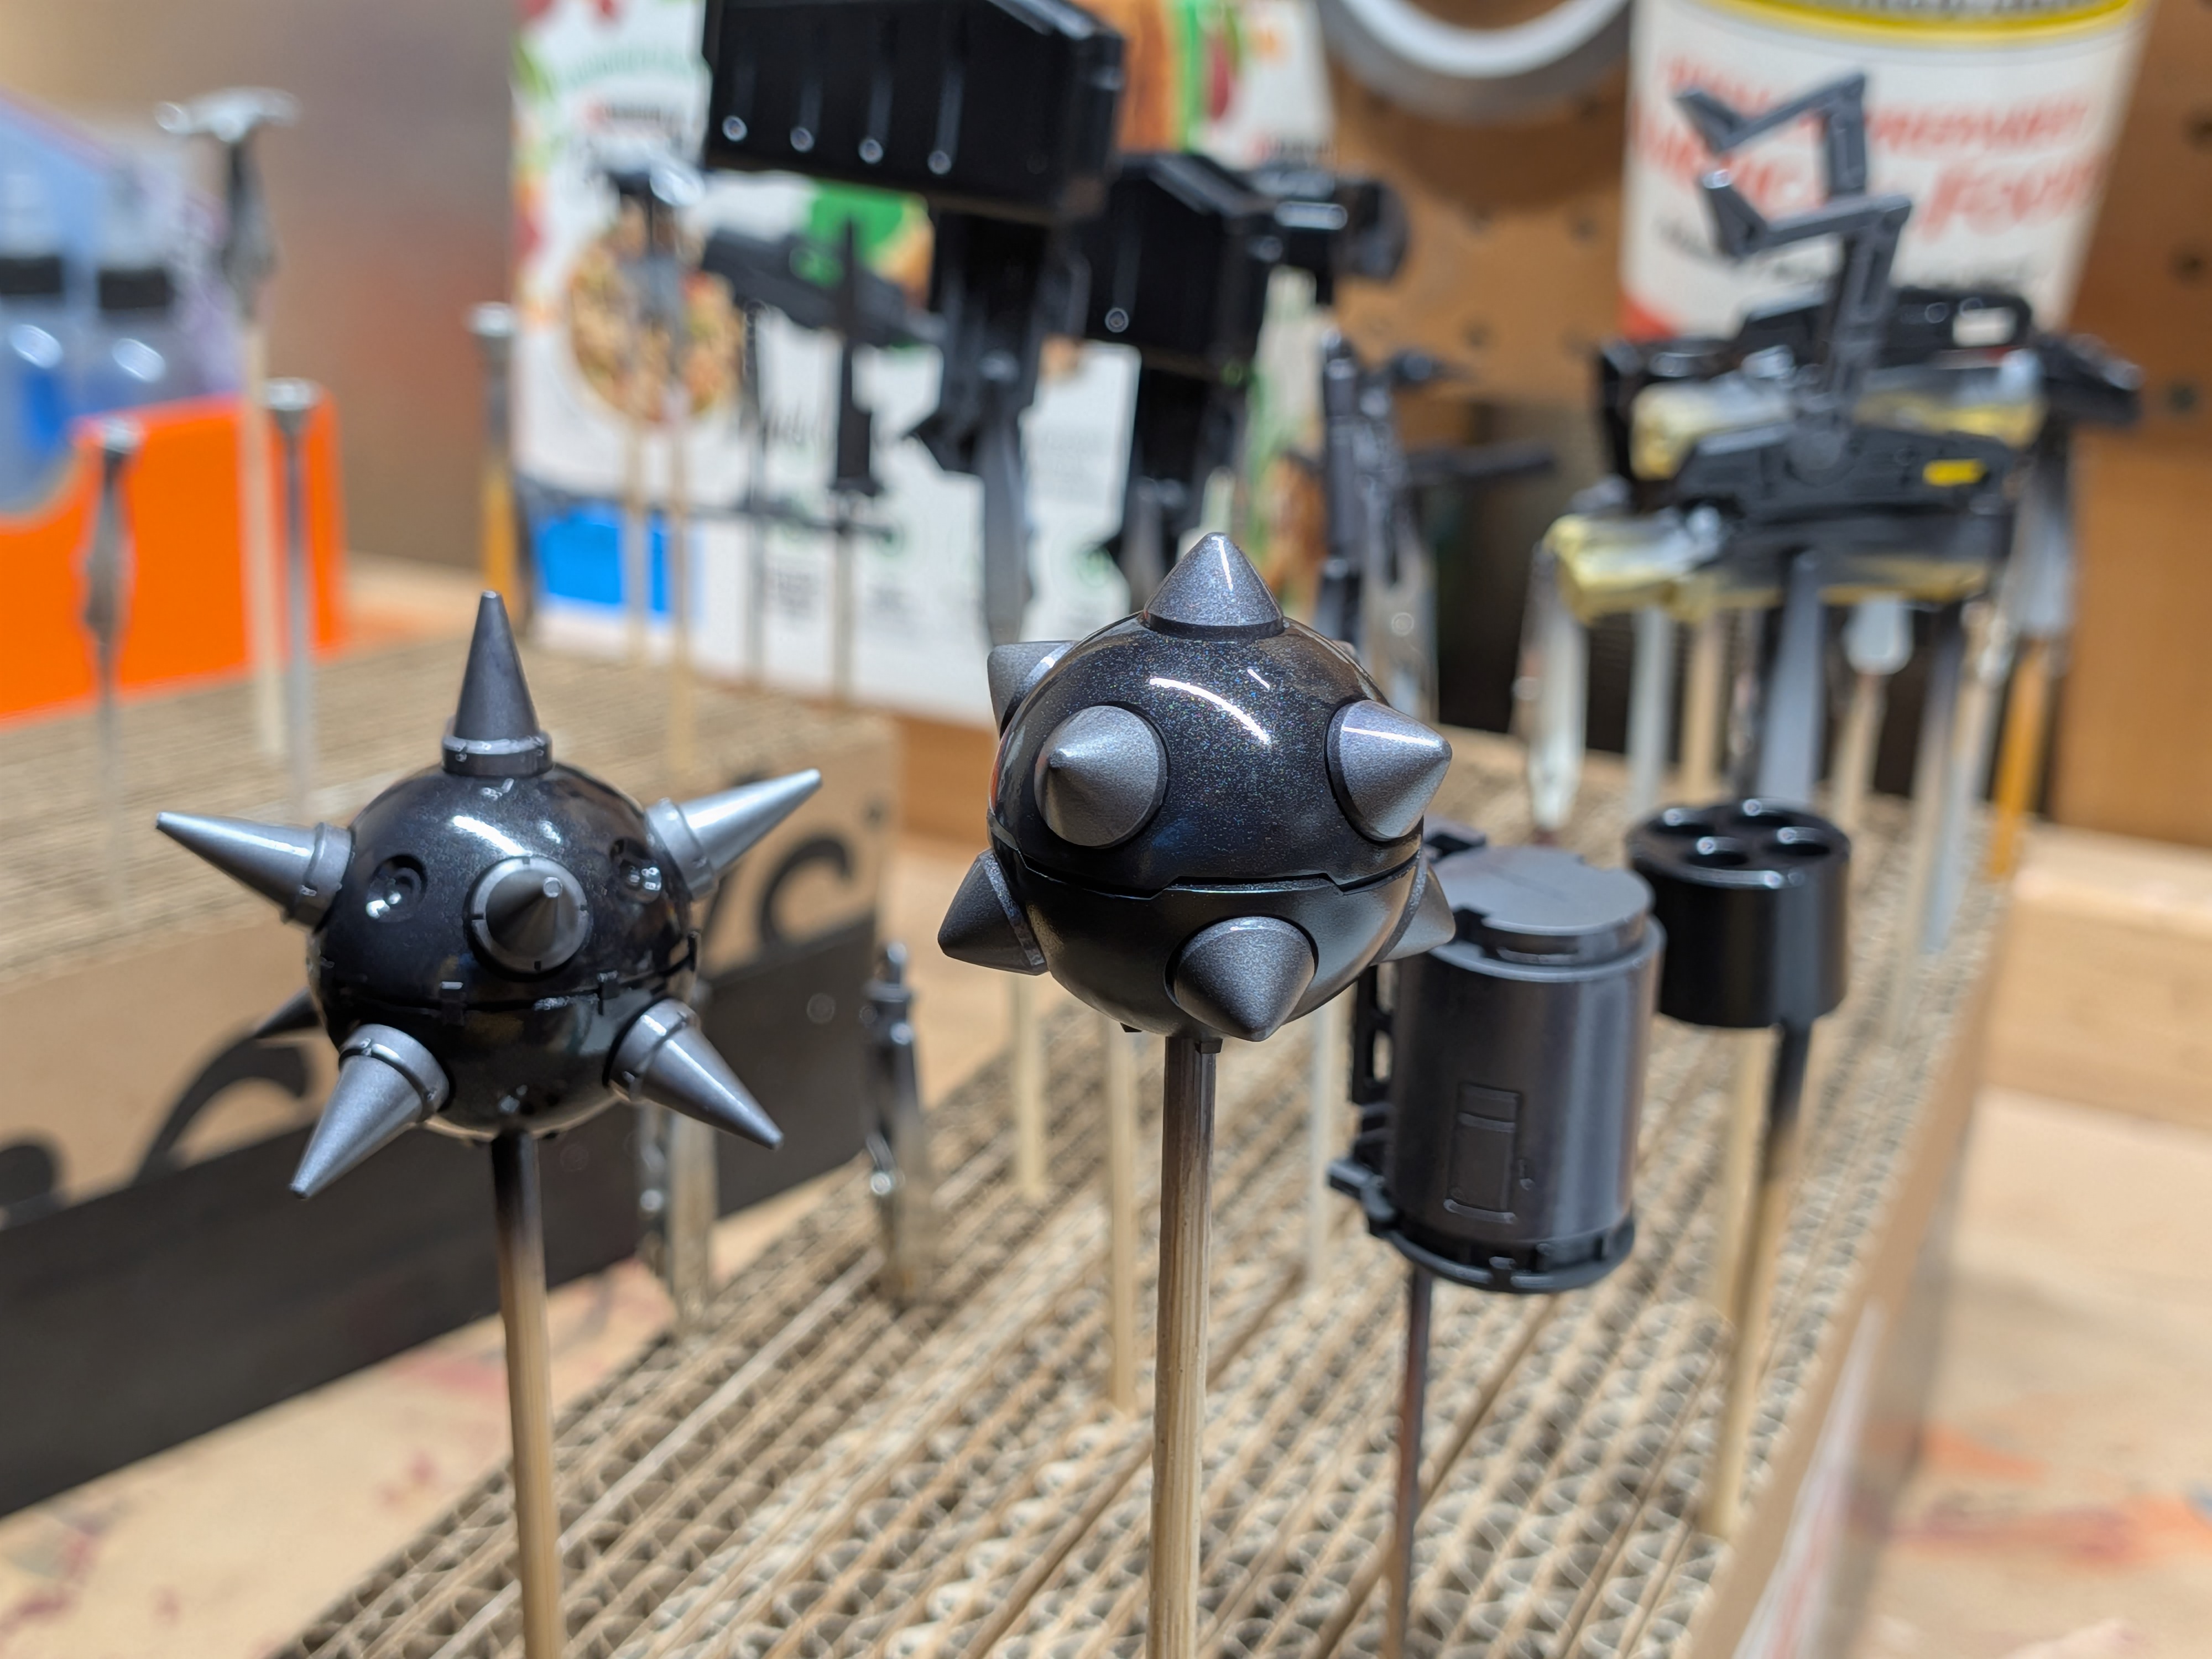
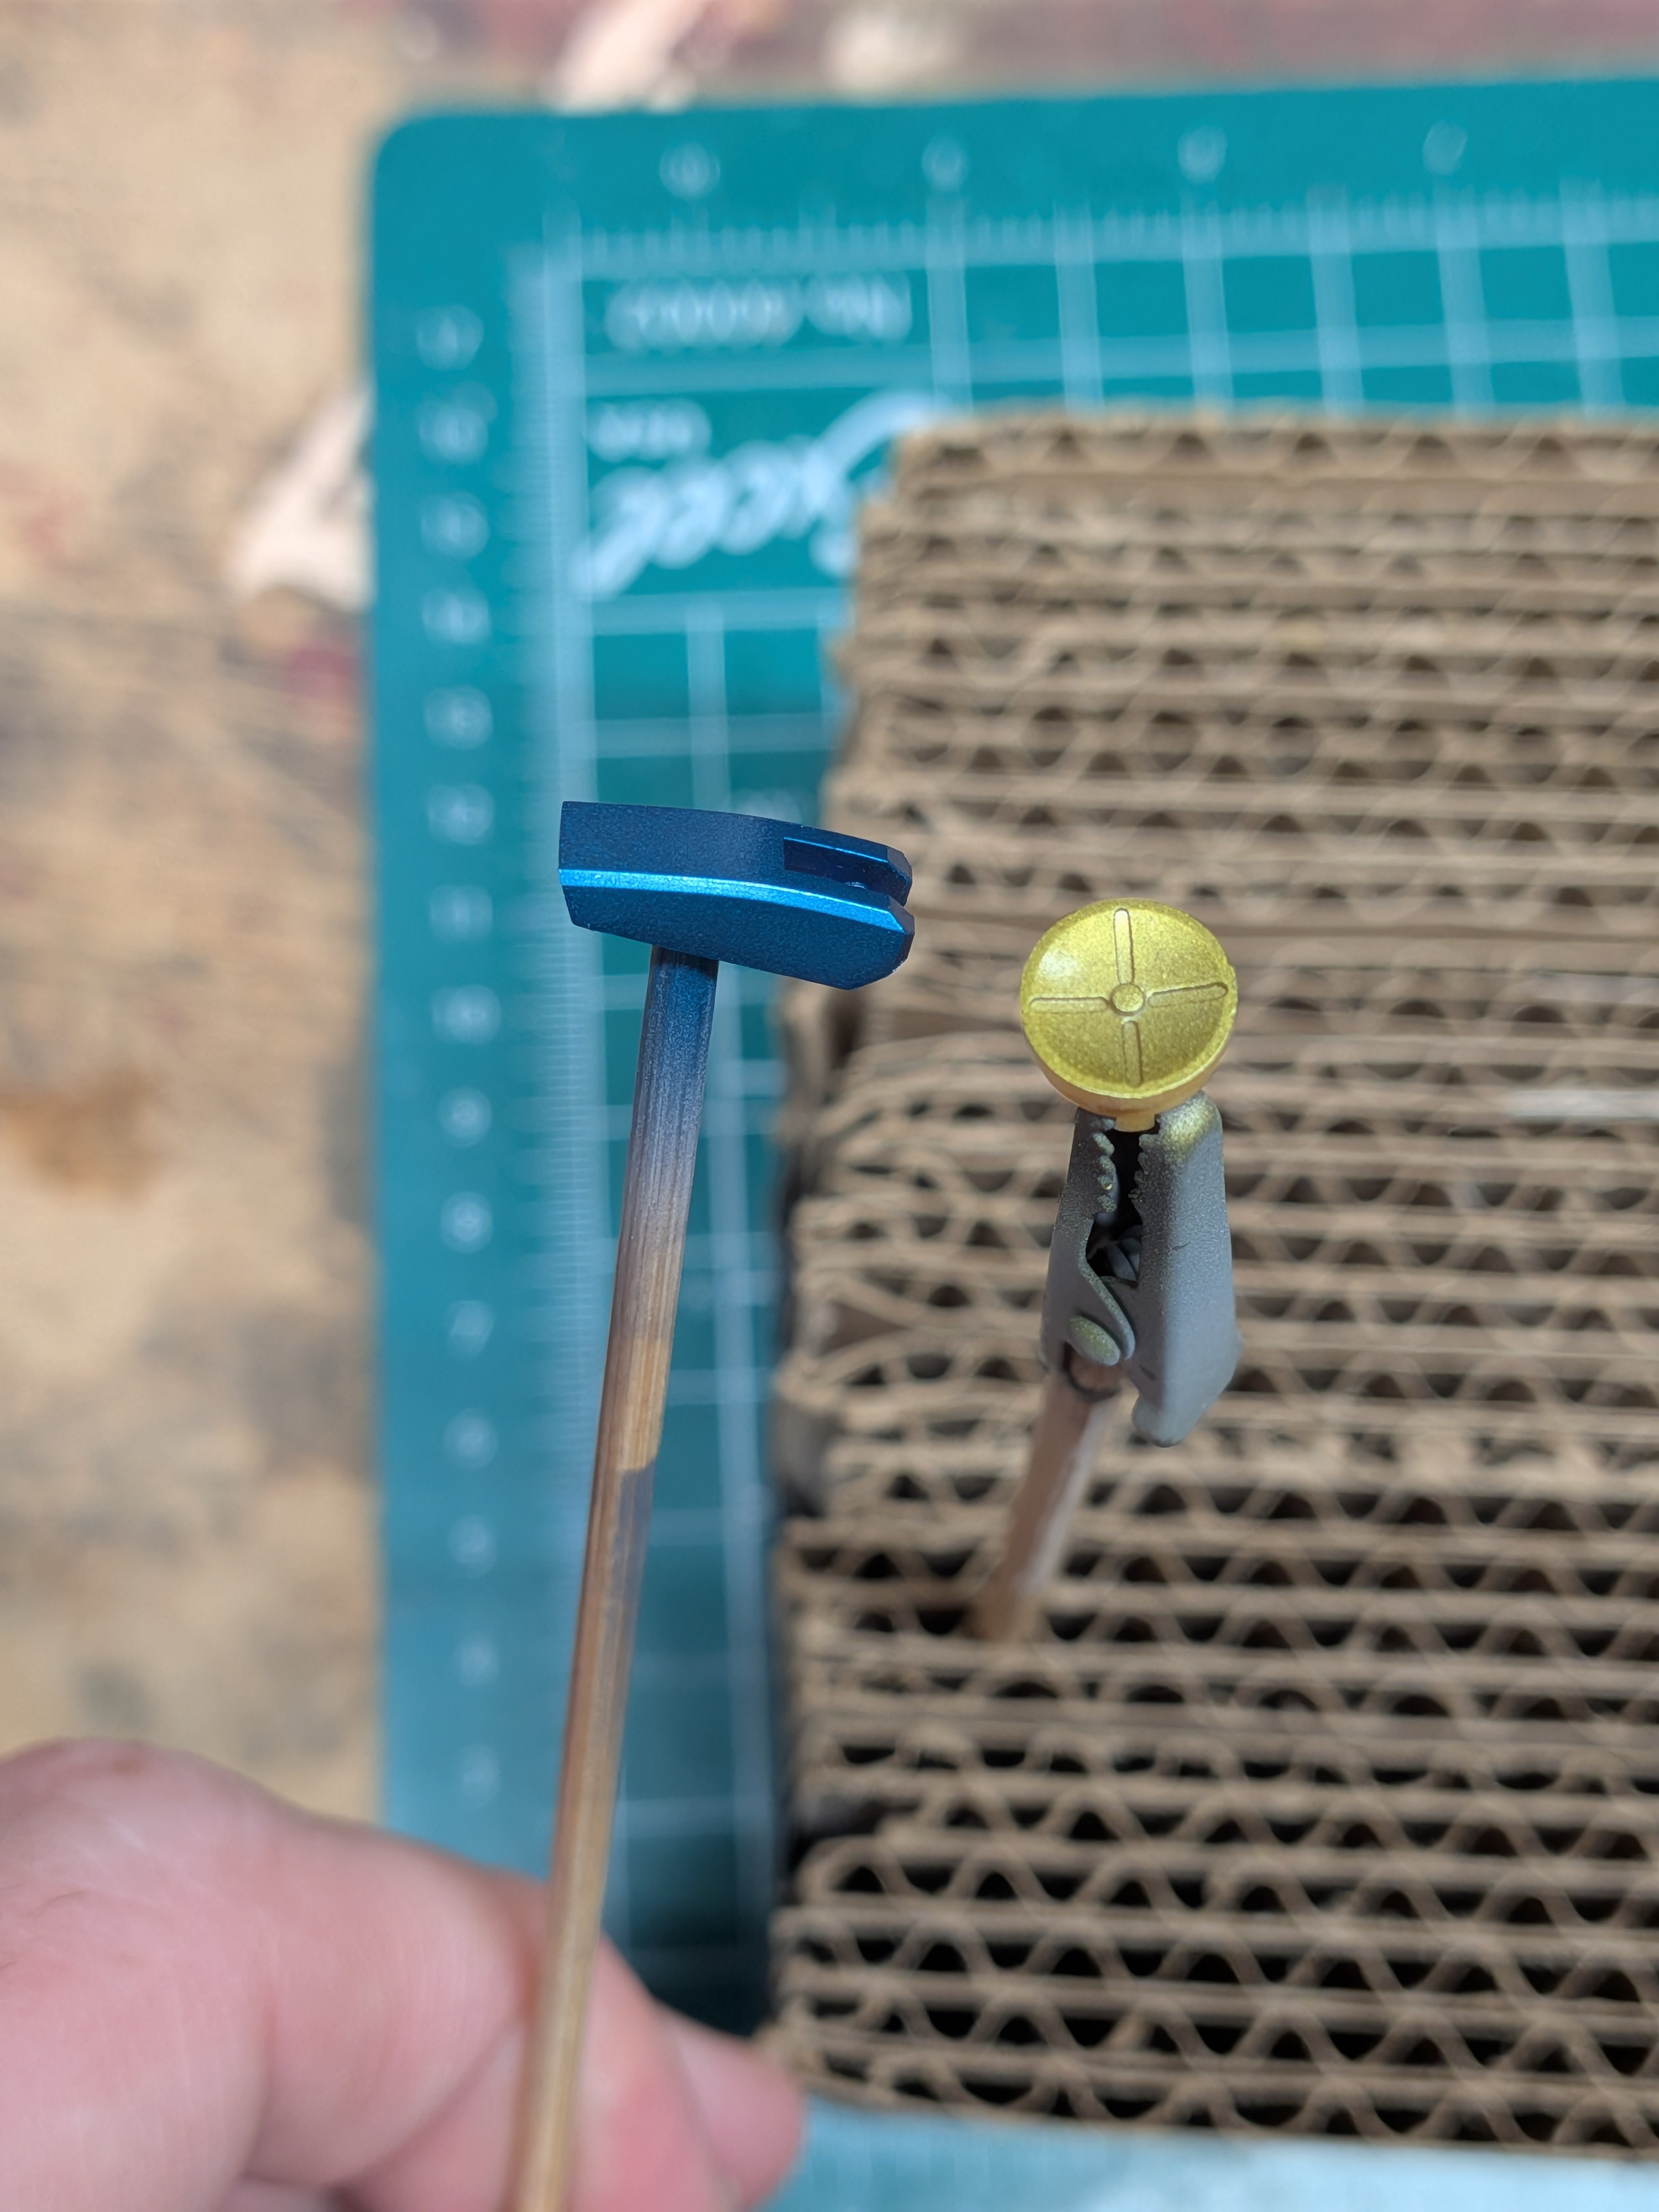
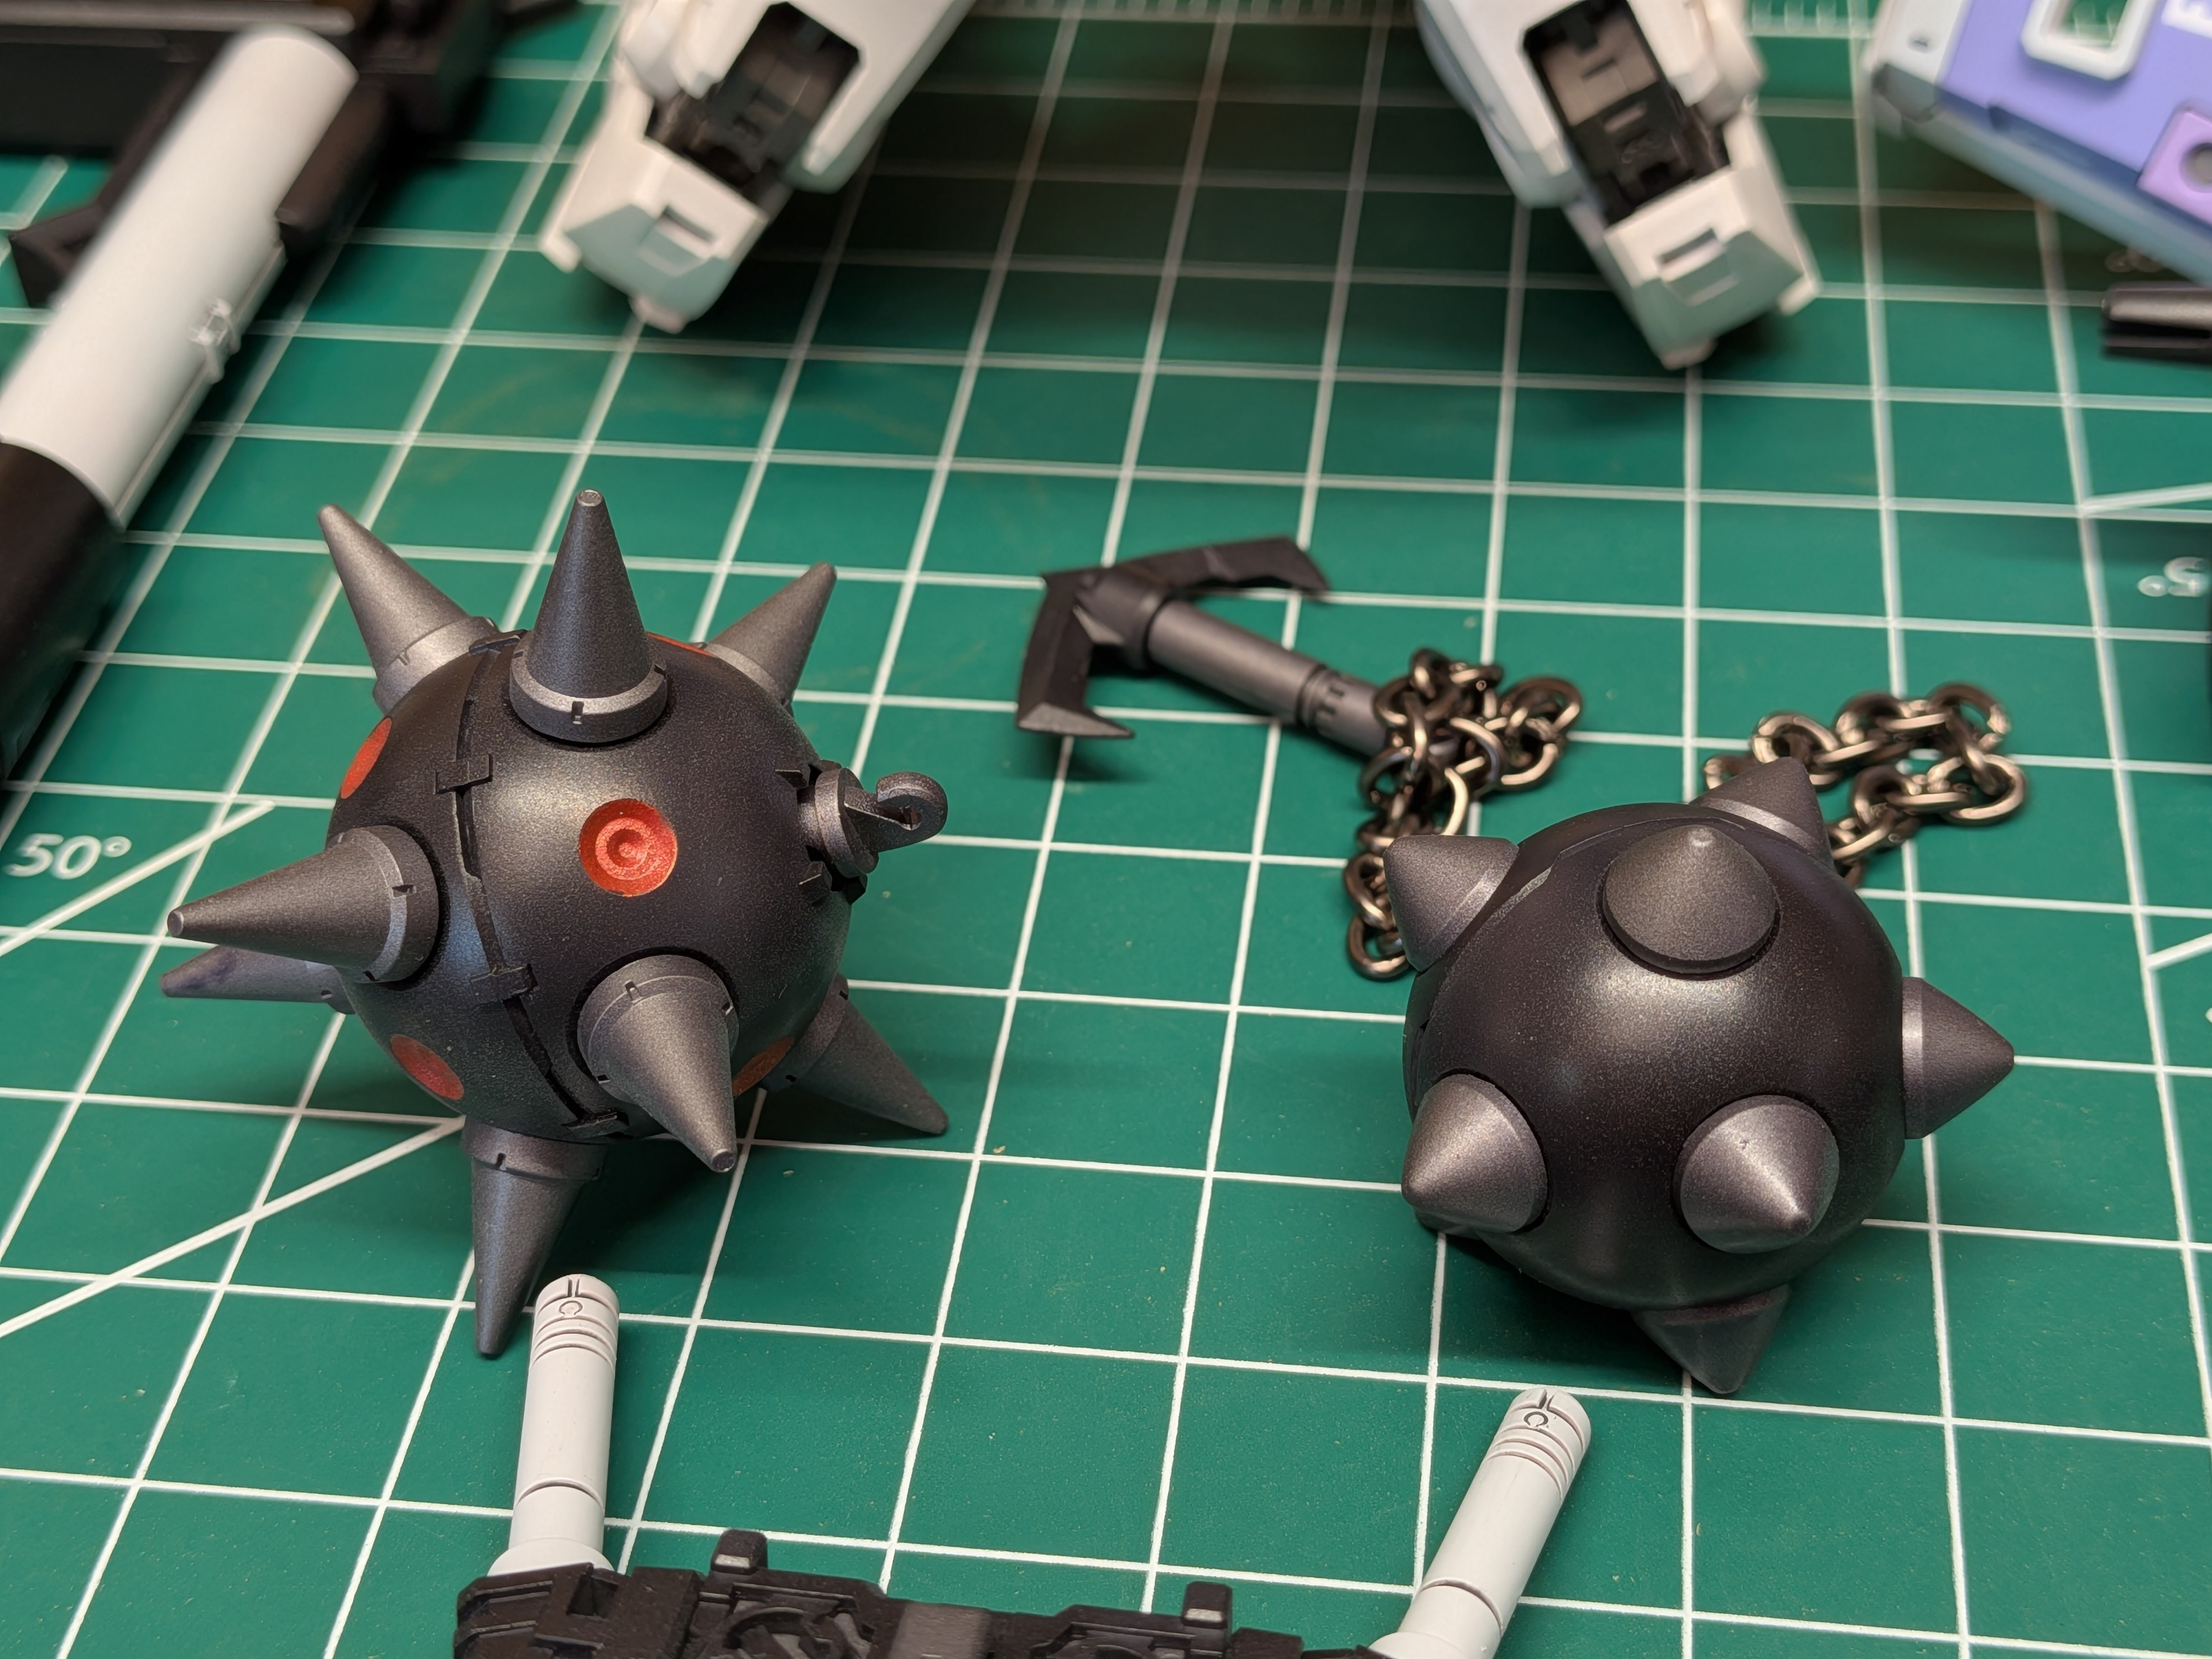
Some success with gloss coating - the Gundam hammers got a really nice sheen here. But I'm not enamored with it, and it doesn't really look like metal anymore - so I think I'll just go back to semi-gloss after panel lining and decals.
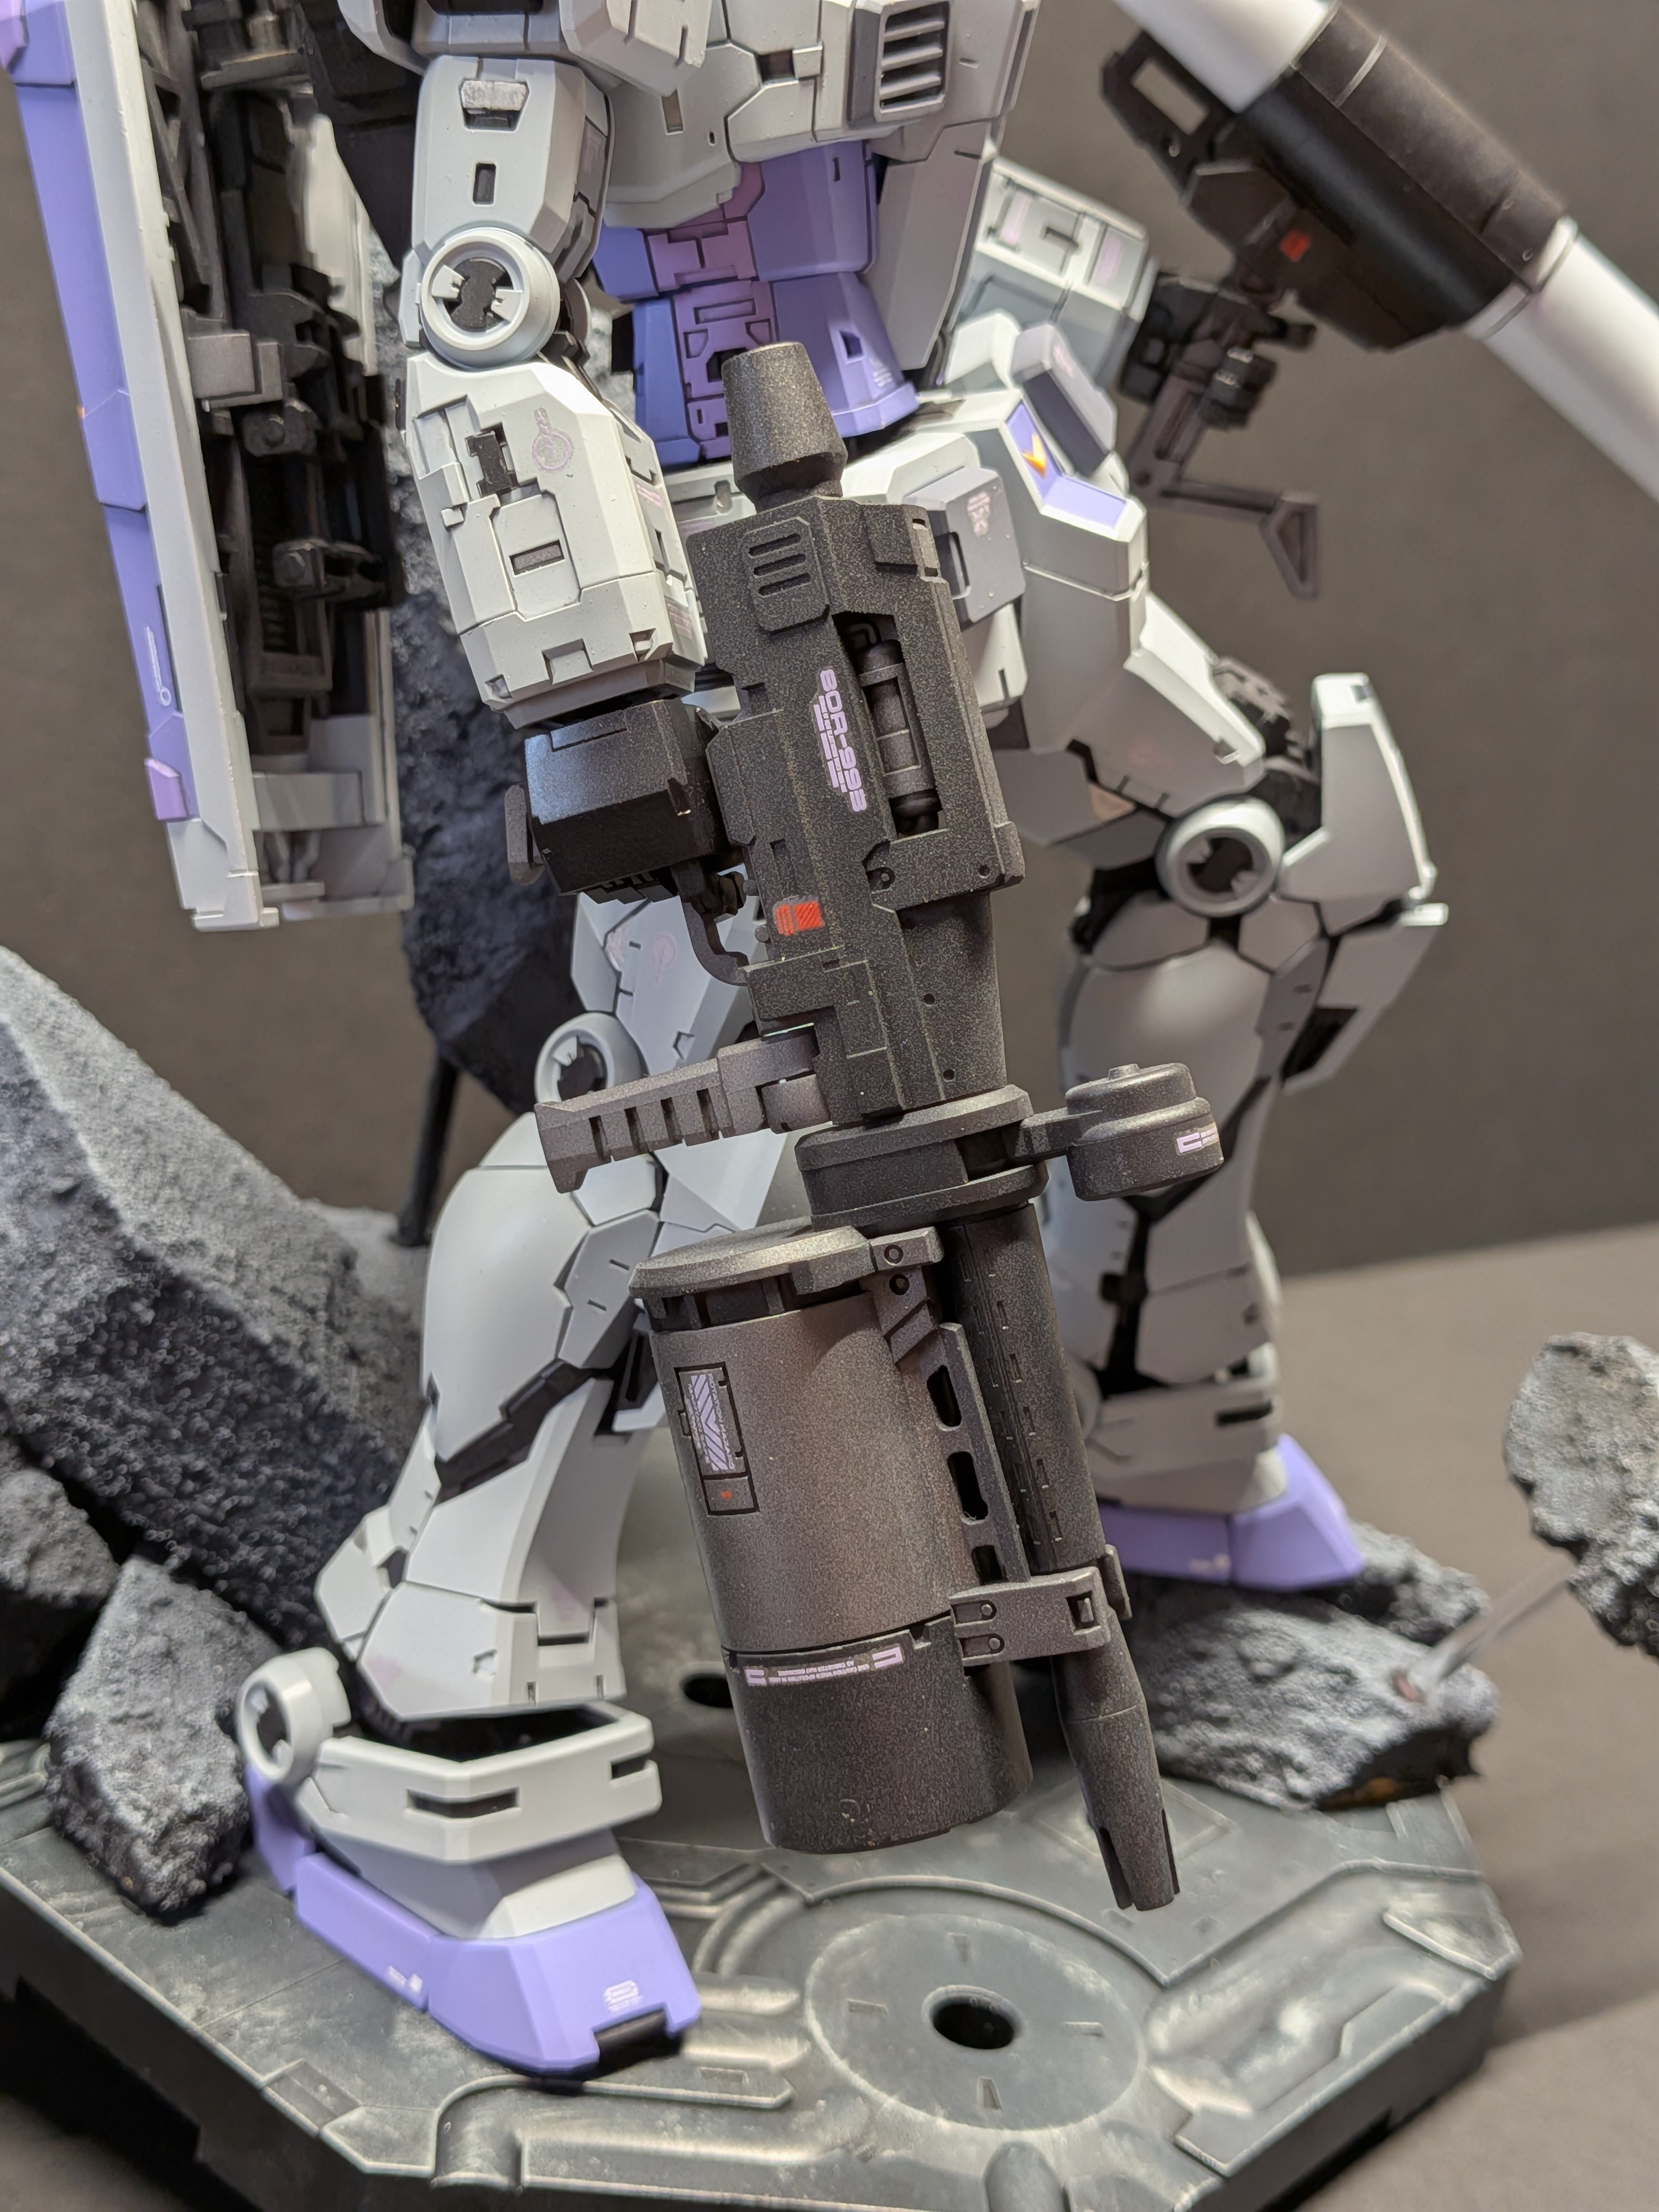
Unfornately, I did get some paint reactivation on a few pieces - the worst is this middle barrel for the super napalm. I think Alclad has a weird solvent that they use in their paints - it uses up VERY quickly, and while the coverage is great, it has some odd properties with pooling. I used lacquer thinner for the gloss coat, and I think that caused some crazing on this part. So, I'll switch to an acylic solvent for the gloss coat and repaint this piece. Everything else seems acceptable (or at least, I don't plan to use it in the display).
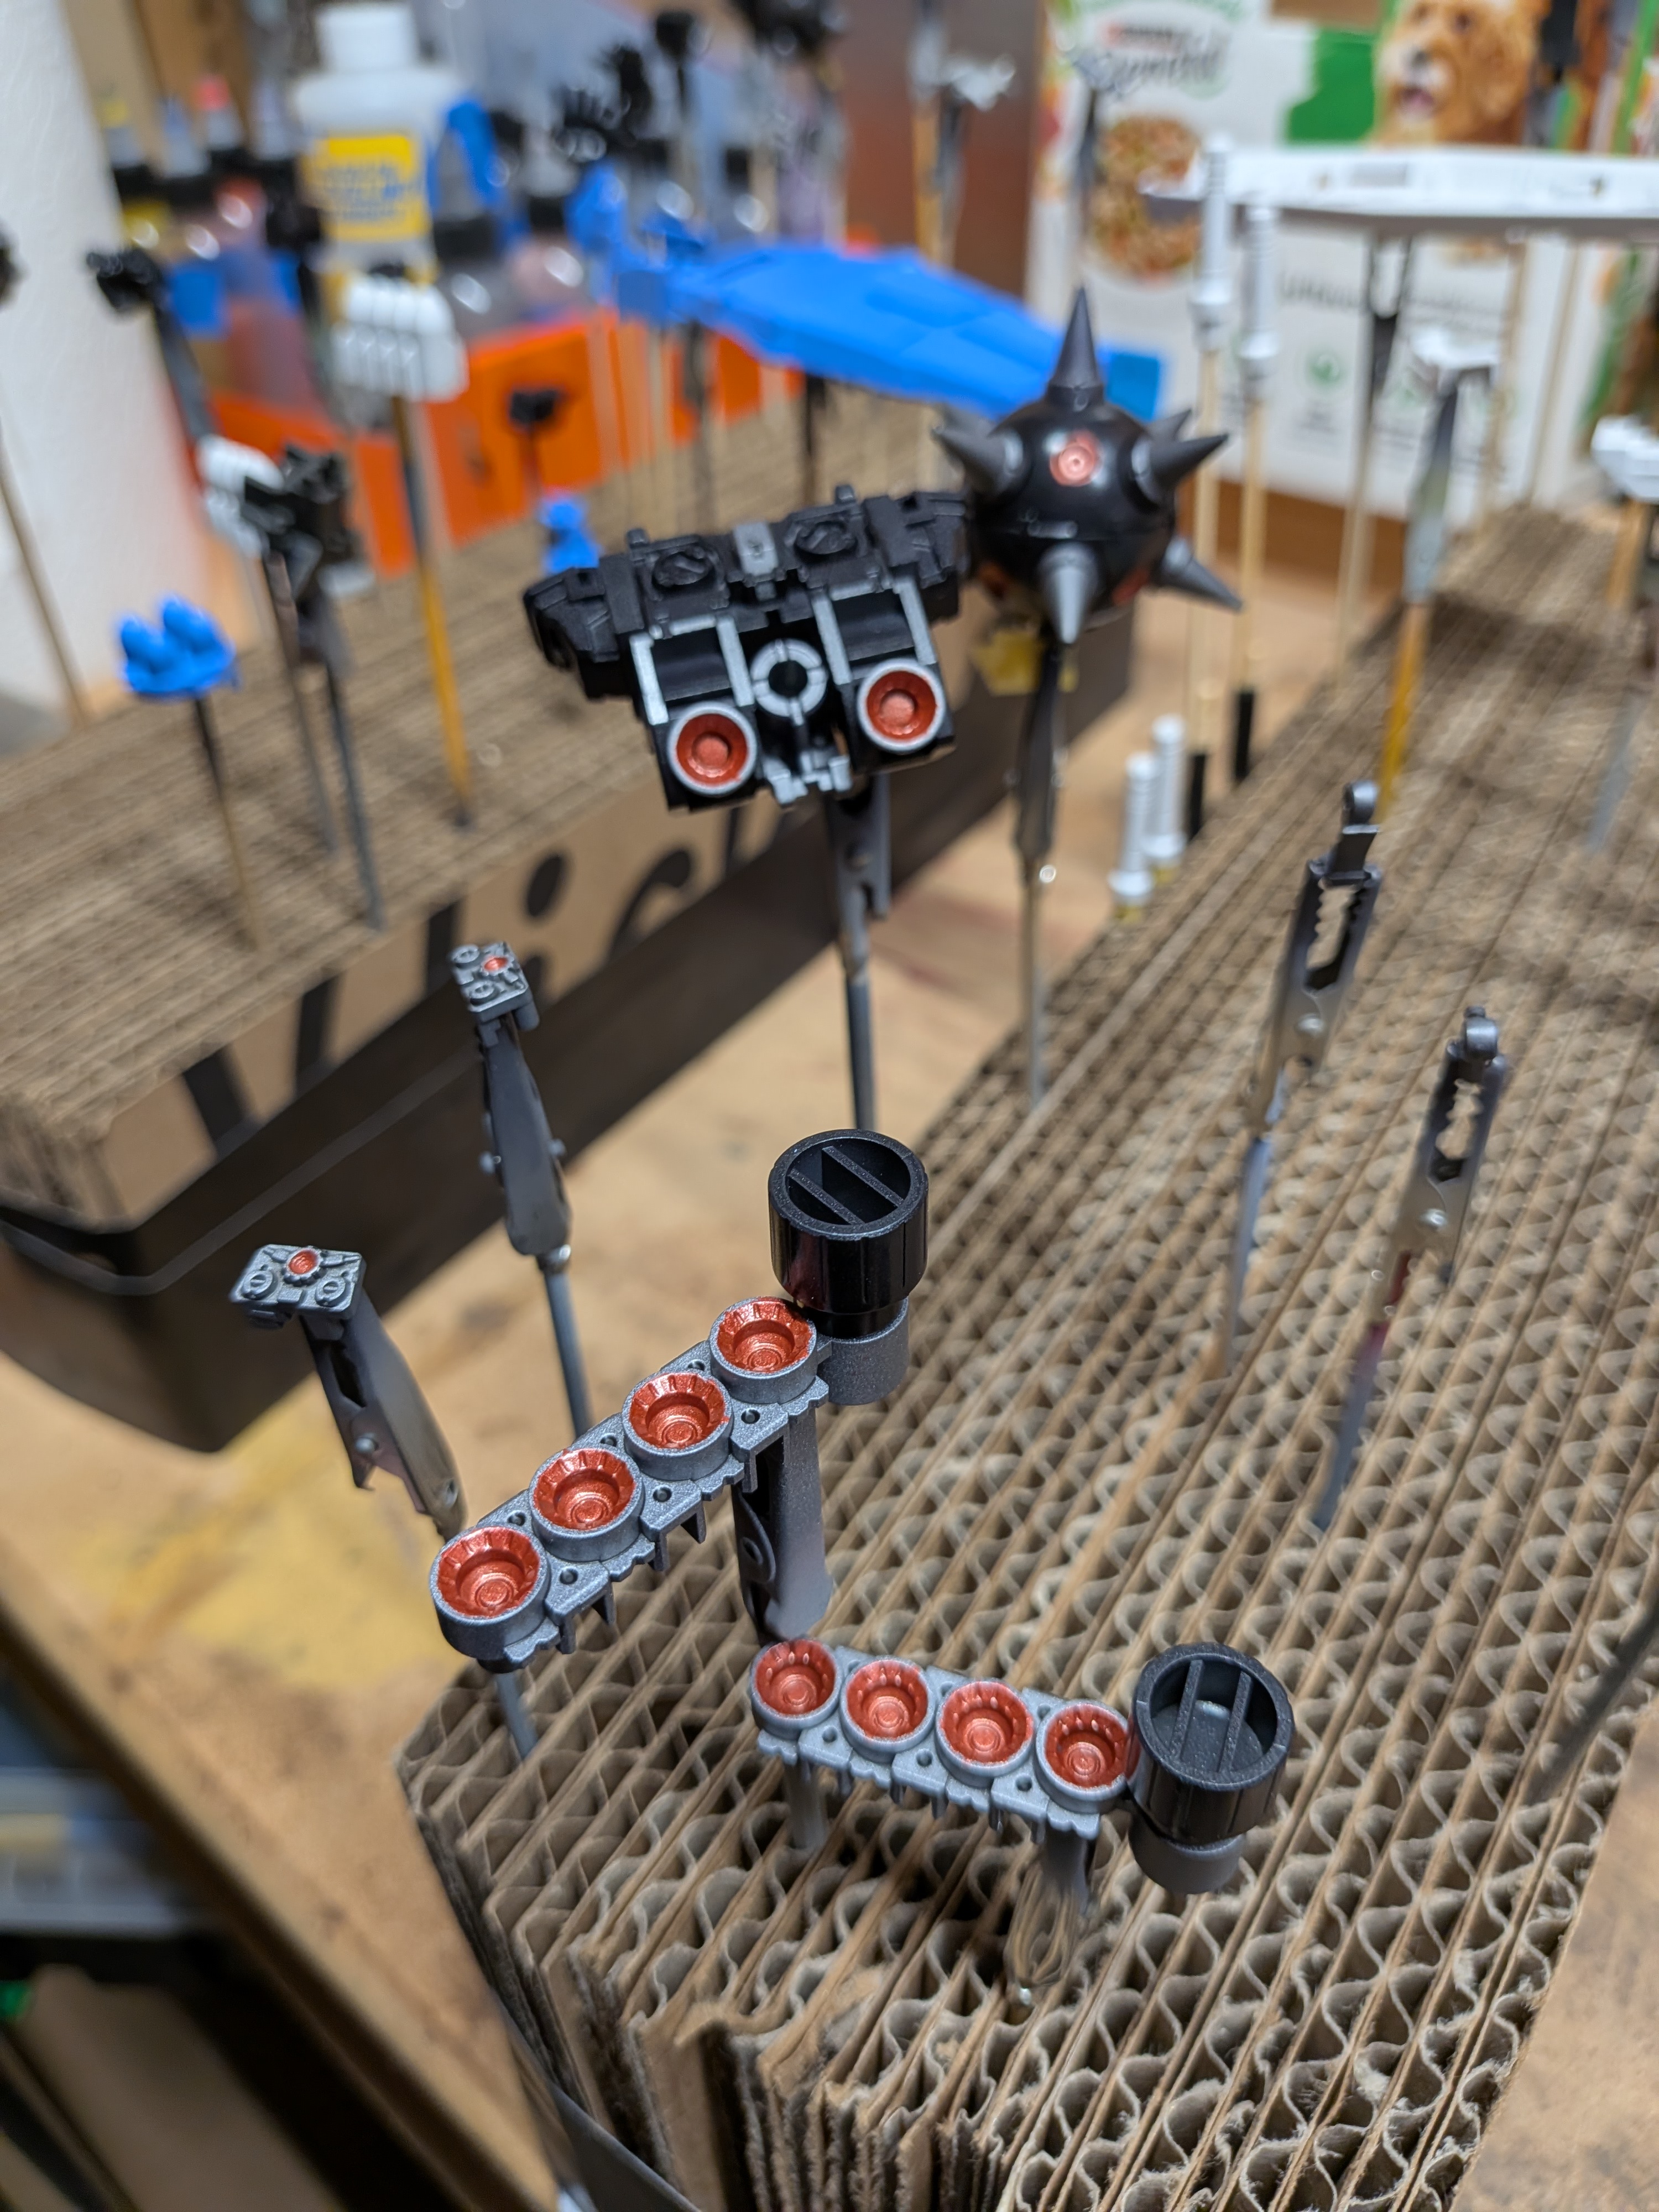
I painted finer details with enamel paints - a mix of copper/red/gunmetal for all the thrusters, and straight black for the core fighter tires. Because of the solvent differences between the enamel and lacquer basecoat, I could be a bit imprecise and clean up with enamel thinner when it dried.
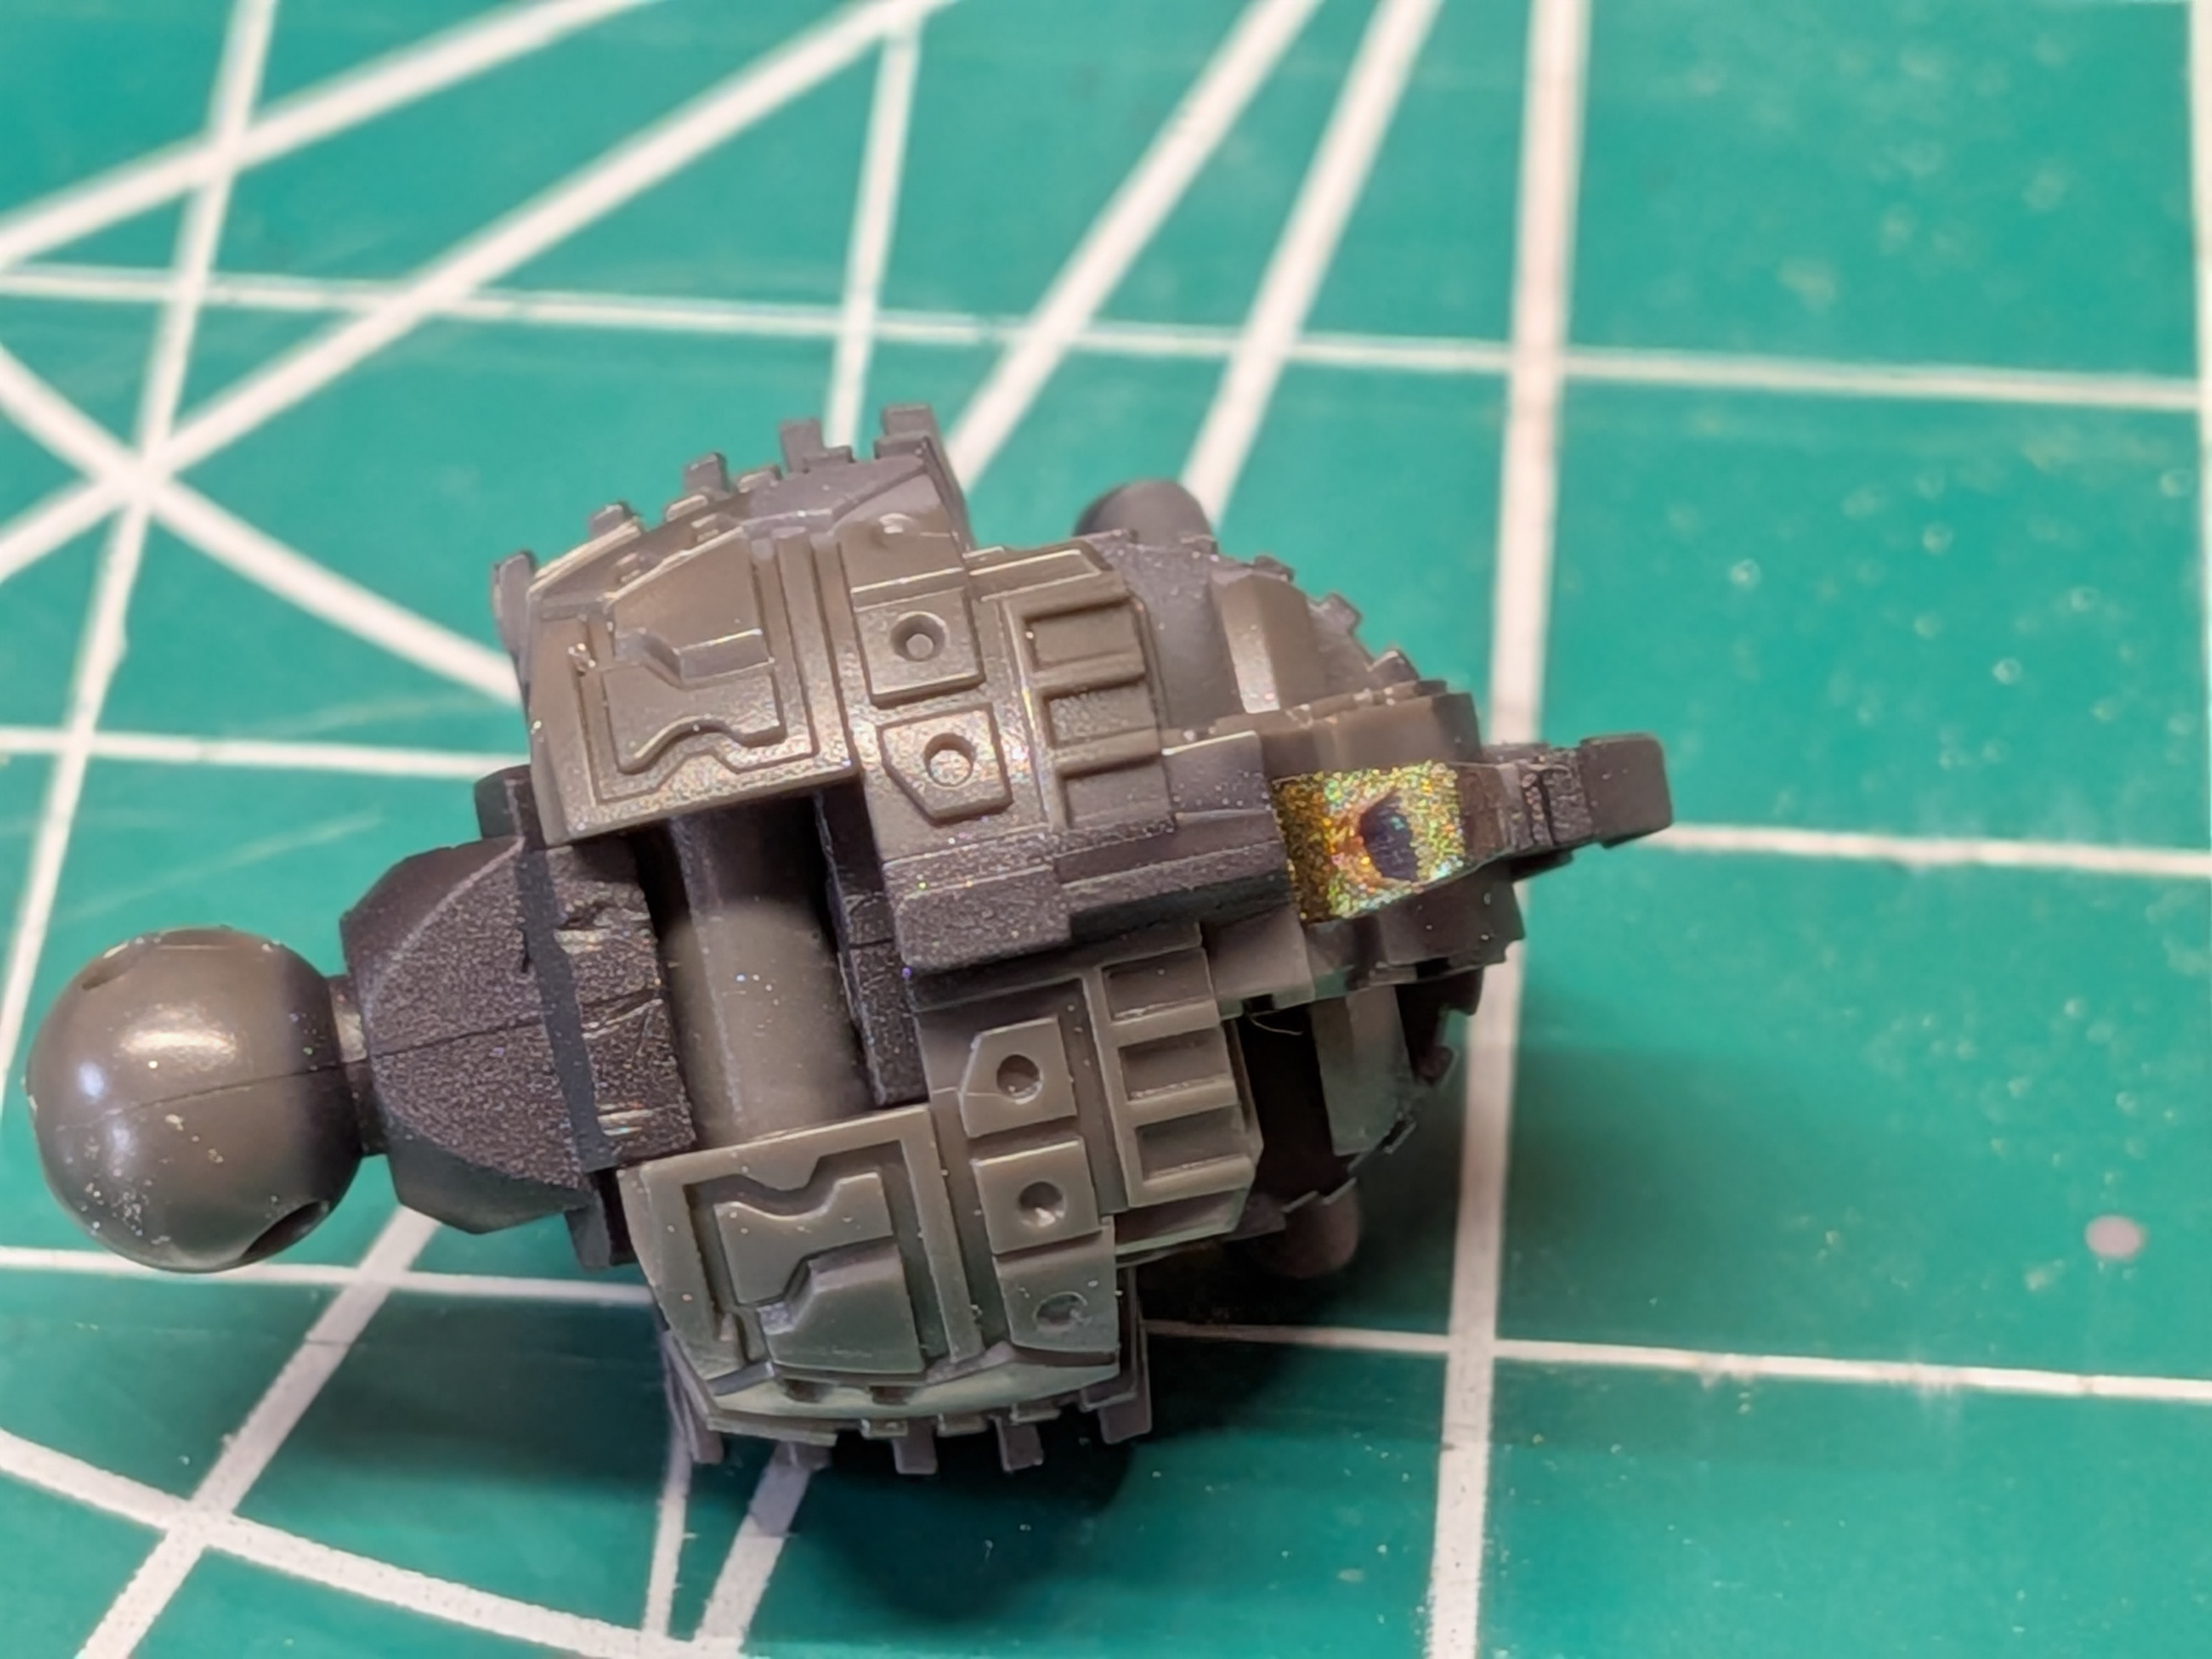
For the core fighter canopy and beam rifle sensor, I based them with Alclad stainless steel and then went over with clear acrylics. I really like how the canopy ended up, but the sensor is a bit off. I'll do something different for that later.
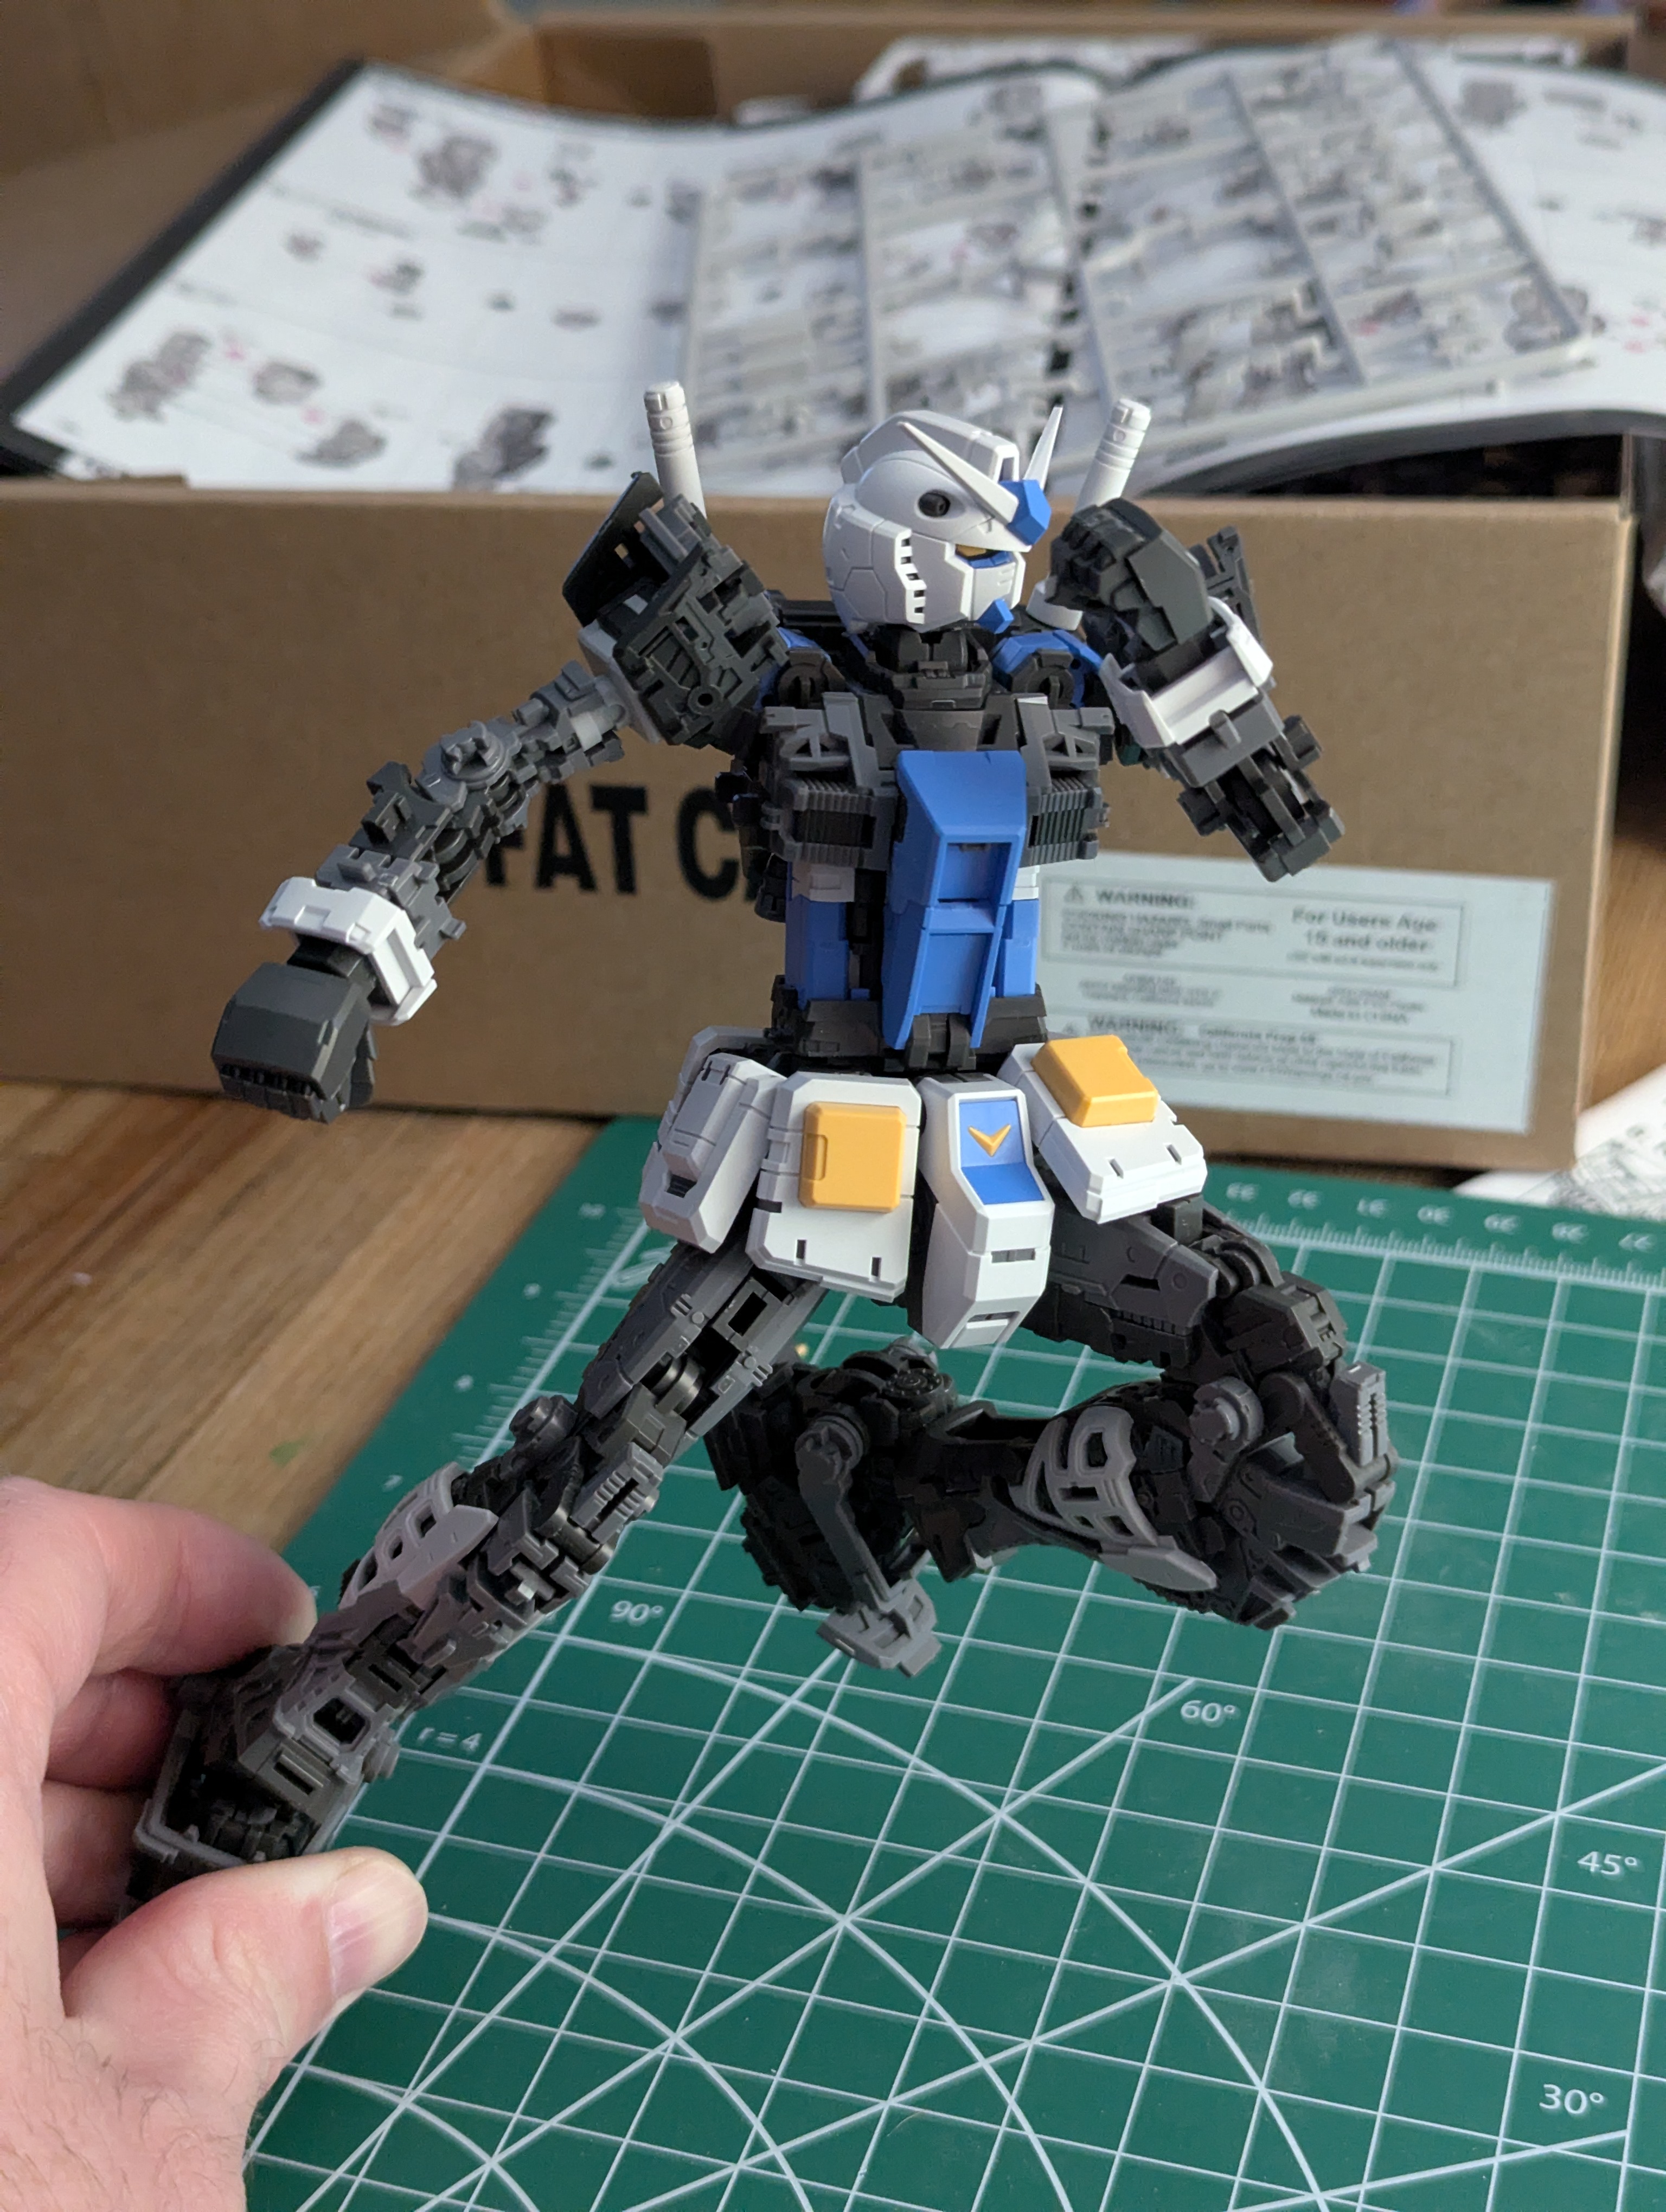
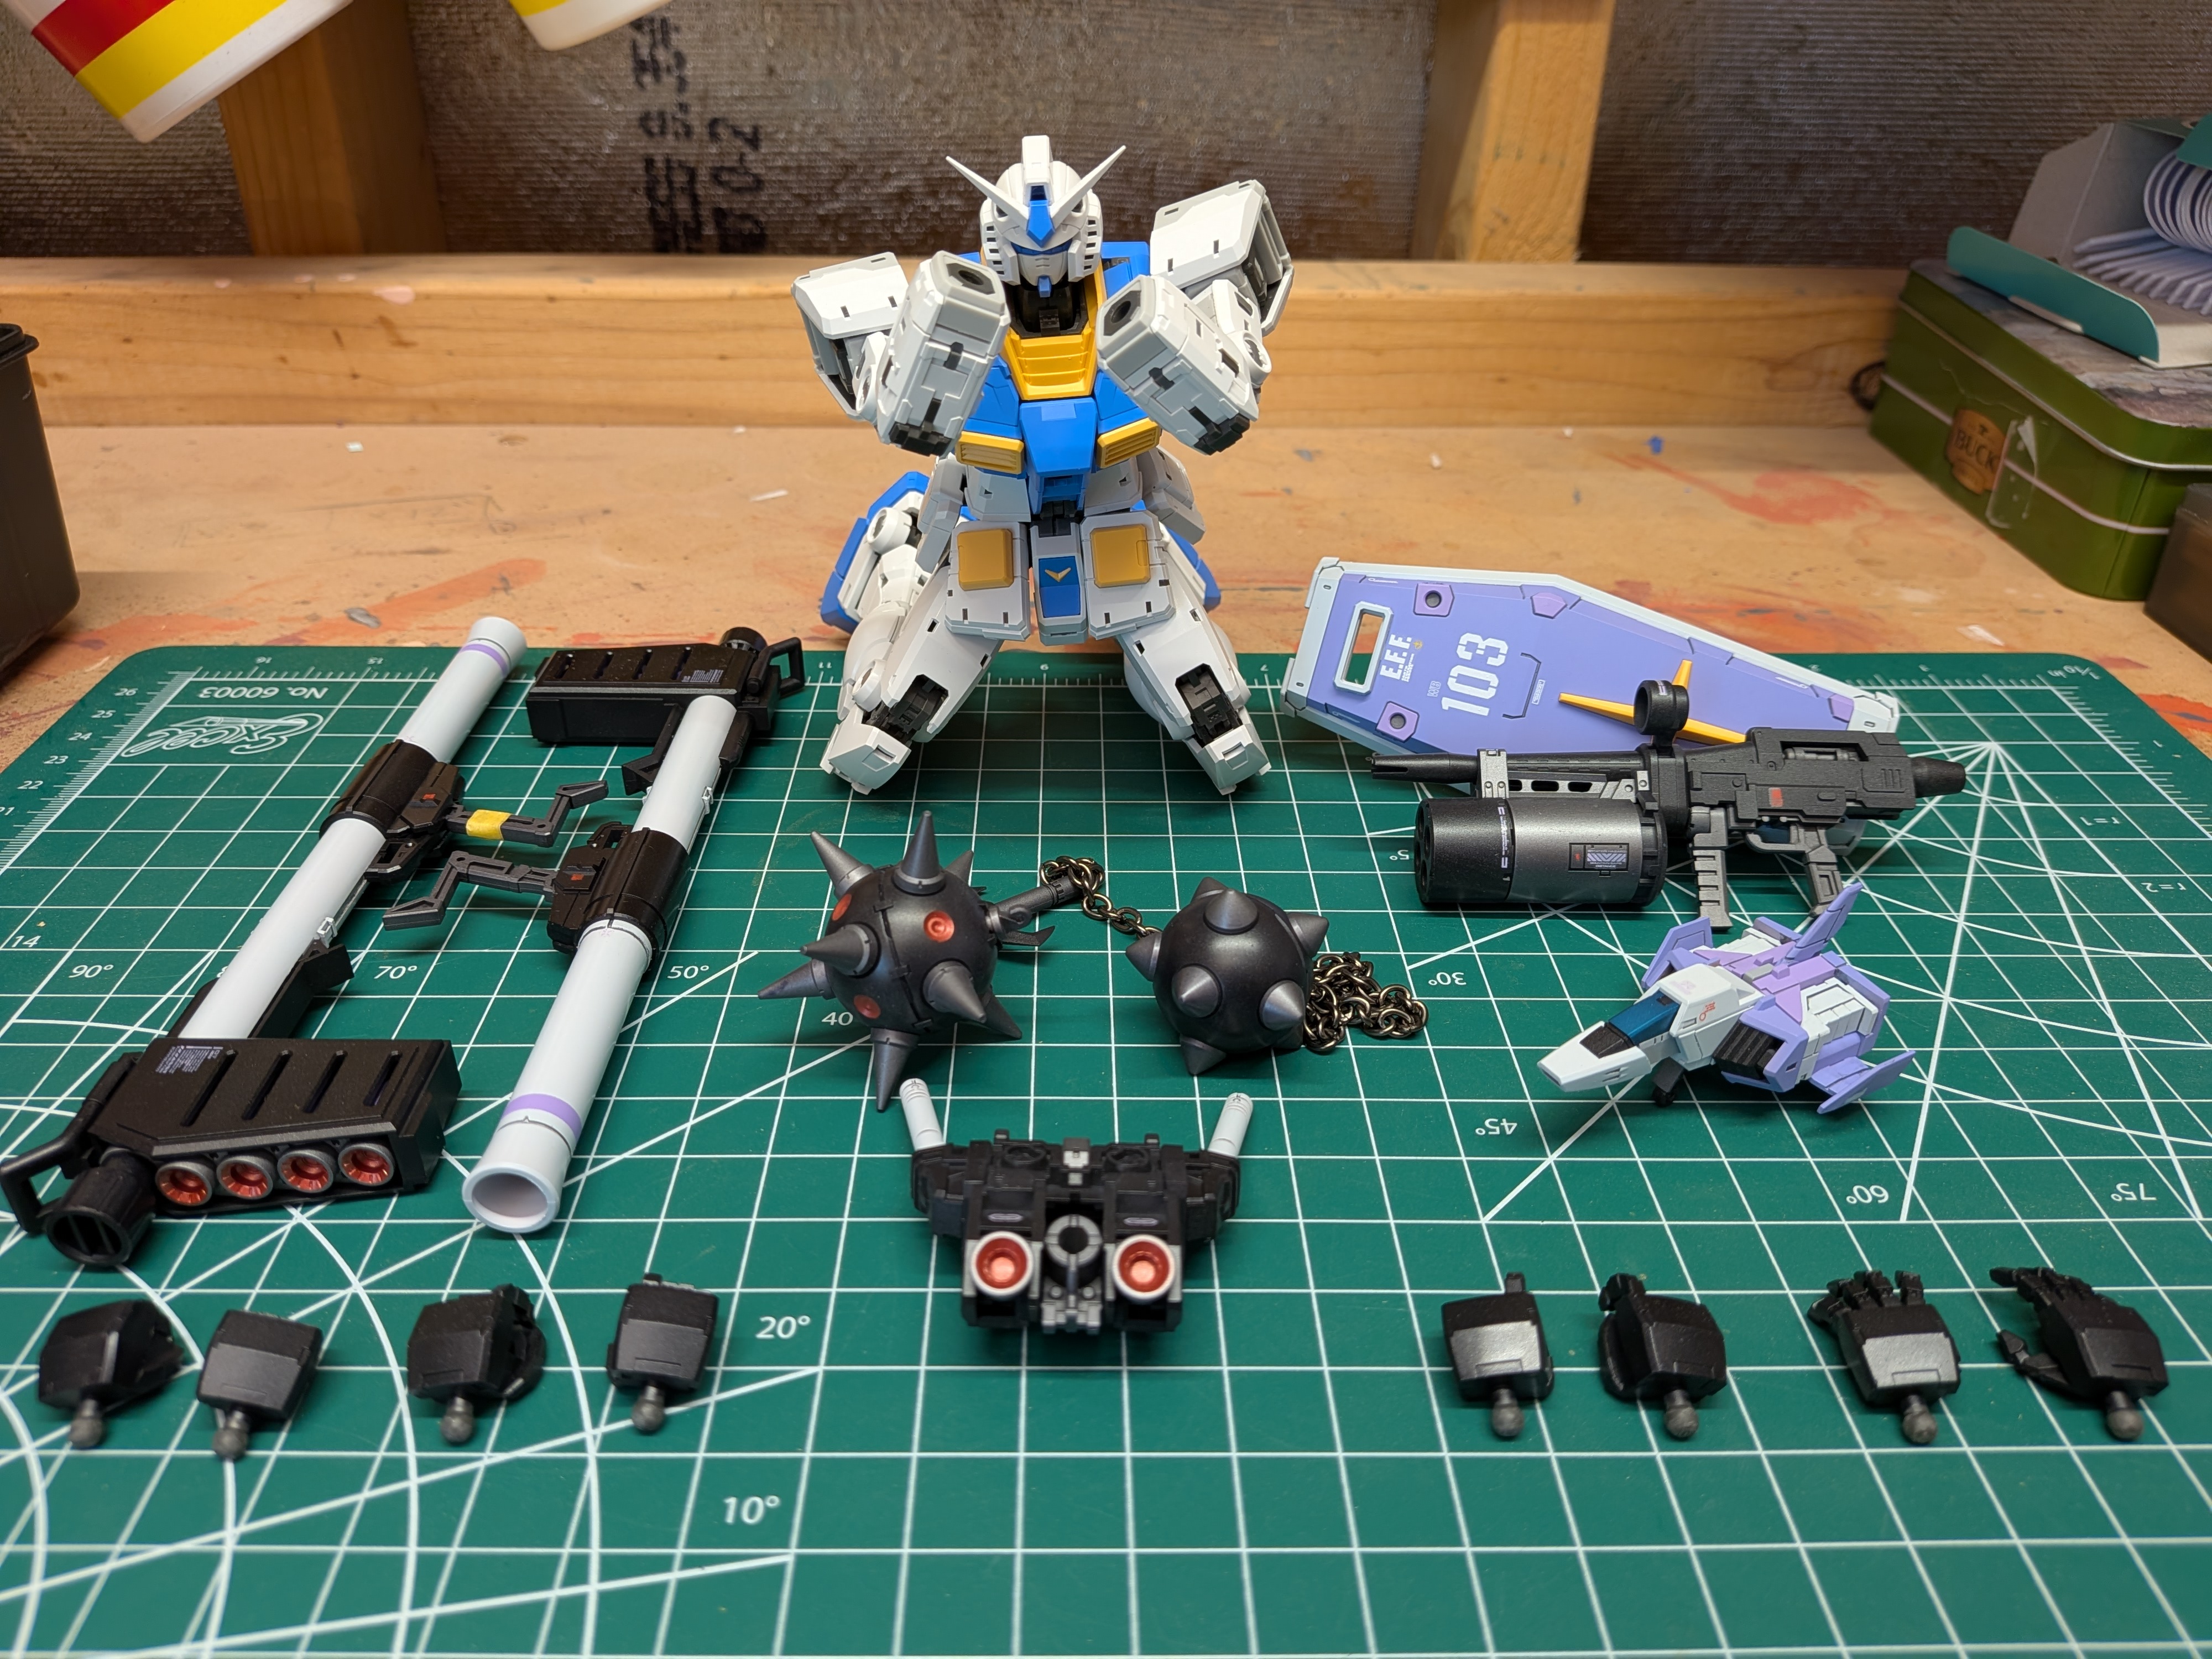
When the accessories are complete, but you have no hands to hold them. :(
I skipped over a bit here because at this point, it's just painting. This is actually a pretty cool feeling, since it indicates that I've crossed a significant familiarity threshold with the process and it's coming very naturally now. So I'll just make a few notes about things I thought were successful vs. troublesome.
- Mostly very happy with my color choices. The blurple and purple work excellently together, and I'm very pleased with the metallics now that they're properly semi-glossed. However, if I could go back, I would have made the light gray just a tad darker. When spoon testing right against the base kit white, it was very obviously darker - but alone and against the darker metallics, it just looks like white. Still, I wasn't going for a dark gray G-3 (Bandai sometimes does this, like on the MG One Year War RX-78), so this'll do just fine.
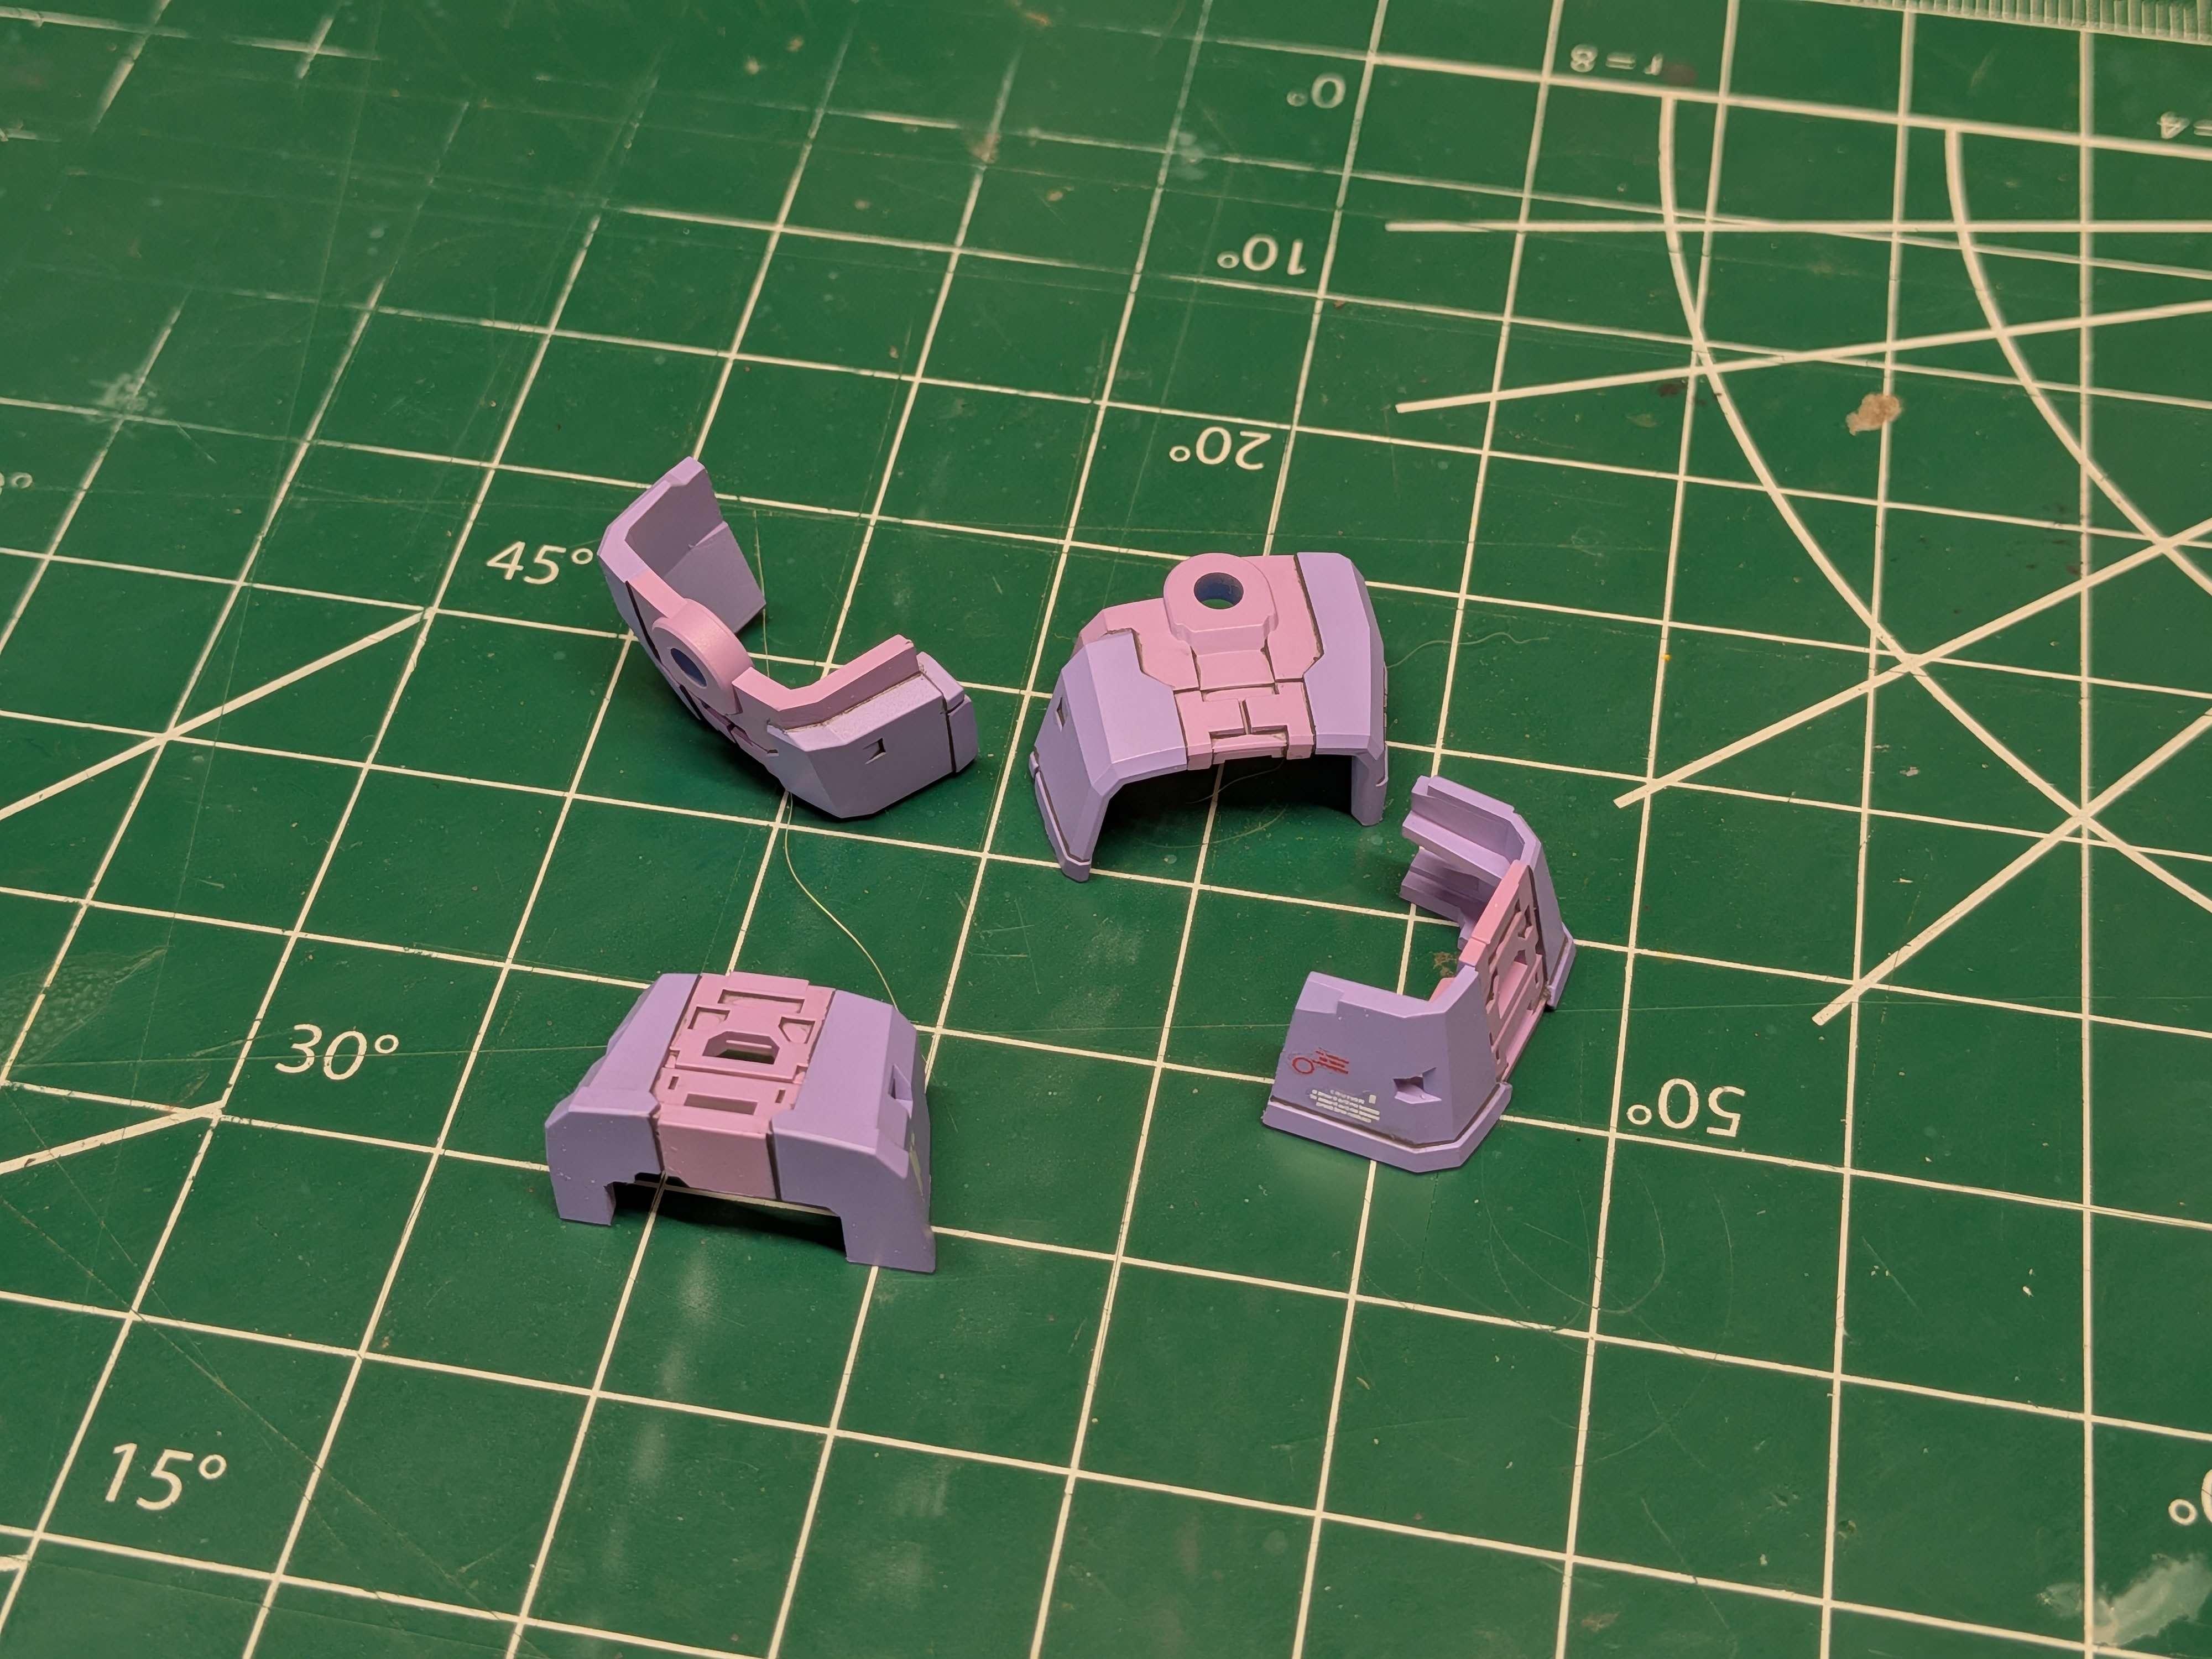
- There is some stubborn pink base coat that survived the white paint. Honestly I'll just switch the gray primer for the body, it's much more palatable if that survives into the nooks and crannies of the part.
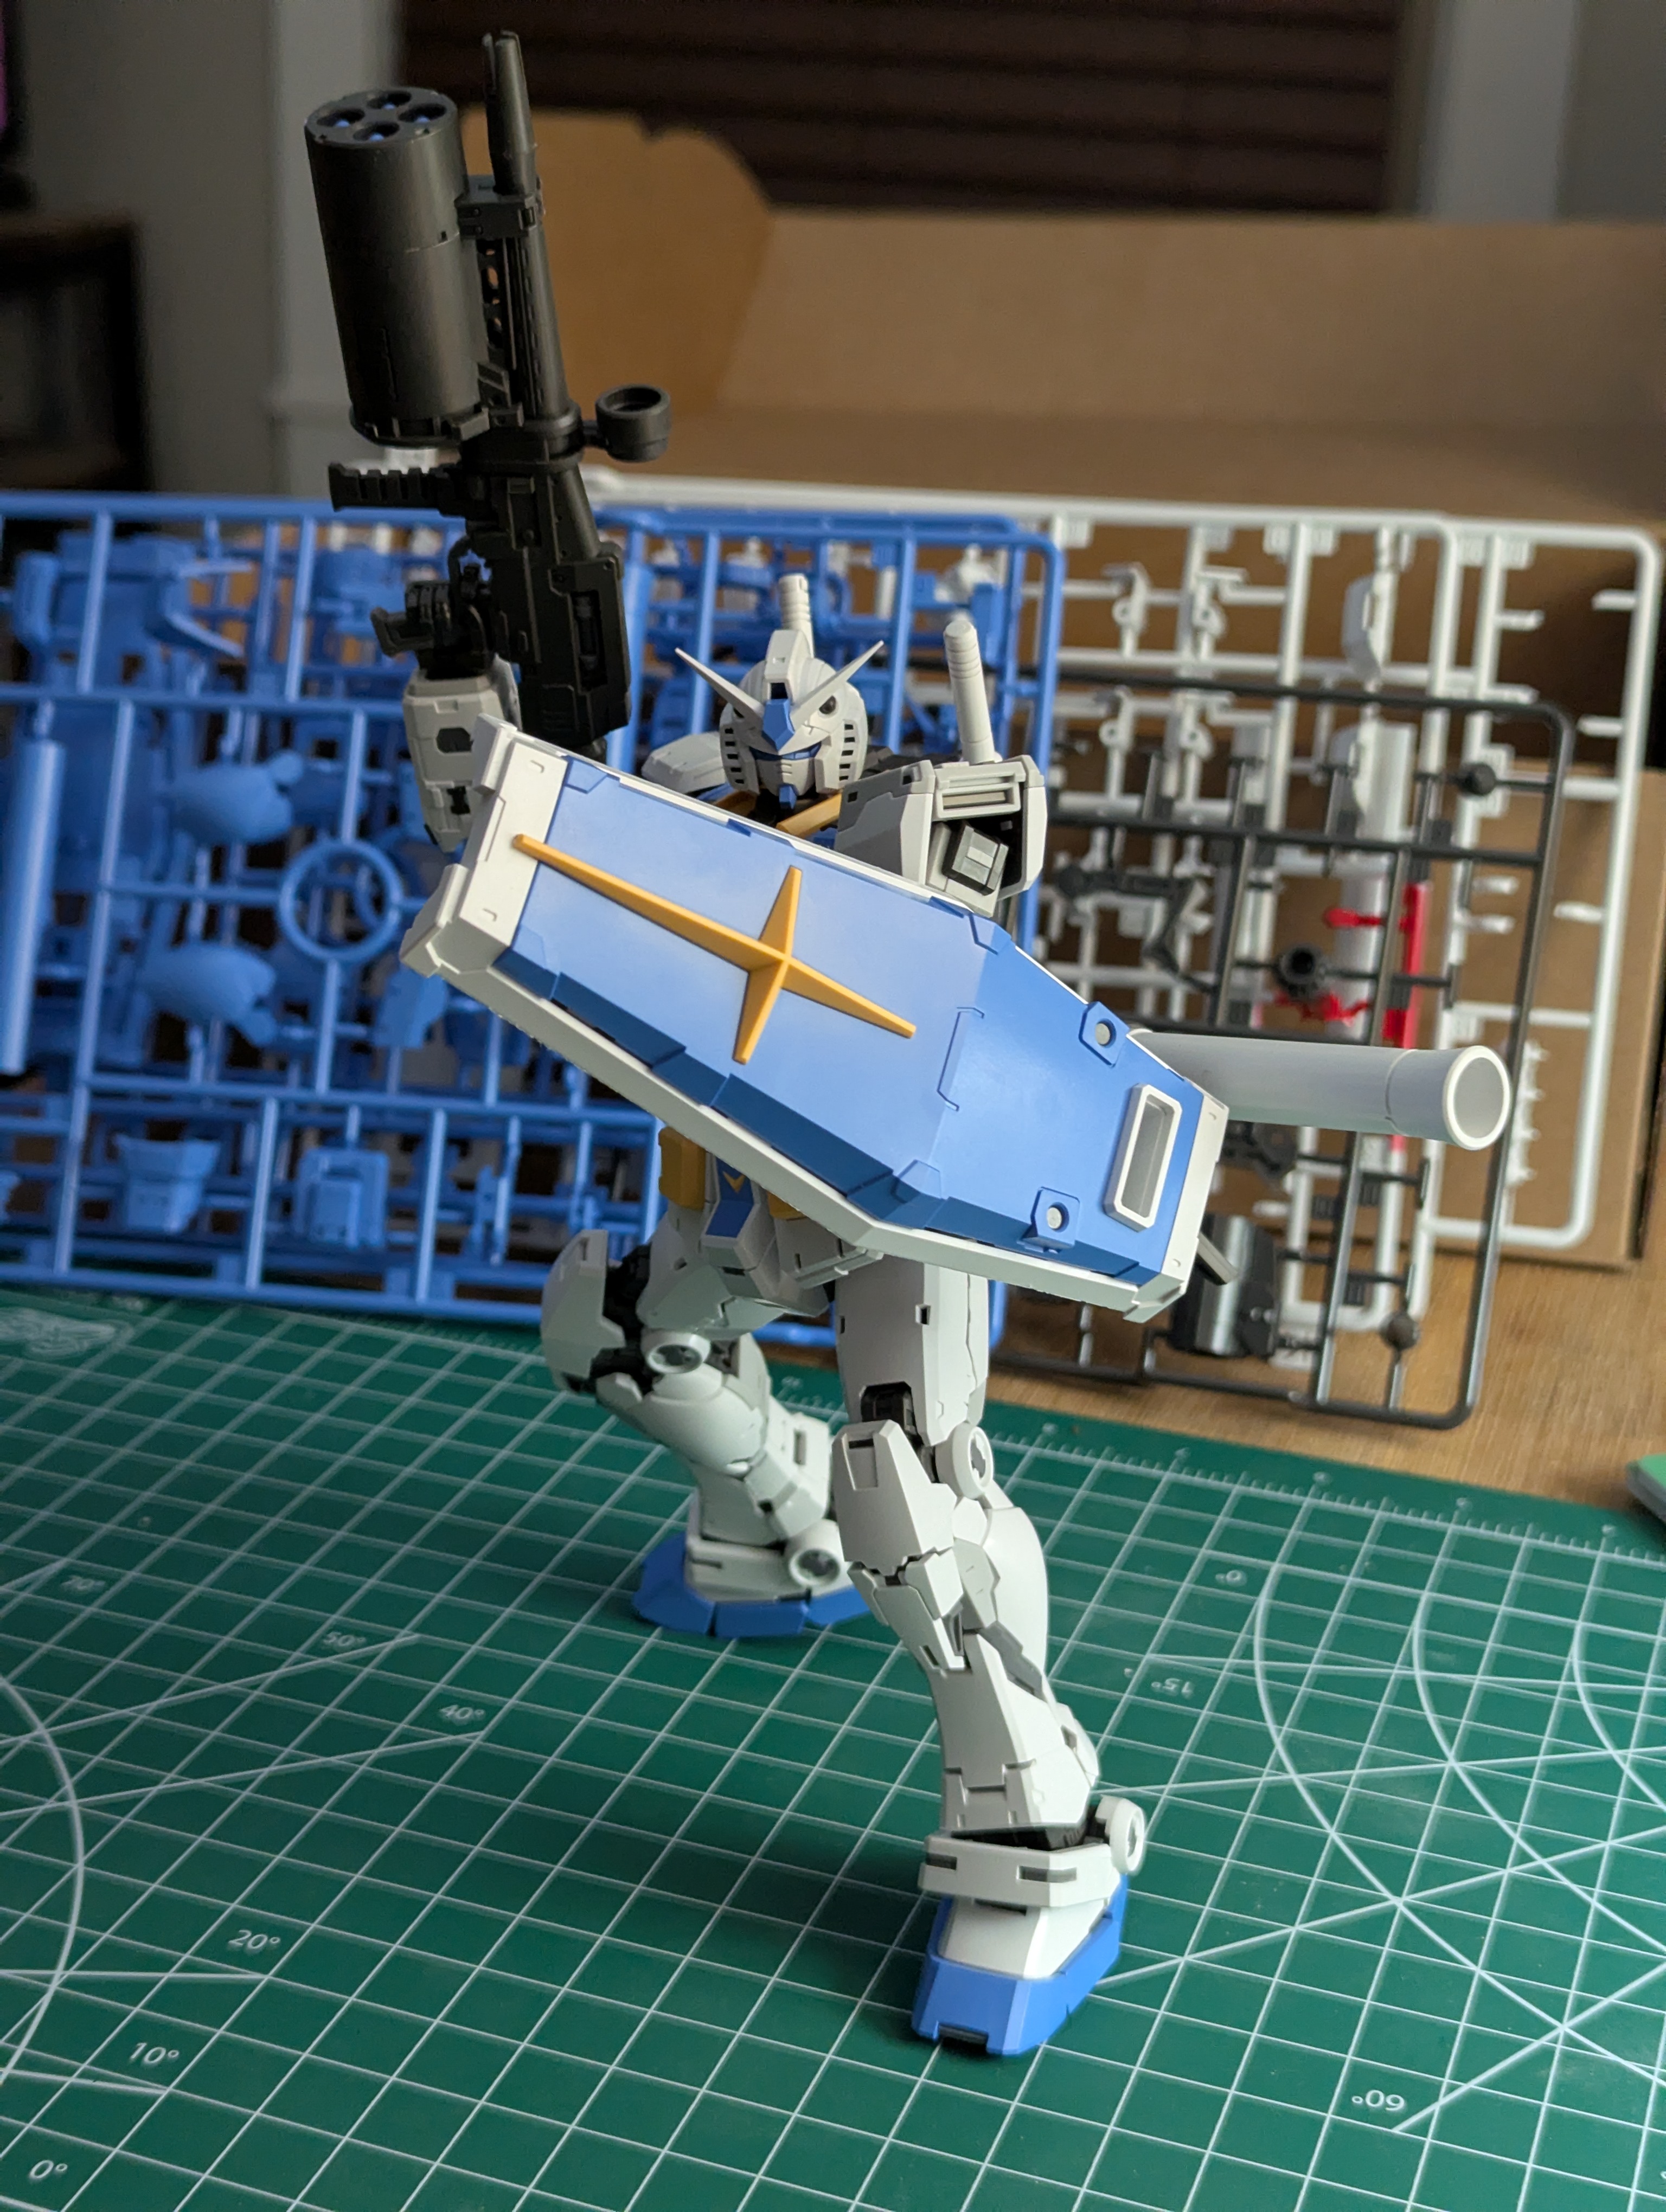
- I got some purple decals from HiQParts and these look great. I mostly followed the Bandai manual for where to place them, but took liberties with what decals to use since I didn't have 1:1 matches for the Real Grade. I wish I had some dedicated G-3 decals but I made do by using the 103 designation on the shield.
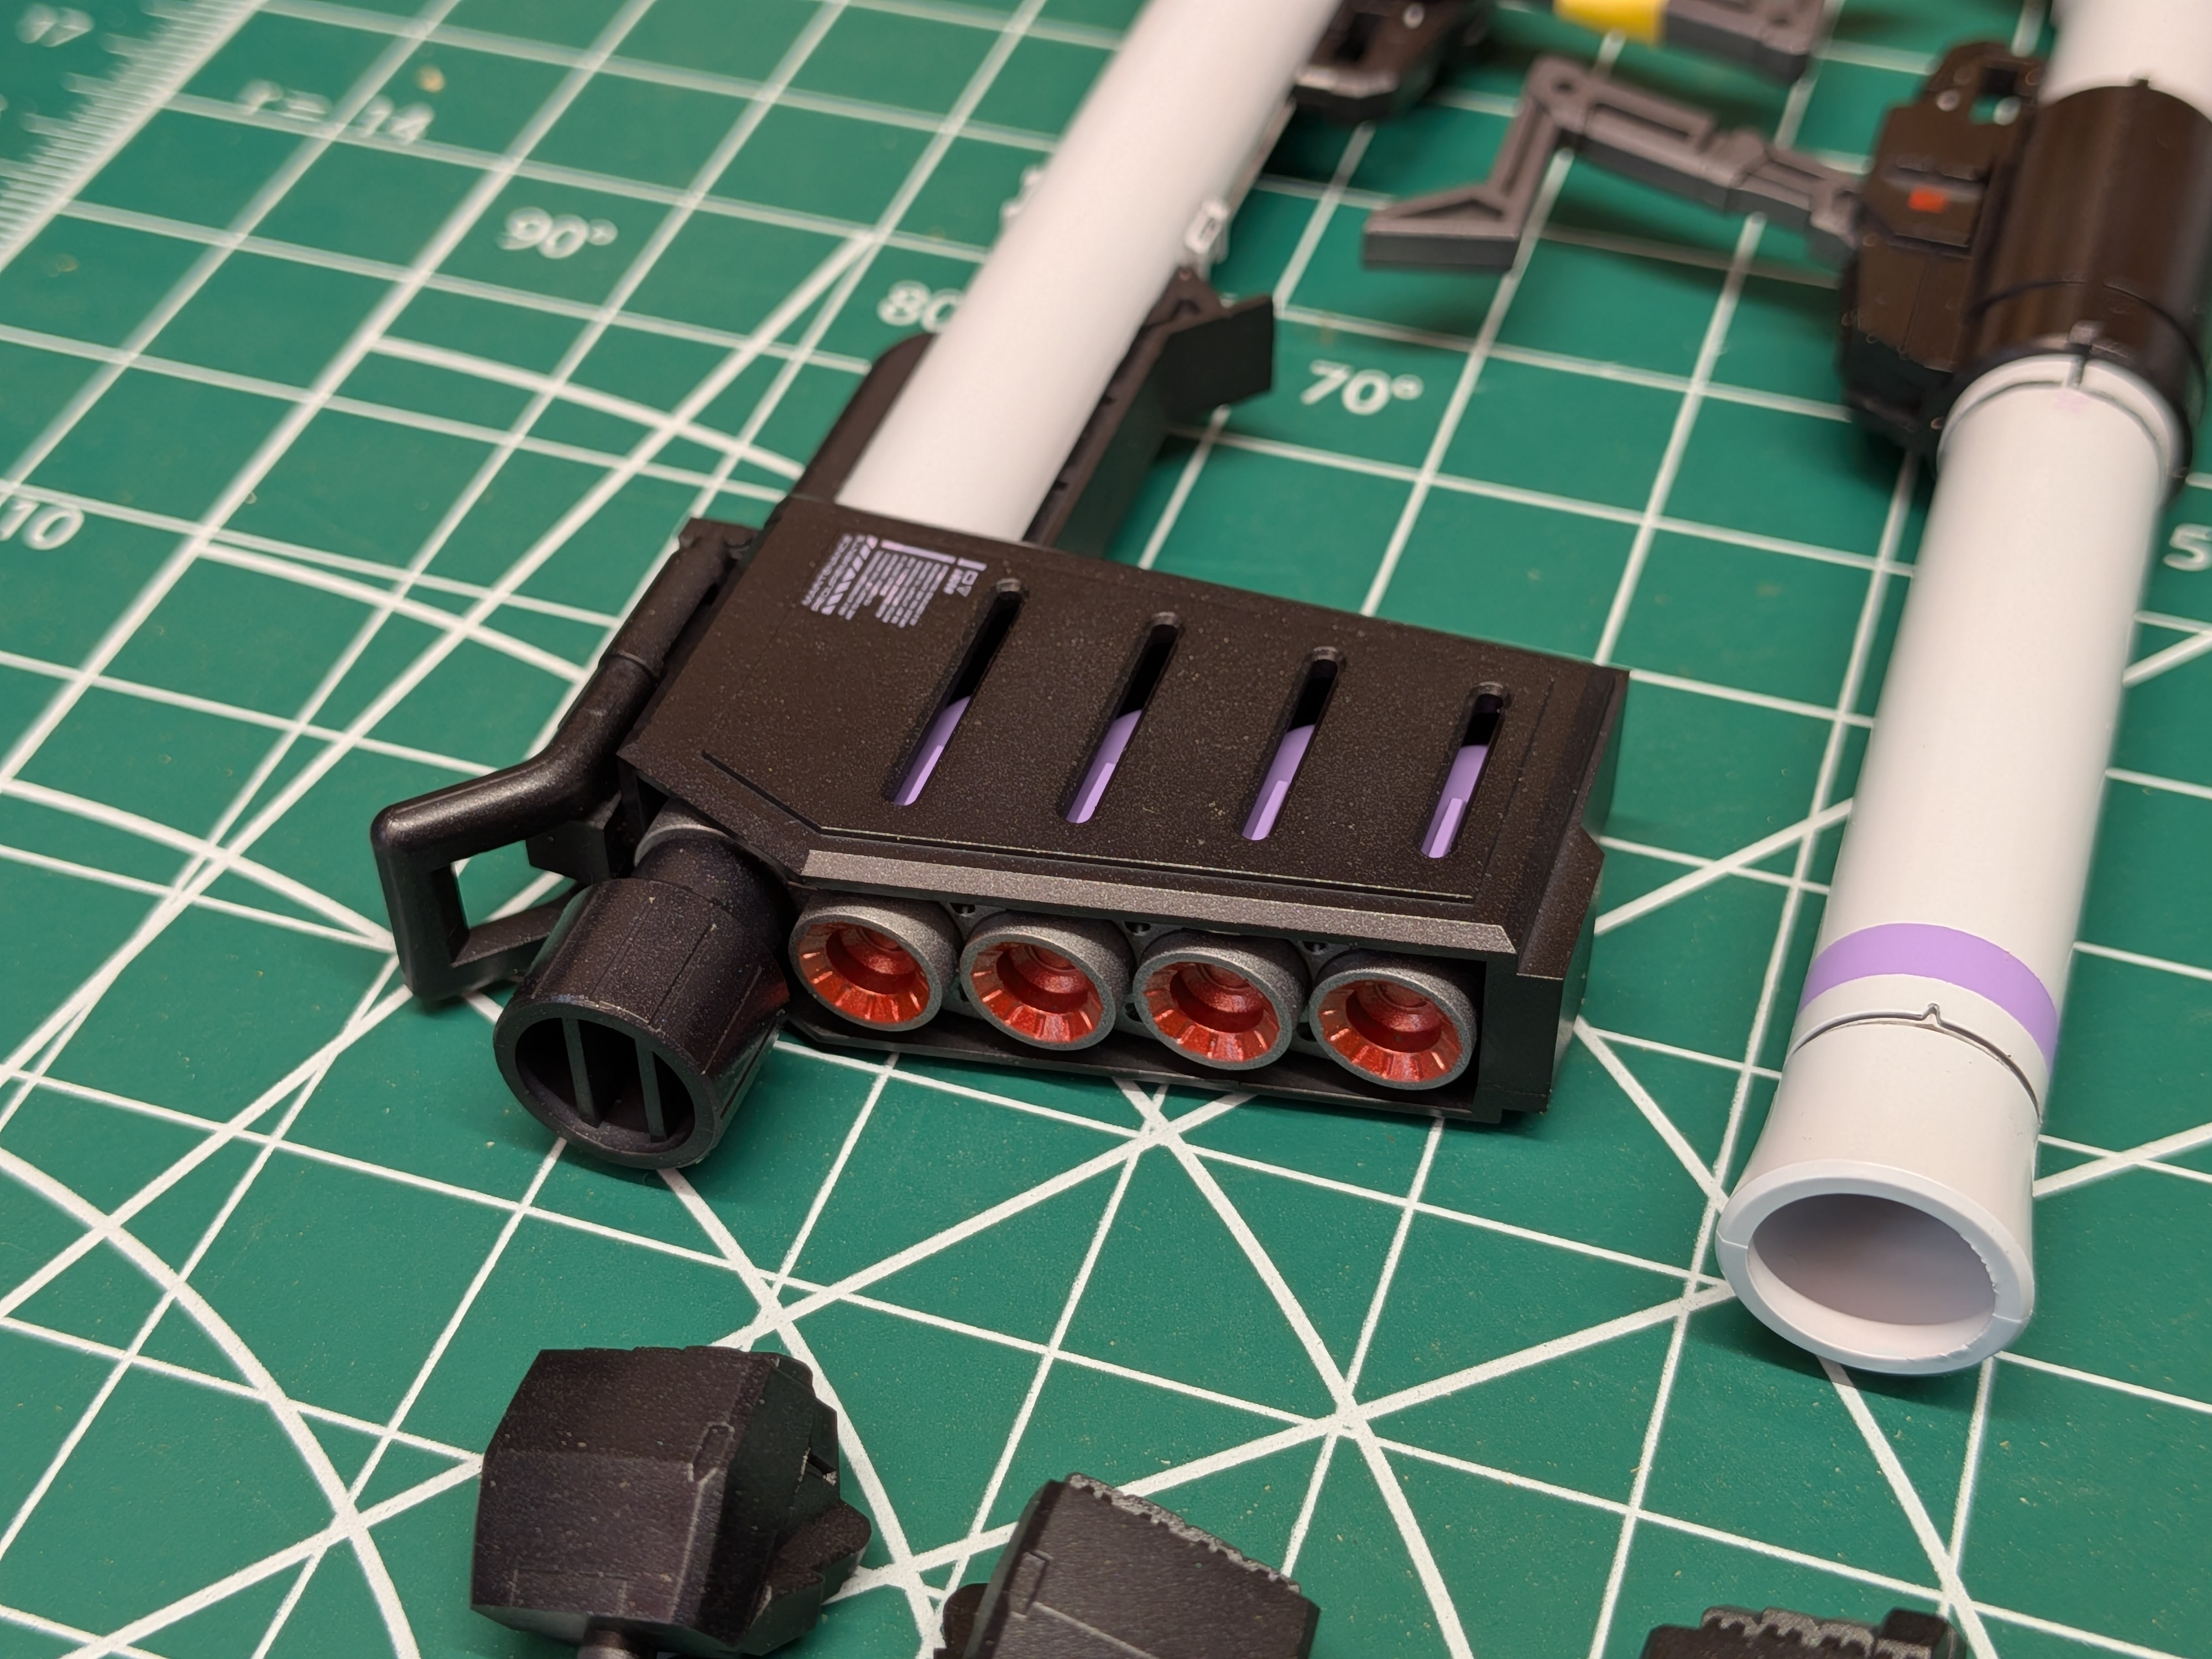
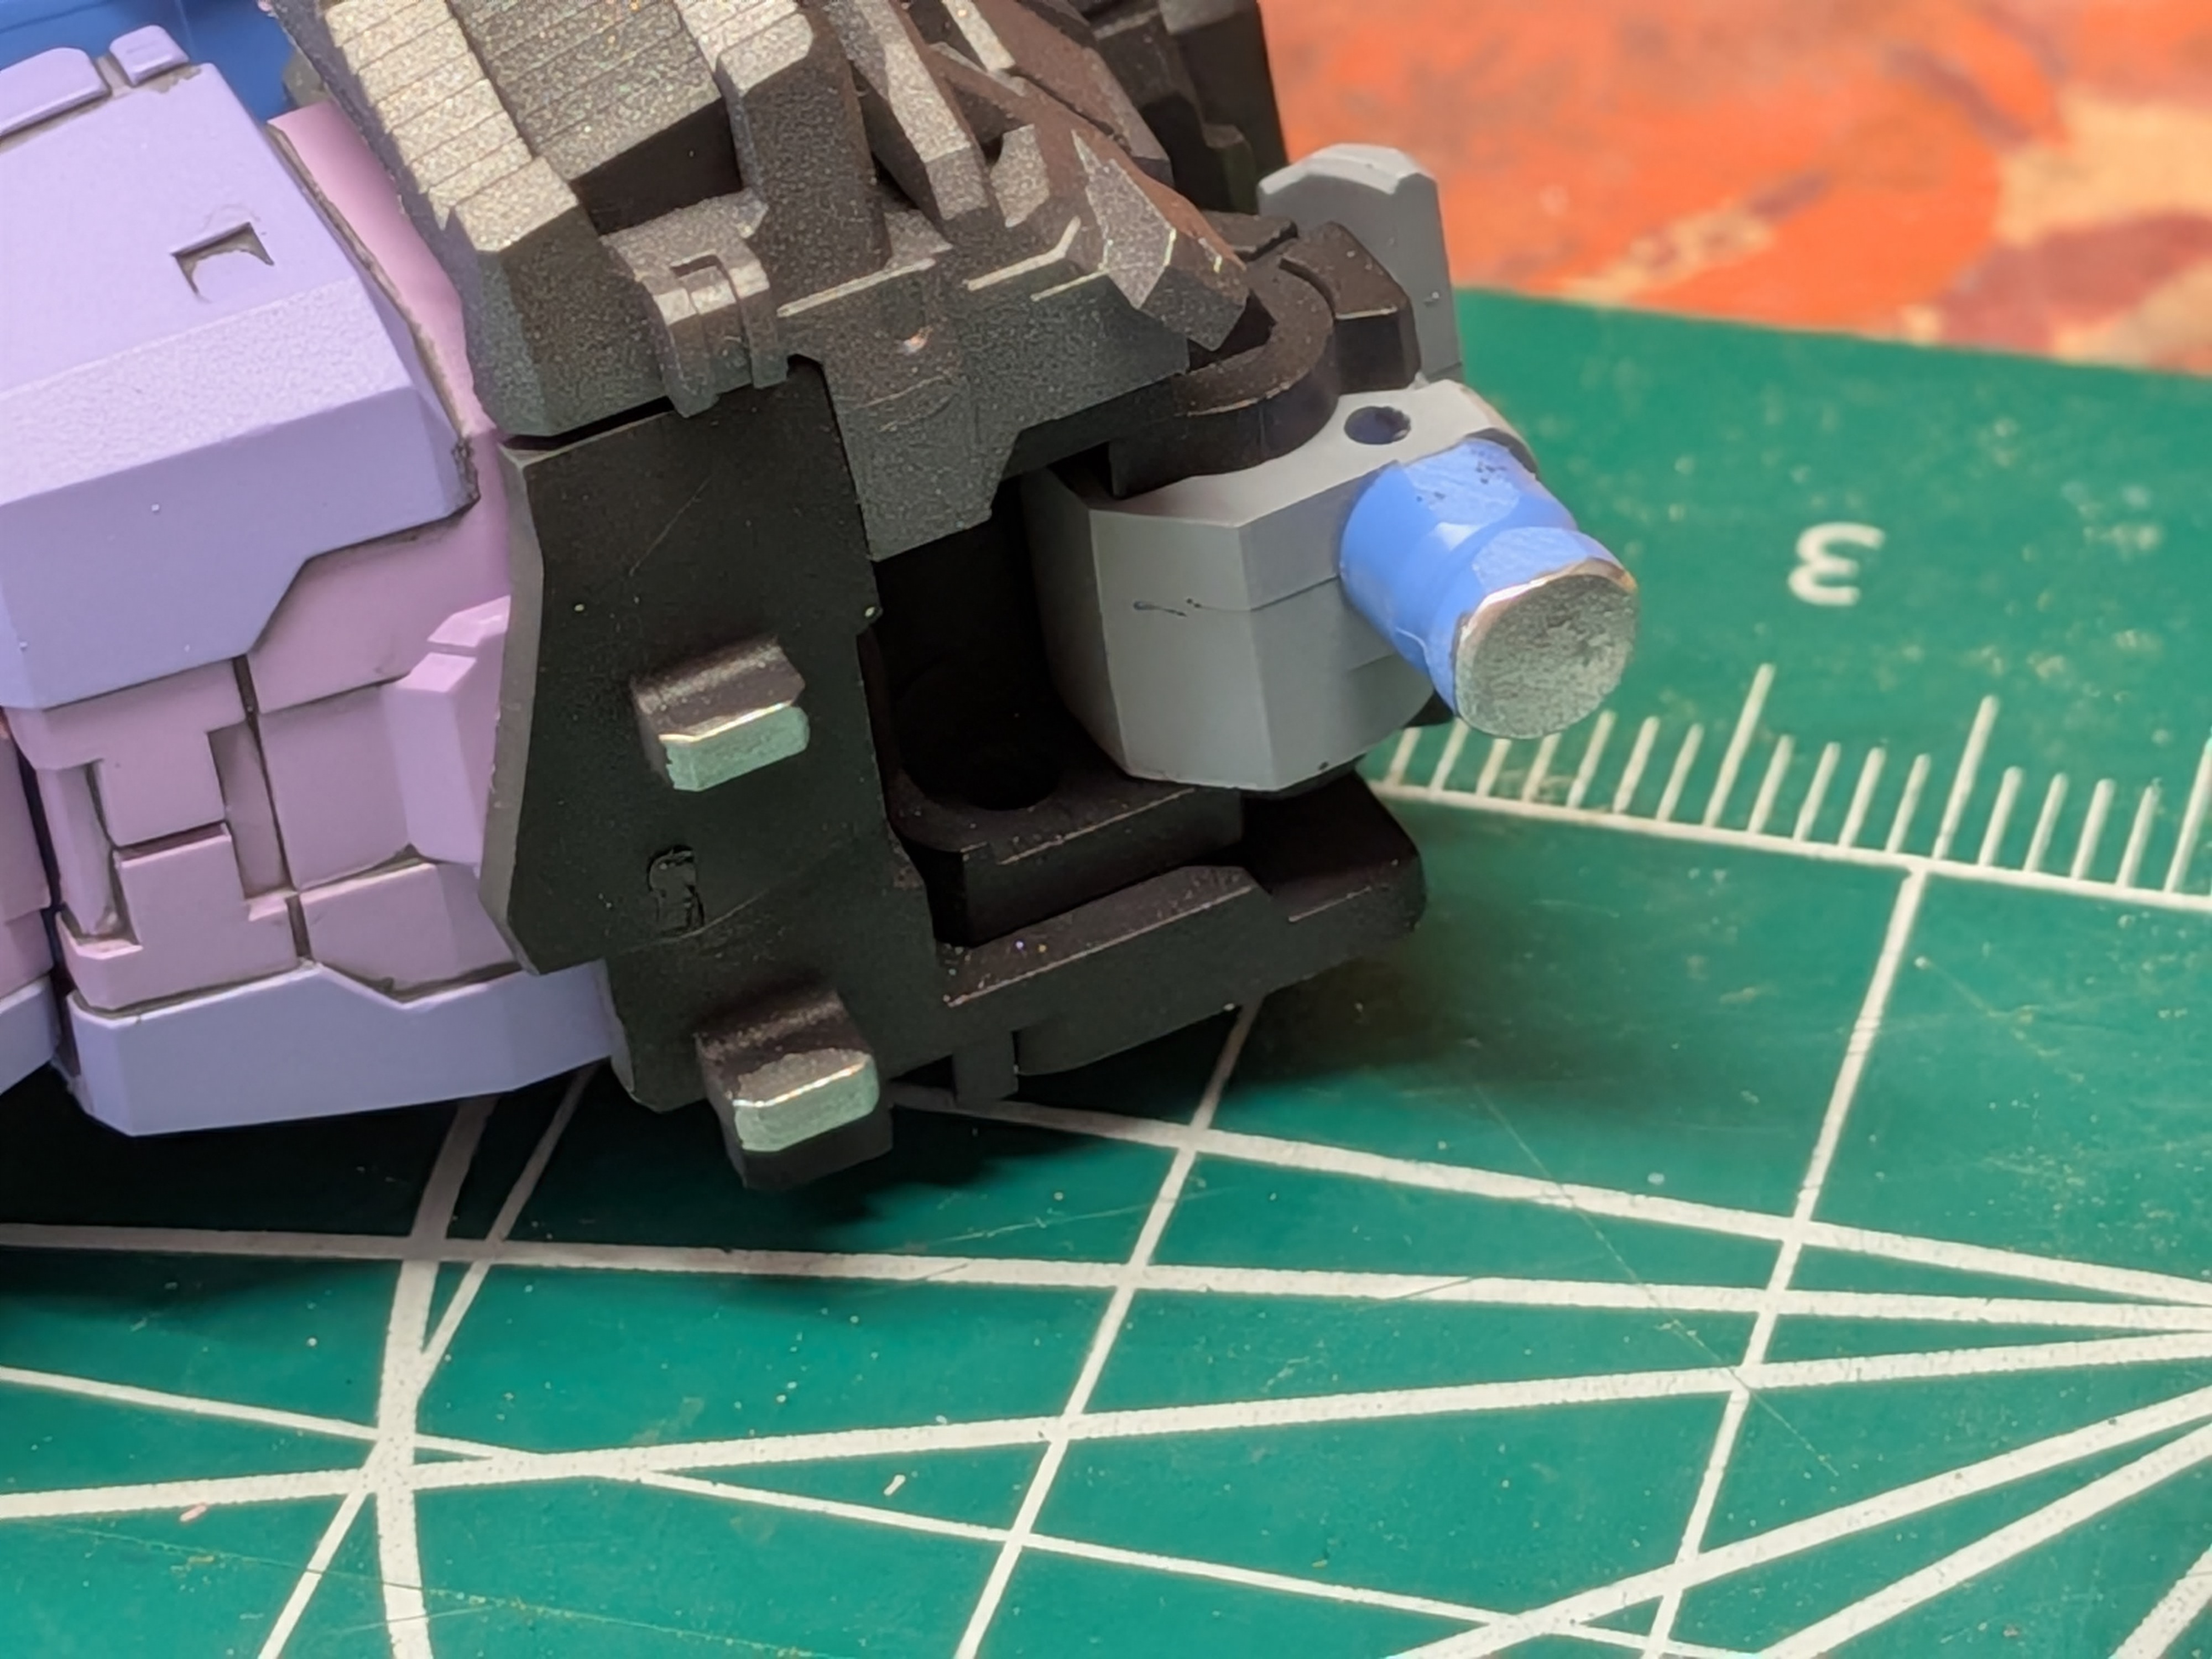
- I masked some purple accents on the bazooka, and I really like these - I'll be doing a couple more accents like that on the main kit.
Date Posted: April 22, 2026
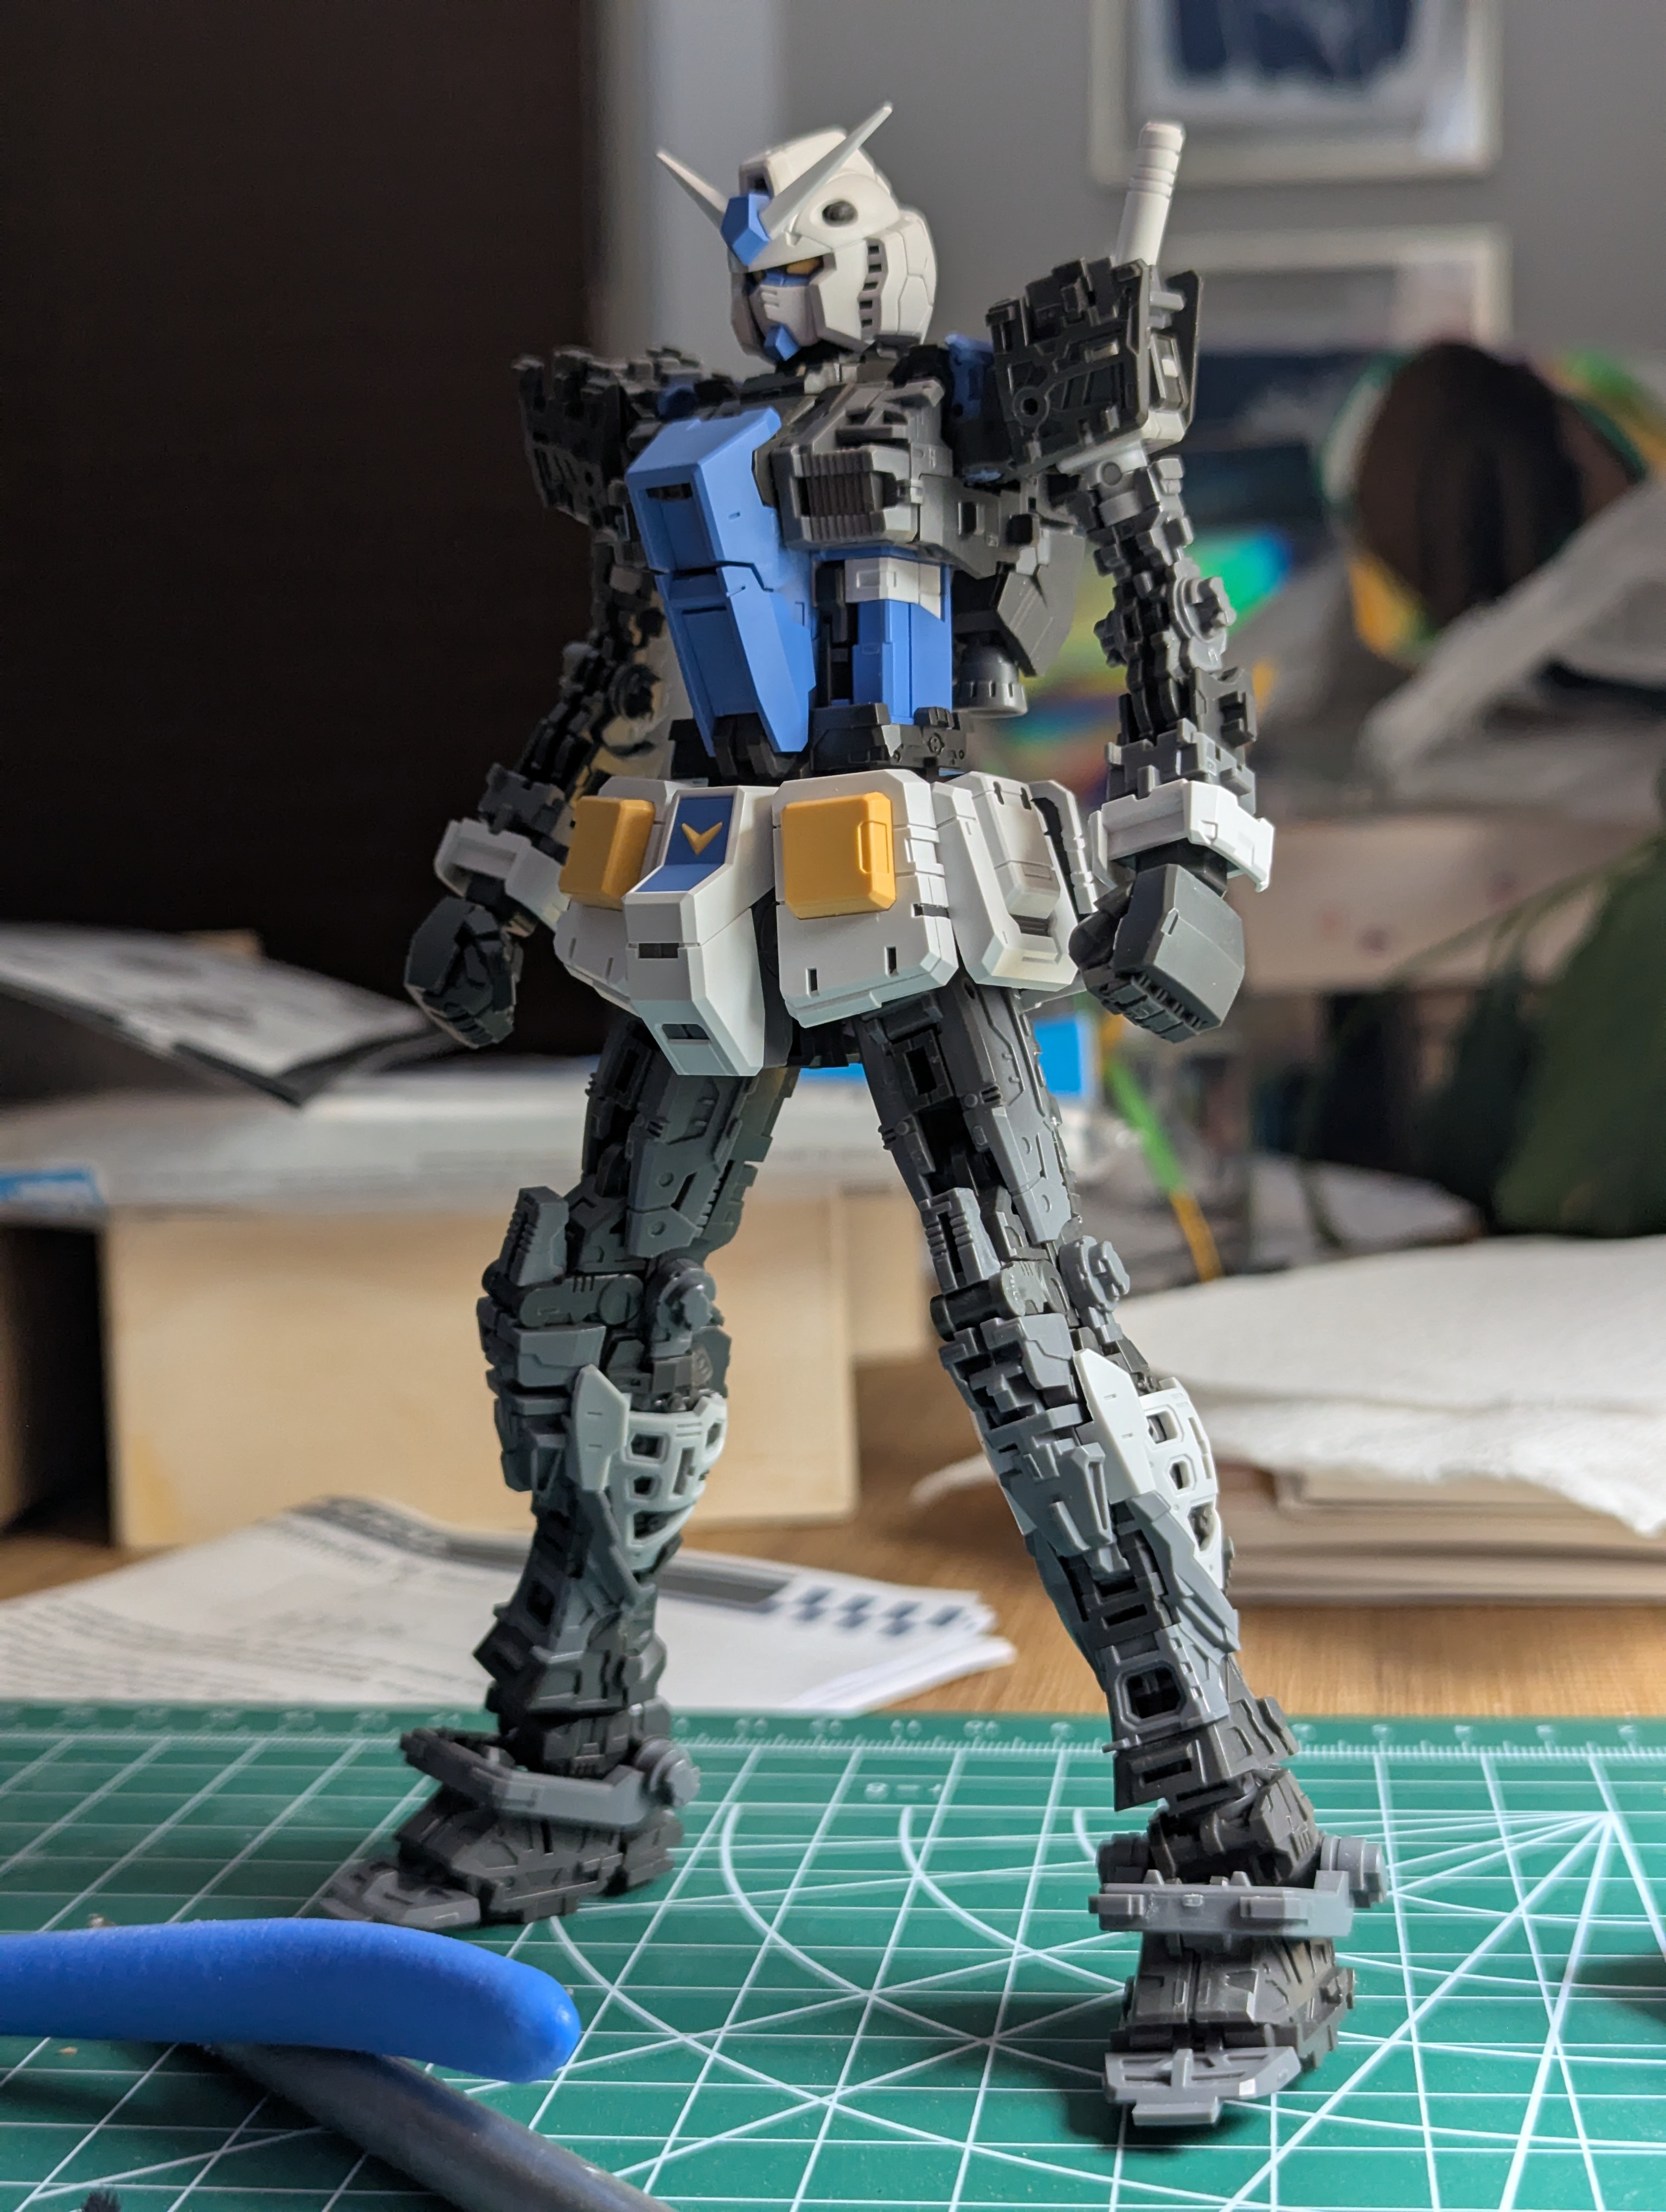
Progress Update 3: Main Body
Since there were so many parts to be painted here, I did kind of a rolling system where I started with the non-white parts and torso, then steadily added more parts to the clips - so these purple parts ended up going first. While the design doesn't necessarily need more color separation, I thought these had a really clear layered appearance that let me tie in the blurple/purple colors again.
A brief diversion back to accessories - I said that I wasn't happy with the clear yellow over metallic for the beam rifle sensor, so here it is painted by hand with the TurboDork Radium colorshift paint. This is a much richer yellow that I'll also be using for the head cameras and it came out very nicely.
By prioritizing the frame and color parts, I could get some nice assembly going even before finishing all of the painting. I decided to hand-paint some silver details where the manual instructs stickers - I won't comment on these in detail but it's a nice way to get a little more detail into the kit.
You just can't have a build without unfortunate scratch events. The back head sensor has to thread all the way through the head, and it rubs against it as it slides into final position. Luckily I could excuse a little finishing issues since it'll be on the back, and just repainted it by hand.
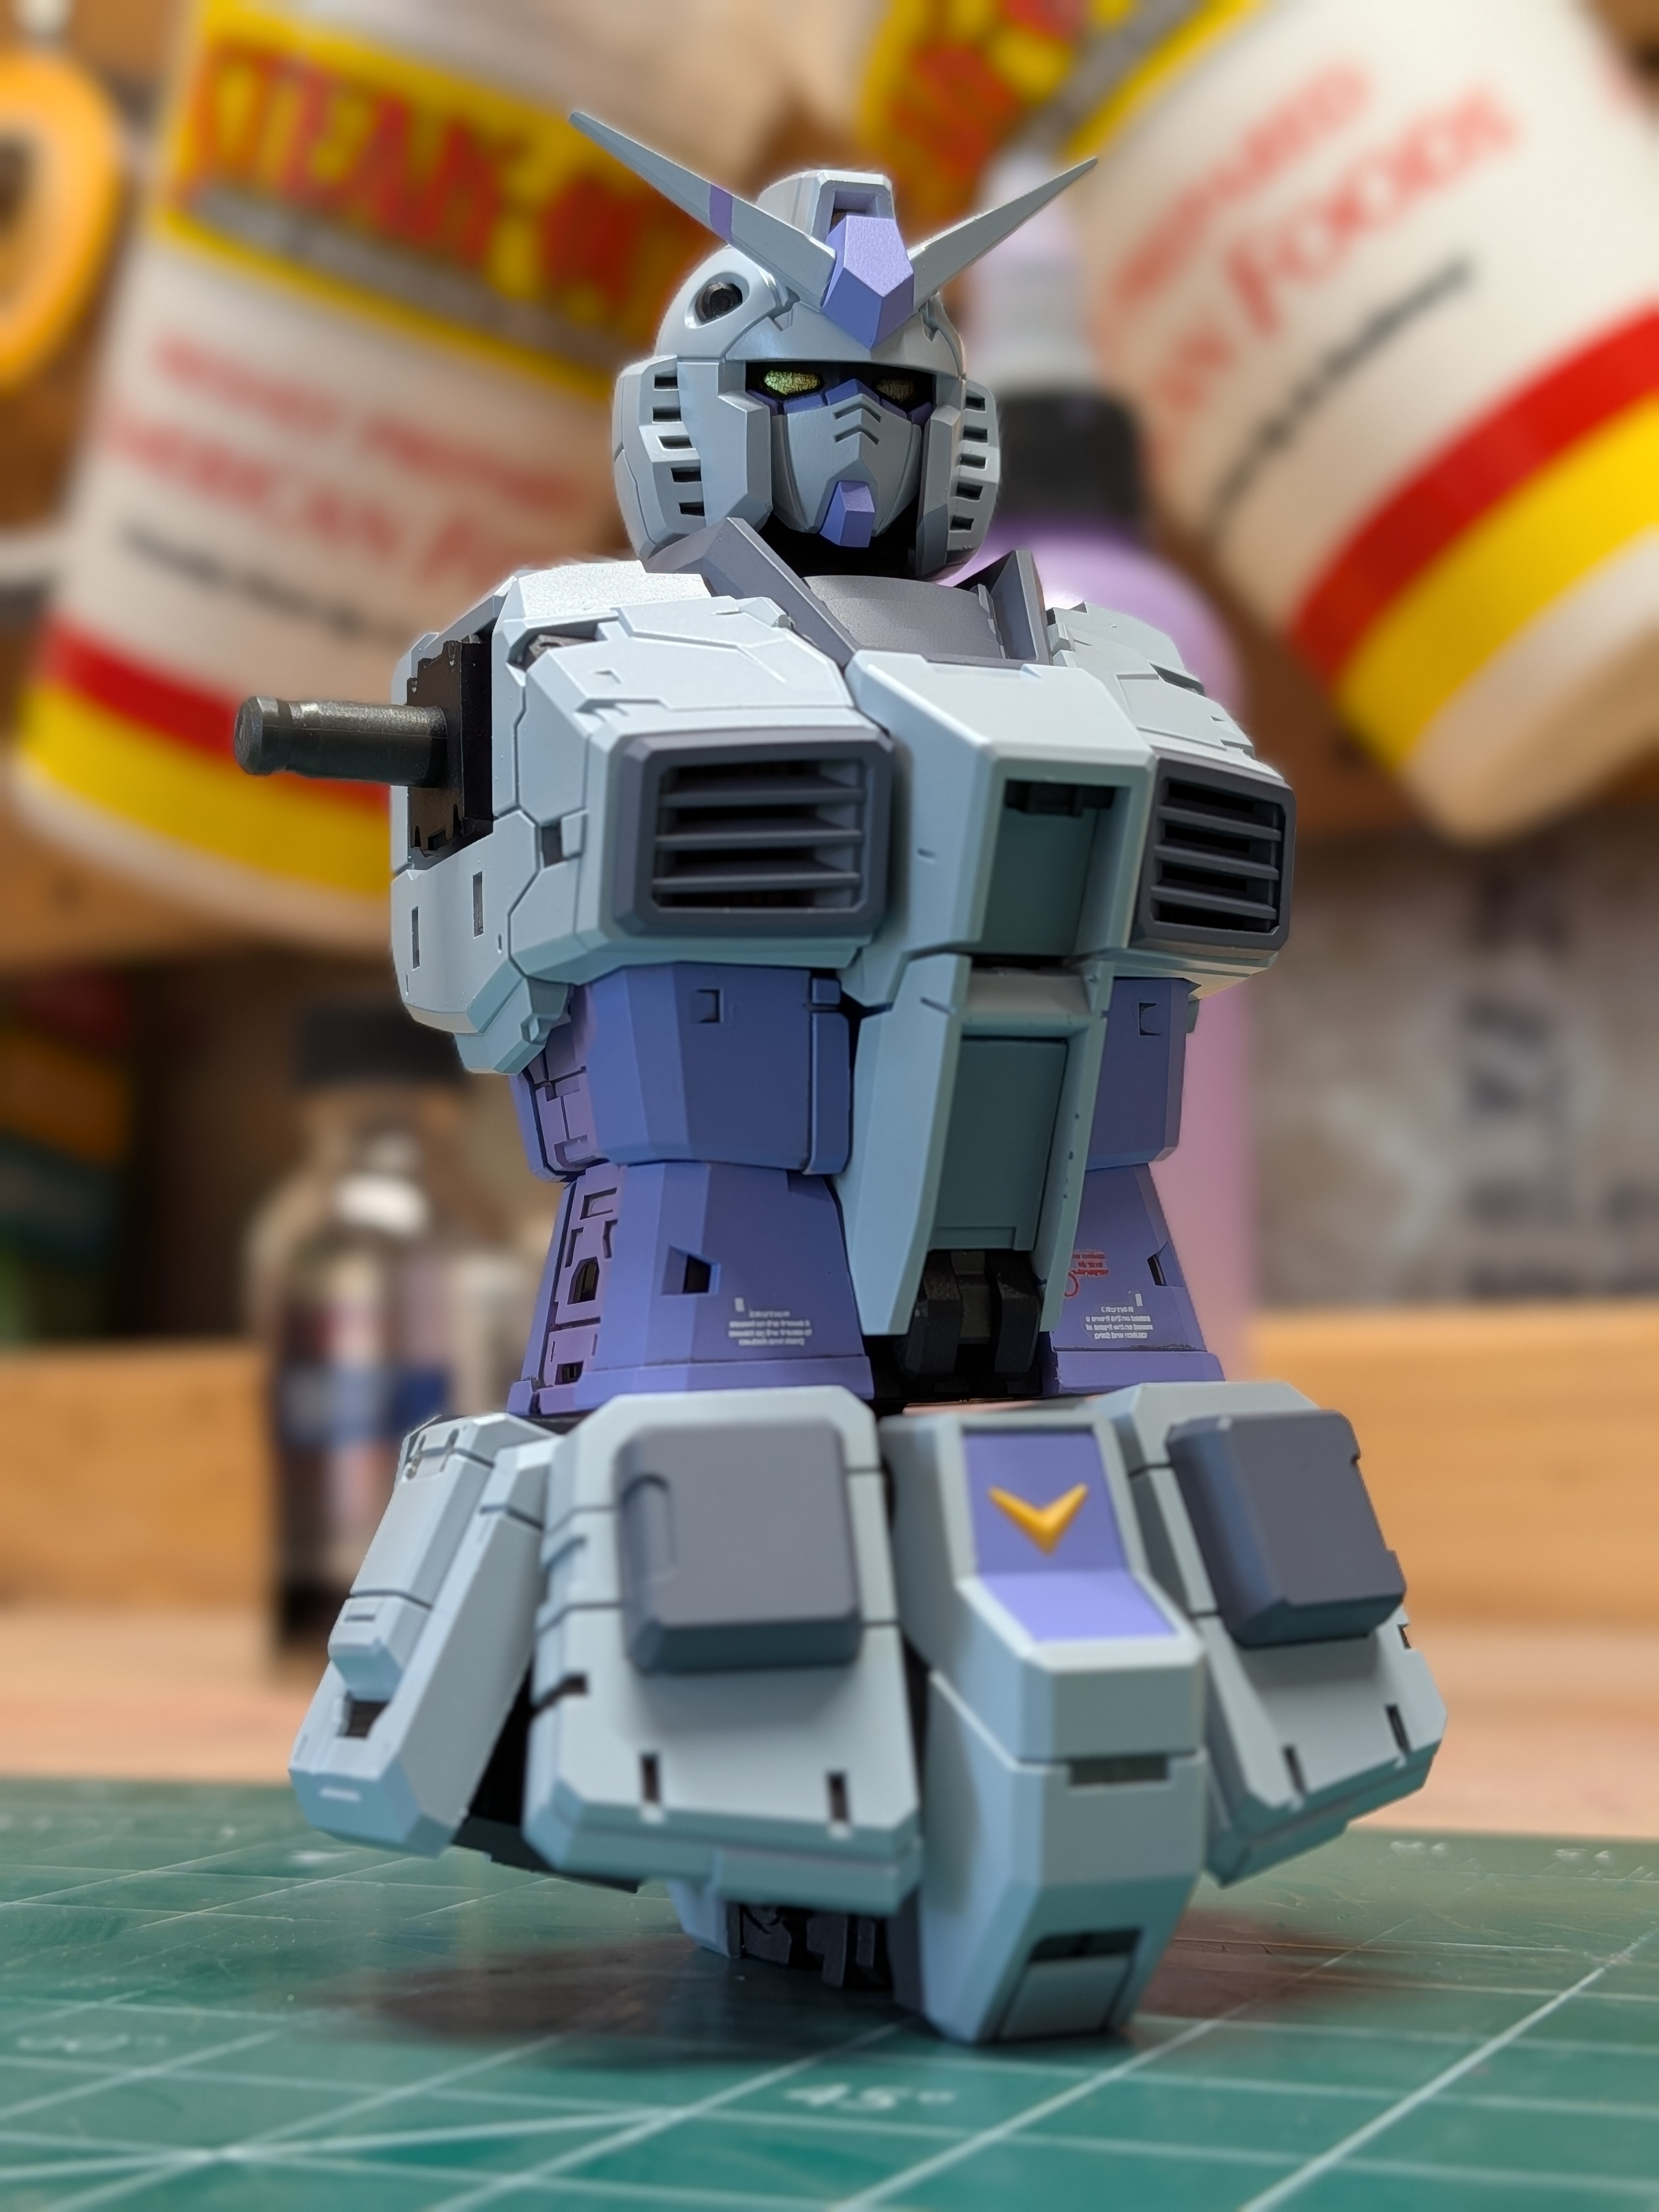
The chest, waist, and head assembled. It took a few iterations to get the darkest gray how I wanted, but I'm really happy with the result. I mixed German Gray with MS Purple to build a little commonality between it and the purple pieces.
On the V-Fin, I masked a little stripe in purple. I took this from a Pixxellie (Youtuber) build that I saw - I'm 99% sure she took this from some older Japanese builders though. I really like the pop, especially on a predominantly white scheme like this.
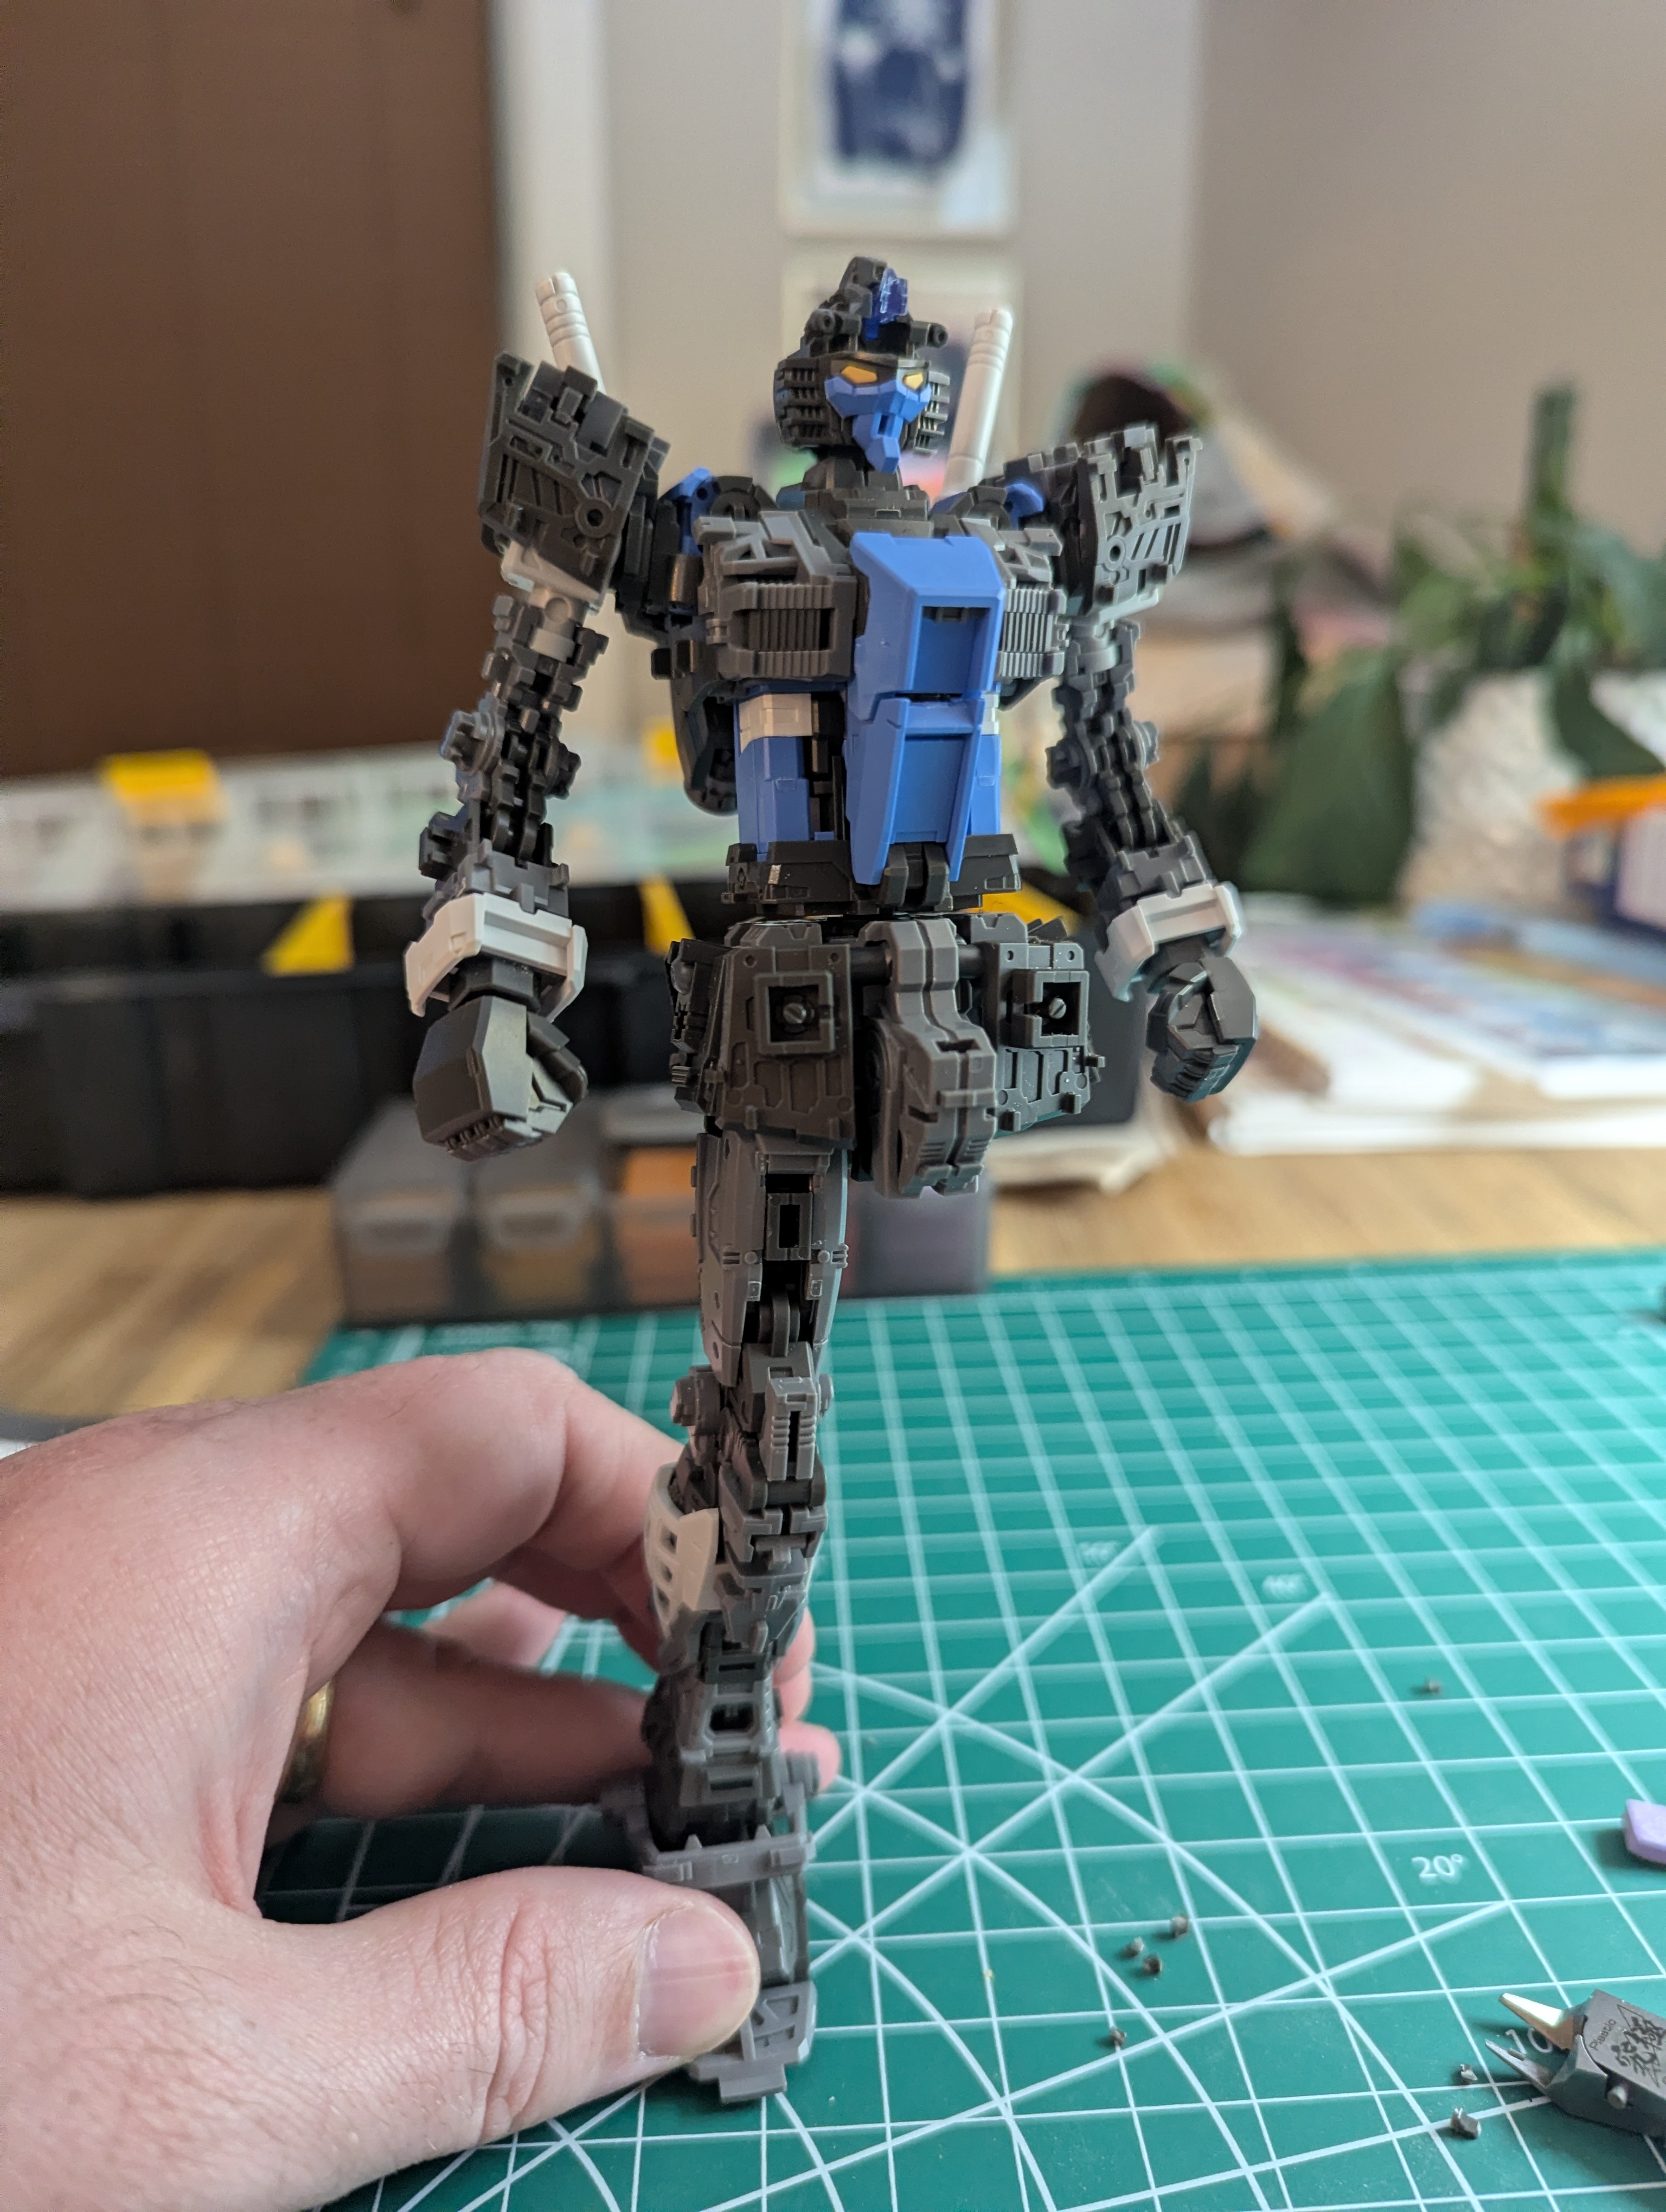
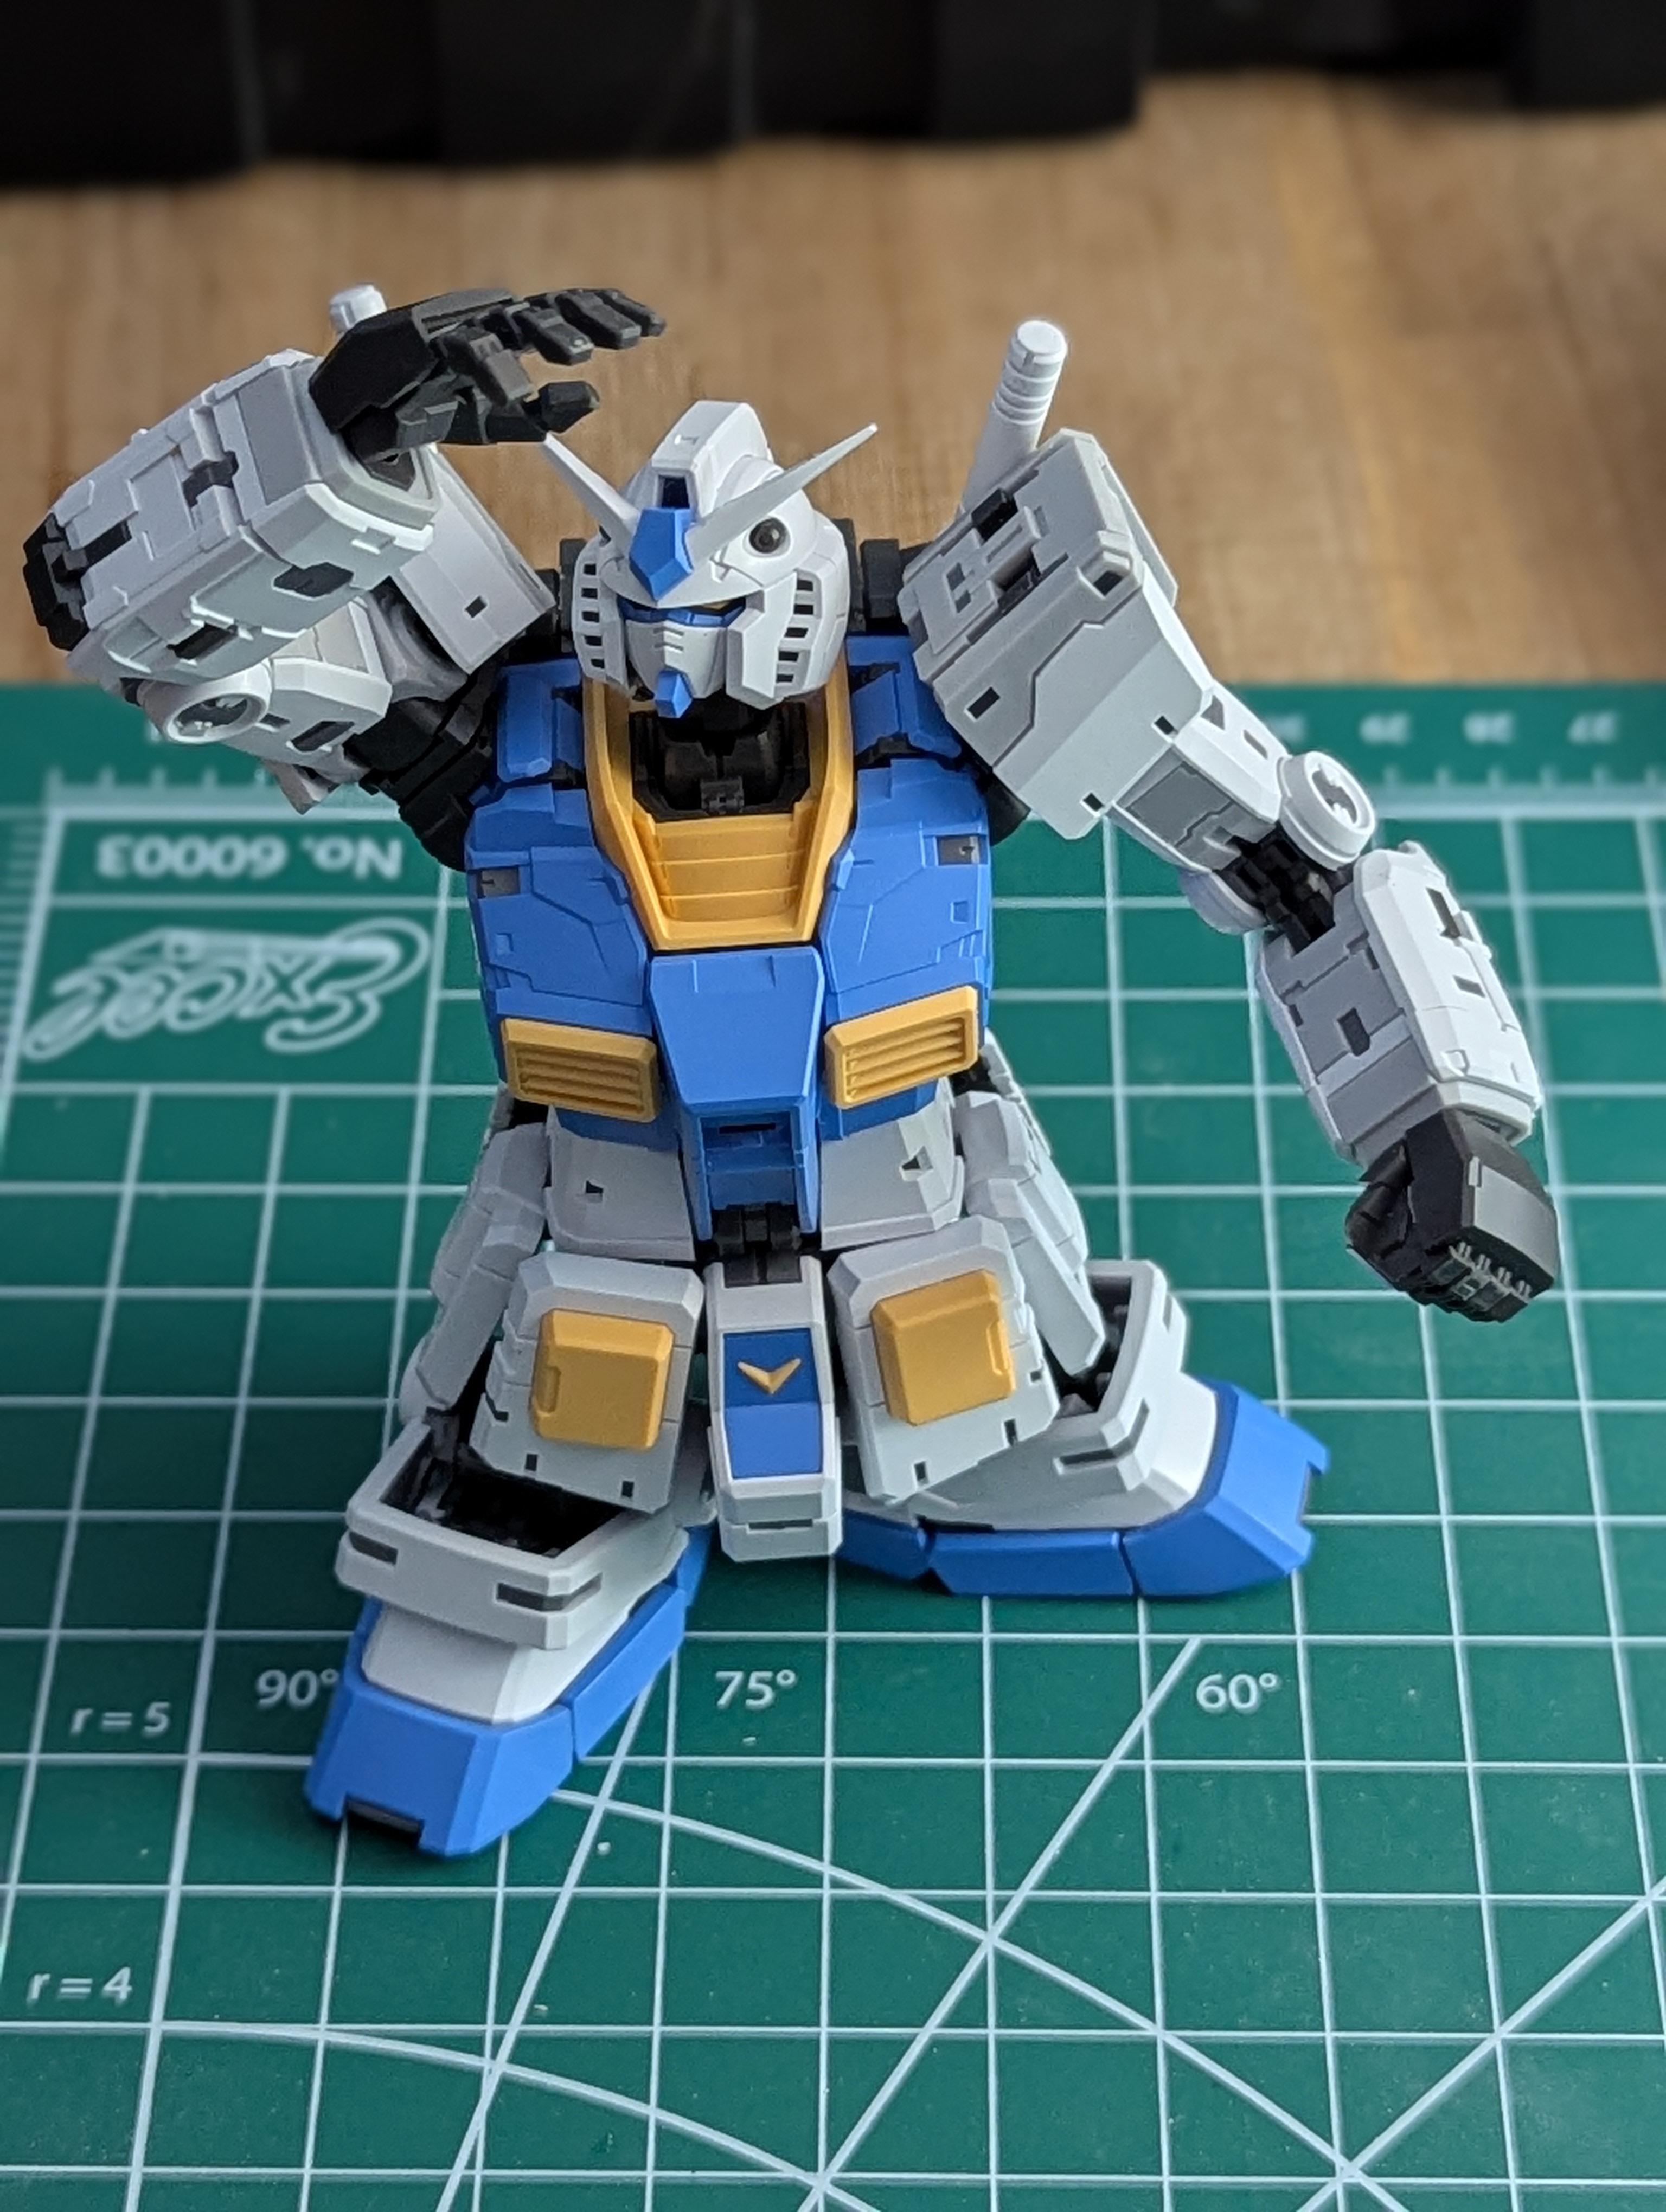
And the final assembly came next.
I'm incredibly happy with the final color scheme. My concerns about the light gray being too light have kind of evaporated over the project - maybe the fact that I based the main kit in gray primer instead of pink helped knock it darker by just a percent or two (although you really can't tell the difference between the weapon and armor gray at all).
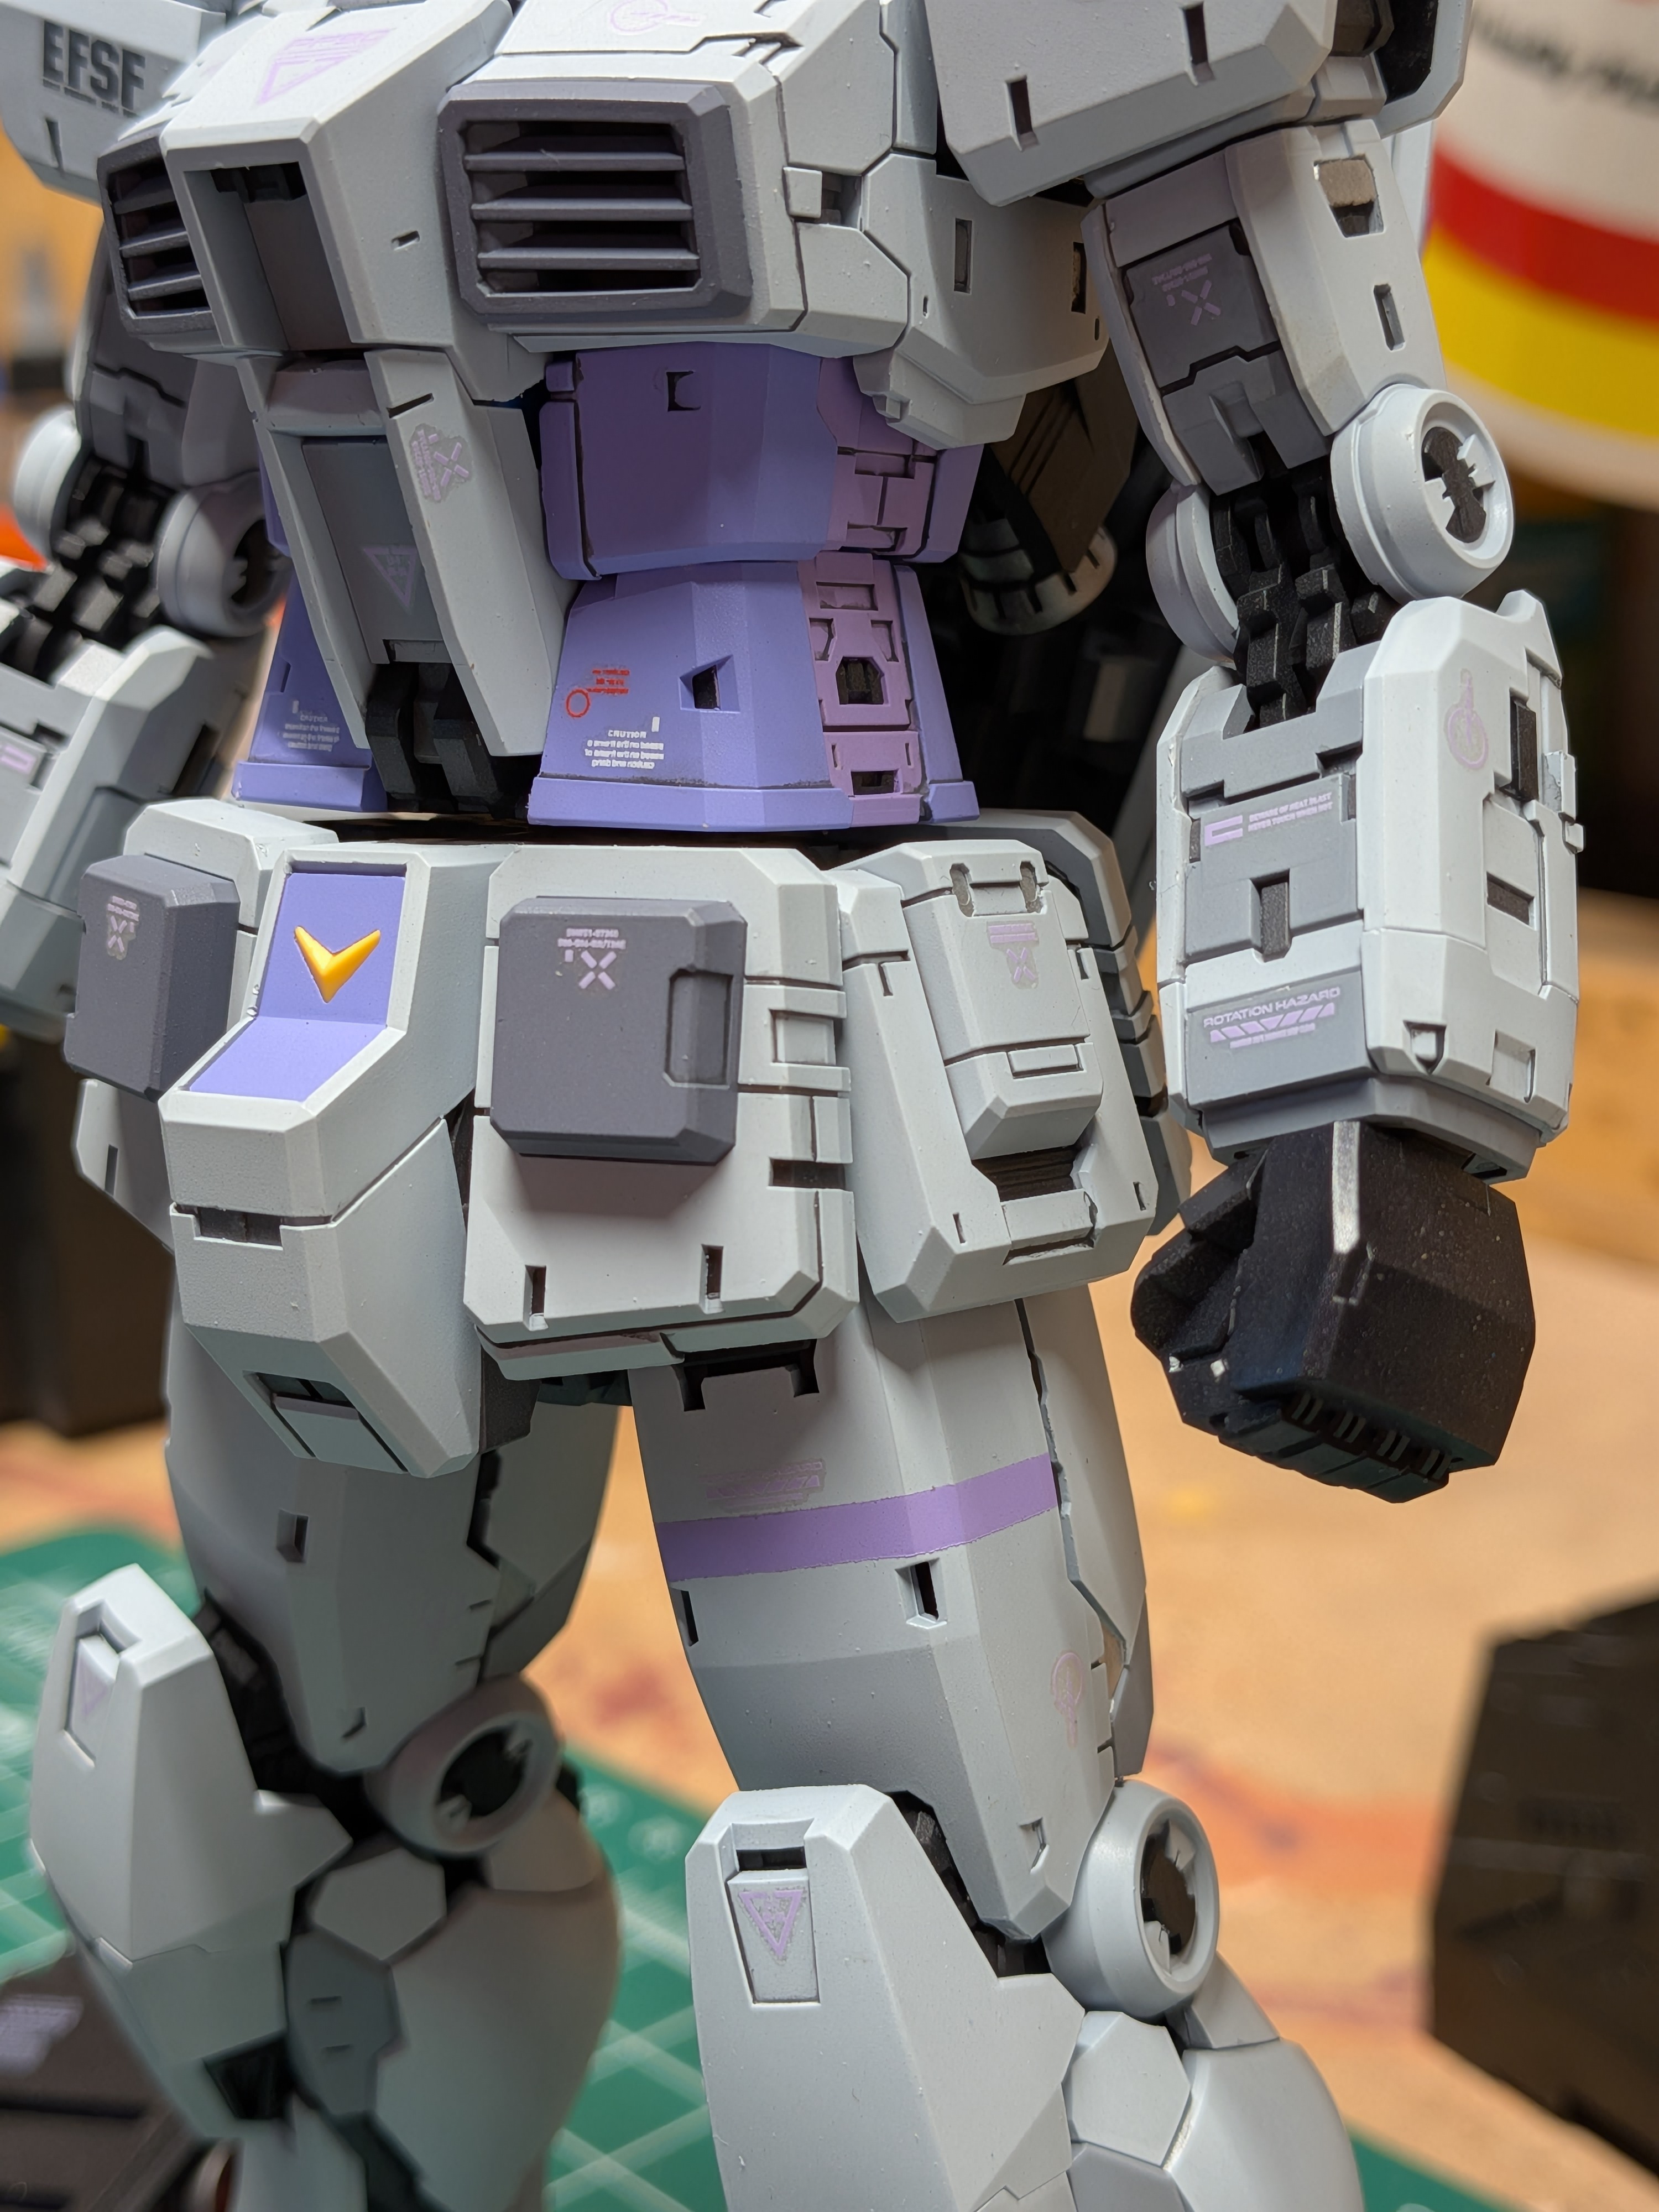
The purple decals were the pefect color, but a little too subtle on the light gray. I think they pop really nicely on the dark and medium grays, though. I basically just followed the RG guide for these, making little alterations here and there.
There's still one thing to do before the final photoshoot though - so another update is coming. Here are some pics of different parts of the build in the meantime, though.
Date Posted: May 20, 2026
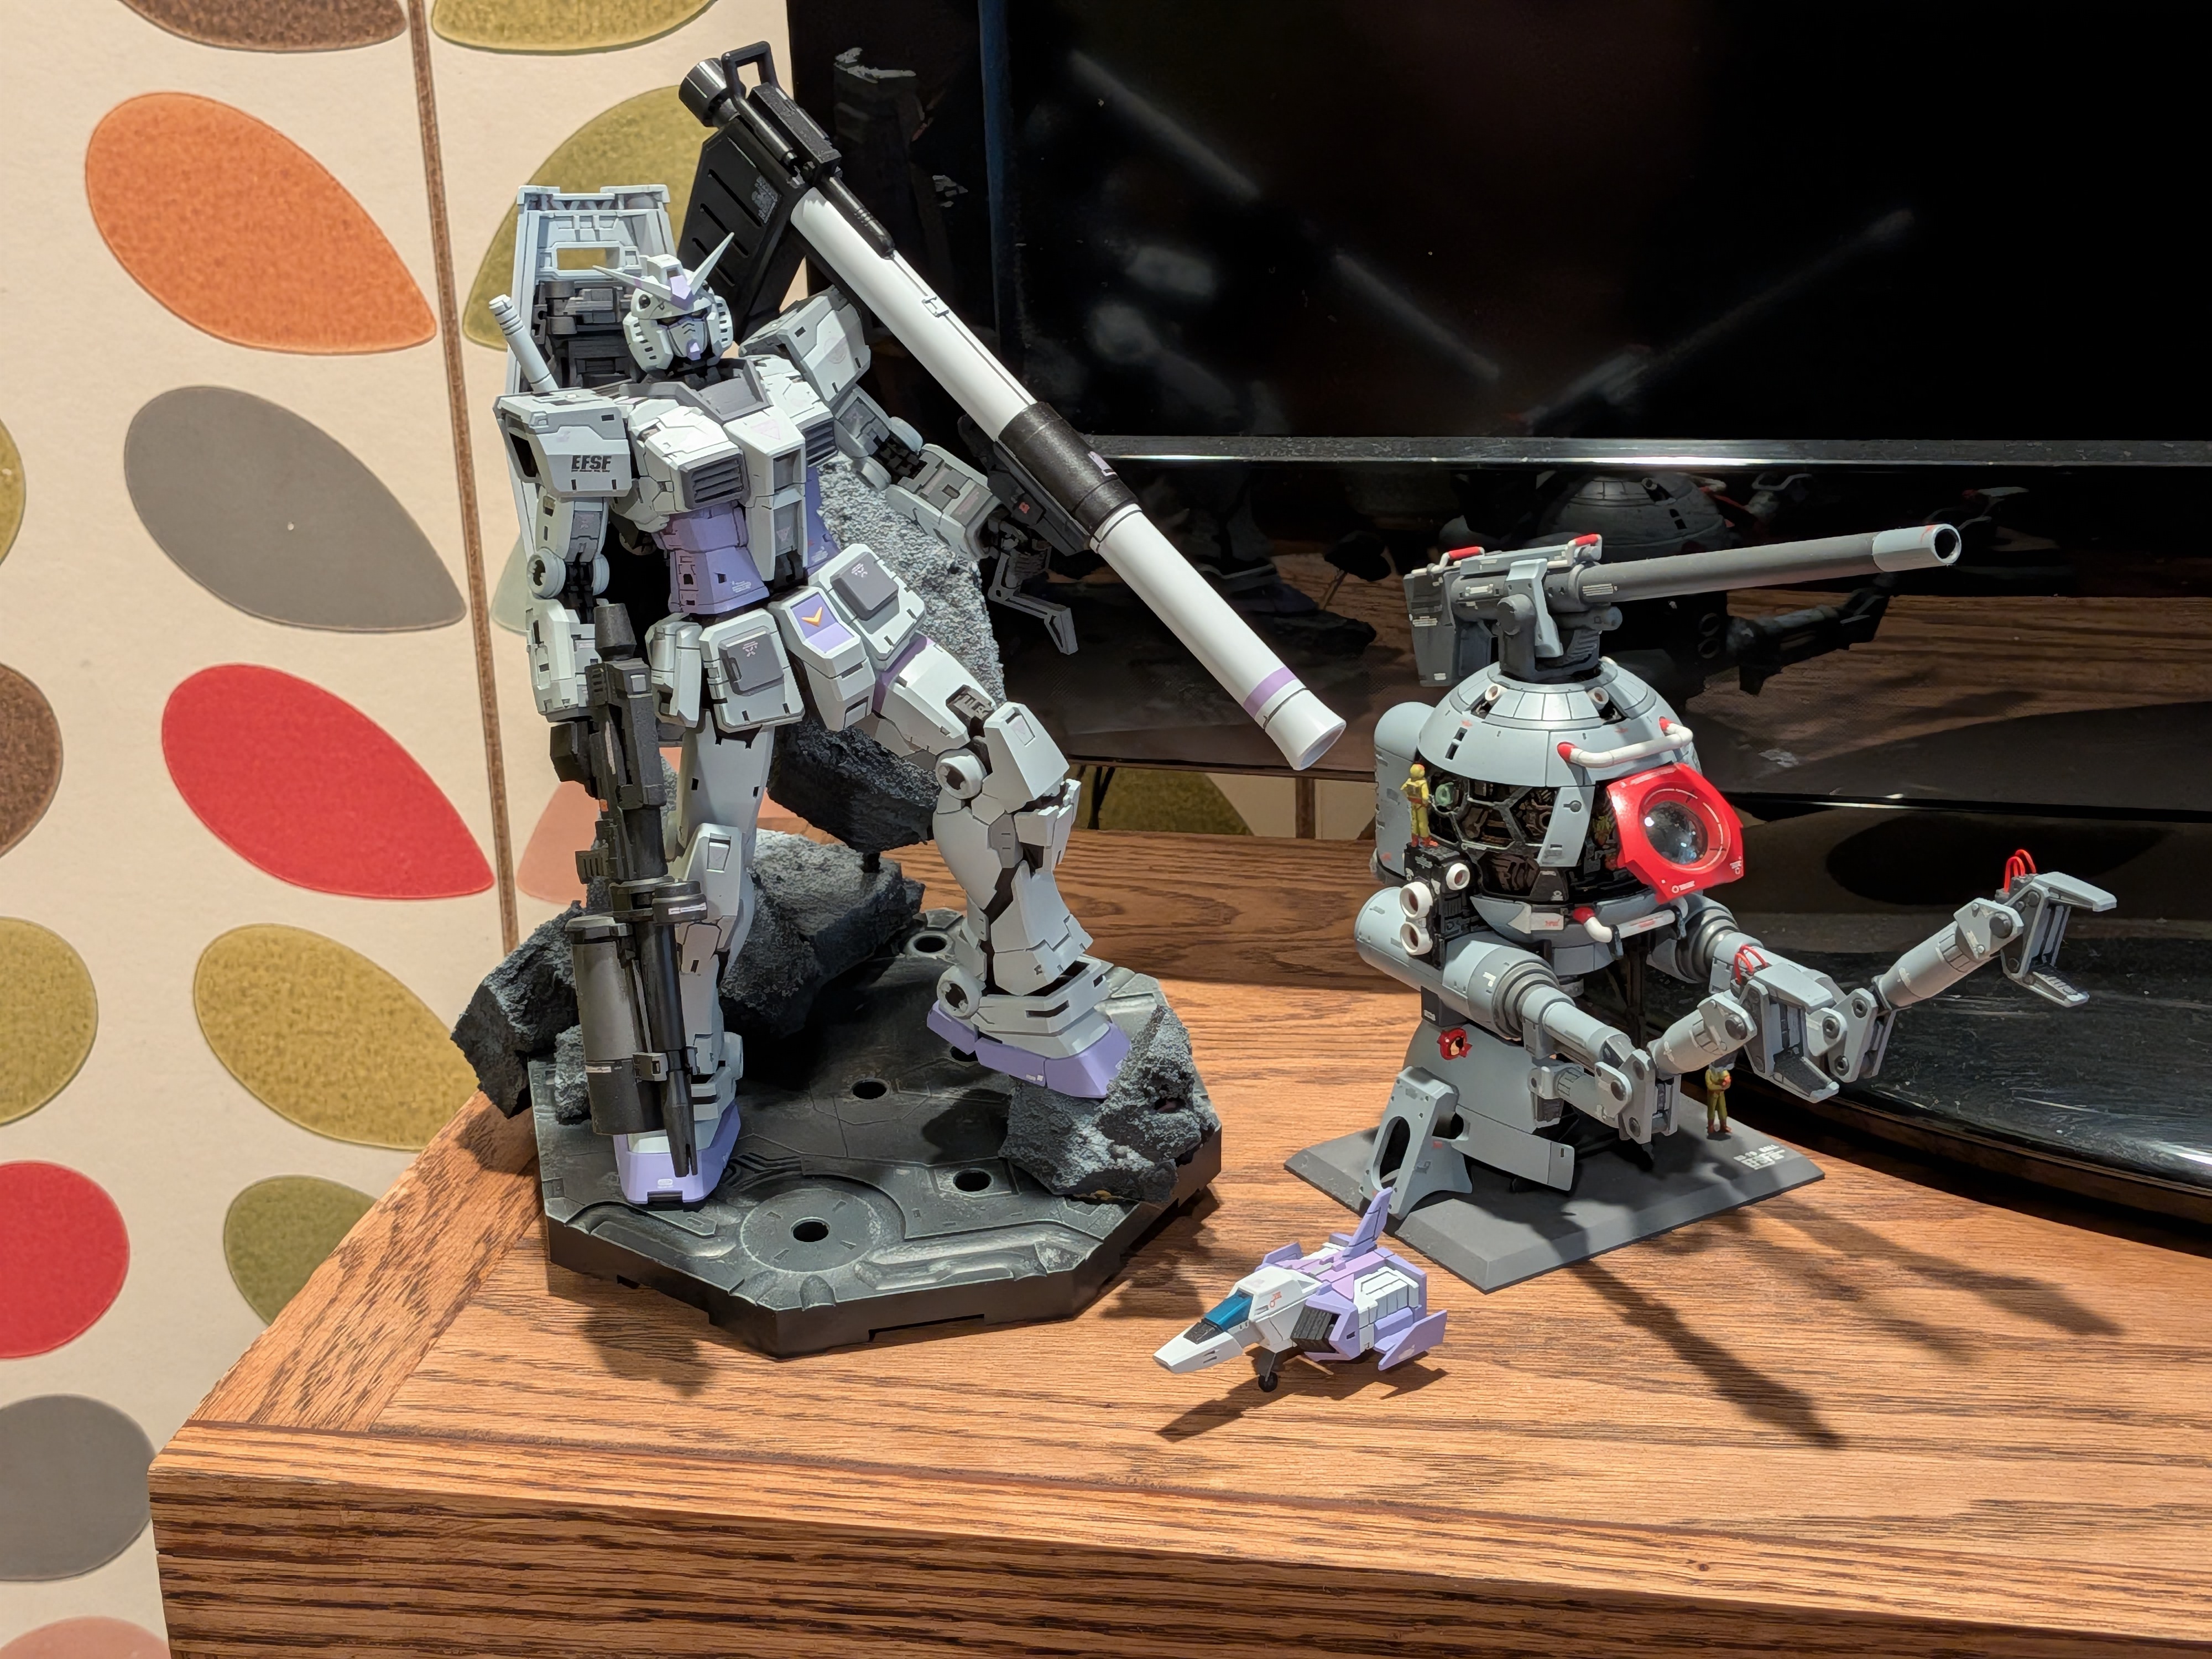
Progress Update 4: Diorama Base
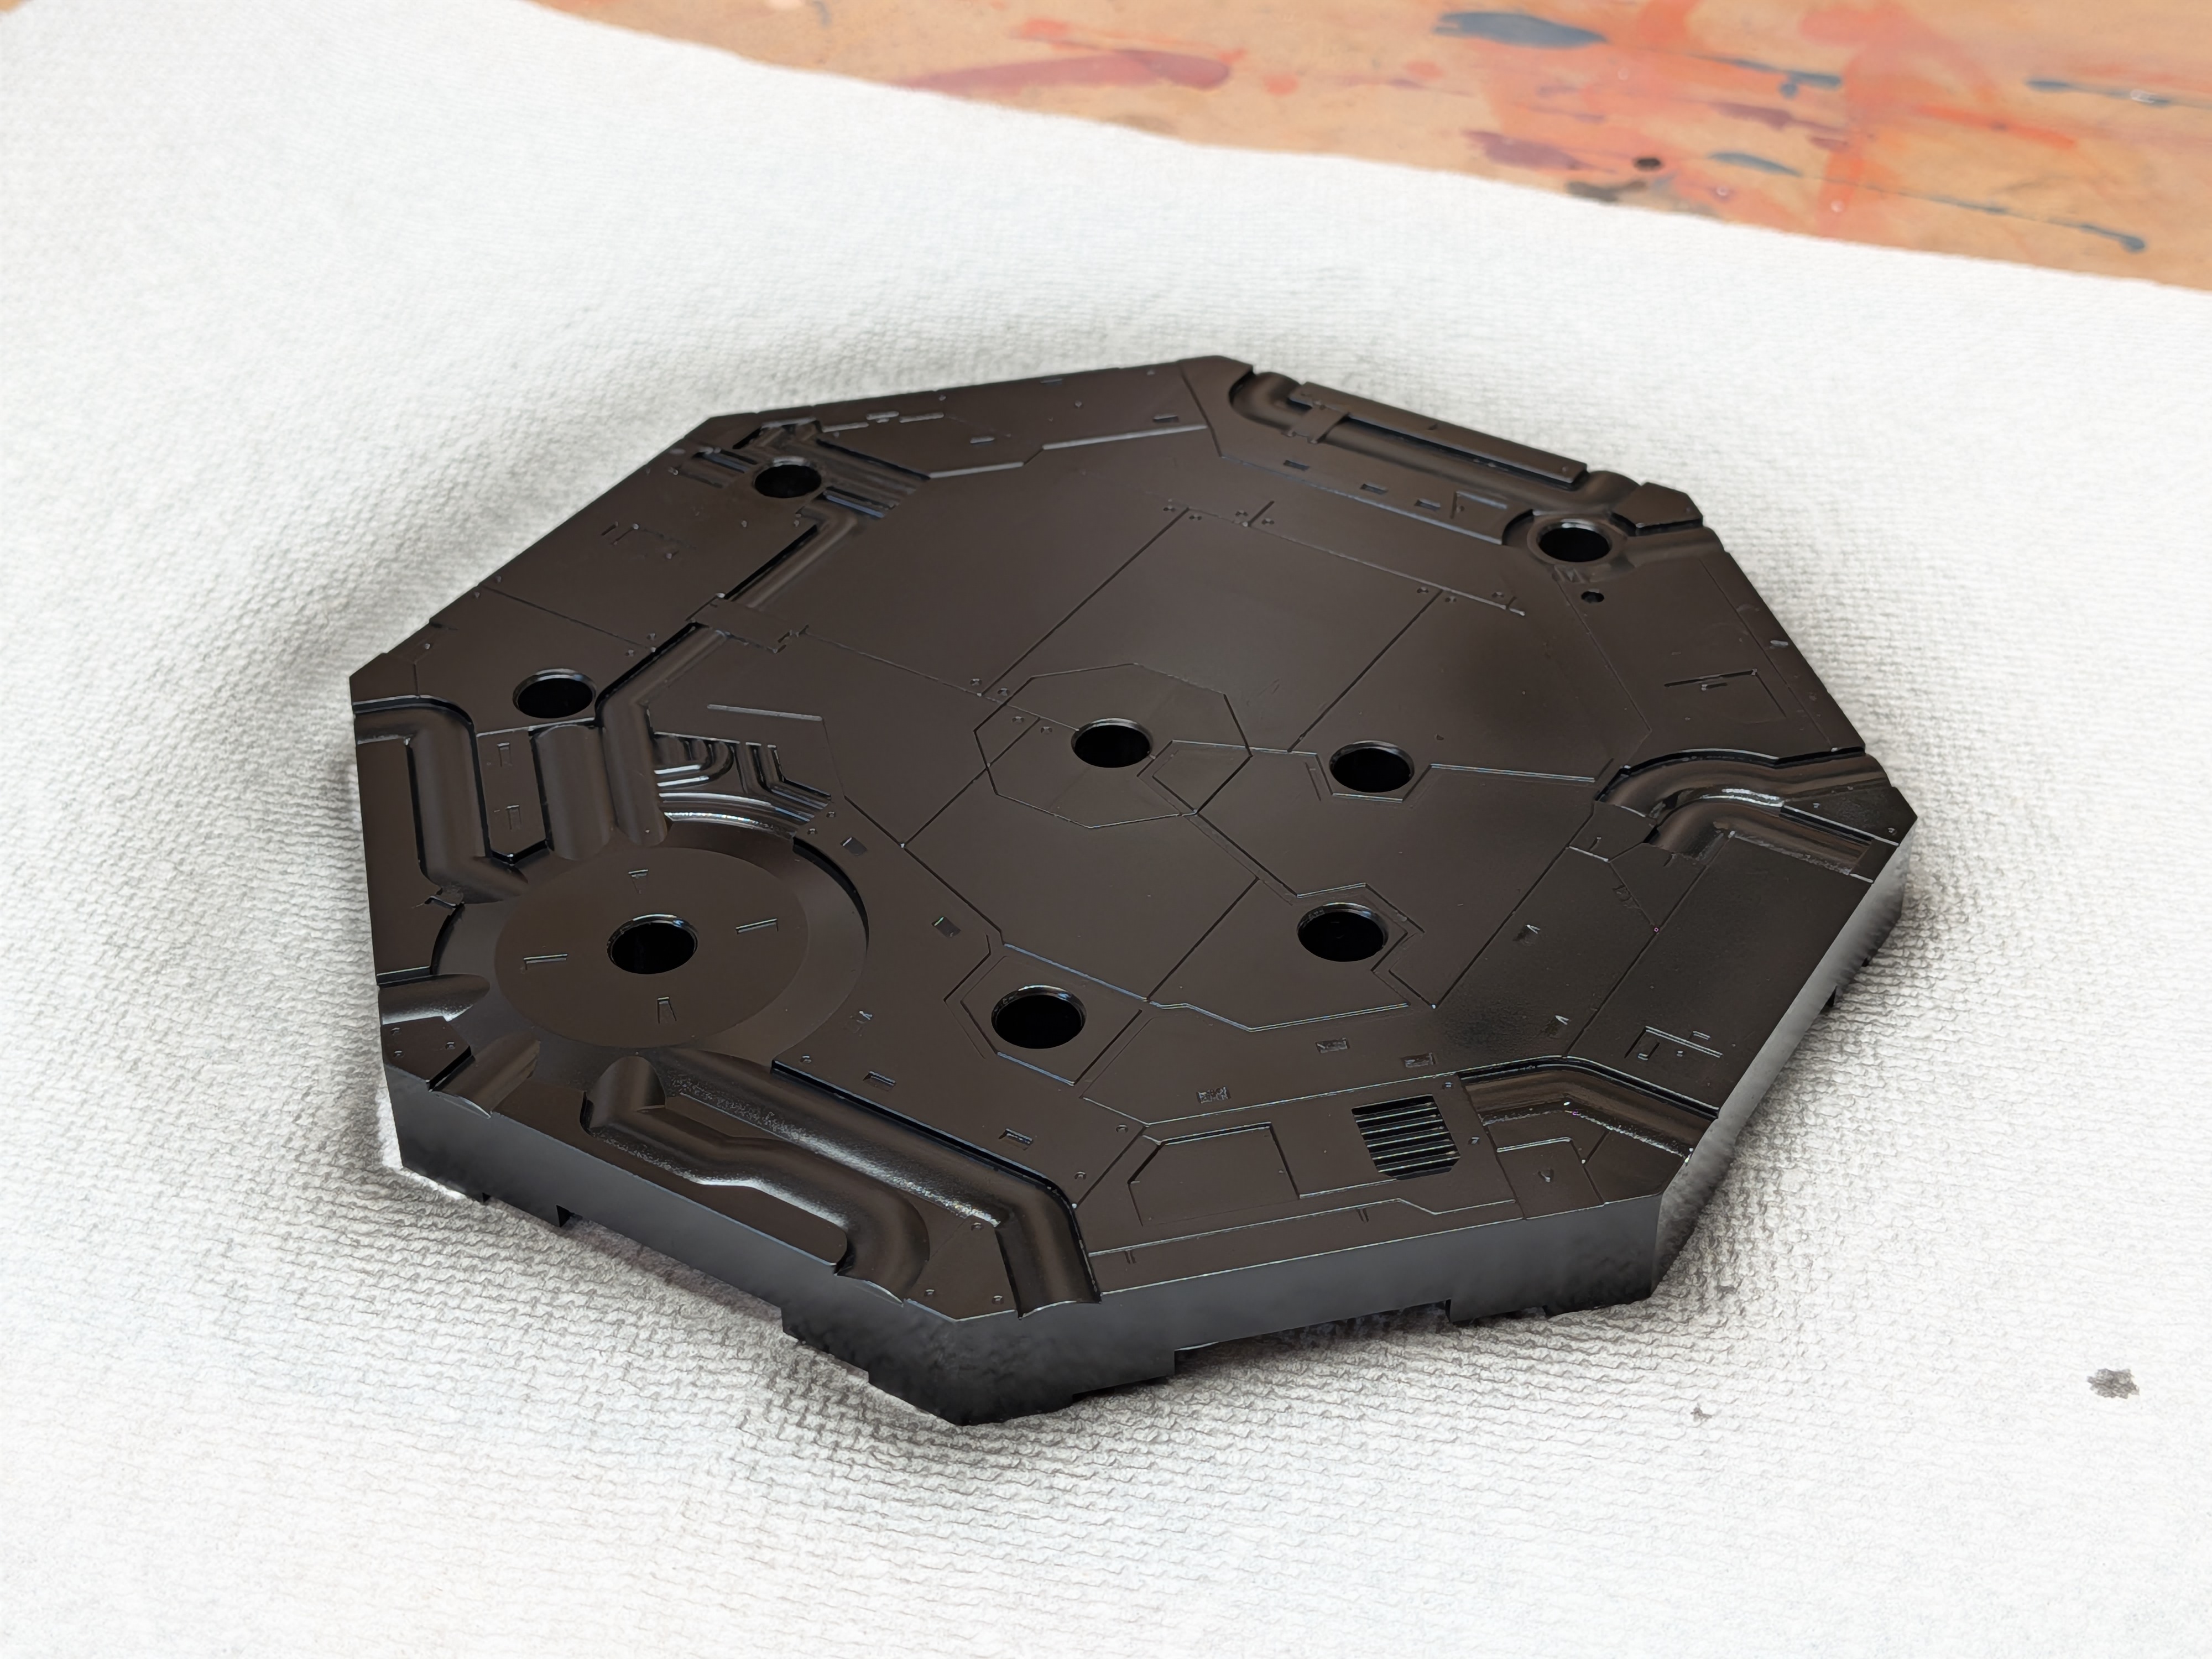
So something I've been trying to do a little intentionally with my builds as of late is push out of my comfort zone and into new things, but that really hasn't been part of this build so far - I've just been refining the process that I developed for the Ball. So, I decided to try diorama building for the first time. I started with this old Action Base 1 that I've had lying around - I like the newer Action Base 7's and 8's a lot better, so it's been in my spare parts box for a while. I base coated in black to give a dark base, then built up to a weathered look by drybrushing gunmetal and silver enamels.
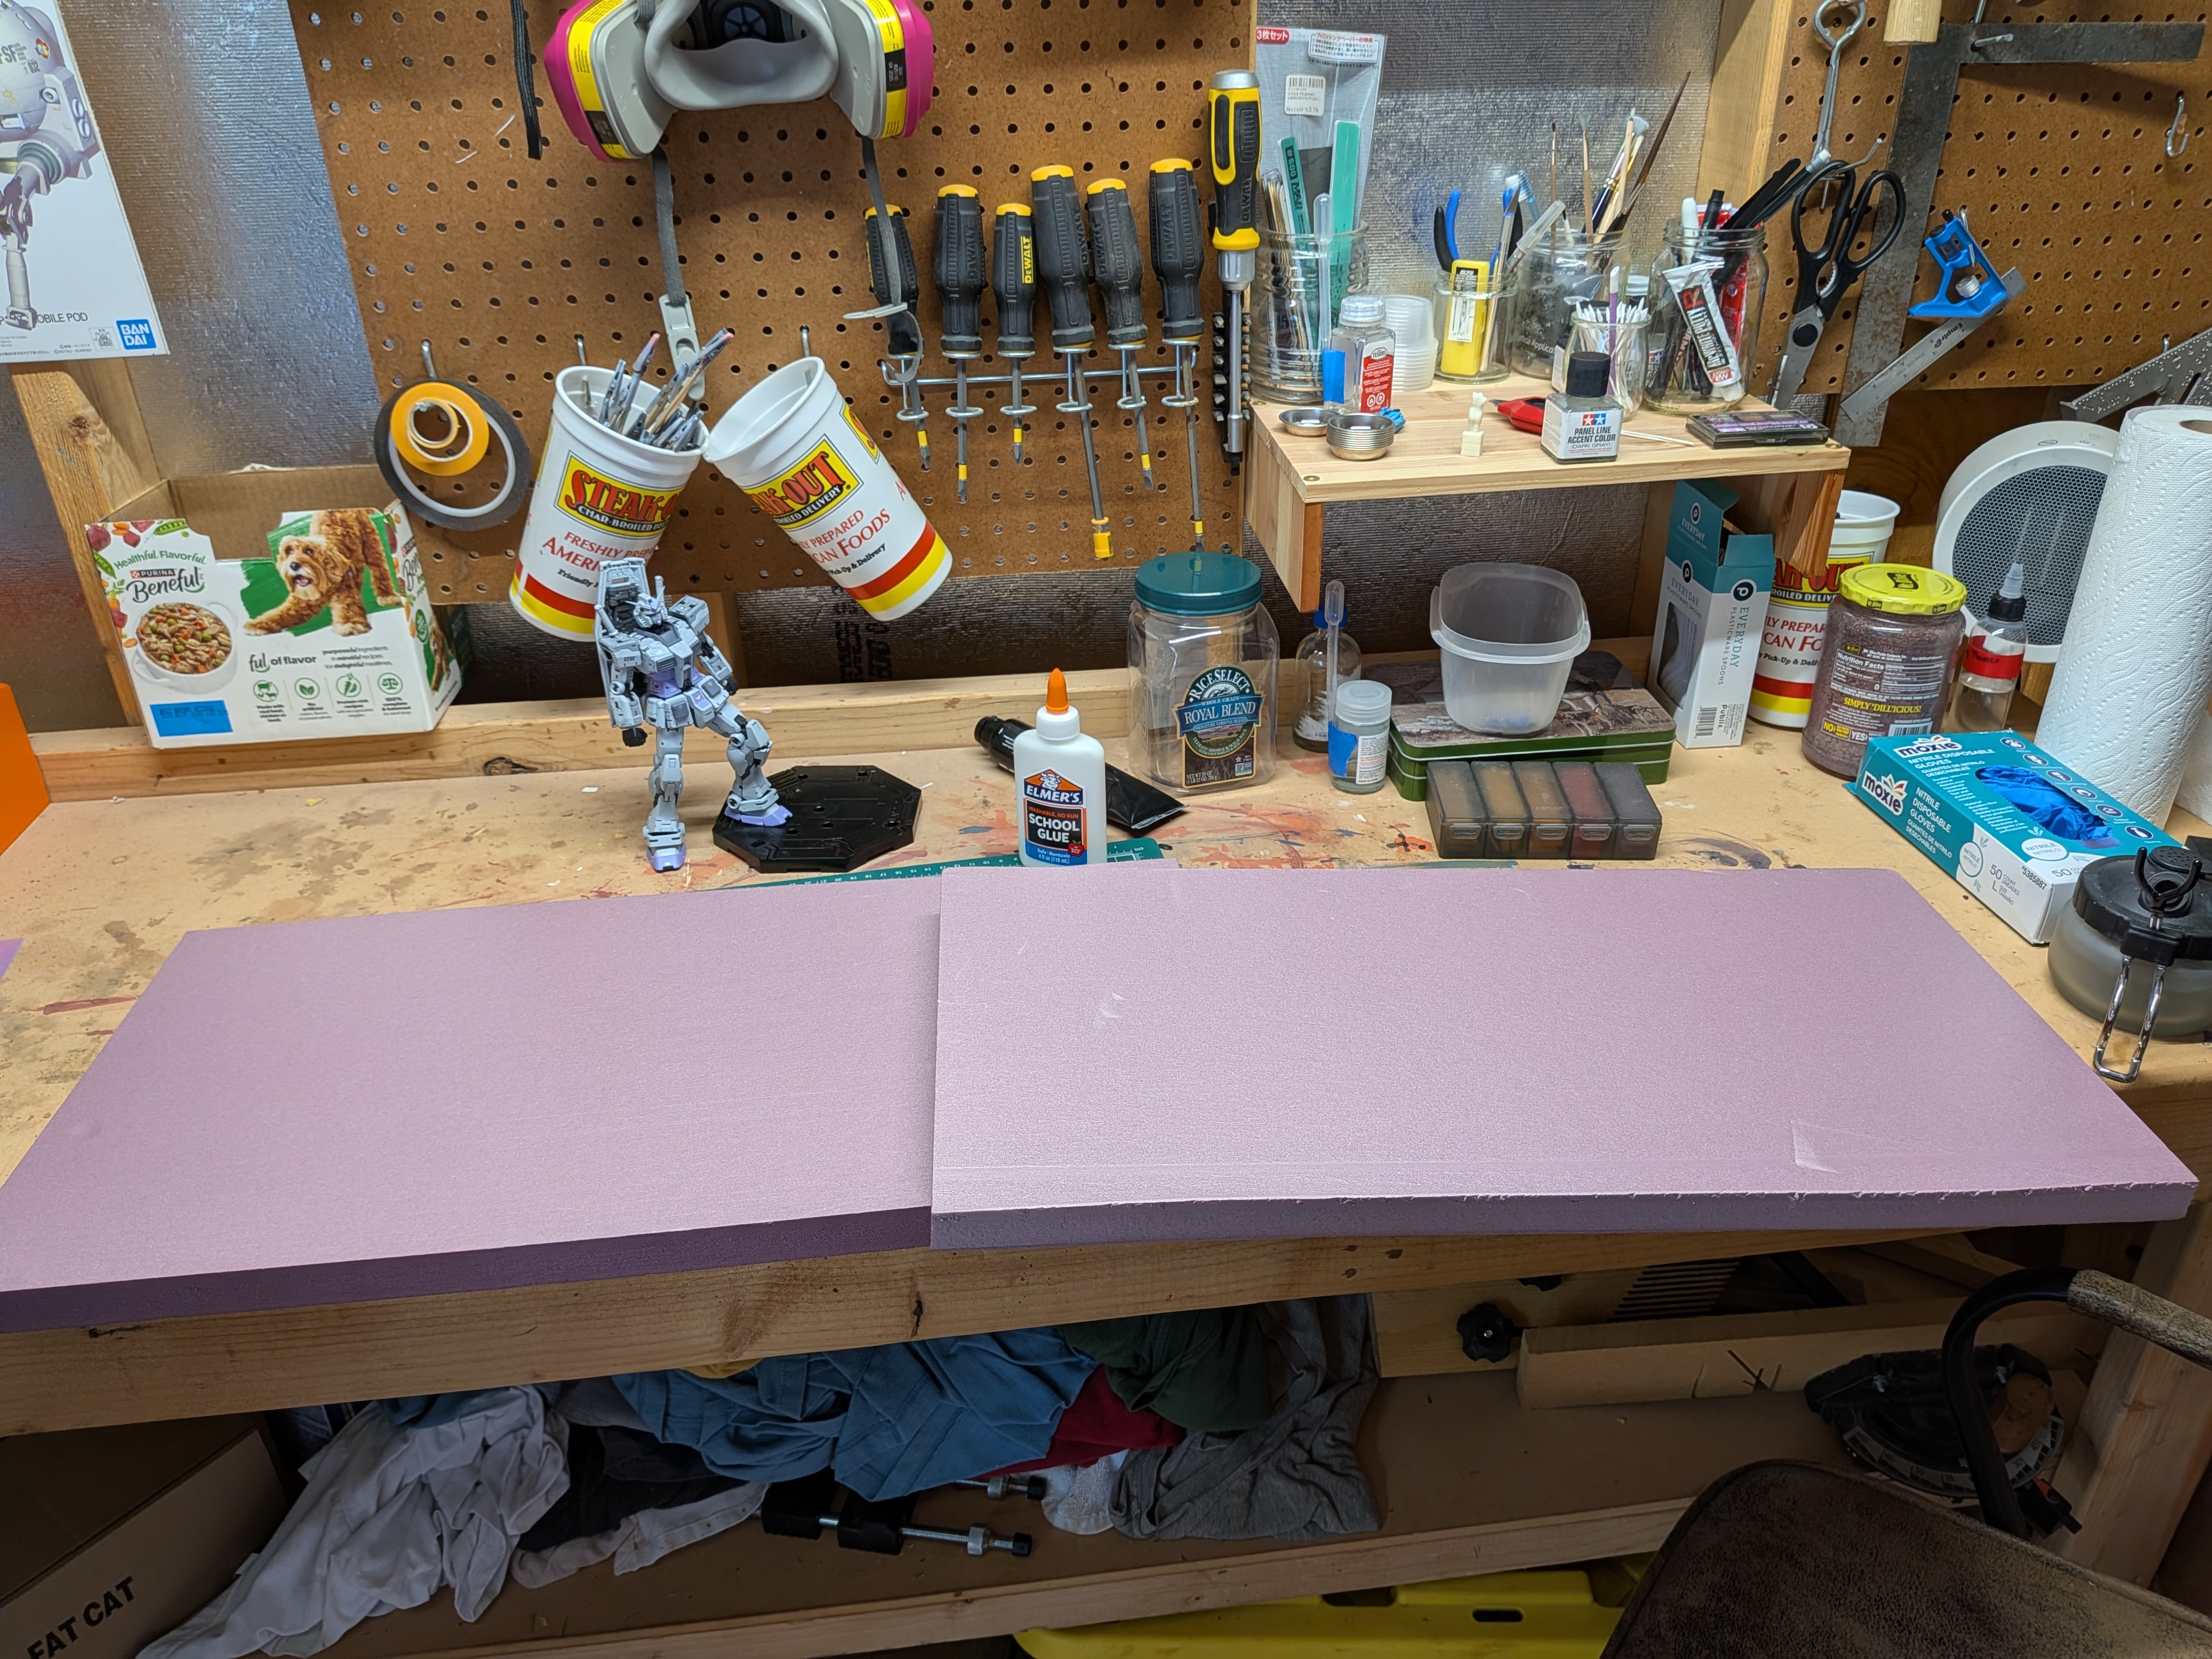
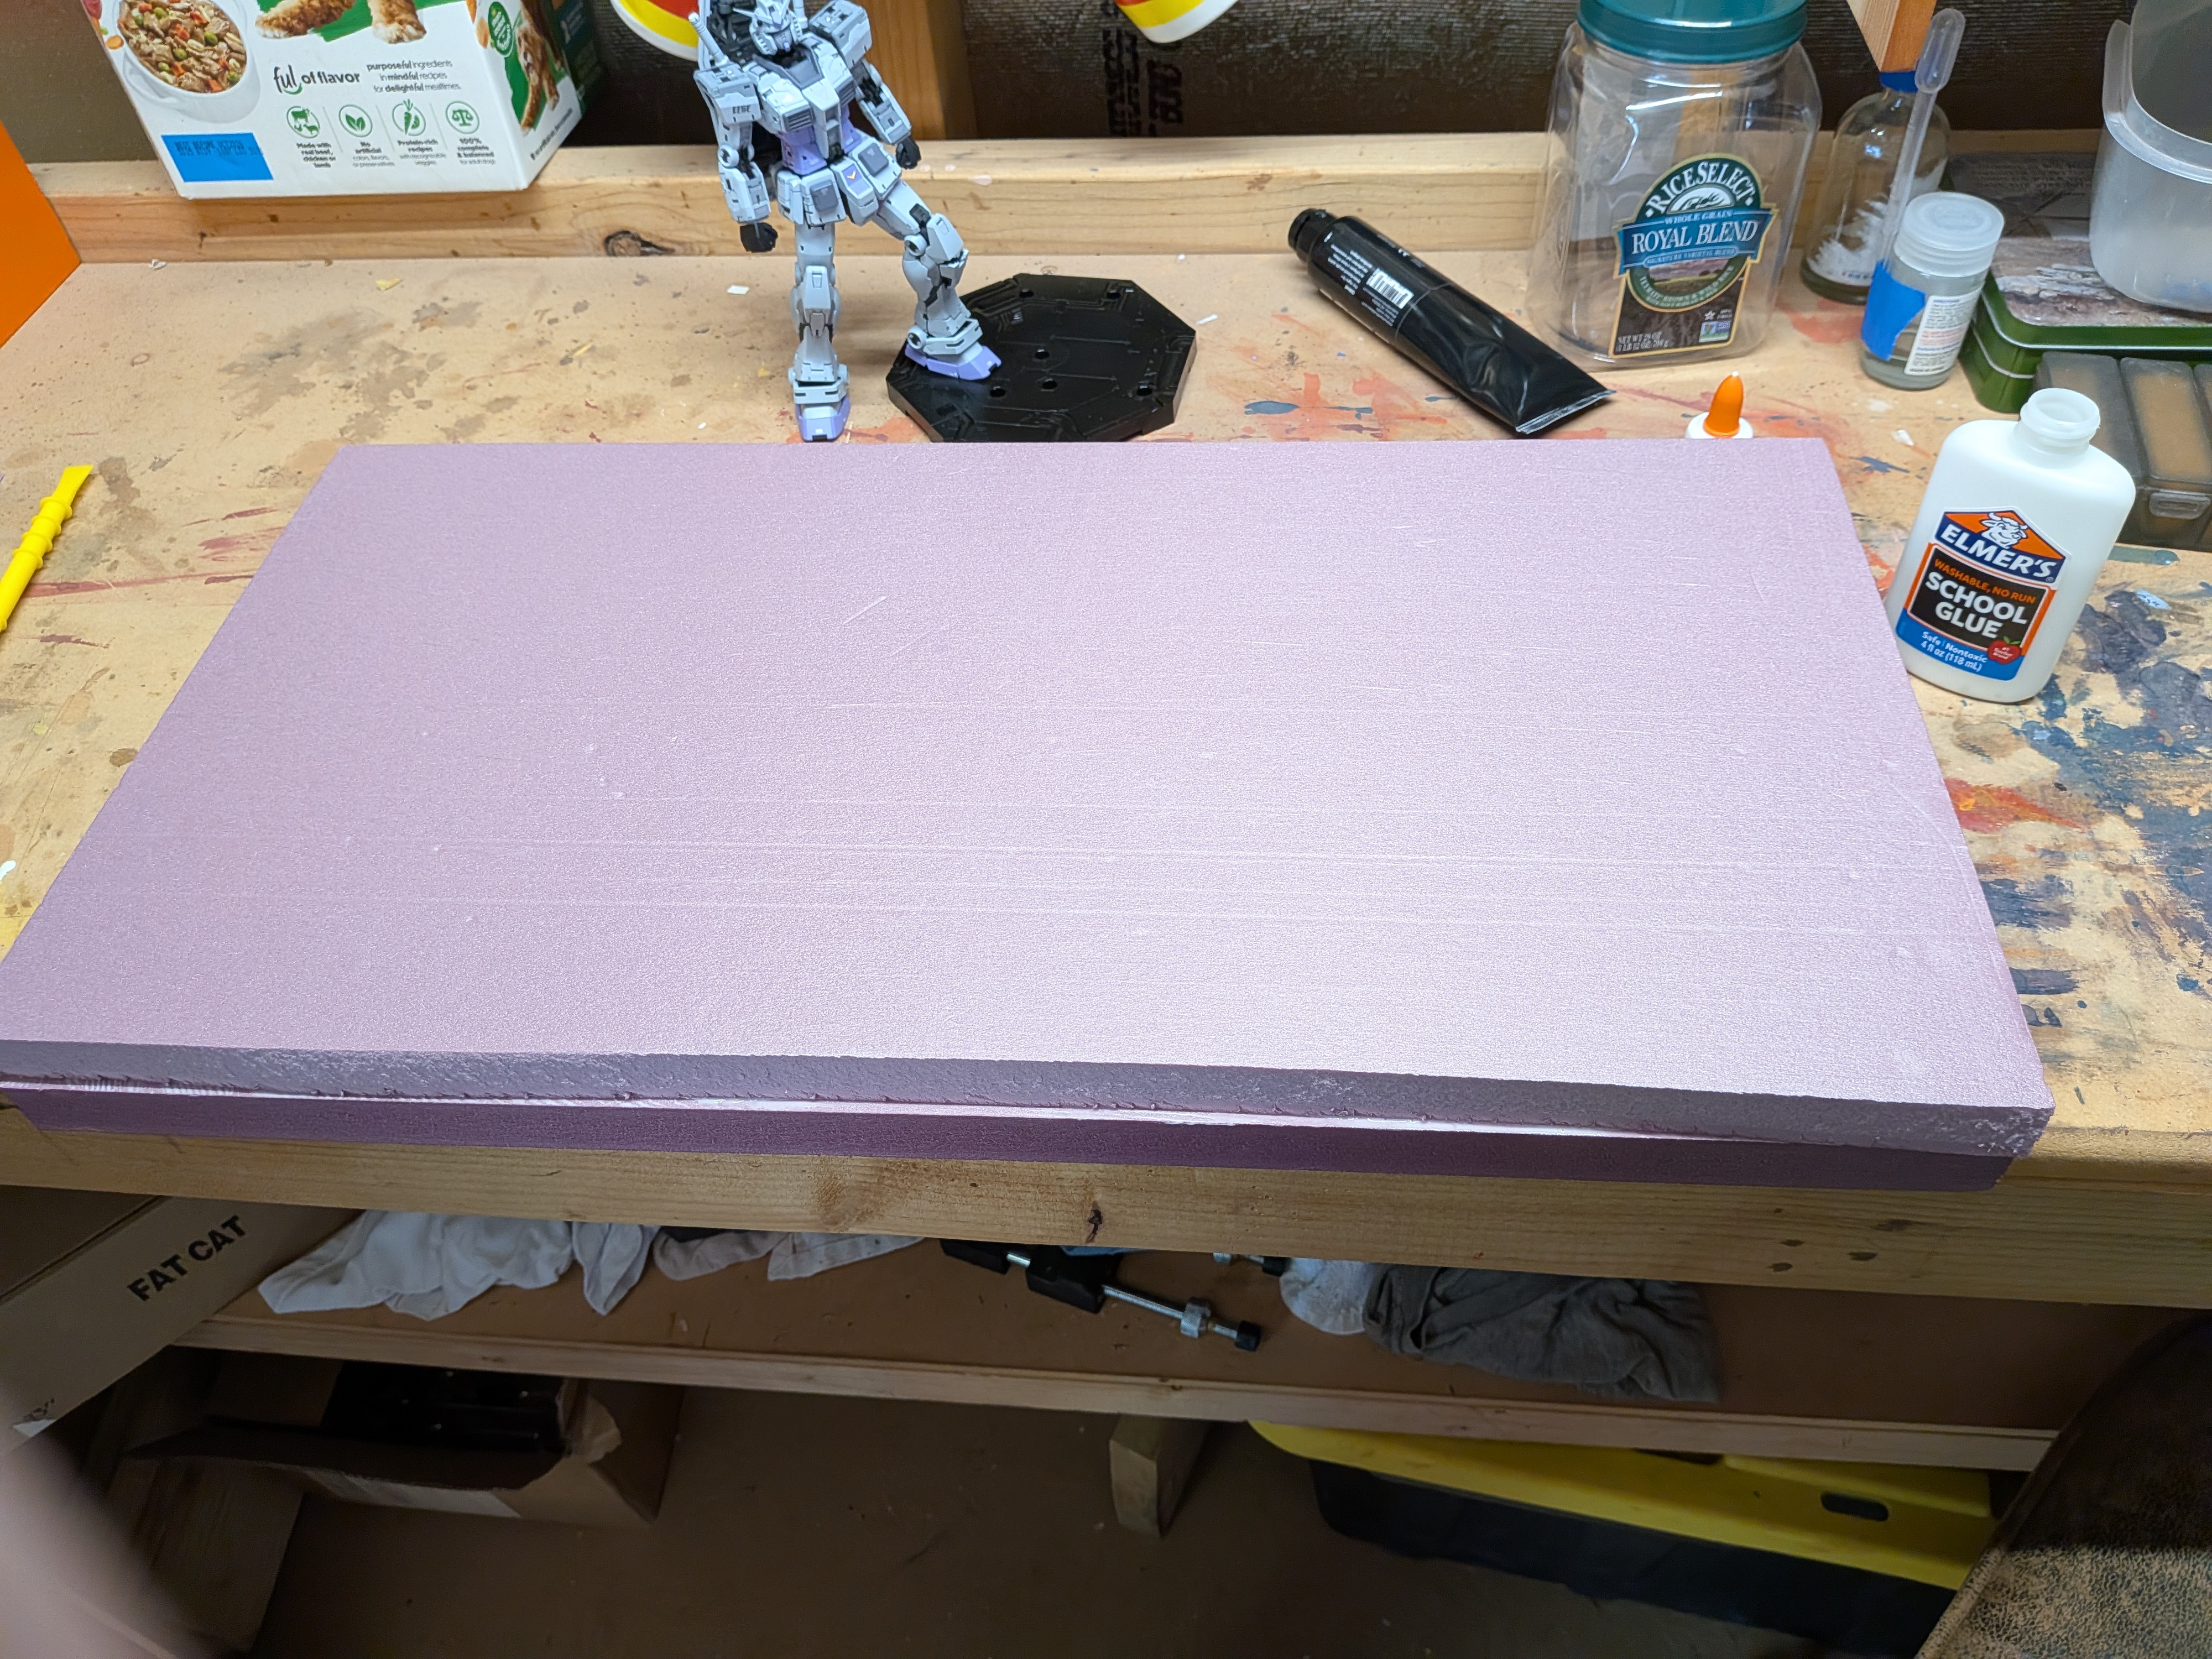
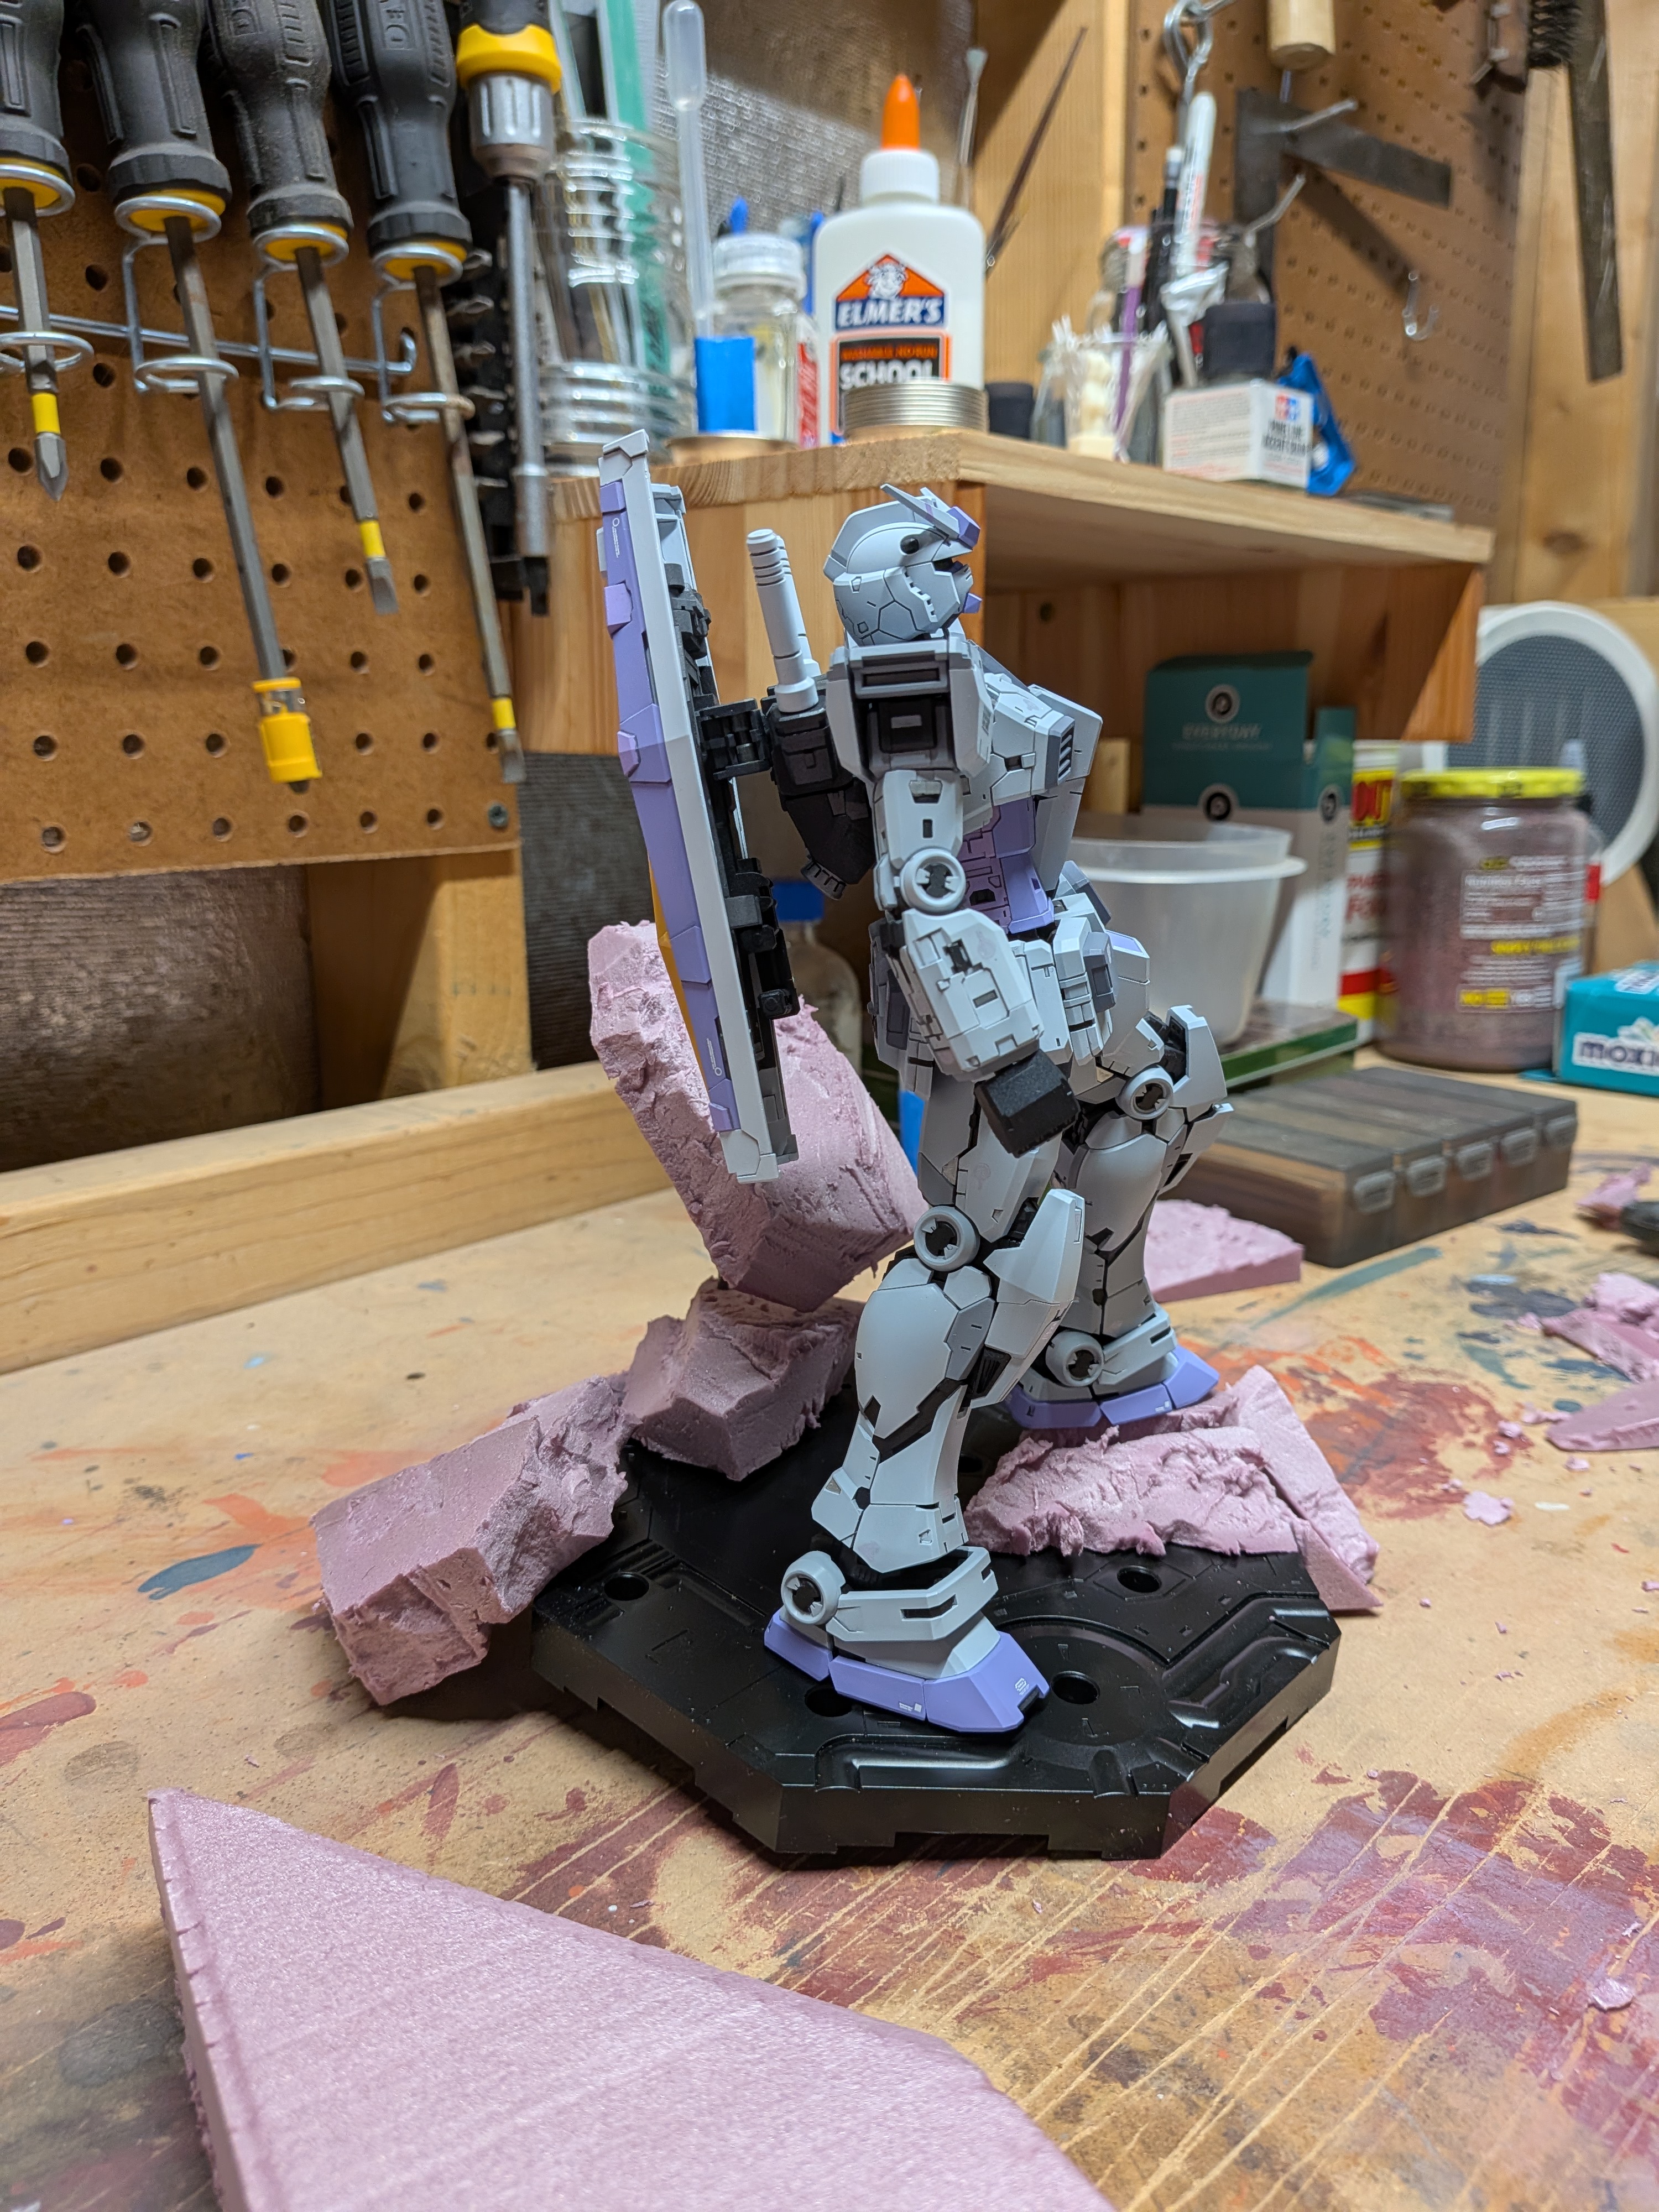
I bought this thick insulation foam from the hardware store to but into chunks of rock. I was envisioning a scene where the G-3 Gundam was standing on a wrecked structure in space. I tried to halve the foam and glue it together to make thicker pieces with Elmer's glue, but it never really cured - so I just ended up using it at the regular 1" thickness. I still left these together to see if it cures long-term and I can use it for other dioramas, maybe.
After cutting some realistic (?) chunks out with a box cutter, I started trying to arrange the rocks around the base. I settled on this, but made some slight tweaks in later steps. I propped the back of the action base up with a thin piece of wood superglued to the back in order to put the Gundam on a slight slant. There are some floating pieces that are held up by skewers, too.
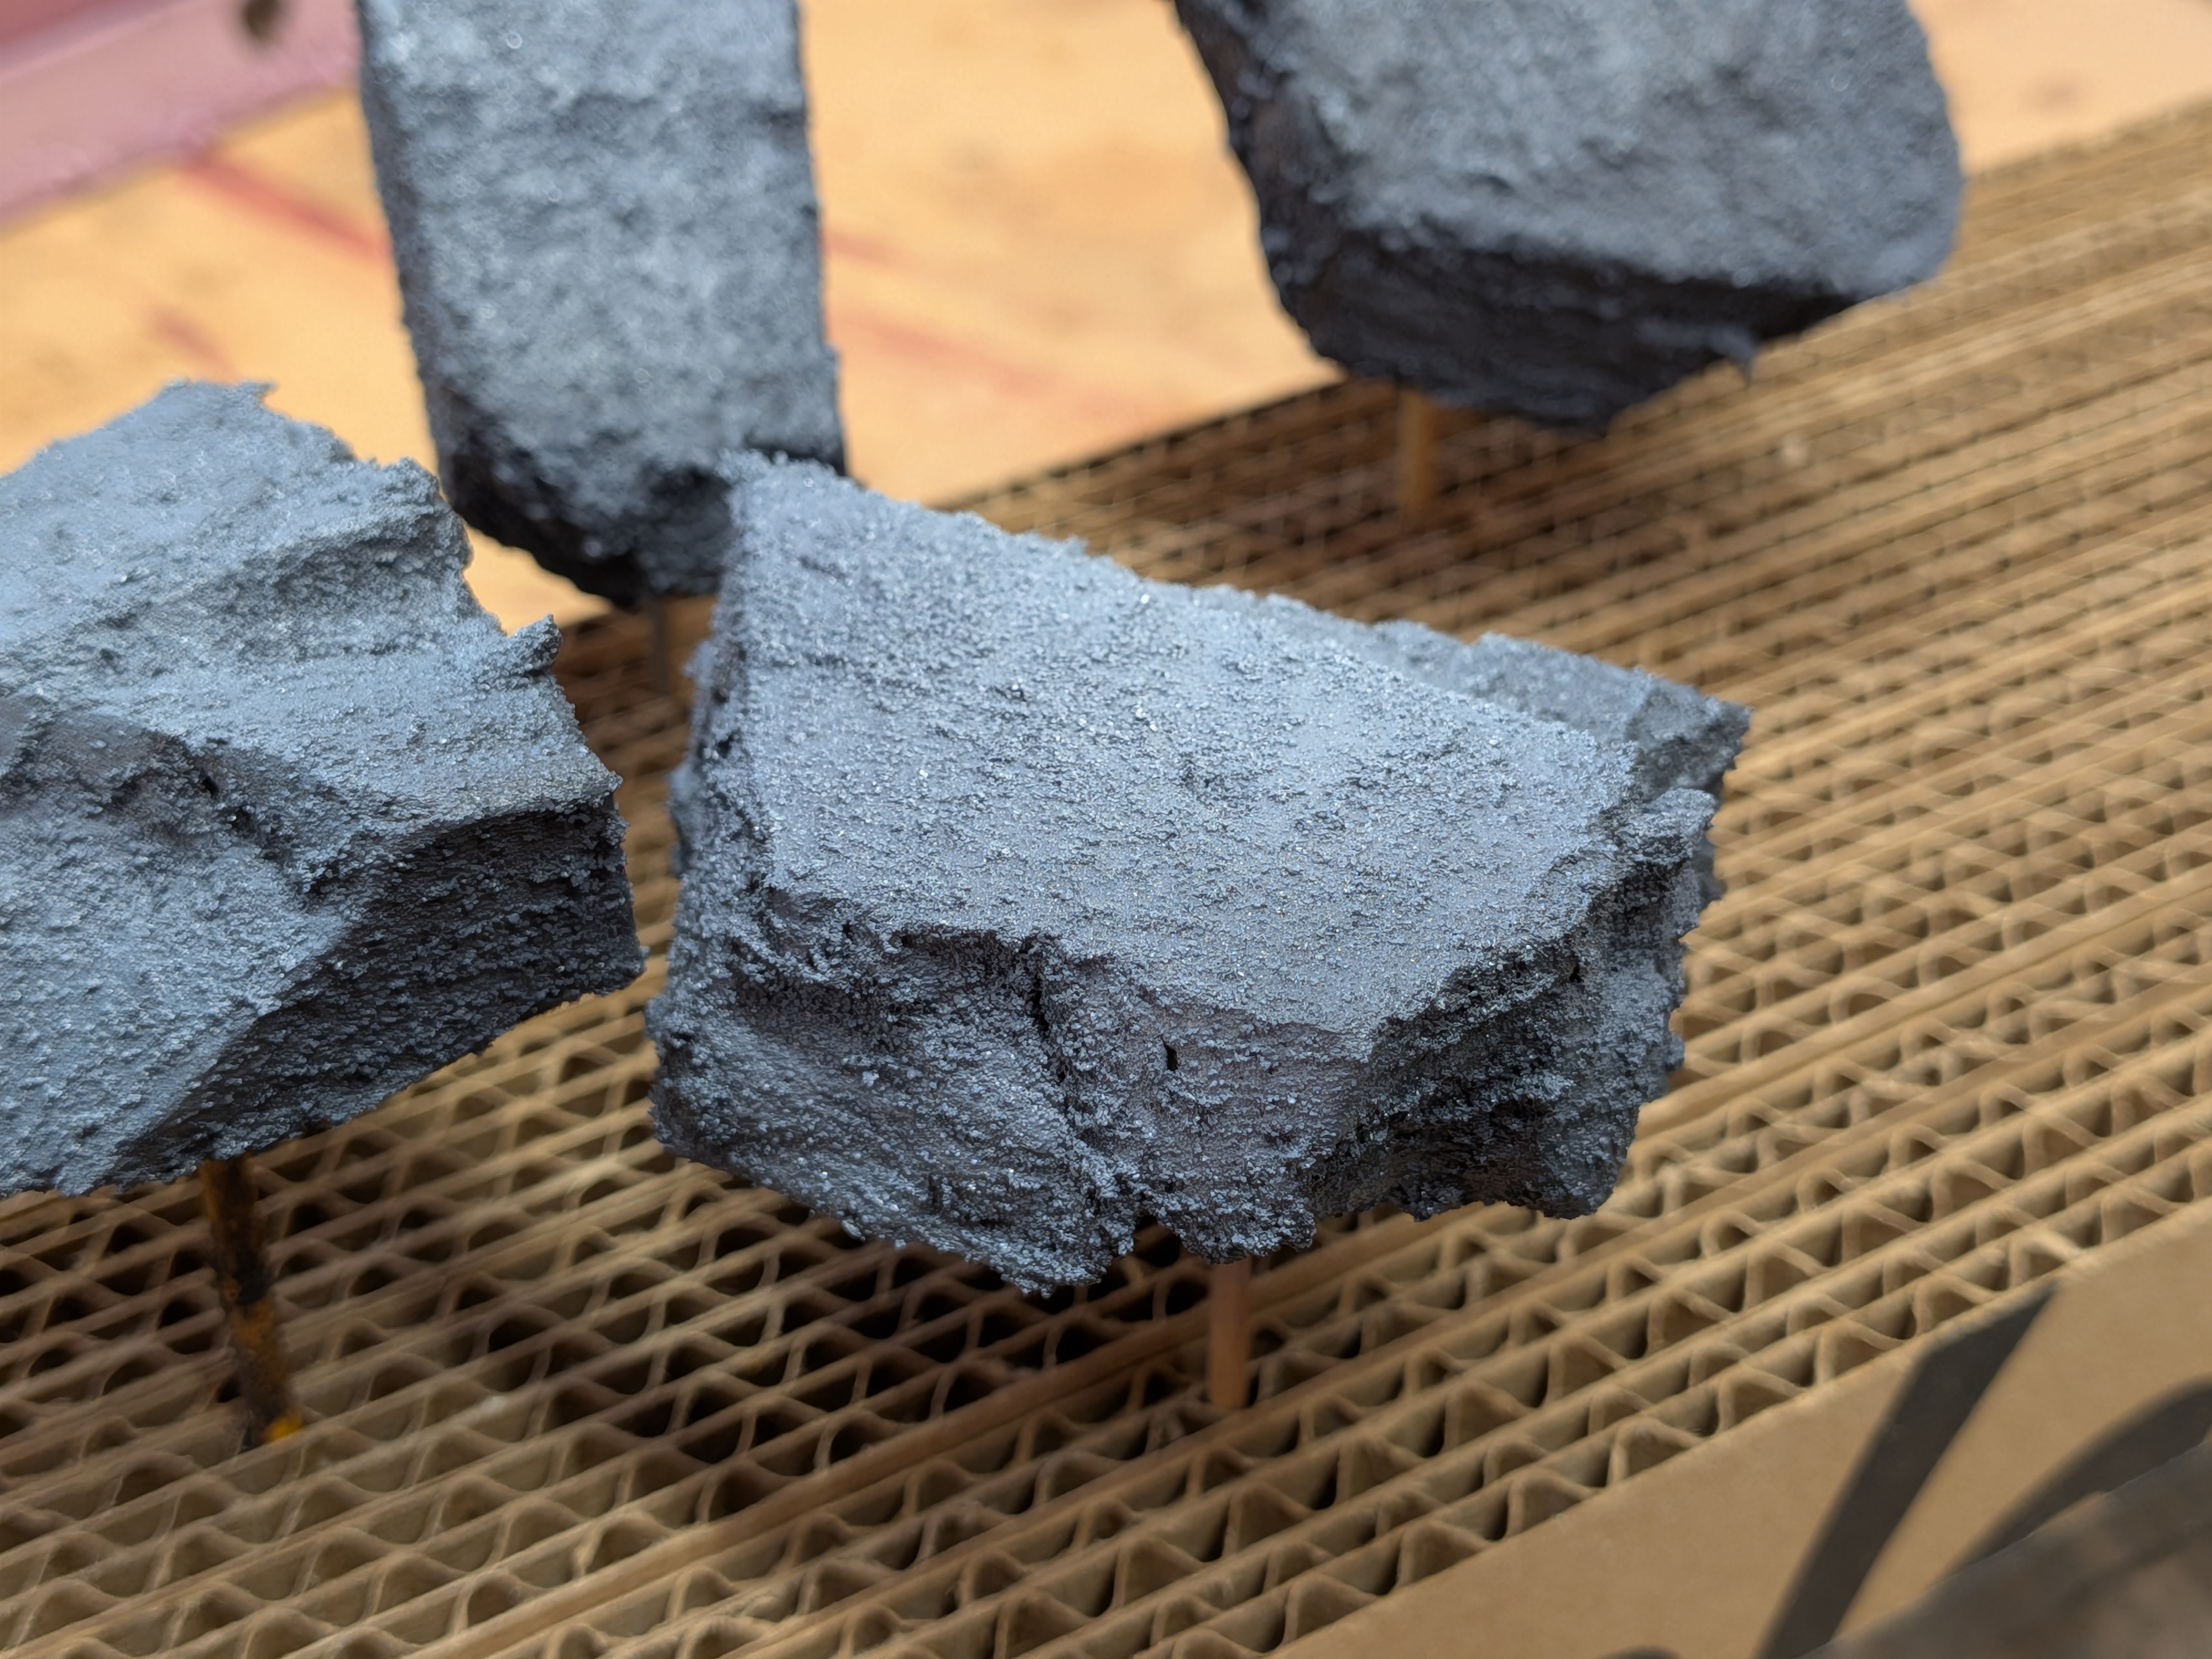
Building the rocks was actually extremely easy - I used this textured base acrylic from Pro Acryl which gave a beautiful rock texture, then worked by way up from black to gray, shading the rocks as if they're being lit from above. I actually used the mixed grays I prepared for the model itself here as a way to try to be efficient with my paint leftovers. I plan to drybrush these very lightly once they're actually attached to the base.
And here's the final result after a matte coat. So now the only thing left is final posing and the final photoshoot.
Date Posted: May 22, 2026